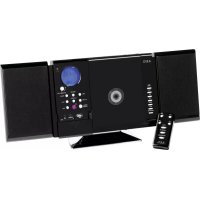
MC 4400 CD - Hi-fi system AEG - Free user manual and instructions
Find the device manual for free MC 4400 CD AEG in PDF.
| Product type | Hi-Fi system |
| Brand | AEG |
| Model | MC 4400 CD |
| Power supply | 230 V, 50 Hz (unit); remote control: 2 AAA 1.5 V batteries |
| Main functions | CD player, FM/AM tuner, infrared remote control, track programming and repeat, MUTE function |
| Speakers | 2 passive speakers (connection at the back) |
| Care and cleaning | Wipe with a dry cloth; do not use chemical or abrasive products |
| Safety | Do not expose to moisture; do not open the unit; Class 1 laser; observe voltage instructions |
| Spare parts and repairability | Repairs by an authorized specialist; power cable replaceable only by the manufacturer |
| General information | 24-month warranty; compliance with European directives |
Frequently Asked Questions - MC 4400 CD AEG
User questions about MC 4400 CD AEG
0 question about this device. Answer the ones you know or ask your own.
Ask a new question about this device
Download the instructions for your Hi-fi system in PDF format for free! Find your manual MC 4400 CD - AEG and take your electronic device back in hand. On this page are published all the documents necessary for the use of your device. MC 4400 CD by AEG.
USER MANUAL MC 4400 CD AEG
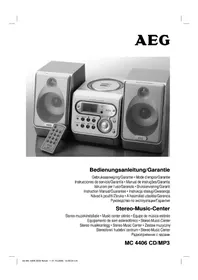
natural_image
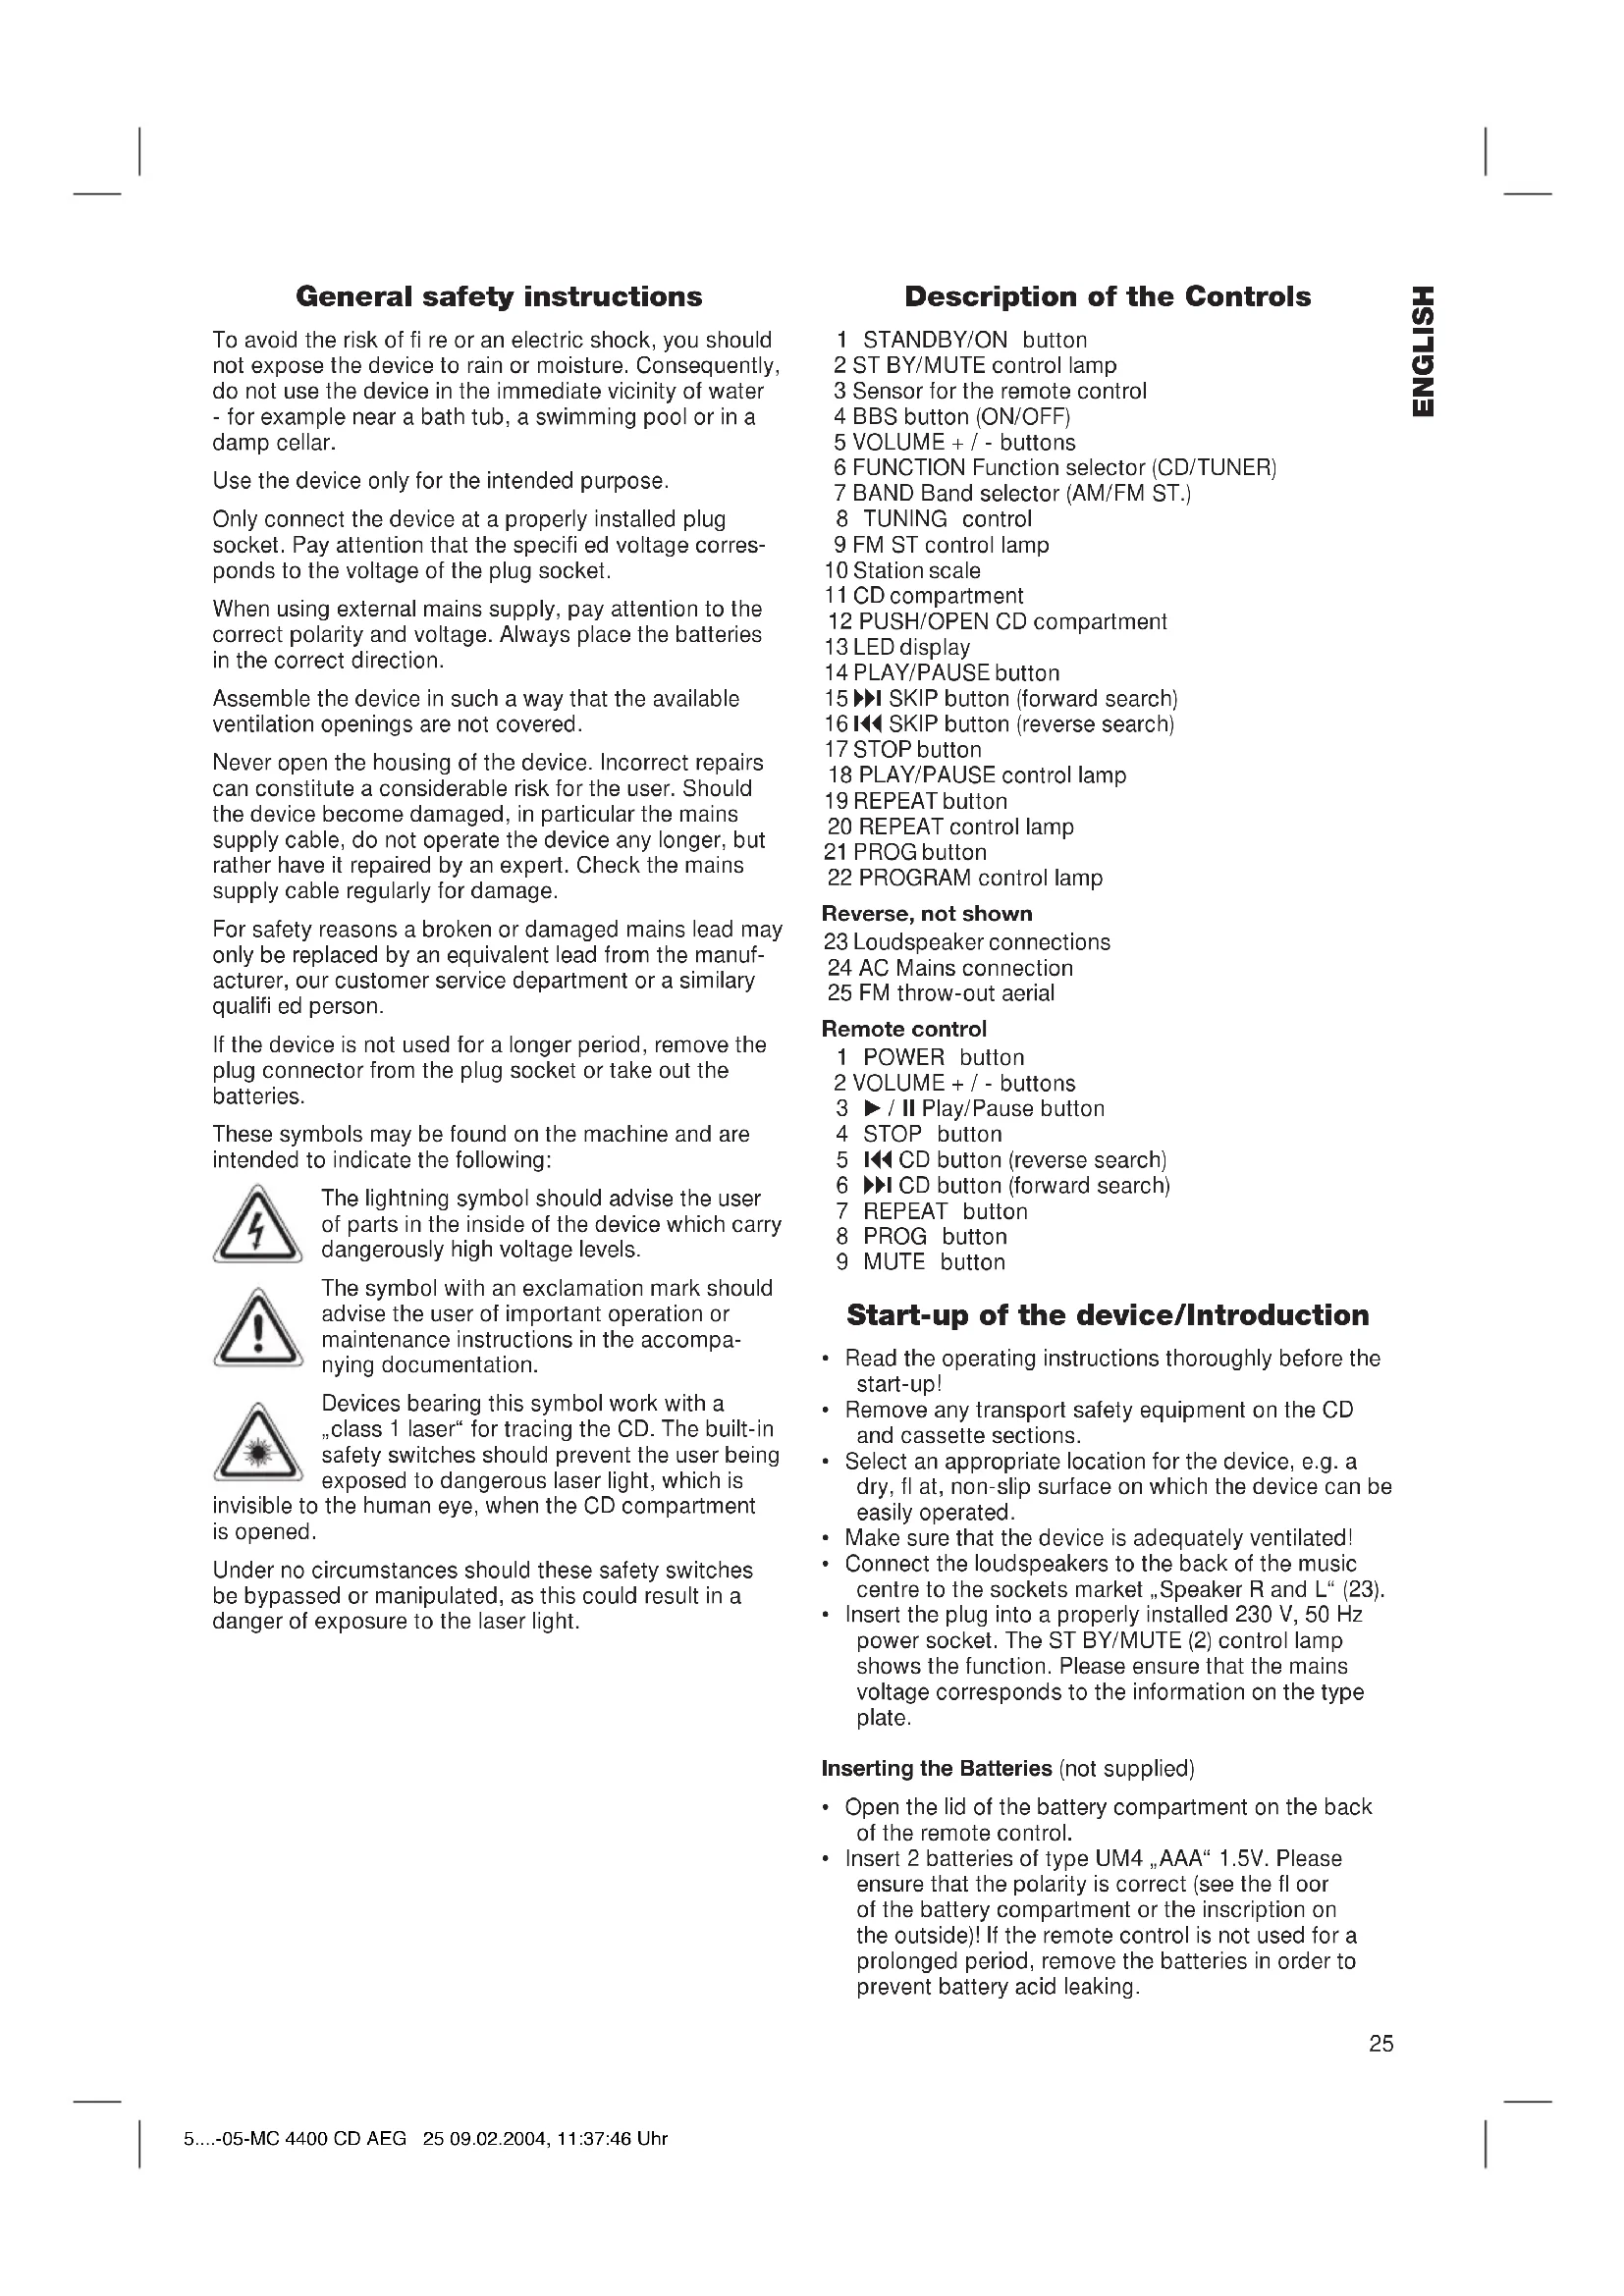
Black-and-white photo of three AEG audio synthesizer devices with circular sound dividers and a remote control (no visible text or symbols)4 BBS Taste (ON/OFF)
5 VOLUME + / - (Lautstärke) Tasten
4 BBS-toets (ON/OFF)
5 VOLUME + / - (volume) toetsen
4 Touche BBS (ON/OFF)
5 Touches VOLUME +/-
4 BBS-knapp (ON/OFF)
General safety instructions
To avoid the risk of fi re or an electric shock, you should not expose the device to rain or moisture. Consequently, do not use the device in the immediate vicinity of water - for example near a bath tub, a swimming pool or in a damp cellar.
Use the device only for the intended purpose.
Only connect the device at a properly installed plug socket. Pay attention that the specified voltage corresponds to the voltage of the plug socket.
When using external mains supply, pay attention to the correct polarity and voltage. Always place the batteries in the correct direction.
Assemble the device in such a way that the available ventilation openings are not covered.
Never open the housing of the device. Incorrect repairs can constitute a considerable risk for the user. Should the device become damaged, in particular the mains supply cable, do not operate the device any longer, but rather have it repaired by an expert. Check the mains supply cable regularly for damage.
For safety reasons a broken or damaged mains lead may only be replaced by an equivalent lead from the manufacturer, our customer service department or a similar qualified person.
If the device is not used for a longer period, remove the plug connector from the plug socket or take out the batteries.
These symbols may be found on the machine and are intended to indicate the following:

The lightning symbol should advise the user of parts in the inside of the device which carry dangerously high voltage levels.

The symbol with an exclamation mark should advise the user of important operation or maintenance instructions in the accompanying documentation.

Devices bearing this symbol work with a „class 1 laser“ for tracing the CD. The built-in safety switches should prevent the user being exposed to dangerous laser light, which is
invisible to the human eye, when the CD compartment is opened.
Under no circumstances should these safety switches be bypassed or manipulated, as this could result in a danger of exposure to the laser light.
Description of the Controls
1 STANDBY/ON button
2 ST BY/MUTE control lamp
3 Sensor for the remote control
4 BBS button (ON/OFF)
5 VOLUME + / - buttons
6 FUNCTION Function selector (CD/TUNER)
7 BAND Band selector (AM/FM ST.)
8 TUNING control
9 FM ST control lamp
10 Station scale
11 CD compartment
12 PUSH/OPEN CD compartment
13 LED display
14 PLAY/PAUSE button
15▶▶I SKIP button (forward search)
16 ◀ SKIP button (reverse search)
17 STOP button
18 PLAY/PAUSE control lamp
19 REPEAT button
20 REPEAT control lamp
21 PROG button
22 PROGRAM control lamp
Reverse, not shown
23 Loudspeaker connections
24 AC Mains connection
25 FM throw-out aerial
Remote control
1 POWER button
2 VOLUME + / - buttons
3 ▶ / II Play/Pause button
4 STOP button
5 CD button (reverse search)
6 ▶▶▶ I CD button (forward search)
7 REPEAT button
8 PROG button
9 MUTE button
Start-up of the device/Introduction
- Read the operating instructions thoroughly before the start-up!
- Remove any transport safety equipment on the CD and cassette sections.
- Select an appropriate location for the device, e.g. a dry, flat, non-slip surface on which the device can be easily operated.
- Make sure that the device is adequately ventilated!
- Connect the loudspeakers to the back of the music centre to the sockets market „Speaker R and L“ (23).
- Insert the plug into a properly installed 230 V, 50 Hz power socket. The ST BY/MUTE (2) control lamp shows the function. Please ensure that the mains voltage corresponds to the information on the type plate.
Inserting the Batteries (not supplied)
- Open the lid of the battery compartment on the back of the remote control.
- Insert 2 batteries of type UM4 „AAA“ 1.5V. Please ensure that the polarity is correct (see the floor of the battery compartment or the inscription on the outside)! If the remote control is not used for a prolonged period, remove the batteries in order to prevent battery acid leaking.
- Always replace the complete set of batteries. Do not replace just one battery.
Warning: batteries are not to be disposed of together with domestic wastes. Dispose of the used batteries at the relevant collection bin or at your dealer's.
Never throw batteries into the fire.
General Operation
STANDBY/
ON/POWER (1): Please switch the machine on using the STANDBY/ON button (1) or the POWER button (1 on the remote control).
Switch off: Switch the music centre to standby using the STANDBY/ON button (1).
BBS ON/OFF (4): This is used to amplify the bass sounds. The switch can be in one of two positions, ON or OFF.
Volume: You can set the desired volume using the VOLUME control (5) (2 on the remote control).
Infrared
remote control: For operating the music centre from a distance of up to 5 metres without a lead. If the range of the remote control is reduced, the batteries have to be replaced. During operation ensure that there is nothing blocking the direct line between the remote control and the sensor (3) on the machine.
Listening to the Radio
Press the ON/POWER button (1) (1 on the remote control) in order to be able to use the functions with the device switched on. The STANDBY/MUTE light goes off.
- Turn the function selector switch (6) to TUNER.
-
Select the desired frequency band with the (7) band selector switch. VHF Stereo = FM ST, Medium wave = AM (mono)
-
Tune in the desired station with the station adjustment knob TUNING (8).
-
The FM/ST control lamp (9) only lights up when you have selected FM stereo and the station is being received in stereo quality. If reception is too weak and there is noise on the station being received, this lamp will fl icker. Try to improve reception by turning and bending or twisting and altering the length of the antenna (25).
-
To receive MW/AM stations proceed in the same manner. In this frequency band programs are transmitted in „mono“ only.
Playing CDs
This is how you play a CD
- Press the function selector switch (6) to the „CD“ position.
- In order to open the CD compartment (11), press the PUSH/OPEN button (12).
-
Insert an audio CD with the printed side facing upwards on to the central cone so that the CD clicks into place and then close the lid of the CD compartment.
-
After a few seconds the total number of songs/tracks is shown in the display (13).
- Press the ▶ / II PLAY/PAUSE button (14) (3 on the remote control) in order to play the CD. The CD will play from the first title. The song currently playing will be shown in the LED display. The PLAY/PAUSE control lamp (18) lights up in the display.
- To remove a CD, press the STOP key (17) (4 on the remote control), open the CD deck with the PUSH/OPEN key (12) and take out the CD carefully.
Always keep the CD deck closed.
Note: If a disc has been inserted the wrong way round, "_" fl ashes in the display. If no disc has been inserted, "_" also flashes and then the figures „00“ appear.
Description of the CD buttons
▶ / II PLAY/PAUSE
(14/3): You can briefly interrupt and resume playback using this button. The PLAY/PAUSE control lamp (18) flashes.
▶ I / ◀ SKIP
(15/16-6/5): Using this button you can jump to the next or previous title. If the button is kept pressed down, the machine starts to search through the tracks.
STOP (17/4): the CD stops.
MUTE (9 on the
remote control): This serves to switch off the volume instantly. The ST BY/MUTE control lamp (2) flashes. When you would like to hear sound again, press the MUTE button once more.
REPEAT (19/7): Press once (the REPEAT LED (20) fl ashes): the current track is repeated continuously. Press a second time (the REPEAT LED emits a fixed light): the whole CD is played continuously. Press a third time: the function is deactivated.
Programmed Play
This can be used to program any desired sequence of tracks.
- Press the STOP key (17/4).
- Press the PROG key (21/8). The number „01“ (storage location) and the symbol PROG flash in the display (13). Use the ▶▶I / I◀◀ buttons (15/16-6/5) to select the desired track and then press the PROG button (21/8) again. The display changes to memory slot 02.
- Select the next track with the ▶▶I / ◀◀ key (15/16-6/5) and press the PROG key (21/8) again. Repeat the procedure until all the desired tracks are selected.
- Press the ▶ / II PLAY/PAUSE key (14/3). The play-back starts. The selected track numbers are shown in the display in the correct order and the PLAY/PAUSE and PROG symbols light up. Press this button to pause briefly the playback.
-
Press once the STOP key (17/4) to stop the playback while retaining the program. The PROG control lamp lights up.
-
To play back the program again, please press the ▶ / II PLAY/PAUSE button (14/3).
- To delete the program, press the STOP key (17/4) twice. The PROG control lamp goes out.
The device stops automatically once the entire sequence of programmed tracks is completed. The programmed order of tracks remains in the memory until you change to a different mode, remove the CD from the CD compartment or switch off the device. In order to play the programmed sequence again, press the ▶ / II PLAY/ PAUSE key (14/3).
It is also possible to combine the programmed tracks with the REPEAT function. After you have programmed and started the device, please press the REPEAT button (19/7) up to three times and then you can use the functions as described under „REPEAT“.
This device has been tested according to all relevant current CE guidelines, such as electromagnetic compatibility and low voltage directives, and has been constructed in accordance with the latest safety regulations.
Subject to technical changes without prior notice!
Guarantee
The device supplied by our Company is covered by a 24 month guarantee starting on the date of purchase (receipt).
During the life of the guarantee any fault of the device or its accessories *) ascribable to material or manufacturing defects will be eliminated free of charge by repairing or, at our discretion, by replacing it. The guarantee services do not entail an extension of the life of the guarantee nor do they give rise to any right to a new guarantee!
Proof of the guarantee is provided by the proof of purchase. Without proof of purchase no free replacement or repair will be carried out.
For repairs or replacement during the life of the guarantee return the device in its original packing together with the proof of purchase to your dealer.
*) Damage to accessories does not mean automatic free replacement of the whole machine. In such cases please contact our hotline. Broken glass or breakage of plastic parts are always subject to a charge.
Defects to consumables or parts subject to wearing (e.g. motor pistons, kneading blades, drive shafts, spare remote control, spare toothbrushes, saw blades, etc.) as well as cleaning, maintenance or the replacement of said parts are not covered by the guarantee and hence are to be paid!
The guarantee lapses in case of unauthorized tampering.
After the expiry of the guarantee
After the expiry of the guarantee repairs can be carried by the competent dealer or repair service against the payment of the ensuing costs.