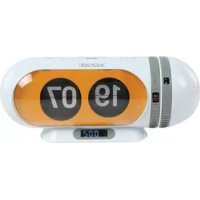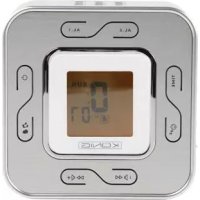
HAVCR70 - Radio KONIG - Free user manual and instructions
Find the device manual for free HAVCR70 KONIG in PDF.


User questions about HAVCR70 KONIG
0 question about this device. Answer the ones you know or ask your own.
Ask a new question about this device
Download the instructions for your Radio in PDF format for free! Find your manual HAVCR70 - KONIG and take your electronic device back in hand. On this page are published all the documents necessary for the use of your device. HAVCR70 by KONIG.
USER MANUAL HAVCR70 KONIG
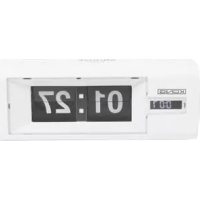
MANUAL (p.2) CLOCK RADIO
MODED'EMPLOI(22) RADIO-REVEIL
MANUALE(p42) RADIOSVEGLIA
HASZNÁLATI UTMUTATO (62. o.)
RADIOS ORA
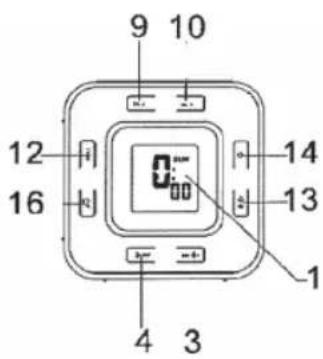
- LCD display
- Band (FM/AM) switch
- Volume up control
- Volume down control
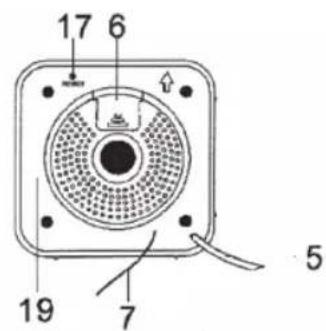
- AC cord
- Battery compartment
- FM antenna wire
- Tuning control
- Alarm 2 set button
- Alarm 1 set button
- Dial scale and pointer
- Time set button
- Alarm 1 / alarm 2 / alarm 1 + 2 select button
- Power ON/OFF alarm OFF button
- Audio in Jack
- Snooze / sleep button
- Reset button
- Unit bracket
- Rating label (affixed on the back of unit)
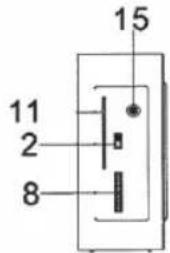
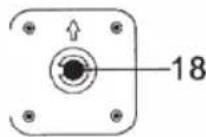
POWER CONNECTION
Plug the AC power cord to a household outlet AC source. Then press the reset button (17) with a ballpoint pen. This unit is equipped with a battery back up system, it requires a 3 V fl at lithium battery. Insert the battery in the battery compartment, making certain that the positive and negative (+ and -) battery terminals are attached to the corresponding terminals on the plate in the battery compartment.
NOTE: If an AC power failure occurs, the clock automatically switches to the battery power supply and the clock and time memory continue running. When the AC power resumes, the clock switches back to AC again.
ESD remark: In case of malfunction due to electrostatic discharge just reset the product (reconnect of power source may be required) to resume normal operation.
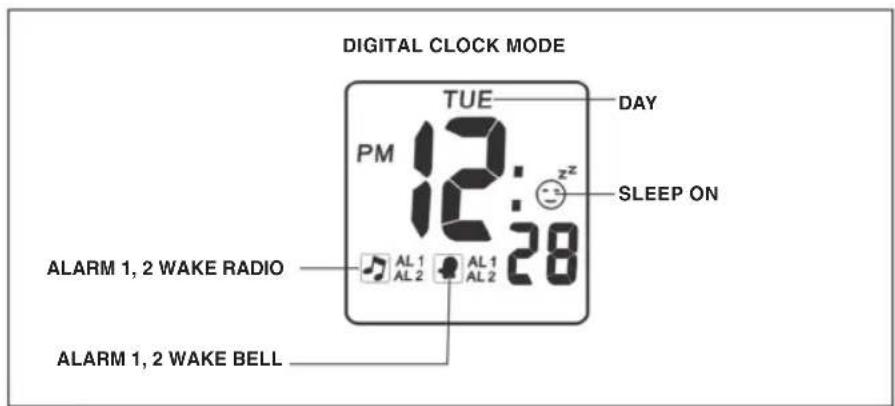
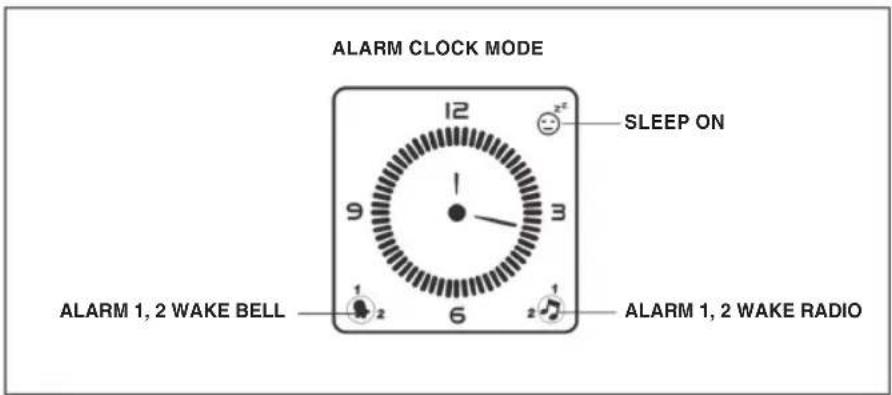
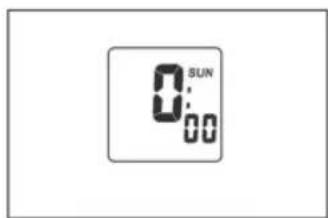
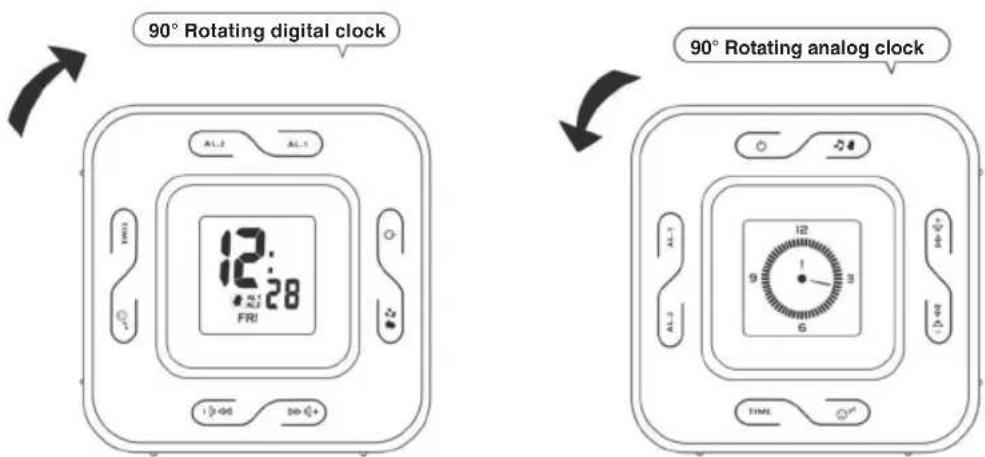
NOTE: TIME SETTING / ALARM SETTING / SLEEP SETTING ONLY IN DIGITAL CLOCK MODE
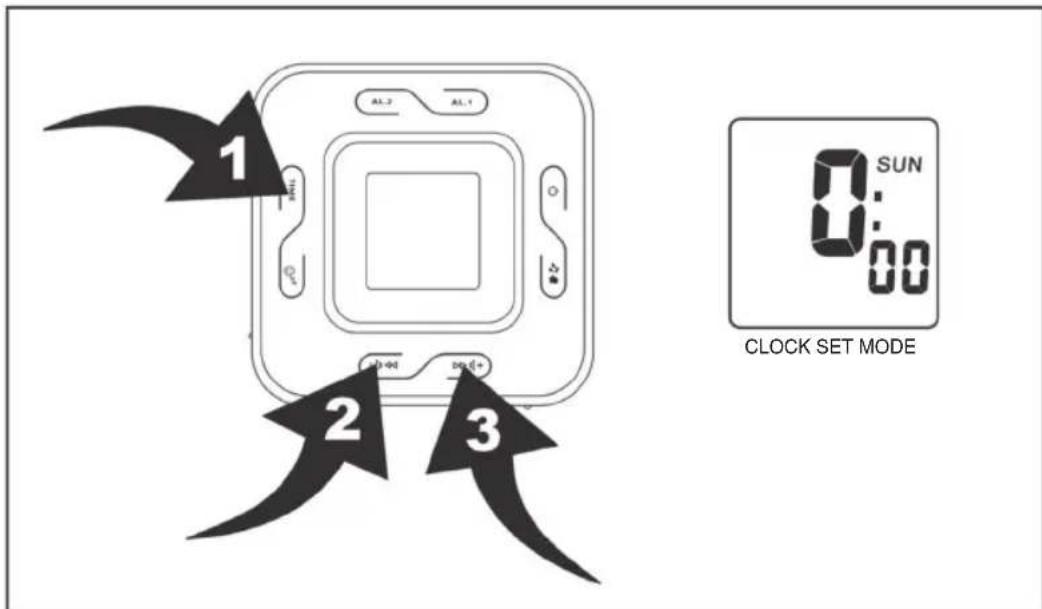
TO SET OR RESET THE ACTUAL TIME
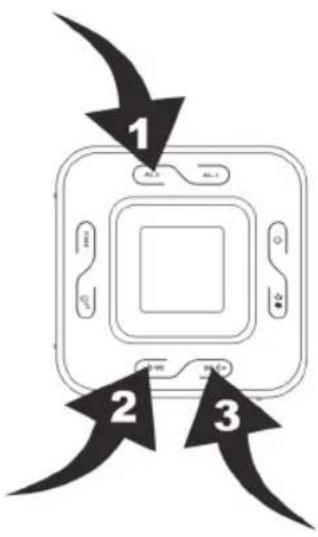
- Press and hold time set button (12) (position 1) 2 seconds, day will blink.
- Press volume up control button (3) + (position 3) and volume down control button (4) (position 2) to set day.
- Press time set button (12) (position 1), 24 hour / 12 hour will blink.
- Press volume up control button (3) + (position 3) and volume down control button (4) (position 2) to set 24 hour / 12 hour.
- Press time set button (12) (position 1), hour.
- Press volume up control button (3) + (position 3) and volume down control button (4) (position 2) to set hour.
- Press time set button (12) (position 1), minute will blink.
- Press volume up control button (3) + (position 3) and volume down control button (4) (position 2) to set minute.
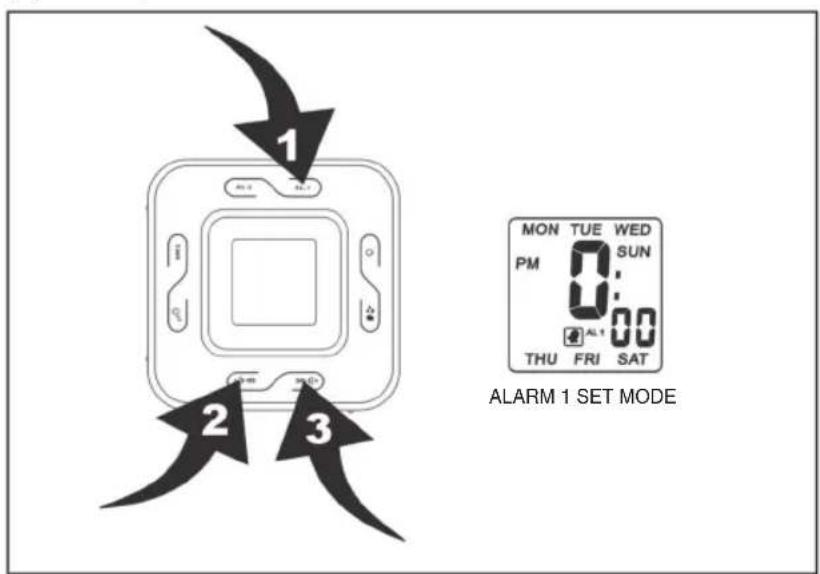
ALARM1SETTING
- Press alarm 1 set button (10) (position 1) to enter into alarm 1 set mode.
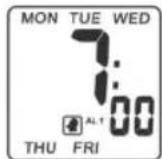
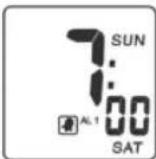
- Press and hold alarm 1 set button (10) (position 1) 2 seconds, day will blink. (Diagram 1)
- Press volume up control button (3) + (position 3) and volume down control button (4) (position 2) to set day.
- Press alarm 1 set button (10) (position 1) hour blinking. Press volume up control button + (3) (position 3) and volume down control button (4) (position 2) to set hour.
- Press alarm 1 set button (10) (position 1) minute blinking. Press volume up control button + + (3) (position 3) and volume down control button (4) (position 2) to set minute.
- Press alarm 1 set button (10) (position 1) alarm 1 bell blinking. Press volume up control button (3) position 3) and volume down control button (4) (position 2) to select alarm 1 bell and alarm radio.
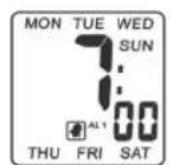
WEEKEND ALARM 1 SET MODE (MON TO SUN)
DIAGRAM 1
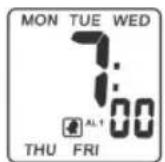
WEEKEND ALARM 1 SET MODE (MON TO FRI)
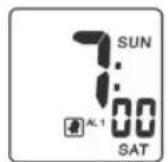
WEEKEND ALARM 1 SET MODE (SAT TO SUN)
ALARM2 SETTING
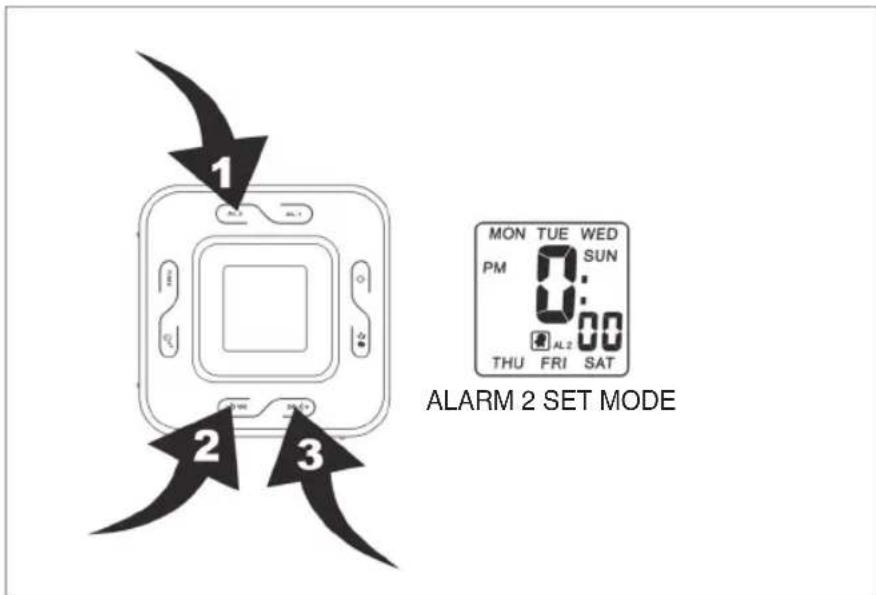
- Press alarm 2 set button (9) (position 1) to enter into alarm 2 set mode.
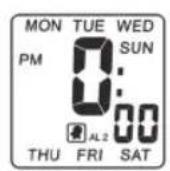
- Press and hold alarm 2 set button (9) 2 seconds, day will blink. (Diagram 2)
- Press volume up control button + (3) (position 3) and volume down control button (4) (position 2) to set day.
- Press alarm 2 set button (9) (position 1) hour will blink. Press volume up control button + (3) (position 3) and volume down control button (4) (position 2) to set hour.
- Press alarm 2 set button (9) (position 1) minute blinking. Press volume up control button + (3) (position 3) and volume down control button (4) (position 2) to set minute.
- Press alarm 2 set button (9) (position 1) alarm 2 bell will blink. Press volume up control button (3) (position 3) and volume down control button (4) (position 2) to select alarm 2 bell and alarm radio.
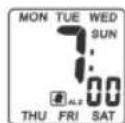
DIAGRAM 2
WEEKEND ALARM 2 SET MODE (MON TO SUN)
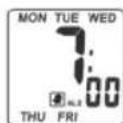
WEEKEND ALARM 2 SET MODE (MON TO FRI)
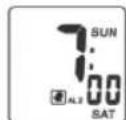
WEEKEND ALARM 2 SET MODE (SAT TO SUN)
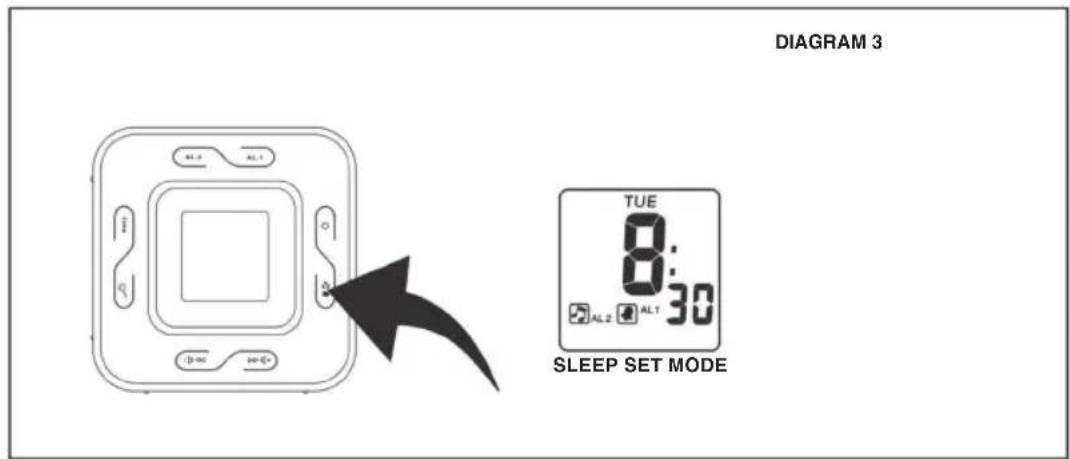
Alarm output setting and alarm on/off
Press alarm 1 / alarm 2 / alarm 1+2 select button (13) to select alarm wake up by bell and radio. (Diagram 3)
ALARM DURATION
Bell alarm or radio alarm will continue output for 1 hour if no key is pressed. Alarm will stop automatically and restart at the same alarm set time on next day.
STOP THE ALARM
Press power button (14) to stop the current alarm and to cancel the snooze function as well.
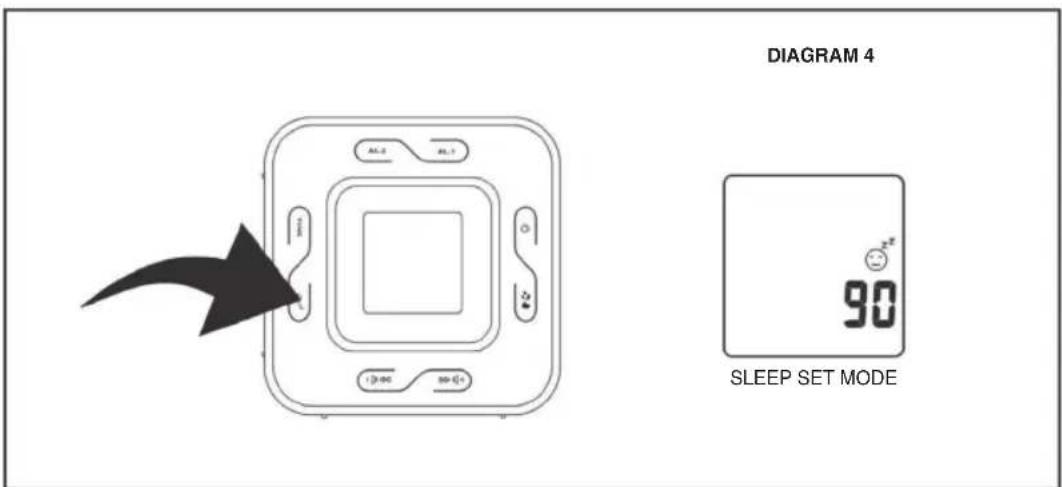
To Activate the sleep function
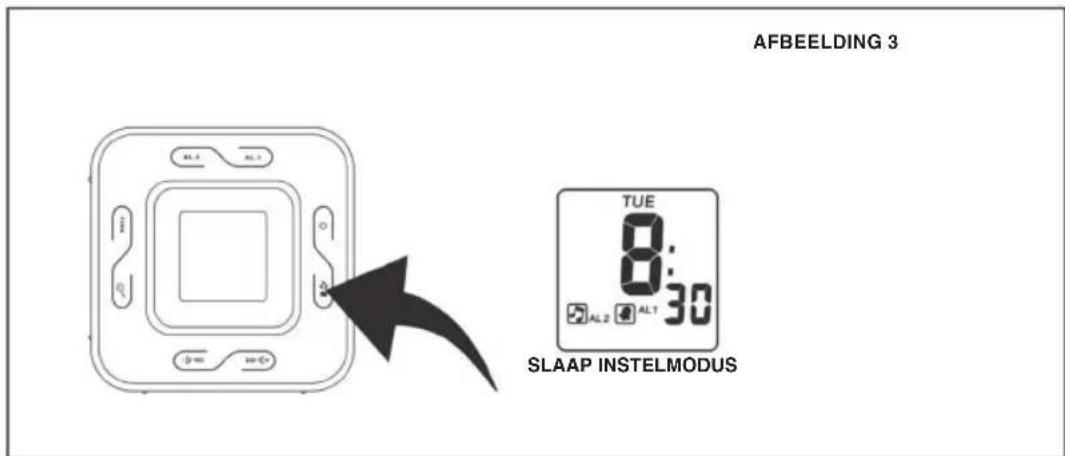
When the radio is on press snooze/sleep button (16), sleep '90' show on display with 2 minutes decrease sleep timer 90 minute-off by press snooze/sleep button (16) each. (Diagram 4)
NOTE: Press power on/off button (14) to off sleep function.
Snoopze function :
- Press snooze / sleep button (16) to activate snooze function (bell alarm or radio alarm will stop) when alarming.
- Snooze interval is 9 minutes.
WORKING WITH AUDIO SOURCE
- Use connective wire to join the audio source and the main unit together.
- Adjust volume of the audio source in order to get a better amplifying effect.
REMARK : DO NOT set the audio source to too high volume to avoid overloading. The output sound of the main unit will be eliminated and replaced once the 'AUDIO IN' JACK (15) has connected to other audio source. The sound will resume once the connective wire is removed from the jack.
If 'audio in' function is in use and broadcasting music, the alarm sound will insert into the music at the pre-set wake up time. To stop the sound, simply press the power on/off alarm off button (14).
RADIO OPERATION
- Press the power on/off button (14) to turn radio on.
- Select AM or FM band using the wave band switch (2).
- Select the station using the tuning control (8).
- Press the volume control button (3)/(4) to adjust volume as required.
- Press the power on/off button (14) to turn radio off.
Note :
- The AM band use an internal directional aerial. Rotate the radio for best reception.
- Ensure that the FM cord antenna (7) is completely unrolled and extended for best FM reception.
RESET
- The reset button (17) is located on the bottom of unit. Use a ballpoint pen to press it whenever you change the batteries, or unit is not performing as expected. This will return all settings to default value, and you will lose any stored data (alarm and clock settings).
SPECIFICATIONS
Frequency range: AM 540 - 1600 KHz
FM 88-108 MHz
Output Power: 280 mW
Speaker impedance: 8 Ohm
Battery backup: 1 x CR2032, 3V Flat Lithium (battery not included)
Dimensions: 105 × 48 ~mm
Power source: AC 230 V ~ 50 Hz, 5 W
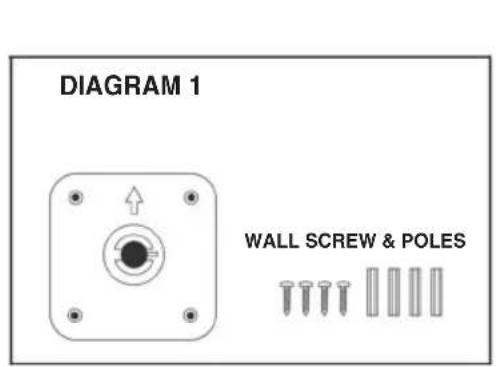
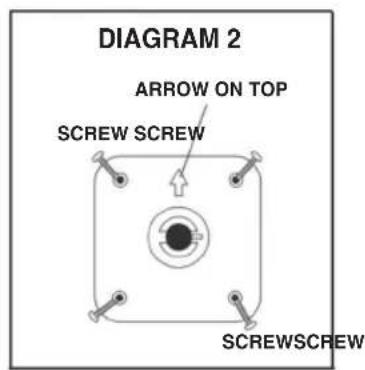
- Determine the wall position for the clock radio.
- Hang the wall bracket by fixing 4 screws and poles tightly on wall (Diagram 2)
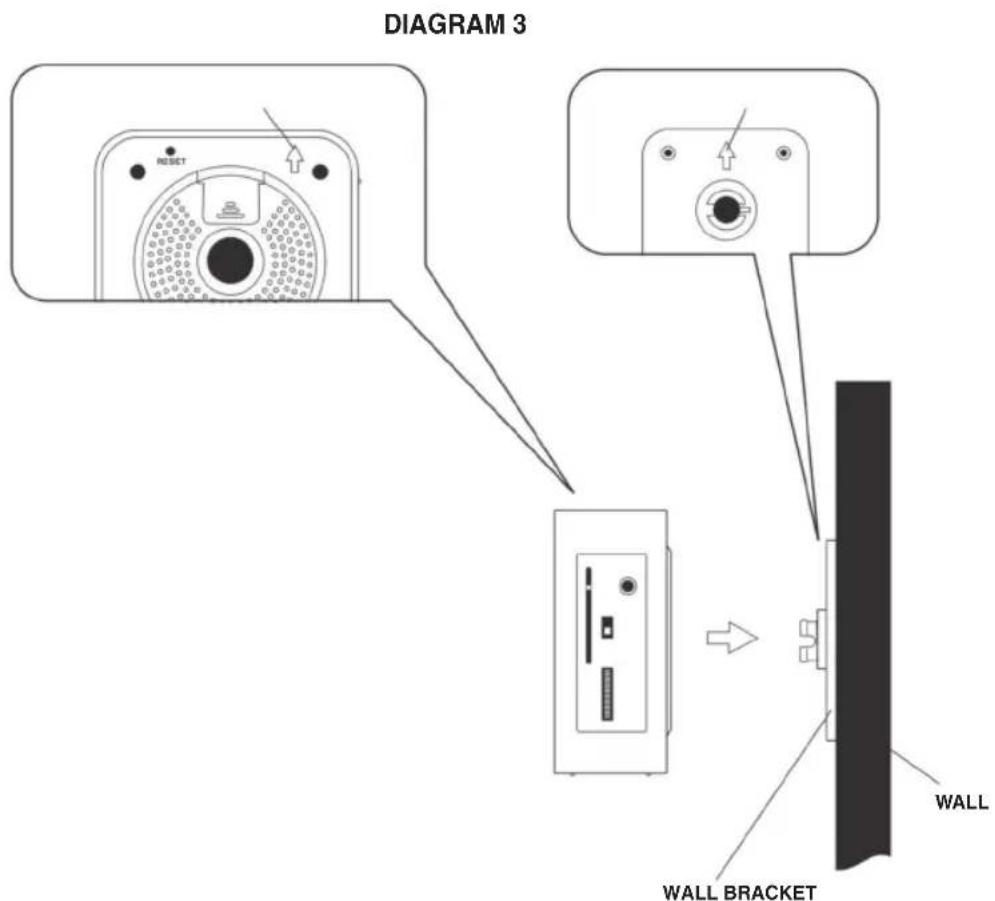
- Put the unit on the bracket and make sure the AC cord and FM antenna is separately outside of bracket.
- Tighten the bracket screw into the bottom of unit (Diagram 3).
- Re-check again the wall bracket and unit is strongly hanging on the wall.
Declaration of conformity
We,
Nedis B.V.
De Tweeling 28
Declare that product:
Name: KONIG
Model: HAV-CR70
Description: Clock radio
Is in conformity with the following standards
EMC: EN55013:2001 + A1:2003
EN55020:2002 + A1:2003 + A2:2005
EN61000-3-2:2000 + A2:2005
EN61000-3-3:1995
LVD: EN60065:2002
+
A1:2001
Following the provisions of the 89/336/EEC AND 73/23/EEC directive.
's-Hertogenbosch, 2008, April 02

Mrs.J.Gilad
Purchase Director
Safety precautions:

CAUTION
RISK OF ELECTRIC SHOCK DO NOT OPEN

To reduce risk of electric shock, this product should ONLY be opened by an authorized technician when service is required. Disconnect the product from mains and other
equipment if a problem should occur. Do not expose the product to water or moisture.
Maintenance:
Clean only with a dry cloth. Do not use cleaning solvents or abrasives.
Warranty:
No guarantee or liability can be accepted for any changes and modifi cations of the product or damage caused due to incorrect use of this product.
General:
Designs and specific cations are subject to change without notice.
All logos brands and product names are trademarks or registered trademarks of their respective holders and are hereby recognized as such.

Attention:
This product is marked with this symbol. It means that used electrical and electronic products should not be mixed with general household waste. There is a separate collections system for these products.
Copyright ©

DEUTSCH
BEDIENANWEISUNGEN
's-Hertogenbosch, 2. April 02

J. Gilad
Leiterin Einkauf
FONCTIONNEMENT AVEC UNE SOURCE AUDIO
WEEKEND ALARM 1 INSTELMODUS (MA - ZO)
WEEKEND ALARM 1 INSTELMODUS (MA - VR)
WEEKEND ALARM 1 INSTELMODUS (ZA-ZO)
ALARM2 INSTELMODUS
ALARM 2 INSTELLLEN
WEEKEND ALARM 2 INSTELMODUS (MA - ZO)
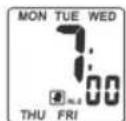
WEEKEND ALARM 2 INSTELMODUS (MA - VR)
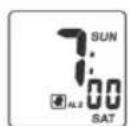
WEEKEND ALARM 2 INSTELMODUS (ZA-ZO)
Conform directivei 89/336/EEG si directivei 73/23/EG.
's-Hertogenbosch, 2 aprilie 2008

J. Gilad
Director achizitii