
MSM88190 - Blender BOSCH - Free user manual and instructions
Find the device manual for free MSM88190 BOSCH in PDF.
| Product type | Immersion blender with accessories |
| Brand | Bosch |
| Model | MSM88190 |
| Power supply | Mains, 220-240 V, 50/60 Hz |
| Power | 750 W (estimated) |
| Speeds | Variable + Turbo |
| Main functions | Blending, grinding, whisking, kneading, chopping, grating, crushing ice |
| Included accessories | Universal grinder L/XL, whisk with reduction gear attachment, multipurpose accessory (bowl, dough hook, universal blade, support disc, coarse/fine cutting inserts, medium/coarse grating inserts, lid, pusher) |
| Blade material | Stainless steel |
| Multipurpose bowl capacity | Not specified, estimated 1 L |
| Cable length | Not specified, estimated 1.2 m |
| Weight | Not specified, estimated 1.5 kg |
| Care and cleaning | Blades, bowl, lid, whisk, discs and inserts are dishwasher safe. The upper part of the grinder, reduction gear attachment and multipurpose lid are hand wash only (wipe with damp cloth). |
| Safety | Sharp blades: never touch blades with bare hands, use a brush. Do not immerse certain parts in water. Do not use without lid. Do not process very hot milk without precautions. |
| Spare parts and repairability | Spare parts available via after-sales service (XL grinder ref. 753122, whisk ref. 753124) |
| Warranty | 2 years (Bosch standard) |
Frequently Asked Questions - MSM88190 BOSCH
User questions about MSM88190 BOSCH
0 question about this device. Answer the ones you know or ask your own.
Ask a new question about this device
Download the instructions for your Blender in PDF format for free! Find your manual MSM88190 - BOSCH and take your electronic device back in hand. On this page are published all the documents necessary for the use of your device. MSM88190 by BOSCH.
USER MANUAL MSM88190 BOSCH
This accessory is designed for the hand blender MSM8...
Follow the operating instructions for the hand blender.
The accessories are suitable only for the use described in these instructions.

Safety instructions for this appliance
Risk of injury from sharp blades/rotating drive!
Never grip the blade in the universal cutter.
Take hold of the universal cutter blade by the plastic handle only.
Never clean the blades with bare hands. Use a brush.
Risk of injury from sharp blades/rotating drive!
Exercise particular caution when handling the attachments!
Note shape and location of the insert when inserting it into the carrier disc.
Take hold of carrier disc by the designated recessed grips only.
Do not place fingers in the feed tube. Only use the pusher when adding more ingredients.
When working with the multifunction accessory, the base unit may be switched on only when the lid has been attached and screwed on tight.
Grip the universal blade by the edge of the plastic handle only.
Do not touch blade with bare hands. Clean them with a brush.
Risk of scalding!
When processing hot milk, use a tall, narrow receptacle for blending.
Hot milk may splash and scald you.
Important!
Do not attach or remove accessories until the base unit is at a standstill.
Never work with the hand blender/blender foot in the universal cutter or in the bowl of the multifunction accessory.
The universal cutter and the bowl of the multifunction accessory are not microwave-safe.
Never immerse the attachment of the universal cutter in liquids and do not clean under flowing water or in the dishwasher.
Never immerse the lid of the multifunction accessory in liquids and do not wash in the dish washer. Never insert the whisk into the base unit without the gear attachment.
Never immerse the gear attachment in liquids and do not clean under flowing water or in the dishwasher.

Explanation of the symbols on the appliance or accessory

Caution! Rotating tools.
Do not place fingers in the feed tube.
Before use, read these instructions carefully in order to become familiar with important safety and operating instructions for this appliance. Please keep the operating instructions in a safe place.
If passing on the appliance to a third party, always include the operating instructions.
Universal cutter L
Please fold out the illustrated pages.
Fig. A
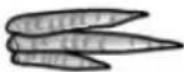
1 Universal cutter L/XL
2 B I a d e
3 Attachment
4 Ice-crusher-blade (for size L only)
5 Lid
With the universal cutter XL use the appliance at full power when preparing honey spread (for the recipe, see separate Instructions for Use for this accessory).
A universal cutter can be ordered from customer service (order no. 753122).
Operation
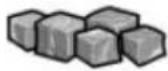
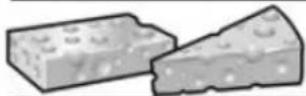
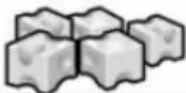
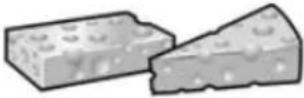
The universal cutter is suitable for cutting meat, hard cheese, onions, herbs, garlic, fruit, vegetables, nuts, almonds.
Always observe the maximum quantities and processing times in the table (Fig. C).
You can crush ice with the ice crusher blade. Optimum processing quantity: 4–6 ice cubes.

The blade is sharp and can cause injury!
Never grip the blade in the universal cutter. Take hold of the universal cutter blade by the plastic handle only. Do not touch blade with bare hands. Clean them with a brush.
Warning!
The universal cutter must be completely assembled before use.
Caution!
Before cutting meat, remove gristle, bones and sinews. The universal cutter is not suitable for cutting very hard items (coffee beans, radishes, nutmeg) and frozen food (fruit, etc.).
Fig. B
- Place the universal cutter on a smooth, clean work surface and press.
- Insert the blade.
- Add food.
Warning!
Blade must sit straight in the universal cutter so that the attachment sits correctly (Fig. B-3).
- Place the attachment on the universal cutter and rotate in a clockwise direction until it "clicks" into position.
- Place the base unit on the attachment and lock into position.
- Insert the mains plug.
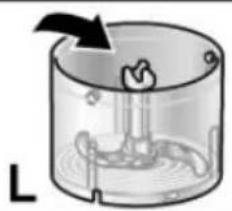
- Hold the base unit and universal cutter firmly and switch on the appliance (turbo speed).
- Release the On button after processing.
After using the appliance
- Remove mains plug.
- Press the release buttons and remove the base unit from the attachment.
- Rotate the attachment in an anti-clockwise direction and remove from the universal cutter.
● Take hold of the blade by the plastic handle and take out. - Place the lid on the universal cutter to keep in the processed ingredients.
Cleaning
Warning!
Never immerse the attachment of the universal cutter in liquids and do not clean under flowing water or in the dishwasher.
● Universal cutter, blade and lid are dishwasher-proof.
- Wipe the attachment with a damp cloth only.
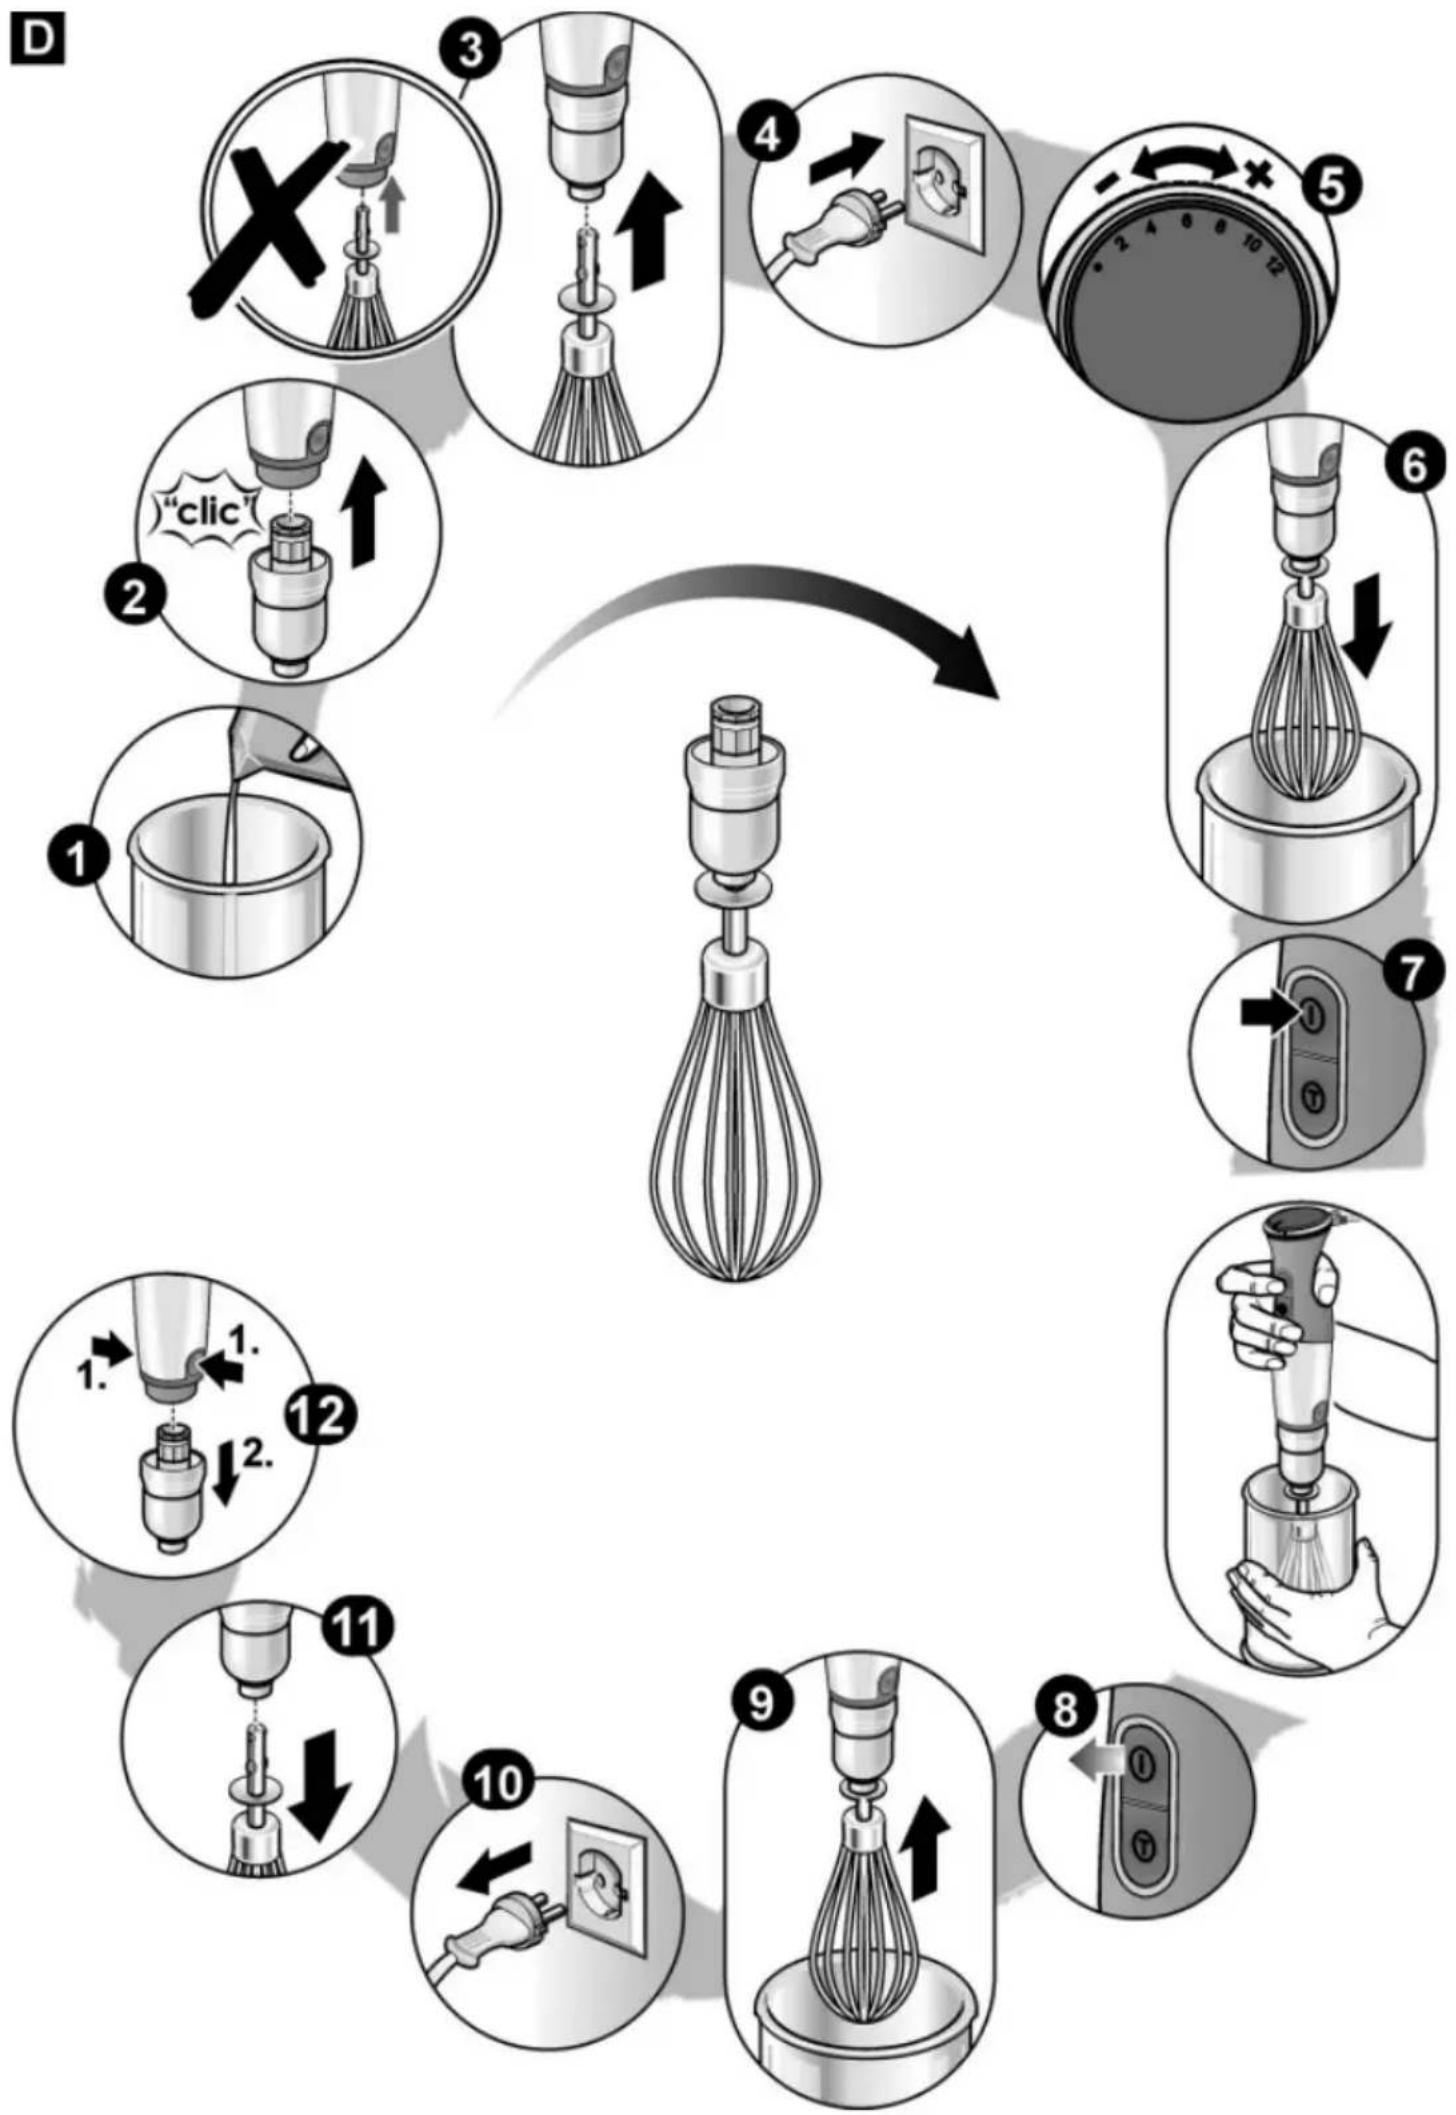
Whisk
Please fold out the illustrated pages.
Fig. A
6 Gear attachment for whisk
7 W h i s k
A whisk can be ordered from customer service (order no. 753124).
Operation
The whisk is suitable for whipping cream, beating egg whites and milk froth (from hot (max. 70 °C) and cold milk (max. 8 °C)) as well as for preparing sauces and desserts.

Risk of scalding!
When processing hot milk, use a tall, narrow receptacle for blending. Hot milk may splash and scald you.
Fig. D
- Put ingredients into the blender jug.
- Place the gear attachment on the base unit and lock into position.
- Insert the whisk into the gear attachment and lock into position.
Warning!
Never insert the whisk into the base unit without the gear attachment (Fig. D-3).
- Insert the mains plug.
- Set required speed using the speed control (recommendation: high speed).
● Grip base unit and blender jug and press required On button. - Release the On button after processing.
After using the appliance
- Remove mains plug.
- Press the release buttons and remove the base unit from the gear attachment.
- Remove the whisk from the gear attachment.
Cleaning
Warning!
Never immerse the gear attachment in liquids and do not clean under flowing water or in the dishwasher.
- The whisk can be cleaned in the dishwasher.
- Wipe the gear attachment with a damp cloth only.
Multifunction accessory
Please fold out the illustrated pages.
Fig. A
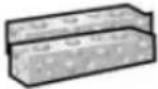
8 Bowl
9 Kneading hook
10 Universal blade
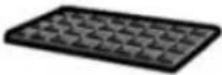
11 Carrier disc for disc inserts
12 Disc inserts
a) Slicing attachment – coarse
b) Slicing attachment – fine
c) Shredding insert – medium
d) Grating disc insert – coarse
13 Lid with gears
14 Pusher
Operation
The multifunction accessory is suitable for kneading, cutting and shredding food. Always observe the maximum quantities and processing times in the table (Fig. H).

Risk of injury from sharp blades/rotating drive!
While the appliance is operating, never place fingers in the mixing bowl.
Always use the pusher for adding ingredients. After switching off, the drive continues running for a short time.
Change tools only when the drive is at a standstill.
When working with the multifunction accessory, the base unit may be switched on only when the lid has been attached and screwed on tight.
Warning!
Multifunction accessory must be completely assembled before use!
Caution!
Before cutting meat, remove gristle, bones and sinews.
The multifunction accessory is not suitable for cutting very hard food (coffee beans, radishes, nutmeg) and frozen food (fruit, etc.).
Kneading hook/universal blade
Kneading hook for kneading small amounts of dough
Universal cutter for cutting meat, hard cheese, onions, herbs, garlic, fruit, vegetables, nuts, almonds.
Always observe the maximum quantities and processing times in the table (Fig. H).

The blade is sharp and can cause injury!
Never grip the blades of the universal blade.
Take hold of the universal blade by the plastic handle only. Do not touch blade with bare hands. Clean them with a brush.
Fig. E
- Place bowl on a smooth and clean work surface.
- Insert blade/kneading hook.
- Add food.
Warning!
Blade/kneading hook must be upright in the bowl so that the lid fits correctly (Fig. E-3).
- Place lid on the bowl and turn all the way anti-clockwise.
If there are larger quantities of ingredients in the bowl, it may take a little more effort to attach the lid. If required, turn the three-winged coupling on the underside of the lid into the correct position. - Place the base unit on the attachment and lock into position.
- Insert pusher.
- Insert the mains plug.
- Hold the base unit and universal cutter firmly and switch on the appliance (turbo speed).
- To add more ingredients, release the On button. Wait until the tool comes to a standstill.
- Remove the pusher and add ingredients through the feed tube.
● Release the On button after processing.
Carrier disc with disc inserts
Slicing attachment – coarse
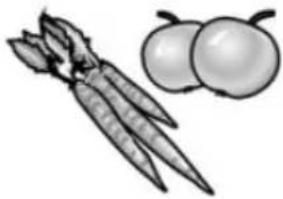
Set speed control to low speed for cutting: cucumbers, carrots, potatoes.
Slicing attachment – fine
Set speed control to low speed for cutting: cucumbers, carrots, beetroot, zucchini.
Shredding insert – medium
Set speed control to high speed for shredding: apples, carrots, cheese, cabbage.
Grating disc insert – coarse
Set speed control to high speed for grating: potatoes for dumplings, potato pancakes; fruit and vegetables for raw vegetable salad.
Always observe the maximum quantities and processing times in the table (Fig. H).

The blade is sharp and can cause injury!
Exercise particular caution when handling the attachments! Note shape and location of the insert when inserting it into the carrier disc. Take hold of carrier disc by the designated recessed grips only. Do not place fingers in the feed tube. Only use the pusher when adding more ingredients.
Caution!
The disc inserts must not be used for cutting very hard foods (Parmesan cheese, chocolate).
The disc inserts are only partly suitable for processing fibrous foods (leek, celery, rhubarb).
Fig. F
- Place bowl on a smooth and clean work surface.
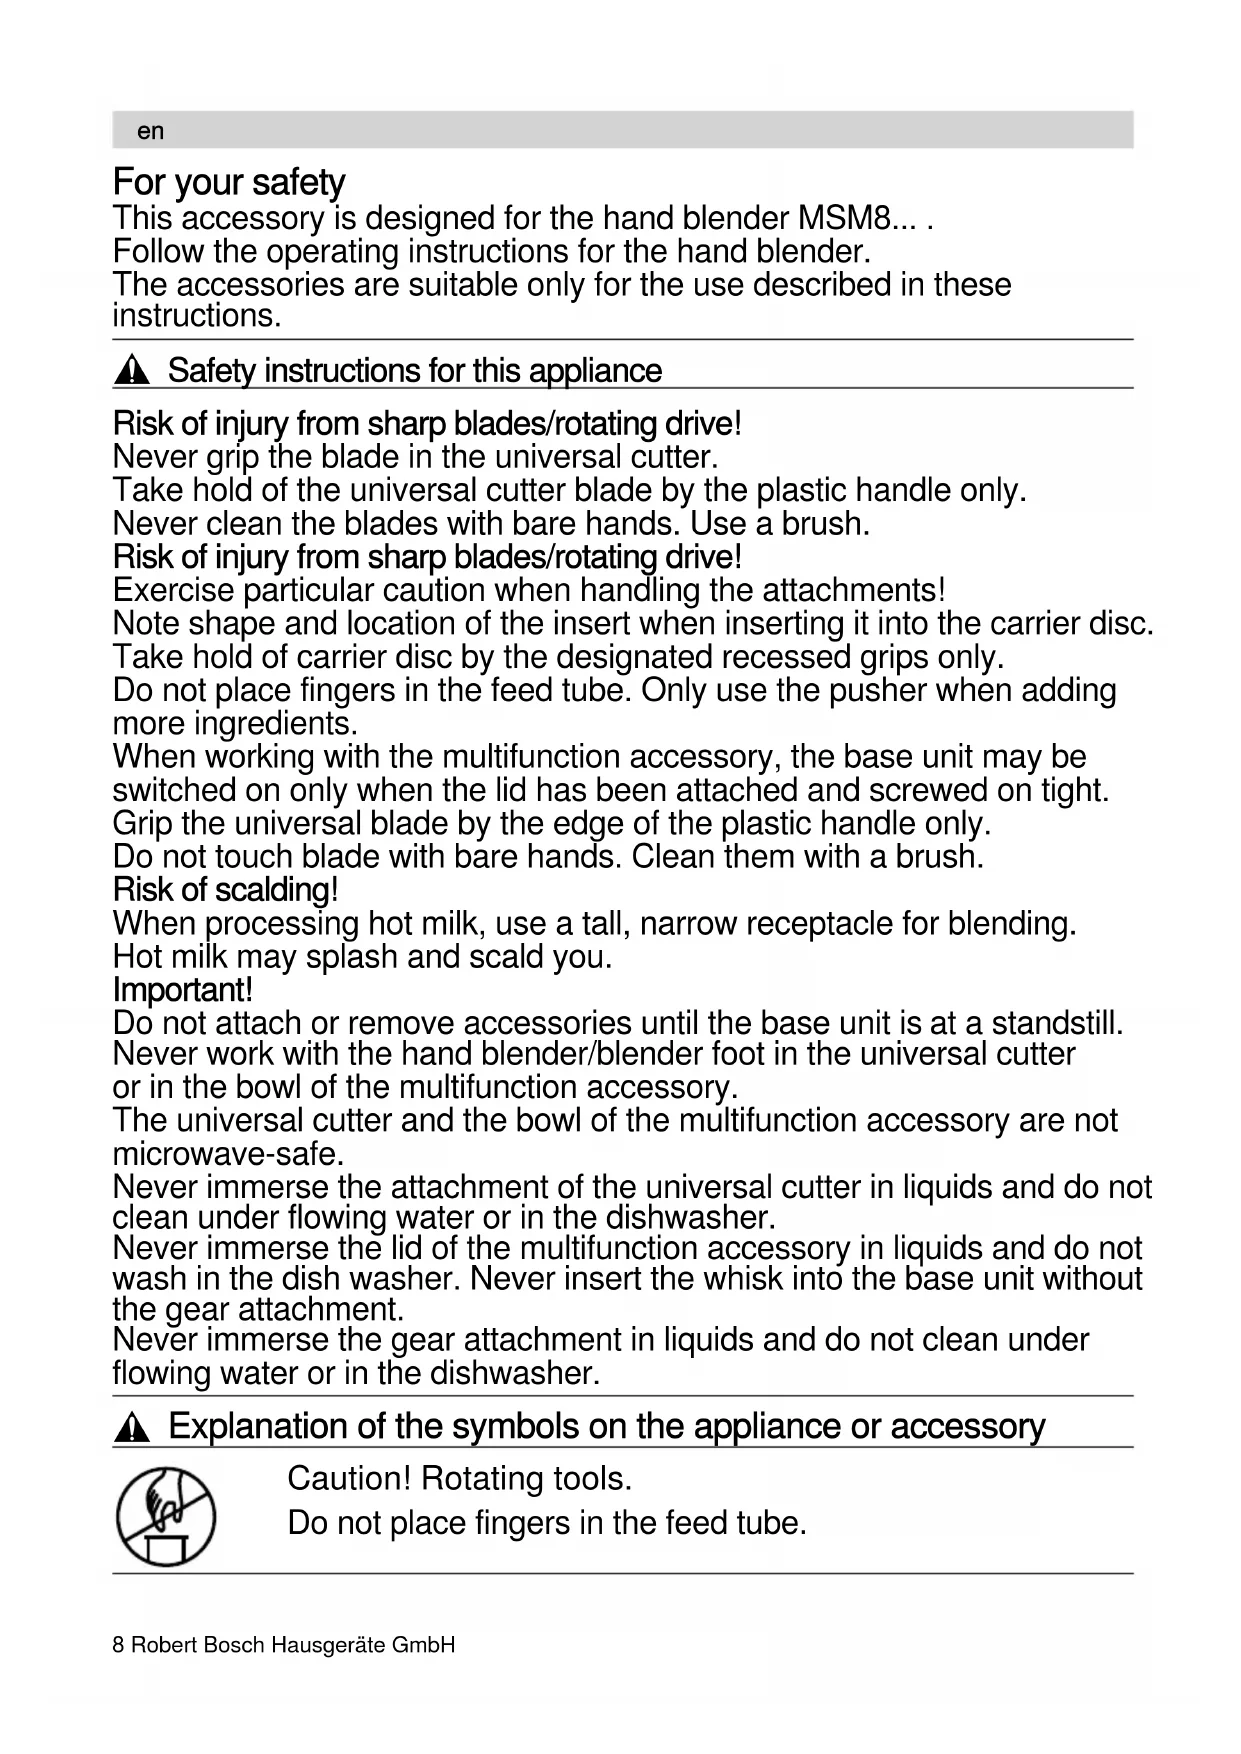
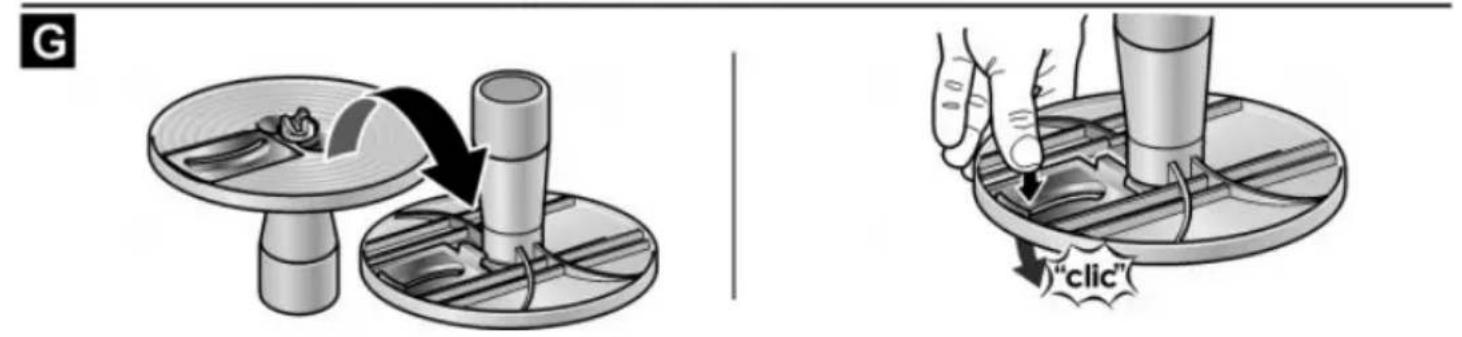
- Insert the required insert into the carrier disc. Note the form and the location (Fig. F-1)!
● Take hold of carrier disc by the recessed grips and insert into the bowl. - Place lid on the bowl and turn all the way anti-clockwise.
- Place the base unit on the attachment and lock into position.
- Insert the mains plug.
- Set the required speed with the speed control.
- Hold base unit and multifunction accessory firmly and switch appliance on.
- Put ingredients to be cut or shredded through the feed tube.
- When adding contents which are to be sliced or shredded, apply only light pressure to the pusher.
Warning!
Empty the bowl before it becomes so full that the cutting or grating contents reach the carrier disc.
- Release the On button after processing.
After using the appliance
- Remove mains plug.
- Press the release buttons and remove the base unit from the attachment.
- Turn lid clockwise and remove from the bowl.
● Take hold of universal blade/kneading hook by the plastic handle and take out
or
● Grip the carrier disc by the recessed grips and lift out of the bowl. - Turn the carrier disc over and carefully press out the insert from the underside (Fig. ①).
Cleaning
Warning!
Never immerse the lid of the multifunction accessory in liquids and do not wash in the dish washer.
- Wipe lid with a damp cloth only or rinse briefly under running water.
- Bowl, universal blade, kneading hook, carrier discs and disc inserts are dishwasher-proof.
- Do not wedge plastic parts in the dishwasher as they could warp.
If processing e.g. red cabbage or carrots, the plastic parts will become discoloured by a red film which can be removed with a few drops of cooking oil.
Application example
Bread dough
Basic recipe:
250 g flour
125 ml water
7 g sugar
7 g margarine
0.5 g yeast
4 g salt
Tools: Bowl and kneading hook of the multifunction accessory
- Put all ingredients in the bowl except the water.
● Mix ingredients at turbo speed.
● After several seconds pour the water through the feed tube. - Process everything at turbo speed. Our recommendation: 30 seconds switch-on time Maximum switch-on time: 60 seconds
Maximum quantity: 1 x basic recipe
Note: You can make maximum 2x the amount of the basic recipe in succession.
Short pastry
Basic recipe:
250 g flour
125 g margarine or butter (room temperature)
125 g sugar
1 egg
12 packet of baking powder
1 packet of vanilla sugar
1 pinch of salt
Tools: Bowl and kneading hook of the multifunction accessory
- Put all ingredients in the bowl.
- Mix ingredients at turbo speed.
- Leave pastry dough to stand in a cool environment.
Process further if required.
Maximum quantity: 1 x basic recipe
Pour votre sécurité
Optimal mengde for bearbeiding: 4–6 isbiter.

a) Skjære-innsats – grov
b) Skjære-innsats – fin
c) Raspe-innsats – middels
d) Riveskive-innsats – grov
13 Lokk med drev
14 Støter
Betjening
Riveskive-innsats – grov
Thank you for buying a Bosch Home Appliance!
Register your new device on MyBosch now and profit directly from:
- Expert tips & tricks for your appliance
• Warranty extension options
• Discounts for accessories & spare-parts
• Digital manual and all appliance data at hand - Easy access to Bosch Home Appliances Service
Free and easy registration – also on mobile phones:
www.bosch-home.com/welcome
BOSCH HOME APPLIANCES SERVICE
Looking for help? You'll find it here.
Expert advice for your Bosch home appliances, need help with problems or a repair from Bosch experts.
Find out everything about the many ways Bosch can support you:
www.bosch-home.com/service
Contact data of all countries are listed in the attached service directory.
B

flowchart
graph TD
    A["Step 1: Cutting in kitchen bowl"] --> B["Step 2: Stacking granules"]
    B --> C["Step 3: Stacking condensate"]
    C --> D["Step 4: Click funnel"]
    D --> E["Step 5: Hand holding a fan or plate"]
    E --> F["Step 6: Opening door"]
    F --> G["Step 7: Process hand holding a brush and pen"]
    G --> H["Step 8: Insert air outlet into sink"]
    H --> I["Step 9: Cover and press"]
    I --> J["Step 10: Stacking condensate"]
    J --> K["Step 11: Stacking container with ice cream"]
 |  |  | ||
 |  | |||
 |    | 100 g | 10–20 s | |
 |    | 150 g | 5 s | |
 |   | 100 g | 10 s | |
 |   | 15 g | 20–30 s | |
 |   |  | 15 s | |
 |   | 100 g | 15 s | |
 |   |  |  | |
 |   |  |  | |
flowchart
graph TD
    A["Step 1: Brush Application"] --> B["Step 2: Clicking"]
    B --> C["Step 3: Clip Toward Brush"]
    C --> D["Step 4: Handheld Paper"]
    D --> E["Step 5: Screen with Clock"]
    E --> F["Step 6: Brush Washing"]
    F --> G["Step 7: Display with Buffer"]
    G --> H["Step 8: Handheld Dish"]
    H --> I["Step 9: Brush Stammer"]
    I --> J["Step 10: Handheld Paper & Computer"]
    J --> K["Step 11: Brush Finishing"]
    K --> L["Step 12: Capture and Inspection"]
    L --> M["Step 13: Finish and Replace"]
    M --> N["Step 14: Check for Inspection"]
    N --> O["Step 15: Finish and Replace"]
E
flowchart
graph TD
    A["1. Click"] --> B["2. Freeze or mixed mixture"]
    B --> C["3. Stabilizer with granular contents"]
    C --> D["4. Top-down brush, click action"]
    D --> E["5. Top-down brush, power switch"]
    E --> F["6. Plug into electrical outlet"]
    F --> G["7. Switch switch"]
    G --> H["8. Presser holding device"]
    H --> I["9. Insert plug into electrical outlet"]
    I --> J["10. Cover in kitchen with plug"]
    J --> K["11. Stabilizer with plug, presser"]
    K --> L["12. Flush or mixed brush, presser"]
flowchart
graph TD
    A["1. Hand press"] --> B["2. Cover cup"]
    B --> C["3. Washer press"]
    C --> D["4. Clipper press"]
    D --> E["5. Stamped brush"]
    E --> F["6. Washer press with a magnifying glass"]
    F --> G["7. Cut into screen"]
    G --> H["8. Outlet switch"]
    H --> I["9. Screen with scroll"]
    I --> J["10. Washer press with a power outlet"]
    J --> K["11. Top-down press"]
    K --> L["12. Top-down press with brush"]
    L --> M["13. Top-down press with brush"]
    M --> N["14. Top-down press with brush"]
    N --> O["15. Top-down press with brush"]
    O --> P["16. Top-down press with brush"]
    P --> Q["17. Top-down press with brush"]
    Q --> R["18. Top-down press with brush"]
| H |  |  |  | 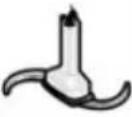 |  |  |  | |
 |  |  | 500 g | 30 s | √ | |||
 | ||||||||
 |  |  | 500 g | 30 s | √ | |||
 | ||||||||
 |  |  | 500 g | √ | ||||
 |  |  | 350 g | 10xT |  | |||
 |  |  | 20 g | 40 s |  | |||
 |  | [GBWC] |  | 10 s |  | |||
 |  |  | 500 g |  |  | |||
 |  |  | 500 g | √ |  | |||
 |  |  | 400 g |  | ||||
 |  |  | 500 g | 40 s |  | |||
 | 500 g |  |  | |||||
 | 500 g |  |  | |||||
 |  |  | 100 g | 60 s |  | |||
