JR1000FT - Reciprocating saw MAKITA - Free user manual and instructions
Find the device manual for free JR1000FT MAKITA in PDF.
| Brand | Makita |
| Model | JR1000FT |
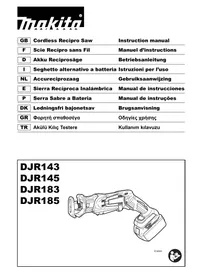
| Product type | Sabre saw (reciprocating saw) |
| Stroke length | 14 mm |
| Max. cutting capacity (pipe) | 25.4 mm |
| Max. cutting capacity (wood) | 55 mm |
| Variable speed (strokes per minute) | 0 to 4,800 min⁻¹ |
| Overall length | 345 mm |
| Net weight | 1.5 kg |
| Power supply | Single-phase, double insulation (Class II) |
| Rated voltage | According to rating plate (230 V typical) |
| Blade type | Reciprocating blade type B |
| Speed adjustment | Adjustment dial (0-4,800 min⁻¹) |
| Adjustable shoe | Yes, sliding forward/backward |
| Work light | Yes, turns on with the switch |
| Sound pressure level | 82 dB(A) |
| Vibration level | 5 m/s² (weighted quadratic value) |
| Included accessories | Reciprocating saw blade (type B), hex wrench 3, plastic carry case |
| Maintenance and cleaning | Disconnect before maintenance; clean blade and collet; use a dry cloth for the lamp; repairs by Makita authorized center |
| Safety | Wear safety glasses, gloves, dust mask; do not cut nails; hold firmly; do not touch blade after cutting |
| Spare parts and repairability | Makita replacement parts available in authorized service centers |
Frequently Asked Questions - JR1000FT MAKITA
User questions about JR1000FT MAKITA
0 question about this device. Answer the ones you know or ask your own.
Ask a new question about this device
Download the instructions for your Reciprocating saw in PDF format for free! Find your manual JR1000FT - MAKITA and take your electronic device back in hand. On this page are published all the documents necessary for the use of your device. JR1000FT by MAKITA.
USER MANUAL JR1000FT MAKITA
The following show the symbols used for the tool. Be sure that you understand their meaning before use.
Symboles
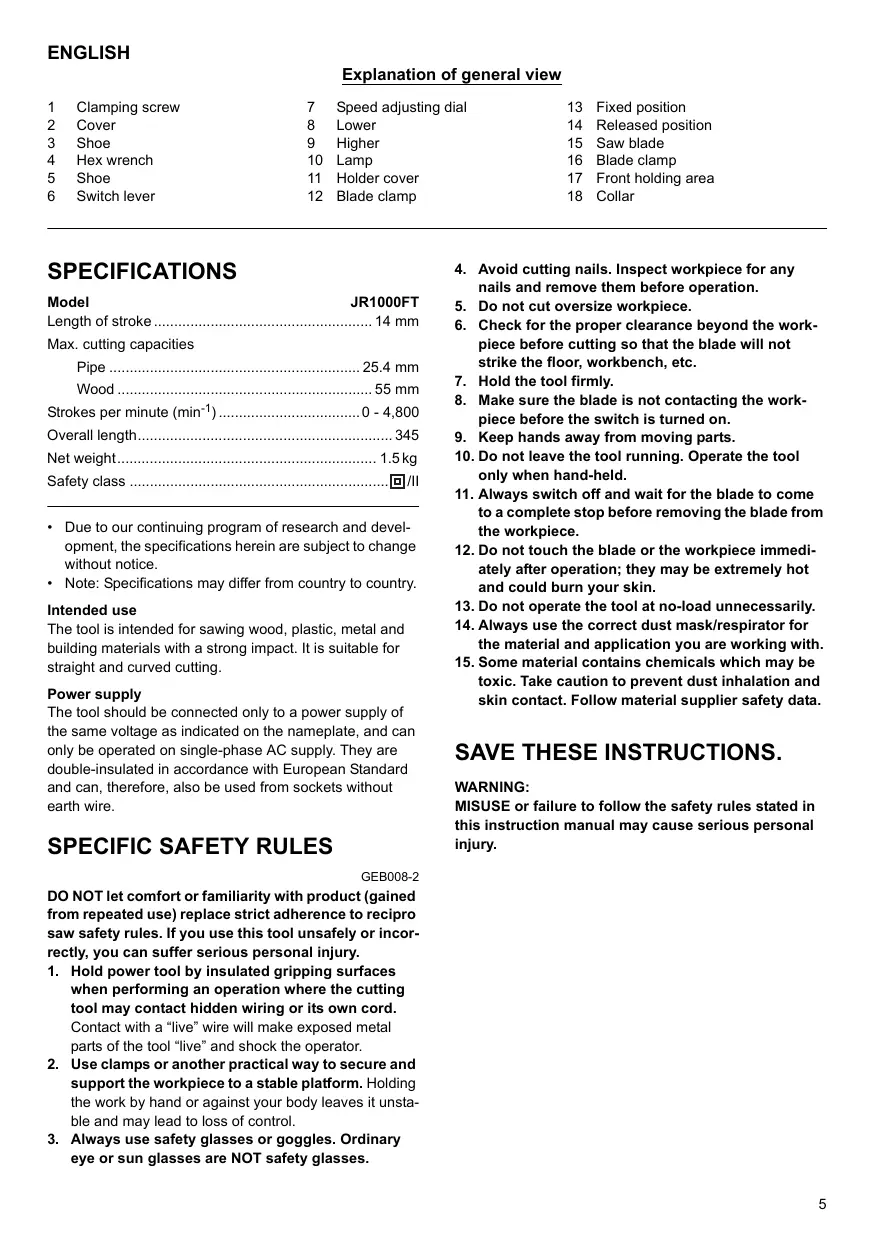
Explanation of general view
1 Clamping screw
7 Speed adjusting dial
13 Fixed position
2 Cover
8 Lower
14 Released position
3 Shoe
9 Higher
15 Saw blade
4 Hex wrench
10 Lamp
16 Blade clamp
5 Shoe
11 Holder cover
17 Front holding area
6 Switch lever
12 Blade clamp
18 Collar
SPECIFICATIONS
Model JR1000FT
Length of stroke 14 mm
Max. cutting capacities
Pipe 25.4 mm
Wood 55 mm
Strokes per minute (min^-1) 0-4,800
Overall length 345
Net weight. 1.5kg
Safety class.
- Due to our continuing program of research and development, the specifications herein are subject to change without notice.
Note: Specifications may differ from country to country.
Intended use
The tool is intended for sawing wood, plastic, metal and building materials with a strong impact. It is suitable for straight and curved cutting.
Power supply
The tool should be connected only to a power supply of the same voltage as indicated on the nameplate, and can only be operated on single-phase AC supply. They are double-insulated in accordance with European Standard and can, therefore, also be used from sockets without earth wire.
SPECIFIC SAFETY RULES
GEB008-2
DO NOT let comfort or familiarity with product (gained from repeated use) replace strict adherence to reciproc saw safety rules. If you use this tool unsafely or incorrectly, you can suffer serious personal injury.
- Hold power tool by insulated gripping surfaces when performing an operation where the cutting tool may contact hidden wiring or its own cord. Contact with a "live" wire will make exposed metal parts of the tool "live" and shock the operator.
- Use clamps or another practical way to secure and support the workpiece to a stable platform. Holding the work by hand or against your body leaves it unstable and may lead to loss of control.
-
Always use safety glasses or goggles. Ordinary eye or sun glasses are NOT safety glasses.
-
Avoid cutting nails. Inspect workpiece for any nails and remove them before operation.
- Do not cut oversize workpiece.
- Check for the proper clearance beyond the workpiece before cutting so that the blade will not strike the floor, workbench, etc.
- Hold the tool firmly.
- Make sure the blade is not contacting the workpiece before the switch is turned on.
- Keep hands away from moving parts.
- Do not leave the tool running. Operate the tool only when hand-held.
- Always switch off and wait for the blade to come to a complete stop before removing the blade from the workpiece.
- Do not touch the blade or the workpiece immediately after operation; they may be extremely hot and could burn your skin.
- Do not operate the tool at no-load unnecessarily.
- Always use the correct dust mask/respirator for the material and application you are working with.
- Some material contains chemicals which may be toxic. Take caution to prevent dust inhalation and skin contact. Follow material supplier safety data.
SAVE THESE INSTRUCTIONS.
WARNING:
MISUSE or failure to follow the safety rules stated in this instruction manual may cause serious personal injury.
FUNCTIONAL DESCRIPTION
CAUTION:
- Always be sure that the tool is switched off and unplugged before adjusting or checking function on the tool.
Adjusting the shoe (Fig. 1 & 2)
CAUTION:
- Secure the shoe firmly after reposition the shoe.
When the blade loses its cutting efficiency in one place along its cutting edge, reposition the shoe to utilize a sharp, unused portion of its cutting edge. This will help to lengthen the life of the blade.
To reposition the shoe, peel off the cover and loosen the clamping screw with the hex wrench as shown in the figure.
Slide the shoe forward or back to the desired position, then tighten the clamping screw to firmly secure the shoe. (Fig. 3)
Switch action (Fig. 4)
CAUTION:
- Before plugging in the tool, always check to see that the switch lever actuates properly and returns to the "OFF" position when released.
To start the tool, simply pull the switch lever. Tool speed is increased by increasing pressure on the switch lever. Release the switch lever to stop.
Speed adjusting dial (Fig. 5)
The maximum strokes per minute with the switch lever being fully depressed can be adjusted just by turning the speed adjusting dial.
Turn the speed adjusting dial clockwise for higher speed, and counterclockwise for lower speed.
Lighting up the lamps (Fig. 6)
CAUTION:
- Do not look in the light or see the source of light directly.
To turn on the lamp, pull the switch lever. Release the switch lever to turn it off.
NOTE:
- Use a dry cloth to wipe the dirt off the lens of lamp. Be careful not to scratch the lens of lamp, or it may lower the illumination.
- Do not use thinner or gasoline to clean the lamp. Such solvents may damage it.
ASSEMBLY
CAUTION:
Always be sure that the tool is switched off and unplugged before carrying out any work on the tool.
Installing or removing the saw blade
CAUTION:
- Always clean out all chips or foreign matter adhering to the blade and/or blade clamp. Failure to do so may cause insufficient tightening of the blade, resulting in a serious injury.
- Do not touch the blade or the workpiece immediately after operation; they may be extremely hot and could burn your skin.
- Tighten the saw blade securely. Failure to do so may cause a serious injury.
- When you remove the saw blade, be careful not to hurt your fingers with the top of the blade or the tips of workpiece.
- Use B type saw blade only. Never use other type blade. Failure to do so may cause a serious injury.
To install the saw blade, push the holder cover to rotate the blade clamp to the released position as shown in the figure. (Fig. 7)
Keeping that situation, insert the saw blade into the blade clamp as far as the two protrusions of the blade can not be seen. (Fig. 8)
Release the holder cover. The blade clamp will rotate to its fixed position to secure the blade.
After installing, always make sure that the blade is securely held in place by trying to pull it out. (Fig. 9)
To remove the blade, push the holder cover to rotate the blade clamp to the released position, then pull the saw blade out. (Fig. 10)
OPERATION (FIG. 11)
CAUTION:
- Always press the shoe firmly against the workpiece during operation. If the shoe is held away from the workpiece during operation, strong vibration and/or twisting will be produced, causing the blade to snap dangerously.
Always wear gloves to protect your hands from hot flying chips when cutting metal. - Be sure to always wear suitable eye protection which conforms with current national standards.
- Always use a suitable coolant (cutting oil) when cutting metal. Failure to do so will cause premature blade wear.
- Hold the tool firmly with one hand on front but never beyond the collar and the other on the rear housing as shown in the figure. Failure to do so will cause a serious injury.
Press the shoe firmly against the workpiece. Do not allow the tool to bounce. Bring the blade into light contact with the workpiece. First, make a pilot groove using a slower speed. Then use a faster speed to continue cutting. (Fig. 12)
MAINTENANCE
CAUTION:
- Always be sure that the tool is switched off and unplugged before attempting to perform inspection or maintenance.
To maintain product SAFETY and RELIABILITY, repairs, carbon brush inspection and replacement, any other maintenance or adjustment should be performed by Makita Authorized Service Centers, always using Makita replacement parts.
ACCESSORIES
CAUTION:
- These accessories or attachments are recommended for use with your Makita tool specified in this manual. The use of any other accessories or attachments might present a risk of injury to persons. Only use accessory or attachment for its stated purpose.
If you need any assistance for more details regarding these accessories, ask your local Makita service center.
Recipro saw blades (B type)
- Hex wrench 3
- Plastic carrying case
Descriptif
Acender as Iampadas (Fig. 6)
PRECAUÇAÑO:
EC-DECLARATION OF CONFORMITY
We declare under our sole responsibility that this product is in compliance with the following standards of standardized documents,
EN60745, EN55014, EN61000
in accordance with Council Directives, 73/23/EEC, 89/336/ EEC and 98/37/EC.
FRANÇAIS
Déclaration de CONFORMITE CE
Michigan Drive, Tongwell, Milton Keynes,
Bucks MK15 8JD, ENGLAND
Responsible manufacturer:
Fabricant responsible :
de acordo com as directivas 73/23/CEE, 89/336/CEE e 98/37/ CE do Conselho.
DANSK
EU-DEKLARATION OM KONFORMITET
Michigan Drive, Tongwell, Milton Keynes,
Bucks MK15 8JD, ENGLAND
Responsible manufacturer:
Fabricant responsible :
For European countries only
Noise and Vibration
The typical A-weighted sound pressure level is 82 dB (A).
The noise level under working may exceed 85 dB (A).
- Wear ear protection. -
The typical weighted root mean square acceleration value is 5m / s^2
These values have been obtained according to EN60745.
FRANÇAIS
Michigan Drive, Tongwell, Milton Keynes,
Bucks MK15 8JD, ENGLAND
Responsible manufacturer:
Fabricant responsible :