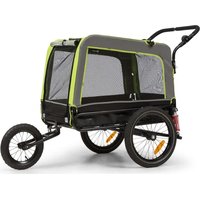
Husky Vario - Bike trailer Klarfit - Free user manual and instructions
Find the device manual for free Husky Vario Klarfit in PDF.


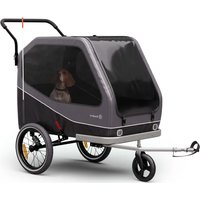
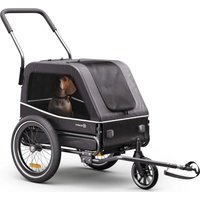
| Product type | Dog bike trailer and dog jogger |
| Brand | Klarfit |
| Model | Husky Vario |
| Dimensions (L x W x H) | 80 x 56 x 60 cm |
| Weight | 19.8 kg |
| Maximum authorized load | 40 kg |
| Maximum recommended speed | 16 km/h |
| Number of wheels | 2 |
| Wheel size | 20 inches (20" x 1.75) |
| Handbrake | Yes, with lever |
| Hitch type | Attachment to the bicycle rear wheel hub |
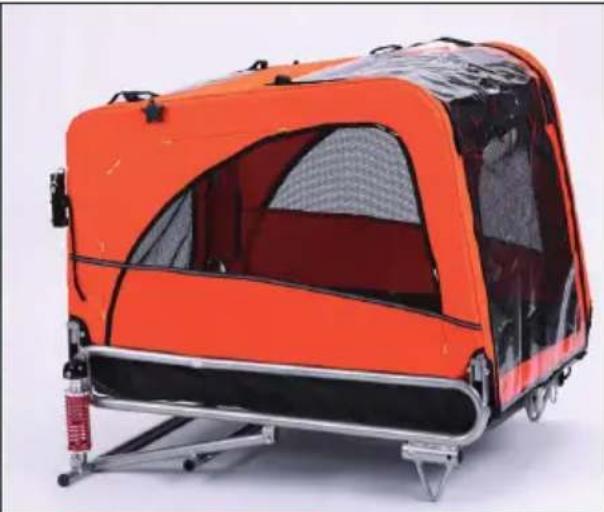
| Main functions | Transport of pets, jogger use (running stroller) |
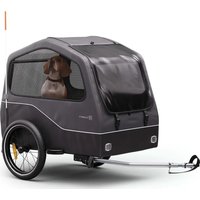
| Capacity | 1 medium to large dog |
| Main material | Steel and fabric (not precisely specified in the manual) |
| Power supply | None (mechanical accessory) |
| Maintenance and cleaning | Regularly check the fastenings and condition of parts; clean with a damp cloth |
| Safety | Wear a helmet, do not exceed 16 km/h, do not transport people, do not overload (max 40 kg), attach the animal with the safety line |
| Spare parts and repairability | Hitch, wheels, handbrake, jogger handle; repairs possible with common tools |
| General information | Manual available in French, German, English, Spanish, Italian, Dutch |
Frequently Asked Questions - Husky Vario Klarfit
User questions about Husky Vario Klarfit
0 question about this device. Answer the ones you know or ask your own.
Ask a new question about this device
Download the instructions for your Bike trailer in PDF format for free! Find your manual Husky Vario - Klarfit and take your electronic device back in hand. On this page are published all the documents necessary for the use of your device. Husky Vario by Klarfit.
USER MANUAL Husky Vario Klarfit
INHALTSVERZEICHNIS
Anbringen der Räder
Berlin Brands Group UK Limited
PO Box 42
272 Kensington High Street
London, W8 6ND
United Kingdom
Dear Customer,
Congratulations on purchasing this equipment. Please read this manual carefully and take care of the following hints to avoid damages. Any failure caused by ignoring the items and cautions mentioned in the instruction manual is not covered by our warranty and any liability. Scan the QR code to get access to the latest user manual and other information about the product.

CONTENT
Safety Instructions 14
Assembly 14
Attachment to Bicycle 18
Front Wheel and Handle Installation 18
Transport of Pets 20
Using the Handbrake 21
Manufacturer & Importer (UK) 22
TECHNICAL DATA
| Item number 10034172, 10034173, 10039888, 10039889, 10039890 |
| Weight 19,8 kg |
| Permissible load 40 kg |
| Recommended maximum speed 16 km/h |
| Wheels / dimensions 20" x 1.75 / 80x56x60 cm |
SAFETY INSTRUCTIONS
- The trailer must not be loaded with more than 40 kg.
• The recommended maximum speed is 16 km/h.
- The trailer must not be used to carry persons.
- Do not make any technical modifications to the equipment. This may result in road hazards and void the manufacturer's warranty.
• Always wear a helmet.
- Do not use the trailer on stony, uneven terrain or in dangerous traffic situations.
- The towing bicycle must be in perfect condition. The brakes should work perfectly. A trailer (and load) will increase your braking distance.
- Only load the trailer up to the top edge so that falling objects do not endanger road traffic.
ASSEMBLY
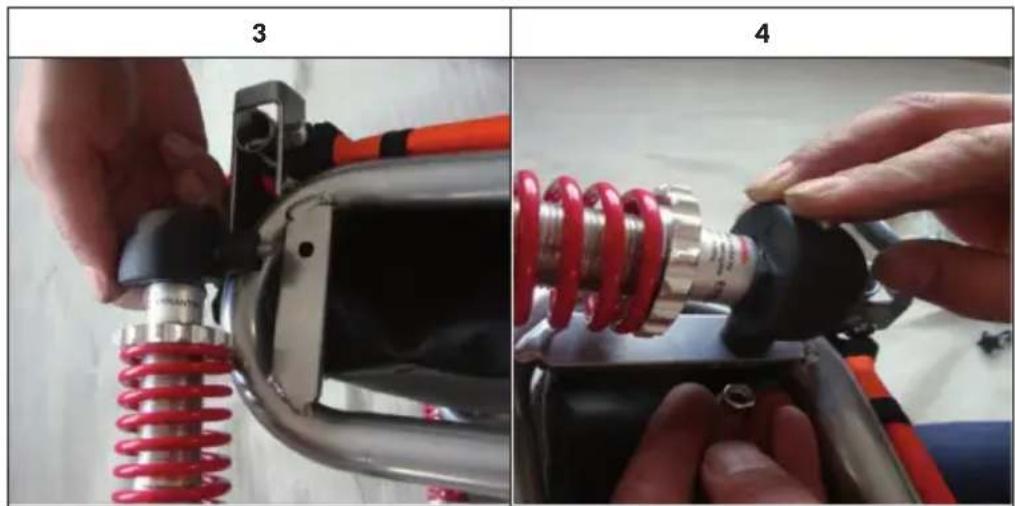
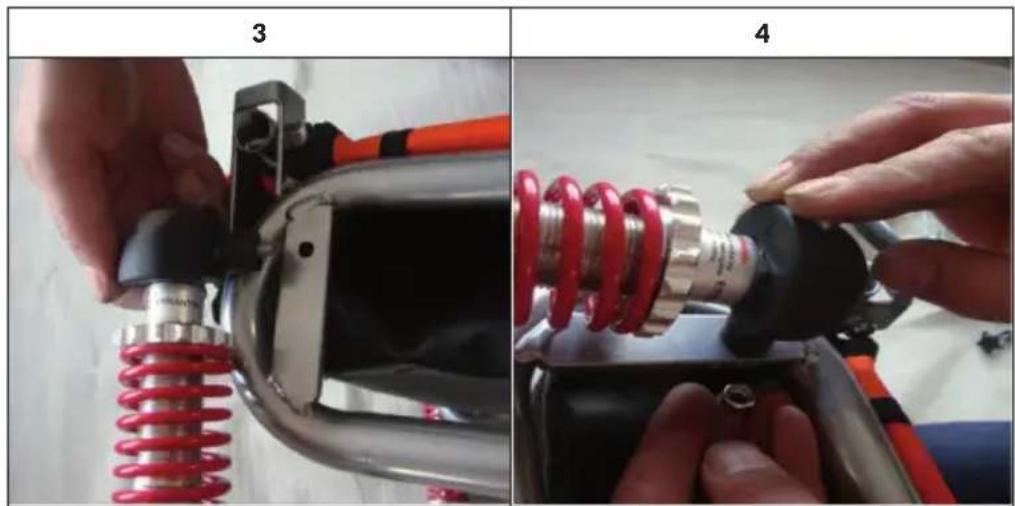
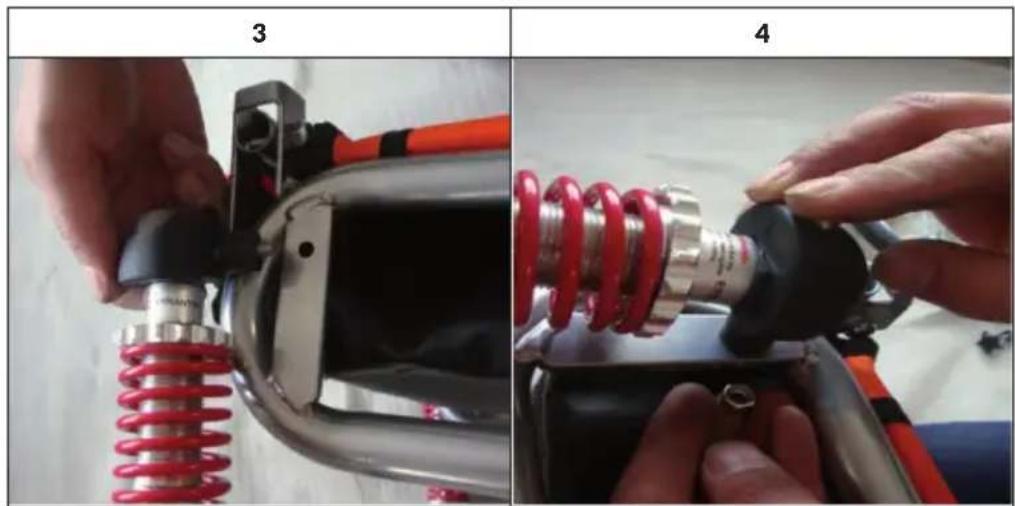
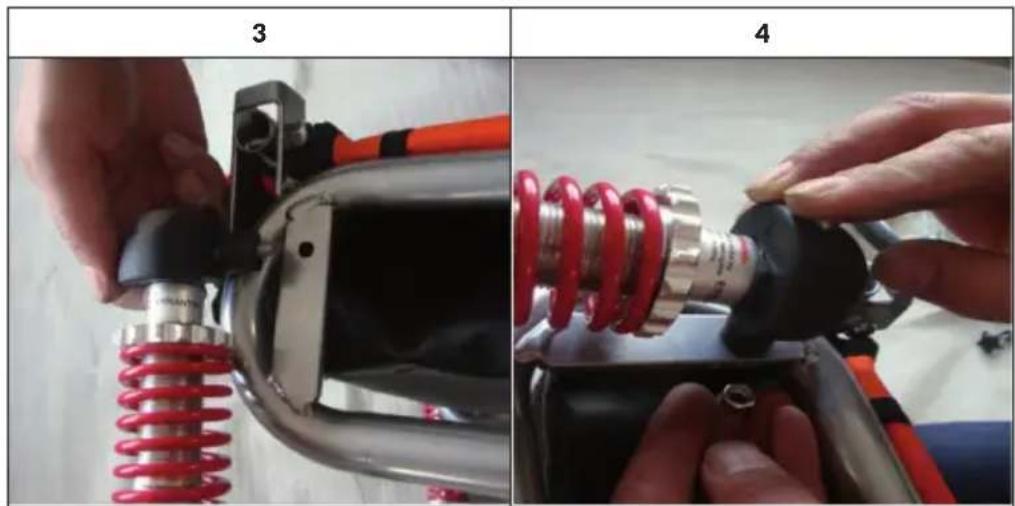
Mount the suspension kit as shown in the following pictures:
Fastening the support
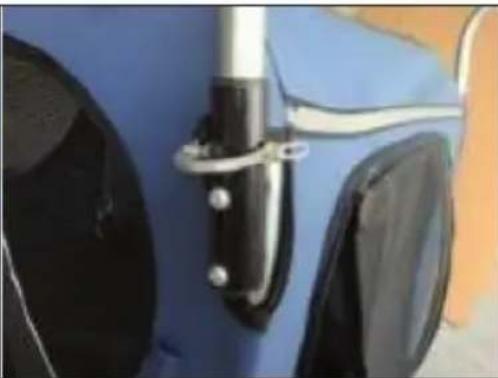
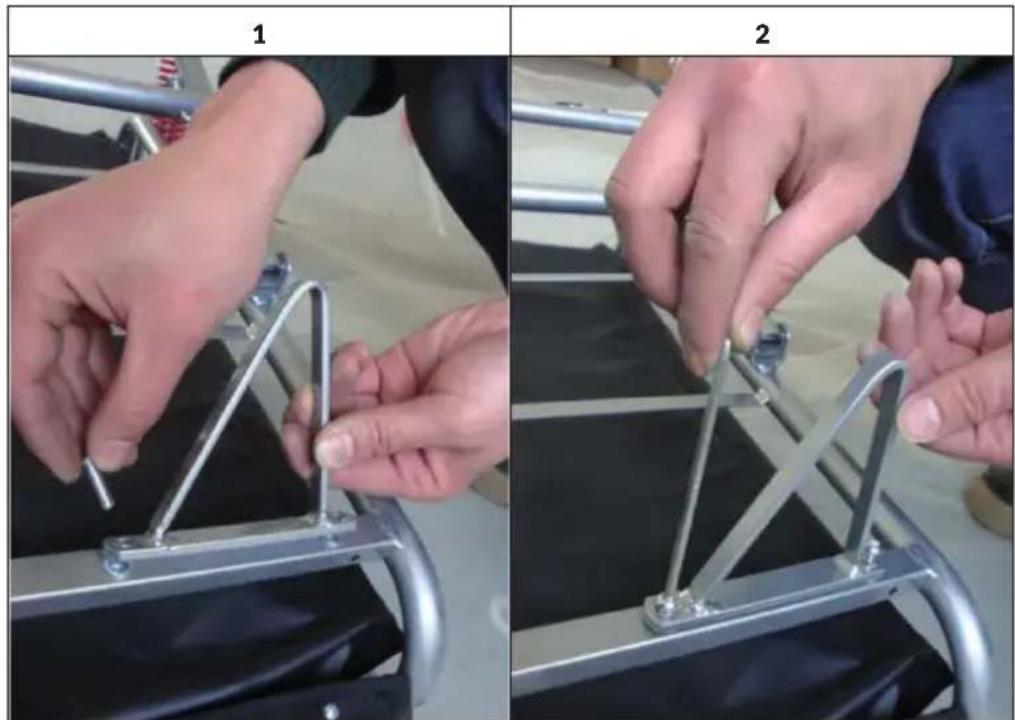
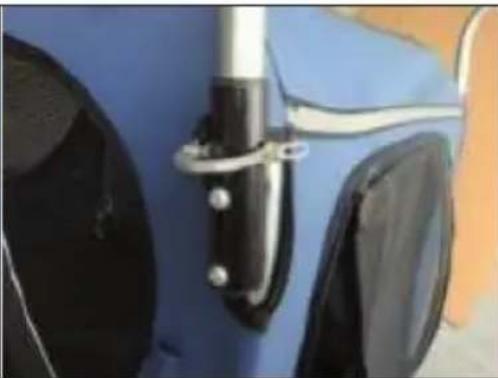
The support will hold the dog cage when the front wheel or trailer hitch is removed. Mount the hanger bracket as shown in the following pictures:
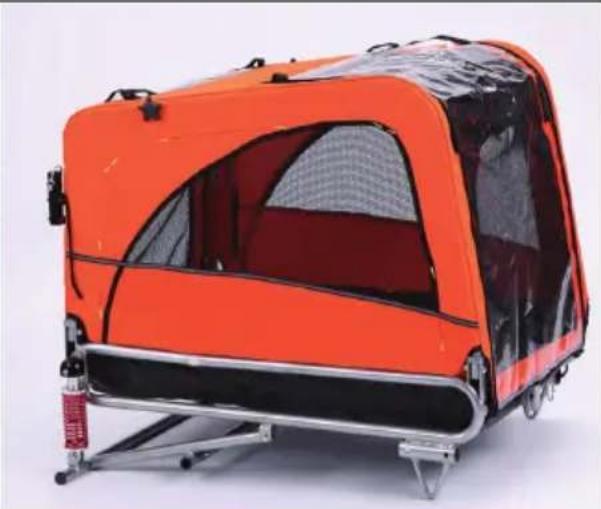
Opening the trailer
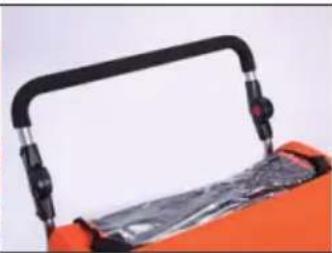
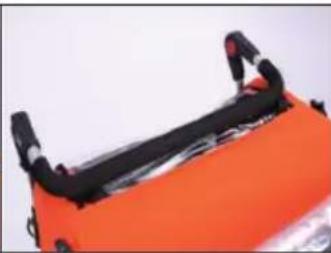
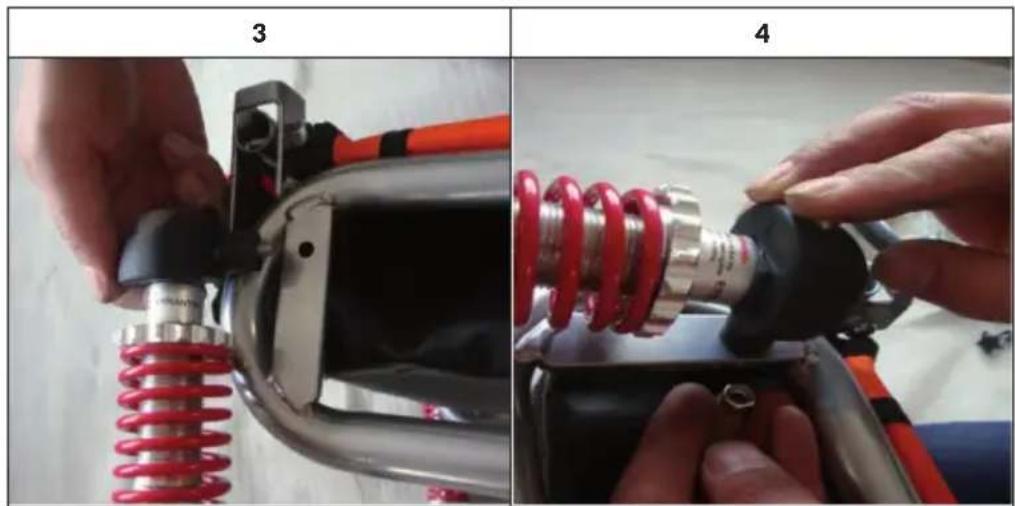
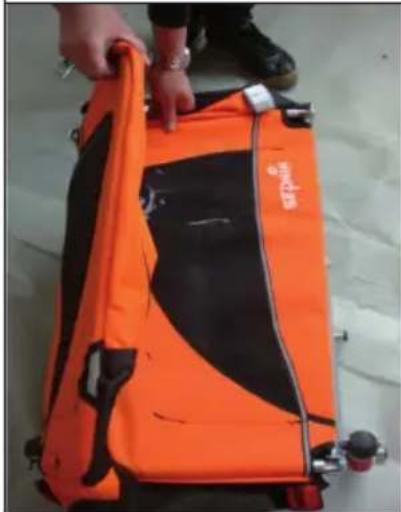
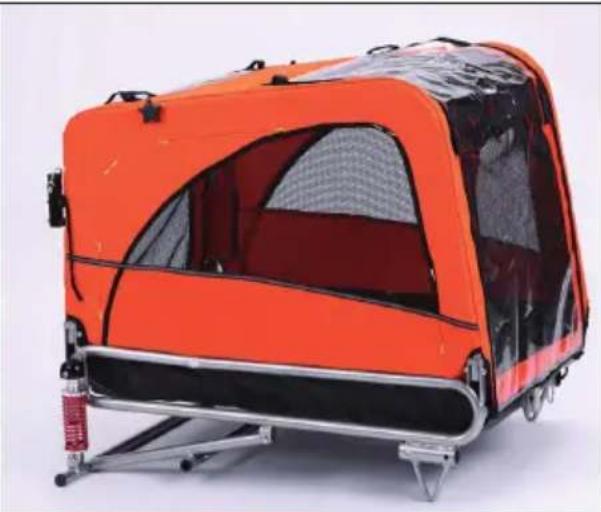
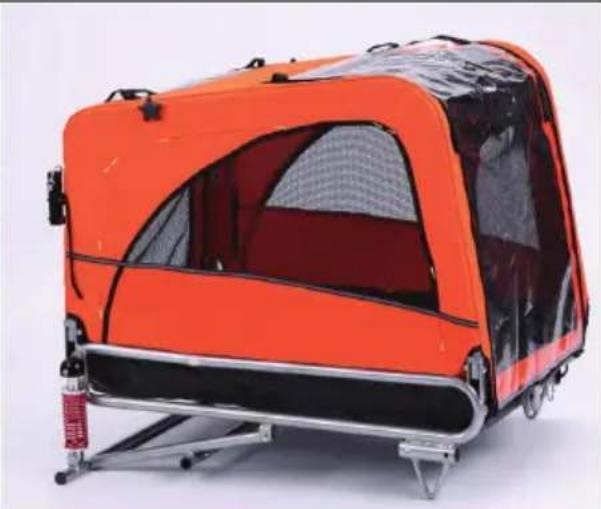
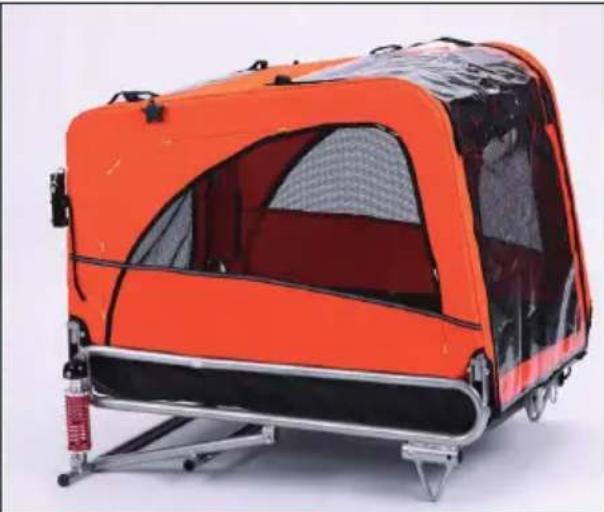
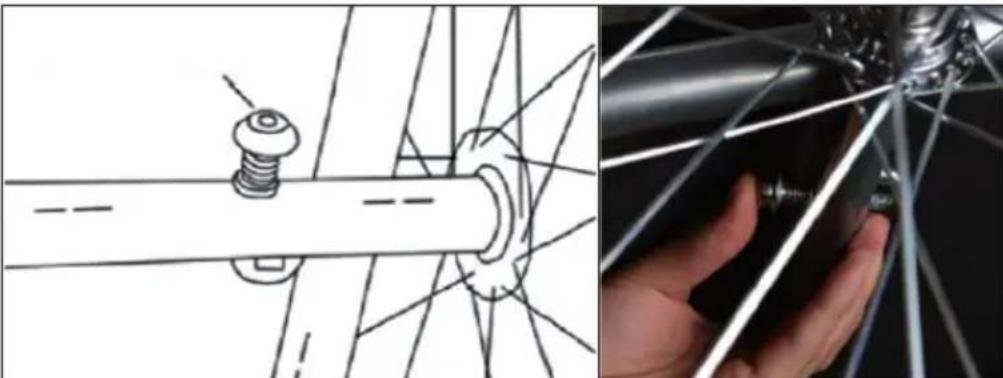
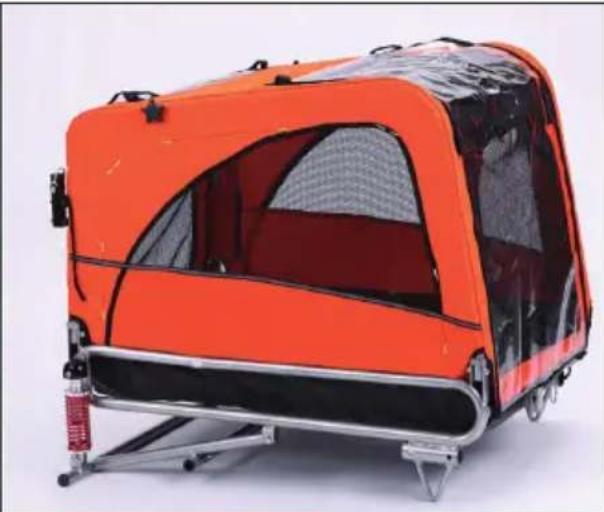
If the trailer frame is lying flat, lift the side walls so that they are vertical. Position the roll bar so that the holes in the side walls and the holes in the ends of the roll bar are aligned.
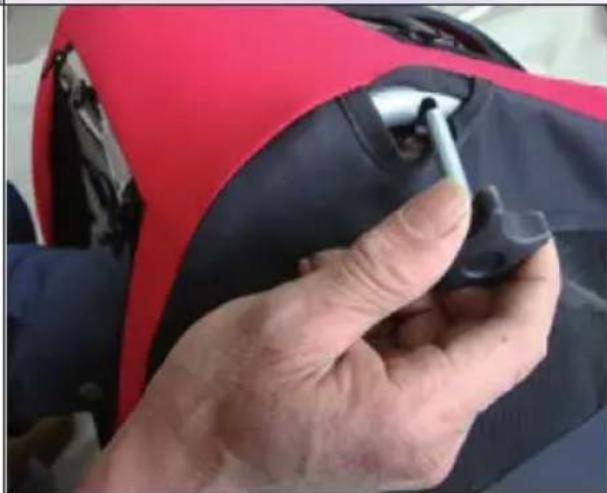
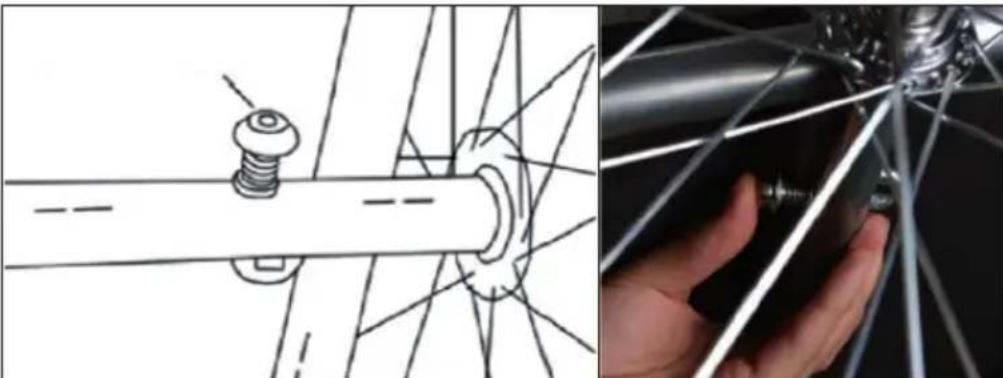
Insert the button from the outside on the side wall and then into the thread at the end of the roll bar. Repeat for the other side and tighten both buttons.
Mounting the wheels
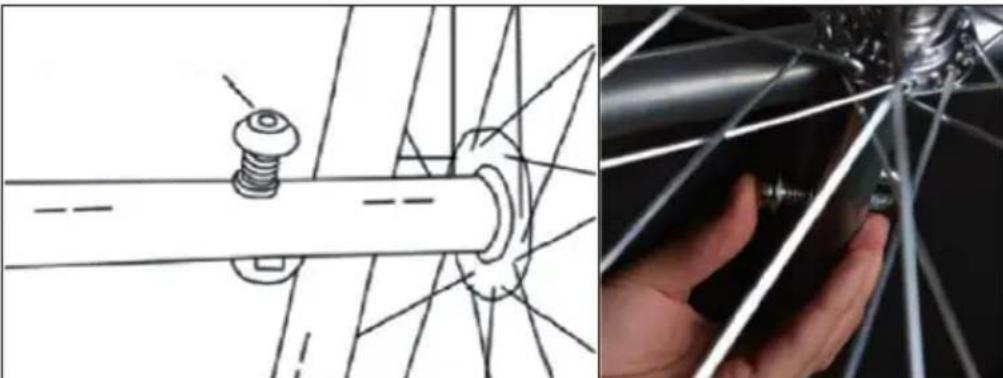
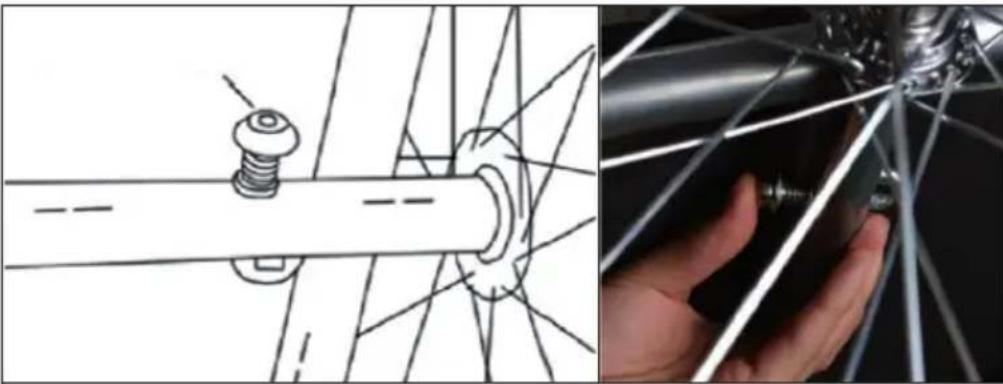
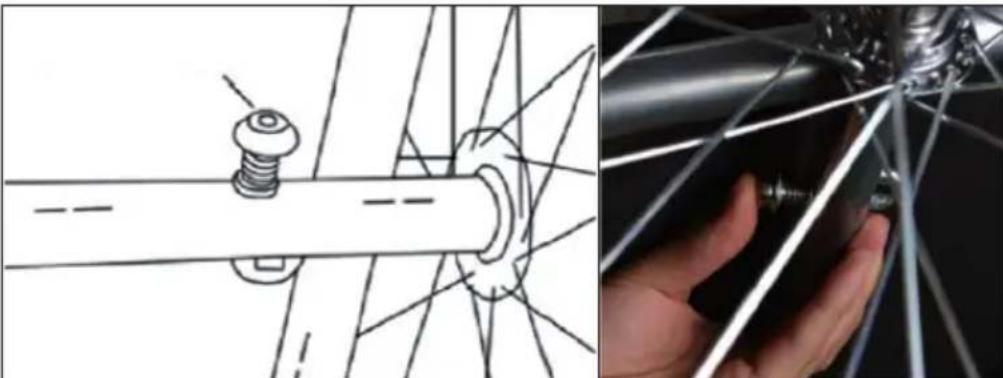
Insert the outer part of the wheel axle into the inner part of the axle. The wheels are locked when you sense that they are locking into the suspension on the axle tube. The wheels can be removed and pulled out of the axle tube simply by pressing the button on the spring mechanism on the underside of the axle.
Attaching the trailer hitch
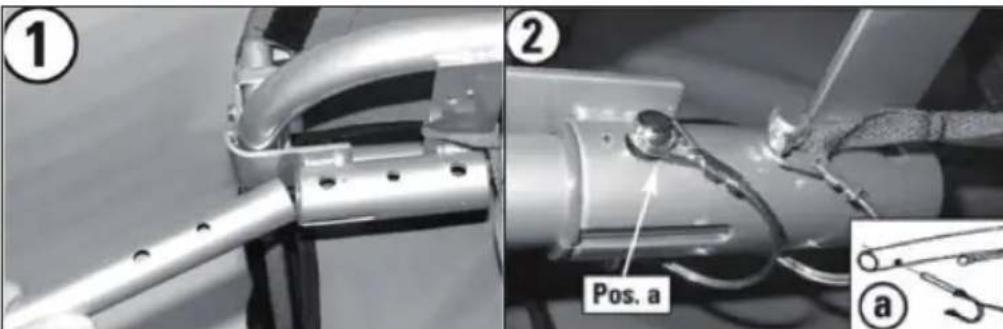
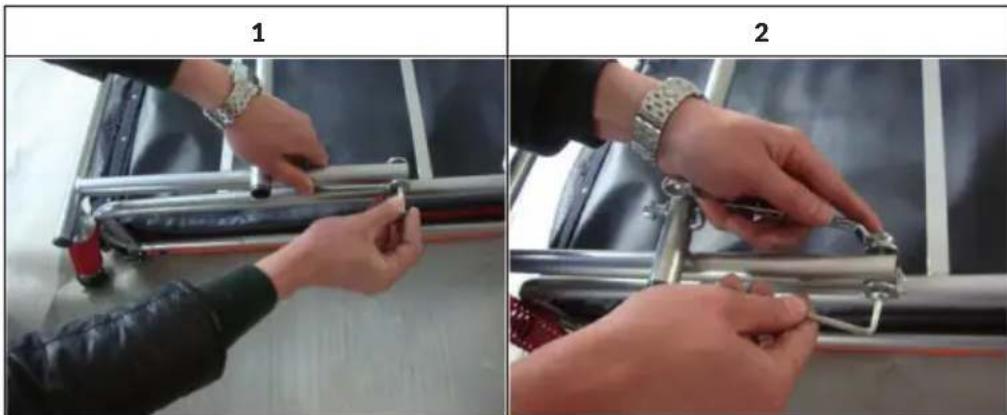
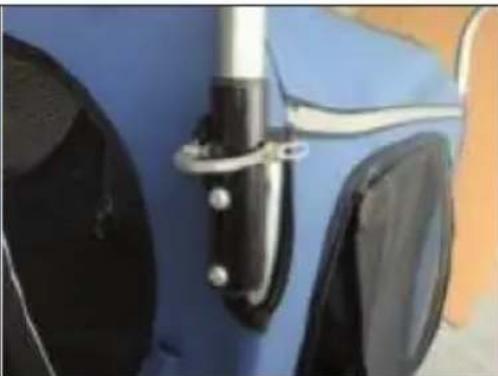
To attach the trailer hitch, slide the round end into the holder provided for this purpose (Fig. 1) on the left side. Secure the inserted drawbar with the supplied quick release (Pos. a) and the locking pin (Fig. 2). The curvature in the trailer coupling is now directed to the right in relation to the direction of travel.
Note: Make sure that the locking pin is securely seated as a loose drawbar may cause you to lose control of the trailer while driving.
ATTACHMENT TO BICYCLE
The drawbar can be easily and quickly connected to the bicycle: Unscrew the rear hub nut and insert the hook between the bicycle frame and the rear hub (like an additional washer).
Screw the rear wheel of your bike back in place.
As shown in the picture, the hook should be mounted with the „male“ part pointing backwards and away from the bicycle. Place the hanger behind the bicycle and integrate the „male“ part into the eyelet provided for this purpose („female“ part, see illustration).
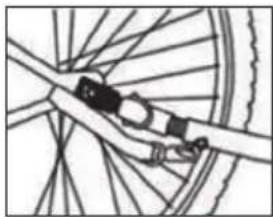
Secure the connection to the seat belt by wrapping it once around the bicycle frame (make sure it does not get into the spokes) and attaching it to the hanger part of the pull rod.
FRONT WHEEL AND HANDLE INSTALLATION
Installing the front wheel
• Make sure that the trailer hitch is engaged under the frame.
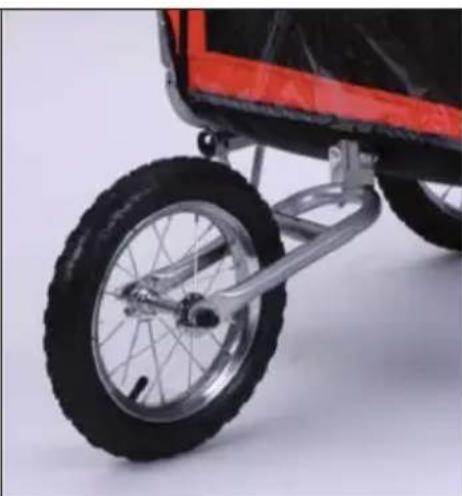
- Fasten the front wheel assembly: Slide the short square tube on the front wheel over the matching tube on the lower edge of the front edge of the trailer cab. Align the holes in each tube, insert and tighten the quick-release pin.
Attaching the handle
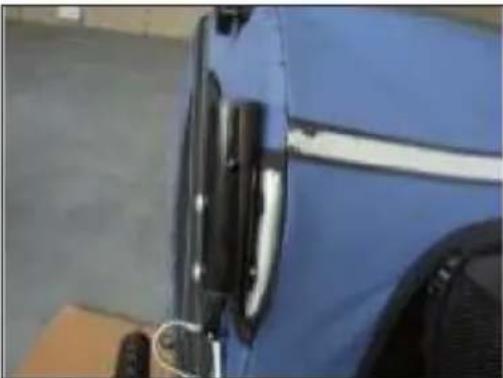
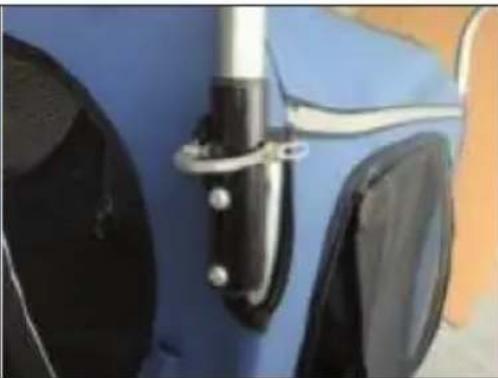
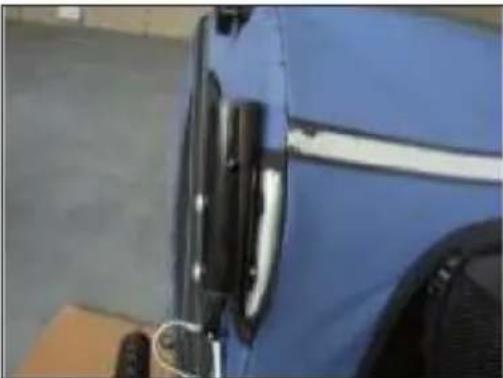
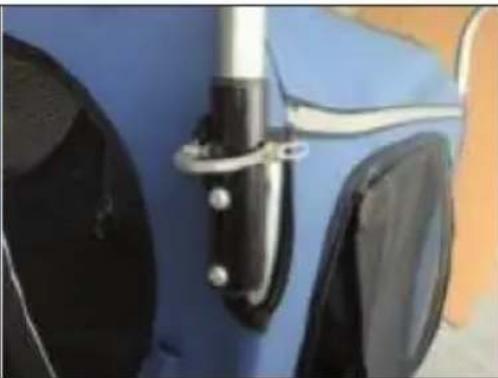
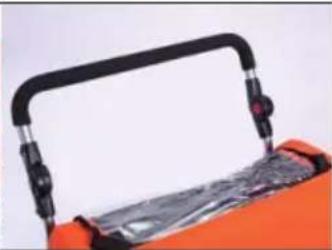
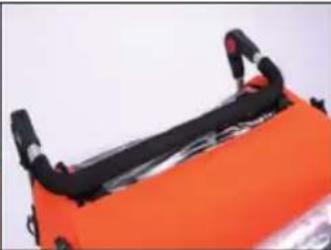
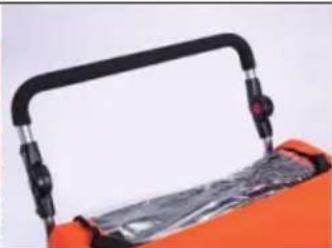
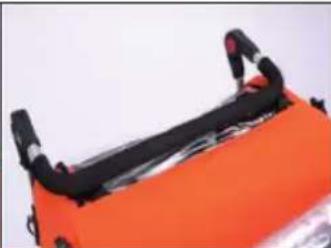
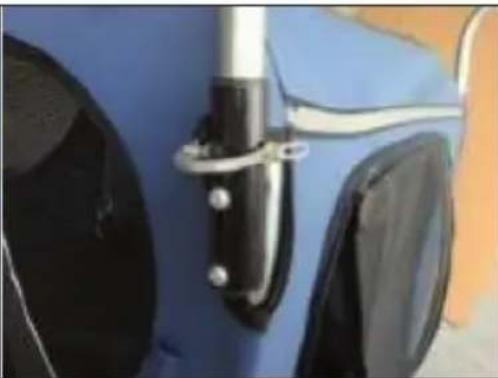
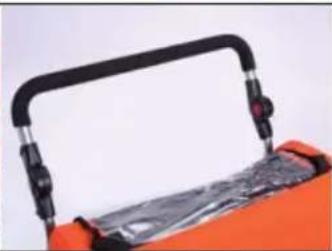
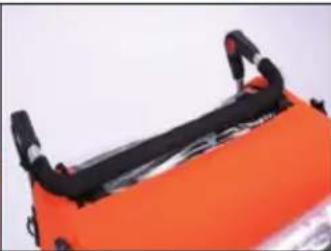
Attach the two support tubes to the frame on the rear side. Align the holes on the support tube with the open end of the mounting tube. Screw the screws through the tube and the holes. Secure the screws with nuts from the inside of the cabin. Tighten the screws and nuts with a screwdriver and a wrench. Slide the ends of the handlebars into the mounting tubes, align the holes, insert and lock the locking pins.
Adjusting the handle
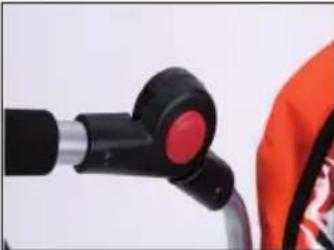
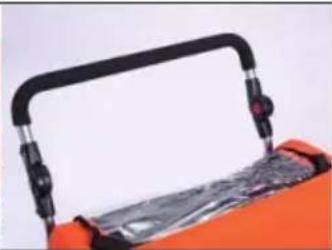
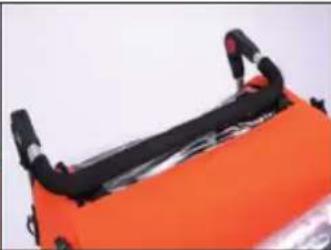
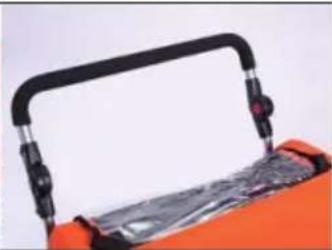
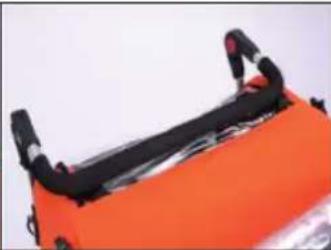
Press the buttons on each side and turn the handlebars to a comfortable position. Push the handlebar up or down to make sure it is locked in place.
EN
TRANSPORT OF PETS
Loading and unloading pets
- Only load and unload the pet through the rear door when the front door is closed and the trailer is attached to the bicycle.
- If the pet is in the trailer, attach one end of the safety leash (supplied) to the pet's collar and the other end to the D-ring in the trailer. Adjust the length of the leash so that the pet cannot exit through the windscreen when the leash is open.
• Always close the rear door while driving.
Getting to know the trailer
Slowly familiarise your pet with the trailer, open and close the doors and let your pet get out on command.
Moving
Familiarise your pet with the movement of the trailer by slowly pushing the team. If the pet is sitting still, drive a little. If it gets restless, stop the team, calm it down and reward it with treats as soon as it is quiet.
At full speed
Make sure that your pet is calm and accepts the trailer well, extend the journey time gradually.

WARNING
Risk of injury! The trailer and trailer coupling must be correctly fitted. Check the trailer and trailer coupling regularly for damage or loose fastening elements. Damage or improper installation can lead to serious injury or death.
USING THE HANDBRAKE
Installation
Use a wrench and screwdriver to install the handbrake as follows:
![graph TD A["Step 1: Clamping hands on tire"] --> B["Step 2: Lending clips"] B --> C["Step 3: Clamping clips on tire"] C --> D["Step 4: Clamping clips on tire"] D --> E["Step 5: Clamping clips on tire"] E --> F["Step 6: Clamping clips on tire"] F --> G["Step 7: Clamping clips on tire"]](/content/2026/04/741054/images/b03e78c98bfa0bb6b5460c6c25bea88a12c7138b7cd8086f372a94ac2853f04f.jpg)
To use the brake
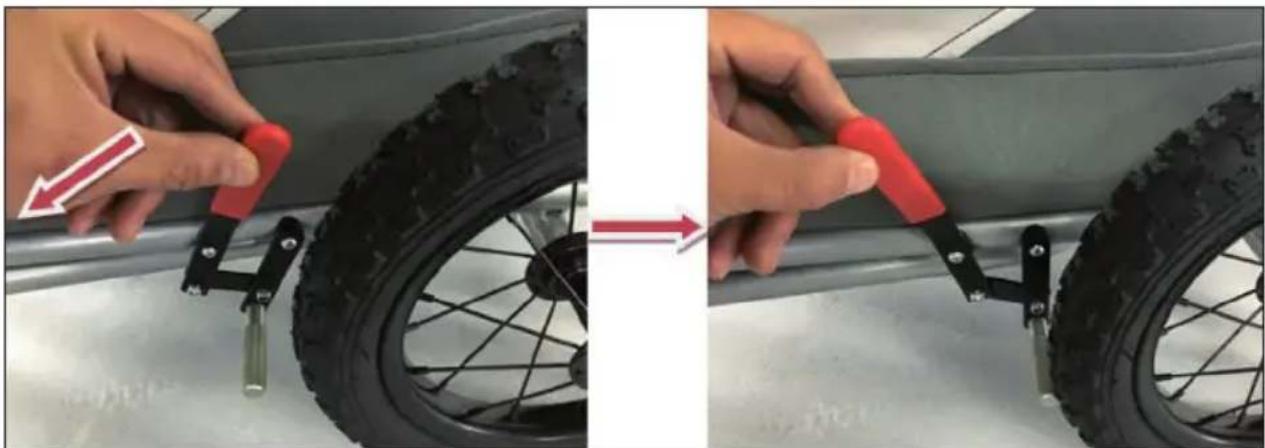
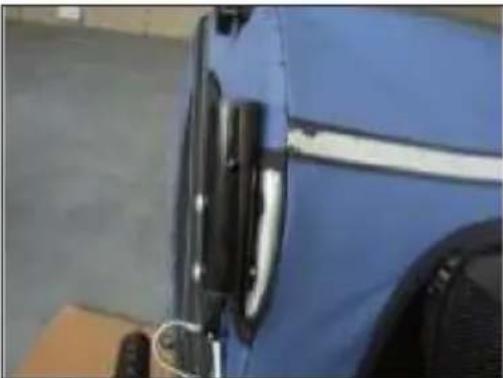
Pull the brake lever in the direction of the arrow to tighten the brake. Push the brake lever in the opposite direction to release the brake.
MANUFACTURER & IMPORTER (UK)
Manufacturer:
Chal-Tec GmbH, Wallstrasse 16, 10179 Berlin, Germany.
Importer for Great Britain:
Berlin Brands Group UK Limited
PO Box 42
272 Kensington High Street
London, W8 6ND
United Kingdom
Estimado cliente:
Asegurar el soporte
Abrir el remolque
Montar las ruedas
Montar la barra de agarre
Berlin Brands Group UK Limited
PO Box 42
272 Kensington High Street
London, W8 6ND
United Kingdom
Chère cliente, cher client,
Fixation du support
Montage des roues
FABRICANT ET IMPORTATEUR (UK)
Fabricant :
Chal-Tec GmbH, Wallstraße 16, 10179 Berlin, Allemagne.
Berlin Brands Group UK Limited
PO Box 42
272 Kensington High Street
London, W8 6ND
United Kingdom
Gentile cliente,

Fissare il supporto
Aprire il rimorchio
Montare le ruote
Per usare il freno
PRODUTTORE E IMPORTATORE (UK)
Produttore:
Chal-Tec GmbH, Wallstraße 16, 10179 Berlino, Germania.
Berlin Brands Group UK Limited
PO Box 42
272 Kensington High Street
London, W8 6ND
United Kingdom
Geachte klant,
INHOUDSOPGAVE
Bevestig de handgrepen
FABRIKANT & IMPORTEUR (UK)
Fabrikant:
Berlin Brands Group UK Limited
PO Box 42
272 Kensington High Street
London, W8 6ND
United Kingdom

- INHALTSVERZEICHNIS
- ANBRINGEN DER RÄDER
- DEAR CUSTOMER
- CONTENT
- SAFETY INSTRUCTIONS
- ASSEMBLY
- FASTENING THE SUPPORT
- OPENING THE TRAILER
- MOUNTING THE WHEELS
- ATTACHING THE TRAILER HITCH
- ATTACHMENT TO BICYCLE
- FRONT WHEEL AND HANDLE INSTALLATION
- INSTALLING THE FRONT WHEEL
- ATTACHING THE HANDLE
- ADJUSTING THE HANDLE
- TRANSPORT OF PETS
- LOADING AND UNLOADING PETS
- GETTING TO KNOW THE TRAILER
- MOVING
- AT FULL SPEED
- WARNING
- USING THE HANDBRAKE
- INSTALLATION
- TO USE THE BRAKE
- MANUFACTURER & IMPORTER (UK)
- MANUFACTURER
- IMPORTER FOR GREAT BRITAIN
- ESTIMADO CLIENTE
- ASEGURAR EL SOPORTE
- ABRIR EL REMOLQUE
- MONTAR LAS RUEDAS
- MONTAR LA BARRA DE AGARRE
- CHÈRE CLIENTE, CHER CLIENT
- FIXATION DU SUPPORT
- MONTAGE DES ROUES
- FABRICANT ET IMPORTATEUR (UK)
- FABRICANT
- GENTILE CLIENTE
- FISSARE IL SUPPORTO
- APRIRE IL RIMORCHIO
- MONTARE LE RUOTE
- PER USARE IL FRENO
- PRODUTTORE E IMPORTATORE (UK)
- GEACHTE KLANT
- INHOUDSOPGAVE
- BEVESTIG DE HANDGREPEN
- FABRIKANT & IMPORTEUR (UK)
- FABRIKANT
Brand : Klarfit
Model : Husky Vario
Category : Bike trailer