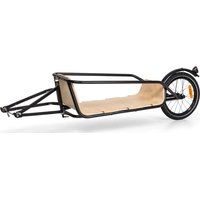
Companion Chaser - Bike trailer Klarfit - Free user manual and instructions
Find the device manual for free Companion Chaser Klarfit in PDF.


| Product type | Bicycle trailer |
| Brand | Klarfit |
| Model | Companion Chaser |
| Maximum authorized load | 30 kg |
| Recommended use | Transport of goods (not people) |
| Bike compatibility | Tires from 20 to 28 inches |
| Maximum speed | 40 km/h |
| Coupling system | Long quick release on rear wheel (adapter for solid axle not included) |
| Included items | Box, front fork, wheel, mudguard, safety strap, elastic band, quick releases |
| Safety | Safety strap, checks before each use |
| Maintenance | Clean with a damp cloth; check tire pressure and attachment |
| Usage restrictions | Do not use on rough terrain; do not tow with motorized vehicle |
| Manufacturer | Chal-Tec GmbH, Wallstraße 16, 10179 Berlin, Germany |
| Article number | 10036063 |
| Manual | Available as free PDF, multiple languages |
Frequently Asked Questions - Companion Chaser Klarfit
User questions about Companion Chaser Klarfit
0 question about this device. Answer the ones you know or ask your own.
Ask a new question about this device
Download the instructions for your Bike trailer in PDF format for free! Find your manual Companion Chaser - Klarfit and take your electronic device back in hand. On this page are published all the documents necessary for the use of your device. Companion Chaser by Klarfit.
USER MANUAL Companion Chaser Klarfit
INHALTSVERZEICHNIS
Berlin Brands Group UK Limited
PO Box 42
272 Kensington High Street
London, W8 6ND
United Kingdom
SICHERHEITSHINWEISE
Congratulations on purchasing this device. Please read the following instructions carefully and follow them to prevent possible damages. We assume no liability for damage caused by disregard of the instructions and improper use. Scan the QR code to get access to the latest user manual and more product information.

CONTENT
Safety Instructions 12
Equipment Overview 12
Individual parts 13
Assembly 14
Note on the supplied Quick Release 17
Important Notes on Fastening and Use 18
TECHNICAL DATA
| Item number 10036063 | |
| Maximum load weight 30 kg | |
| Note: The bicycle carrier can be coupled to bicycles with a tire size from 20" to 28". | |
MANUFACTURER & IMPORTER (UK)
Manufacturer:
Chal-Tec GmbH, Wallstrasse 16, 10179 Berlin, Germany.
Importer for Great Britain:
Berlin Brands Group UK Limited
PO Box 42
272 Kensington High Street
London, W8 6ND
United Kingdom
SAFETY INSTRUCTIONS
- The trailer should not be loaded with more than 30 kg.
- The trailer must not be used to transport people with it.
- Do not make any technical modifications to the device. This can lead to dangers in road traffic and the manufacturer's warranty will be voided.
- Do not use the trailer on stony, uneven terrain and in dangerous traffic situations.
- The towing bicycle must be in perfect condition. The brakes should work perfectly. With trailer (and load) your braking distance will increase.
- Do not drive faster than 40 km/h with the trailer.
- The trailer must not be connected to a machine equipped with a drive system. The trailer may only be moved by directly applied human power.
- The trailer must not be moved by motorized vehicles. This also applies to bicycles with electric drive or bicycles with auxiliary electric motor drive.
EQUIPMENT OVERVIEW
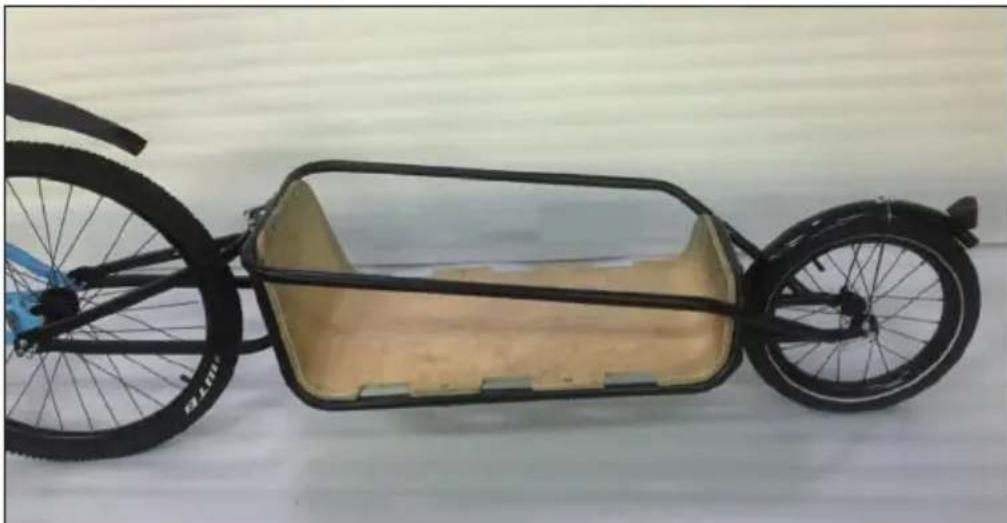
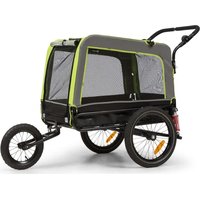
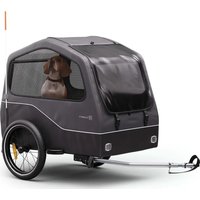
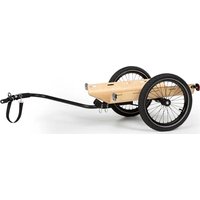
Assembled trailer
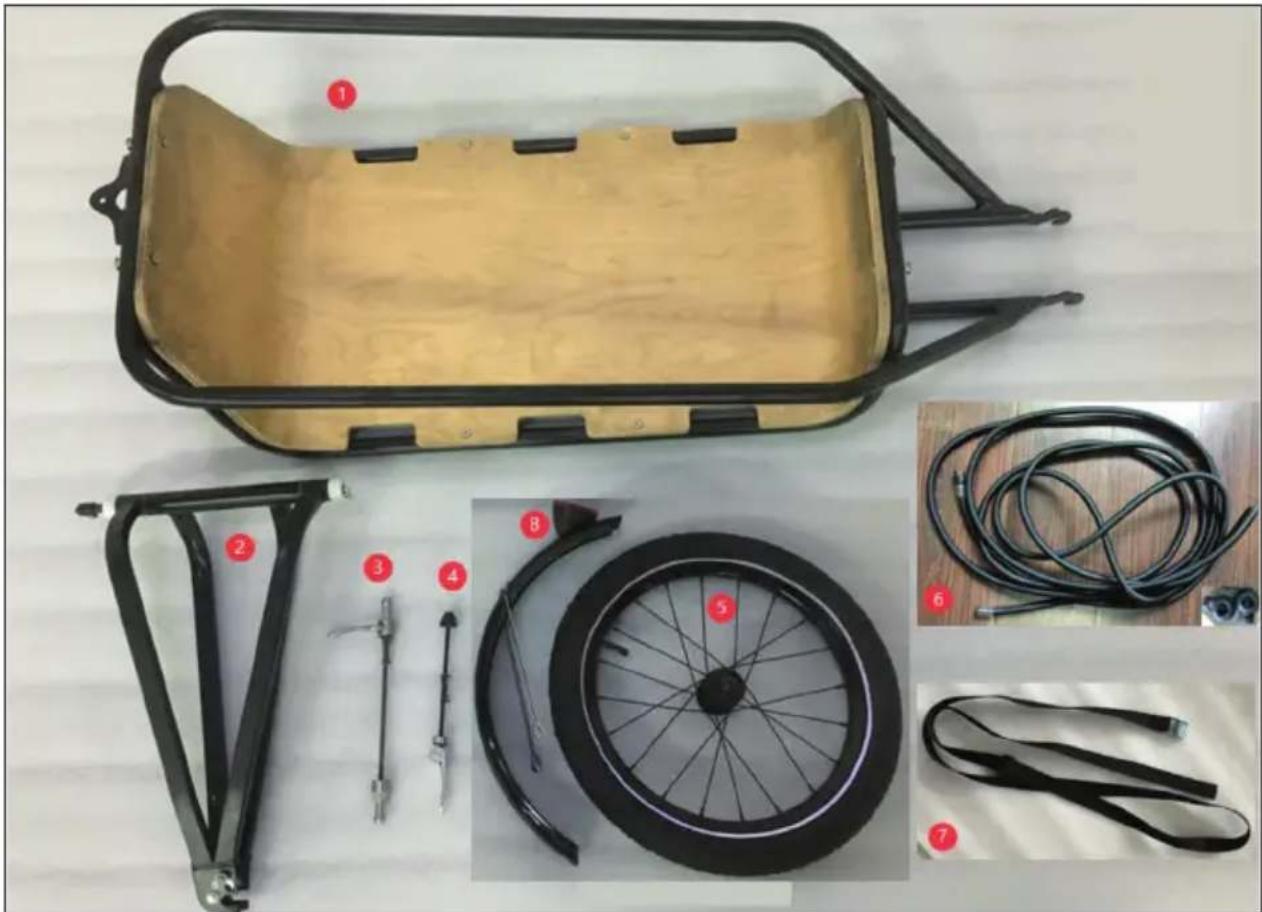
INDIVIDUAL PARTS
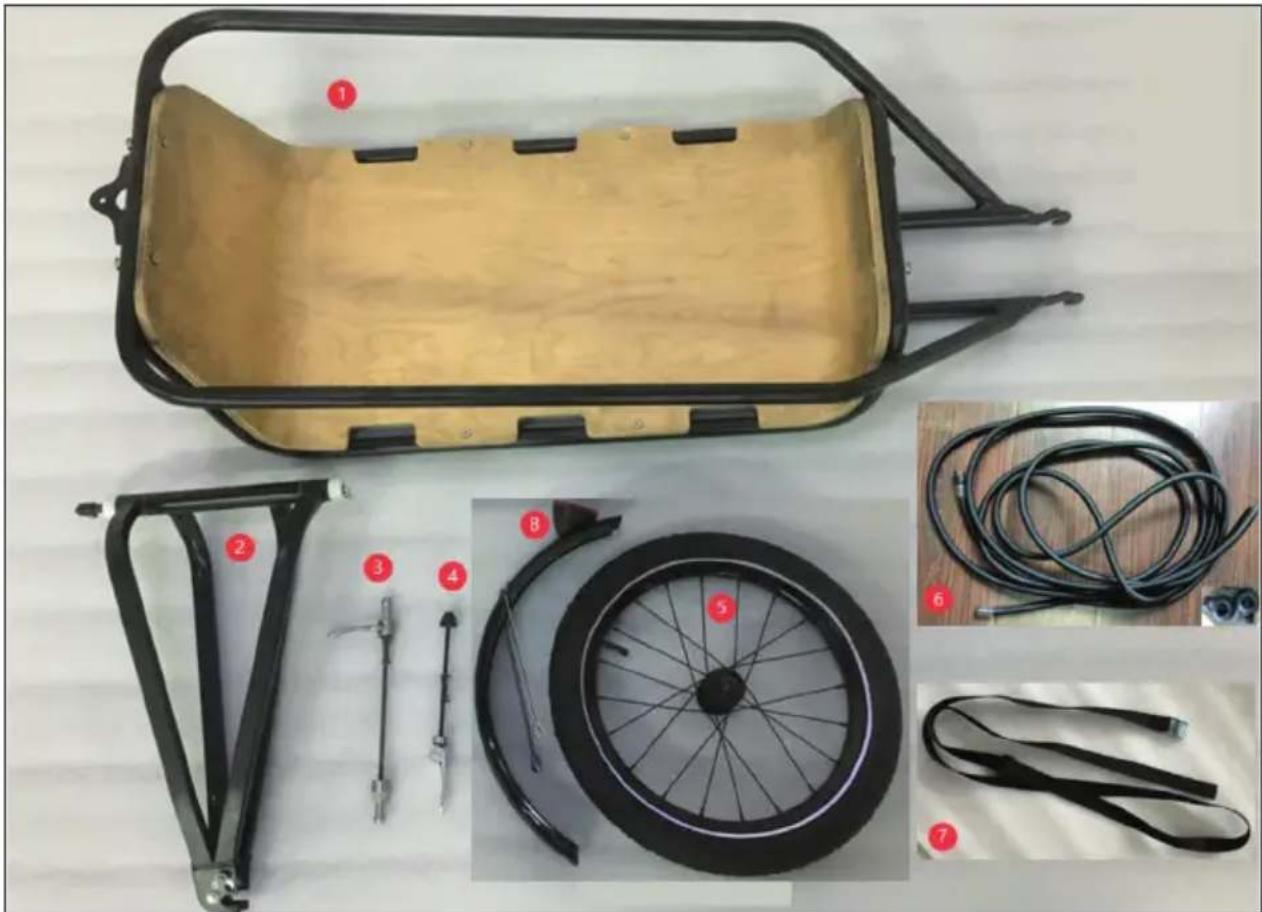
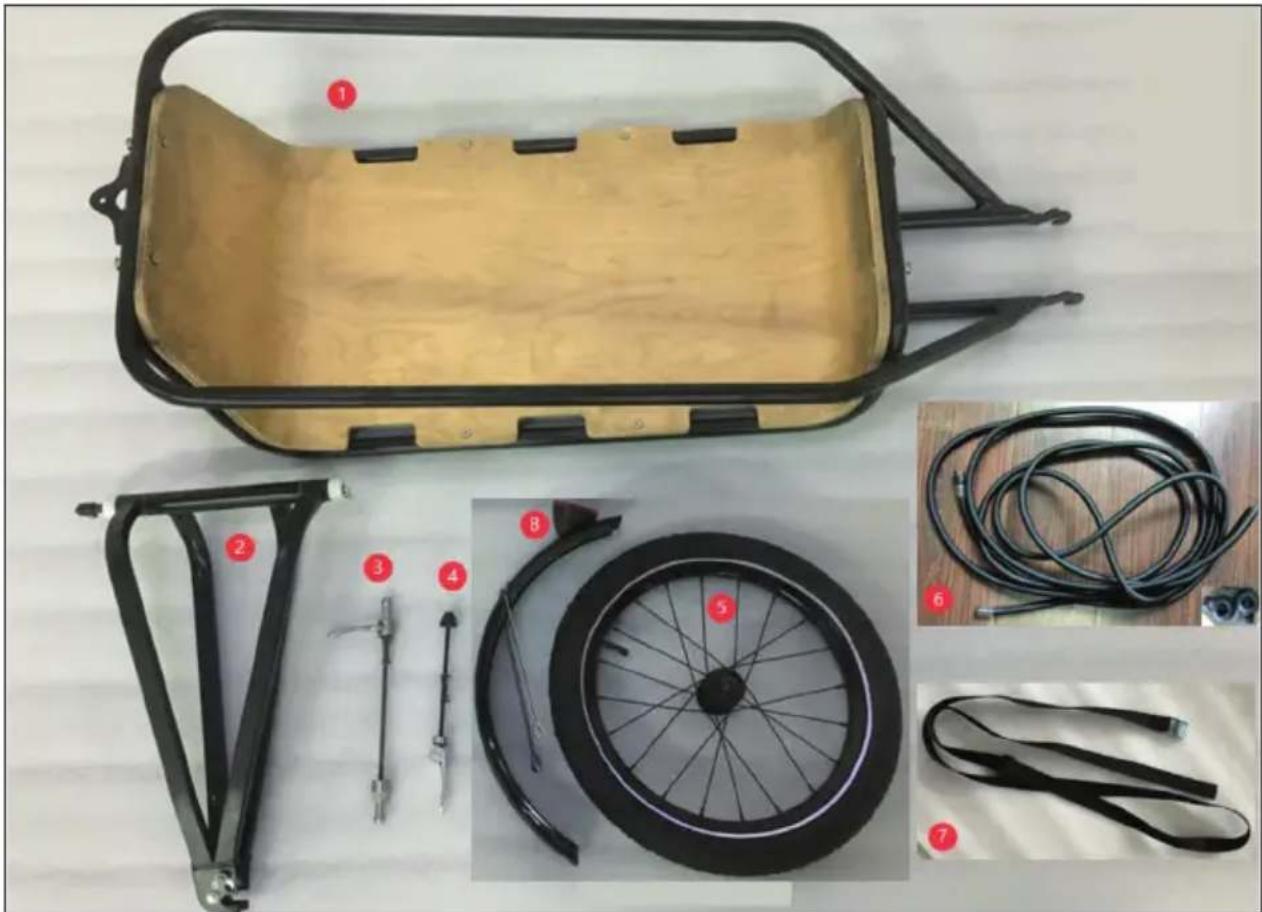
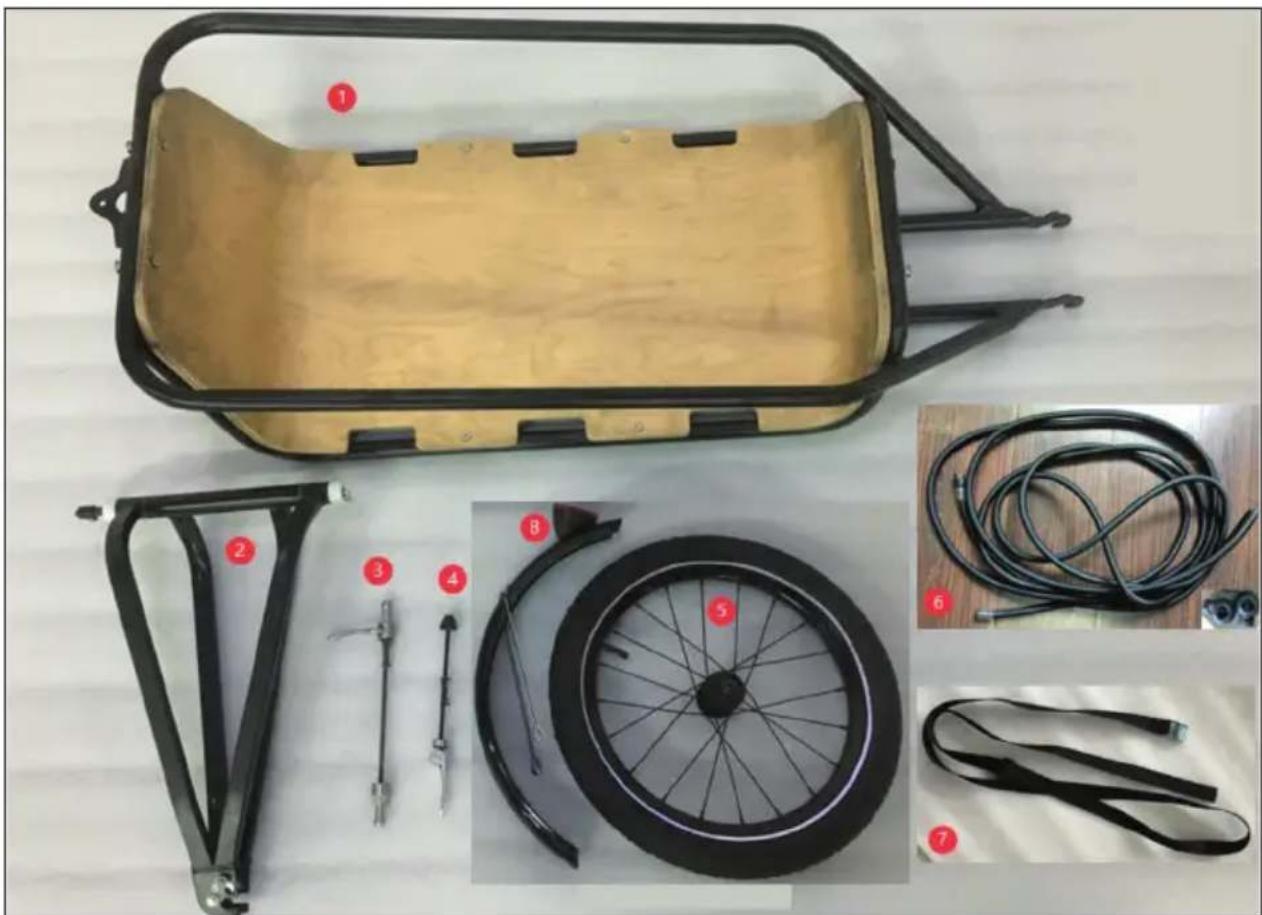
| 1 Trailer body 5 Wheel | ||
| 2 Front fork 6 Elastic tension rubber | ||
| 3 Long quick release 7 Safety belt | ||
| 4 Wheel quick release 8 Mudguard |
ASSEMBLY
1
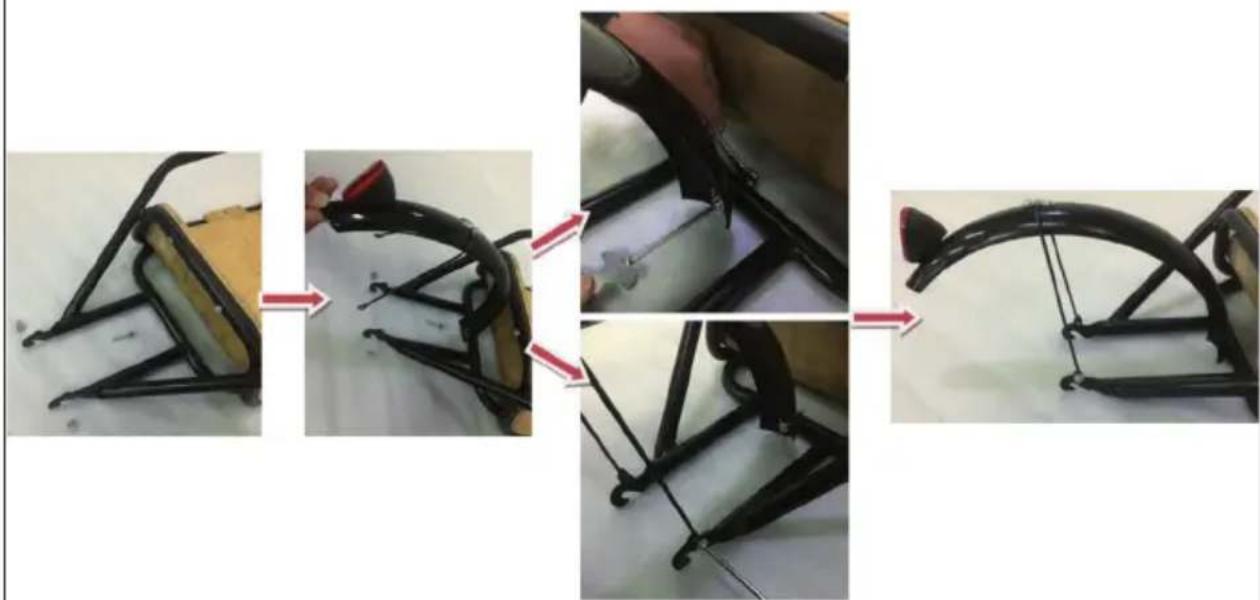
Attach the mudguard as shown in the pictures.
2
![graph TD A["Start: Bicycle wheel with red arrow indicates assembly point"] --> B["Step 1: Insert the wheel, extends to a black wheel"] B --> C["Step 2: Insert the wheel, extends to a black wheel"] C --> D["Step 3: Insert the wheel, extends to a black wheel"] D --> E["Step 4: Insert the wheel, extend…](/content/2026/04/740998/images/4840ed022dbfc0daa9622b1f0e667612fcd515f16e3bd1f236bd9f78c5468a31.jpg)
Place the wheel fork on the wheel axle and then mount the wheel with the wheel quick release. Make sure that the wheel is mounted firmly and securely.
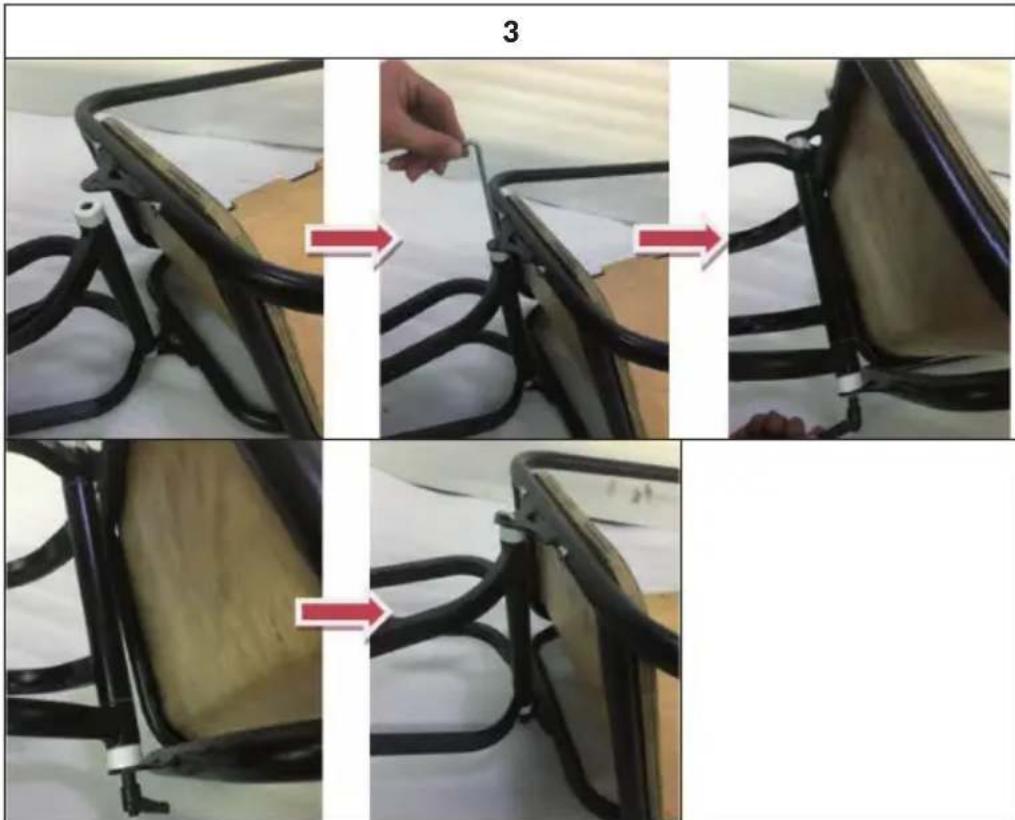
Place the front fork axle between the trailer body and the mounting bracket. Make sure that the holes match, insert the mounting bracket and lock it at the bottom with the knob. Make sure that the front fork is firmly and securely mounted to the trailer body.
4
![graph TD A["Initial Bicycle Wheel"] --> B["Assembly of Blue Bicycle"] B --> C["Assembly of Black Bicycle"] C --> D["Assembly of Blue Bicycle"] D --> E["Assembly of Black Bicycle"] E --> F["Final Assembly with Red Arrow indicating motion"]](/content/2026/04/740998/images/5b920ff5372cf8c339cfb9bba52abf9ef25f6339872723f82db8e1b0571bfb3d.jpg)
Mount the long quick release on the rear wheel of the bicycle and make sure it is locked tightly and securely. Place the mounted trailer on the quick release, and then lock it according to the above pictures and steps. Press the safety lock and move it along the arrow sign to lock the trailer. Make sure it is locked tightly and securely.
NOTE ON THE SUPPLIED QUICK RELEASE
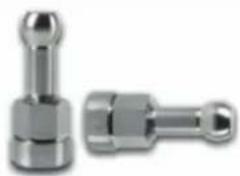
The supplied long quick release fits all bikes with quick release system on the rear wheel. For bikes with solid axle an adapter (see photo) is needed. The adapter is not included, but must be purchased at a bicycle shop.
IMPORTANT NOTES ON FASTENING AND USE
Note: The connection between bicycle and trailer is the most important step in the assembly process. Make sure that the trailer is securely attached to the bicycle. If the trailer hitch cannot be securely attached or tightened to your bicycle, do not use it. Contact your bicycle dealer for help with correct installation.
- Check the condition of the bicycle and trailer before each use.
• Always ride defensively. During use, observe local traffic regulations. - If you have a trailer, you will need additional stopping distance.
- Practice your trailer before use until you are familiar with it.
- Make sure that your load is secured before driving. Do not exceed the maximum load weight.
- Make sure that you use a suitable bicycle. If in doubt, consult your local bicycle dealer or manufacturer.
- After assembly and before riding, check that the hitch is fully engaged.
- Check the tyre pressure regularly.
- If possible, use the trailer only on slippery roads. Avoid kerbs, potholes or uneven surfaces.
- If you drive downhill or around a bend, you must drive slower.
Estimado cliente:
Berlin Brands Group UK Limited
PO Box 42
272 Kensington High Street
London, W8 6ND
United Kingdom
Remolque montado
PIEZAS
SOMMAIRE
Berlin Brands Group UK Limited
PO Box 42
272 Kensington High Street
London, W8 6ND
United Kingdom
CONSIGNES DE SÉCURITÉ
Remorque assemblée
PIÈCES DÉTACHÉES
FR
INDICE
PRODUTTORE E IMPORTATORE (UK)
Produttore:
Chal-Tec GmbH, Wallstraße 16, 10179 Berlino, Germania.
Berlin Brands Group UK Limited
PO Box 42
272 Kensington High Street
London, W8 6ND
United Kingdom
AVVERTENZE DI SICUREZZA
Rimorchio montato
COMPONENTI SINGOLI
IT
- INHALTSVERZEICHNIS
- SICHERHEITSHINWEISE
- CONTENT
- TECHNICAL DATA
- MANUFACTURER & IMPORTER (UK)
- MANUFACTURER
- IMPORTER FOR GREAT BRITAIN
- SAFETY INSTRUCTIONS
- EQUIPMENT OVERVIEW
- INDIVIDUAL PARTS
- ASSEMBLY
- NOTE ON THE SUPPLIED QUICK RELEASE
- IMPORTANT NOTES ON FASTENING AND USE
- ESTIMADO CLIENTE
- PIEZAS
- SOMMAIRE
- CONSIGNES DE SÉCURITÉ
- PIÈCES DÉTACHÉES
- INDICE
- PRODUTTORE E IMPORTATORE (UK)
- PRODUTTORE
- AVVERTENZE DI SICUREZZA
- COMPONENTI SINGOLI
Brand : Klarfit
Model : Companion Chaser
Category : Bike trailer