SUM-3217-4 - Toys Vevor - Free user manual and instructions
Find the device manual for free SUM-3217-4 Vevor in PDF.


User questions about SUM-3217-4 Vevor
0 question about this device. Answer the ones you know or ask your own.
Ask a new question about this device
Download the instructions for your Toys in PDF format for free! Find your manual SUM-3217-4 - Vevor and take your electronic device back in hand. On this page are published all the documents necessary for the use of your device. SUM-3217-4 by Vevor.
USER MANUAL SUM-3217-4 Vevor
Technical Support and E-Warranty Certificate www.vevor.com/support
MANUAL SCORING - AIR HOCKEY TABLE
MODEL: SUM-3217-4
We continue to be committed to provide you tools with competitive price. "Save Half", "Half Price" or any other similar expressions used by us only represents an estimate of savings you might benefit from buying certain tools with us compared to the major top brands and does not necessarily mean to co all categories of tools offered by us. You are kindly reminded to verify carefully when you are placing an order with us if you are actually Saving Half in comparison with the top major brands.
MODEL:SUM-3217-4
natural_image
Technical line drawings of a multi-panel electronic device with labeled components (no text or symbols present)NEEDHELP?CONTACTUS!
Have product questions? Need technical support? Please feel free to contact us:
TechnicalSupportandE-WarrantyCertificate www.vevor.com/support
This is the original instruction, please read all manual instructions carefully before operating. VEVOR reserves a clear interpretation of our user manual. The appearance of the product shall be subject to the product you received. Please forgive us that we won't inform you again if there are any technology or software updates on our product.
Thank you very much for choosing this Air Hockey Table . Please re of the instructions before using it.The information will help you achieve best possible results.
SAFETY ADVICE
SAFE WORKING PRACTICE
▶ Always inspect the goal post and net for defects before use and replace damaged parts.
▶ Do not use the goal with faulty parts.
▶ The goal must always be secured to the ground. Weights to be on hard surfaces.
▶ Never climb onto the table. Please always follow the safety instructions.
▶ We recommend that adults supervise the assembly and use process. Do not drop any heavy objects on the desktop.
▶ When dismantling the goal ensure that all fittings are packed away and none are left on the playing surface.
WARNING:
Loose pegs may cause injury. Care should be taken when using a r as misuse may cause injury.
Choking Hazard--Toy contains small balls andor small parts.Not for children under 3 years. Don't chase around the table to avoid getting
SPECIFICATIONS
| Model | SUM-3217-4 |
| Product size L x W x H | 820*430*350mm |
| Materials | Medium density fiberboard |
| Scoring Model | Manual scoring |
| Assembly Required | Yes |
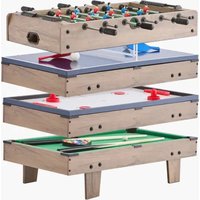
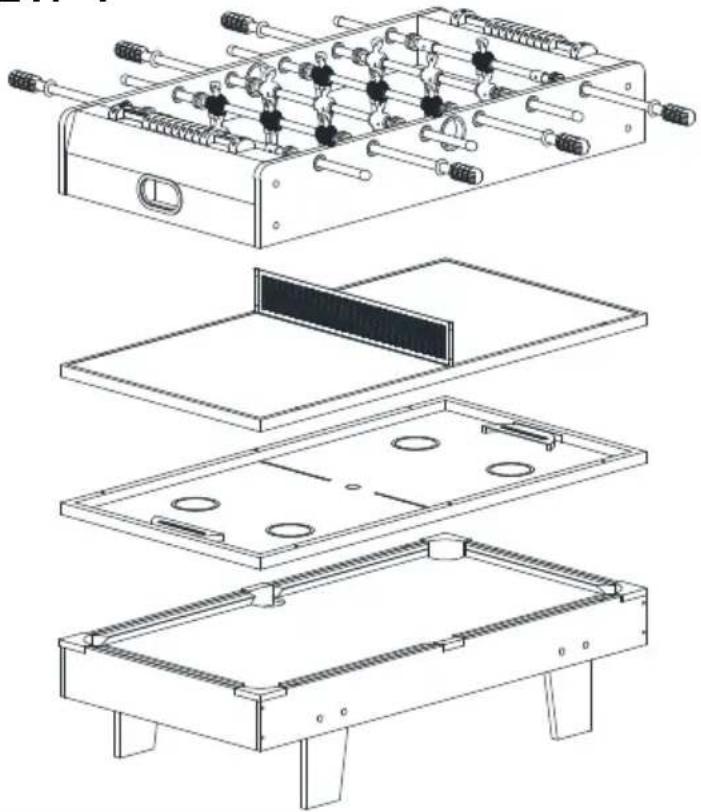
| Sports | Table billiards, air hockey, table tenr table football |
PARTLIST
Note: Refer to part numbers and be sure all parts are included.
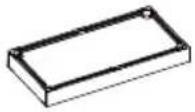 Billiard Playfield Billiard Playfield | x1 x2 x2 x2 | 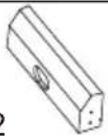 End panel Side panel Left leg End panel Side panel Left leg | 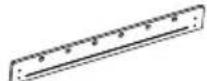 | 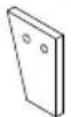 |
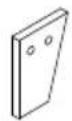 Right leg Soccer Playfield Right leg Soccer Playfield | x2 x1 x8 | 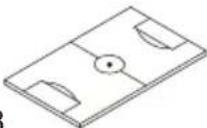 x1 x1 | 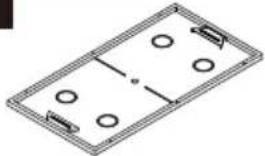 TT/Hockey playfield TT/Hockey playfield | 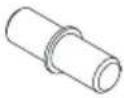 Dowel Dowel |
9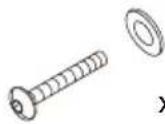 6 x 28mm Washerhead screw 6 x 28mm Washerhead screw | <16 | 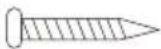 x183.5 x 18mmFlat Head Screw x183.5 x 18mmFlat Head Screw | 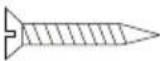 x43.5 x 25mmFlat Head Screw x43.5 x 25mmFlat Head Screw | 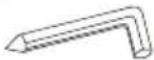 x1Allen Key x1Allen Key |
13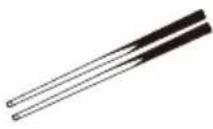 26.5" Cue 26.5" Cue | x2 |  x1Triangle x1Triangle | 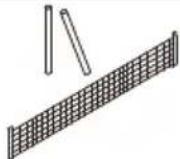 x1Ner & Post x1Ner & Post | 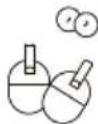 x1Paddle & Ball x1Paddle & Ball |
17 Soccer Ball Soccer Ball | x2 | Player Rod Player - Red |  | 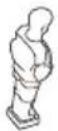 Player - Blue Player - Blue |
21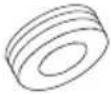 Bumper Bumper | x12 | 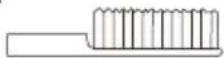 x1Brush x1Brush |  x6Rod End Cap x6Rod End Cap | 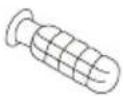 x6Handle x6Handle |
25 Scorer Scorer | x2 |  x4Stop ring x4Stop ring |  x11" Billiard Ball x11" Billiard Ball |  x2Round Puck x2Round Puck |
29 Pusher Pusher | x2 |  x2Felt Pad x2Felt Pad |  x2Chalk x2Chalk |
ASSEMBLY
- Find a clean, level place to begin the assembly of your Multi Game
- Remove all the parts from the box and verify that you have all of listed parts as shown on the parts list
page. Carefully cut or tear the four corners of the box so that the box can be used as your work surface.
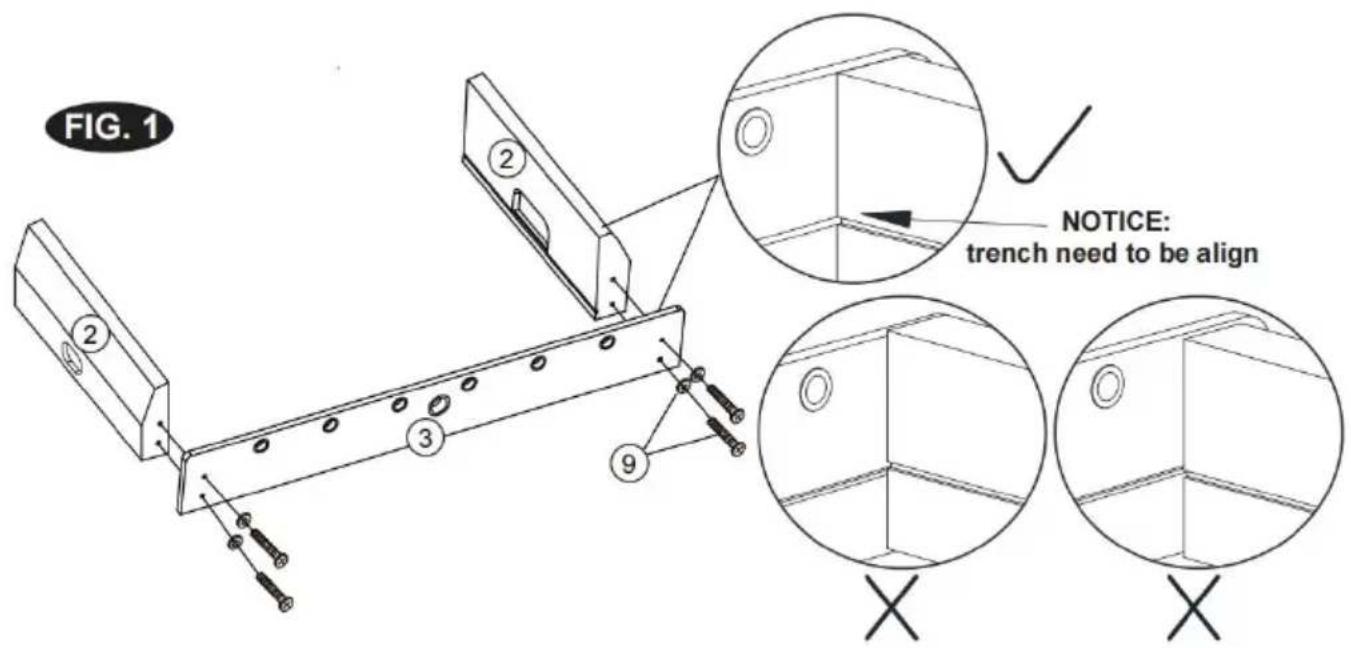
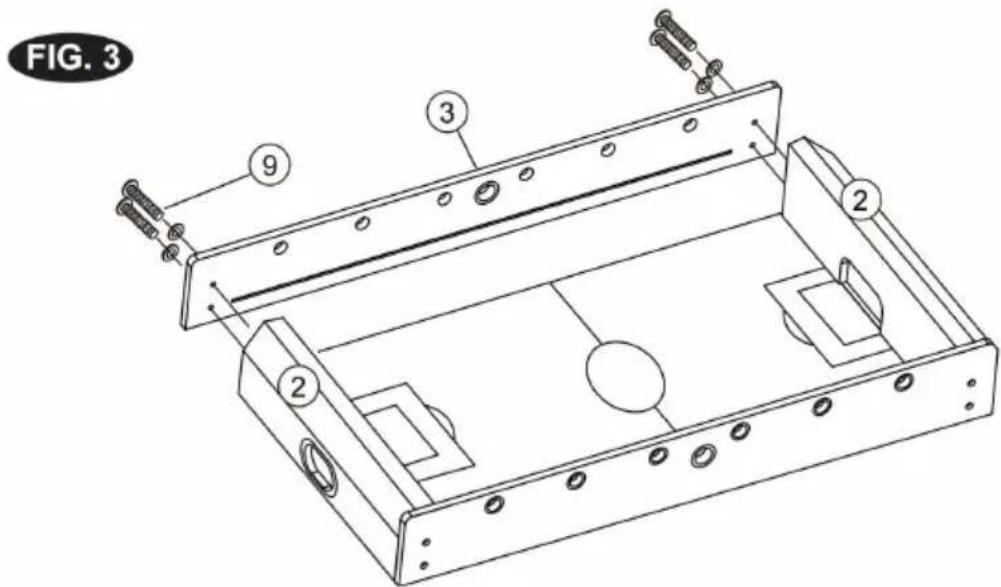
- Attach a part 3 side panel to two part 2 end panels with four par screw/washer sets.
4.Slide the part 6 foosball playfield into the slots on the end panels.
text_image
FIG. 1 NOTICE: trench need to be align X X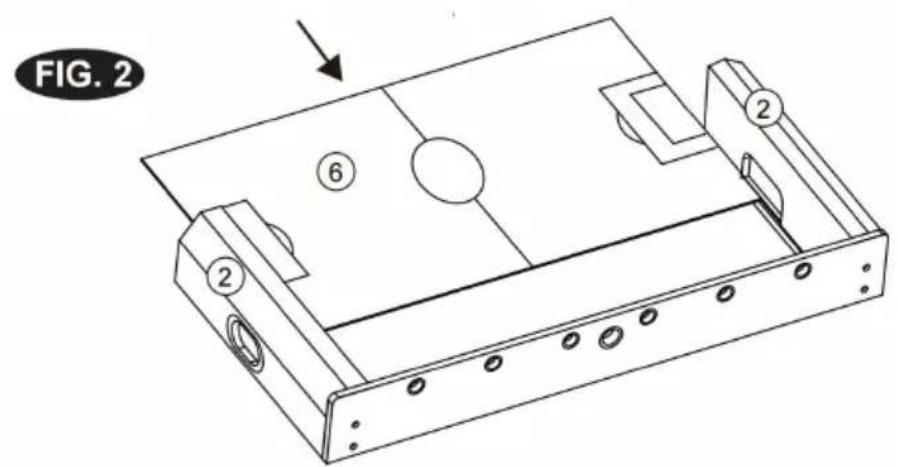
text_image
FIG. 2 ⑥ ② ②- Attach the other part 3 side panel to the end panels with four par screw/washer sets.
text_image
FIG. 3 ⑨ ③ ② ②6.Slide a part 21 bumper, part 26 stop ring, part 19 red player, and bumper, and bumper onto a part 18 player rod and position it in the gRepeat on the other side with a part 20 blue player (figure 5B).
-
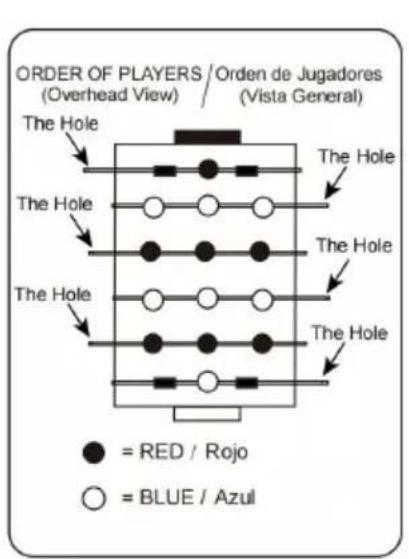
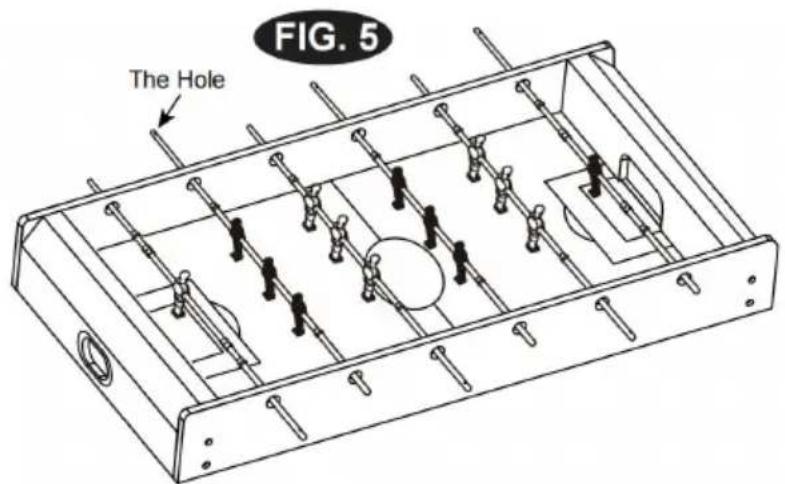
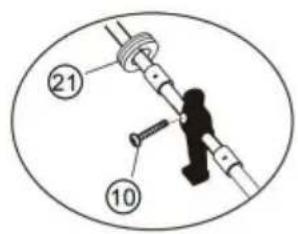
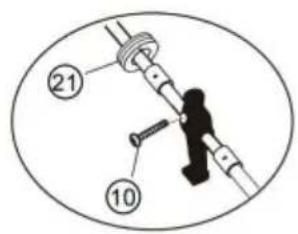
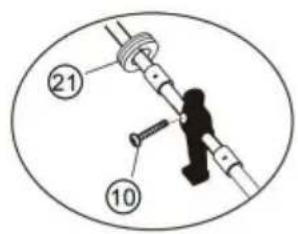
Build the remaining player rods with a bumper, three red/blue player and another bumper. The ends with a hole are arranged on the same 8. Secure the players and stop rings with eighteen part 10 screws, on player or stop ring (figure 5C).
-
Confirm that the rods are arranged correctly and the players on the team face the same direction.
text_image
ORDER OF PLAYERS / Orden de Jugadores (Overhead View) (Vista General) The Hole The Hole The Hole The Hole The Hole The Hole ● = RED / Rojo ○ = BLUE / AzulFIG. 5A
text_image
FIG. 5 The Hole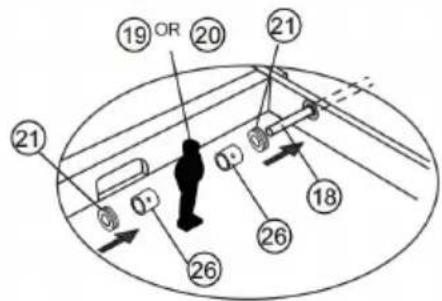
text_image
19 OR 20 21 21 0 0 18 26 26FIG. 5B
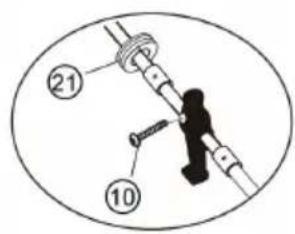
text_image
Technical diagram showing mechanical assembly with numbered components and a central connectorFIG. 5C
- Attach a part 25 scorer with two part 11 screws. Repeat on the side.
Slide six part 24 handles onto the ends of rods with a hole. Slide six end caps onto the ends of rods without a hole. Note: A drop of liquid will help the handles slide on more easily.
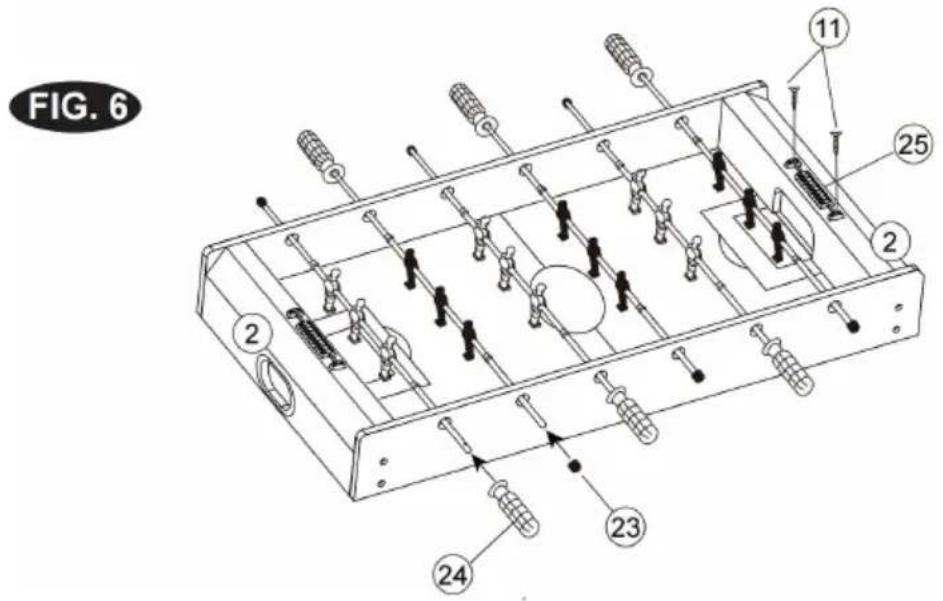
text_image
FIG. 6 11 25 2 2 23 24- Attach two part 4 left legs and two part 5 right legs to the part playfield with eight part 9 screw/washer sets, two sets per leg.
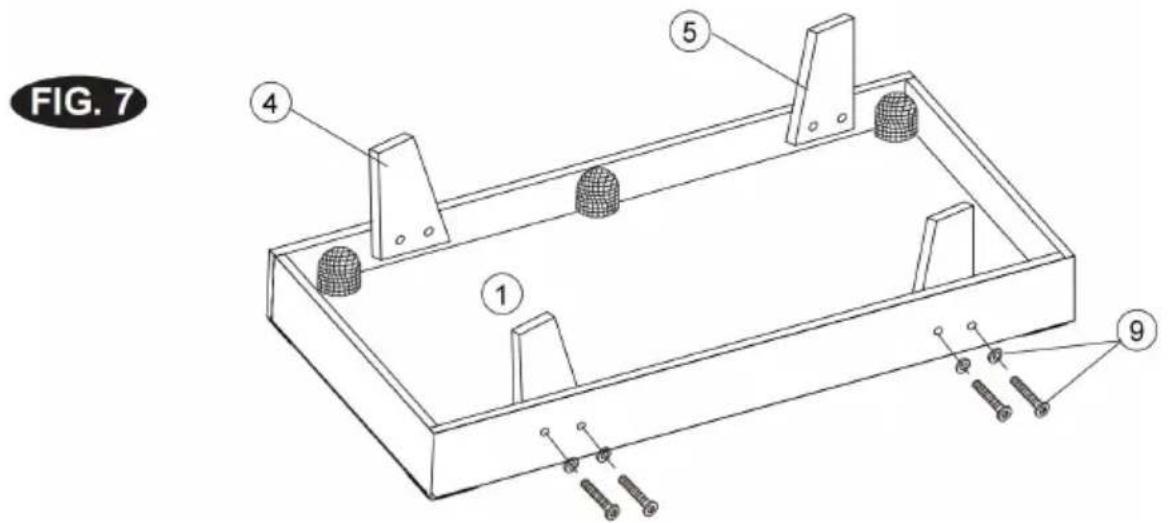
text_image
FIG. 7 ① ④ ⑤ ⑨- Arrange the assembly according to the game you would like to play Secure the foosball table or table tennis/hockey table to the billiards with four part 8 dowels.
If playing hockey, attach the part 30 felt pads to the two part 29 pu
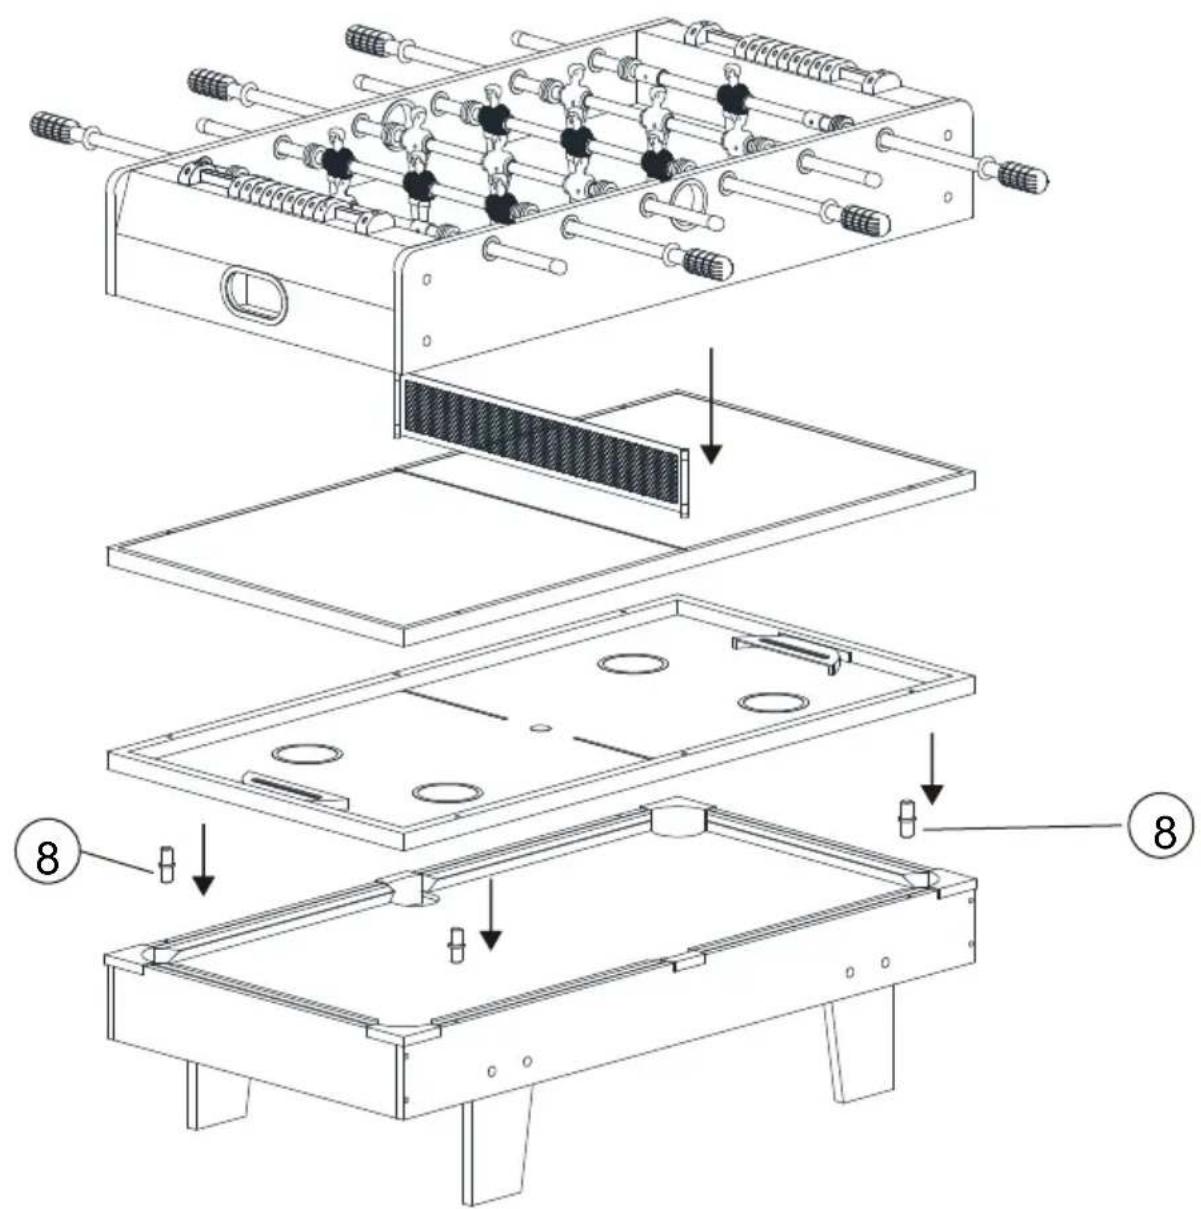
text_image
Technical diagram of a multi-level assembly of an inverter with labeled parts and directional arrows indicating assembly steps.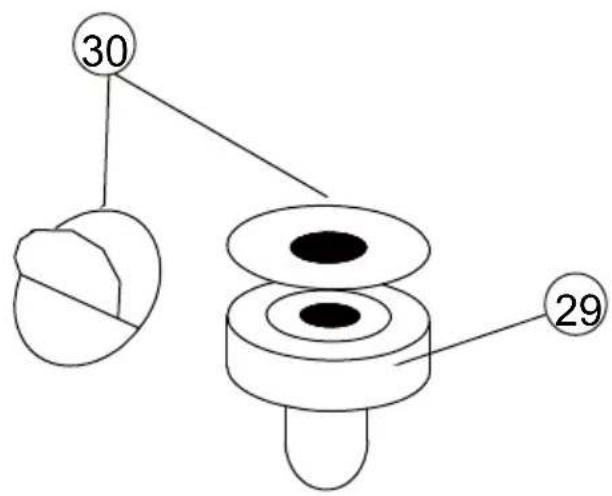
text_image
30 29WARNING!
Read and understand all instructions before using this Air Hockey Tab. The operator must follow basic precautions to reduce the risk of pers injury and/or damage to the equipment.
Keep this manual for safety warnings, precautions, operating or inspect and maintenance instructions.
Please familiarize yourself with the hazard notices found in this manual notice is an alert that there is a possibility of property damage, injury death if certain instructions are not followed.
WARNING!
DO NOT let comfort or familiarity with product (gained from repeated replace strict adherence to the tool safety rules. If you use this tool unsafely or incorrectly, you can suffer serious personal injury.
Assembly precautions
- Assemble only according to these instructions. Improper assembly c create hazards.
- Wear ANSI-approved safety goggles and heavy-duty work gloves duri assembly.
- Keep assembly area clean and well lit.
- Keep bystanders out of the area during assembly.
- Do not assemble when tired or when under the influence of alcohol drugs or medication.
- Weight capacity and other product capabilities apply to properly and completely assembled product only.
- Assemble on a flat, level, hard and smooth surface capable of safe supporting a fully loaded Wine Cabinet.
MAINTENANCE/ Service
Have your air hockey table repaired by qualified personnel using only same replacement parts. This will ensure the safety of the air hockey is maintained. A dusty, humid, or corrosive environment can cause data to an air hockey table. To prevent malfunctions in the air hockey table regularly clean the dust with a clean dry cleaning cloth. Please note lack of maintenance may result in the cancellation of the warranty pe the air hockey table has been modified, or if you attempt to open the hockey table without the consent of the manufacturer's authorized representative, the warranty of this wine cabinet will be invalid.
VEVOR®
TOUGH TOOLS, HALF PRICE
Technical Support and E-Warranty Certificate
www.vevor.com/support
VEVOR®
TOUGH TOOLS, HALF PRICE
natural_image
Technical line drawings of an electronic device chassis with multiple open compartments and internal components (no text or symbols)BESOIN D'AIDE? CONTACTEZ-NOUS!
text_image
FIG. 1 NOTICE: trench need to be align X X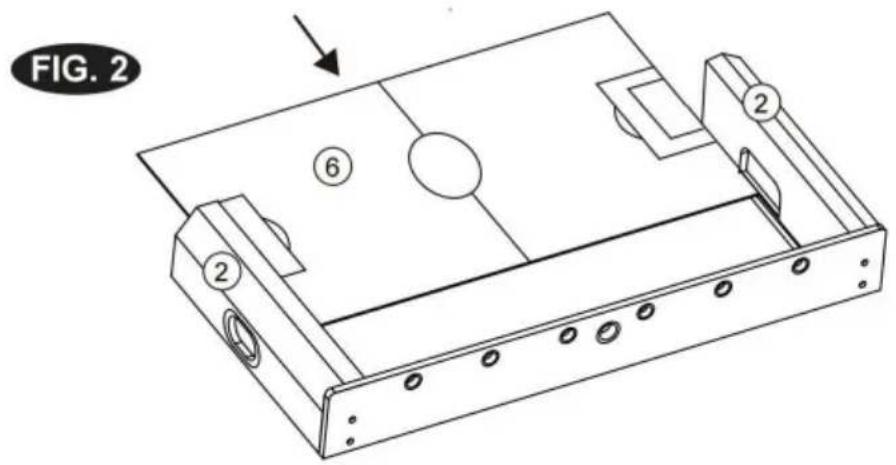
text_image
FIG. 2 ⑥ ② ②text_image
FIG. 3 ⑨ ③ ② ②text_image
⑲ OR ⑳ ⑳ ②1 ②0 ②6 ②18 ②19FIG. 5B
text_image
21 10FIG. 5C
text_image
Technical diagram of a multi-level assembly of an inverter with labeled parts and directional arrows indicating assembly steps.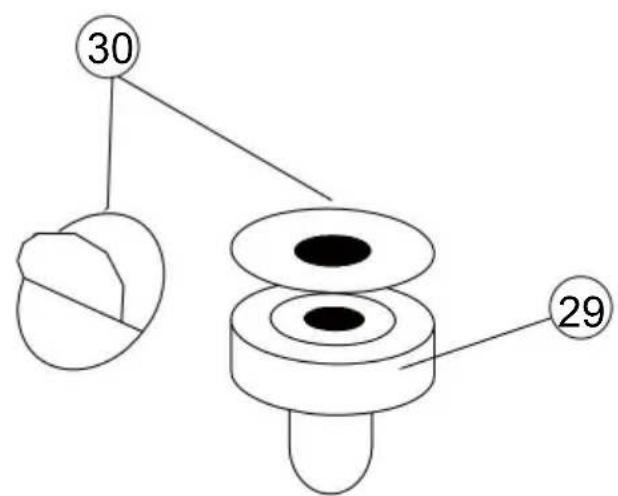
text_image
30 29AVERTISSEMENT!
natural_image
Technical line drawings of a multi-tiered mechanical assembly with no visible text or symbolstext_image
FIG. 1 NOTICE: trench need to be align X X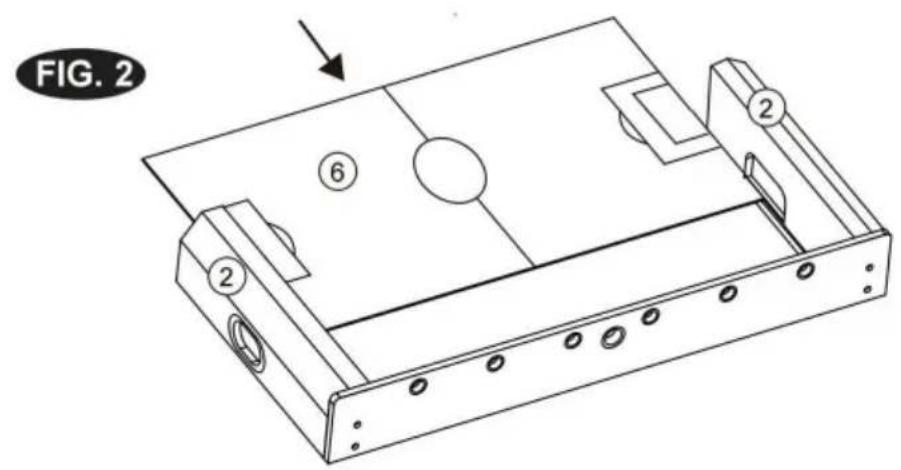
text_image
FIG. 2 ⑥ ② ②Machine Translated by Google
text_image
FIG. 3 ⑨ ③ ② ②text_image
⑲ OR ⑳ ⑳ ②1 ②0 ②6 ②18 ②19FIG. 5B
text_image
21 10FIG. 5C
text_image
Technical diagram of an inverter with labeled components and assembly steps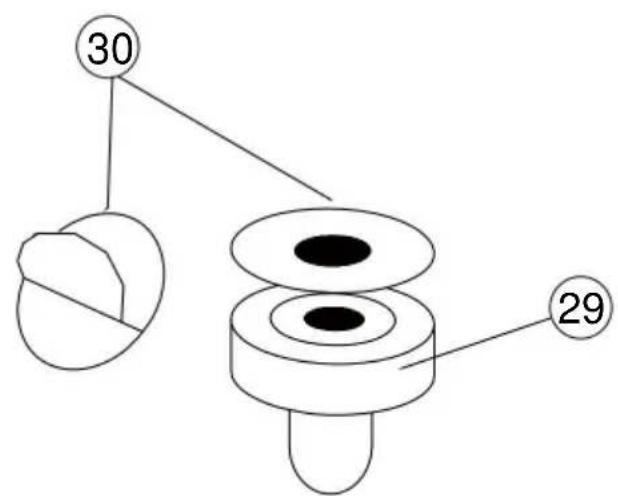
text_image
30 29WARNUNG!
www.vevor.com/support
VEVOR®
TOUGH TOOLS, HALF PRICE
natural_image
Technical line drawings of a multi-tiered mechanical assembly with no visible text or symbolstext_image
FIG. 1 NOTICE: trench need to be align X X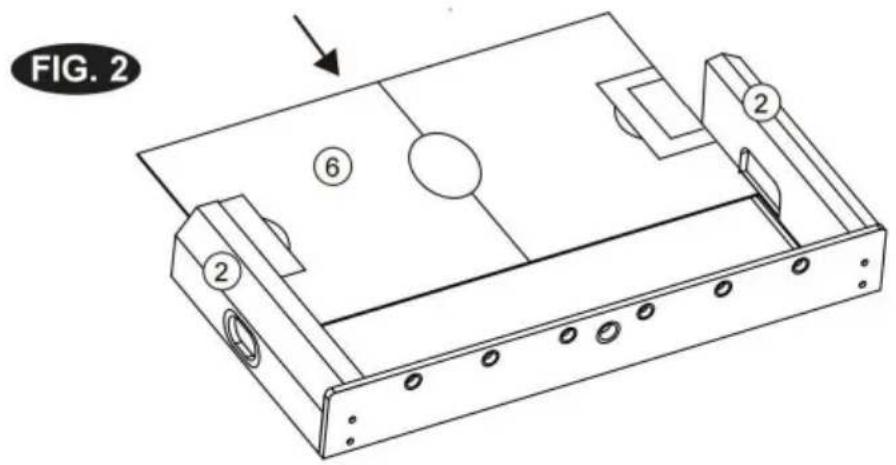
text_image
FIG. 2 ⑥ ② ②text_image
FIG. 3 ⑨ ③ ② ②text_image
Technical diagram of an inverter with labeled components and assembly steps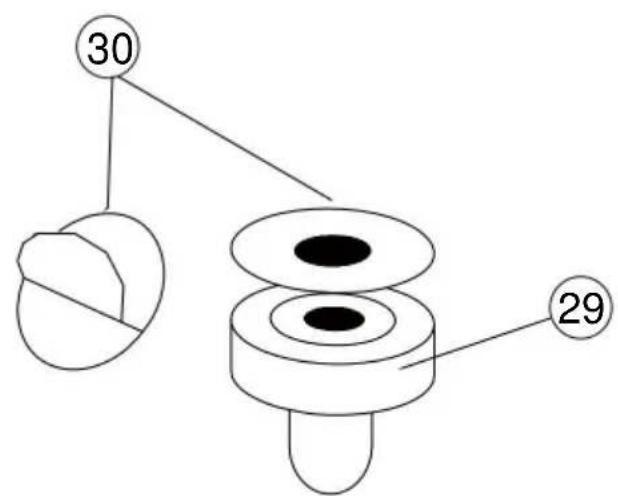
text_image
30 29AVVERTIMENTO!
elettronica www.vevor.com/support
VEVOR®
TOUGH TOOLS, HALF PRICE
natural_image
Technical line drawings of a multi-tiered mechanical assembly with no visible text or symbolstext_image
FIG. 1 NOTICE: trench need to be align X X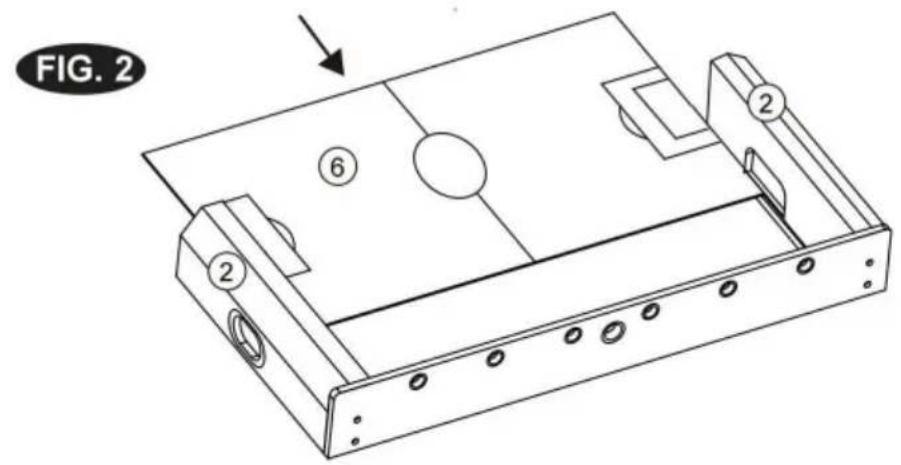
text_image
FIG. 2 ⑥ ② ②Machine Translated by Google
text_image
FIG. 3 ⑨ ③ ② ②text_image
Technical diagram of a multi-level assembly of an inverter with labeled parts and directional arrows indicating assembly steps.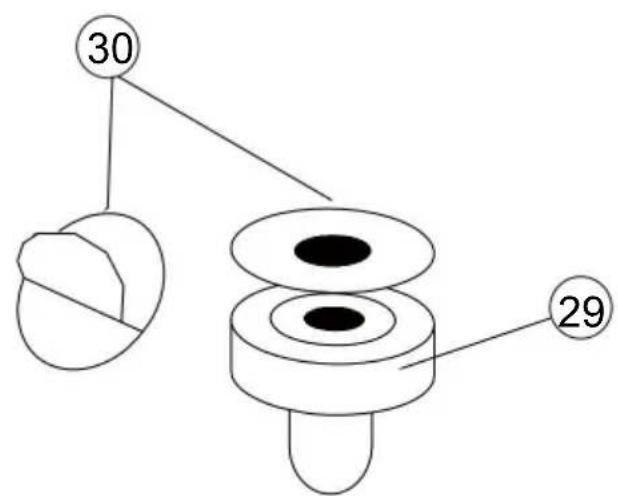
text_image
30 29¡ADVERTENCIA!
natural_image
Technical line drawings of a multi-tiered mechanical assembly with no visible text or symbolsPOTRZEBUJESZ POMOCY? SKONTAKTUJ SIĘ Z NAMI!
text_image
FIG. 1 NOTICE: trench need to be align ② ③ ⑨ X X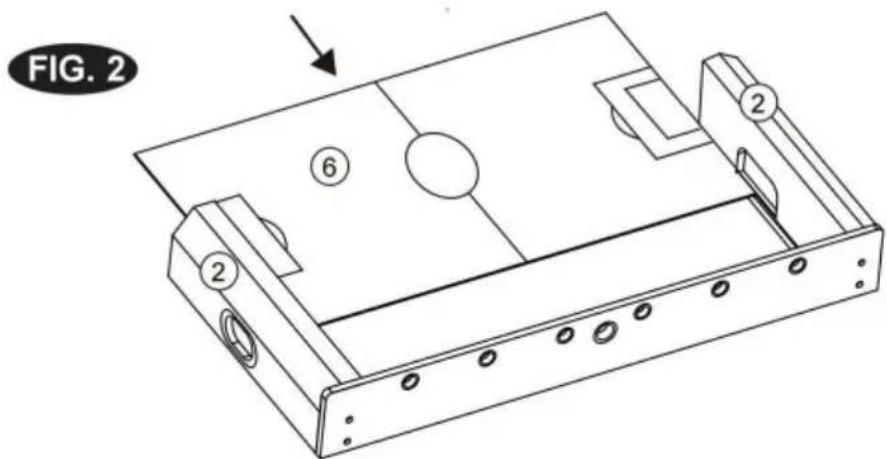
text_image
FIG. 2 ⑥ ② ②text_image
FIG. 3 ⑨ ③ ② ②text_image
⑲ OR ⑳ ⑳ ②1 ②0 ②6 ②18 ②19FIG. 5B
text_image
21 10FIG. 5C
text_image
Technical diagram of a multi-level assembly of an inverter with labeled parts and directional arrows indicating assembly steps.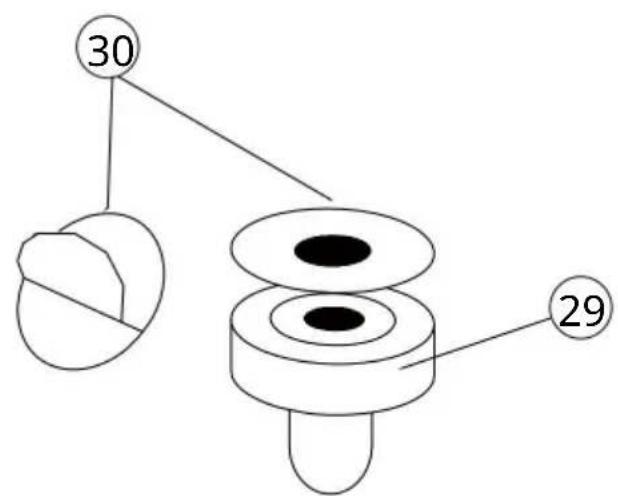
text_image
30 29OSTRZEŻENIE!
natural_image
Technical line drawings of a multi-tiered mechanical assembly with no visible text or symbolsHULP NODIG? NEEM CONTACT MET ONS OP!
text_image
FIG. 1 NOTICE: trench need to be align X X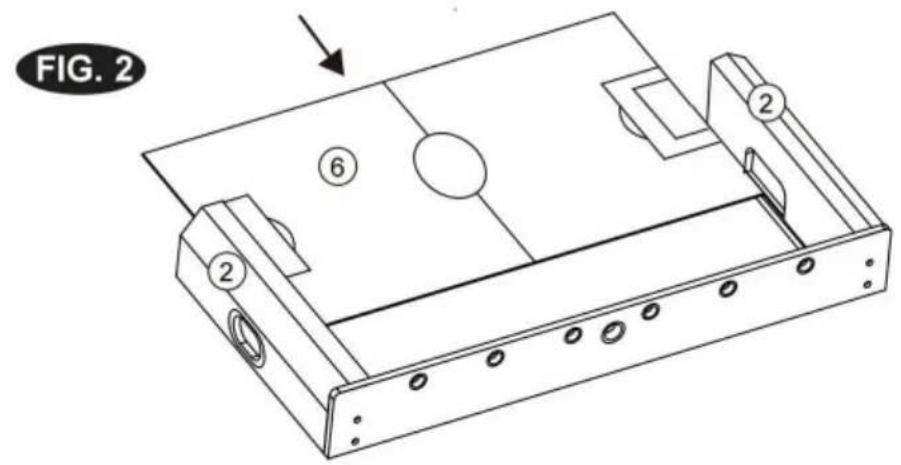
text_image
FIG. 2 ⑥ ② ②text_image
FIG. 3 ⑨ ③ ② ②text_image
Technical diagram of a multi-level assembly of an inverter with labeled parts and directional arrows indicating assembly steps.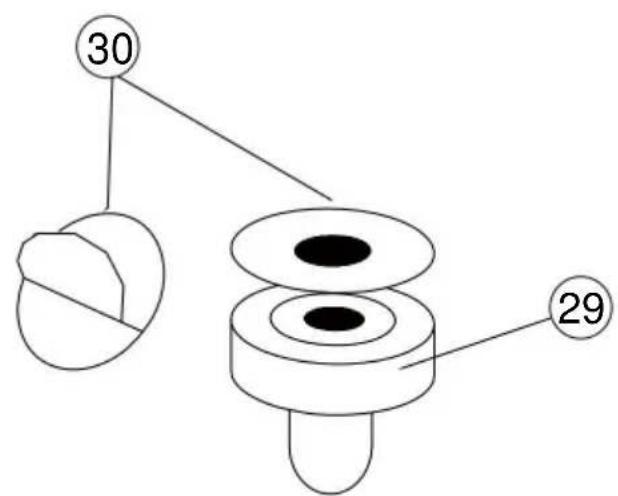
text_image
30 29WAARSCHUWING!
garantiecertificaat www.vevor.com/support
VEVOR®
TOUGH TOOLS, HALF PRICE
natural_image
Technical line drawings of a multi-tiered electronic device with internal components and mounting brackets (no text or symbols)BEHÖVER HJÄLP? KONTAKTA OSS!
text_image
FIG. 1 NOTICE: trench need to be align X X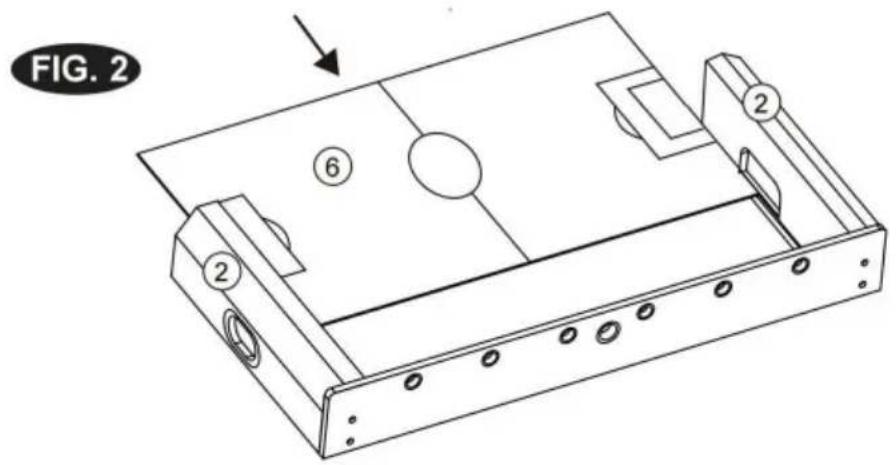
text_image
FIG. 2 ⑥ ② ②text_image
FIG. 3 ⑨ ③ ② ②text_image
Technical diagram of a multi-level football net with numbered parts for identificationtext_image
Technical diagram of a multi-level assembly of an inverter with labeled parts and directional arrows indicating assembly steps.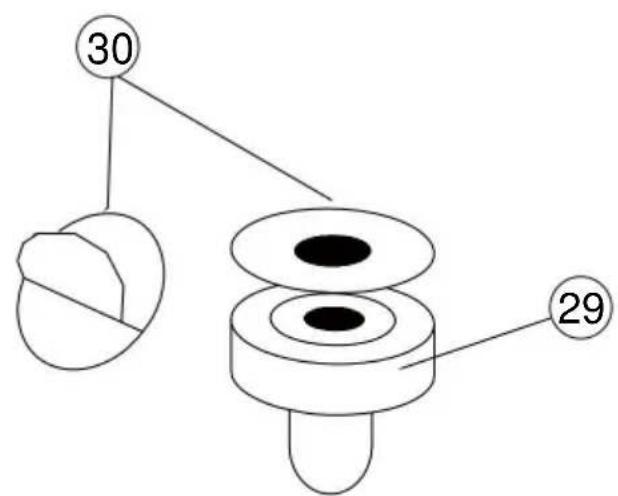
text_image
30 29WARNING!
www.vevor.com/support