
CT902B - Indoor bike trainer Vevor - Free user manual and instructions
Find the device manual for free CT902B Vevor in PDF.
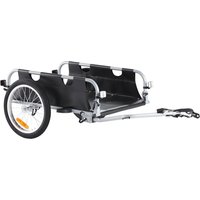


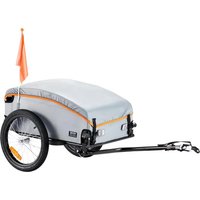
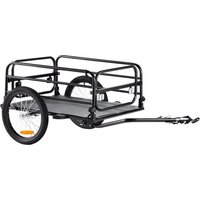
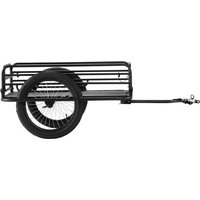
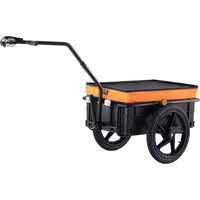
| Product Type | Bicycle Trailer |
| Brand | Vevor |
| Model | CT902B |
| Maximum Load | 45 kg (100 lb) |
| Tray Dimensions | 76.5 x 55.6 x 20.1 cm (30.1 x 21.9 x 7.9 in) |
| Frame Material | Aluminum Alloy |
| Cover Material | PVC |
| Wheel Size | 16 x 1.75 in (40.6 x 4.4 cm) |
| Wheel Material | Aluminum Alloy |
| Hitch Type | Quick Release Axle / Nutted Axle / Thru Axle (incompatible) |
| Reflectors | White at front, red at rear |
| Included Tools | 1 mm, 19 mm, 4 mm wrenches, hex key |
| Speed Limitations | 16 km/h on straight road, 8 km/h in turns |
| Minimum Rider Age | 16 years |
| Storage | Indoors, temperature between -23°C and 65°C |
| Maintenance | Hand wash with mild soap, do not use bleach |
| Safety | Check hitch, pins, and weight on hitch bar (30-80 N) |
| Warranty | Electronic warranty certificate at www.vevor.com/support |
Frequently Asked Questions - CT902B Vevor
User questions about CT902B Vevor
0 question about this device. Answer the ones you know or ask your own.
Ask a new question about this device
Download the instructions for your Indoor bike trainer in PDF format for free! Find your manual CT902B - Vevor and take your electronic device back in hand. On this page are published all the documents necessary for the use of your device. CT902B by Vevor.
USER MANUAL CT902B Vevor
Technical Support and E-Warranty Certificate
www.vevor.com/support
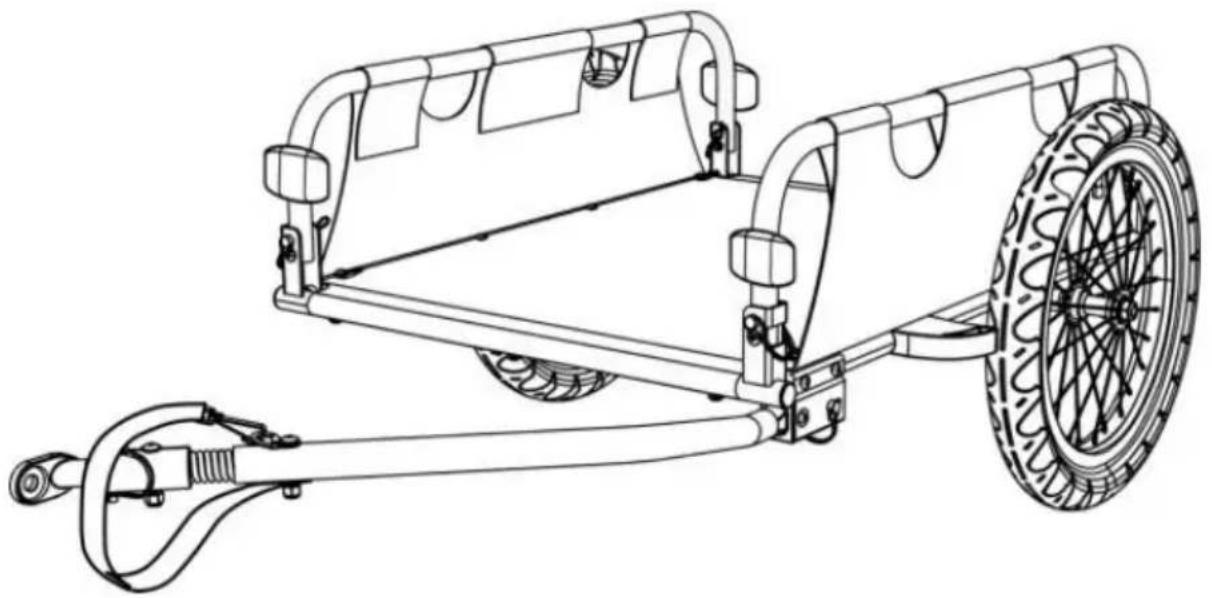
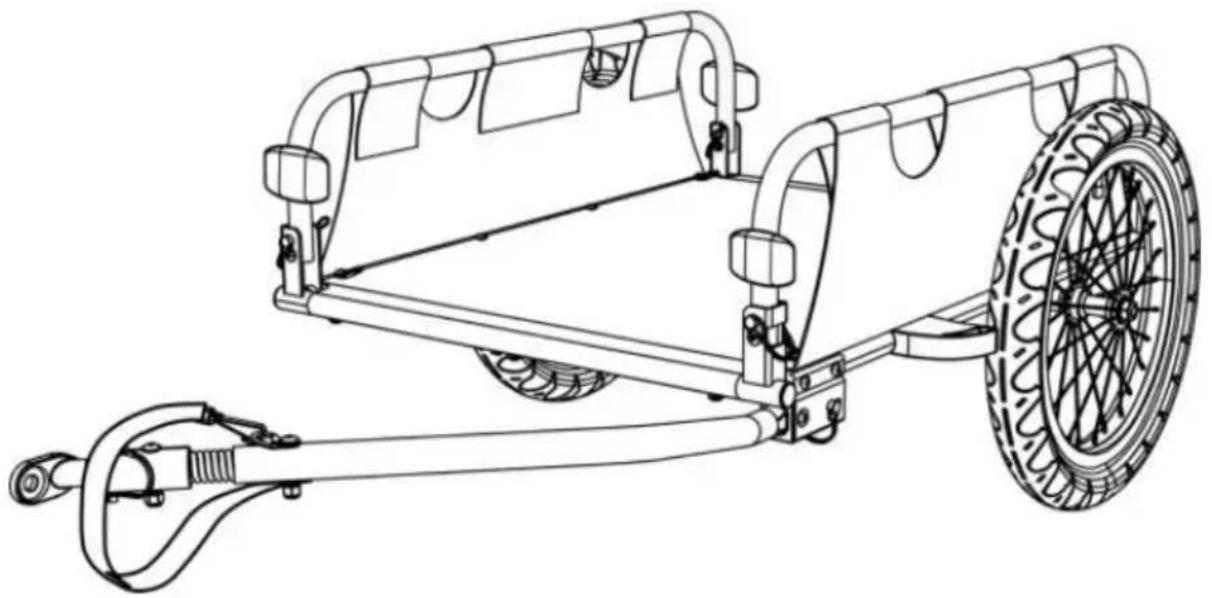
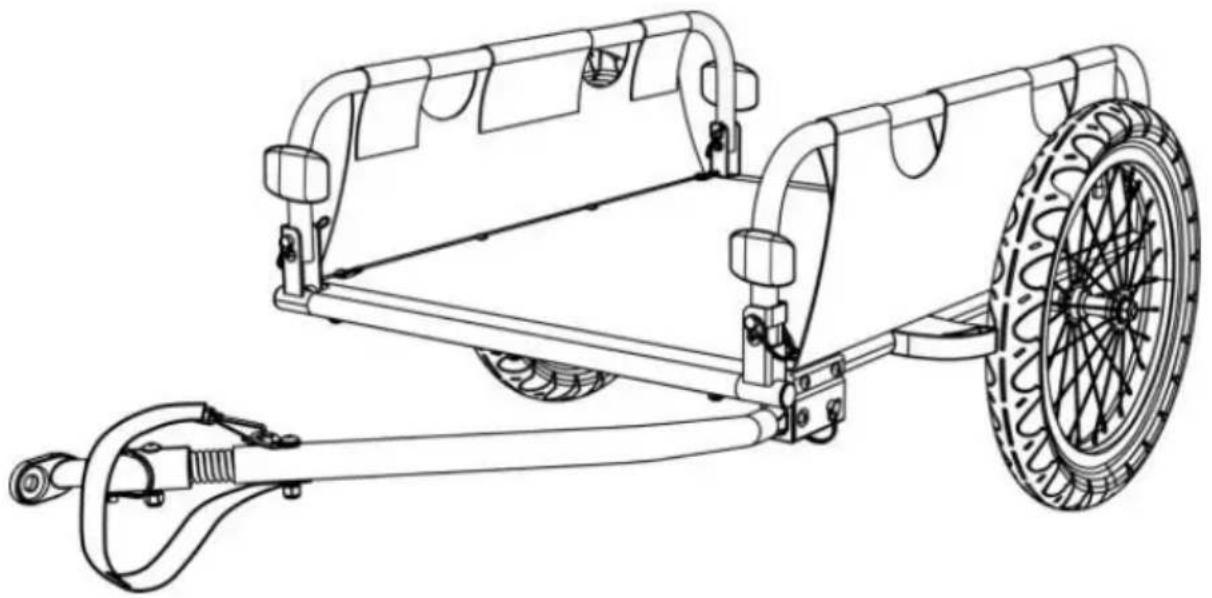
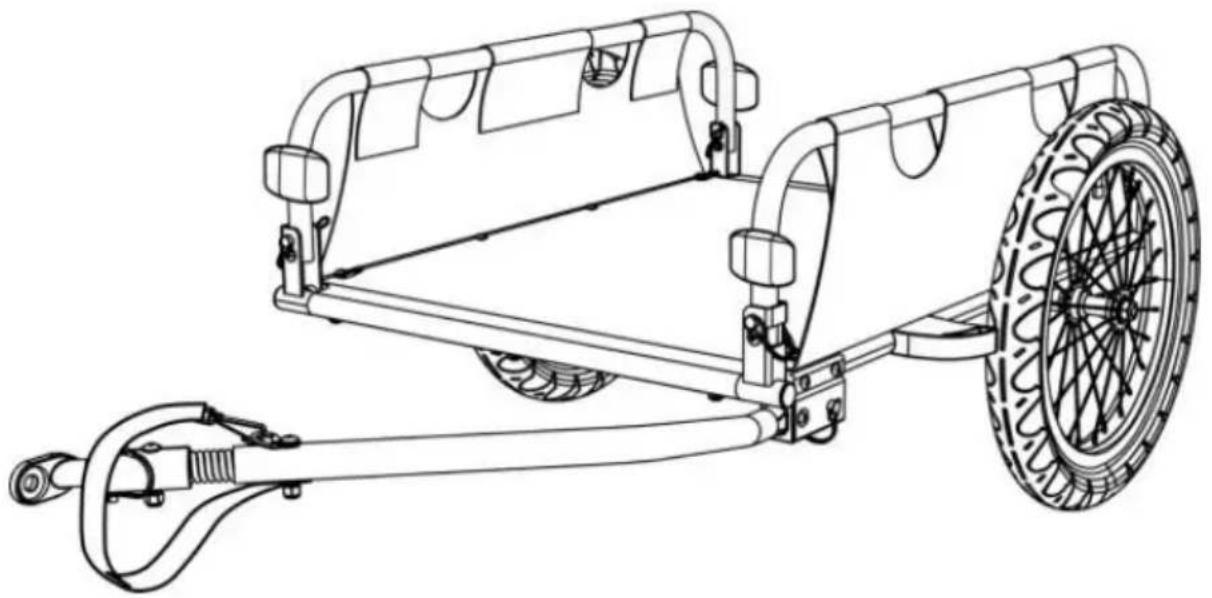
BICYCLE CARGO TRAILER
MODEL: CT902B
We continue to be committed to providing you with tools at competitive prices. "Save Half", "Half Price", or any other similar expressions used by us only represent an estimate of savings you might benefit from buying certain tools with us compared to top brands, and does not necessarily mean to cover all categories of tools offered. We kindly remind you to verify carefully when placing an order with us that you are actually saving half in comparison with the top major brands.
MODEL: CT902B
Important: Keep these instructions for future reference
NEED HELP? CONTACT US!
Have product questions? Need technical support? Please feel free to contact us:
Technical Support and E-Warranty Certificate www.vevor.com/support
This is the original instruction. Please read all manual instructions carefully before operating. VEVOR reserves a clear interpretation of the user manual. The appearance of the product shall be subject to the product you received. Please forgive us that we won't inform you if there are any technology or software updates on our product.
WARNING
Failure to comply with the instructions and warnings in this manual could result in serious injury or death of the rider.
- Ensure that all locking devices are engaged before use. ● Maximum load: 45 kg (100 lbs.) as trailer.
- This product is not suitable for running or skating.
- Any load attached to the handle and/or on the back and/or on the sides of the vehicle will affect the stability of the
- Accessories which are not approved by the manufacturer shall not be used.
- Only use replacement parts supplied or recommended by the manufacturer.
- Do NOT use it with a total load that exceeds the weight limits. If recommended load is exceeded, the unit may become unstable. ● DO NOT make modifications to the product.
- DO NOT over-inflate the tires. Failure to comply with the rated tire sidewall pressure may lead to explosion of the tire and possible
- It is recommended that a qualified bicycle mechanic does a safety check of the towing bicycle before attaching the trailer.
- Before each ride, be sure the trailer does not interfere with braking, pedaling, or steering of the bicycle.
- Always comply with local regulations when using the trailer on public roadways.
- Never ride a bicycle at night without adequate lighting.
- Obey all local legal requirements for lighting.
- If you need to come to a stop for any reason, such as to make adjustments or to address a flat tire, be sure to pull off the road completely.
- When using your trailer, you are towing extra weight and a bigger vehicle. You must allow more time for braking, slowing, stopping, and starting, and allow more room for turns and passageways. Experiment with the loaded trailer in an uncongested area until you become
familiar with how your bike handles towing a trailer.
- Avoid rocks, curbs, hard braking, and sudden swerving. Avoid riding over obstacles with one wheel, as this may cause the trailer to tip over. ● Always ride with the cover down to secure the cargo. ● The rider of the bicycle must be at least 16 years old.
- Recommended speed limits: - 16 km/h (10 MPH) on smooth, straight roads - 8 km/h (5 MPH) when turning or on uneven roads.
- Trailer weight must be properly distributed for safe handling. The weight on the hitch connector should be between 30 N (≈6.6 lbs.) and 80 N (≈17.6 lbs.). To measure this, load your trailer and place it on a bathroom scale. Step on the scale and make a note of your weight. Standing on the scale, lift up the end of the tow bar one foot (approximately 25 cm) off the ground. The weight shown should be 17.6 lbs. more than your own weight. If the weight is too low, the wheel of the bicycle could lose traction. If it is too high, the hitch is overloaded.
MODEL AND PARAMETERS
| Model | CT902B |
| Type | Tow |
| Max. Load | 100lbs |
| Storage Bin Size | 30.1*21.9*7.9inch |
| Wheels | Aluminium alloy, 16*1.75inch |
| Material | Aluminium alloy,PVC |
CONTENTS
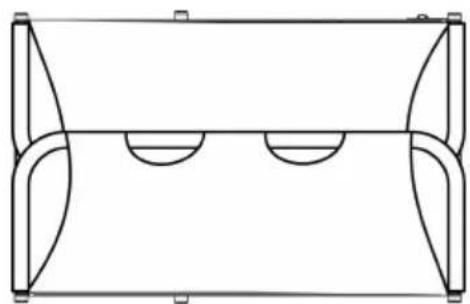 | 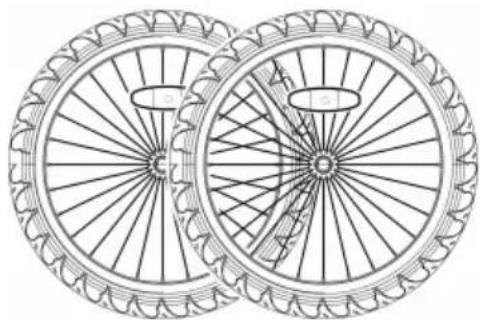 |
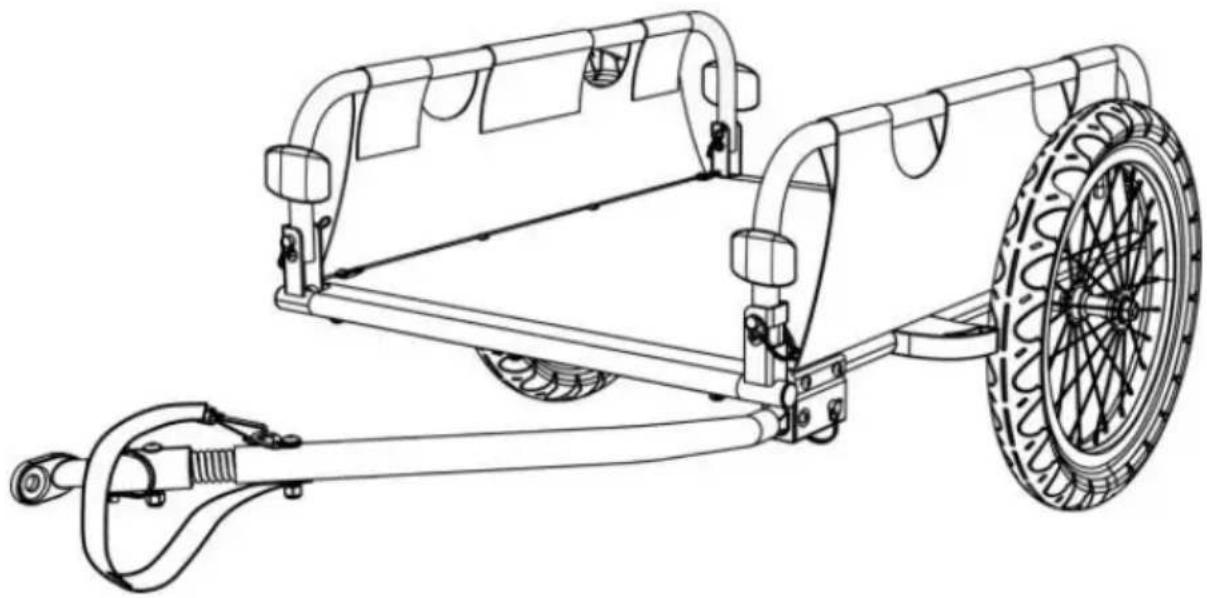
| 1 x Main frame | 2 x Wheels |
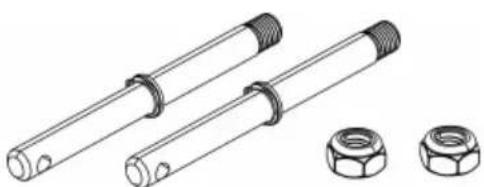 | 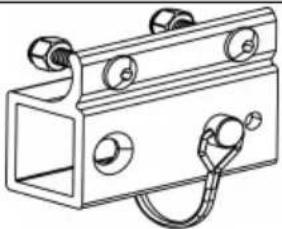 |
| 2 x Wheel axle | 1 x Tow bar receiver |
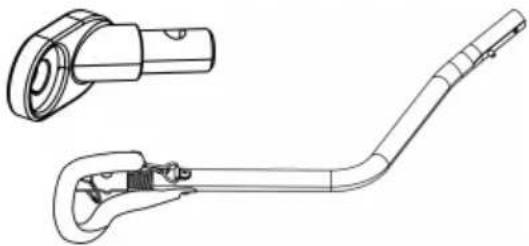 |  |
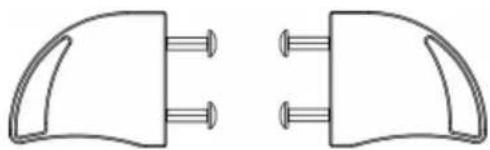
| 1 x Tow bar | 2 x Wheel guards |
 |  |
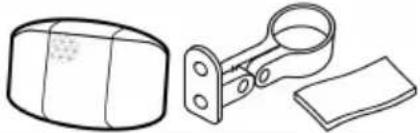 | 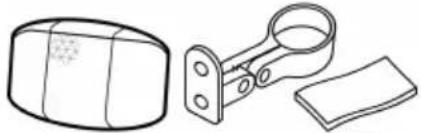 |
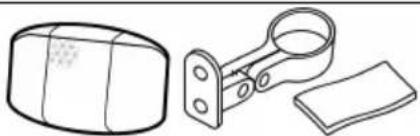
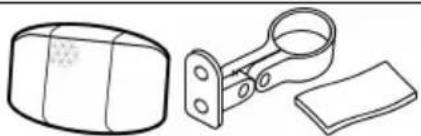
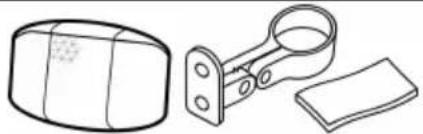
| 2 x Front reflector kits (white) | 2 x Rear reflector kits (red |
| Tools | |
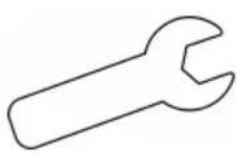 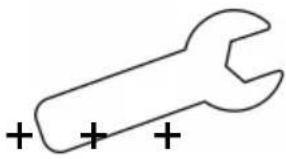 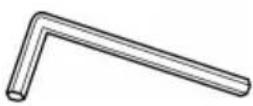 |  |
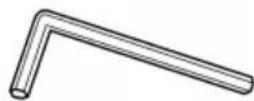
| 1 x 11mm Wrench +1 x 19mm Wrench +1 x 4mm Hex key+1 x U | |
How to Assemble
1. Opening the Main Frame
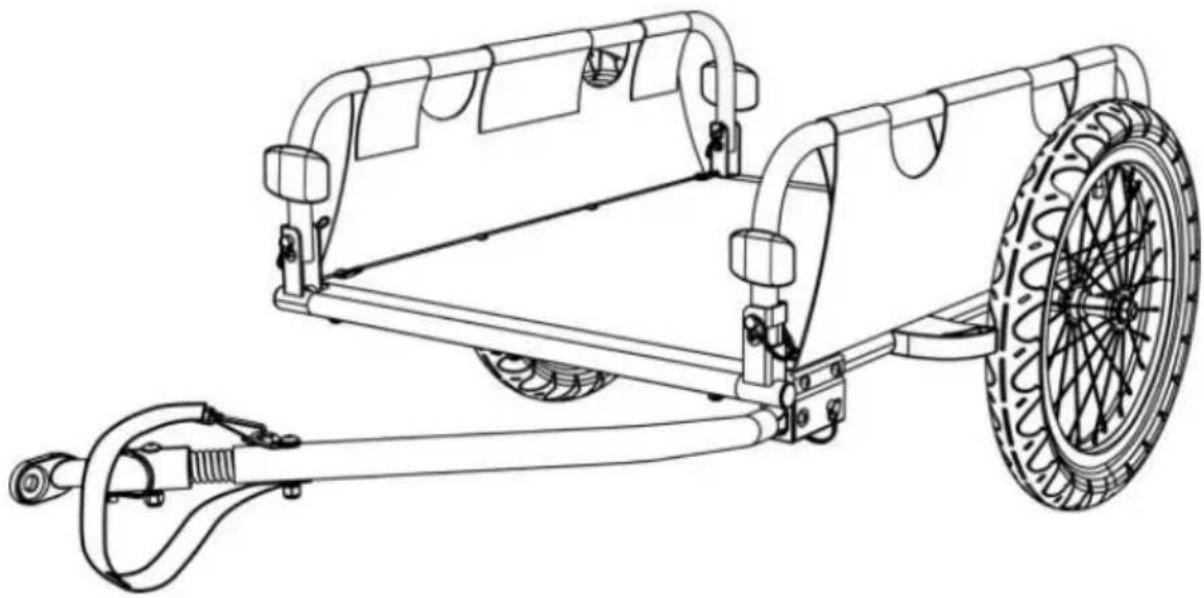
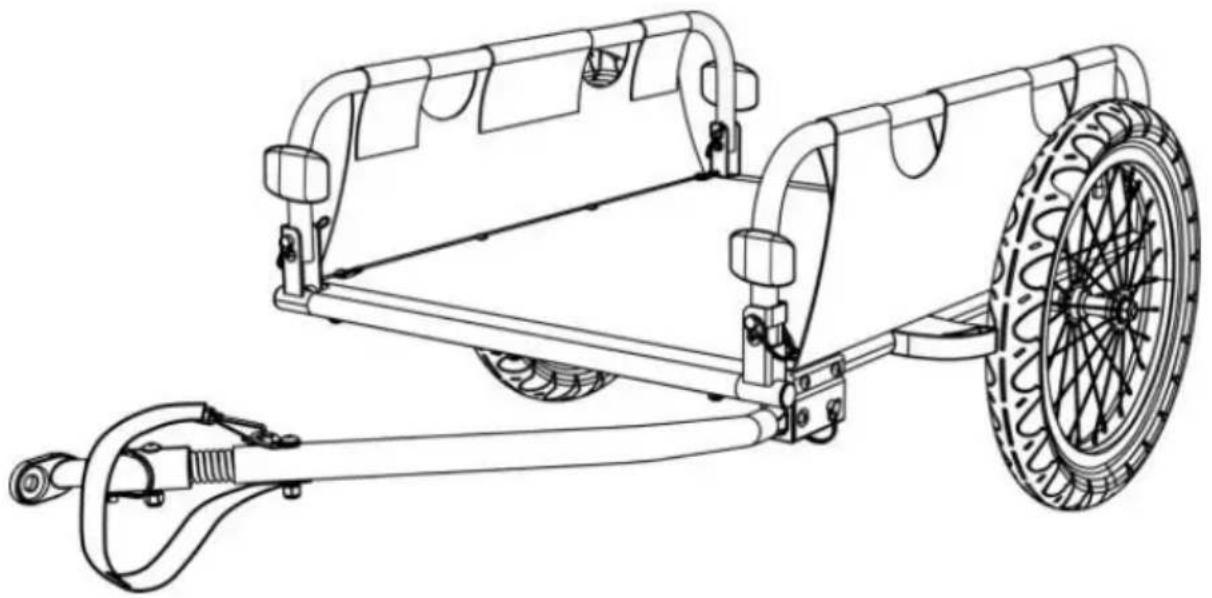
Take out the trailer's main frame and all other components from the box. Raise all side frames to an upright position (Figure 1).
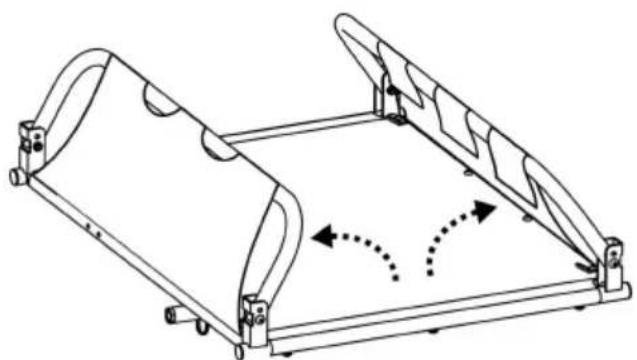
Figure 1
Insert the safety pins (Figure 2) at the bottom of both side panels. Make sure that safety pins are properly locked in place as shown (Figure 3).
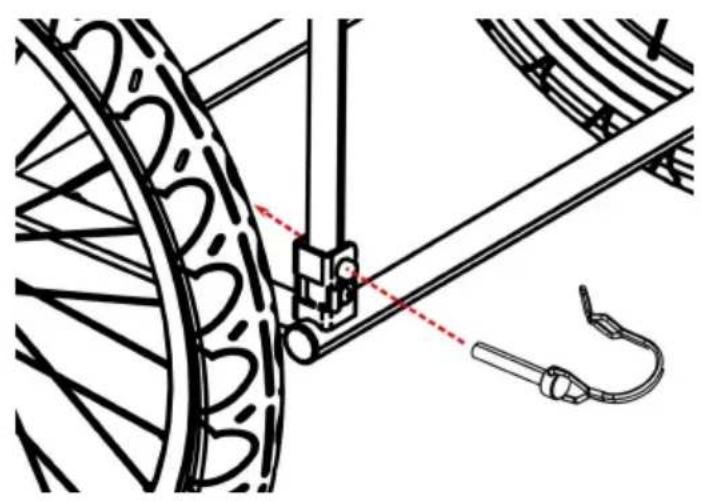
Figure 2
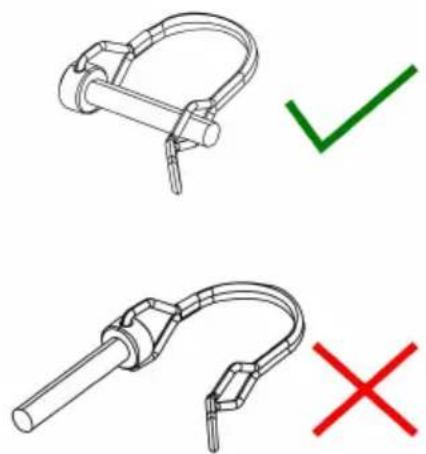
Figure 3
2. Attaching the Wheels
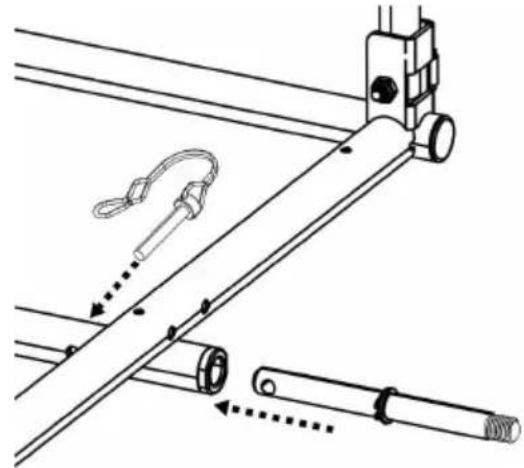 Figure 4 Figure 4 | Insert wheel axle into axle receiver underneath the trailer frame and lock the safety pin (Figure 4). |
| Put the wheel and the screw nut on the axle (Figure 5). Fa screw nut with 19 mm wrench (Figure 6). | |
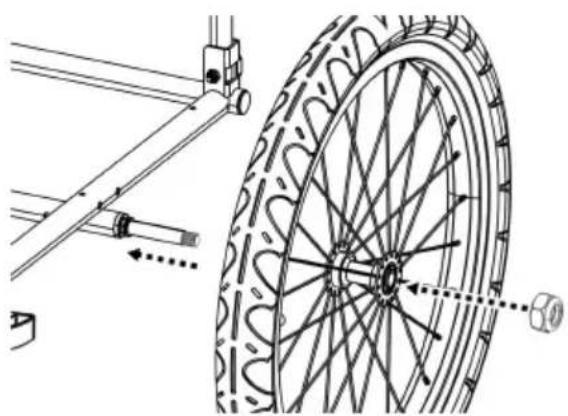 Figure 5 Figure 5 | 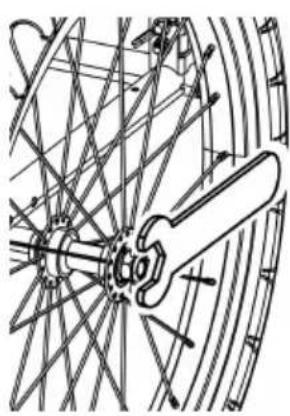 Figure 6 Figure 6 |
3. Installing the Wheel Guards
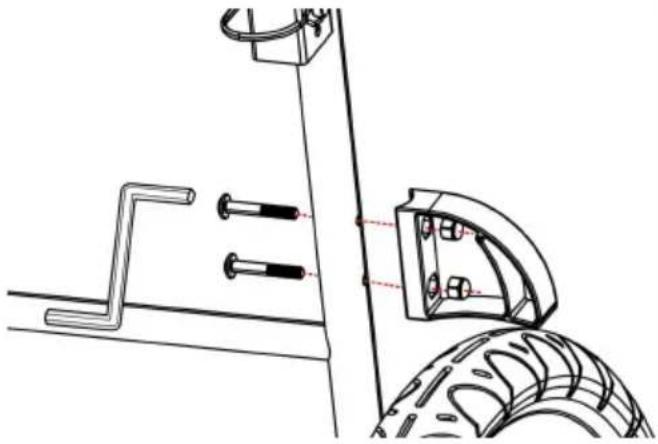 Figure 7 Figure 7 | Insert wheel guard bolts through frame tube. Match holes in whe guards to bolts. Tighten securely with hex key (Figure 7). Repea wheel guard on other side of trailer. |
4. Installing the Tow Bar
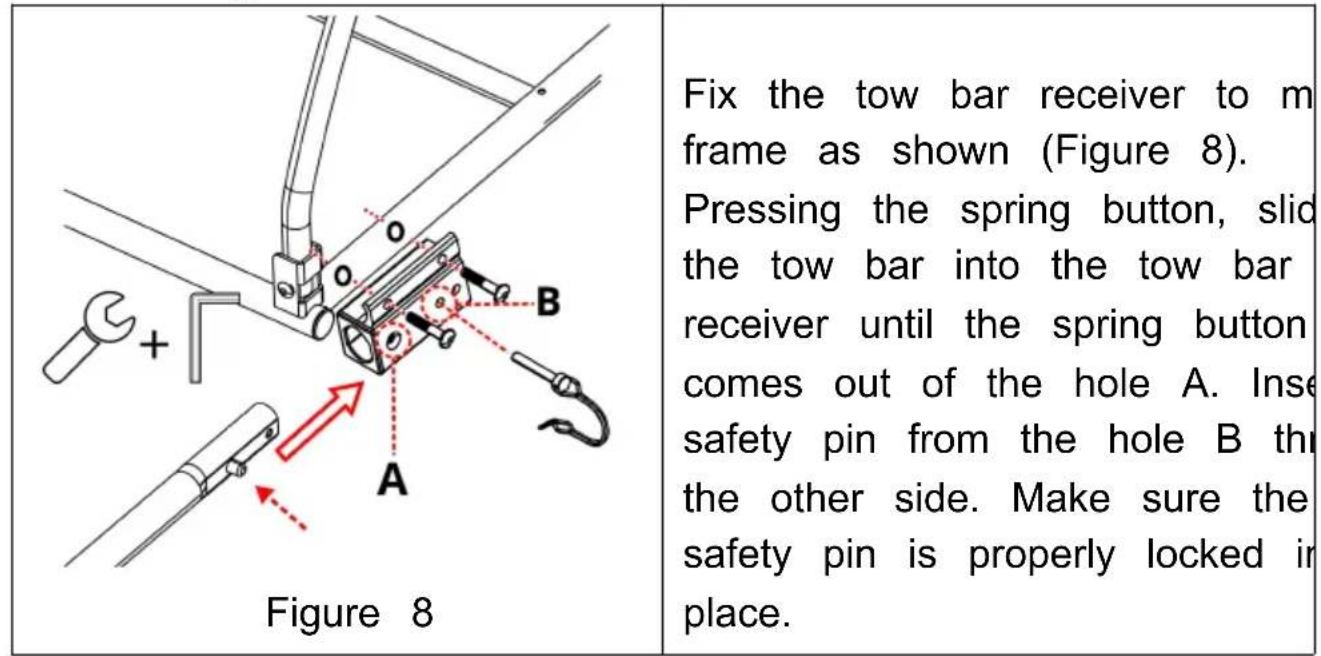
5. Installing Reflectors
| Figure 9 | Push to mount the reflector or clamp. Insert the anti-slip rubber into the hole of the clamp (Fig 9). |
| Figure 10 | Open the clamp and mount th clamp on the trailer (Figure 10) |
| Please be careful not to confuse different positions (Figure 11) | |
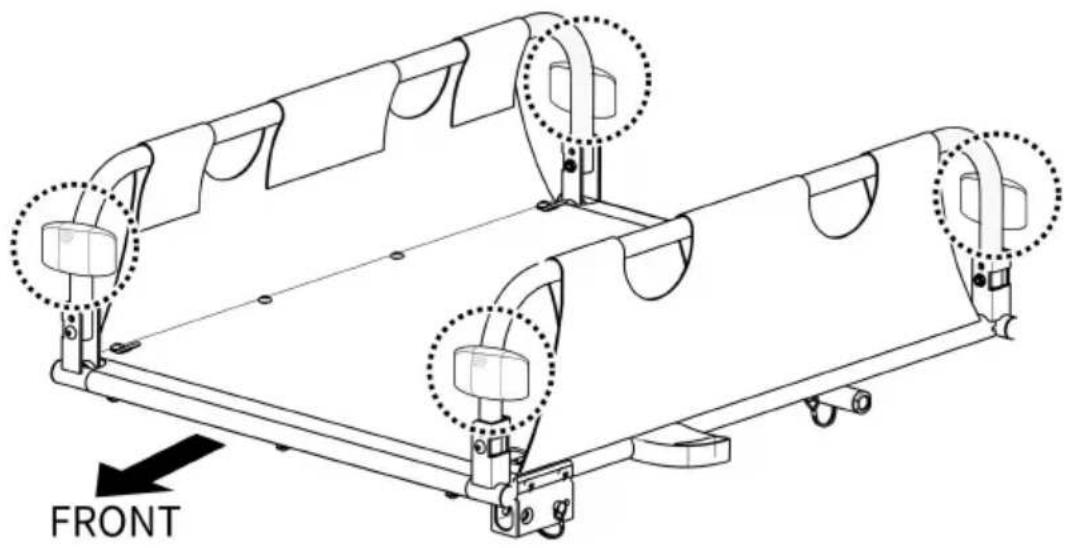
Figure 11
6. Attaching Trailer to Bicycle
- Quick-release Axle: Remove the quick-release from the left side of the bike's rear axle. Install the hitch between the quick-release and the axle, then tighten the quick-release following the bike manufacturer's manual. The hitch can remain on the bike when the trailer is removed (Figure 12).
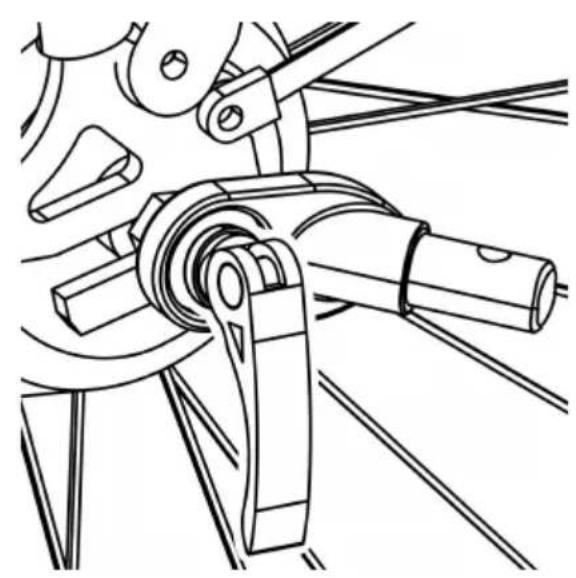
Figure 12
WARNING
The tension-adjusting nut must engage the threads for at least five full turns in order to ensure adequate clamping force for holding the rear wheel securely. Failure to tighten the tension-adjusting nut fully may result in accidents with serious injury or death. If the quick-release skewer is too short, it must be replaced. Consult a professional bicycle mechanic for the appropriate parts and assistance.
- Nutted Axle: Unscrew the nut with washer from the left side of the bike's rear axle. Install the hitch onto the axle and screw the nut back on with the washer (Figure 13).
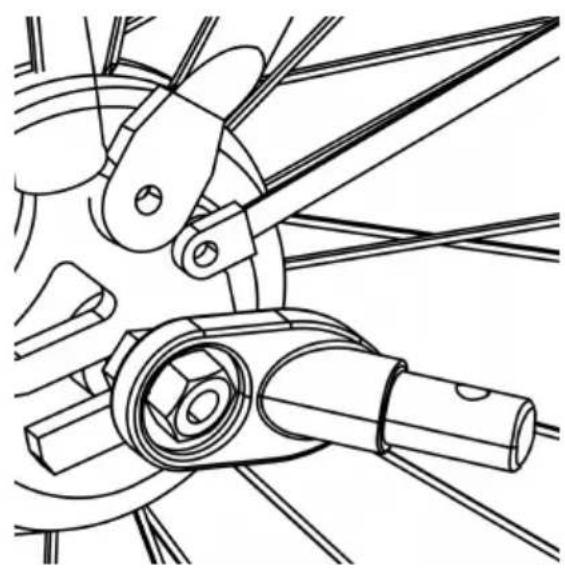
Figure 13
WARNING
The axle nut must engage the threads for at least five full turns in order to ensure adequate clamping force for holding the rear wheel securely. Failure to tighten the nut fully may result in accidents with serious injury or death. If the axle is too short, the Universal Hitch cannot be used. Consult a professional bicycle mechanic for the appropriate parts and assistance.
- Thru Axle: The universal hitch doesn't fit a bike with a thru axle. Please consult the retailer for a possible solution.
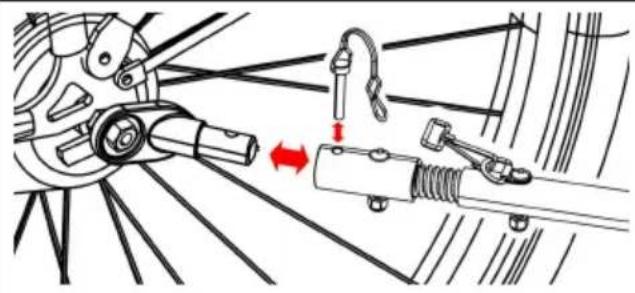
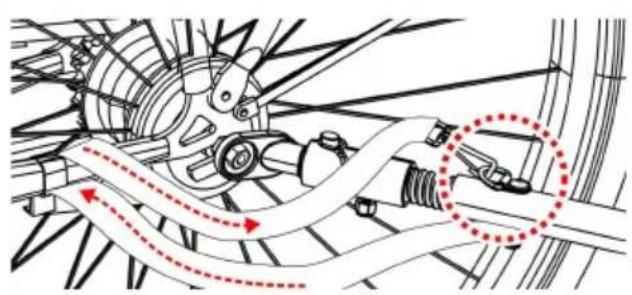
Figure 14
Connect the coupler on the bar and secure the safety pin (Figure 14). Once the tow bar is attached, wrap the safety belt around the frame of the bike and hook it onto the D-ring on the tow bar.
Before You Ride
Check before each use:
● Wheels are properly secured to the trailer. ● Tires are inflated to the recommended pressure on the tire sidewall. ● Tow bar is properly secured to the trailer. ● Coupler is properly secured to the bicycle. ● Coupler and safety pins are secured. ● Load does not exceed 45 kg (100 lbs). ● Weight of tow bar at coupler is greater than 2 kg but does not exceed 4.5 kg with a fully loaded trailer. ● Make sure that the bicycle is in proper working order, especially brakes and tires (refer to the bicycle manufacturer's instructions). ● Rider is wearing a helmet. ● Cargo is properly secured. ● Cover is installed and closed.
MAINTENANCE
Storage: For longer product life, store trailer indoors. The trailer should be stored at temperatures less than -10°F (-23°C) or greater than 15°C (65°F).
Fabric Care: Hand wash fabric parts with warm water and mild soap. Do NOT use bleach or solvents. Wipe dry and store out of direct sunlight in a dry, well-ventilated area. Clean windows with a damp, soft cloth.
Check:
- Inspect tow bar, hitch, frame tubing, flex connector and hardware for damage.
- Flex Connectors need to be serviced every 3-5 years for safe operation - Check that bolts are tight.
- Inspect tires and wheels for wear and cracks - Inspect wheels for trueness and cracks.
- Inspect fabric parts for rips, abrasions, and missing or damaged hardware.
Manufacturer: Shanghaimuxinmuyeyouxiangongsi
Address: Baoshanqu Shuangchenglu 803long 11hao 1602A-1609shi Shanghai
EC REP: SHUNSHUN GmbH.
Römeräcker 9 Z2021, 76351 Linkenheim-Hochstetten, Germany
Tel: +49 1727041930 euvertreter@gmail.com
UK REP: Pooledas Group Ltd.
Unit 5 Albert Edward House, The Pavilions Preston, United Kingdom
Tel: 01772418127 pooledas123@gmail.com
Imported to AUS: SIHAO PTY LTD.
1 ROKEVA STREETEASTWOOD NSW 2122 Australia
Imported to USA: Sanven Technology Ltd.
Suite 250, 9166 Anaheim Place, Rancho Cucamonga, CA 91730
Made In China
VEVOR®
TOUGH TOOLS, HALF PRICE
Technical Support and E-Warranty Certificate
www.vevor.com/support
VEVOR®
TOUGH TOOLS, HALF PRICE
We continue to be committed to provide you tools with competitive price. "Save Half", "Half Price" or any other similar expressions used by us only represent of savings you might benefit from buying certain tools with us compared to top brands and does not necessarily mean to cover all categories of tools offered are kindly reminded to verify carefully when you are placing an order with us actually saving half in comparison with the top major brands.
MODEL: CT90 2B
NEED HELP? CONTACT US!
Have product questions? Need technical support? Please feel free to contact us:
Technical Support and E-Warranty Certificate www.vevor.com/support
This is the original instruction. Please read all manual instructions carefully before operating. VEVOR reserves a clear interpretation of the user manual. The appearance of the product shall be subject to the product you received. Please forgive us that we won't inform you if there are any technology or software updates on our product.
⚠️ WARNING
Figure 1
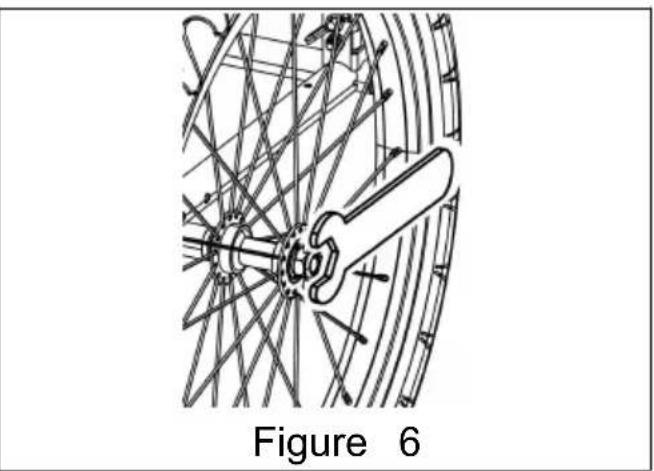
Figure 8
Figure 9
Figure 10
Figure 11
Figure 12
⚠ WARNING
Figure 13
⚠ WARNING
Figure 14
Office 250, 9166 Anaheim Place, Rancho Cucamonga, CA 91730
Made in China
VEVOR®
TOUGH TOOLS, HALF PRICE
www.vevor.com/support
BICYCLE CARGO TRAILER
MODEL: CT9 02B
We continue to be committed to providing you with tools at competitive prices. "Save Half", "Half Price", or any other similar expressions used by us only represent an estimate of savings you might benefit from buying certain tools with us compared to top brands and does not necessarily mean to cover all categories of tools offered. We kindly remind you to verify carefully when placing an order with us that you are actually saving half in comparison with the top major brands.
MODEL: CT90 2B
NEED HELP? CONTACT US!
Have product questions? Need technical support? Please feel free to contact us:
Technical Support and E-Warranty Certificate www.vevor.com/support
This is the original instruction. Please read all manual instructions carefully before operating. VEVOR reserves the right to interpret the user manual. The appearance of the product shall be subject to the product you received. Please forgive us that we won't inform you of any technology or software updates on our product.
⚠️ WARNING
1 x Main frame
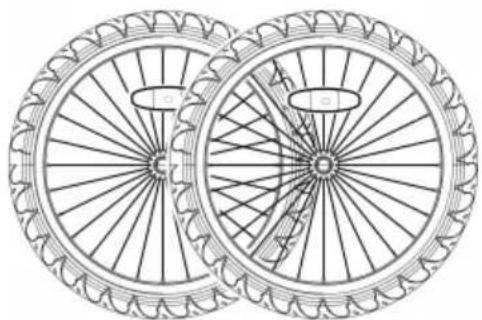
2 x Wheels
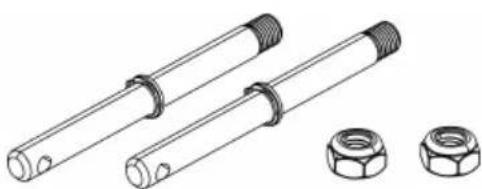
2 x axle shaft
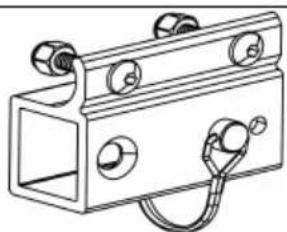
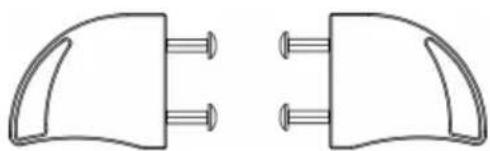
Figure 8
Attach the
Figure 9
Figure 10
Figure 11
Figure 12
⚠️ WARNING
Figure 13
⚠️ WARNING
Suite 250, 9166 Anaheim Place, Rancho Cucamonga, CA 91730
www.vevor.com/support
VEVOR®
TOUGH TOOLS, HALF PRICE
We continue to be committed to provide you tools with competitive price. "Save Half", "Half Price" or any other similar expressions used by us only represent of savings you might benefit from buying certain tools with us compared to top brands and does not necessarily mean to cover all categories of tools offered are kindly reminded to verify carefully when you are placing an order with us actually saving half in comparison with the top major brands.
MODEL: CT90 2B
NEED HELP? CONTACT US!
Have product questions? Need technical support? Please feel free to contact us:
Technical Support and E-Warranty Certificate www.vevor.com/support
This is the original instruction, please read all manual instructions carefully before operating. VEVOR reserves a clear interpretation of the user manual. The appearance of the product shall be subject to the product you received. Please forgive us that we won't inform you of any technology or software updates on our product.
WARNING
1 main frame
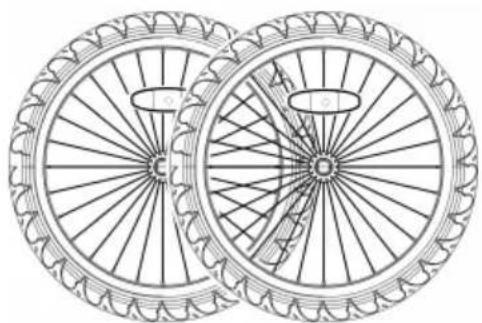
2 wheels
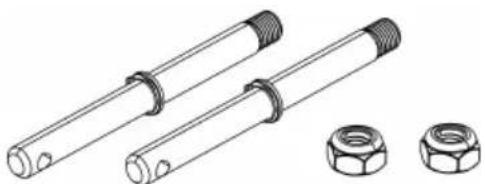
2 wheel axles
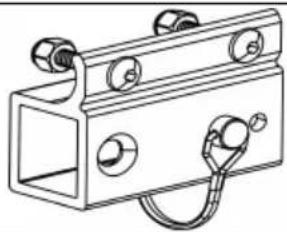
1 tow bar
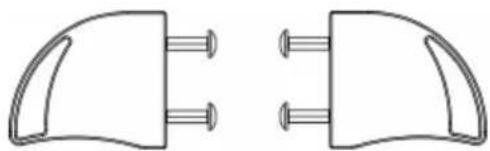
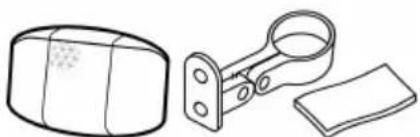
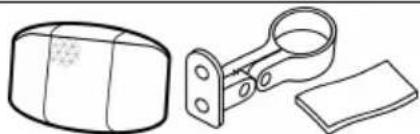
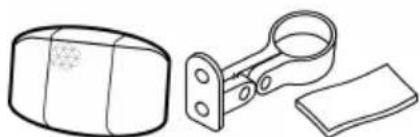
2 front reflector kits (white) 2 rear reflector kits (red)
Tools
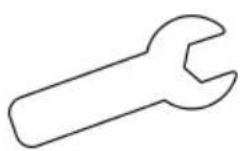
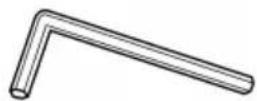
Figure 1
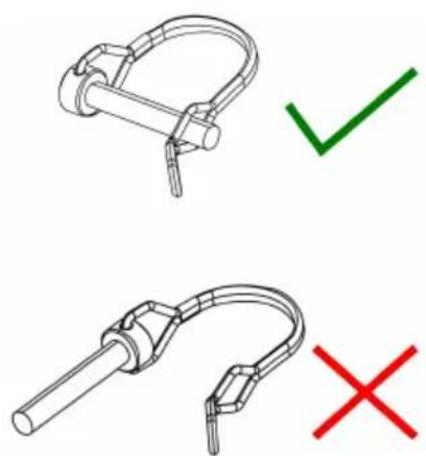
Figure 3
| figura 2 |
Figure 11
Figure 12
WARNING
Figure 13
WARNING
Figure 14
Imported in AUS: SIHAO PTY LTD.
1 ROKEVA STREET EASTWOOD NSW 2122 Australia
Suite 250, 9166 Anaheim Place, Rancho Cucamonga, CA 91730
Made in China
VEVOR®
TOUGH TOOLS, HALF PRICE
www.vevor.com/support
VEVOR®
TOUGH TOOLS, HALF PRICE
We continue to be committed to provide you tools with competitive price. "Save Half", "Half Price" or any other similar expressions used by us only represent savings you might benefit from buying certain tools with us compared to top brands and does not necessarily mean to cover all categories of tools offered. We kindly remind you to verify carefully when placing an order with us that you are actually saving half in comparison with the top major brands.
MODEL: CT90 2B
NEED HELP? CONTACT US!
Have product questions? Need technical support? Please feel free to contact us:
Technical Support and E-Warranty Certificate www.vevor.com/support
This is the original instruction. Please read all manual instructions carefully before operating. VEVOR reserves a clear interpretation of the user manual. The appearance of the product shall be subject to the product you received. Please forgive us that we won't inform you of any technology or software updates on our product.
WARNING
1 main frame.
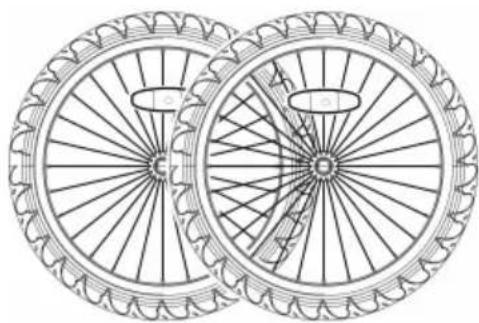
2 wheels
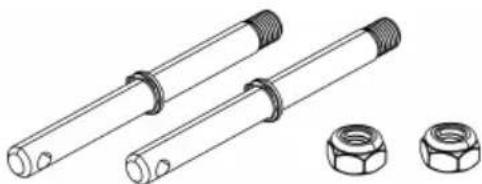
2 x wheel axle
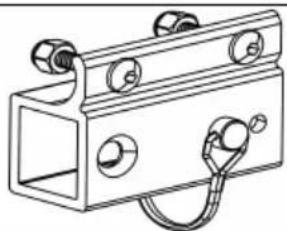
1 x tow bar receiver
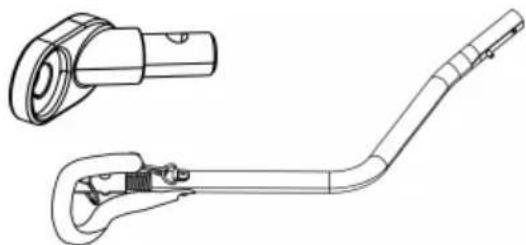
1 x tow bar
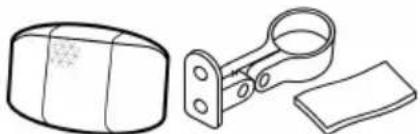
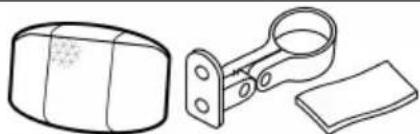
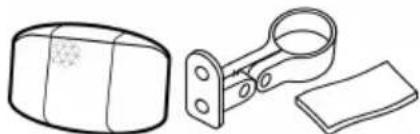
2 x front reflector kits (white) 2 x rear reflector kits (red)
Tools
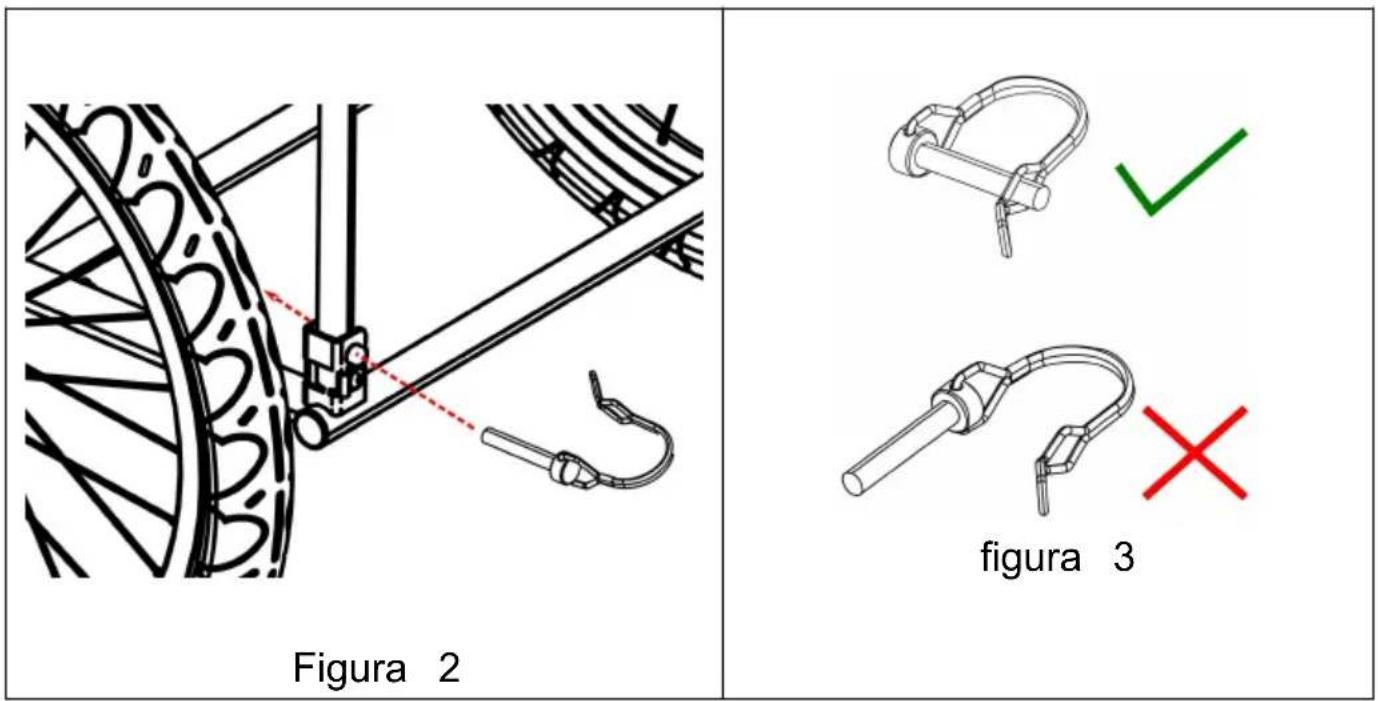
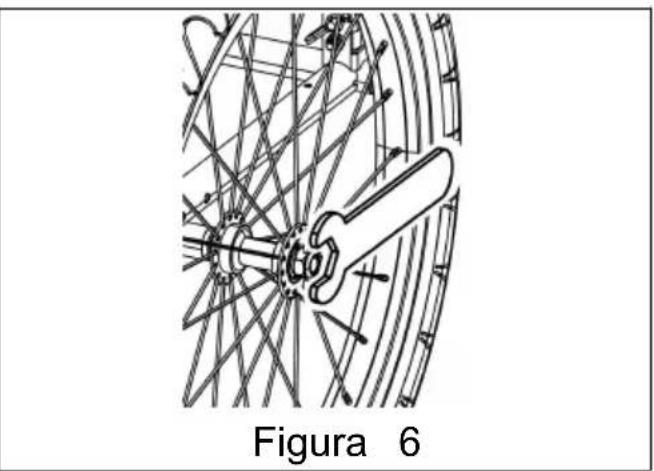
Figure 11
Figure 12
WARNING
Figure 13
WARNING
Figure 14
1 ROKEVA STREET ASTWOOD NSW 2122 Australia
Suite 250, 9166 Anaheim Place, Rancho Cucamonga, CA 91730
Made in China
VEVOR®
TOUGH TOOLS, HALF PRICE
www.vevor.com/support
VEVOR®
TOUGH TOOLS, HALF PRICE
www.vevor.com/support
BICYCLE TRAILER
MODEL: CT9 02B
We continue to be committed to provide you tools with competitive price. "Save Half", "Half Price" or any other similar expressions used by us only represent estimate of savings you might benefit from buying certain tools with us compared to top brands and does not necessarily mean to cover all categories of tools offered are kindly reminded to verify carefully when you are placing an order with us actually saving half in comparison with the top major brands.
MODEL: CT90 2B
NEED HELP? CONTACT US!
Have product questions? Need technical support? Please feel free to contact us:
Technical Support and E-Warranty Certificate www.vevor.com/support
This is the original instruction, please read all manual instruction carefully before operating. VEVOR reserves a clear interpretation user manual. The appearance of the product shall be subject to product you received. Please forgive us that we won't inform you there are any technology or software updates on our product.
⚠️ WARNING
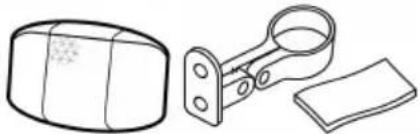
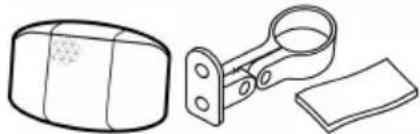
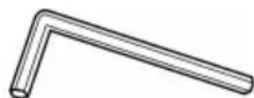

1 x 1 mm wrench + 1 x 19 mm wrench + 1 x 4 mm hex key
How to Assemble
Figure 1
Figure 11
Figure 12
⚠ WARNING
1 ROKEVA STREET EASTWOOD NSW 2122 Australia
Imported from USA: Sanven Technology Ltd.
Apartment 250, 9166 Anaheim Place, Rancho Cucamonga, California 91730
www.vevor.com/support
VEVOR®
TOUGH TOOLS, HALF PRICE
Technical support and e-warranty certificate www.vevor.com/support
BICYCLE CARGO TRAILER
MODEL: CT9 02B
We continue to be committed to provide you tools with competitive price. "Save Half", "Half Price" or any other similar expressions used by us only represent savings you might benefit from buying certain tools with us compared to top brands and does not necessarily mean to cover all categories of tools offered. We kindly remind you to verify carefully when placing an order with us to ensure you are actually saving half in comparison with the top major brands.
MODEL: CT90 2B
NEED HELP? CONTACT US!
Have product questions? Need technical support? Please feel free to contact us:
Technical Support and E-Warranty Certificate www.vevor.com/support
This is the original instruction. Please read all manual instructions carefully before operating. VEVOR reserves the right to interpret the user manual. The appearance of the product shall be subject to the product you received. Please forgive us that we won't inform you of any technology or software updates on our product.
⚠ WARNING
1 x main frame
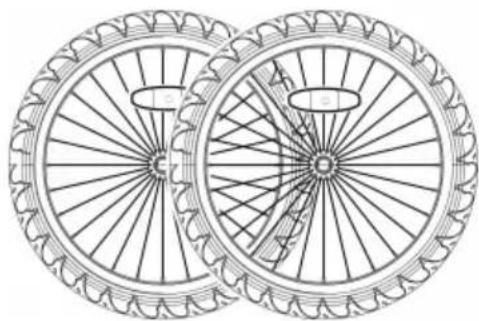
2 x wheels
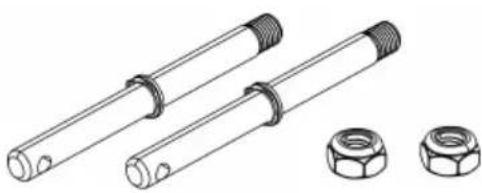
2 x axles
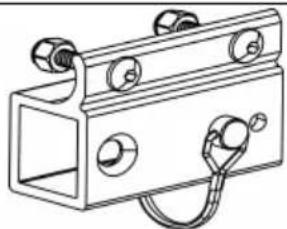
1 x trailer hitch receiver
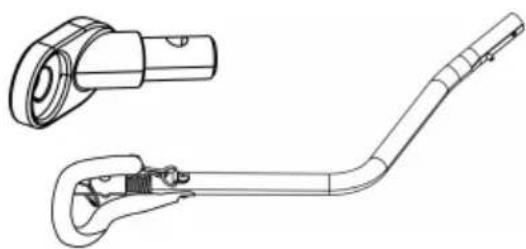
1 x trailer hitch

2 x wheel guards
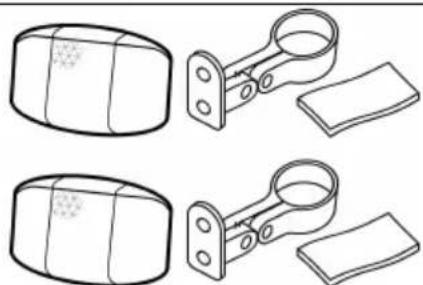
2 x front reflector sets (white)
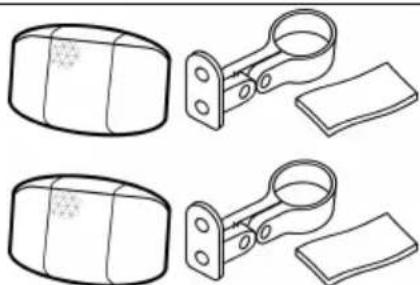
2 x rear reflector sets (red)
Figure 1
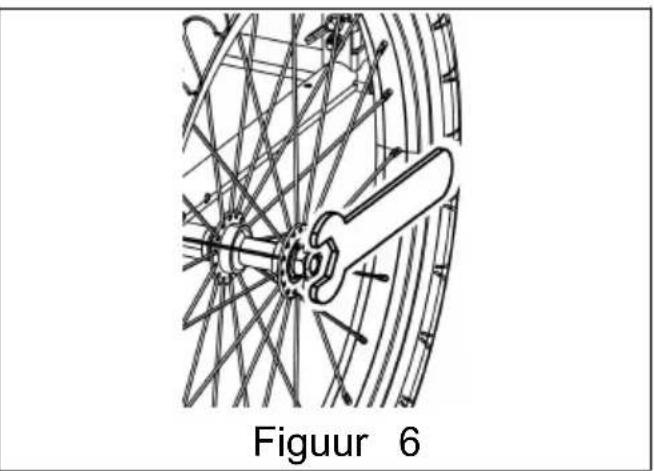
Figure 11
Figure 12
⚠ WARNING
Figure 13
⚠ WARNING
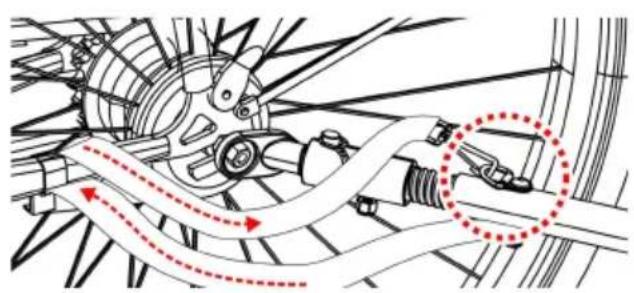
Figure 14
Suite 250, 9166 Anaheim Place, Rancho Cucamonga, CA 91730
Made in China
VEVOR®
TOUGH TOOLS, HALF PRICE
www.vevor.com/support
VEVOR®
TOUGH TOOLS, HALF PRICE
www.vevor.com/support
CARGO BICYCLE TRAILER
MODEL: CT9 02B
We continue to be committed to provide you tools with competitive price. "Save Half", "Half Price" or any other similar expressions used by us only represent of savings you might benefit from buying certain tools with us compared to top brands and does not necessarily mean to cover all categories of tools offered are kindly reminded to verify carefully when you are placing an order with us actually saving half in comparison with the top major brands.
MODEL: CT90 2B
NEED HELP? CONTACT US!
Have product questions? Need technical support? Please feel free to contact us:
Technical Support and E-Warranty Certificate www.vevor.com/support
This is the original instruction, please read all manual instructions carefully before operating. VEVOR reserves a clear interpretation of the user manual. The appearance of the product shall be subject to the product you received. Please forgive us that we won't inform you of any technology or software updates on our product.
WARNING
1 x 1 1 mm wrench + 1 x 19 mm wrench + 1 x 4 mm H e
User Manual
How to Assemble
Figure 1
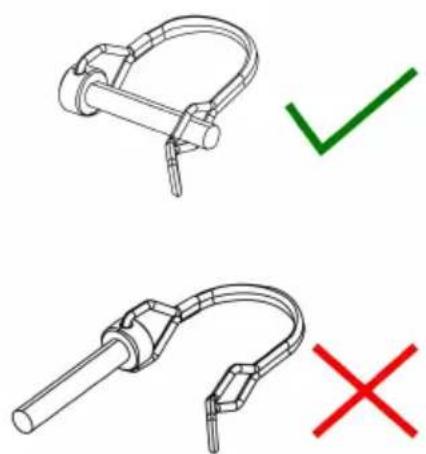
Figure 3
| figur 2 |
44. Attaching the wheels
Image 11
Image 12
WARNING
Suite 250, 9166 Anaheim Place, Rancho Cucamonga, CA 91730
Made in China
VEVOR®
TOUGH TOOLS, HALF PRICE
www.vevor.com/support
- BICYCLE CARGO TRAILER
- MODEL: CT902B
- NEED HELP? CONTACT US
- WARNING
- CONTENTS
- HOW TO ASSEMBLE
- OPENING THE MAIN FRAME
- ATTACHING THE WHEELS
- INSTALLING THE WHEEL GUARDS
- INSTALLING THE TOW BAR
- INSTALLING REFLECTORS
- ATTACHING TRAILER TO BICYCLE
- BEFORE YOU RIDE
- CHECK BEFORE EACH USE
- MAINTENANCE
- CHECK
- VEVOR®
- TOUGH TOOLS, HALF PRICE
- MODEL: CT90 2B
- ⚠️ WARNING
- ⚠ WARNING
- MODEL: CT9 02B
- BICYCLE TRAILER
- FIGURE
- CARGO BICYCLE TRAILER
Brand : Vevor
Model : CT902B
Category : Indoor bike trainer