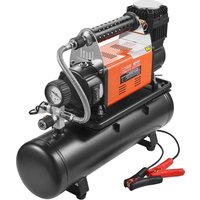
SG-220V-110V-12VMC - Compressor Vevor - Free user manual and instructions
Find the device manual for free SG-220V-110V-12VMC Vevor in PDF.


User questions about SG-220V-110V-12VMC Vevor
0 question about this device. Answer the ones you know or ask your own.
Ask a new question about this device
Download the instructions for your Compressor in PDF format for free! Find your manual SG-220V-110V-12VMC - Vevor and take your electronic device back in hand. On this page are published all the documents necessary for the use of your device. SG-220V-110V-12VMC by Vevor.
USER MANUAL SG-220V-110V-12VMC Vevor
Technical Support and E-Warranty Certificate www.vevor.com/support
COMPRESSOR PUMP
MODEL: G220V110V12V-VB18V5
We continue to be committed to provide you tools with competitive price. "Save Half", "Half Price" or any other similar expressions used by us only represent estimate of savings you might benefit from buying certain tools with us compared to major top brands and does not necessarily mean to cover all categories of tools offered us. You are kindly reminded to verify carefully when you are placing an order with us, where we are actually saving half in comparison with the top major brands.
VEVOR®
TOUGH TOOLS, HALF PRICE
12V/220V 300 BAR PC
COMPRESSOR
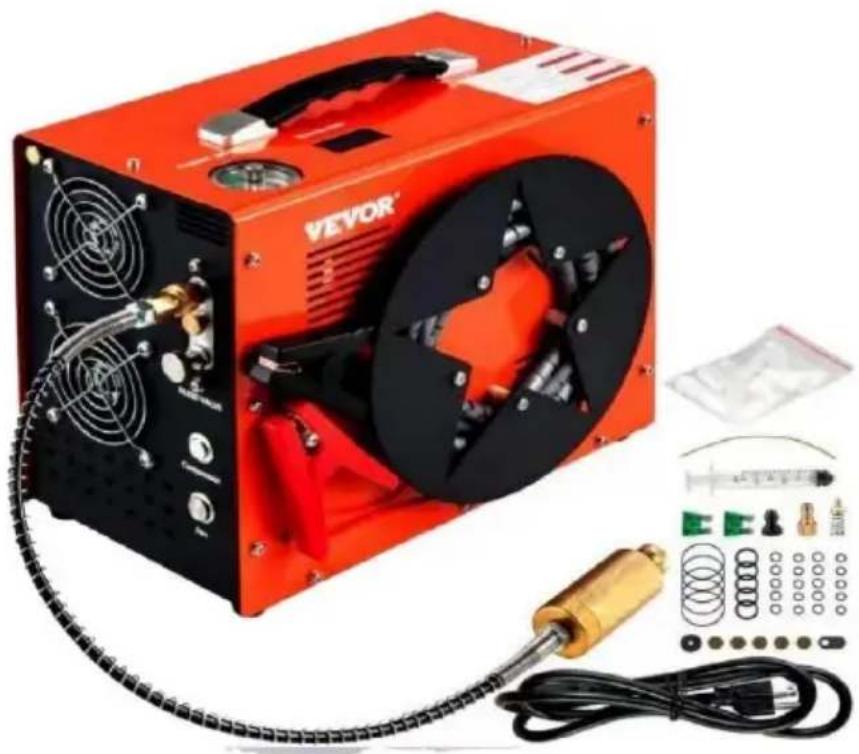
natural_image
Exterior view of a red VEVOR electric shock absorber with attached circuit board and wiring (no visible text or symbols on main body)NEED HELP? CONTACT US!
Have product questions? Need technical support? Please feel fr contact us:
Technical Support and E-Warranty Certificate www.vevor.com/support
This is the original instruction, please read all manual instruction carefully before operating. VEVOR reserves a clear interpretation user manual. The appearance of the product shall be subject to product you received. Please forgive us that we won't inform your there are any technology or software updates on our product.
| WARNING | WARNING-DO NOT OVERFILLAIR GUNTANKS OR AIR CYLINDERS. AS THIS CAN |
| CAUSE SERIOUS INJURY OR DEATH.NEVER ATTEMPT TO SET THE OUTPUT PRESSURE/AUTO SHUT OFF ABOVE 4500 PSI/300 BAR | |
| DANGER | DANGER OF EXPLOSION! Overfilledcompressed air cylinder |
| This compressor can maximum fill up to 4500psi/300bar, but NEVER exceed max. fill pressure of your cylinder, airgun or other airsoft prod This compressor has auto shut-off and overload protection, But you always pay attention to prevent overload during working. | |
| CAUTION | DO NOT DISASSEMBLE THE MACHINE WITHOUT PROFESSIONAL GUIDANCE |
| 3YOUR DISASSEMBLE MAY LEAD TO DAMAGE TO THE MACHINE A WILL NOT WORK PROPERLY. | |

WARNING: Read all safety warnings, instructions, illustrations and specifications provided with this pond aeration. Failure to follow all instructions listed below may result in electric shock, fire and/or serious injury.
Basic Safety Information:
5.Pulling or dragging the product with the power line is not allowed.
6.When pulling out the plug, please hold the plug itself; do not pull the Pow
-
Do not cut and replace the power plug by yourself. Otherwise, serious consequences may incur.
-
Operation of the product is not allowed in case of damage to the power line or the shell.
9.Disassembling and dismounting of the product by lay-people is not allowed.
-
In case the Compressor drops into water, please cut off the power supply before dredging it out. Then it should be handed over to professionals for ch and maintenance.
-
Electrical shock hazard: Do not touch the pond aeration with wet hands o while standing on a wet surface. Always use the Compressor in a dry environ and plug it into a properly grounded outlet.
-
Fire hazard: Do not use the pond aeration near flammable or combustible materials. Keep the Compressor away from sources of heat or sparks, such flames, cigarettes, or electrical appliances.
-
Explosion hazard: Do not use the pond aeration with gases that are flamr explosive, or poisonous. Always check the safety data sheet (SDS) of the ga before using it with the Compressor. Additionally, do not exceed the specified pressure range for the Compressor.
-
Corrosion hazard: Do not use the Compressor with gases that can corrode metals or exert chemical charges. Check the compatibility of the gas with the materials of the Compressor and its accessories. Always use protective gloves and eyewear when handling corrosive materials.
-
Do not use a damaged plug or outlet, as this can cause electrical shock
-
If the supply cord is damaged, it must be replaced by the manufacturer, service agent or similarly qualified persons in order to avoid a hazard.
-
This appliance can be used by children aged from 8 years and above an persons with reduced physical, sensory or mental capabilities or lack of experience and knowledge if they have been given supervision or instruction concerning the use of the appliance in a safe way and understand the haze involved. Children shall not play with the appliance. Cleaning and user maintenance shall not be made by children without supervision.
CORRECT DISPOSAL
natural_image
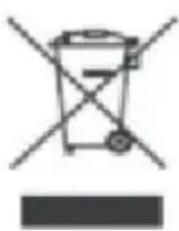
Symbol of a trash bin crossed with a diagonal line, no text or numbers presentThis product is subject to the provision of european Directive 2012/19/EU. The symbol showing a wheelie bin crossed through indicates that the product requires separate refuse collection in the European Union. This applies to the product and all accessories marked with this symbol. Products marked as such may not be discarded with normal domestic waste, but must be taken to a
collection point for recycling electrical and electronic devices.

Indoor use only
FCC Information
CAUTION: Changes or modifications not expressly approved by the party responsible for compliance could void the user's authority to operate the equipment!
This device complies with Part 15 of the FCC Rules. Operation is subject to following two conditions:
1) This product may cause harmful interference.
2) This product must accept any interference received, including interference that may cause undesired operation.
WARNING: Changes or modifications to this product not expressly approved by the party.responsible for compliance could void the user's authority to operate product.
Note: This product has been tested and found to comply with the limits for Class B digital device pursuant to Part 15 of the FCC Rules, These limits are designed to provide reasonable protection against harmful interference in a residential installation.
This product generates, uses and can radiate radio frequency energy, and if installed and used in accordance with the instructions, may cause harmful interference to radio communications. However, there is no guarantee that interference will not occur in a particular installation. If this product does cause harmful interference to radio or television reception, which can be determined by turning the product off and on, the user is encouraged to try to correct the interference by one or more of the following measures.
- Reorient or relocate the receiving antenna.
- Increase the distance between the product and receiver.
- Connect the product to an outlet on a circuit different from that to which receiver is connected.
- Consult the dealer or an experienced radio/TV technician for assistance.
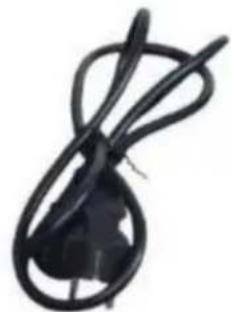
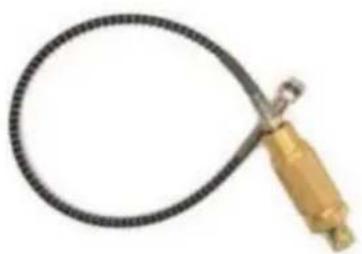
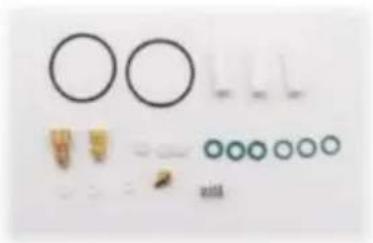
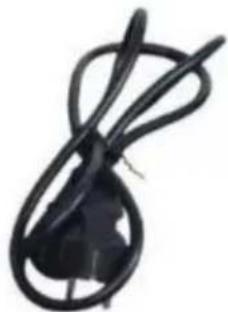
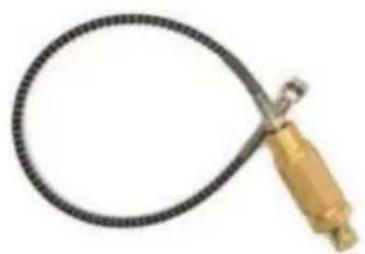
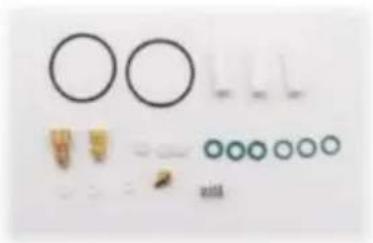
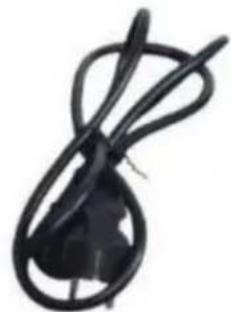
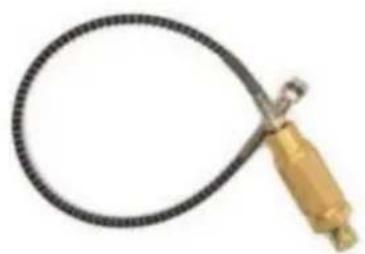
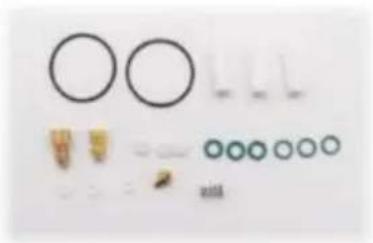
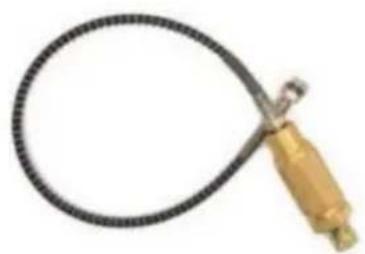
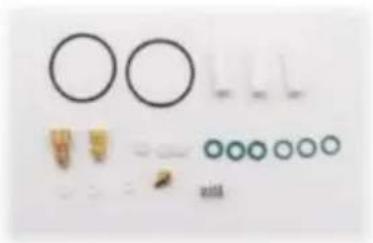
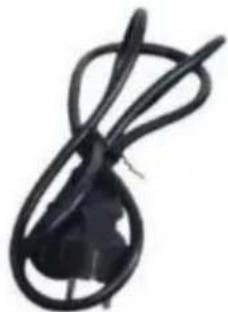
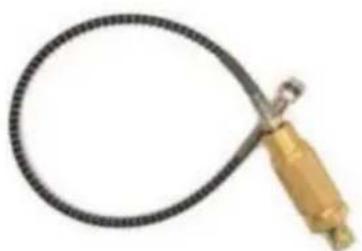
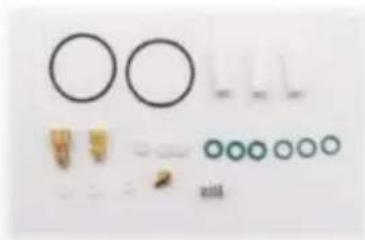
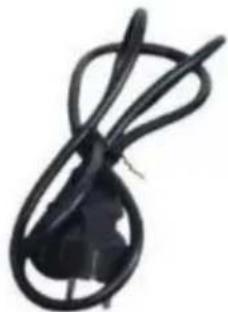
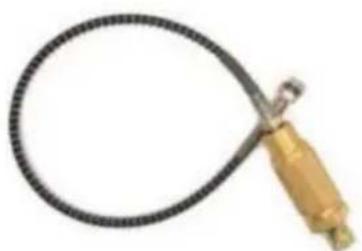
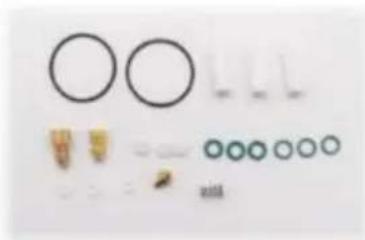
Parts Included
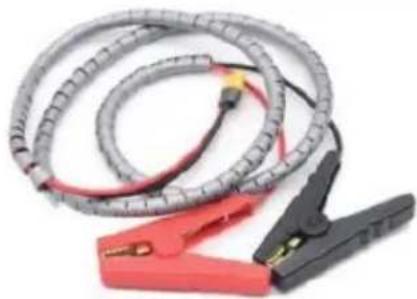 | 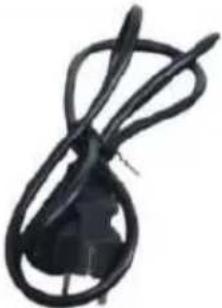 | |
| 1 | 2 | |
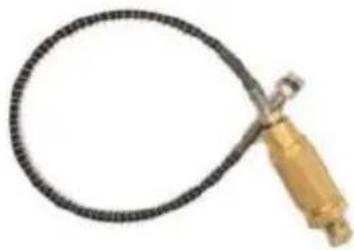 | 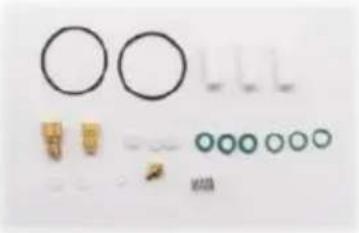 | |
| 3 | 4 | |
Main Specifications
| Item Name | PortairTM Super 12v pcp compressor |
| Working Voltage | DC 12V car battery/AC 110V/220V |
| Working Pressure | 300 Bar(4500psi) |
| RMS Power | 350 Watt |
| Air Flow | 12L/Min |
| Max. Capicity | 1.5L |
| Filling Speed | 0-300 Bar,Approx 13 minutes (500cc) |
| Cooling System | Air Fan Cooling |
| Max.Temperature | 80°C |
| Auto Shut-off | Every 30 Minutes Working Time |
| Net Weight | 8.9 KGS |
| Dimensions | 340x270x170mm(Lx WxH) |
Operating View
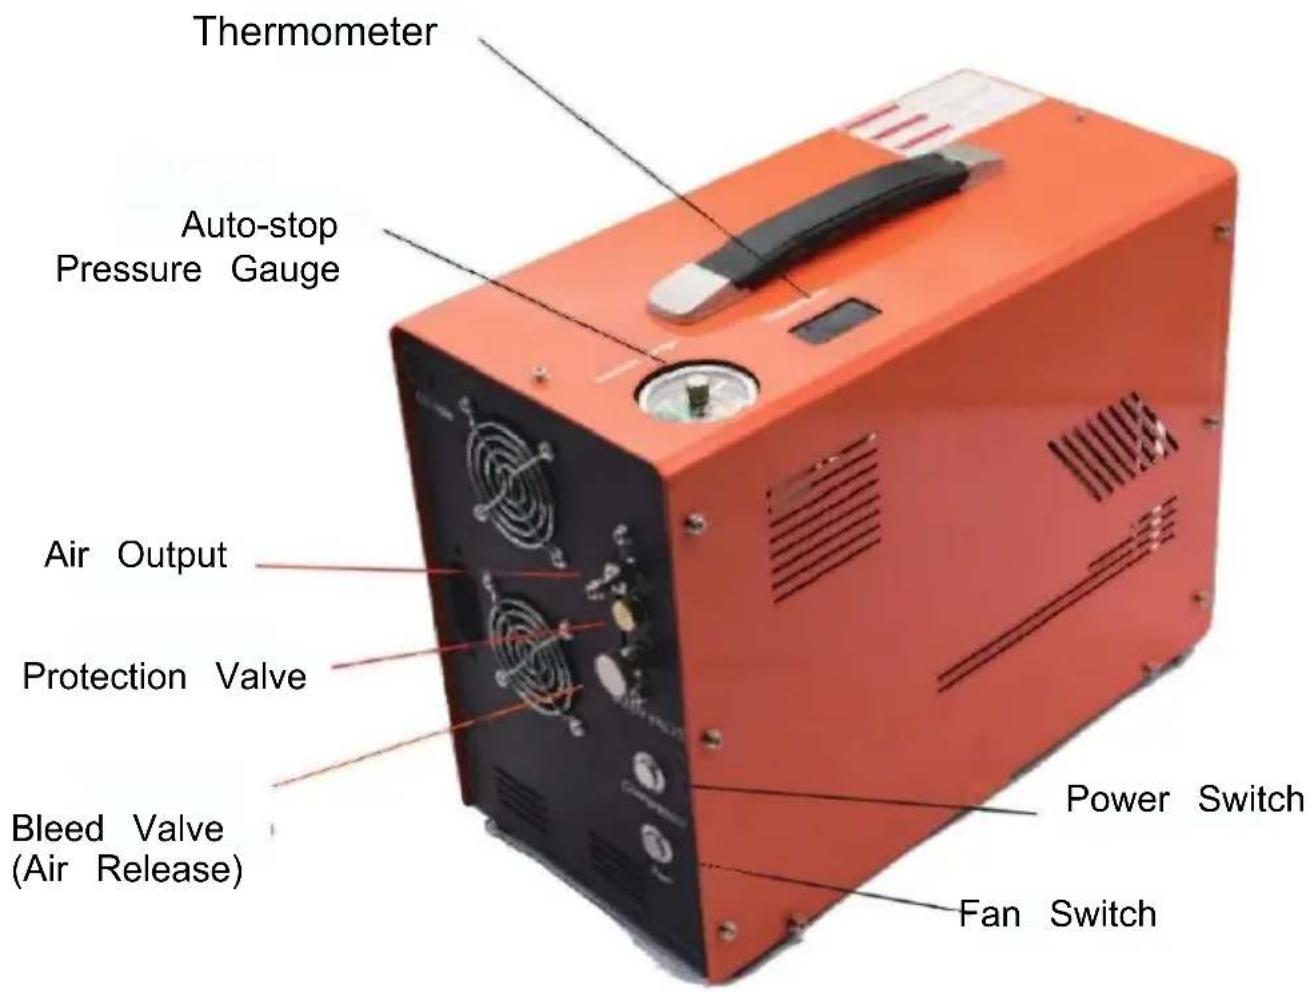
text_image
Thermometer Auto-stop Pressure Gauge Air Output Protection Valve Bleed Valve (Air Release) Power Switch Fan Switch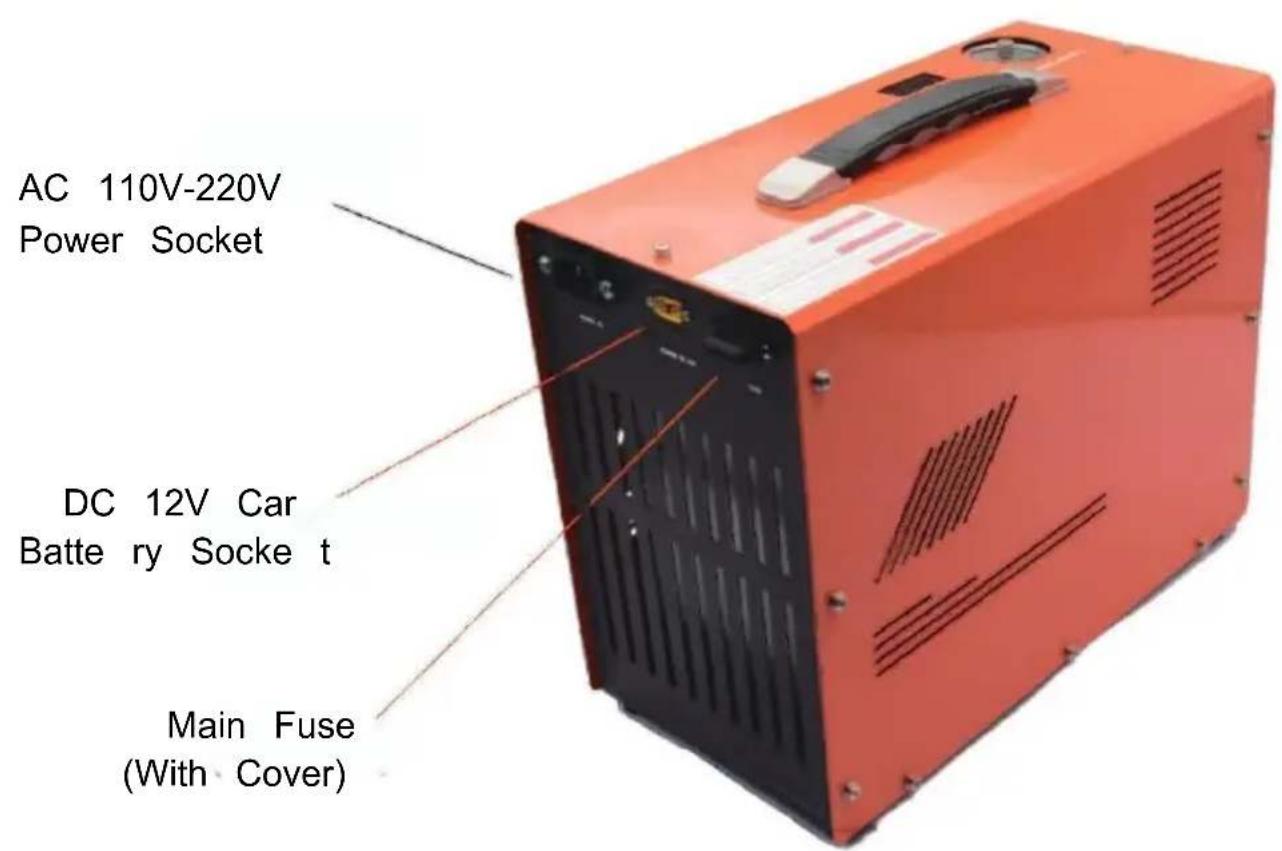
text_image
AC 110V-220V Power Socket DC 12V Car Battery Socke t Main Fuse (With Cover)Assembly Instructions
| 1) Connect the quick femal coupler to your Air rgun cylinder, Air Bottle or Air s products. | 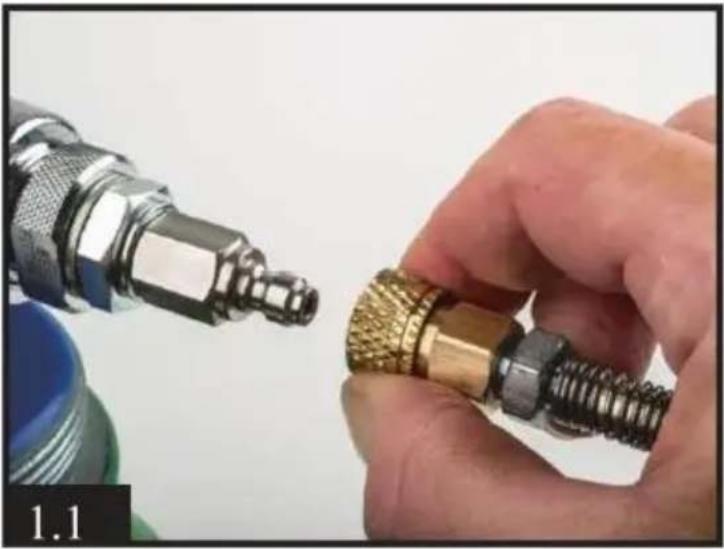 |
| 2) Connect another end foster to the output on the front of compressor via a male fitting. Make sure the foster coupling. | 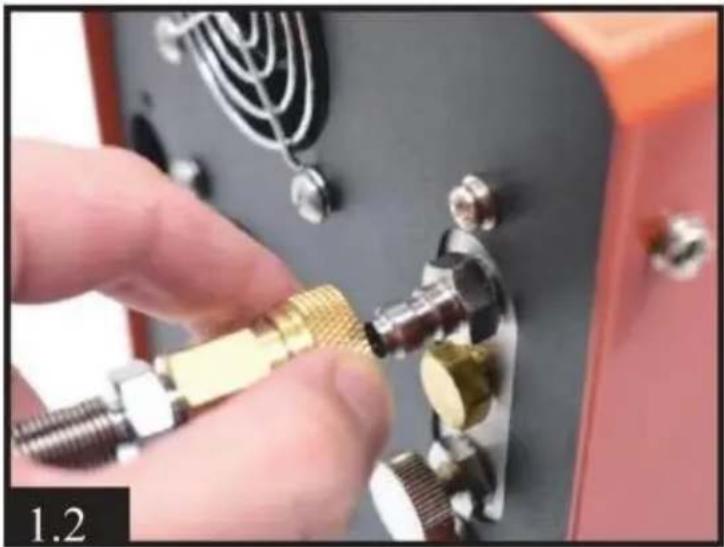 |
| 3) Connect the supplied AC power cord to the right-han side of the main unit and connect the three-pin plug the mains power outlet. | 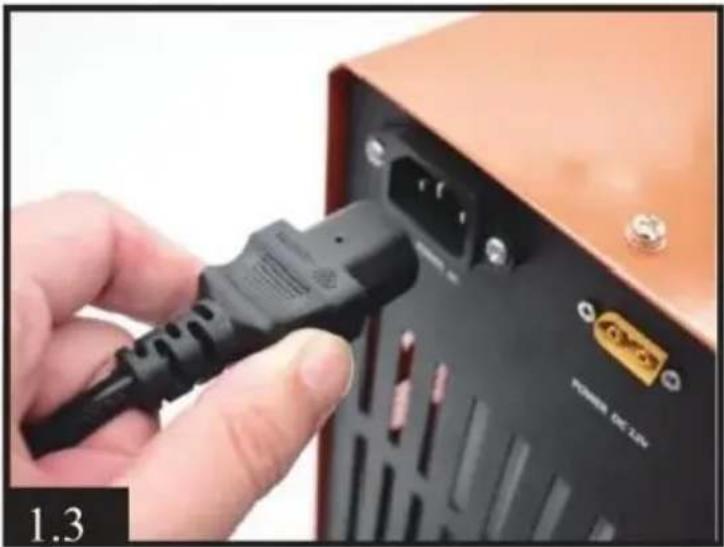 |
| 4) Manually rotate the need of the automatic shut-off system to the pressure you want.WARNING!NEVER overfill the maximum pressure of your cylinder a airgun. The maximum pressure for this compresso is 300bar (30Mpa/4500PSI). | 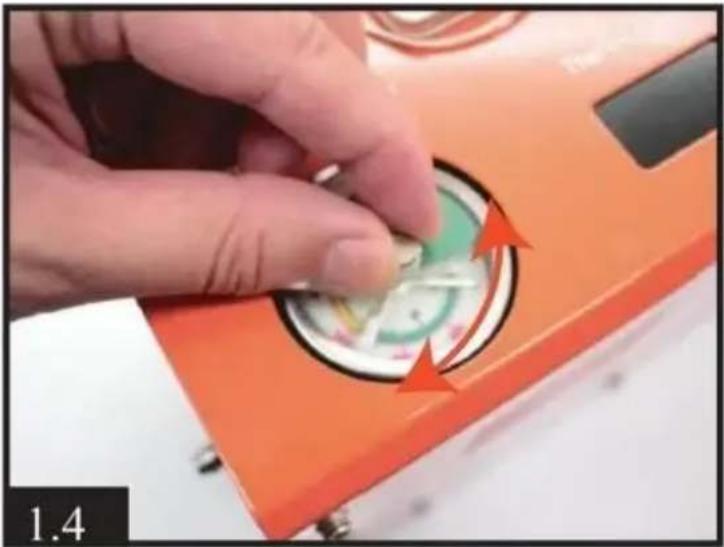 |
| 5) Press the FAN button of the top of the compressor start the cooling fan.ATTENTION!Always run the fan cooling first before starting compressor. | 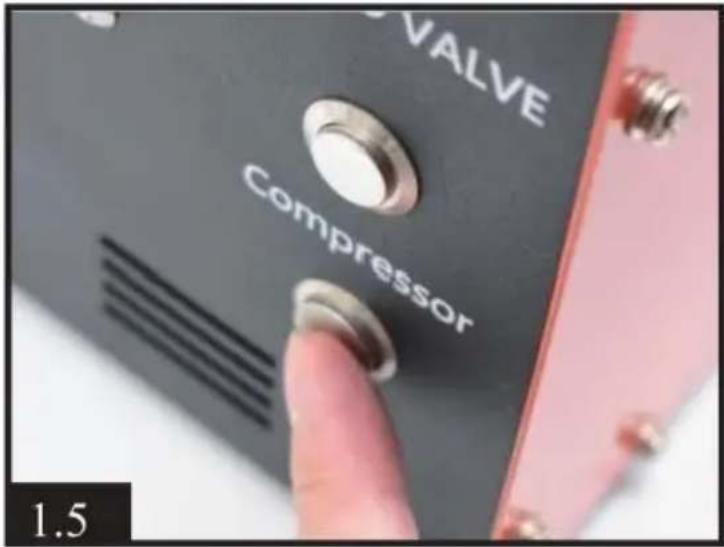 |
| 6) Close the air bleed valv on the front of the main u by turning it clockwise. It need only be finger tight. | 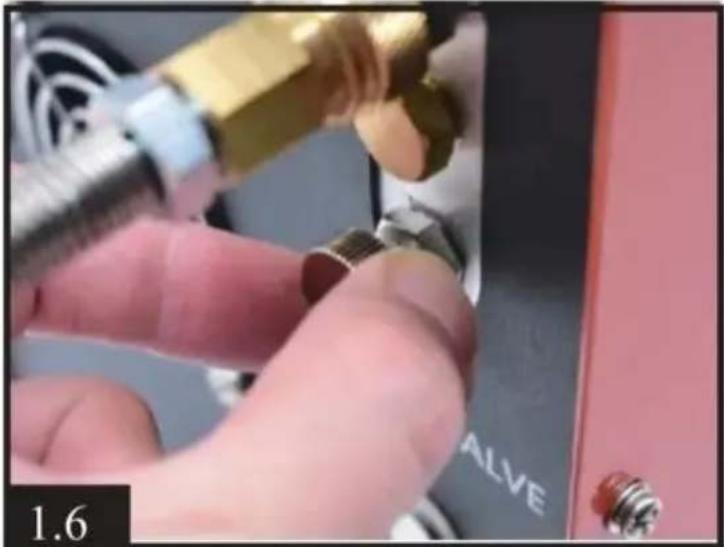 |
| 7) Finally, press the POWE button on the top of the n unit. The compressor unit v audibly start up and the charging process will begin. | 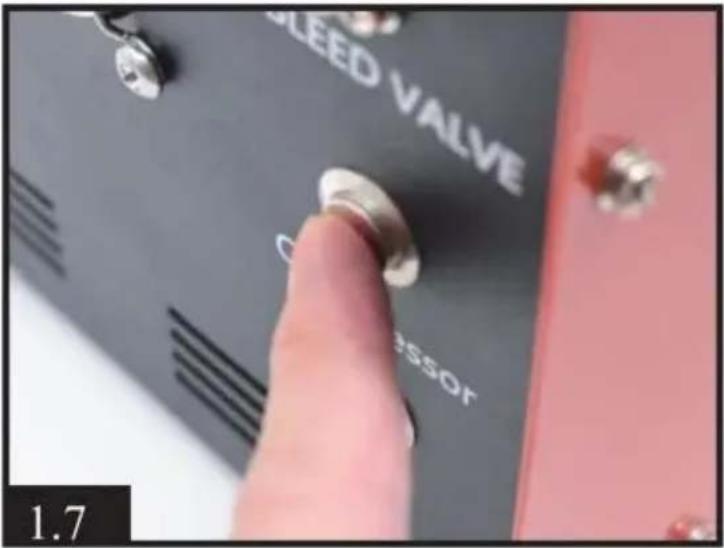 Using DC I2V Car Battery Power Using DC I2V Car Battery Power |
| 8) Insure the car engine is running. Connect the supplied DC power cable to the right side of the 12v socket. | 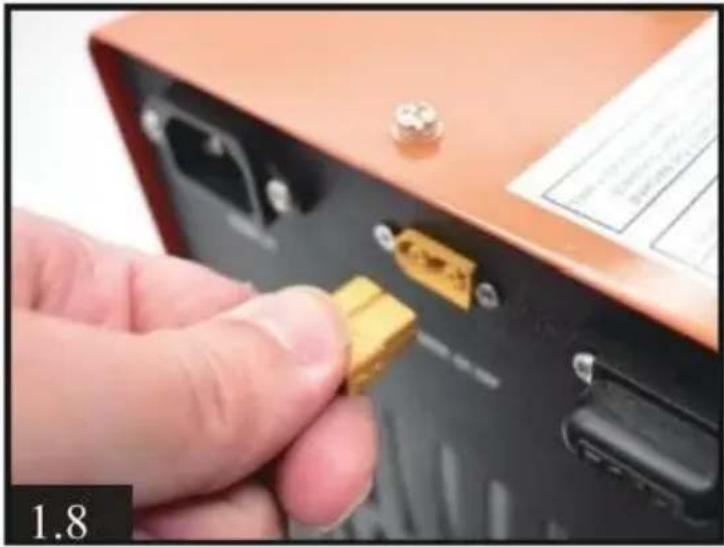 |
| 9) Connect the red clip at other end of this cable to the positive (+) terminal of the car's 12-volt battery. Then connect the black clip to the battery's negative (-) terminal. | 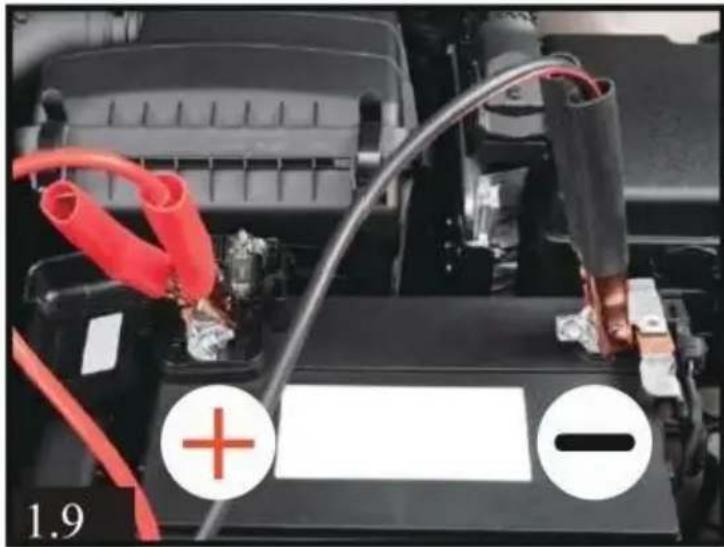 The rest operation is same as s The rest operation is same as s |
| 5 on page 5 | |
| NOTE:If the working temperature exceeds 80 degrees Celsius, the compresso MUST be manually switched off, you can presse the POWER button the compressor stop working. Keep the cooling fan left running. Resta compressor function once the compressor has cooled down.The compressor will be auto shut-off every 30 minutes to prevent ove and overheat. You can restart the compressor by pressing the POWER again if air filling not finished. | |
Routine Maintenance
Note: we suggest you can do maintenance by changing o-rings and clearing every 50 pieces 500cc bottle filling or cumulative working 50 hours.
Insure all power is disconnected before maintenance
| 1) Loosen all 20 pieces screw on the cabinet. (9 pieces on front, 9 pieces on rear and 2 pieces on top). Pick up the whole metal cabinet carefully and slowly. Be careful the internal wires. |  |
| 2) Loosen the one-way valve (check valve) to see if oring spring damaged. Clean all dirt and assembly it back,which need to be tightened a bit. | 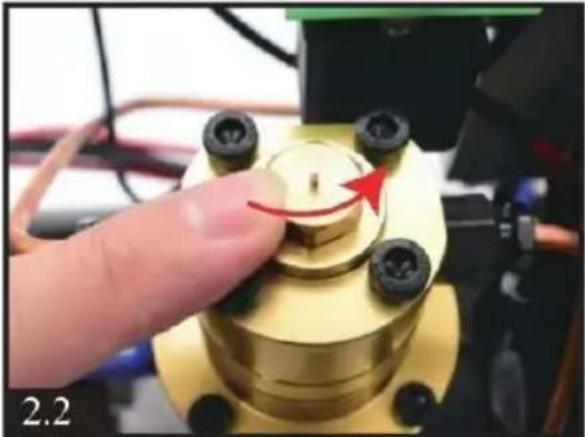 |
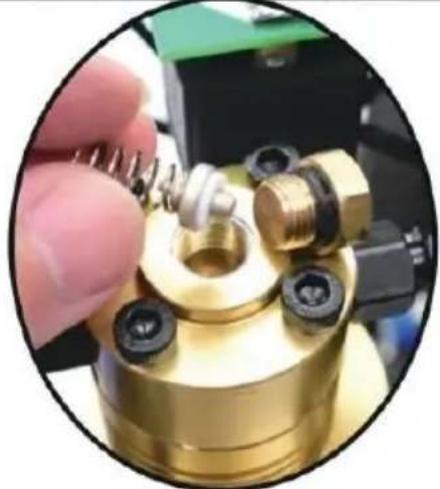 | |
| 3) Loosen the 2 pieces screw of condensation tube. | 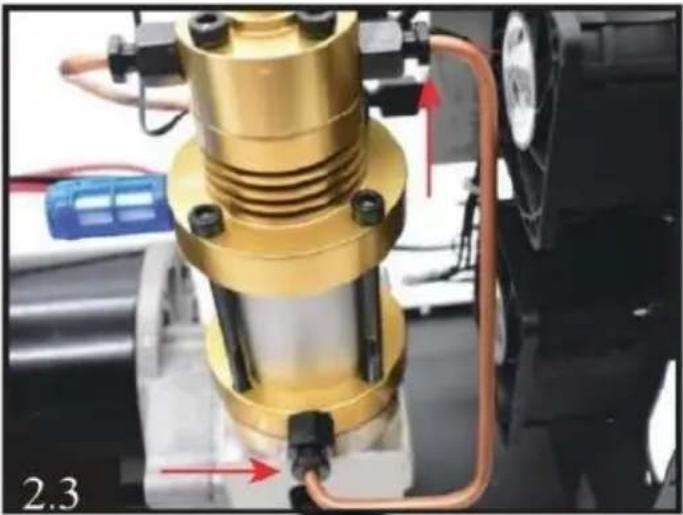 |
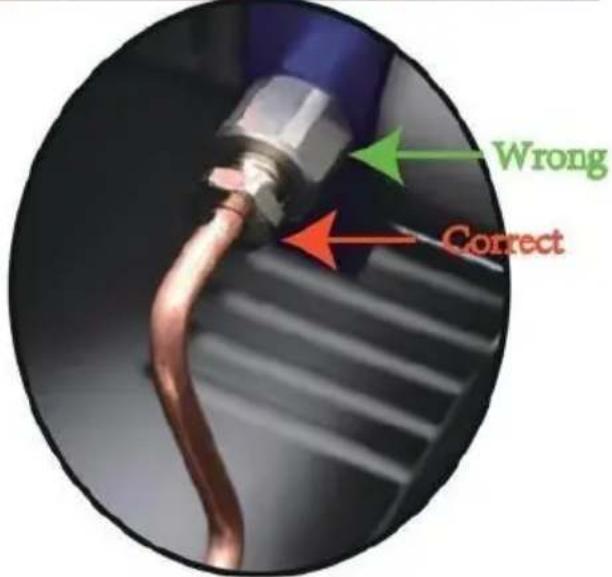 | |
| 4) Loosen the another 2 piec screws of condensation tube of the other side. | 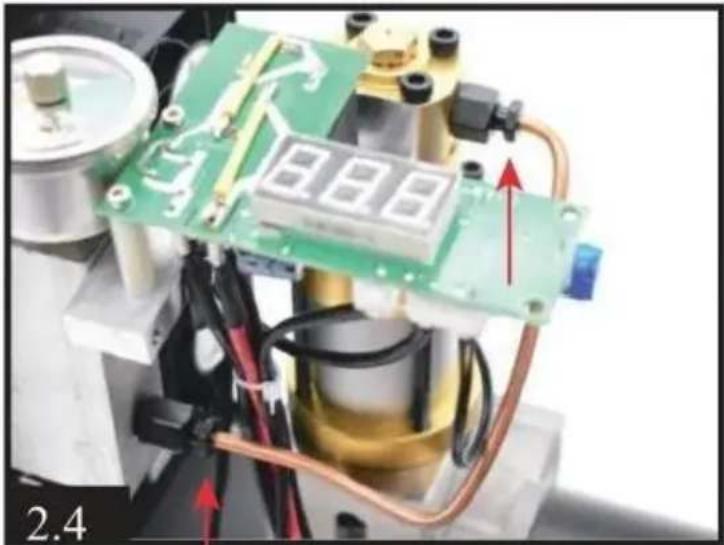 |
| 5) Loosen the 4 pieces screw on the high- pressure cylinder | 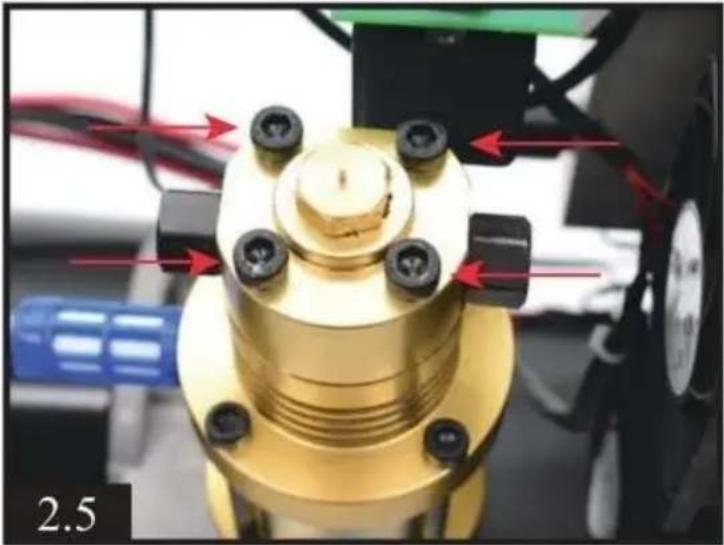 |
| 6) Take a look if the oring a metal gasket damaged, clean dirt. | 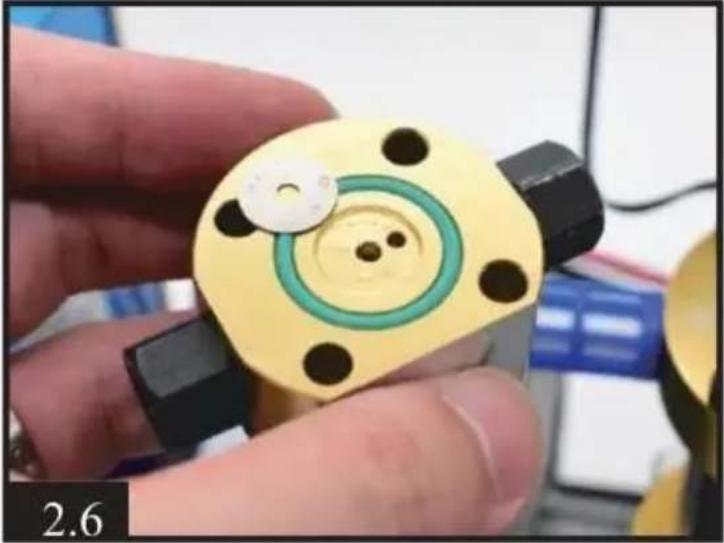 |
| 7) Loosen the 4 pieces screw on the low- pressure cylinder. | 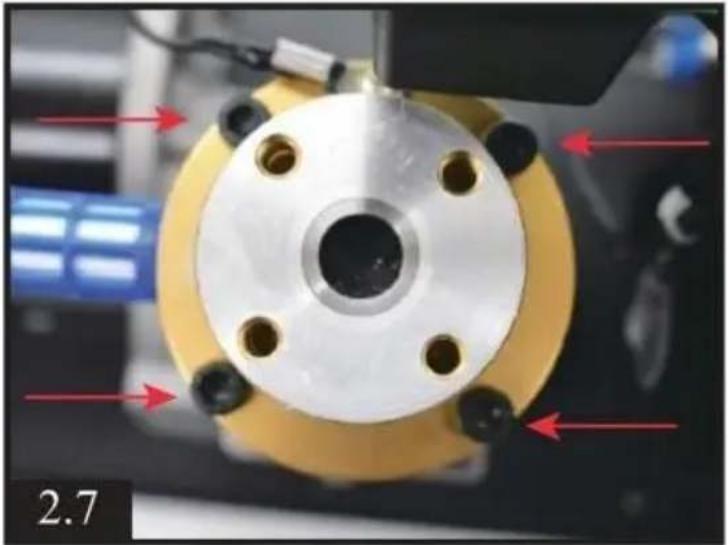 |
| 8) Take off the low-pressure cylinder, check high-pressure piston is any damaged. You add a little silicone or motor on piston oring. | 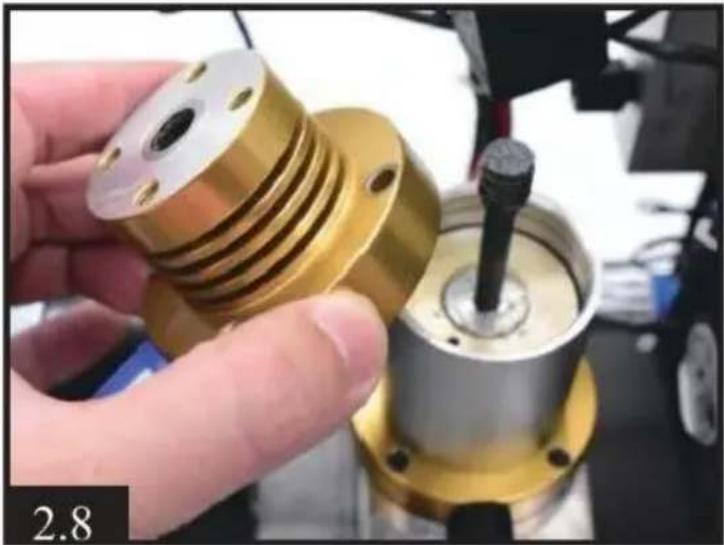 |
| 9) Take off the column metal part, clean dirt inside and check the low-pressure orings any damaged. You can add a little silicone or motor oil on piston oring. | 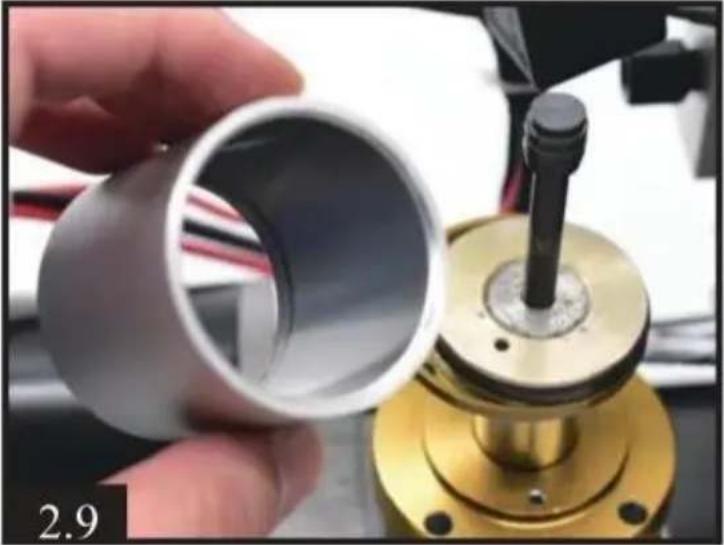 |
| It is normal if you find the light gray O-ring disconnected. | 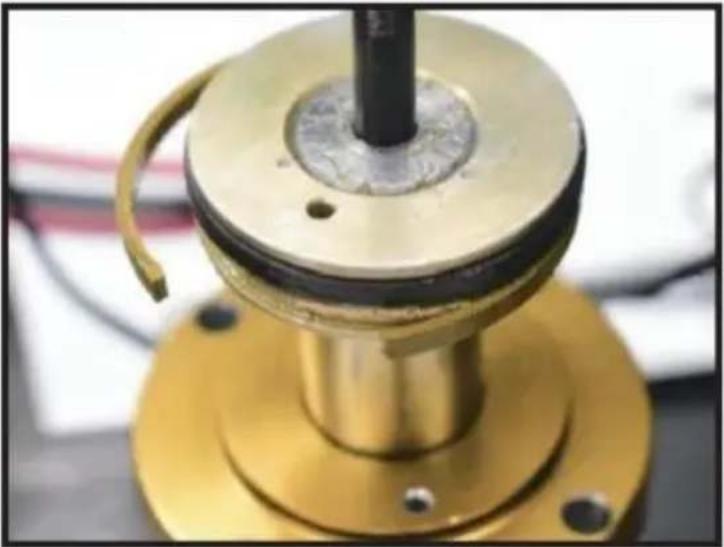 |
Assembly
| 1) Setting the piston into the column metal part. Keep the bottom of the piston flush with the column part. Make sure there are no gaps between each parts. | 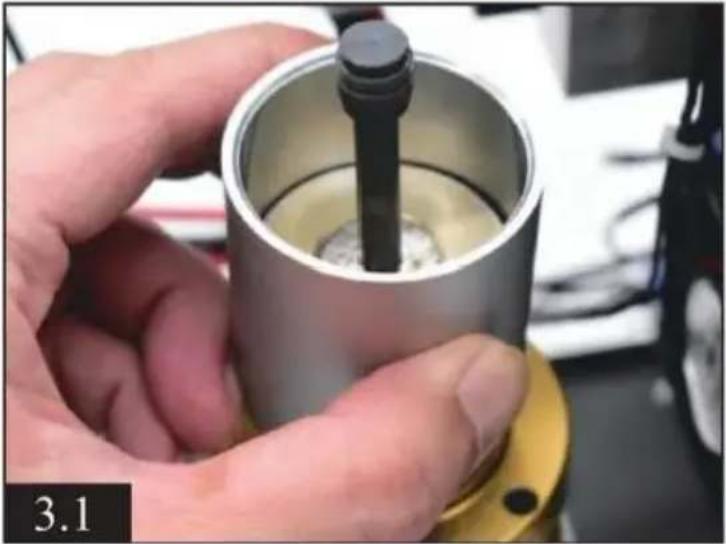 |
| 2) Setting the low-pressure cylinder into the high-pressure piston. | 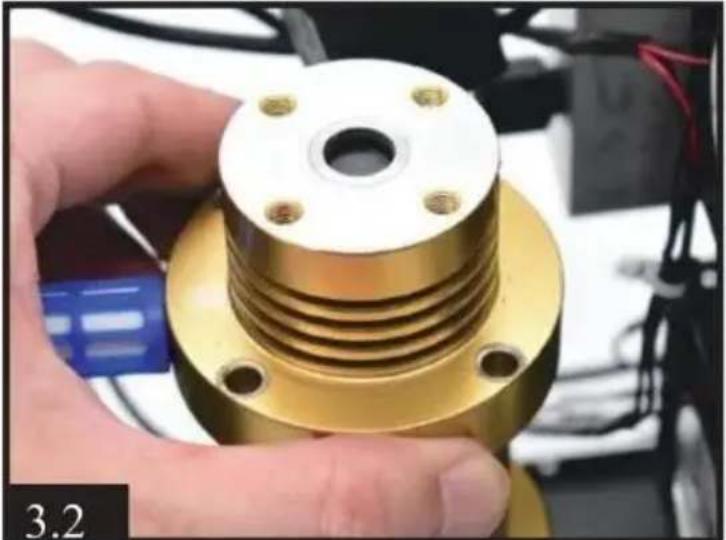 |
| 3) Tighten 4 black screws. |  |
| 4) Setting the high-pressure cylinder into the low-pressure piston. And tighten the 4 scre | 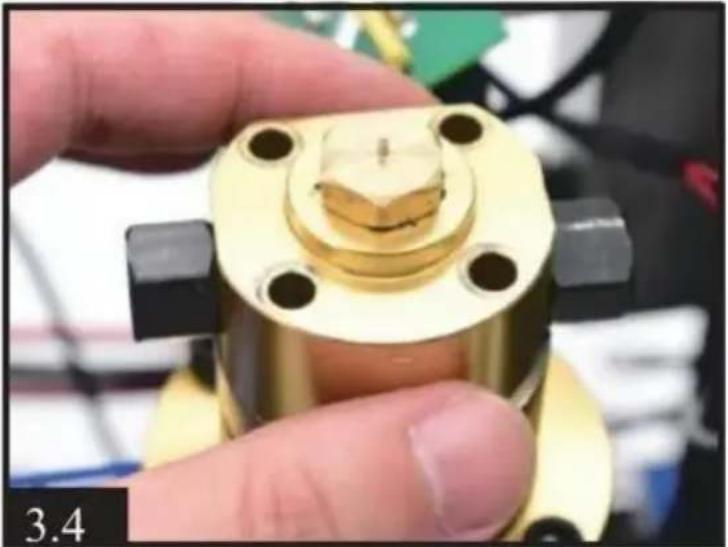 |
| 5) Install condensation tube or cylinder. | 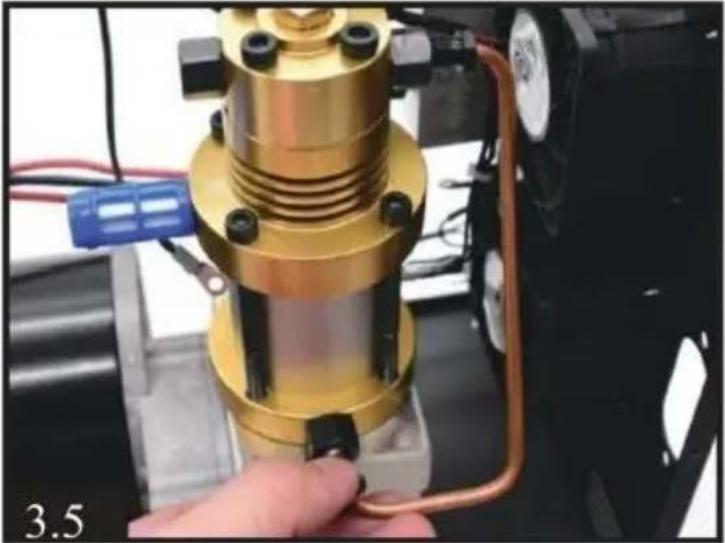 |
| 6) Install another condensation tube. | 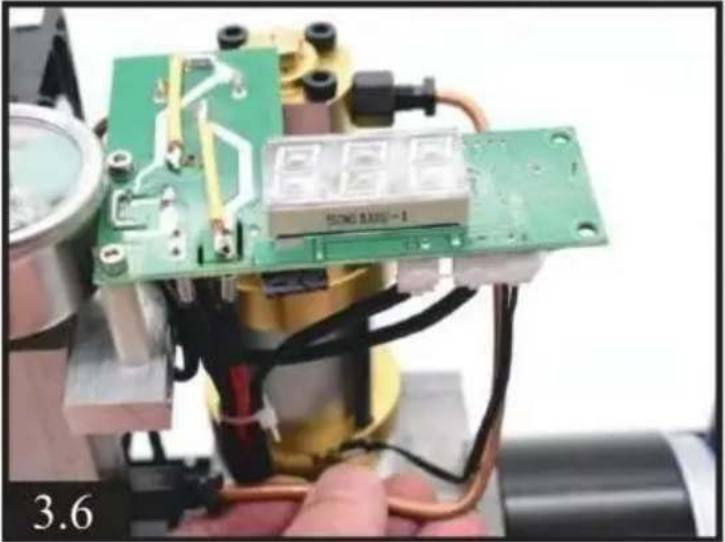 |
Structure View
natural_image
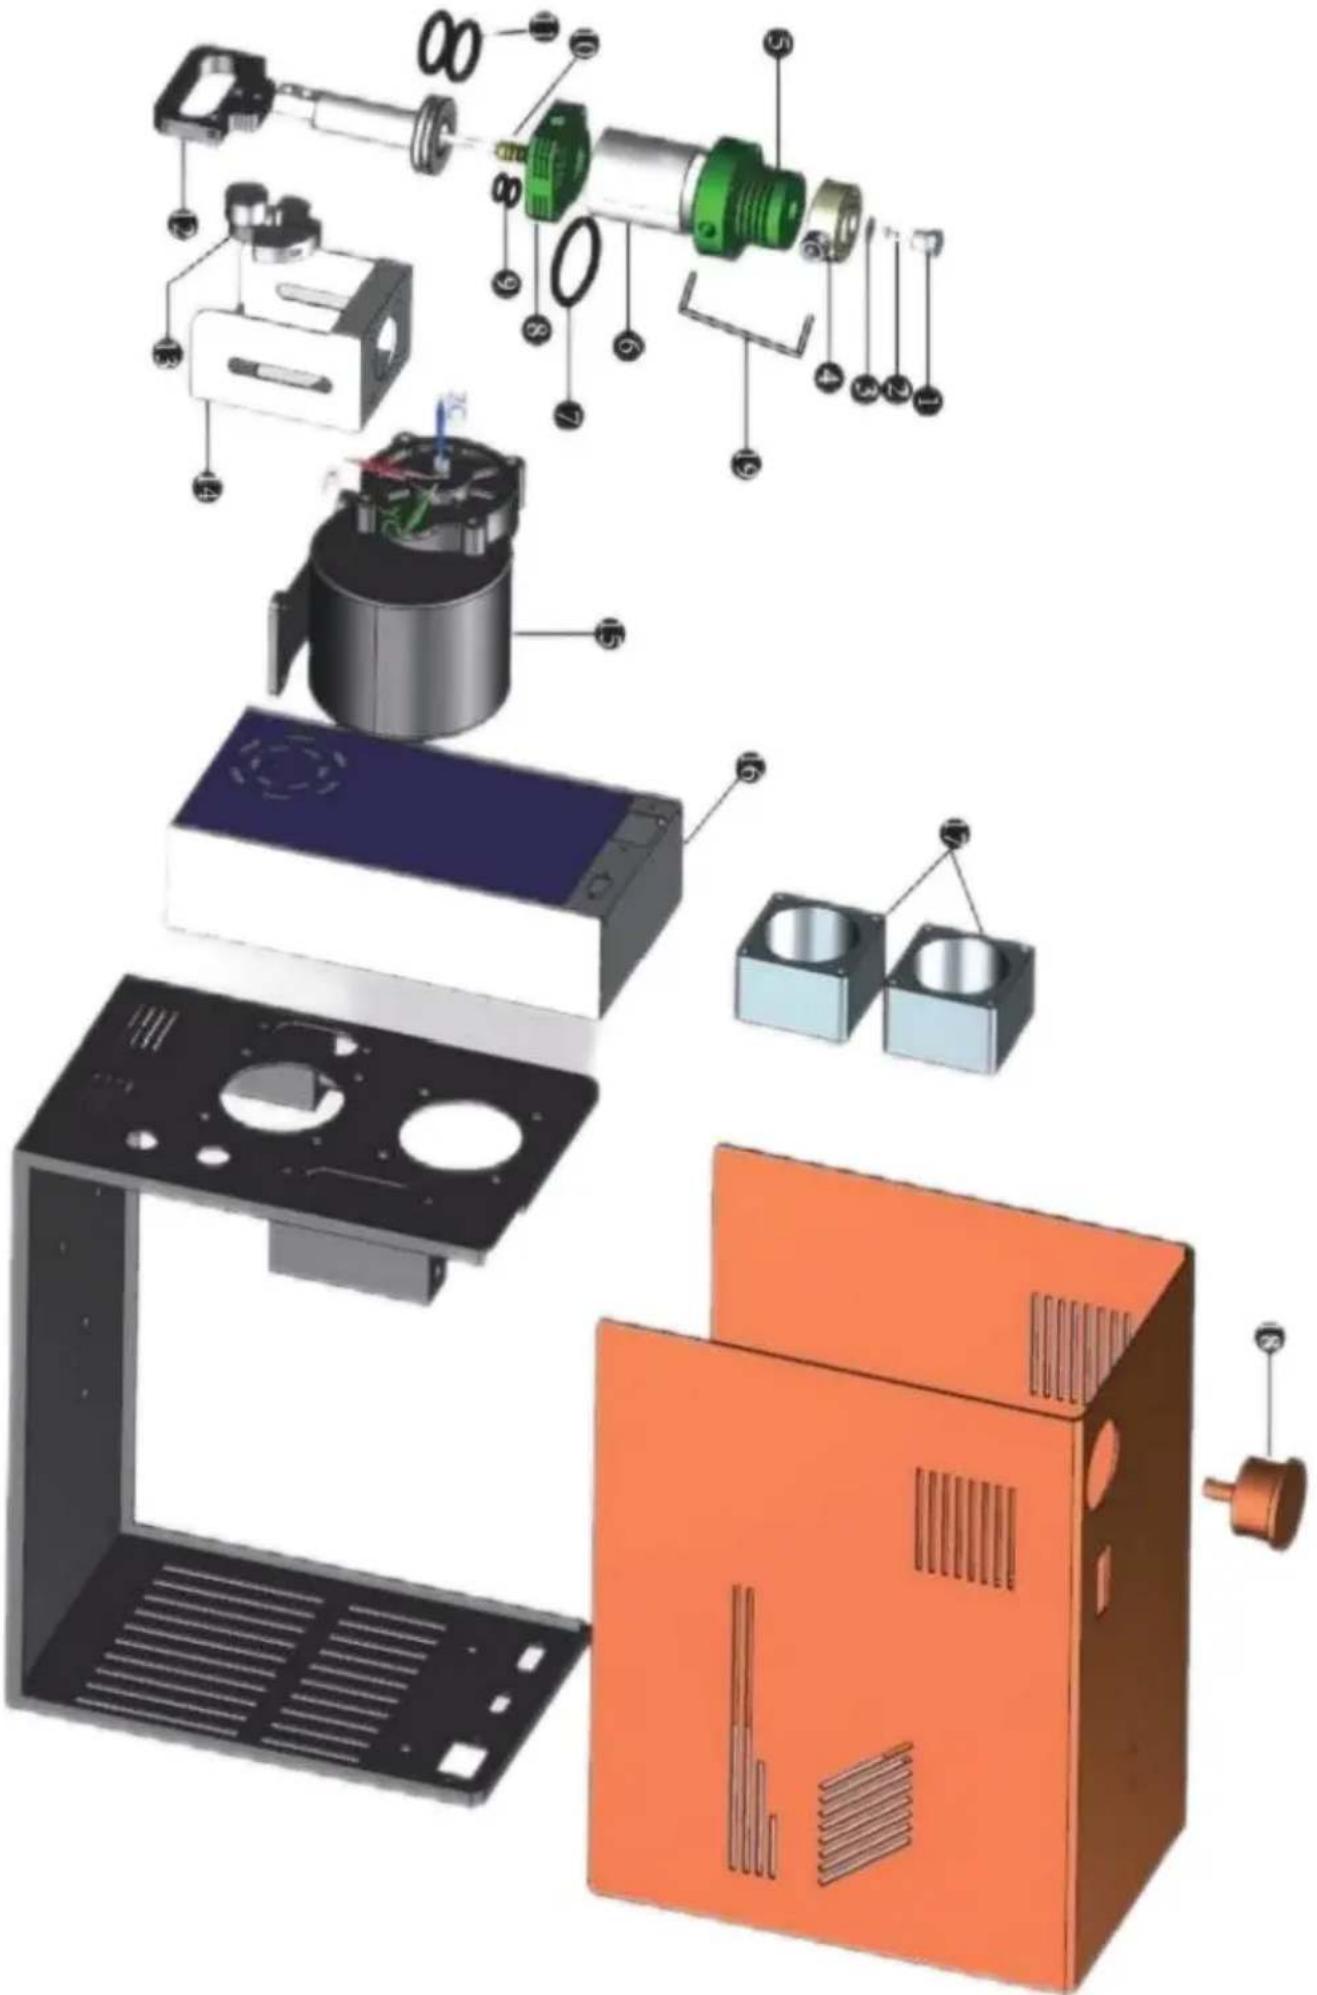
Exploded view diagram of a device showing internal components like battery, fan, and housing (no text or labels)| 1 | One-way Screws | 11 | Ligh-pressure Piston Ring |
| 2 | One-way Spring | 12 | Rod |
| 3 | One-way Gasket | 13 | Crankshaft |
| 4 | High-pressure cylinder | 14 | Motor cover |
| 5 | Low-pressure cylinder | 15 | Motor |
| 6 | Column Part | 16 | Transformer |
| 7 | High-pressure O-ring | 17 | Cooling Fan |
| 8 | Low-pressure Cylinder | 18 | Manometer |
| 9 | High-pressure Piston Ring | 19 | Condensation Tube |
| 10 | High-pressure Piston |
WARRANTY
We provide twelve (12) months warranty for this compressor after you receive it. We will repair or replace the defective items under warranty.
What is covered?
-All Bearings
- Motor
-All Metal Parts
What is NOT covered?
- Any damage or faults caused by owner misuse, action or inaction.
- Damages caused by abuse or failure to perform normal maintenance. -F subject to normal wear and tear.
VEVOR®
TOUGH TOOLS, HALF PRICE
Technical Support and E-Warranty Certificate
www.vevor.com/support
VEVOR®
TOUGH TOOLS, HALF PRICE
natural_image
Exterior view of a red VEVOR electric shock absorber with attached circuit board and power tool (no visible text or symbols)BESOIN D'AIDE? CONTACTEZ-NOUS!
natural_image
Symbol of a trash bin crossed with no text or numbers, representing waste sorting or disposal (no text present)natural_image
Coiled black and red clamp test probes with wire, no visible text or symbols1
natural_image
Close-up of a black cable with coiled wires (no text or symbols visible)2
natural_image
Close-up of a metallic cylindrical tool with a coiled black cable, no visible text or symbols3
natural_image
Collection of mechanical components and parts arranged on a plain background (no text or symbols visible)4
natural_image
Exploded view diagram of a device showing internal components like battery, fan, and housing (no text or labels)natural_image
Exterior view of a red VEVOR electric shock absorber with attached circuit board and power tool (no visible text or symbols)natural_image
Symbol of a trash bin crossed with no text or numbers, representing waste sorting or disposal (no text present)natural_image
Coiled black and red clamp clips with wire, no visible text or symbols1
natural_image
Close-up of a black cable with coiled wires (no text or symbols visible)2
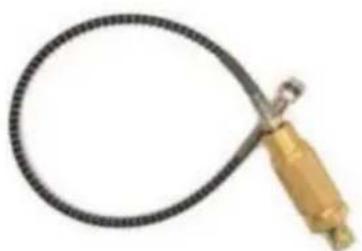
natural_image
Close-up of a metallic cylindrical tool with a coiled black cable, no visible text or symbols3
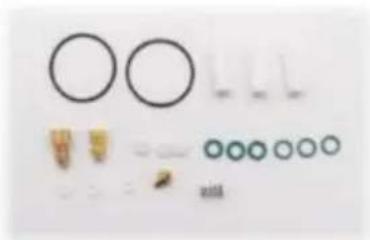
natural_image
Collection of mechanical components and parts, including circles, rings, and fasteners (no text or symbols visible)4
natural_image
Exploded view diagram of a device showing internal components like battery, fan, and housing (no text or labels)natural_image
Exterior view of a red VEVOR electric shock absorber with attached circuit board and power tool (no visible text or symbols)natural_image
Symbol of a trash bin crossed with no text or numbers, representing waste sorting or disposal (no text present)natural_image
Coiled black and red clamp test probes with wire, no visible text or symbols1

natural_image
Close-up of a black cable with coiled wires (no text or symbols visible)2
natural_image
Close-up of a metallic cylindrical tool with a coiled black cable, no visible text or symbols3
natural_image
Collection of mechanical components and parts arranged on a plain background (no text or symbols visible)4
natural_image
Exploded view diagram of a device showing internal components like battery, fan, and housing (no text or labels)natural_image
Exterior view of a red VEVOR electric shock absorber with attached circuit board and power tool (no visible text or symbols)natural_image
Symbol of a trash bin crossed with no text or numbers, representing waste sorting or disposal (no text present)natural_image
Coiled black and red clamp test probes with wire, no visible text or symbols1
natural_image
Close-up of a black cable with coiled wires (no text or symbols visible)2
natural_image
Close-up of a metallic cylindrical tool with a coiled black cable, no visible text or symbols3
natural_image
Collection of mechanical components and parts arranged on a plain background (no text or symbols visible)4
natural_image
Exploded view diagram of a device showing internal components like battery, fan, and housing (no text or labels)natural_image
Exterior view of a red VEVOR electric shock absorber with attached circuit board and wiring (no visible text or symbols on main body)POTRZEBUJESZ POMOCY? SKONTAKTUJ SIĘ Z NAMI!
natural_image
Symbol of a trash bin crossed with a diagonal line, no text or numbers presentnatural_image
Coiled black and red clamp test probes with wire, no visible text or symbols1
natural_image
Close-up of a black cable with coiled wires (no text or symbols visible)2
natural_image
Close-up of a metallic cylindrical tool with a coiled black cable, no visible text or symbols3
natural_image
Collection of mechanical components and parts arranged on a plain background (no text or symbols visible)4
Główne specyfikacje
natural_image
Exploded view diagram of a device showing internal components like battery, fan, and housing (no text or labels)natural_image
Exterior view of a red VEVOR electric shock absorber with attached circuit board and power tool (no visible text or symbols)HULP NODIG? NEEM CONTACT MET ONS OP!
natural_image
Symbol of a trash bin crossed with a diagonal line, no text or numbers presentnatural_image
Coiled black and red clamp clips with wire, no visible text or symbols1
natural_image
Close-up of a black cable with coiled wires (no text or symbols visible)2
natural_image
Close-up of a metallic cylindrical tool with a coiled black cable, no visible text or symbols3
natural_image
Collection of mechanical components and parts, including circular and ring components (no text or symbols visible)4
natural_image
Exploded view diagram of a device showing internal components like battery, fan, and housing (no text or labels)natural_image
Exterior view of a red Yevor electric shock absorber with visible wiring and components (no text or symbols on main body)BEHÖVER HJÄLP? KONTAKTA OSS!
natural_image
Symbol of a trash bin with crossed lines indicating no waste or discharge (no text or labels)natural_image
Coiled black and red clamp clips with wire, no visible text or symbols1
natural_image
Close-up of a black cable with coiled wires (no text or symbols visible)2
natural_image
Close-up of a metallic cylindrical tool with a coiled black cable, no visible text or symbols3
natural_image
Collection of mechanical components and parts, including circular and ring components (no text or symbols visible)4