
RLLF7-X - Flat screen mount Vevor - Free user manual and instructions
Find the device manual for free RLLF7-X Vevor in PDF.
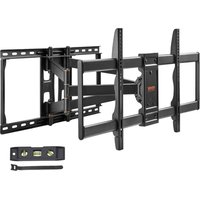


| Product type | Wall mount for flat screen |
| Brand | Vevor |
| Model | RLLF7-X |
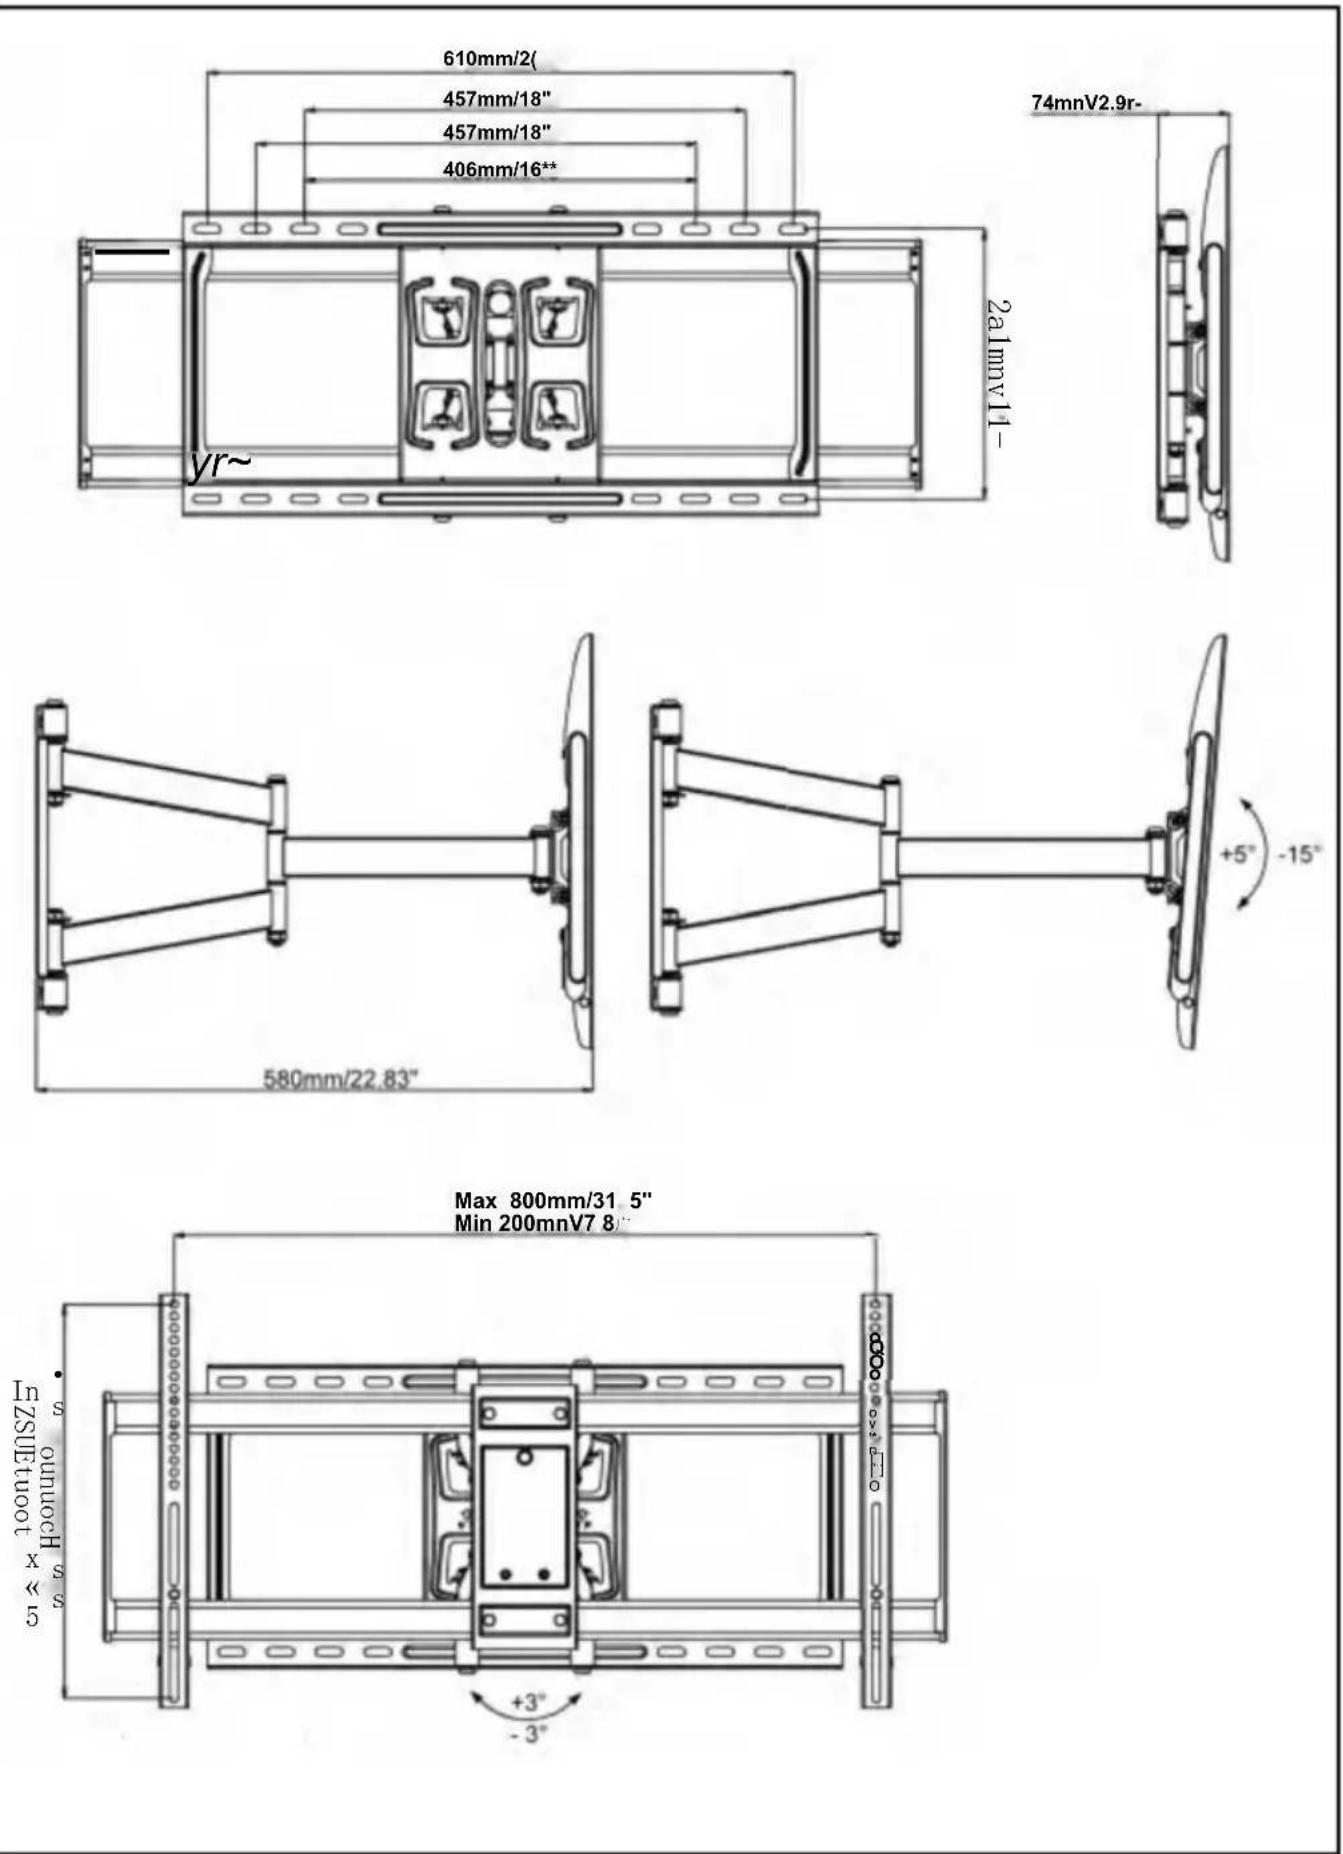
| Dimensions (W x H x D) | 880 x 325 x 90 mm |
| Net weight | 10.77 kg |
| Maximum safe load | 75 kg |
| Material | Steel |
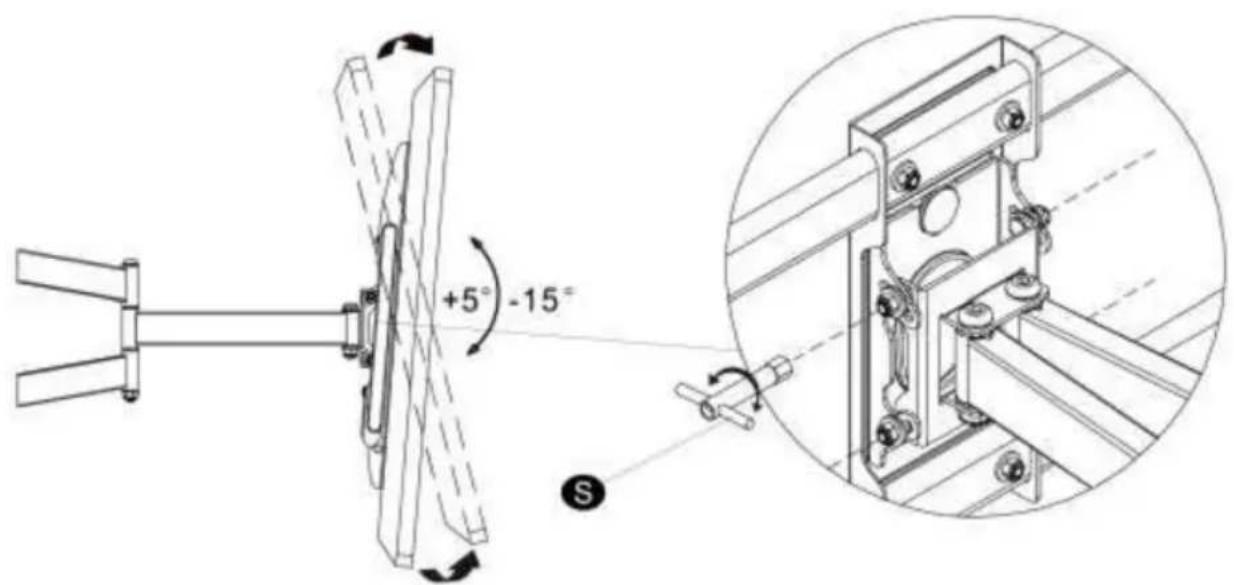
| Tilt | +5° to -15° |
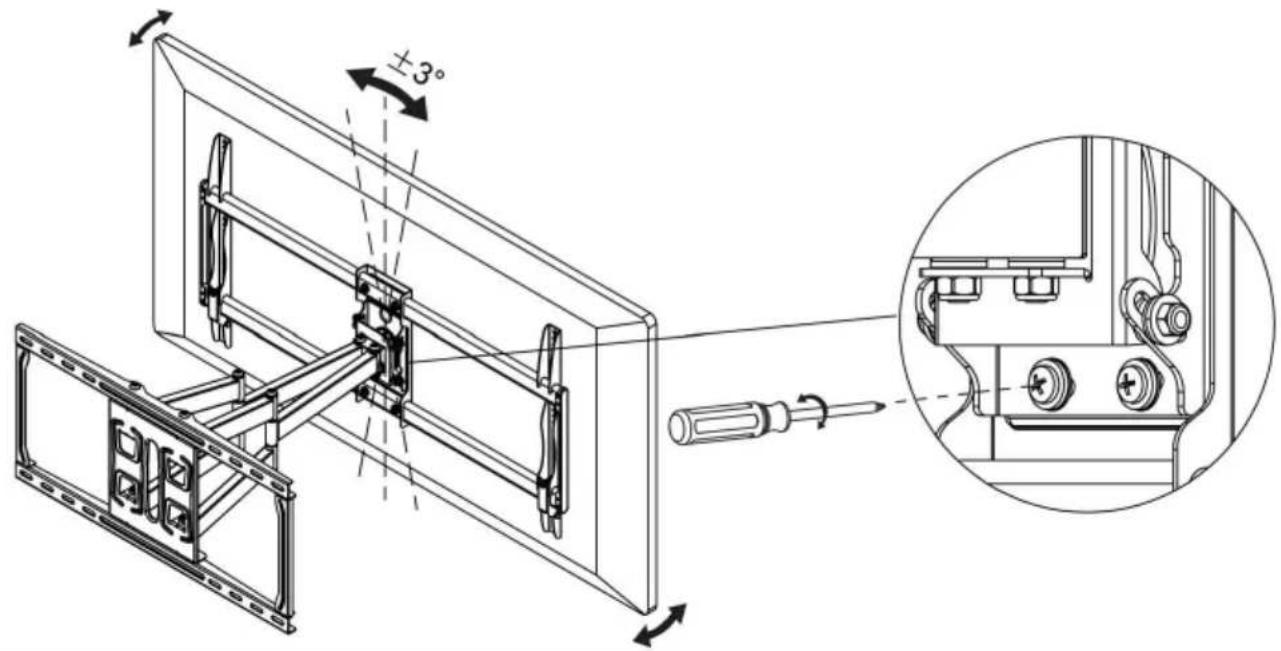
| Leveling | ±3° |
| VESA compatibility | Standard (up to 600x400 mm) |
| Compatible wall type | Wood studs or solid concrete wall |
| Required tools | Drill, concrete drill bit, level, screwdriver, socket wrench, hammer, stud finder |
| Main functions | Wall mounting, tilt, leveling |
| Care and cleaning | Clean with a soft dry cloth; do not use abrasive products |
| Safety | Do not exceed maximum load; the wall must support 5 times the total weight; wear goggles and gloves during assembly |
| Spare parts and repairability | Contact Vevor customer service for spare parts |
| General information | Assemble only according to instructions; use on solid concrete wall or wood studs only |
Frequently Asked Questions - RLLF7-X Vevor
User questions about RLLF7-X Vevor
0 question about this device. Answer the ones you know or ask your own.
Ask a new question about this device
Download the instructions for your Flat screen mount in PDF format for free! Find your manual RLLF7-X - Vevor and take your electronic device back in hand. On this page are published all the documents necessary for the use of your device. RLLF7-X by Vevor.
USER MANUAL RLLF7-X Vevor
Technical Support and E-Warranty Certificate www.vevor.com/support
TV WALL MOUNTS
USER MANUAL
MODEL: RLLF7-X
We continue to be committed to providing you with tools at competitive prices. "Save Half," "Half Price," or any other similar expressions used by us only represent an estimate of savings you might benefit from buying certain tools with us compared to the major top brands and do not necessarily mean to cover all categories of tools offered by us. You are kindly reminded to verify carefully when you are placing an order with us if you are actually saving half in comparison with the top major brands.
VEVOR®
TOUGH TOOLS, HALF PRICE
TV WALL MOUNTS
MODEL: RLLF7-X
NEED HELP? CONTACT US!
Have product questions? Need technical support? Please feel free to contact us:
CustomerService@vevor.com
This is the original instruction. Please read all manual instructions carefully before operating. VEVOR reserves a clear interpretation of our user manual. The appearance of the product shall be subject to the product you received. Please forgive us that we won't inform you again if there are any technology or software updates on our product.
WARNING:
Read this material before using this product. Failure to do so can result in serious injury.
Assembly precautions
- Assemble only according to these instructions. Improper assembly can create hazards. This product is designed for use in wood stud and solid concrete wall. -Do not mount on dry wall alone.
- Wear ANSI-approved safety goggles and heavy-duty work gloves during assembly.
- Keep the assembly area clean and well-lit.
- Keep bystanders out of the area during assembly.
- Do not assemble when tired or when under the influence of alcohol, drugs or medication.
- The product capabilities apply to properly and completely assembled products only.
For additional information regarding the parts listed in the following pages, please refer to the Assembly Diagram of this manual. Unwrap and separate all parts in a clean work area.
Use precautions
- Weight Restrictions: Do not exceed the maximum weight capacity of this product.
- The wall must be capable of supporting five times the weight of the TV and mount combined.
- Do not use this product for any purpose not explicitly specified by manufacture. Manufacture is not responsible for damage or injury caused by incorrect assembly or use.
- Inspect before every use; do not use if parts are loose or damaged.
SAVE THIS MANUAL
TOOLS NEEDED
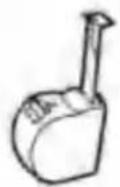
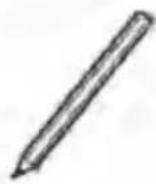
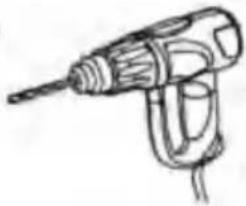
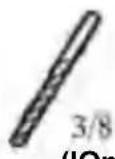
(10mm)
Stud Finder, Tape Measure, Pencil
Drill, Concrete Drill
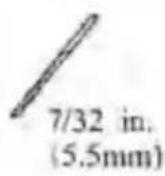
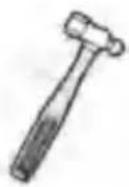
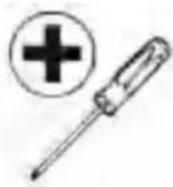
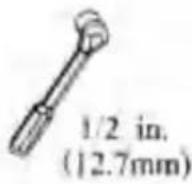
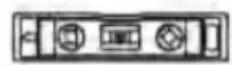
Wood Drill, Hammer, Screwdriver, Socket Wrench, Level
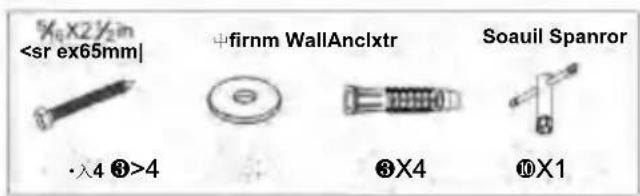
HARDWARE INCLUDED
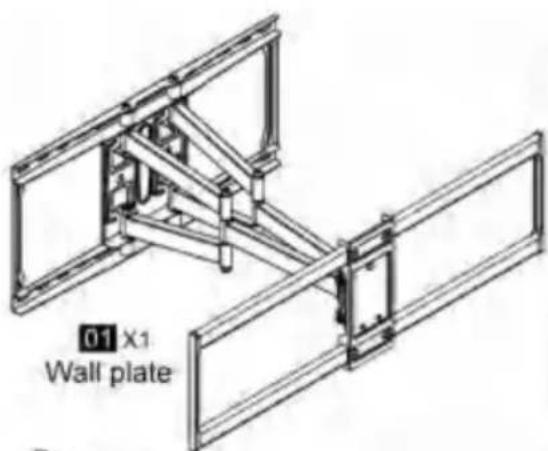
02X2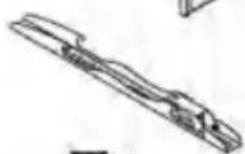
TV Brackets
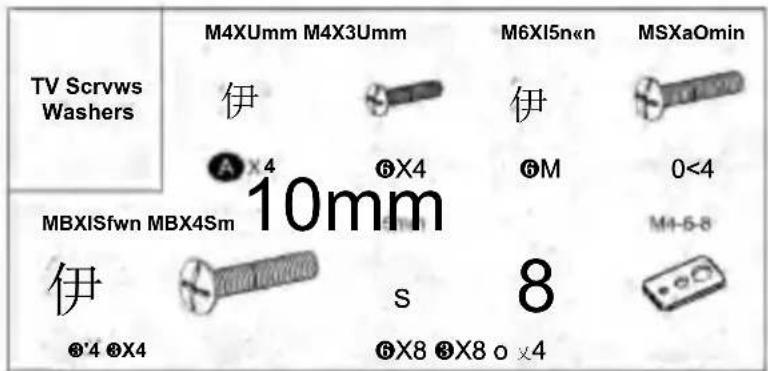
STEP 1: Attach Brackets to TV
STEP 1-1: Select TV Screws
Preparation: Check VESA pattern of TV before installation. Only one screw size fits your TV.
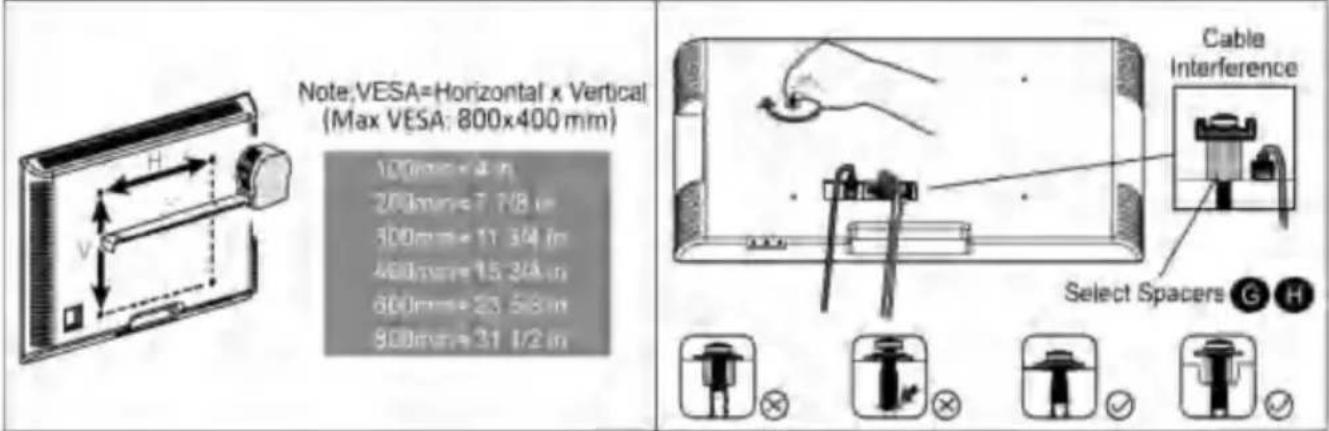
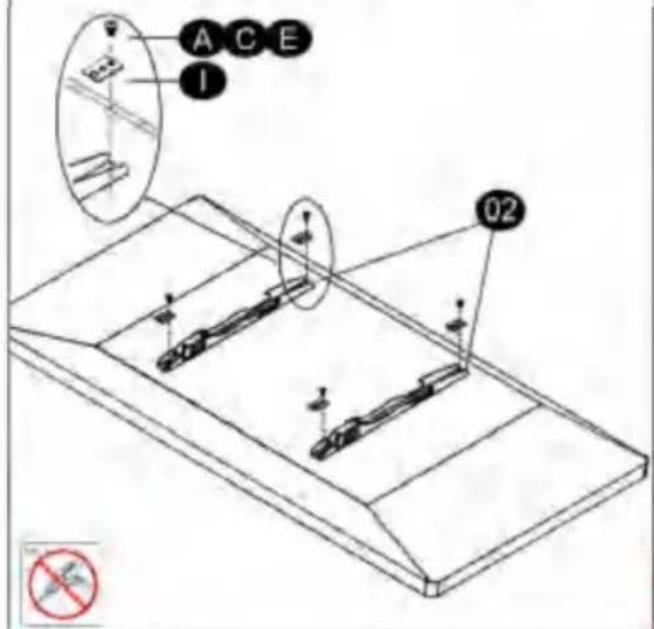
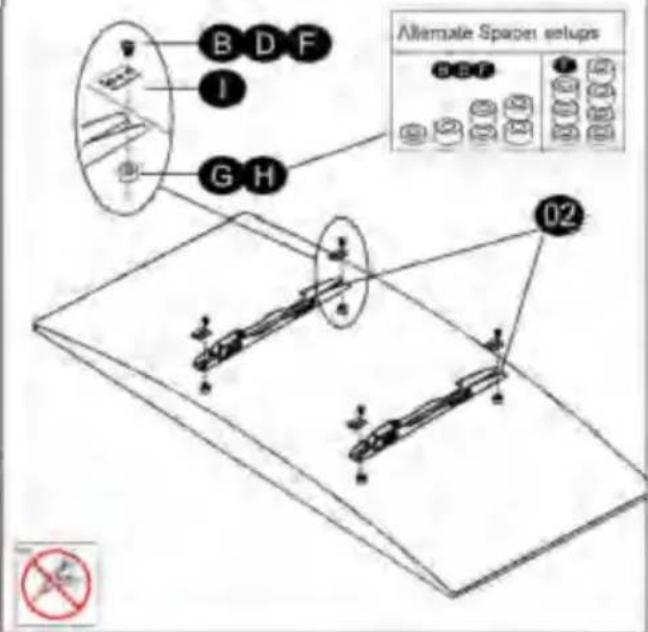
STEP 1-2: Attach the TV Brackets
a. Flat-Panel TV (Screw and Washer) b. Curved TV (Spacer, Screw and Washer)
STEP 2: Attach Wall Plate to Wall
For wood stud installation, follow STEP 2A. For concrete installation, follow STEP 2B.
STEP 2A: Wood Stud Installation
2A-1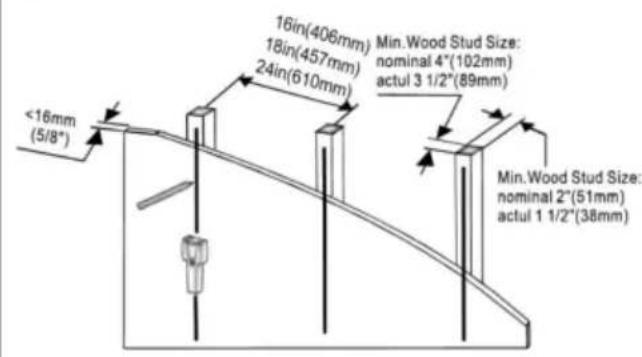
2A-2 Mark the pilot hole locations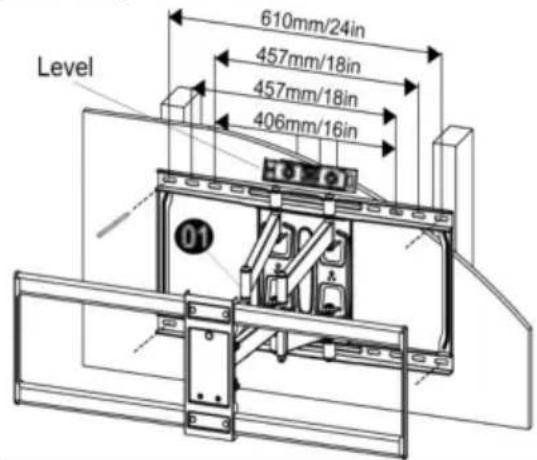
2A-3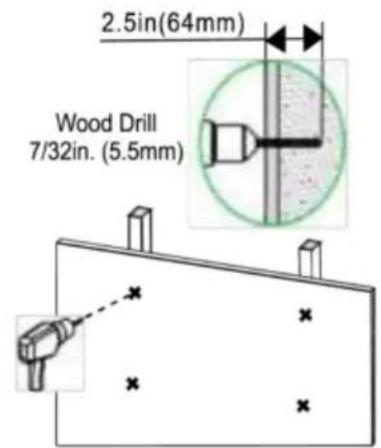
2A-4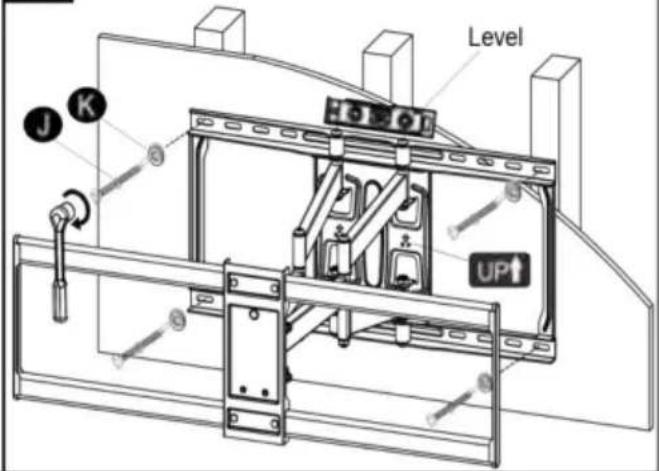
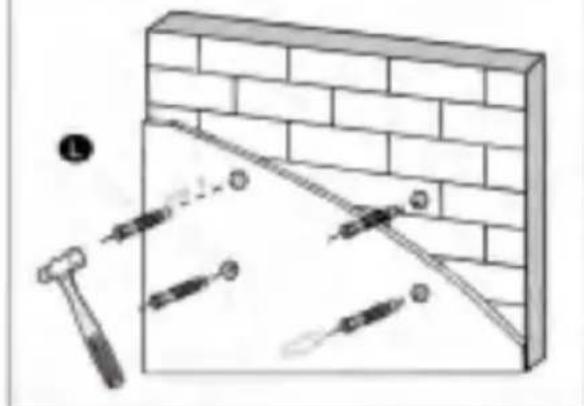
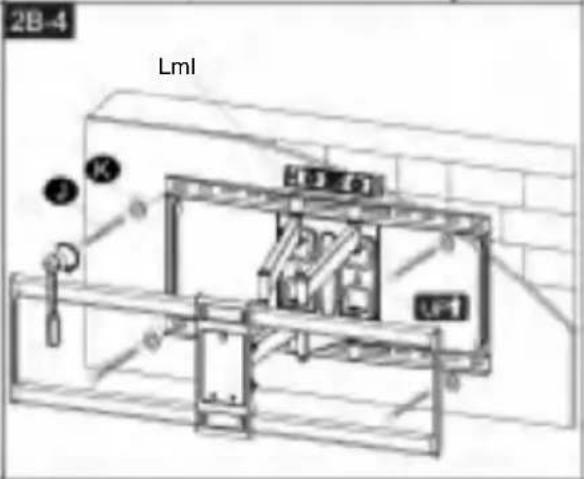
STEP 2B Solid Concrete Wall Installation

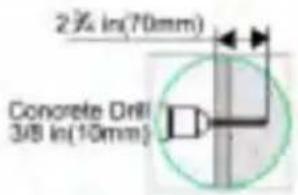
Caution: These anchors are for solid concrete and concrete block walls ONLY. DO NOT use them in drywall or wood studs.
2B-1 Mark the pilot hole locations. 2B-2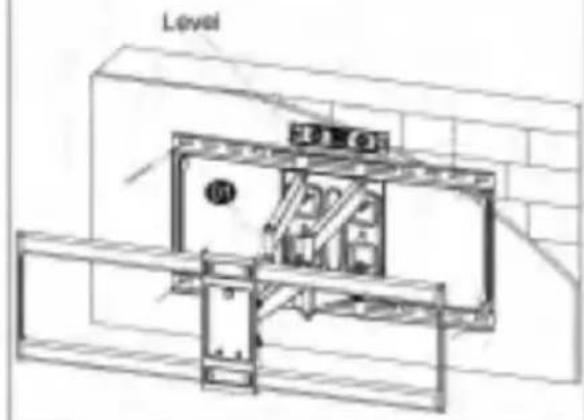
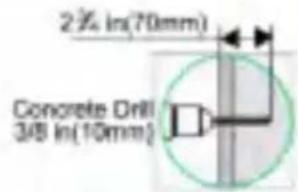
2B-3 Use the hammer to knock anchors into the wall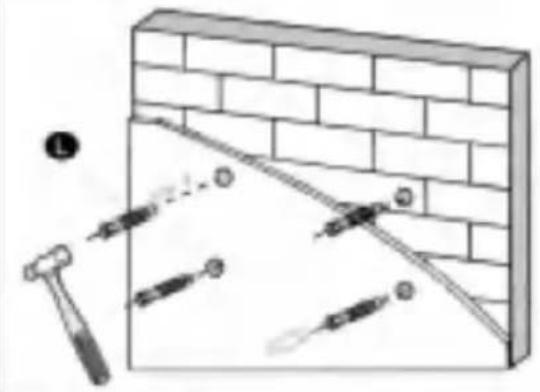
2B-4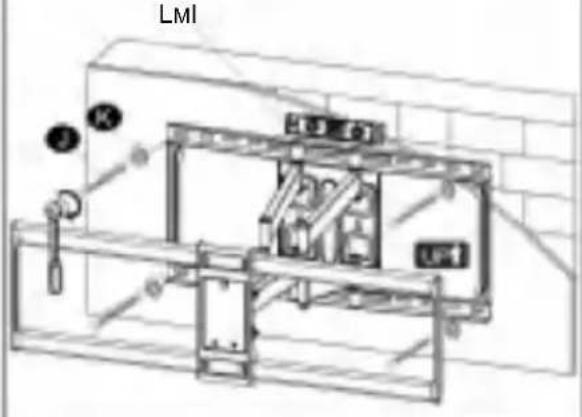
STEP 3 Hang and Secure TV to Wall Plate
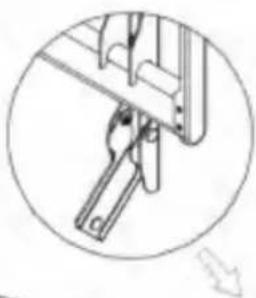
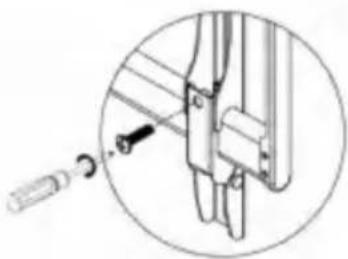
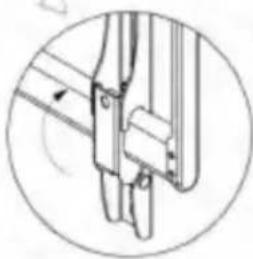
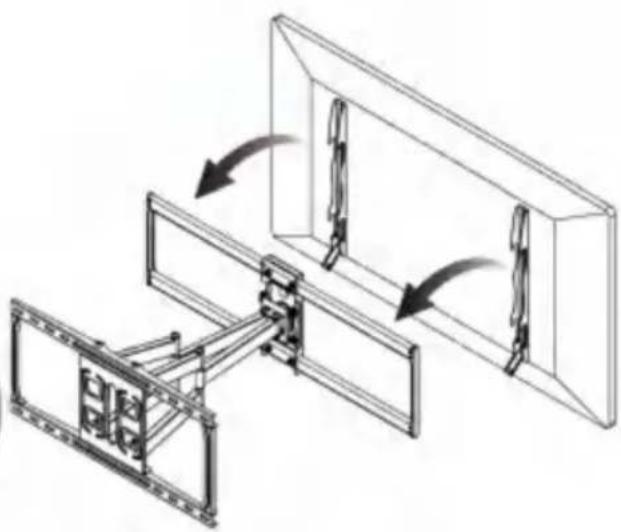
STEP 4 Adjustments
STEP 4-1 TV Leveling Adjustment (±3°)
Loosen 2 leveling bolts on the rear of TV plate by maximum 2 turns, adjust to level, and retighten to secure.
STEP 4-2 Tilting Angle Adjustment (+5° to -15°)
Pull TV to your desired angle and then fasten 4 tilting bolts with Socket Spanner.
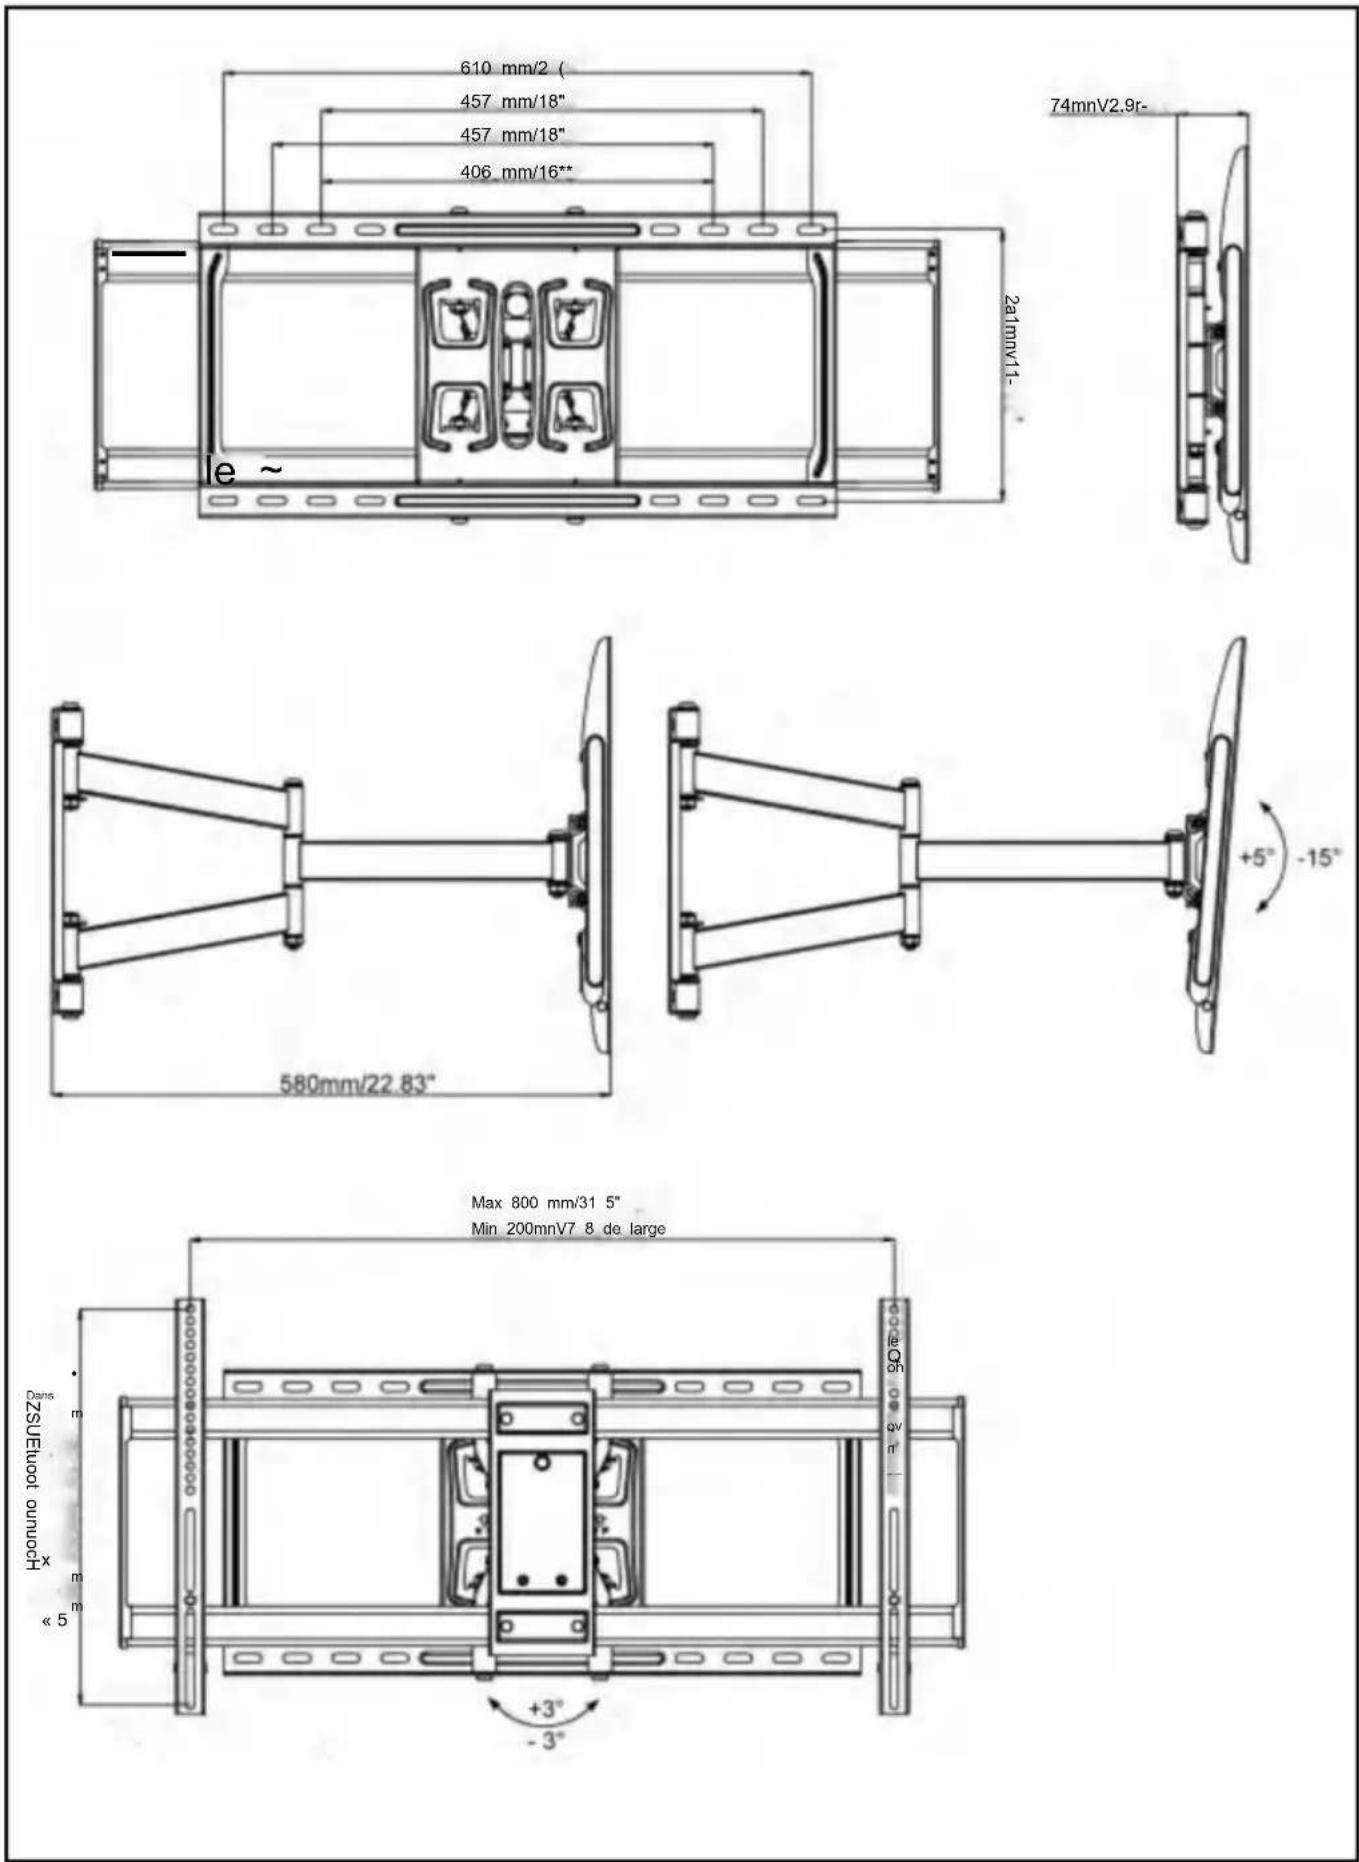
PRODUCT DIMENSIONS
PRODUCT PARAMETER
| Model RLLF7-X | |
| Safe Loading Weight | 75 kg |
| Product Size 880*325*90 mm | |
| Net Weight 10.77 kg |
Manufacturer: Shanghai Uxin Muye Youxiangongsi
Address: Shuangcheng Road 803, Nong 11, Hao 1602A-1609 Shi,
Baoshan District, Shanghai 200000 CN.
Imported to AUS: SIHAO PTY LTD. 1 ROKEVA STREET, EASTWOOD NSW 2122 Australia
Imported to USA: Sanven Technology Ltd. Suite 250, 9166 Anaheim Place, Rancho Cucamonga, CA 91730

E-CrossStu GmbH
Mainzer Landstr. 69, 60329 Frankfurt am Main.

YH CONSULTING LIMITED.
C/O YH Consulting Limited Office 147, Centurion House,
London Road, Staines-upon-Thames, Surrey, TW18 4AX
Made In China
VEVOR
TOUGH TOOLS, HALF PRICE
Technical Support and E-Warranty Certificate
www.vevor.com/support
ETVLER
MCO, HALF P RIZH ATOUG
Technical Support and E-Warranty Certificate www.vevor.com/support
TV WALL MOUNTS
USER MANUAL
MODEL: RLLF7-X
2A-2 Mark the pilot hole locations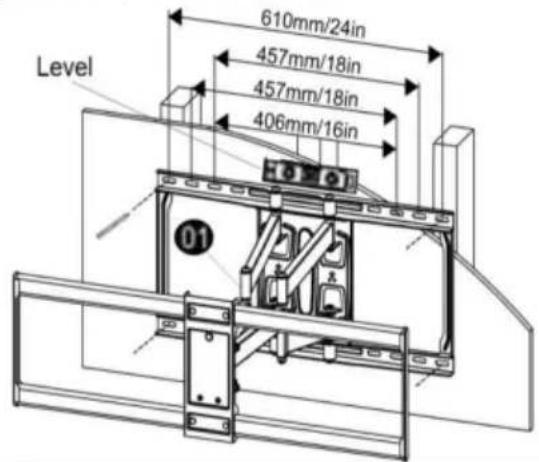
2A-3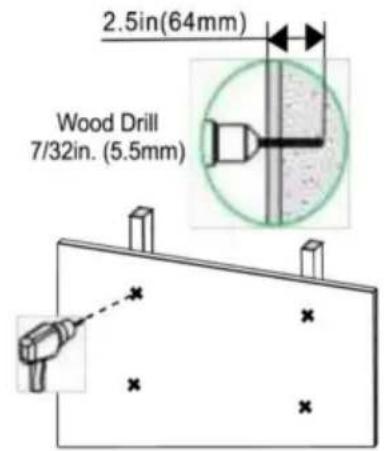
2A-4
2B-1 Mark the pilot hole locations.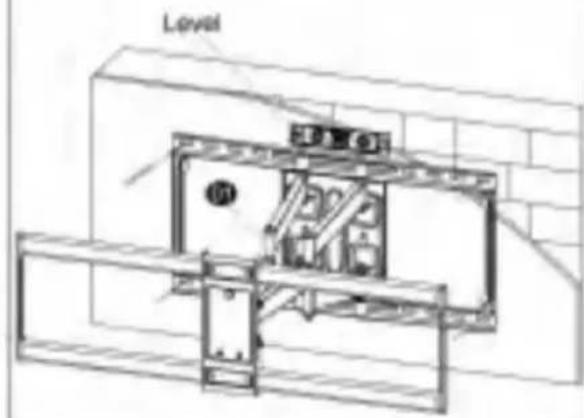
28.3 Use the hammer to knock and/or into the wall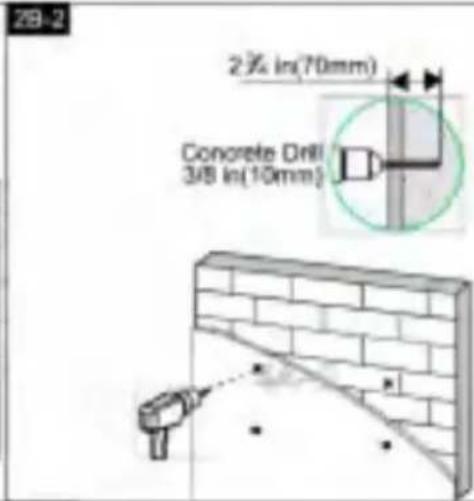
PRODUCT DIMENSIONS
PRODUCT PARAMETERS
C/O YH Consulting Limited Bureau 147, Centurion House,
Route de Londres, Staines-upon-Thames, Surrey, TW18 4AX
Made in China
VEVOR
TOUGH TOOLS, HALF PRICE
2A-2 Mark the pilot hole locations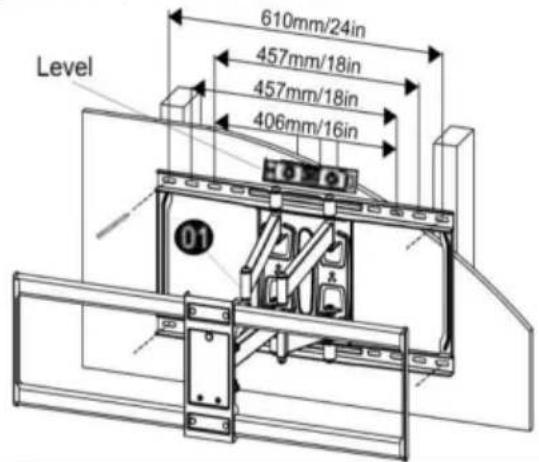
2A-3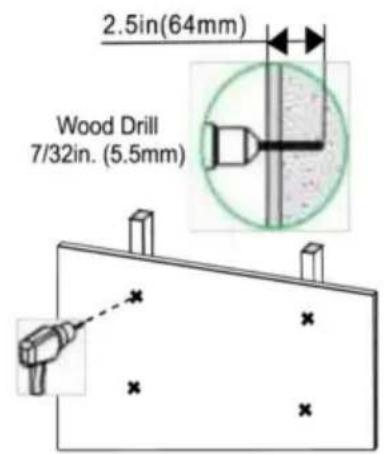
2A-4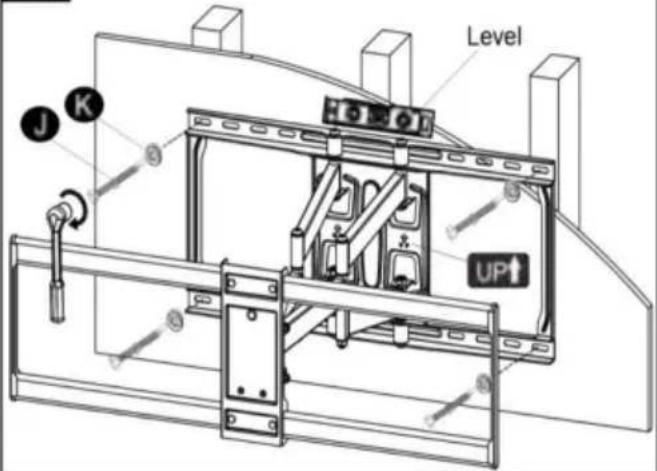
2B-1 Mark the pilot hole locations. 29-2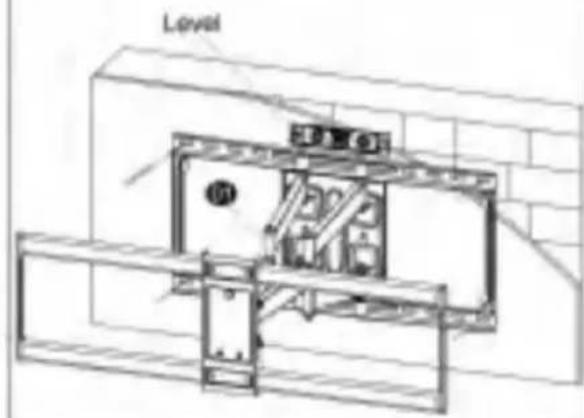
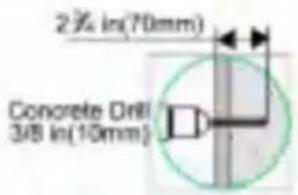
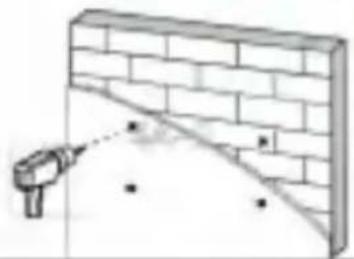
28-3 Use the hammer to knock anchors into the wall. 2B-4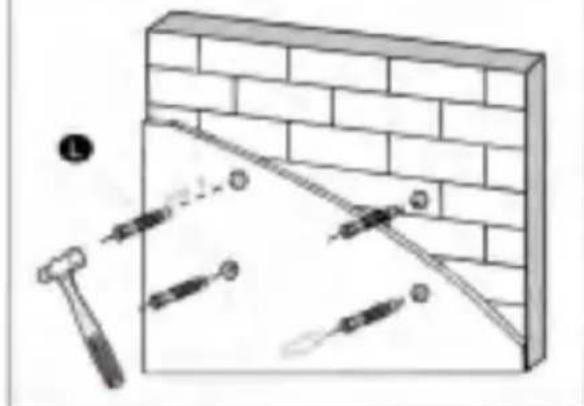
C/O YH Consulting Limited Office 147, Centurion House,
London Road, Staines-upon-Thames, Surrey, TW18 4AX
www.vevor.com/support
VEVOR®
2A-2 Mark the pilot hole locations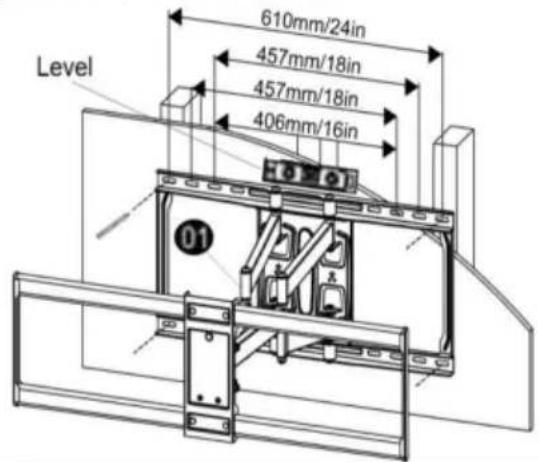
2A-3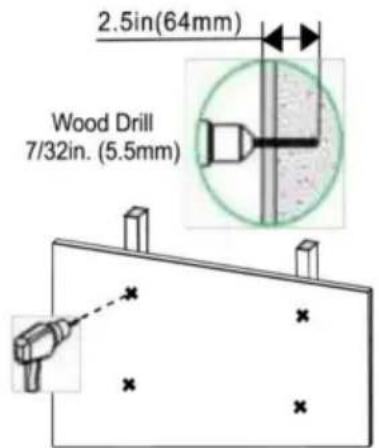
2A-4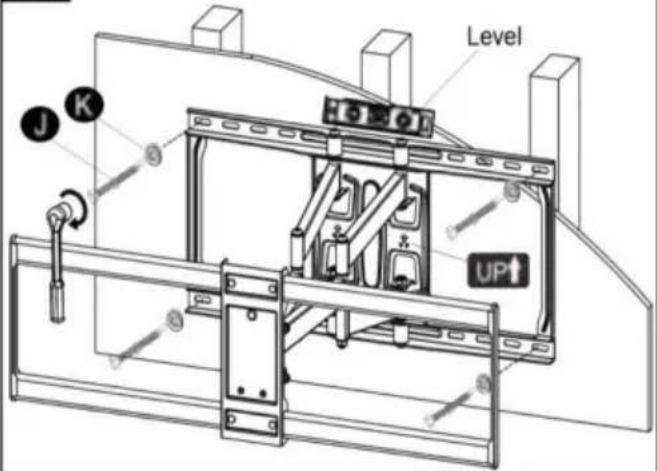
2B-1 Mark the pilot hole locations. 29-2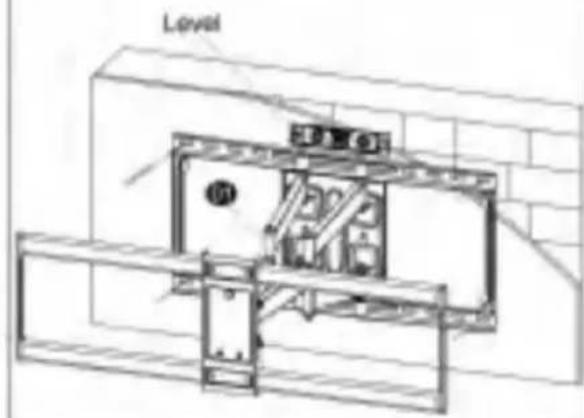
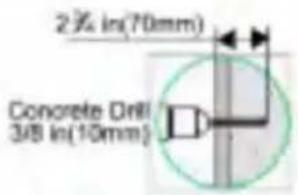
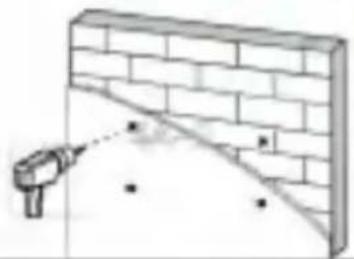
2B-3 Use the hammer to knock anchors into the wall.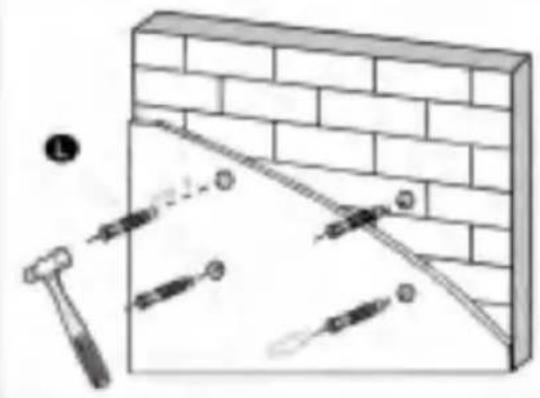
2B-4 LMI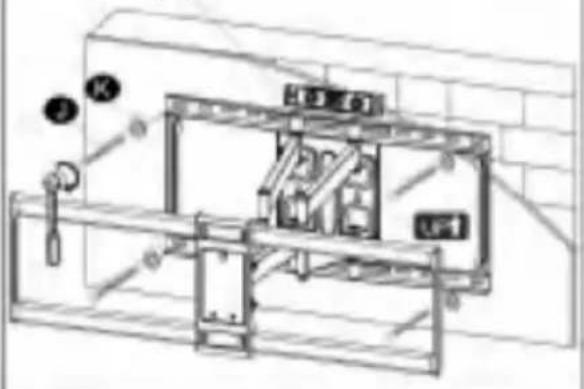
Imported in AUS: SIHAO PTY LTD. 1 ROKEVA STREET EASTWOOD NSW 2122 Australia
Imported in the USA: Sanven Technology Ltd. Suite 250, 9166 Anaheim Place Rancho Cucamonga, CA 91730
E-CrossStu GmbH
Mainzer Landstr. 69, 60329 Frankfurt am Main.
CONSULTING YH LIMITED.
C/O YH Consulting Limited Office 147, Centurion House,
Via Roma, 101, 00186 Rome, Italy
Made in China
VEVOR
DURABLE UTENSILS, HALF PRICE
Technical support certificate warranty
electronics www.vevor.com/support

V Y V ELR®
OLS, HALF PARROZH ATOGO
Technical support and warranty certificate electronics www.vevor.com/support
TV WALL MOUNTS
USER MANUAL
MODEL: RLLF7-X
2A-2 Mark the pilot hole locations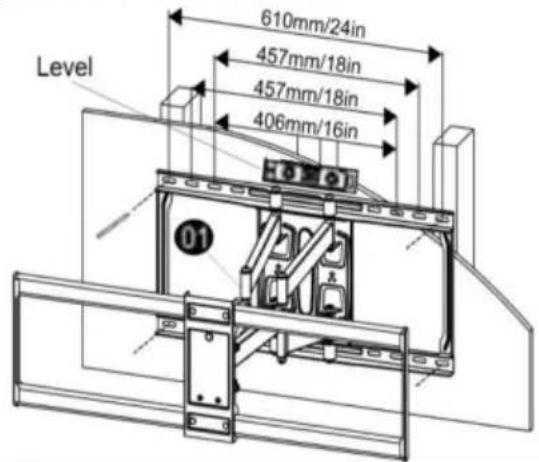
2A-3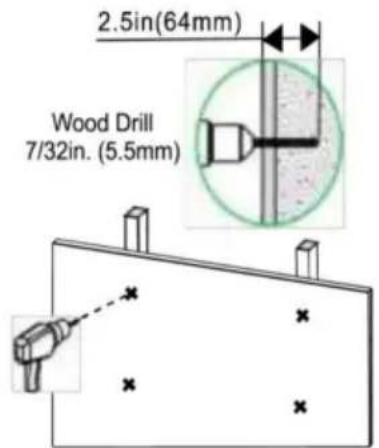
2A-4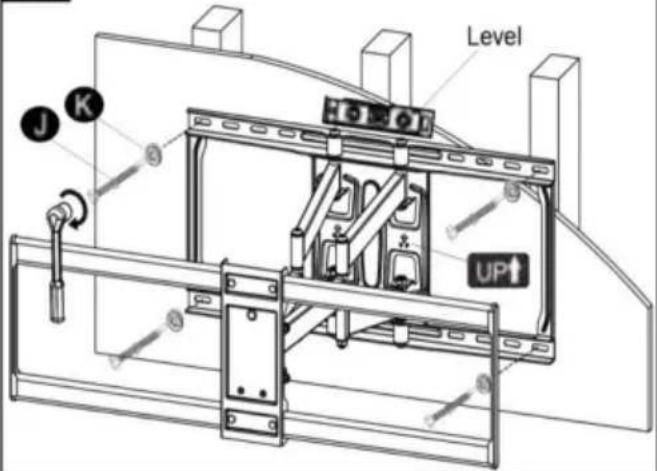
2B-1 Mark the pilot hole locations.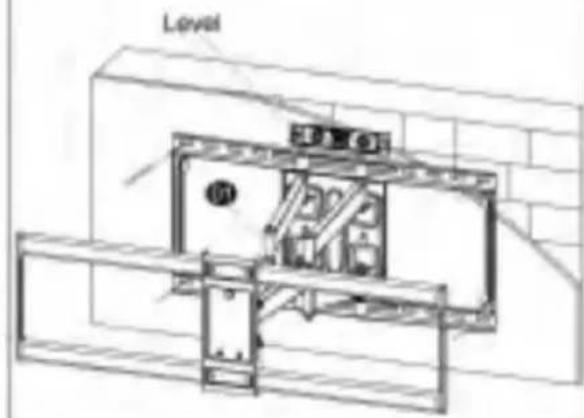
28.3 Use the hammer to knock anchors into the wall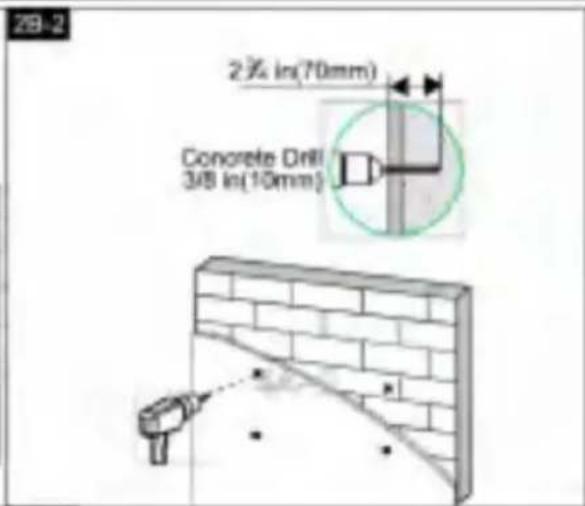
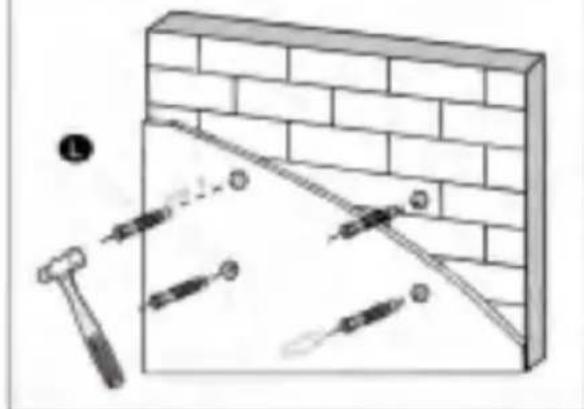
STEP 3 Hang and secure the televator to the wall plate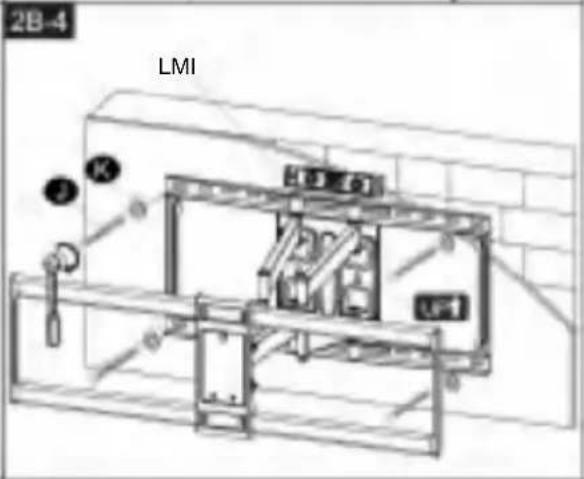
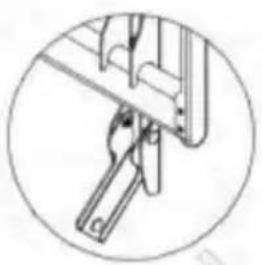
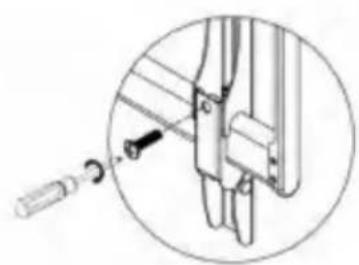
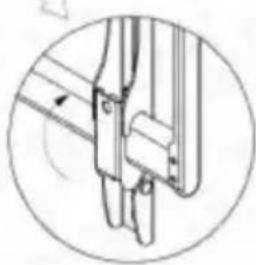
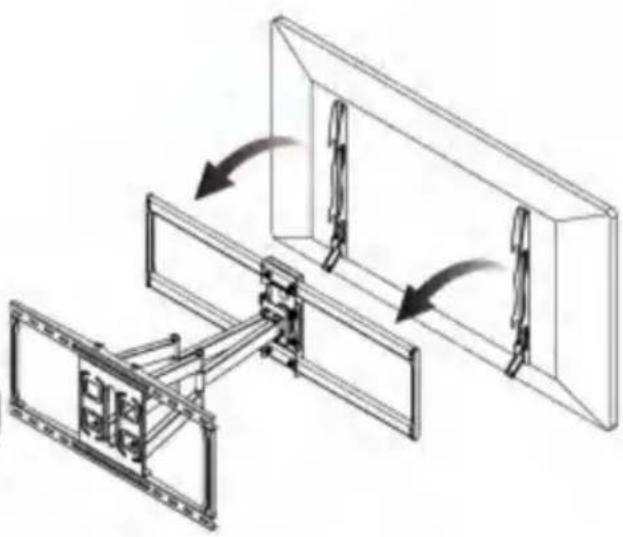
STEP 4 Adjustments
PRODUCT DIMENSIONS
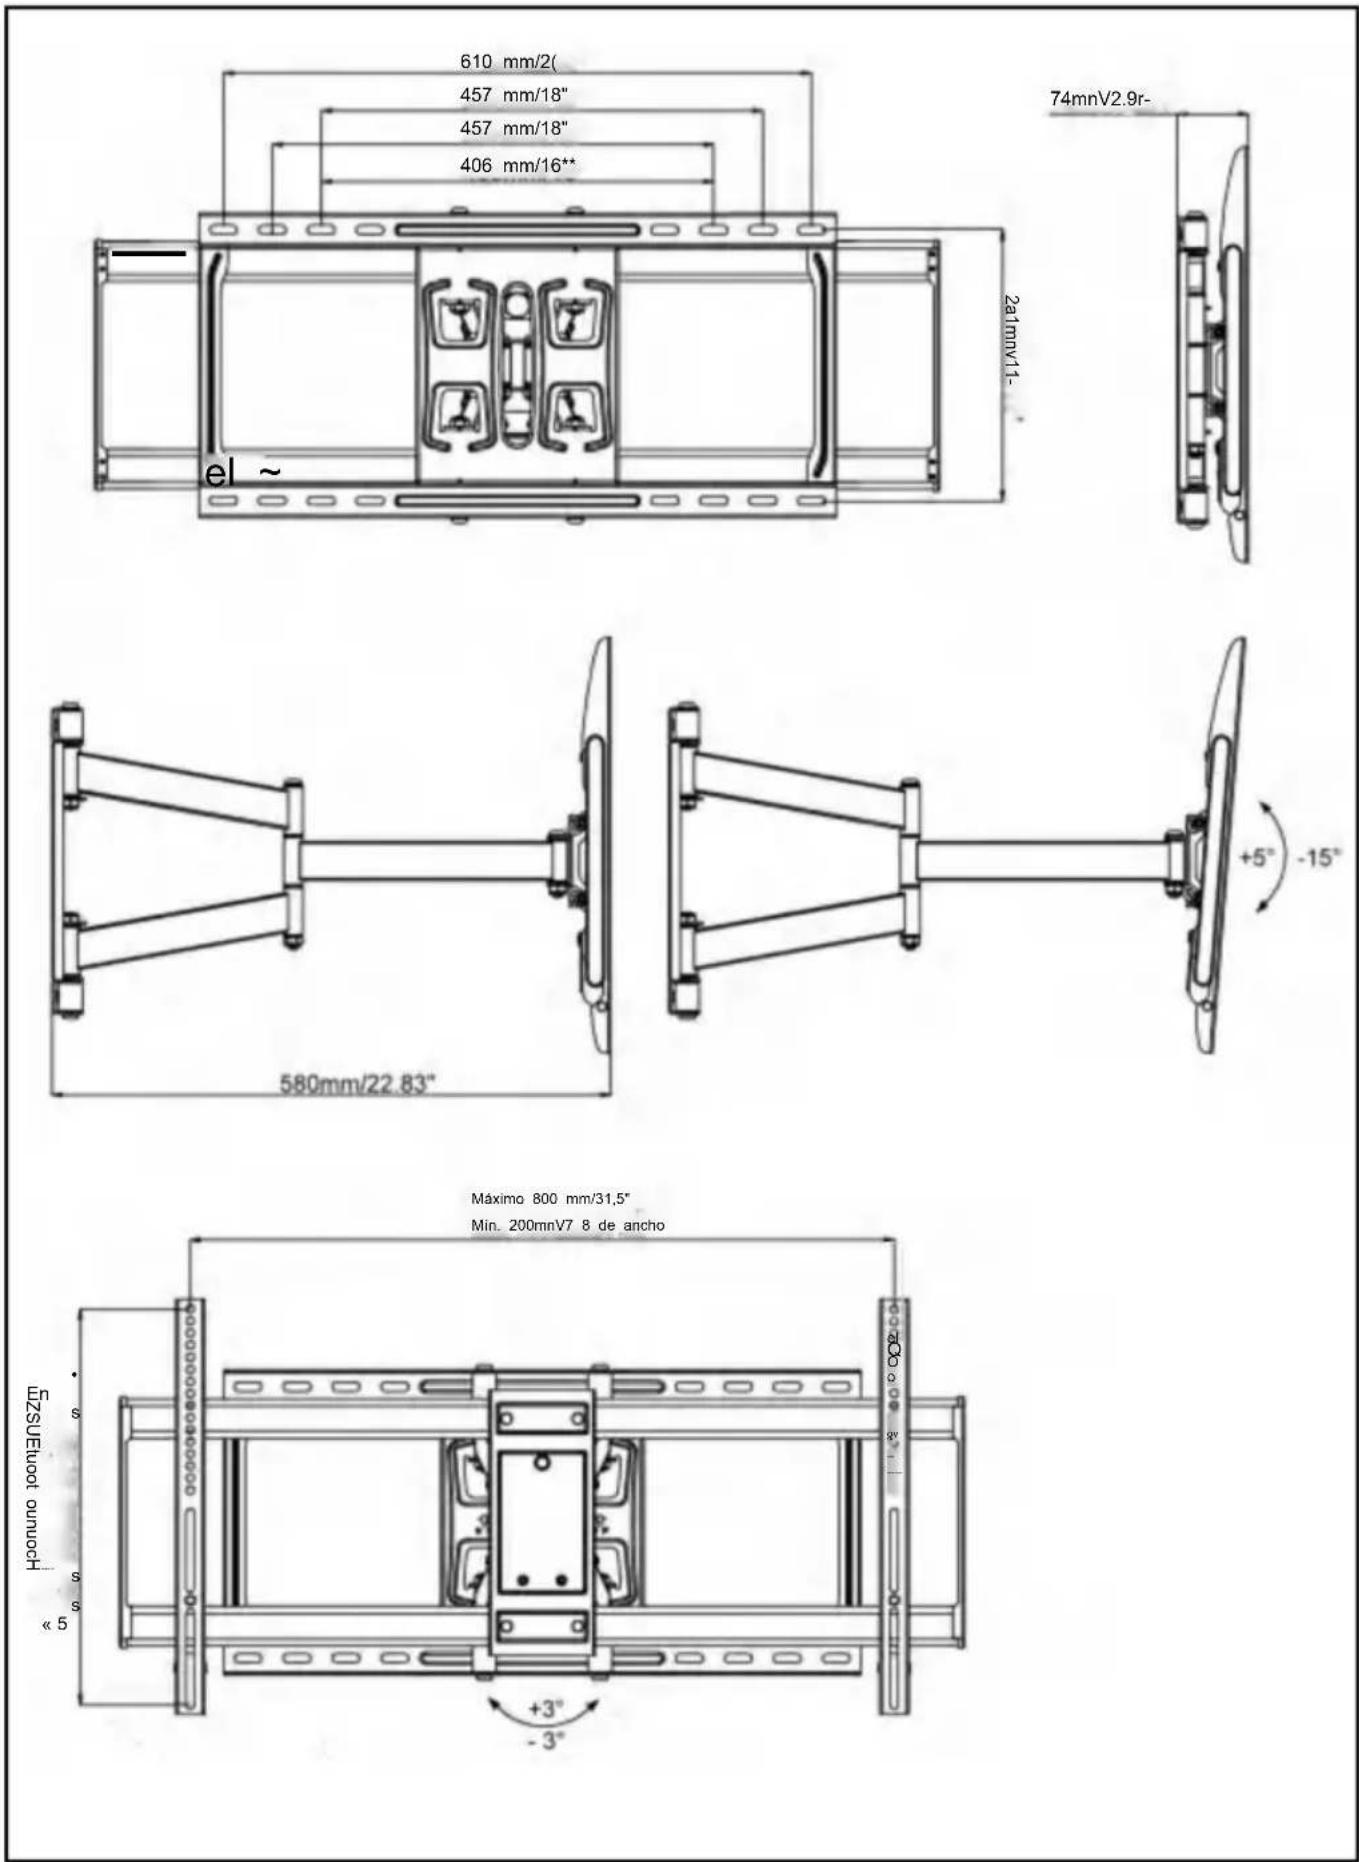
PRODUCT PARAMETERS
C/O YH Consulting Limited Office 147, Centurion House,
London Road, Staines-upon-Thames, Surrey, TW18 4AX
Made in China
VEVOR
TOOLS RESISTANT AT HALF PRICE
Technical support and electronic warranty certificate www.vevor.com/support

V I V T o R
OLS, H ALF P RYZH DOTOUG
2A-2 Mark the pilot hole locations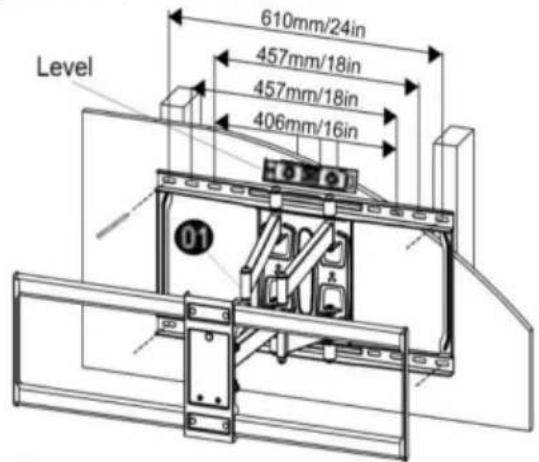
2A-3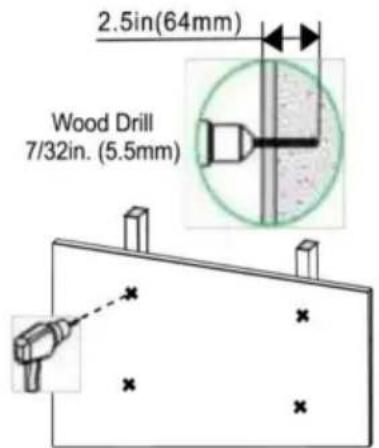
2A-4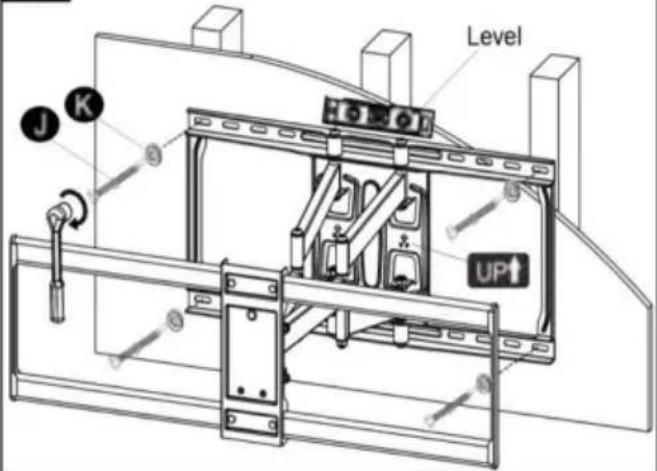
STEP 2B: Mounting on solid concrete wall
2B-1 Mark the pilot hole locations. 28-2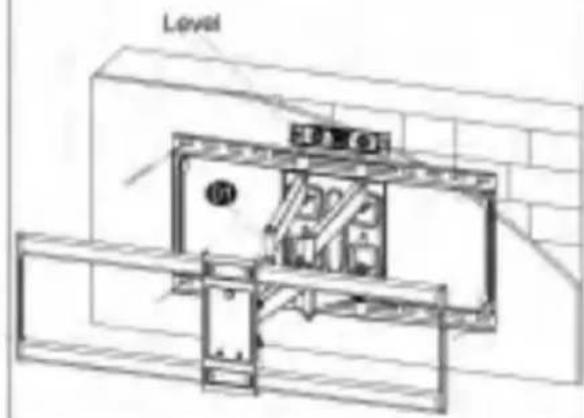
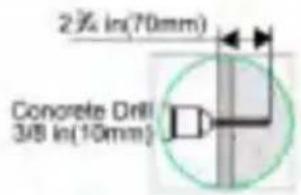
28-3 Use the hammer to knock anchors into the wall.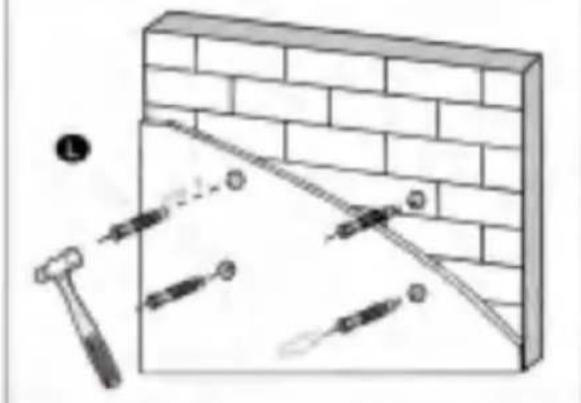
2B-4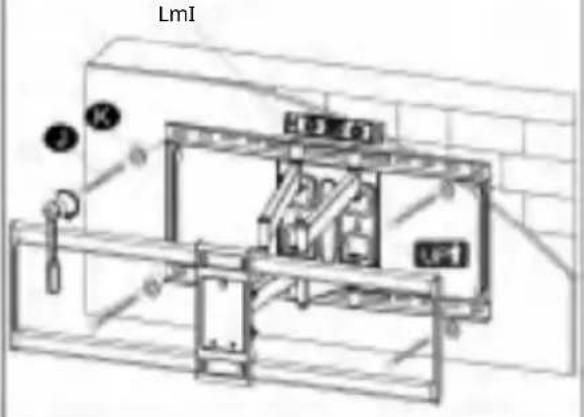
C/O YH Consulting Limited Office 147, Centurion House,
London Road, Staines-upon-Thames, Surrey, TW18 4AX
Klantenservice@vevor.com
2A-2 Mark the pilot hole locations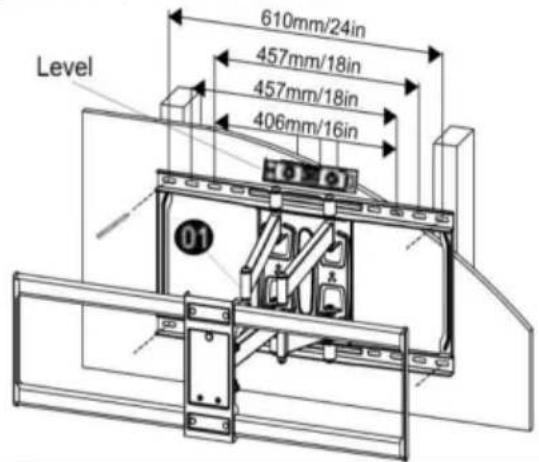
2A-3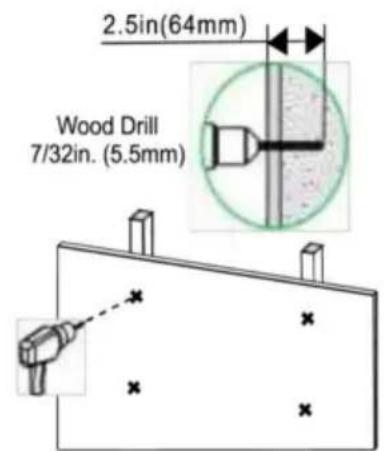
2A-4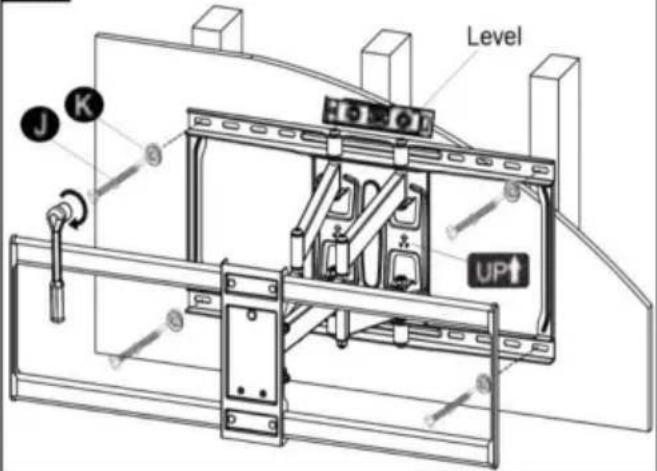
2B-1 Mark the pilot hole locations. 29-2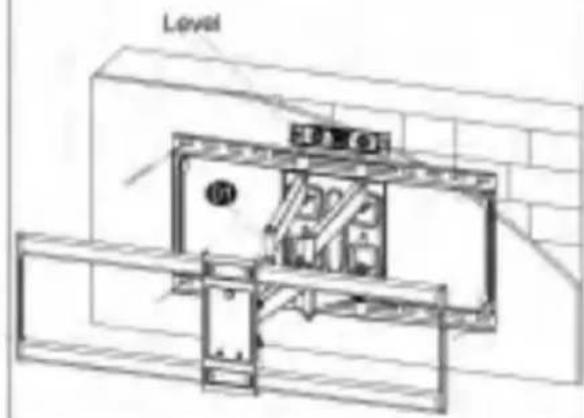
28-3 Use the hammer to knock anchors into the wall. 2B-4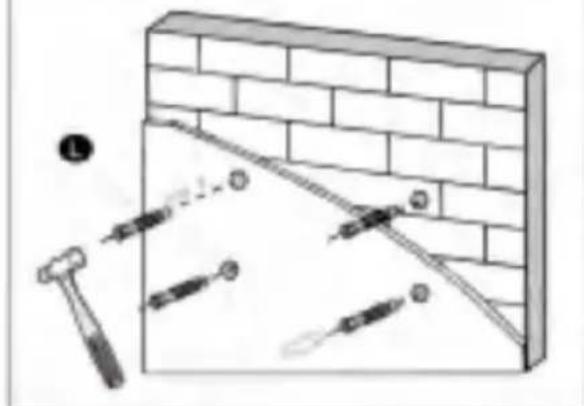
C/O YH Consulting Limited Office 147, Centurion House,
London Road, Staines-upon-Thames, Surrey, TW18 4AX
Made in China
VEVOR
ROBUST TOOLS, HALF PRICE
Technical support and e-warranty certificate www.vevor.com/support

VEVOR
TOOLS, HALF PRICE
For railing installation, follow STEP 2A
For concrete installation, follow STEP 2B
2A-2 Mark the pilot hole locations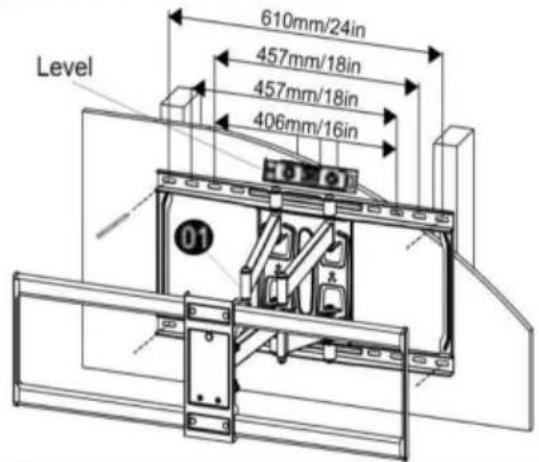
2A-3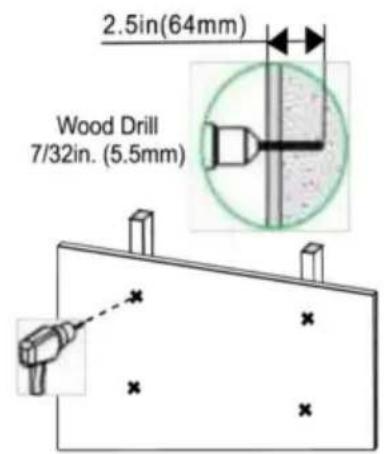
2A-4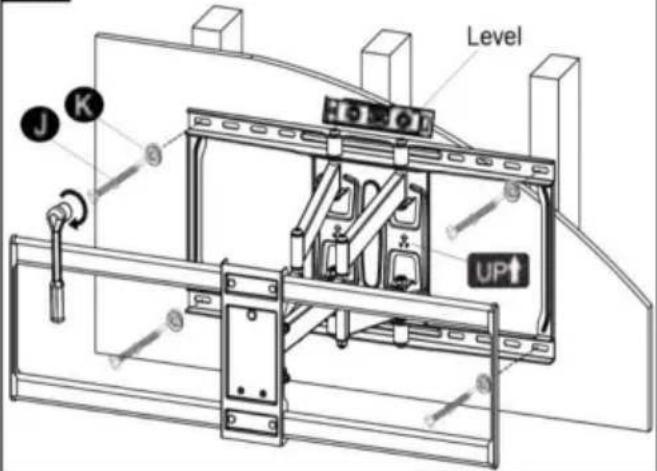
2B-1 Mark the pilot hole locations. 2B-2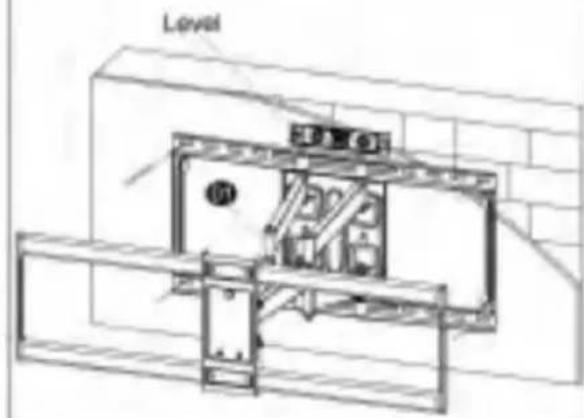
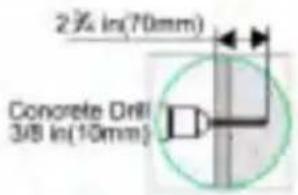
2B-3 Use the hammer to knock anchors into the wall. 2B-4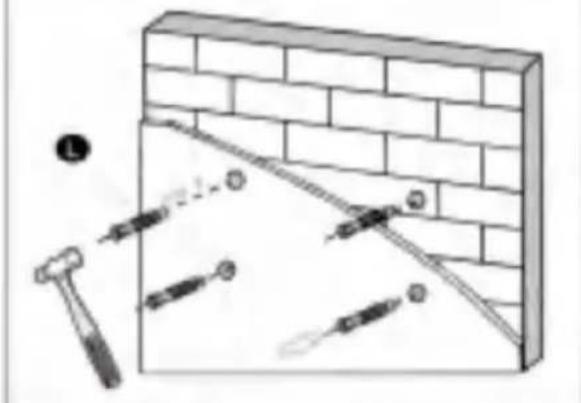
C/O YH Consulting Limited Office 147, Centurion House,
London Road, Staines-upon-Thames, Surrey, TW18 4AX
Made in China
VEVOR
TOOLS FOR HALF THE PRICE
www.vevor.com/support

- TV WALL MOUNTS
- USER MANUAL
- VEVOR®
- MODEL: RLLF7-X
- NEED HELP? CONTACT US
- WARNING
- ASSEMBLY PRECAUTIONS
- USE PRECAUTIONS
- SAVE THIS MANUAL
- TOOLS NEEDED
- HARDWARE INCLUDED
- STEP 1: ATTACH BRACKETS TO TV
- STEP 1-1: SELECT TV SCREWS
- STEP 1-2: ATTACH THE TV BRACKETS
- STEP 2: ATTACH WALL PLATE TO WALL
- STEP 2A: WOOD STUD INSTALLATION
- STEP 2B SOLID CONCRETE WALL INSTALLATION
- STEP 4 ADJUSTMENTS
- STEP 4-1 TV LEVELING ADJUSTMENT (±3°)
- STEP 4-2 TILTING ANGLE ADJUSTMENT (+5° TO -15°)
- PRODUCT DIMENSIONS
- PRODUCT PARAMETER
- VEVOR
- ETVLER
- PRODUCT PARAMETERS
- V Y V ELR®
- V I V T O R
- TOOLS, HALF PRICE
Brand : Vevor
Model : RLLF7-X
Category : Flat screen mount