Volo Capsule MMA1T-TCM20 - Coffee machine WILFA - Free user manual and instructions
Find the device manual for free Volo Capsule MMA1T-TCM20 WILFA in PDF.

| Product type | Capsule and ground coffee machine |
| Brand | Wilfa |
| Model | Volo Capsule MMA1T-TCM20 |
| Capsule compatibility | Dolce Gusto and Nespresso Original |
| Ground coffee preparation | Yes (adapter included) |
| Beverage functions | Espresso, Lungo, Grand coffee, Cappuccino, Latte Macchiato |
| Milk frother | Built-in milk container with swivel steam nozzle |
| Steam nozzle | Yes (removable) |
| Water tank | Removable, capacity not specified |
| Volume programming | Coffee from 25 to 250 ml, milk from 50 to 220 ml |
| Display | Icon display |
| Power supply | 220-240 V ~ 50/60 Hz |
| Power | Not specified |
| Dimensions | Not specified |
| Weight | Not specified |
| Warranty | 5 years |
| Cleaning | Automatic descaling, hand-washable parts (not dishwasher safe) |
| Safety | Automatic shut-off after 10 minutes of inactivity, thermal protection |
| Maintenance | Daily cleaning, descale every 50 L of coffee or 5000 s of milk |
Frequently Asked Questions - Volo Capsule MMA1T-TCM20 WILFA
User questions about Volo Capsule MMA1T-TCM20 WILFA
0 question about this device. Answer the ones you know or ask your own.
Ask a new question about this device
Download the instructions for your Coffee machine in PDF format for free! Find your manual Volo Capsule MMA1T-TCM20 - WILFA and take your electronic device back in hand. On this page are published all the documents necessary for the use of your device. Volo Capsule MMA1T-TCM20 by WILFA.
USER MANUAL Volo Capsule MMA1T-TCM20 WILFA
natural_image
Exterior view of a modern black Wilfa coffee maker with digital display and glass control panel (no visible text or symbols)VOLO CAPSULE
MMA1T-TCM20 MULTIFUNCTION MACHINE WITH MILK CONTAINER
EN · Instruction manual
NO · Bruksanvisning
SE · Bruksanvisning
These important safety precautions are critical part of the appliance. Please read them all carefully before using the appliance for the first time. You may keep the instructions for future reference or pass it to other users.
The appliance is designed for domestic use and may only be operated in accordance with these instructions for use.
Always handle with care and warn other users the potential danger.
DANGER: Misuse of the appliance can cause injury!
- Check the mains voltage stated on the rating plate corresponds to the local electricity supply.
- Unwind and straighten the power cord before using the appliance.
- Place the appliance on a firm and steady surface.
- The appliance must be used and rested on a stable surface.
- Disconnect the appliance from the power supply under the following conditions:
- Before removing any parts from the appliance or refit any parts on the appliance.
- Before cleaning or maintenance.
- When the appliance is not working correctly.
- After using the appliance.
- Empty and clean the water tank if the appliance unused for long period.
- Allow to cool before putting on or taking off parts, and before cleaning the appliance.
• Always use fresh and cold water to make coffee. Warm
water or other liquids could cause damage to the coffee maker.
- If the power cord is damaged, it must be replaced by the manufacturer or its service agent or similarly qualified person to avoid any hazard.
- Use the grinder for grinding coffee beans only.
- Disconnect the appliance from the power outlet before all assembly, disassembly and cleaning operations.
- This appliance is designed for household use only.
- In order to avoid a hazard due to inadvertent resetting of the thermal cut-out, this appliance must not be supplied through an external switching device, such as a timer, or connected to a circuit that is regularly switched on and off by the utility.
- This appliance can be used by children aged from 8 years and above if they have been given supervision or instruction concerning use of the appliance in a safe way and if they understand the hazards involved. Cleaning and user maintenance shall not be made by children unless they are older than 8 and supervised. Keep the appliance and its cord out of reach of children aged less than 8 years.
- Appliances can be used by persons with reduced physical, sensory or mental capabilities or lack of experience and knowledge if they have been given supervision or instruction concerning use of the appliance in a safe way and understand the hazards involved.
• Children shall not play with the appliance. - Do not use an extension power cord unless
E
competent authority has approved it.
- Do not leave the appliance unattended, when it is connected to power supply.
- Do not use the appliance in an outdoor environment.
- Do not use appliance for other than intended use.
- Do not let cord hang over the edge of table or counter or touch hot surface.
- Do not use or place the appliance on a wet or hot surface.
- Do not use the appliance if the drip tray is improperly placed.
- Do not immerse the appliance in water or any other liquids.
- Do not use the appliance when any parts of the appliance are damaged.
- Do not use the appliance when it is not working properly.
- Do not unplug the appliance by pulling the power cord.
- Do not place the cord on a sharp edge of an item.
- Do not attempt to open the appliance or dismantle any parts from the appliance, there is no serviceable part inside.
- The use of accessories not included in the box is not recommended. It might be dangerous and should be avoided.
- Do not place the appliance on or near hot gas or electric burner, or in a heated oven.
- Do not operate the hot water function continuously for more than one tank of water.
- Do not place in a cabinet when in use.
OVERVIEW
PRODUCT OVERVIEW
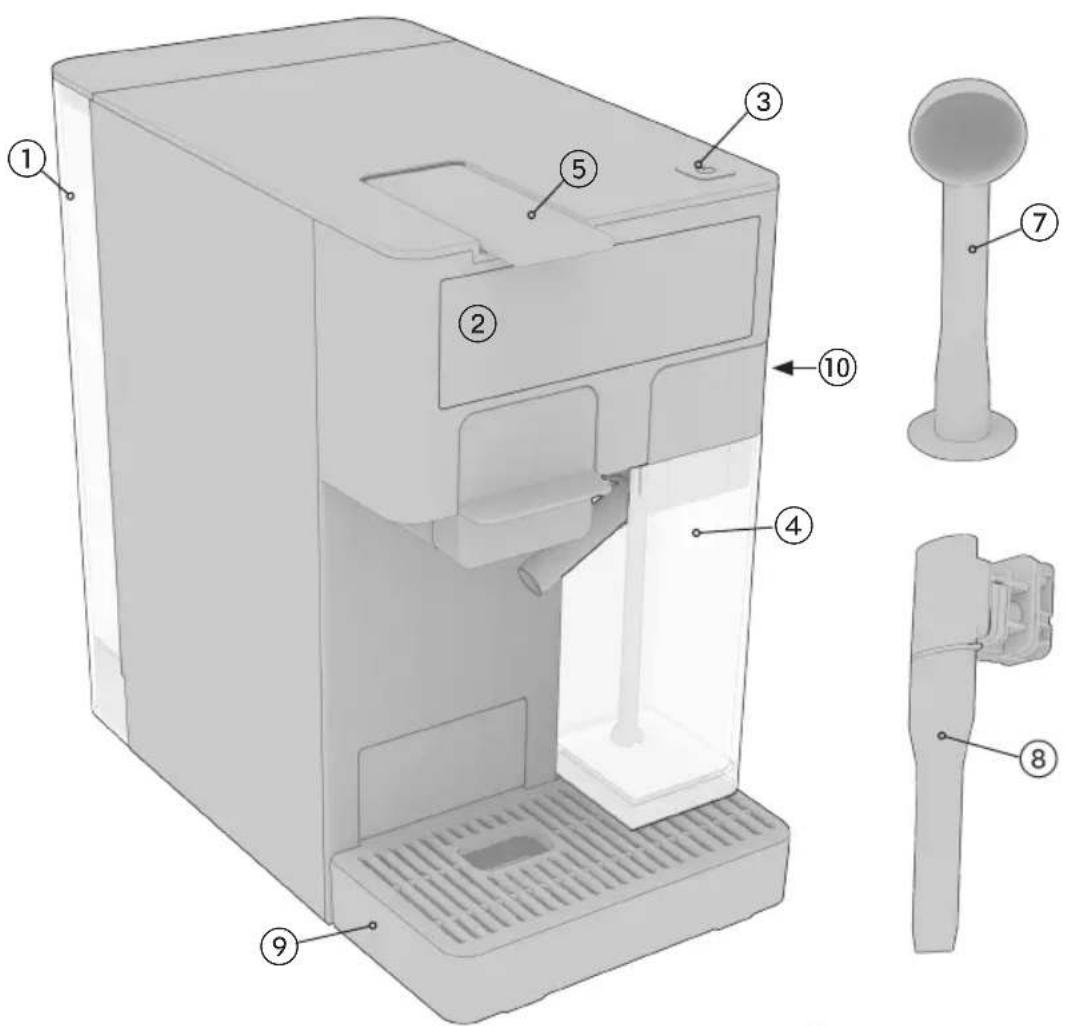
- Water tank
- Display
- On/Off button
- Milk Container
- Lever
- Adapter
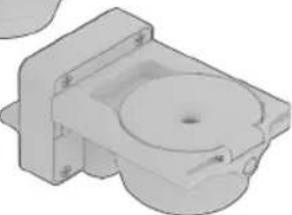
a. Ground coffee adapter
b. Dolce gusto adapter
c. Nespresso original adapter
- Spoon/tamper
- Steam wand
- Drip tray
- Side panel
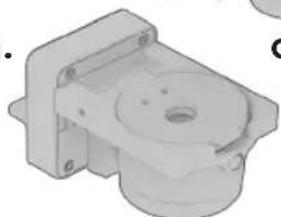
⑥
b.
natural_image
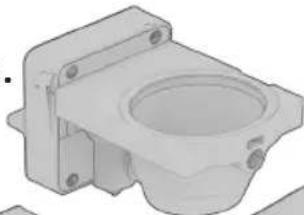
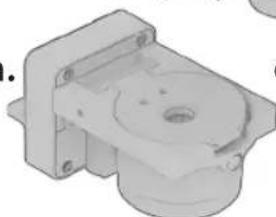
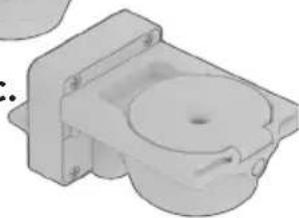
3D rendering of a mechanical bracket component with mounting holes and a central circular cavity (no text or symbols)a.
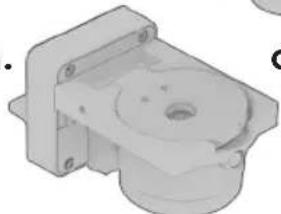
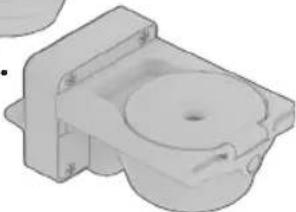
natural_image
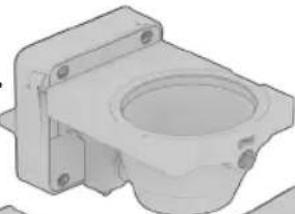
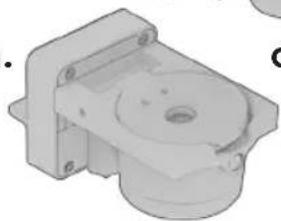
Mechanical component diagram showing a cylindrical housing with mounting flanges and a central circular feature (no text or symbols)C.
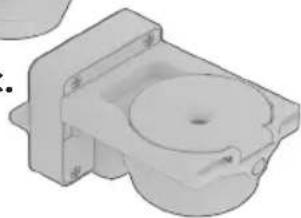
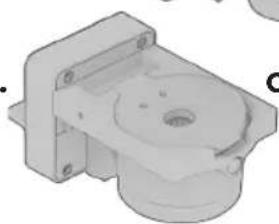
natural_image
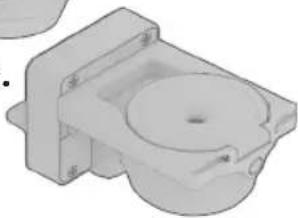
3D rendered mechanical component with mounting flanges and central circular feature (no text or symbols)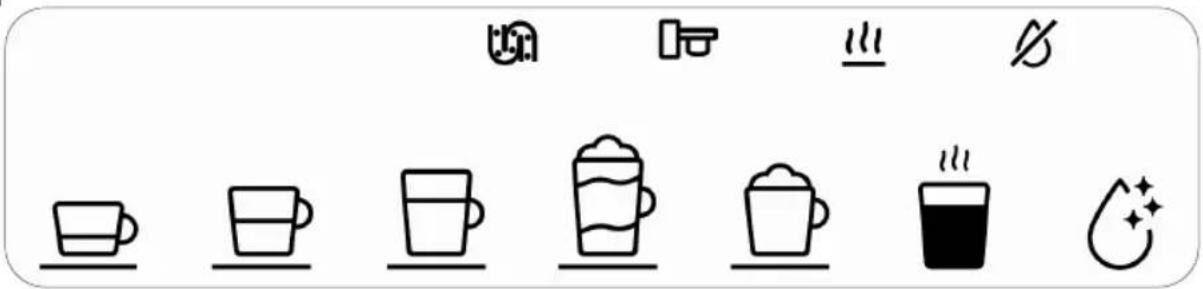
BEFORE USE
- Remove all stickers, protective foil and plastic from the appliance.
- Place it on a flat stable surface.
- Clean the milk container thoroughly.
- Rinse the water tank and fill it with fresh water up to the max mark.
- Press the on/off button. Wait until the pre-heating indicator 📄 shuts off.
- Put a large container under the coffee dispenser and press the large coffee button.
Repeat three times or until the water tank is empty.
USE
For a better experience, buy the Wilfa espresso accessories on Wilfa.com.
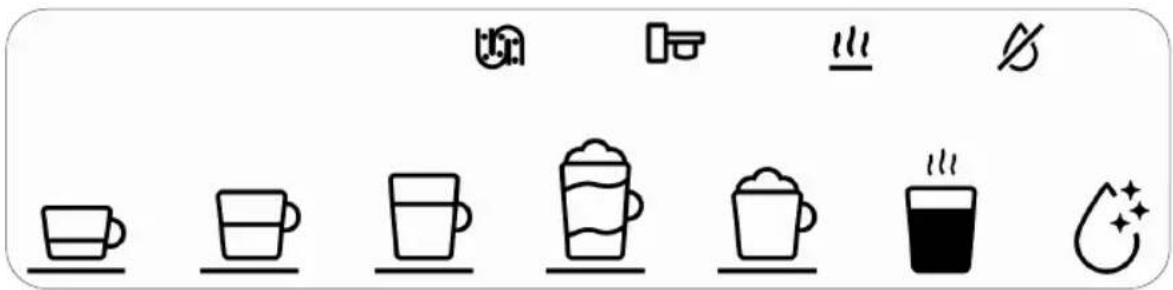
CAPSULE
There are two sorts of capsules you can use with the adapters: Dolce gusto and Nespresso Original.
- Choose your desired coffee capsule and place it into the correct adapter.
- Lift the lever completely and insert the adapter. Close the lever.
- Place a cup under the coffee dispenser.
- Press the preferred coffee button.
GROUND COFFEE
We recommend that you use about 8-10 grams of coffee beans. Grind them to espresso size.
- Place the ground coffee into the basket in the adapter.
- Use the tamper to push the coffee firmly. It shall not exceed the max line.
- Lift the lever completely. Insert the adapter into the coffee machine. Close the lever.
- Place a cup under the coffee dispenser.
- Press the preferred coffee button.
CAPPUCCINO AND LATTE
Place the adapter with coffee of your choice (capsule or ground coffee) into the appliance. Recommended coffee is ristretto or espresso.
- Fill the milk container with milk up to the max line.
- Press the cappuccino or latte button.
Cappuccino: Recommended proportions are 50ml coffee and 120ml milk.
Latte Macchiato: Recommended proportions are 50ml coffee and 220ml milk.
STEAM MILK
- Press the side panel to open it. Take out the steam wand.
- Insert the wand into the slot. Make sure it is fully inserted, otherwise it may drop out during steaming.
When it is installed, this icon will appear on the display:
- Fill a milk jug with milk, put the tip of the steam wand into the milk.
- Press the milk icon. It will preheat before it starts to steam.
- Press the milk icon again to stop the frothing.
ENERGY SAVING
After 10 minutes of no activity, the unit goes into energy saving-mode.
PROGRAMMING QUANTITY
SET THE COFFEE VOLUME
The volume can be adjusted from 25-250ml.
- Lift the lever and insert the adapter with the coffee of your choice.
- Push and hold button until the desired volume is reached. Release the button.
The chosen amount is stored automatically. When you use it again, the cup size has been memorized.
SET MILK VOLUME
Use the milk container. Make sure it is correctly installed. We recommend that you fill the container with water, so you do not waste any milk.
- Lift the lever and insert the adapter without coffee.
- Push and hold the button (Cappuccino or latte macchiato) util the desired milk volume is reached. Release the button. The chosen volume is stored automatically.
The amount of milk is saved until the next time you choose the same coffee (Cappuccino or Latte).
RESTORE FACTORY SETTINGS
If you want to restore the quantities to factory settings:
-
Press the on/off button. Wait until it is preheated.
-
Press espresso and lungo buttons at the same time for 5 seconds.
The machine makes 2 beeps and the beverage-icons on the display flash for 5 seconds, this indicates that it is restored.
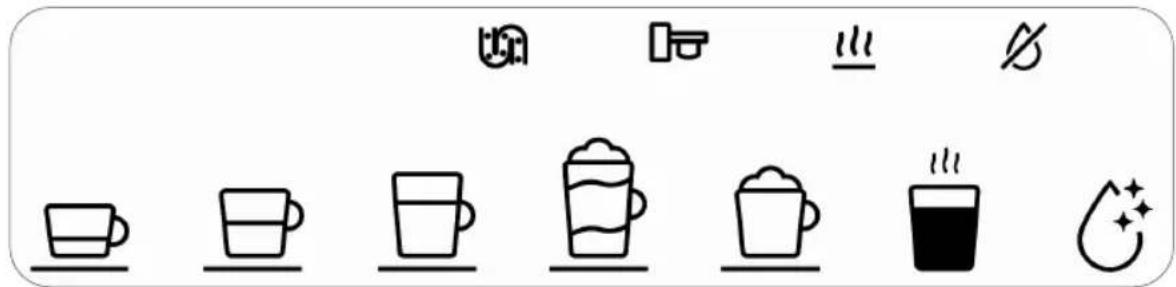
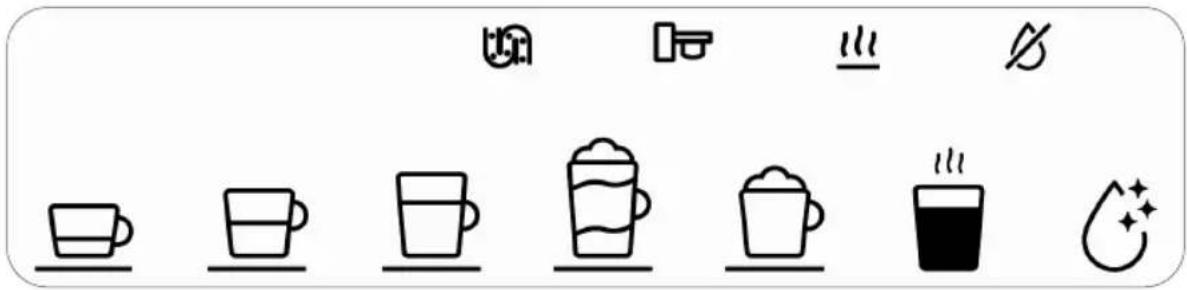
TYPE OF COFFEE QUANTITY
| Espresso 50ml | |
| Lungo 100ml | |
| Large coffee 150ml | |
| Cappuccino 170ml | (50ml coffee and 120ml milk) |
| Latte Macchiato 270ml | (50ml coffee and 220 milk) |
CLEANING & MAINTENANCE
CLEAN MILK CONTAINER
- Disassemble the milk container. Rinse it with warm water. Remove all visible residues with a sponge.
- Soak all the parts in warm water (40°C) for 30 minutes. Do not wash in the dishwasher.
-
Rinse thoroughly. Ensure that the inlet is clean. Do not use abrasive material that can damage the surface of the container.
-
Dry all parts with a clean towel, cloth, or paper, and reassemble.
STEAM WAND
- Disassemble the steam wand. Pull off the stainless-steel shell and take off the black inner tube by rotating it towards unlock and pull.
- Clean the parts in warm water. Do not wash in the dishwasher.
- Dry all parts and reassemble.
DESCALING
Fill the water tank with water up to the MAX line. Pour descaling agent into the water tank.
Use a container that is larger than 1.6L when descaling. Empty it before starting the 2nd phase.
-
After the machine is preheated, press and hold the auto clean button ⚙️ for 5 seconds.
-
Press espresso button ☐ to start the 1st phase cycle.
-
When the 1st phase is finished, the Lungo icon 📋 is lit. Press it to start the 2nd phase.
-
When the 2nd phase is finished, the machine goes back to normal function.
DAILY CLEANING AND MAINTENANCE
Do not use any strong cleaning agent or solvent cleaner. Use a damp cloth and mild cleaning agent to clean the surface of the machine.
Do not put any components in the dishwasher.
There may be condensation, and that water will end up in the drip tray. Empty it and clean the tray before it overflows.
Lift the lever, take out all the capsule or ground coffee of the adapters. Remove the drip tray, empty it and rinse. Remove water tank, and rinse with water before filling it with fresh water for use. Insert the adapter, close the lever, place a container under the coffee dispenser, and press the Lungo button to rinse the machine.
Do not store the machine in a cold environment, it may freeze the water in the machine and cause damages and leakage.
PROBLEM FAULT SOLUTION
The empty water tank icon is lit | The water tank is empty Fill the water | tank with fresh water. Do not exceed the MAX line. |
The adapter icon is lit The adapter is not in place, or it is not placed correctly | Open the lever completely, take out the adapter and insert it again. | |
The Descaling icon is lit The machine needs descaling. This alarm goes off automatically after 50L of coffee brewing, or 5000s of milk foaming. | Read the descaling instructions | |
| Coffee is not warm enough Cold coffee cupNot descaled | Preheat the coffee cup with warm water.Descale the machine | |
| The quality of the milk froth is not good enough | Wrong type of milkMilk box is not placed correctlyNot rinsed after last useNot descaled | Use cold (4 degrees) skimmed or semi skimmed cow milk.Install the milk box correctly, make sure all components are correctly assembledRinse after each milk preparationDescale the machine |
| Coffee comes out slowly Flow depends on the coffee varietyNot descaled | Choose a more course grind setting, or another type of coffee capsuleDescale the machine |
PRODUCT SPECIFICATIONS
220-240V\~50-60Hz,1150-1350W
SUPPORT AND SPARE PARTS
For support please visit us at wilfa.com, and see our customer service/support page. Here you will find frequently asked questions, spare parts, tips and tricks and all our contact information.
RECYCLABILITY
This marking indicates that this product should not be disposed with other household wastes throughout the EU. To prevent possible harm to the environment or human health from uncontrolled waste disposal, recycle it responsibly to promote the sustainable reuse of material resources. To return your used device, please use the return and collection systems or contact the retailer where the product was purchased. They can take this product for environmentally safe recycling free of charge.

GUARANTEE
Wilfa issues a 5 year guarantee on this product from the day of purchase is done. The guarantee covers production failure or defects that arise during the guarantee period. Your purchase receipt works as proof towards retailer if claiming your guarantee.
The guarantee is valid only for products that are bought and used in private households. The guarantee is not valid if the product is used commercially. The guarantee is not valid if the product is misused, used by negligence, if not following instructions given by Wilfa, if modified or if unauthorized reparation is done. The guarantee is also not valid for normal wear of the product, misuse, lack of maintenance, use of wrong electrical voltage or:
• Overloading of product
- Damage on glass
- Not descaled according to instruction manual
- Parts which are normally worn down
- Parts you can expect being replaced regularly (e.g. filter, battery etc.)
Instructions manual is also available at our website wilfa.com
NO
INNHOLD
14 VIKTIGE SIKKERHETSINSTRUKSJONER
17 PRODUKTOVERSIKT
18 F∅R BRUK
18 BRUK
19 STILLE INN MENGDE
19 RENGJ∅RING OG VEDLIKEHOLD
20 FEILS∅KING
21 PRODUKTSPESIFIKASJONER
21 SUPPORT OG RESERVEDELER
21 GJENVINNING
21 GARANTI
SIKKERHETSINSTRUKSER
NO
NO
- Vannbeholder
- Display
- Av/på-knapp
- Melkebeholder
- Spak
- Adapter
a. Adapter for malt kaffe
b. Dolce gusto Adapter
c. Original Nespresso-adapter
- Skje/stapper
- Dampstav
- Dryppskål
- Sidepanel
6
b.
natural_image
3D mechanical component diagram showing a flanged housing with mounting holes and a central circular cavity (no text or symbols)a.
natural_image
Mechanical component diagram showing a cylindrical housing with mounting brackets and a central circular feature (no text or symbols)C.
natural_image
3D rendered mechanical component with mounting flanges and central circular feature (no text or symbols)DISPLAY

F∅R BRUK
| Espresso 50ml |  | |
| Lungo 100ml |  | |
| Large coffee 150 |  | |
| Cappuccino 170r | [x44G] | (50ml coffee and 120ml milk) |
| Latte Macchiato |  | (50ml coffee and 220 milk) |
RENGJ∅RING OG VEDLIKEHOLD
RENGJ∅R MELKEBEHOLDEREN
- Demonter melkebeholderen. Skyll med varmt vann. Fjern alle synlige rester med en svamp.
- Bløtlegg alle delene i varmt vann (40 °C) i 30 minutter. Får ikke vaskes i oppvaskmaskin.
- Skyll grundig. Kontroller at inntaket er rent. Ikke bruk slipende materialer som kan skade overflaten på beholderen.
- Tørk alle delene med et rent håndkle, en klut eller papir, og sett dem sammen igjen.
DAMPSTAV
DAGLIG RENGJ∅RING OG VEDLIKEHOLD
SE
FÖRE ANVÄNDNING

natural_image
3D mechanical component diagram showing a flanged housing with mounting holes and a central circular cavity (no text or symbols)a.
natural_image
3D mechanical component diagram showing a cylindrical housing with mounting flanges and a central hole (no text or symbols)C.
natural_image
3D rendered mechanical component with mounting bracket and central circular feature (no text or symbols)DISPLAY

DK
F∅R BRUG
FI
natural_image
3D rendering of a mechanical component with mounting flanges and a central circular opening (no text or symbols)a.
natural_image
3D mechanical component diagram showing a cylindrical housing with mounting flanges and a central circular feature (no text or symbols)C.
natural_image
3D mechanical component diagram showing a housing and mounting bracket (no text or symbols)NÄYTTÖ
ENNEN KÄYTTÖÄ
VOR DEM GEBRAUCH
natural_image
3D mechanical component diagram showing a housing with mounting flanges and a central circular cavity (no text or symbols)a.
natural_image
Mechanical component diagram showing a cylindrical housing with mounting flanges and a central circular feature (no text or symbols)C.
natural_image
Mechanical component diagram showing a housing and mounting bracket (no text or symbols)WYŚWIETLACZ
PRZED UŻYCIEM
FR
natural_image
3D mechanical component diagram showing a flanged housing with mounting holes and a central circular feature (no text or symbols)a.
natural_image
Mechanical component diagram showing a cylindrical housing with mounting flanges and a central circular feature (no text or symbols)C.
natural_image
3D mechanical component diagram showing a housing and mounting bracket (no text or symbols)ÉCRAN

AVANT UTILISATION
CARACTÉRISTIQUES DU PRODUIT
220-240V\~ 50-60Hz,1150-1350W
ASSISTANCE ET PIÈCES DÉ- TACHÉES
IT
natural_image
3D rendering of a mechanical component with mounting flanges and central bore (no text or symbols)a.
natural_image
3D mechanical component diagram showing a housing with mounting flanges and a central circular feature (no text or symbols)C.

natural_image
3D mechanical component diagram showing a housing and mounting bracket (no text or symbols)DISPLAY
PRIMA DELL'UTILIZZO
MMA1T-TCM20_20_02