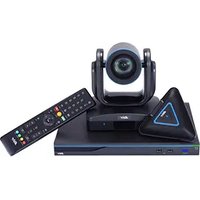
EVC950 - Video conferencing system AVer - Free user manual and instructions
Find the device manual for free EVC950 AVer in PDF.


| Product Type | Video Conferencing System |
| Brand | AVer |
| Model | EVC950 |
| Dimensions (approx.) | 30 x 20 x 5 cm (main unit) |
| Weight (approx.) | 2.5 kg (main unit with accessories) |
| Power Supply | AC Adapter 100-240 VAC, 50/60 Hz |
| Power Consumption | 30 W (max.) |
| Network Connectivity | RJ-45 (Ethernet 10/100/1000), H.323 and SIP protocols |
| Video Connectors | HDMI (input/output), VGA (output) |
| Audio Connectors | 3.5 mm Mic Input, 3.5 mm Line Output |
| Included Camera | Integrated PTZ Camera with Control Cable |
| Included Microphone | Directional Microphone with RJ-45 Cable |
| Remote Control | Infrared Remote Control with AAA Batteries |
| Installation Assistant | Initial Setup Wizard with Language Selection |
| Network Configuration | Static IP, PPPoE, DHCP (default), NAT Port Forwarding |
| Firewall and Traversal | NAT, H.460, Gatekeeper |
| H.323 Ports Used | TCP: 1719, 1720, 80, 23, 5060; UDP: 30000-30299 |
| Main Functions | H.323/SIP Video Calls, Content Sharing, Remote Camera Control (FECC) |
| Maintenance and Cleaning | Clean with a soft, dry cloth. Disconnect before cleaning. |
| Safety | Use only the supplied adapter. Do not expose to moisture. |
| Spare Parts and Repairability | Contact AVer support for parts and repairs. |
| Package Contents | Main unit, camera, microphone, remote control, adapter, cables, batteries, quick guide, warranty card |
Frequently Asked Questions - EVC950 AVer
User questions about EVC950 AVer
0 question about this device. Answer the ones you know or ask your own.
Ask a new question about this device
Download the instructions for your Video conferencing system in PDF format for free! Find your manual EVC950 - AVer and take your electronic device back in hand. On this page are published all the documents necessary for the use of your device. EVC950 by AVer.
USER MANUAL EVC950 AVer
Package Contents
1. Main System

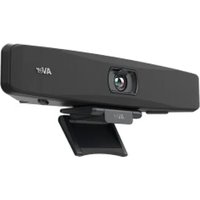
2. Camera

3. Microphone


5. Power Adapter

6. Power

7. VGA

Cable
8. DVI to HDMI Converter

9. Mini Din 8 pin MIC Cable

10. HDMI Cable x 2

11. Camera Cable

12. RJ-45 Cable

13. Warranty Card

14. Quick Installation Guide
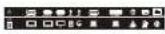
15. Back Panel Label

16. AAA Batteries
Layer 1
Accessory Pack
Layer 2
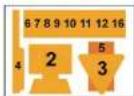
Camera, Microphone, Remote, Adapter, Cables, and Batteries
Layer 3
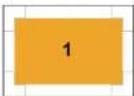
Main System
English
Connection Diagram
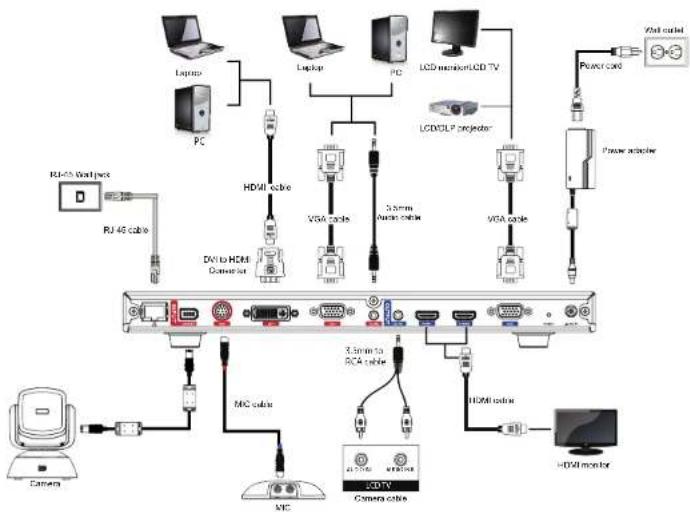
flowchart
graph TD
    A["Camera"] --> B["MDI cable"]
    B --> C["3.5mm to RCA cable"]
    C --> D["2.5mm home cable"]
    D --> E["3.5mm to HDMI cable"]
    E --> F["2.5mm home cable"]
    F --> G["3.5mm to HDMI monitor"]
    G --> H["4.5mm home cable"]
    H --> I["2.5mm home cable"]
    I --> J["3.5mm to HDMI monitor"]
    J --> K["4.5mm home cable"]
    K --> L["2.5mm home cable"]
    L --> M["3.5mm to HDMI monitor"]
    M --> N["4.5mm home cable"]
    N --> O["2.5mm home cable"]
    O --> P["3.5mm to HDMI monitor"]
    P --> Q["4.5mm home cable"]
    Q --> R["2.5mm home cable"]
    R --> S["3.5mm to HDMI monitor"]
    S --> T["4.5mm home cable"]
    T --> U["2.5mm home cable"]
    U --> V["3.5mm to HDMI monitor"]
    V --> W["4.5mm home cable"]
    W --> X["2.5mm home cable"]
    X --> Y["3.5mm to HDMI monitor"]
    Y --> Z["4.5mm home cable"]
    Z --> AA["2.5mm home cable"]
    AA --> AB["3.5mm to HDMI monitor"]
Please put the panel label on the main system so that users can easily plug/unplug all cables from the front.
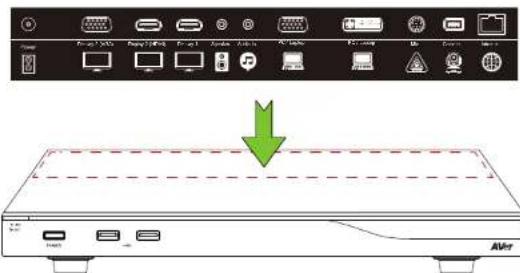
English-1
Setup Wizard
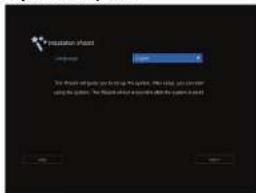
For the first time using AVer EVC system, the Installation Wizard will guide you to setup your EVC system step by step. After completing the wizard setup, user may start to use your EVC system.
- Connect your EVC system well and turn on the power. After your EVC system starting, user will see the Installation Wizard screen shown up.
- Language: Select the language of your EVC system.
Press 🖼 to expand the drop-down list. Then, use
or ▼ button to move the selection and press to make the selection.
- After selecting, press ➤ to move to "Next" option and press ← go to the next step.
- Follow the instructions and complete your settings.
- Click "Finish" to complete the Installation Wizard setup and go to home menu.
- Please press on the remote to start making a call.
Network Quick Setup Guide
Default IP address: 192.168.0.1.
Please change your EVC's IP address at the start.
There are three possible setup scenarios for most video conferencing users, if yours is:
- Public IP Configuration (Outside of Firewall).
- Private IP Configuration (Behind Firewall with Port Forwarding). Please refer to the following table "EVC H.323 Related Port Usage for Firewall Setup" for your firewall Port forwarding setup.
- H.460 Gatekeeper with Firewall Traversal. Please refer to the following table "EVC H.323 Related Port Usage for Firewall Setup" for your firewall Port forwarding setup.
EVC H.323 Related Port Usage for Firewall Setup
(Please set the following ports in port forwarding in your firewall before start installing your EVC)
| Port Function Type | ||
| 1719 | Gatekeeper | UDP |
| 1720 H.323 Call setup TCP | ||
| 30000 - 30299 Control and media for audio, video, content, and data/FECC TCP and UDP | ||
| 80 | HTTP Interface (WebTool) | TCP |
| 23 | Telnet | TCP |
| 5060 | SIP | TCP and UDP |
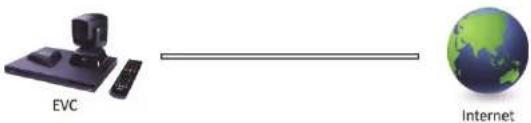
Scenario 1 – Public IP Configuration (Outside of Firewall)
Your EVC is connecting directly to the internet.
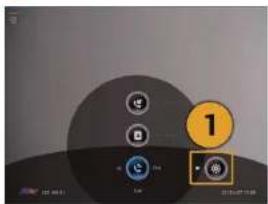
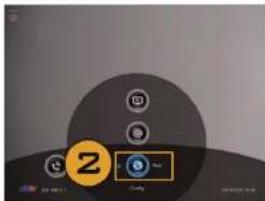
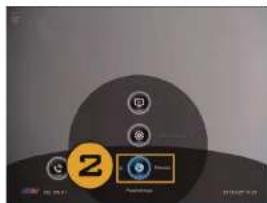
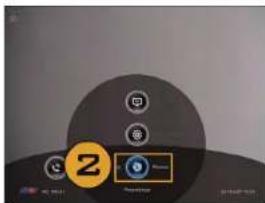
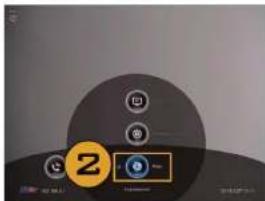
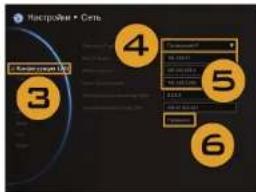
- From the remote press "Home"->

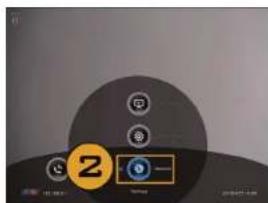
- Press


Network"
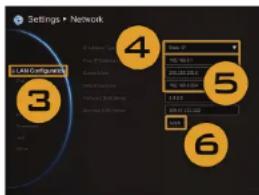
- Press "LAN Configuration".
-
And In the drop-down list "Obtain IP address", choose "Static IP" or "PPPoE".
-
Static IP: Input the "IP address", "Subnet Mask" and "Default Gateway".
- PPPoE: Input the PPPoE login "User name" and "Password".
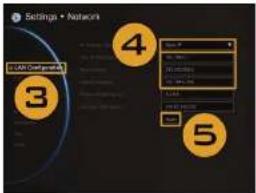
Static IP setting
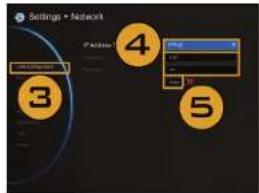
PPPoE setting
- Select "Apply" and press

- Press "Home" on the remote to return to the home menu.
- Press the (Call) button on the remote and you are ready to make your first call.
Scenario 2 –Private IP Configuration (Behind Firewall with Port Forwarding)
Your EVC is connecting to the internet through a firewall.
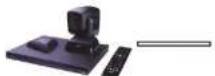
EVC
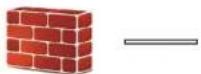
Firewall

Internet
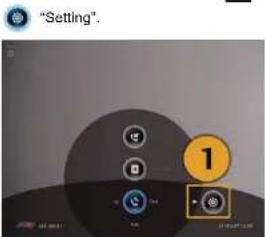
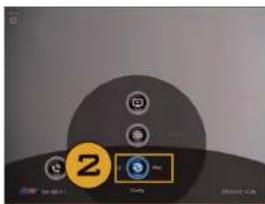
- From the remote press "Home"->

"Setting".
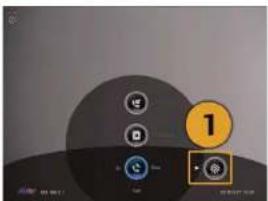
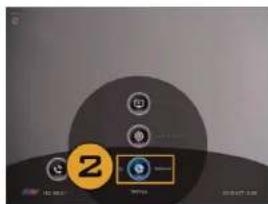
- Press ▼ -> ●Network".
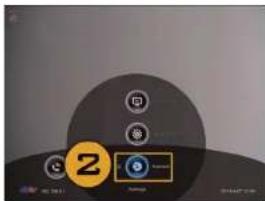
- Press "LAN Configuration".
- And In the drop-down list "Obtain IP address", choose "Static IP".
- Manually input the "IP address", "Subnet Mask" and "Default Gateway".
- Select "Apply" and press (Enter).
- Press (Back) on the remote to return to previous menu. (If you have H.323 ALG enabled, skip to step 10).
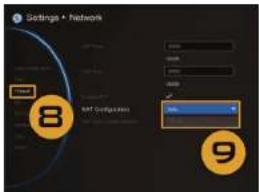
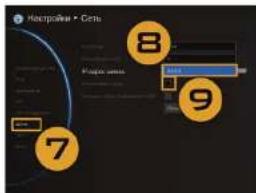
- In the same page, go to "Firewall" and press (Enter).
- Select "ON" in the NAT Configuration check box and enter the IP address in the "NAT Public (WAN) Address" field.
- Press the "Home" button on the remote to return the home menu.
- Press the Call button on the remote and you are ready to make your first call.
Scenario 3 – H.460 Gatekeeper with Firewall Traversal
Your EVC is connecting to the internet through a firewall and you have a Gatekeeper outside the firewall.
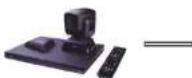
EVC
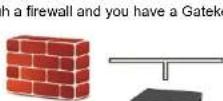
Firewall

Internet
- From the remote press "Home"->


"Setting".


Network"
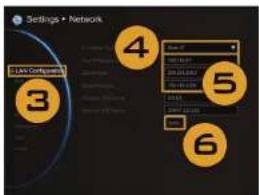
- Press "LAN Configuration".
- And In the drop-down list "Obtain IP address", choose "Static IP".
- Manually input the "IP address", "Subnet Mask" and "Default Gateway".
- Select "Apply" and press ⏻ (Enter).
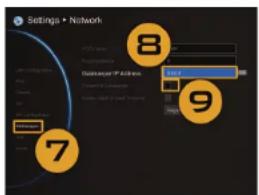
- In the same page, go to "Gatekeeper" and press (Enter).
- Enter the IP address of your Gatekeeper in the "Gatekeeper IP Address" field and enable the "Use Gatekeeper" check box.
- Enable the "Enable H.460 Firewall Traversal" option.
- Press the "Home" button on the remote to return the home menu.
- Press the 📞 (Call) button on the remote and you are ready to make your first call.
Troubleshooting
- Make sure you have changed your default IP address. The default IP address is 192.168.0.1, in order not to conflict with other devices in the same LAN, please change your IP address at the start.
-
Video conference call is established but no video or voice.
-
If you are connecting to AVer EVC with firewall, make sure you have done the port forwarding correctly. For non H.323 ALG firewall, please set the NAT configuration and the WAN IP address on AVer EVC system is entered.
We suggest having a fixed public IP address for AVer EVC system. With dynamic public IP address, it will change after a certain period which depends on your local ISP. -
There is a routing issue if you installed two AVer EVC systems sharing one public IP address.
-
Unable to connect to other Video Conferencing systems.
-
Check to see if you dial the correct IP address.
- Ensure the power status of the device from the other site is on.
- Verify if the firewall blocks the inbound traffics from the other site.
-
Verify if the other site rejected your Video Conferencing call.
-
Unable to see the OSD.
-
Check to see if your cable is connecting correctly.
- Make sure your system and display are well-connected and then reboot your system. (Your display should be switched on before you reboot your system).
-
Press "Dual" button on remote controller (User needs to keep pressing until OSD menu is shown).
-
Cannot open WebTool by IE 9 and IE 10.
-
Click ⚙ (Tools) in IE.
- Select "F12 developer tools".
- Change Document Mode to Internet Explorer 9 standards
- Disable intranet sites in Compatibility View. Go to "Tools" → "Compatibility view settings".
- Unclick the checkbox "Display intranet sites in Compatibility View" and then click "Close".
**For more information, please visit and download EVC user manual at our website http://www.aver.com
AVer EVC
Español-1

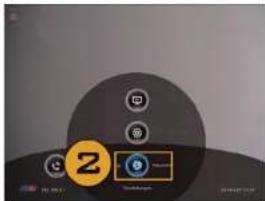
- Pulse ▼ -> ▼Red".

Drücken


letzwerk".
Dutch-1
Installatiewizard
- Druk o ▼ -→ "Netwerk".

Français-1
Assistant installation
- Appuyez

[Réseau].

Appuyez


[seau].

Premere

-> "Rete".
Русский-1
Мастер установки
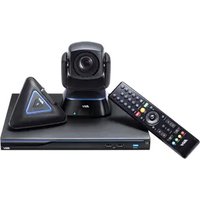
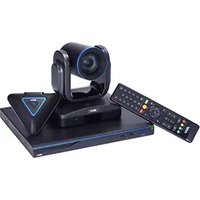
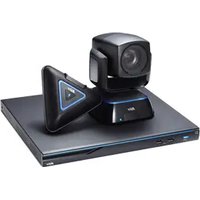
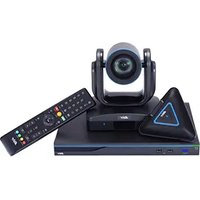
Brand : AVer
Model : EVC950
Category : Video conferencing system