IAN 306327 - Lighting Livarno Lux - Free user manual and instructions
Find the device manual for free IAN 306327 Livarno Lux in PDF.
| Product type | LED waterproof luminaire for wet rooms |
| Brand | Livarno Lux |
| Model | IAN 306327 |
| Article number | 14143704L |
| Operating voltage | 220-240 V~, 50/60 Hz |
| Nominal power | LED max. 18 W (replaceable bulbs) |
| Bulb type | LED T8, G13 base, max. 18 W (starter not required) |
| Protection rating | IP65 (dust-tight and protected against water jets) |
| Protection class | II (double insulation) |
| Approximate dimensions | Length 620 mm, width 80 mm, height 70 mm (estimate) |
| Weight | Approximately 1 kg |
| Material | Plastic and metal |
| Permissible ambient temperature | Ta ≥ 45°C (for LED bulb according to EN 62776) |
| Dimmer compatibility | Not compatible with dimmers or electronic switches |
| Main functions | Waterproof LED lighting, wall or ceiling mounting, replaceable bulb |
| Delivery contents | 1 LED waterproof luminaire, 12 closure clips, 2 mounting clips, 4 wall plugs, 4 screws, instruction manual |
| Electrical installation | Must be carried out by a qualified electrician |
| Maintenance and cleaning | Clean with a dry, lint-free cloth; cut off power supply before |
| Bulb replacement | Possible, rotate 1/4 turn; use a clean, dry cloth |
| Warranty period | 36 months from date of purchase |
| After-sales service | Briloner – Tel. +49 29 61 / 9712-800, Email kundenservice@briloner.com |
| Disposal | Recycle according to local regulations; do not dispose of with household waste |
Frequently Asked Questions - IAN 306327 Livarno Lux
User questions about IAN 306327 Livarno Lux
0 question about this device. Answer the ones you know or ask your own.
Ask a new question about this device
Download the instructions for your Lighting in PDF format for free! Find your manual IAN 306327 - Livarno Lux and take your electronic device back in hand. On this page are published all the documents necessary for the use of your device. IAN 306327 by Livarno Lux.
USER MANUAL IAN 306327 Livarno Lux
text_image
PDF ONLINE www.lidl-service.com
natural_image
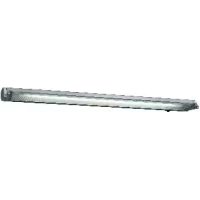
Exterior view of a long cylindrical mechanical component with mounting brackets (no text or symbols visible)LED-FEUCHTRAUMLEUCHTE / LED MOISTURE-PROOF LIGHT / ÉCLAIRAGE À LED POUR PIÈCE HUMIDE
DE AT CH
LED MOISTURE-PROOF LIGHT
Assembly, operating and safety instructions
NL BE
LED-LAMP VOOR VOCHTIGE RUIMTEN
Before reading, unfold both pages containing illustrations and familiarise yourself with all functions of the device.
FR BE
GB / IE Assembly, operating and safety instructions Page 13
Preparation......Page 16
Required tools and material Page 16
Prior to installation......Page 16
Installation Page 17
Changing the light bulb....Page 17
Cleaning Page 17
Disposal Page 18
Warranty and service......Page 18
Warranty Page 18
Service address......Page 18
Declaration of conformity....Page 18
Manufacturer....Page 18
| List of pictograms used | |||
 | Read the instructions! |  | Electric shock warning!Danger to life! |
| V~ | Volt (AC) Risk of burns and injury! |  | |
| Hz | Hertz (mains frequency) For your safety |  | |
| W | Watt (effective power) |  : 1s : 1s | 50 % < 1 sec. start time |
| Safety class II | Danger to life and risk of accident for infants and children! | ||
| Observe the warnings and safety notices! | Dispose of the packaging and product in an environmentally-friendly manner! | ||
| Switching cycles | This light is not suitable for dimmer or electronic switches. | ||
| IP65 | The moisture-proof light is dust-tight and protected against water streams from all directions. | LED life expectancy | |
| The packaging is made from 100% recycled paper. | Light bulb - only insert in a dry environment. | ||
| ta | Ambient temperature | 50/60 Hz | Lamp suitable for 50 Hz or 60 Hz operation |
| tc | Reference temperature point | Lamp suitable for high frequency operation | |
Introduction

Congratulations on the purchase of your new product. You have selected a high quality product. These instructions are
part of the product and contain important information on setup and handling. Always follow all safety instructions. Before using this product for the first time verify the correct voltage and that all parts are properly installed. Should you have any questions or you are unsure about operating the product, please
contact the dealer or service centre. Please keep these instructions in a safe place and pass them on third parties as applicable.
Properuse
This light is suitable for indoor and outdoor use. The light can be fastened to any normally inflammable surface.
This device is intended for private household use only.
• Delivery contents (Fig. A)
1 LED moisture-proof light 14143704L
1 LED light bulb, LED, T8, G13, max. 18 W
12 Locking clamps
2 Mounting clamps
4 Wall plugs
4 Screws
1 Set of assembly instructions and instructions for use
Partsdescription
1 Light cover
2 Wall plug
3 Screws
4 Locking clamp
5 Light base
6 Locking nut (cable outlet)
7 Mounting clamp
8 Mains connection cable (external)
9 Lustre terminal
10 Light bulb
●Technicaldata
Item no.: 14143704L
Operating voltage: 220-240 V\~, 50/60 Hz
Rated power: LED max. 18 W
(replaceable LED)
Protection class: II/

IP rating: IP65
Light bulb: LED, T8, G13, max. 18 W
(no starter needed)
Don't use the T8 fluorescent lamp but only the T8 LED tube that complied with EN 62776 and with ta ≥ 45°C and with below marking:

●Safety

Safety notices
Damage due to failure to comply with these operating instructions will invalidate the warranty! We assume no liability for consequential damage! We assume no liability for material damage or personal injury due to improper handling or failure to comply with the safety instructions!

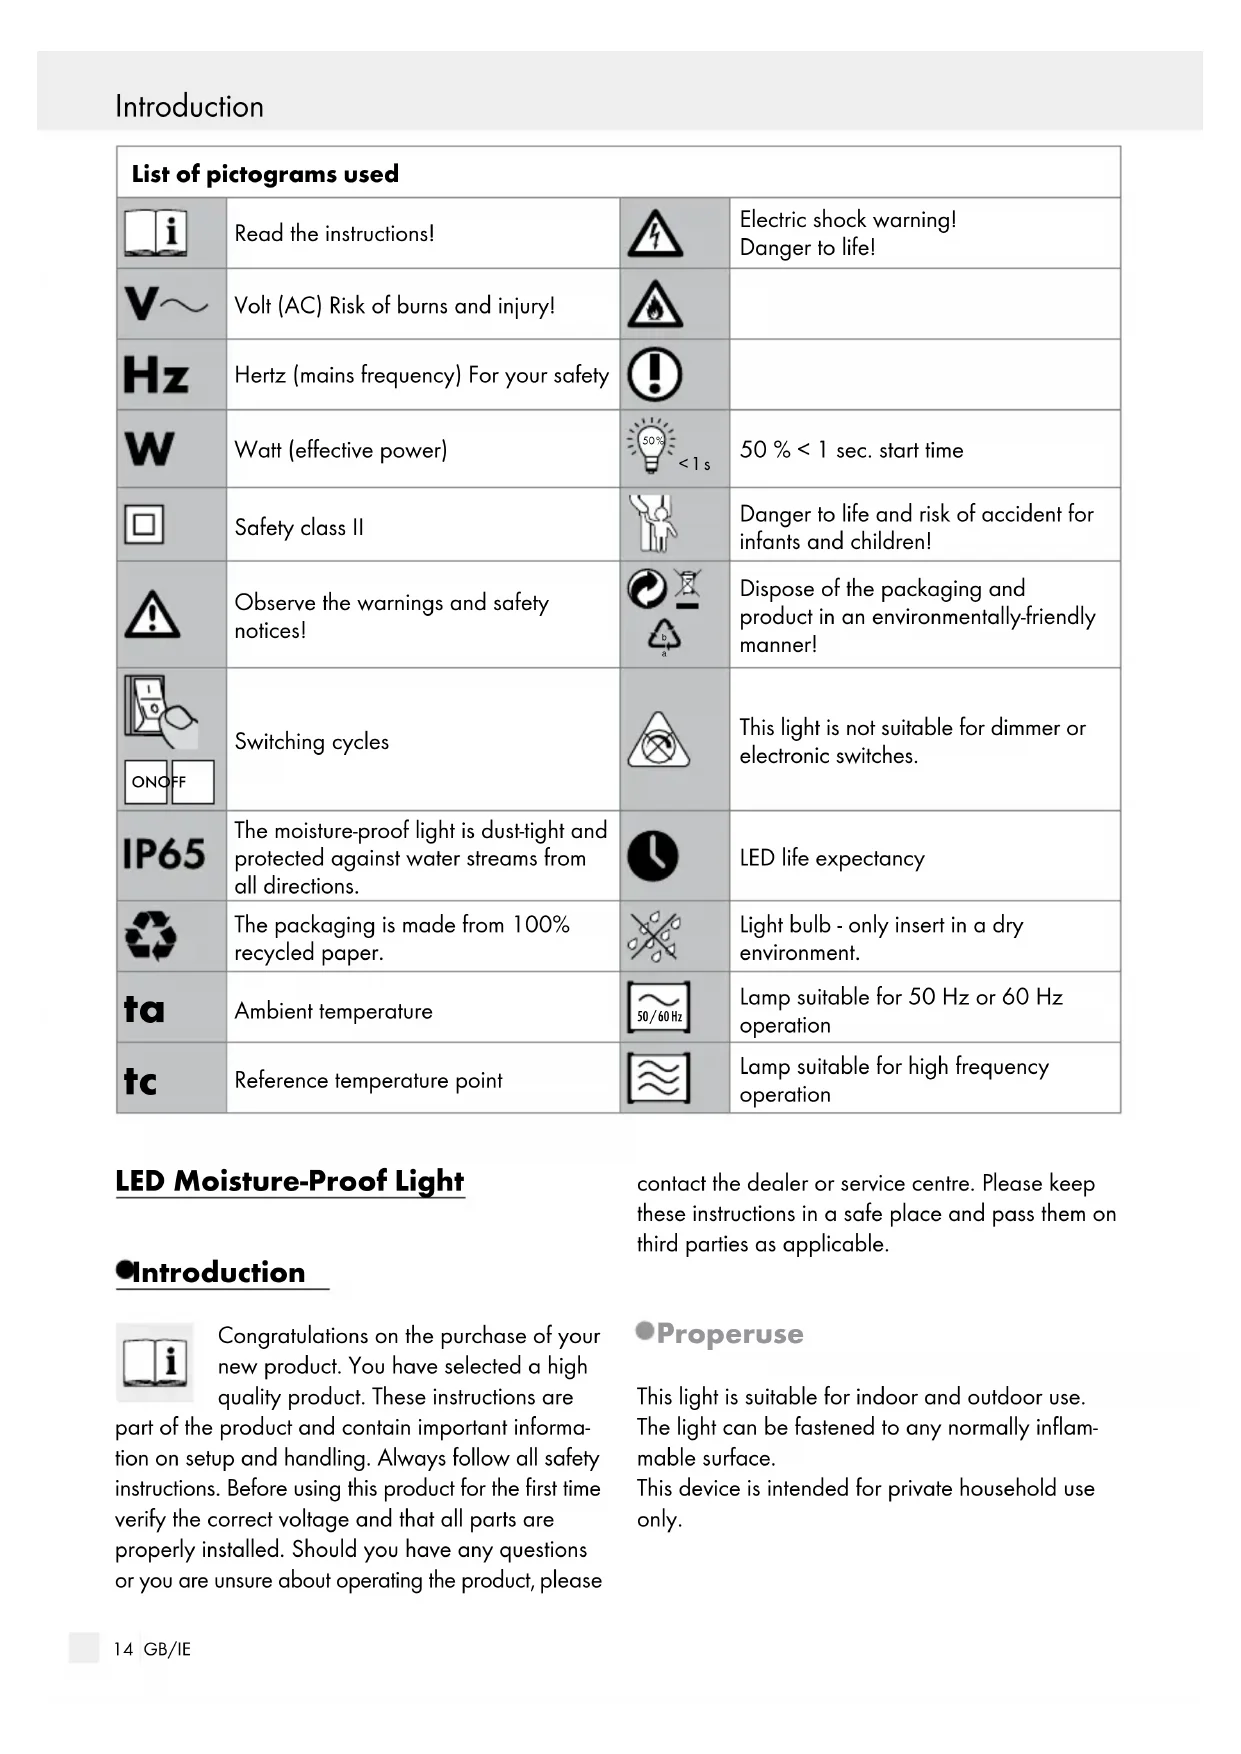
WARNING! DANGER TO LIFE AND RISK OF ACCIDENTS FOR INFANTS AND CHILDREN!
Never leave children unsupervised with the packaging material. The packaging material poses a suffocation hazard. Children frequently underestimate the dangers. Always keep children away from the product.
This device may be used by children aged 8 years and up, as well as by persons with reduced physical, sensory or mental capacities, or lacking experience and/or knowledge, so long as they are supervised or instructed in the safe use of the device and understand the associated risks. Do not allow children to play with the device. Cleaning and user maintenance must not be performed by children without supervision.

Danger to life from electric shock!
The basic insulated cables of the permanent wiring must be fitted with additional insulation.
Use double insulated cables from the connection point to the light. The basic insulation must be sufficiently short so that the basic insulation does not come into contact with the mounting surface or any screws.
■ Ensure that a qualified electrician, or a person trained to carry out electrical installations, performs the electrical installation.
We assume no liability for material damage or personal injury due to improper handling or failure to comply with the safety instructions!
■ Never use the light if any defects have been identified.
Prior to installation, remove the fuse or switch off the circuit breaker (0 setting) in the fuse box. Set the light switch to the "OFF" position.
Prior to installation, verify that the mains voltage on site corresponds with the operating voltage required for the light (see "Technical data").
Before drilling, ensure that there are no gas or water pipes or cables where you intend to drill.
■ Installation may only be carried out by experts.
It is essential that you take note of the wall quality, as the included fittings are not suitable for all types of wall.
It is essential that you take note of the wall quality, as the included fittings are not suitable for all types of wall.
The manufacturer accepts no responsibility for an inappropriate wall plug connection and any resulting damage.
This light is not suitable for dimmer

or electronic switches.
Light bulb - only insert in a dry environment.

Risk of burns and injury!
Do not install the light, if it has a defective lamp glass. In this case contact the service centre for a replacement.
- Only install the light on normally inflammable or non-inflammable surfaces. Excessive heat can result in a fire.
■ Never open any of the electrical equipment or insert objects into these. This will pose the risk of fatal injury from electric shock.
To prevent burns, ensure that the light is switched off and has cooled down before touching it. Lamps become very hot.
- Do not look directly into the light source (light bulb, LED etc.).
- Only use the individual parts supplied, otherwise all warranty claims will become invalid.
- Do not use optical instruments to look at the light source (e.g. magnifier).

Safe working
- Read the operating instructions carefully and in their entirety before installing.
■ The light is dust-tight and protected against water streams from all directions.
■ Always be attentive! Always pay attention to what you are doing and use common sense. Never install the light if you are having difficulty concentrating or do not feel well.
● Preparation
- Required tools and material
The tools and materials specified are not included. This information and these values are non-binding and are only provided as a reference. The nature of the material is determined by the individual local conditions.
- H05RN-F cable in required length with wire end ferrules (minimum cross-section 2 x 1.0 mm ^2 )
- Pencil / marking tool
- Voltage tester
- Cross-tip screwdriver
- Electric drill
- Edge cutter
- Drill (ø 6 mm)
- Slotted head screwdriver
Prior to installation
Important: Ensure that a qualified electrician, or a person trained to carry out electrical installations, performs the electrical installation.
Be sure the installation height of the light does not present a risk of injuries.
- Familiarise yourself with all the instructions and diagrams in this manual, as well as with the light itself, before you install it.
Before installation ensure that the circuit, to which the light will be connected, is not energised. To
do so, remove the fuse or switch off the circuit breaker in the fuse box (Position 0).
■ Use the voltage tester to verify the de-energised status.
●Installation
☐ Mark the drill holes with approx. 1015 mm distance between them.
☐ Now drill the mounting holes (ø approx. 6 mm, 40 mm deep). Be sure not to damage the power cable.
☐ Insert the wall plugs 2 into the drilled holes.
☐ Secure the mounting clamps 7 using the screws 3 provided (see Fig. B).
☐ Push a locking clamp 4 into every bracket on the side of the light base 5 (see Fig. C).
□ Loosen the locking nut 6 on the cable outlet.
☐ Push the light base 5 into the mounting clamps 7 (see Fig. E).
☐ Check that it is positioned securely.
☐ Guide the mains connection cable (external) 8 through the cable outlet in the light base 5 (see Fig. F). Make sure that the double isolation of the mains connection cable (external) 8 reaches fully into the light base 5.
Connect the mains connection cable (external) using the lustre terminal (see Fig. F). Be sure that the colours of the connected lines match (L or 2 = black or brown, N or 1 = blue or white). Protection class 2: This light is specially insulated and must not be connected to a protective conductor.
□ Screw the locking nut 6 on the cable outlet tight.
☐ Make sure that the rubber seal tightly surrounds the mains connection cable (external) 8.
☐ Make sure that the cable is positioned in the light base 5 in the brackets intended for this purpose.
Now insert the light bulb 10 into the sockets and fix it in place by turning it a 14 rotation (see Fig. G).
Place the light cover 1 on the light base 5. Make sure that the rubber seal is attached correctly.
☐ Hook the locking clamps 4 onto the light cover 1 and close these by exerting slight pressure (see Fig. H).
☐ Check that they are positioned correctly.
☐ Replace the fuse or switch on the circuit breaker (I setting) in the fuse box.
Your light is now ready to use.
- Changing the light bulb
☐ Allow the light bulb 10 to cool down fully before replacing it.
☐ Remove the fuse or switch off the circuit breaker (0 setting) in the fuse box.
☐ To replace the light bulb, use a clean, lint-free and dry cloth.
☐ Loosen the light cover 1 by opening the locking clamps 4 on the side.
☐ Check carefully from which side the light cover 1 can be fully opened.
☐ Remove the faulty light bulb 10 from the sockets by turning it a 14 rotation.
☐ Insert the new light bulb into the sockets and fix it in place by turning it a 14 rotation.
Place the light cover 1 on the light base 5 and close the locking clamps 4 (see Fig. H).
☐ Replace the fuse or switch on the circuit breaker (I setting) in the fuse box.
- Cleaning
WARNING! RISK OF ELECTRIC SHOCK!
Disconnect the light from the mains circuit before cleaning. To do so, remove the fuse or switch off the circuit breaker in the fuse box (position 0).
Allow the light to cool off completely.
■ Only use a dry, lint-free cloth for cleaning. Do not use solvents, spirit or similar substances. They could damage the light.
☐ Reinstall the fuse or switch on the circuit breaker in the fuse box (I position). Your light is now ready to use.
●Disposal
The packaging is made entirely of recyclable materials, which you may dispose of at local recycling facilities.
Observe the marking of the packaging materials for waste separation, which are marked with abbreviations (a) and numbers (b) with following meaning: 1–7: plastics / 20–22: paper and fibre-board / 80–98: composite materials.
To help protect the environment, please dispose of the product properly when it has reached the end of its useful life and not in the household waste. Please contact your municipality for information on collection facilities and their opening hours.
- Warranty and service
Warranty
You receive a 36 month warranty on this product, valid from the date of purchase. The appliance has been carefully produced under strict quality control. Within the warranty period we shall rectify without charge all material and manufacturing defects. In the event of a defect during the warranty period, please send the appliance to the listed Service Centre address, referencing the following item number: 14143704L.
Wear parts (such as bulbs) and damage caused by improper handling, non-observance of the operating instructions or unauthorised interference are excluded from the warranty. The performance of services under the warranty does not extend or renew the warranty period.
Serviceaddress
Please have your receipt and the article number (e.g. IAN 123456_7890) ready as your proof of purchase when enquiring about your product.
- Declaration of conformity
This product fulfils the requirements of the applicable European and national directives. Conformity has been demonstrated. The relevant declarations and documents are held by the manufacturer.
Manufacturer
1 ampoule LED, LED, T8, G13, max. 18 W
Żarówka: LED, T8, G13, maks. 18 W