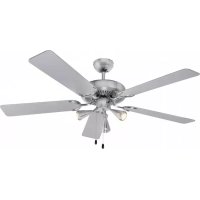
PCDVL 3078 - Fan ProfiCare - Free user manual and instructions
Find the device manual for free PCDVL 3078 ProfiCare in PDF.

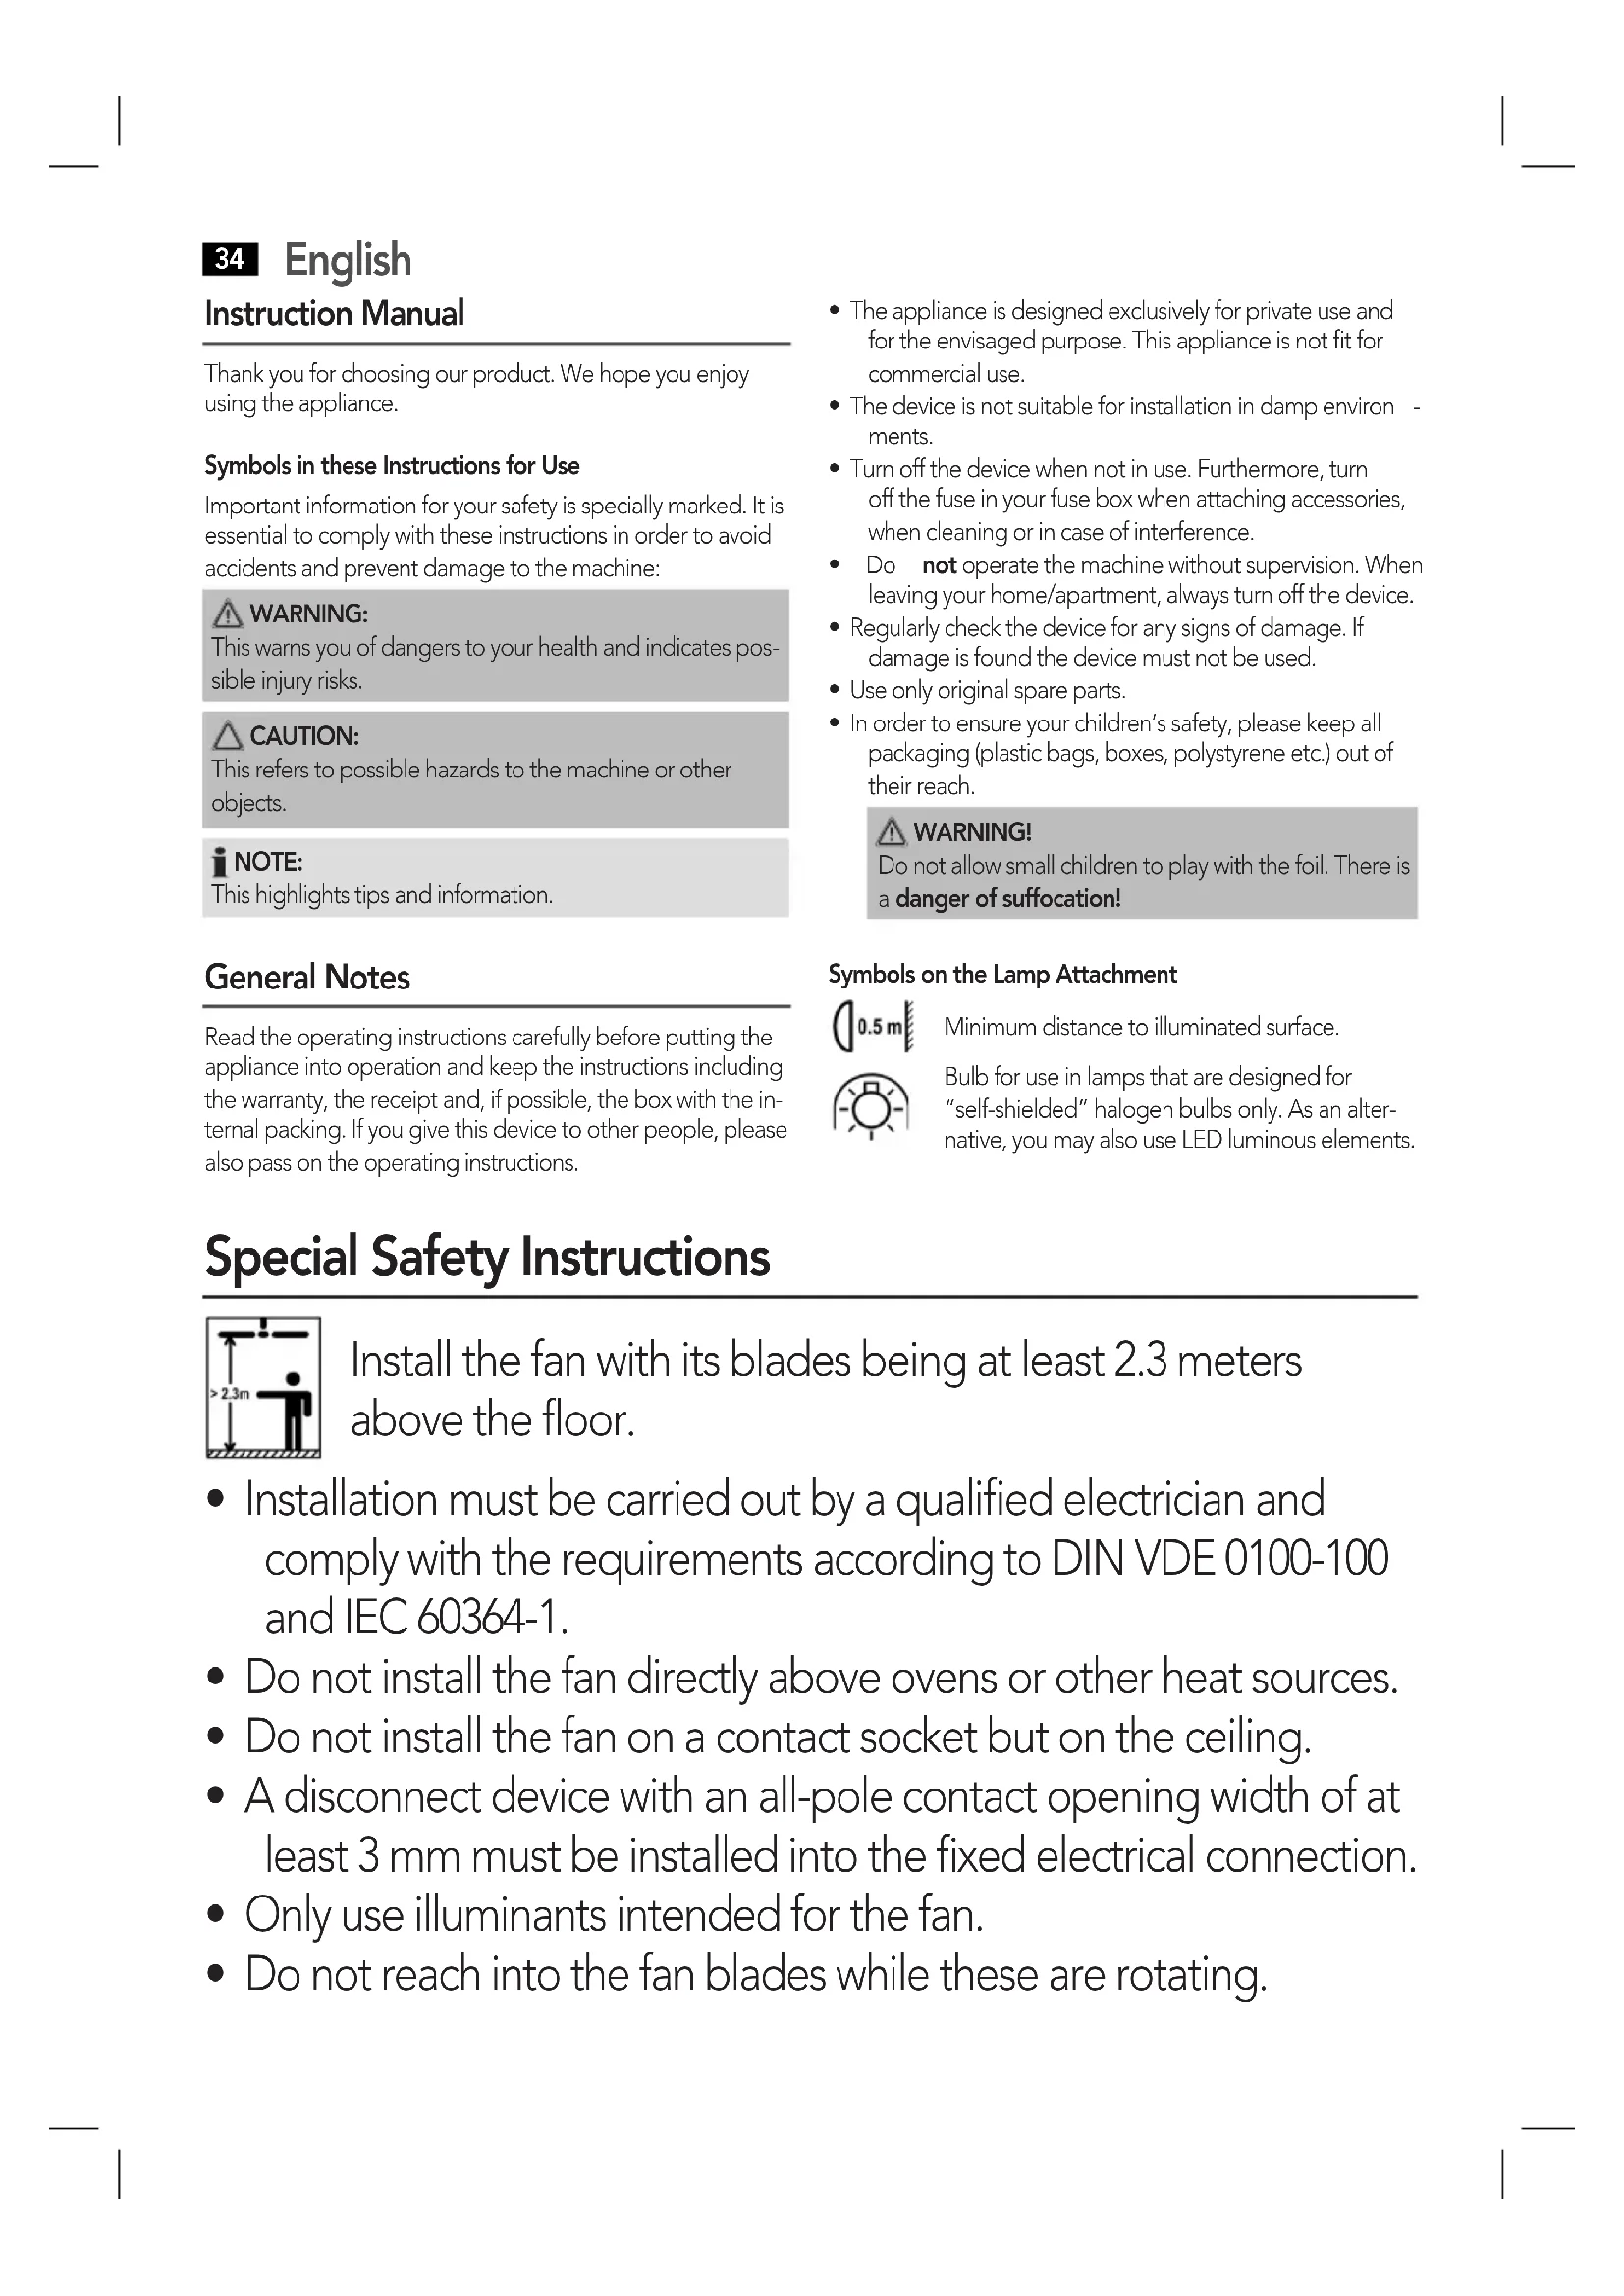


| Product type | Ceiling fan |
| Brand | ProfiCare |
| Model | PCDVL 3078 |
| Power supply | 220-240 V~, 50 Hz |
| Motor power | 60 W |
| Integrated lighting | Yes, 3 LED bulbs GU10 (5 W each, 3000 K) |
| Number of speeds | 3 (low, medium, high) |
| Reverse rotation direction | Yes (summer/winter) |
| Control | By pull chain (speed and light) |
| Minimum installation height | 2.3 m |
| Protection class | I |
| Net weight | Approx. 5.7 kg |
| Package contents | 5 blades, motor, spacer tube, canopy, light fixture, 3 LED GU10, pull chains, mounting kit |
| Installation | Ceiling mounting (wood or concrete), by a qualified electrician |
| Cleaning | Damp cloth, no abrasive products |
| Safety | Do not touch moving blades, disconnect power before maintenance |
| Winter function | Air circulation upward |
| Summer function | Air circulation downward |
| Repairability | Contact an authorized technician |
| Total power | 75 W (motor + 3 LEDs) |
| Usage | Indoor only, not in humid environments |
| Compliance | European directives (CE) |
Frequently Asked Questions - PCDVL 3078 ProfiCare
User questions about PCDVL 3078 ProfiCare
0 question about this device. Answer the ones you know or ask your own.
Ask a new question about this device
Download the instructions for your Fan in PDF format for free! Find your manual PCDVL 3078 - ProfiCare and take your electronic device back in hand. On this page are published all the documents necessary for the use of your device. PCDVL 3078 by ProfiCare.
USER MANUAL PCDVL 3078 ProfiCare
natural_image
Modern office ceiling fan with five blades and a central hub (no text or symbols visible)Deckenventilator PC-DVL 3078
Pictures for assembly instructions
Please remove and discard the plastic cushions before switching the fan on.
Übersetzung
WICHTIG
Live power supply for connection to the light kit only.
Übersetzung
ACHTUNG
Please remove and discard the plastic cushions before switching the fan on.
Vertaling
BELANGRIJK
Live power supply for connection to the light kit only.
Vertaling
LET OP
Please remove and discard the plastic cushions before switching the fan on.
Traduction
IMPORTANT
Please remove and discard the plastic cushions before switching the fan on.
Traducción
IMPORTANTE
Please remove and discard the plastic cushions before switching the fan on.
Traduzione
IMPORTANTE
Thank you for choosing our product. We hope you enjoy using the appliance.
Symbols in these Instructions for Use
Important information for your safety is specially marked. It is essential to comply with these instructions in order to avoid accidents and prevent damage to the machine:

WARNING:
This warns you of dangers to your health and indicates possible injury risks.

CAUTION:
This refers to possible hazards to the machine or other objects.

NOTE:
This highlights tips and information.
General Notes
Read the operating instructions carefully before putting the appliance into operation and keep the instructions including the warranty, the receipt and, if possible, the box with the internal packing. If you give this device to other people, please also pass on the operating instructions.
- The appliance is designed exclusively for private use and for the envisaged purpose. This appliance is not fit for commercial use.
- The device is not suitable for installation in damp environments.
- Turn off the device when not in use. Furthermore, turn off the fuse in your fuse box when attaching accessories, when cleaning or in case of interference.
- Do not operate the machine without supervision. When leaving your home/apartment, always turn off the device.
- Regularly check the device for any signs of damage. If damage is found the device must not be used.
- Use only original spare parts.
- In order to ensure your children's safety, please keep all packaging (plastic bags, boxes, polystyrene etc.) out of their reach.

WARNING!
Do not allow small children to play with the foil. There is a danger of suffocation!
Symbols on the Lamp Attachment

Minimum distance to illuminated surface.

Bulb for use in lamps that are designed for "self-shielded" halogen bulbs only. As an alternative, you may also use LED luminous elements.
Special Safety Instructions
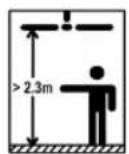
Install the fan with its blades being at least 2.3 meters above the floor.
- Installation must be carried out by a qualified electrician and comply with the requirements according to DIN VDE 0100-100 and IEC 60364-1.
- Do not install the fan directly above ovens or other heat sources.
- Do not install the fan on a contact socket but on the ceiling.
- A disconnect device with an all-pole contact opening width of at least 3 mm must be installed into the fixed electrical connection.
- Only use illuminants intended for the fan.
- Do not reach into the fan blades while these are rotating.
English
- Watch out for long hair! It can be caught in the fan owing to the air turbulence!
- Do not repair the appliance on your own. Always contact an authorized technician.
- This appliance can be used by children aged from 8 years and above and persons with reduced physical, sensory or mental capabilities or lack of experience and knowledge if they have been given supervision or instruction concerning use of the appliance in a safe way and understand the hazards involved.
• Children shall not play with the appliance. - Cleaning and user maintenance shall not be made by children without supervision.
- Do not immerse the device into water for cleaning. Please follow the instructions as stipulated in the chapter “Cleaning and Maintenance”.
The following information is attached to the bottom of the motor housing:
IMPORTANT
Please remove and discard the plastic cushions before switching the fan on.
DANGER
HIGH VOLTAGE
DO NOT REMOVE THE COVER
CAUTION
Live power supply for connection to the light kit only.
Assembly Overview
1 Spacer tube
2 Mounting bar
36 English
3 Baldachin
4 Motor housing
5 Pull chain for setting the power level
6 Fan blade
7 3-part lamp attachment
8 Pull chain for the lighting (On/Off)
9 LED luminous elements
10 Mounting bracket
11 Switch for setting the rotation direction (summer/winter operation)
Unpacking the Device
- Remove the device from its packaging.
- Remove all of the packaging material such as foils, filling material, cable holders and cardboard packaging.
- Check the scope of delivery.
- Check the appliance for any transport damage to prevent a hazard.
i NOTE:
There may still be dust or production residues on the surface of the device. We recommend that you quickly wipe off the housing with a damp cloth.
Scope of Delivery
Please refer to the picture on page 5.
| No. | Quantity Description | |
| 1 5 | Fan blade | |
| 2 1 | 3-part lamp attachment | |
| 3 1 | Motor housing | |
| 4 1 | Spacer tube | |
| 5 2 | Pull chain | |
| 6 | 1 | Suction cup for easy installation/unin-stallation of the illuminant |
| 7 | 3 | LED luminous elements (GU10,220-240V,5W) |
| 8 2 | each | Screw (M5*50), dowel, washer and retainer ring |
| 9 1 | Baldachin with mounting bar | |
| 10 15 | each Screw | (M5*15) and washer |
| 11 5 | Mounting bracket | |
Assembly Instructions
CAUTION:
- Important! The ceiling must be suitable to carry the weight of the fan. Suspended ceilings are not suitable for installation.
- Check beforehand for any cables hidden behind the ceiling that could be damaged by installation!
WARNING: During installation
Switch off the home circuit breaker of the power supply line to which to connect the device.
Please also refer to the pictures on page 3 and page 4.
-
Chose a suitable spot on the ceiling, taking into consideration the wingspread of the fan blades.
-
Remove the mounting bar (2) from the baldachin (3).
-
There are two methods for attaching the mounting bar:
a) Wooden ceiling/beam: Attach the mounting bar using both long screws (M5*50) and the corresponding washers and retainer rings.
b) Concrete ceiling: Mark the two positions in the slotted holes using a pencil. Drill the installation holes for the dowels. Insert the dowels into the holes. Attach the mounting bar using both long screws (M5*50) and the corresponding washers and retainer rings.
i NOTE:
Use special caution when installing the fan to a concrete ceiling. In order to facilitate a secure installation, stronger screws and dowels than those provided might be necessary.
- Connect the electrical wires from the ceiling to the terminal strip in the mounting bar.
| Color of electrical wire | Connection to |
| Brown or black (phase) | L |
| Blue (neutral) | N |
| Green yellow(protective ground) | + (Ground) |
- Remove the screw from the spacer tube (1). (See page 4 / 1)
- Pull down the black cap and remove the pin. (See page 4/2)
- Remove the safety clip from the motor housing (4) and then remove the bolt. Slightly unscrew the two screws located next to the bolt. (See page 4/3)
- Guide the connection cable from the motor housing through the baldachin (3). (See page 4 / 4)
- Guide the connection cable from the motor housing through the spacer tube. (See page 4 / 5)
- Reinsert the pin into the spacer tube. Then reattach the black cap using the screw. (See page 4 / 6)
-
Position the other end of the spacer tube in the fixture of the motor housing. Reinsert the bolt and secure it with the washer and safety clip. Tighten the two screws located next to the bolt until hand-tight. (See page 4/7)
-
Connect the cable harness from the motor housing to the mounting bar. Also connect the ground wire from the spacer tube to the cable eye on the mounting bar.
NOTE: In order to facilitate installation: You may attach one screw hole of the baldachin to the hook on the mounting bar.
- Attach the fan by remounting the baldachin to the mounting bar (see page 4/8). Make sure the pin of the baldachin is aligned with the notch on the black cap of the spacer tube. Tighten the four screws on the mounting bar.
- Attach the fan blades (6) to the mounting brackets (10). Use the 15 screws (M5*15) and 15 washers. Tighten the screws until hand-tight. (See page 4/9).
- Remove the three transportation locks (see page 4 / 10) and the other 7 preinstalled screws from the motor housing. Important! Do not remove the padding located underneath (see page 4 / 11).
- Attach the assembled fan blades using the 10 screws and 10 spring washers removed earlier. (See page 4 / 12)
- Remove the 3 preinstalled screws from the 3-part lamp attachment.
- Connect the power supply from the motor housing to the cable eye (LIGHT) on the lamp attachment.
- Insert the lamp attachment. Make sure the notch on the lamp attachment is located above the switch for setting the rotation direction. (See page 4 / 13). Attach the lamp attachment using the 3 screws, washers and spring washers removed earlier.
-
Install the two pull chains (5/8).
-
Install the luminous elements in the sockets. In order to do so, use the provided suction cup to tighten the illuminant. (See page 4 / 14)
Operation
Fan
Use the switch (11) on the motor housing to set the rotation direction of the fan blades. (Summer/winter operation)
CAUTION:
Only adjust the direction when the fan blades stand still. Otherwise the motor could be damaged.
- Summer operation: Set the switch to " 🔍" position.
- Winter operation: Set the switch to " " position.
i NOTE:
Winter operation might be without any result depending on the size of the room.
Repeatedly pull the pull chain (5) on the motor housing to set the speed of the fan blades.
1x = high speed
2x = medium speed
3x = low speed
4x = Fan is turned off.
Lighting
Repeatedly pull the pull chain (8) on the lamp attachment to switch the light on or off.
Cleaning and Maintenance
WARNING:
- Always switch off the respective home circuit breaker before carrying out any cleaning or maintenance work.
• Always wait until the fan blades have come to a complete stop. - Wait until the luminous elements have cooled down before you clean or maintain the fan.
- Make sure no liquid enters the electrical connections, as this could otherwise cause electrical shock or fire.
CAUTION:
- Do not use a wire brush or any abrasive items.
- Do not use any acidic or abrasive detergents.
- Clean the external surface of the fan with a slightly damp cloth.
• Dry the fan with a dry, soft cloth.
38 English
Technical Data
Model: PC-DVL 3078
Power supply: 220-240V\~, 50Hz
Power consumption: 60W
LED luminous elements: GU10, 220-240V, 50Hz,
5W, 3000K
Protection class:....I
Net weight:......approx. 5.7 kg
The right to make technical and design modifications in the course of continuous product development remains reserved.
This device has been tested according to all relevant current CE guidelines, such as electromagnetic compatibility and low voltage directives, and has been constructed in accordance with the latest safety regulations.
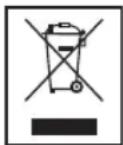
Disposal
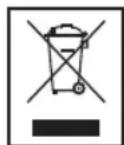
Meaning of the "Dustbin" Symbol
Protect our environment: do not dispose of electrical equipment in the domestic waste.
Please return any electrical equipment that you will no longer use to the collection points provided for their disposal.
This helps avoid the potential effects of incorrect disposal on the environment and human health.
This will contribute to the recycling and other forms of re-utilisation of electrical and electronic equipment.
Information concerning where the equipment can be disposed of can be obtained from your local authority.
Instrukcja obsługi
Please remove and discard the plastic cushions before switching the fan on.
Tłumaczenie
WAŻNE
CAUTION Live power supply for connection to the light kit only.
Tłumaczenie UWAGA
CTC Clatronic Sp. z o.o.
Ul. Brzeska 1
45 - 960 Opole
Usuwanie
Please remove and discard the plastic cushions before switching the fan on.
Fordítás
FONTOS
Please remove and discard the plastic cushions before switching the fan on.
Перевод
ВАЖНО
Live power supply for connection to the light kit only.
Перевод
ВНИМАНИЕ
Please remove and discard the plastic cushions before switching the fan on.
الترجمة
م
Live power supply for connection to the light kit only.
الترجمة
تنييه
- Deckenventilator PC-DVL 3078
- Traduction
- IMPORTANT
- Traducción
- IMPORTANTE
- Symbols in these Instructions for Use
- WARNING:
- CAUTION:
- NOTE:
- General Notes
- WARNING!
- Symbols on the Lamp Attachment
- Special Safety Instructions
- English
- Assembly Overview
- English
- Unpacking the Device
- i NOTE:
- Scope of Delivery
- Assembly Instructions
- WARNING: During installation
- Operation
- Fan
- Lighting
- Cleaning and Maintenance
- English
- Technical Data
- Disposal
- Meaning of the "Dustbin" Symbol
- Instrukcja obsługi
- Tłumaczenie
- WAŻNE
- Usuwanie
- Fordítás
- FONTOS
Brand : ProfiCare
Model : PCDVL 3078
Category : Fan