
HG06025 - Inflatable kayak MISTRAL - Free user manual and instructions
Find the device manual for free HG06025 MISTRAL in PDF.

User questions about HG06025 MISTRAL
0 question about this device. Answer the ones you know or ask your own.
Ask a new question about this device
Download the instructions for your Inflatable kayak in PDF format for free! Find your manual HG06025 - MISTRAL and take your electronic device back in hand. On this page are published all the documents necessary for the use of your device. HG06025 by MISTRAL.
USER MANUAL HG06025 MISTRAL
natural_image
Black-and-white photo of a couple in an inflatable boat on water, one wearing a mistrol top (no text or symbols visible)AUFBLASBARES KAJAK MIT ABNEHMBAREN SITZEN / INFLATABLE KAYAK WITH REMOVABLE SEATS / KAYAK GONFLABLE À SIÈGES AMOVIBLES
DE AT CH
AUFBLASBARES KAJAK MIT ABNEHMBAREN SITZEN
Assembly, operating and safety instructions
NL BE
OPBLAASBARE KAJAK MET UITNEEMBARE ZITJES
natural_image
Simple black stick figure drawing of a person bending over water (no text or symbols)
natural_image
Silhouette of a person using a laptop (no text or symbols)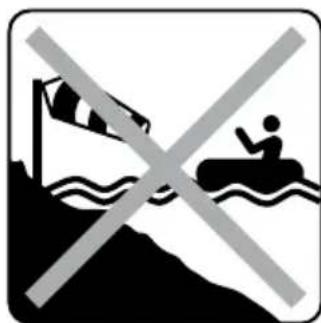
natural_image
Symbolic warning sign with a cross over a landscape featuring trees and water (no text or numbers present)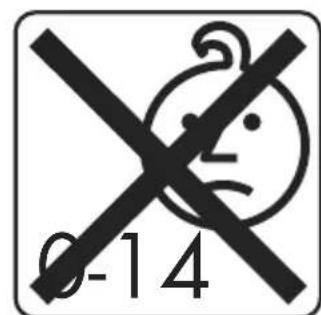
Intended use......Page 17
Parts description Page 17
Scope of delivery Page 17
Technical data......Page 17
General safety notes......Page 18
User-defined safety instructions....Page 18
Product-specific safety notes......Page 19
Pictograms Page 19
Before first use....Page 21
Unrolling the kayak....Page 21
Installing the fin Page 21
Inflating the kayak....Page 22
Assembling the double-bladed paddle Page 22
Installing the safety rope....Page 22
Inflating the footrest pad....Page 22
Installing the seats and storage bags Page 23
Disassembling the product Page 23
Using the product....Page 23
Use on the water....Page 23
Transport Page 23
Storage Page 23
Cleaning and care....Page 24
Repair and maintenance......Page 24
Repairing the kayak....Page 24
Disposal Page 24
Service Page 25
| List of pictograms used | |||
| Observe the warnings and safety notices! | Risk of loss of life and accident to infants and children! | ||
Inflatable kayak with removable seats
- Introduction
We congratulate you on the purchase of your new product. You have chosen a high quality product. Familiarise yourself with the product before using it for the first time. In addition, please carefully refer to the operating instructions and the safety advice below. Only use the product as instructed and only for the indicated field of application. Keep these instructions in a safe place. If you pass the product on to anyone else, please ensure that you also pass on all the documentation with it.
Intendeduse
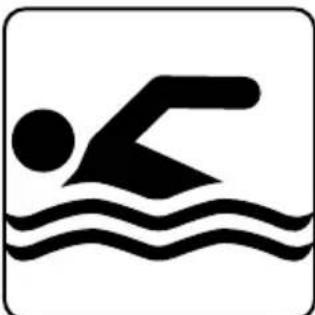
This product is intended as a kayak for use in protected shore areas up to 300 m, and never in nature reserves with breeding places for animals. The product is intended for kayaking in sheltered coastal waters and small bays, and on small lakes, narrow rivers and canals. Never use the product in high winds and / or breaking waves. This product is not a personal flotation device; it must not be used as a water toy or for winter sports. It may only be used by persons who are able to swim. It is not suitable for children under 14 years of age. Before using this product, you should attend a suitable course, a certified school or receive instruction from an experienced athlete. This product is only intended for private use, not for commercial use.
Partsdescription
1 Seat (rear)
2 Rucksack
3 Air pump
4 Hook and loop
paddle strap
5 D-ring
6 Seat (front)
7 Grab handle
8 Storagebag
9 Buckle
10 Kayak
11 Paddle blade
12 Coupling
13 Shaft
14 Safety rope
15 Removable fin
16 Repair patch
17 Pressure gauge
18 Screw-on valve
19 Footrest pad
19a Valve
20 Storagebag
- Scope of delivery
1 Kayak
4 Paddle blades
2 Shafts
4 Couplings
2 Safety ropes
2 Removable fins
2 Seats
3 Repair patches
1 Air pump
1 Pressure gauge
3 Screw-on valves
1 Footrest pad
1 Rucksack
1 Storage bag
1 Set of installation instructions and instructions for use
- Technical data
Max. load: 200 kg
Max. air pressure: 0.06 bar (0.8 PSI)
Dimensions: (inflated): approx. 330 x 94 x
$$ 4 8 \mathrm{cm} (\mathrm{L} \times \mathrm{W} \times \mathrm{H}) $$
Weight: approx. 16.3 kg (complete set)

Generalsafety notes
FAILURE TO OBSERVE THE SAFETY INFORMATION IN THE INSTRUCTIONS FOR USE MAY RESULT IN RISKS SUCH AS INJURIES AND DEATH, E.G. FROM DROWNING! KEEP ALL SAFETY INFORMATION AND INSTRUCTIONS FOR FUTURE REFERENCE!
ATTENTION! Your prudence and self-assessment on the water are extremely important. Never overestimate your strength and steering skills! Always stay near shore! Be aware of the weather, storm warnings or possible flares!
ATTENTION! Always observe the safety rules and relevant ordinances for lakes and open waters, and always wear an approved life jacket for your own safety.
■ Always use the product as specified in the instructions and information on the identification label and in the user manual. Never exceed the maximum load, the air pressure of 0.06 bar (0.8 PSI) and the number of persons, as specified on the product and in the instructions for use. Always wear a life jacket.
■ Never modify the product. Any modifications will affect the functionality of the product and will void the warranty.
- Do not modify the basic design of the product, as this can affect safety.
- Observe the information on the manufacturer label on the product.
By using this product, you acknowledge your obligation to acquire the necessary knowledge and skills required for water sports and navigating waters. This also applies to observing the relevant rules and laws. Safety on water is a result of the synergy between the user, the weather and the water conditions. By using this product, you accept, understand and acknowledge the risks associated with kayaking.
■ The inflated kayak, the paddle and the blades are rigid and may cause injuries.
■ Please watch out for bystanders when transporting the product.


DANG RACING!
LIFE AND RISK OF ACCIDENTS FOR INFANTS AND CHILDREN!
Never leave children unattended with the packaging material or the product. The packaging material presents a suffocation hazard and there is a risk of death from strangulation and / or drowning. Children frequently underestimate the dangers. Always keep children away from the product.
This product is not intended to be used by persons (including children) with restricted physical, sensory or mental abilities or with insufficient experience and / or knowledge, unless they are supervised by a person who is responsible for their safety or they have received instruction on how to use the product from such a responsible person. Children must be supervised to ensure that they do not play with the product.

User-defined safety instructions
■ Wear a life jacket when using the product on water.
■ Be careful and prudent on waters.
■ Do not use this product under the influence of drugs, medication or alcohol.
■ Never overestimate your strength, steering skills or capabilities. Be aware of your limits. Kayaking can be dangerous and physically strenuous. Always stay as close as possible to the shore and coast.
Do not use the product in floods. Only kayak in safe weather conditions.
- Obtain information about current weather conditions and check the weather forecast. Be aware of severe weather warnings or possible flares.
■ Never use the product in offshore wind (wind from the land blowing toward the water). You could easily be swept away.
- Check the water for rocks, moorings, choppy water and other hazards before kayaking. Pay attention to offshore wind and currents, tidal changes, river water levels and obstacles in and above the water. Stay in sheltered shore areas up to 300 m.
■ M aintain a safe distance from rapids, whirlpools, flotsam and other obstacles.
■ Always observe local navigation rules.
If necessary, wear a protective helmet.
■ Wear clothing suitable for the weather and water conditions. Wear a wetsuit when kayaking in cooler weather. There is a risk of hypothermia!
■ Always kayak together with others, never alone.
- Notify others before you go kayaking. Keep identification on you.
- When using the product outside of designated swimming areas, be sure another person is watching you.
- Watch for other people in the water when kayaking.
- Do not use the product near boat traffic, other watercrafts, dams, locks and other hazards.
Do not use the product in situations where you may injure others, e.g. people in the water or on the beach.
Uneven weight distribution of cargo or persons on the kayak affects the stability, equilibrium position, and characteristics of the product. This can also cause the product to tip.
■ Any change in the distribution of the cargo or persons on the kayak (such as adding fishing equipment, a radar, a folding mast, motor, etc.) can significantly affect the stability, equilibrium position and characteristics of the kayak.
Product-specific safety notes
Inflatable products are sensitive to low temperatures. Never fold and inflate the product in temperatures under 15 °C.
Inflate the product at a pressure of 0.8 bar (12 PSI) up to a maximum pressure of 0.06 bar (0.8 PSI).
If the air pressure inside the product rises in direct sunlight, it must be balanced out accordingly by releasing air.
If the pressure exceeds 0.06 bar (0.8 PSI), open the valve and release air until the operating pressure is in the safe operating range again.
- Make sure that the product – particularly when inflated – does not come into contact with stones,
gravel or sharp objects and does not rub or scrape against rough surfaces, as this can cause damage.
Do not let the product sit in the sun for extended periods; always set it down in the shade. If the product will not be used for extended periods, e.g. in winter, store it slightly inflated and away from frost.
- Do not attempt to inflate the product with a compressor.
- Do not overinflate the product or the welded seams may rupture. Close the valve properly after inflating.
- Avoid contact with hot, sharp, pointy or dangerous objects, chemicals or liquids. If contact does occur, thoroughly check the product for leaks or other damages. Do not carry sharp or pointy objects on the kayak.
- Keep the product away from fire and hot objects (e.g. lit cigarettes).
- Do not transport the inflated kayak on vehicles.
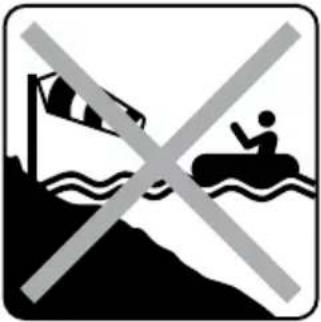
Pictograms
WARNING! Please note the pictograms on the product before use. Injuries and / or property damage may otherwise occur.
 | General warning sign |
 | General mandatory action symbol |
 | General prohibition sign | 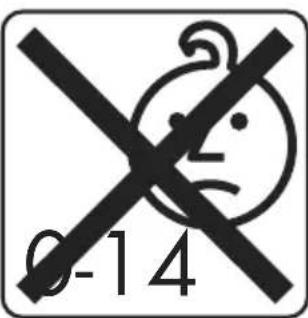 | Not suitable for children under 14 years. |
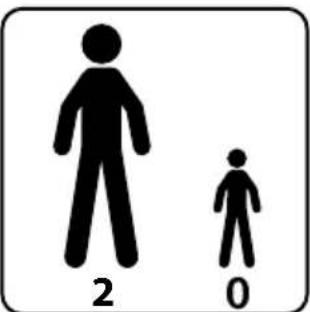
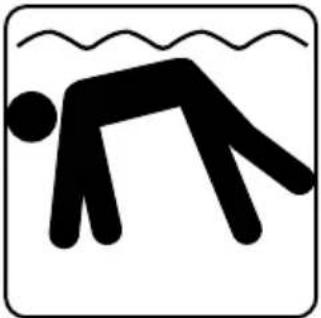 | Does not prevent drowning. | 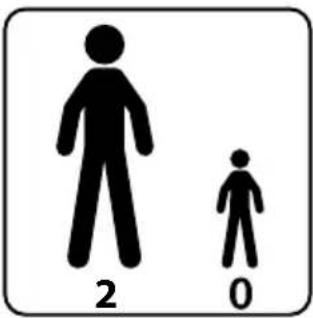 | Number of users: 2 adults, 0 children |
 | Read the instructions for use first. | 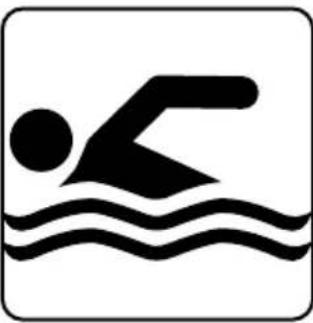 | For swimmers only! |
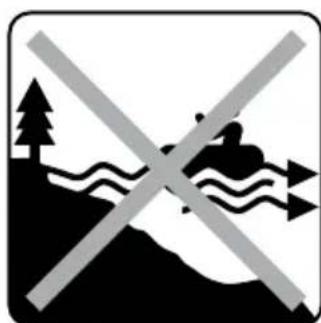
 | Do not use in offshore wind. | 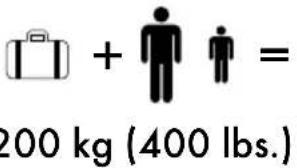 | Maximum weight capacity |
 | Do not use in offshore currents. | 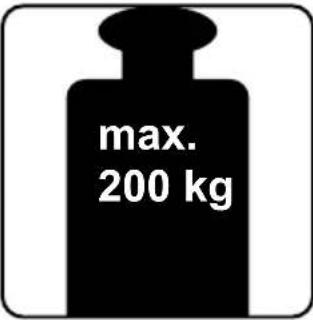 | Maximum weight capacity |
 | Operating pressure: 0.06 bar, 0.8 PSI |
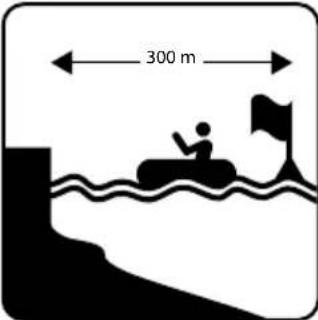 | Safe distance from shore: 300 m |
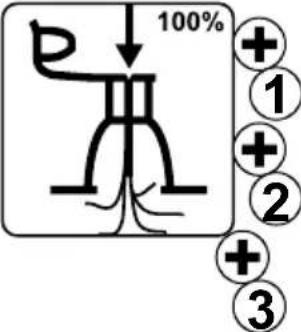 | Fully inflate air chambers. |
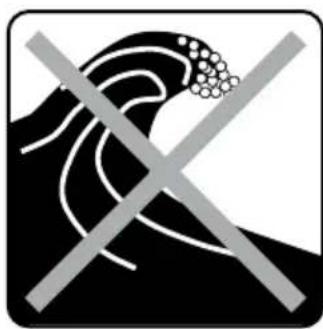
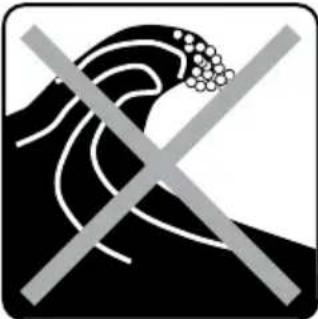 | Do not use in breaking waves. |
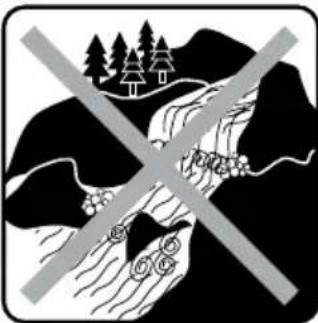 | Do not use in white water. |
- Before first use
Before using this product, you should attend a suitable course, a certified school or receive instruction from an experienced athlete.
The load on the product must not exceed 200 kg. Ensure that weight is distributed evenly. Failure to observe this advice may result in injury and / or product damage.
- Check all parts of the product for damage such as wear, leaks, tears or other damages before every use.
Do not use the product if it is damaged.
- Check the air pressure inside the kayak. Also check that the valve is closed tightly and that the valve cap is attached, to prevent sand and dirt from entering the valve. Watch out for any possible pressure loss in the kayak.
■ Never leave the product unattended on the water. A current can quickly sweep the product away so that a swimmer cannot retrieve it.
● Unrolling the kayak
☐ Select an even, clean surface with enough room to unpack and unfold the product.
Remove all product packaging.
☐ Verify that all individual parts are present and in good condition.
☐ When unrolling the kayak [10] , ensure there are no sharp objects such as shards of glass, grit, gravel or glowing charcoal or cigarette butts on the ground.
Note: Check the kayak for any damages such as holes and tears the second time it is assembled or sooner. Please refer to the chapter "Repair and maintenance" to learn how to repair these. Any potential damages cannot be repaired once you are on the water.
□ Unroll the kayak 10.
- Installing the fin
☐ Install the removable fin 15 on the base of the kayak 10 (see Fig. A). Ensure that the outward
curvature of the fin 15 points towards the rear end of the kayak 10.
Note: Install the fin 15 before inflating, and likewise remove it after first releasing the air.
Note: To prevent damage to the removable fin 15, do not use the product in shallow waters.
● Inflating the kayak (see Fig. B)
- Avoid overinflating to prevent the welded seams from over-expanding or even rupturing. Only inflate up to a pressure of 0.06 bar (0.8 PSI).
The air pressure will increase when the sun heats up the product. In this case, reduce the air pressure by releasing air from the kayak ^10 .
Inflate the kayak 10 using the included air pump 3. You can alternatively use a standard foot pump or twin stroke piston pump with the corresponding attachments and a pressure gauge.
Only open the screw-on valves 18 to inflate or release air. They can otherwise become dirty.
The area around the screw-on valve 18 must always be dry and clean. Check that the screw-on valve 18 is free from dirt particles.
■ Ensure that sand or other dirt does not enter the screw-on valve 18.
☐ Inflate the air chambers using the included air pump 3, or another suitable hand-operated air pump, up to the recommended pressure of 0.06 bar (0.8 PSI). Monitor the pressure using the pressure gauge 17.
Attention: Too little or too much air in the kayak will lead to safety risks. It is recommended that the pressure in the kayak is checked before each use.
Note: The pressure gauge 17 is only intended for inflation. The value shown on the pressure gauge 17 only serves as a reference. It should not be used as a precision instrument.
■ Never stand on the kayak or place objects on it whilst inflating it.
■ Inflate the lower chamber until it feels firm, but NOT too hard.
Note: Do not pull the handle on the air pump 3 all the way up, only far enough so your arms
remain straight. Now use the weight of your body to inflate the product by simply bending at the knees. Keep your arms straight. This way you are not inflating with your arm muscles but the weight of your body.
☐ Stop inflating the product once the pressure gauge 17 reads 0.06 bar (0.8 PSI).
●Assembling the double-bladed paddle
☐ Assemble the paddle as shown in Figure C.
- Installing the safety rope
Thread the safety rope 14 through the holes in the D-rings 5. Then tie the ends of the safety rope 14 tightly to the D-rings 5.
Attention: Safety ropes 14 must only be attached to both sides of the front and tail sections and must not impede the normal function of the kayak.
- Carefully check whether the safety rope 14 is properly attached.
• Inflating the footrest pad
Inflating
Open the valve 19a and inflate the footrest pad 19 using the air pump 3 (see Fig. D).
☐ Inflate the footrest pad 19 until most creases have disappeared and it feels firm, but NOT too hard.
Note: Do not overinflate the footrest pad 19. Do not use an air compressor. Too little or too much air in the footrest pad 19 will lead to safety risks.
□ After inflating, make sure to close the valves 19a and push them inwards.
Place the footrest pad 19 into the very front of the kayak 10.
Deflating the product
☐ Squeeze the valve 19a together to release the air (see Fig. E).
● Installing the seats and storage bags
Once the kayak 10 has been inflated, connect the fastening straps for the seats 1, 6 to the buckles 9 on the kayak 10. Make sure that the storage bag 20 is in an upright position. The position of the seats 1, 6 can be adjusted along the centre line of the kayak 10.
□ When installing the seats 1,6, make sure that the person in the front seat 6 presses their feet against the footrest, and that the person in the rear seat 1 presses their feet against the front seat 6.
□ Connect the storage bag 20 to the D-rings 5.
● Disassembling the product
☐ Select a clean, even surface with adequate space to disassemble the product.
□ Disassembly requires the following steps: • Removing the removable fin 15 and other accessories (footrest pad 19, seats 1, 6, storage bag 20)
• Releasing the air from the kayak 10
- Rolling up the kayak 10
• Disassembling the paddle into the individual parts
Releasing air:
Place the dry kayak 10 flat on the ground and open the screw-on valves 18 by pushing them down whilst also turning them clockwise.
☐ Only push the valve needles down slightly, so that air can escape slowly.
☐ Release the air.
Note: Release the air from all the body chambers as simultaneously as possible, so that the air pressure reduces at the same time. This will therefore prevent damages occurring to the
internal structure of the kayak. Only afterwards should you deflate the base.
□ Now place the kayak 10 flat on the ground.
☐ Fold the kayak 10 from front to back to release any remaining air. You can also use a reversed pump (extraction) to remove the remaining air.
● Using the product
- Use on the water
Note: Be careful not to hurt others when carrying the kayak 10 in windy conditions. Always keep the fin 15 toward you.
- Transport
Do not transport the inflated kayak 10 on vehicles.
Rucksack 2:
☐ All accessories can be stored in the rucksack 2 for transportation or storage.
☐ Disassemble the product as per the chapter „Disassembling the product“.
☐ Ensure that it is completely clean, dry and rolled up.
Place the kayak 10 with all the individual parts and accessories, stored inside the storage bag 20, into the rucksack 2 (maximum carrying capacity: 20 kg).
Storage bag 20:
Note: Please note that the storage bag 20 is not waterproof. Do not store delicate objects, e.g. cameras, in it.
Store the smaller accessories in the storage bag 20.
□ Tightly close the storage bag 20.
Storage
■ Attention! The rucksack 2 should only be used with the kayak 10 and its accessories.
Before storing, remove the paddle from the hook and loop paddle strap 4 and remove the storage bag 20 and the seats 1, 6.
Note: Retain all accessories for future use and keep them in good condition.
Note: Never dry using heat-emitting devices such as electric fans or similar. This can otherwise cause damages and reduce the service life of the kayak.
Store in a cool, dry location out of reach of children.
- Cleaning and care
- Do not use aggressive cleaning agents, brushes with metal or nylon bristles or sharp or metal objects such as knives.
Do not use any acetone, acidic and / or caustic solutions for cleaning.
☐ Only use mild cleaning agents.
□ Clean the kayak 10 after every use, with the screw-on valves 18 closed.
Remove the fin 15.
Place the kayak 10 on a clean, dry and even surface.
☐ Rinse the kayak 10 and the fin 15 with fresh water and mild soap to remove salt crystals, grains of sand and other particles.
☐ Wipe the kayak 10 down with a dry, soft cloth. Then allow the kayak 10 and the fin 15 to dry thoroughly.
● Repair and maintenance
WARNING: my repairs in a well ventilated location and avoid inhaling toxic fumes. Avoid contact with the skin or the eyes. Keep all repair supplies (glue, solvent, etc.) out of the reach of children.
- W/ha seems must not be repaired with glue. The seams can only be repaired by the manufacturer of the kayak 10.
■ Never repair large holes yourself. You can repair small holes using the included repair patch 16.
- Check the kayak 10 for pressure loss, holes or tears before every use. If air escapes from the kayak 10, it may be due to a leaking screw-on valve 18 or a hole in the kayak 10 itself.
- Repairing the kayak
Before using the product on water after making repairs, make sure that the repair patch 16 is air tight and sealed properly. Never attempt to repair large damaged areas yourself. Take the product to a speciality shop.
Detecting holes:
☐ Coat the area on the kayak 10 where you suspect there is a hole with soapy water. Bubbles will form where air is escaping from the kayak 10.
□ Mark the respective area.
☐ Rinse the kayak 10 with clear water and wipe dry before starting the repair.
Patching holes:
☐ First deflate the product completely, removing all the air.
☐ Cut the repair patch 16 to the size of the hole.
Note: Ensure that the repair patch 16 is larger than the hole and overlaps the edges of the hole by approx. 1.5 cm all around.
Round the sides of the repair patch 16 using scissors.
□ Remove the protective film.
□ Centre the repair patch 16 over the hole and press it down firmly. If necessary, place a heavy object on the repair patch 16. Make sure that the repair patch 16 and all other components are lying flat underneath.
Leave everything to dry for 24 hours before inflating the product again.
●Disposal
The packaging is made entirely of recyclable materials, which you may dispose of at local recycling facilities.
Contact your local refuse disposal authority for more details of how to dispose of your worn-out product.
Service
GB Service Great Britain
Tel.: 08000569216
E-Mail: owim@lidl.co.uk
IE Service Ireland
Tel.:1800200736
E-Mail: owim@lidl.ie
natural_image
Prohibition sign with a person on a boat and a flag, crossed by a diagonal line (no text or symbols)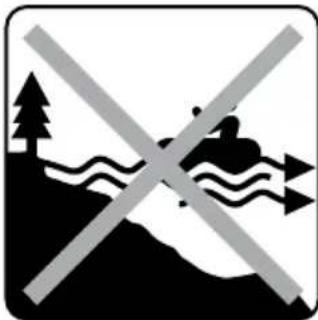
natural_image
Symbolic warning sign with crossed-out lines and landscape elements (no text)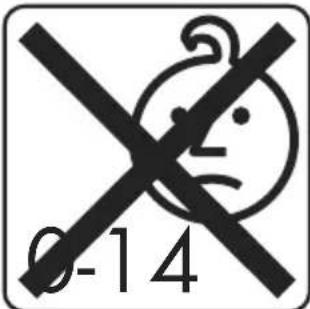
natural_image
Black and white graphic with a crossed-out wave and circular patterns, no text or symbols present.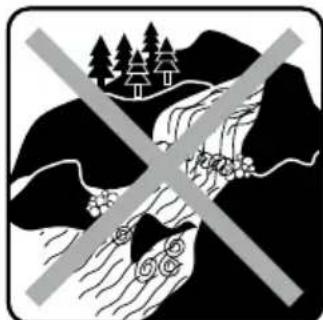
natural_image
Black-and-white pictogram showing a cross over a mountainous landscape with trees and water, no text or symbols present.Retirez le film de protection.
De hohen mogen WAARSCHUWING!
natural_image
Symbolic illustration of a person rowing a boat with a flag on water, crossed by a diagonal line (no text or symbols)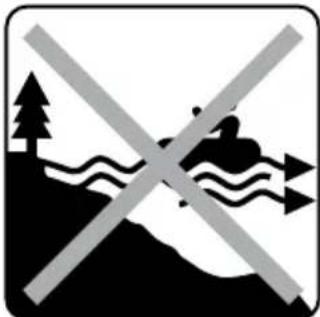
natural_image
Symbolic warning sign with crossed lines and landscape elements (no text)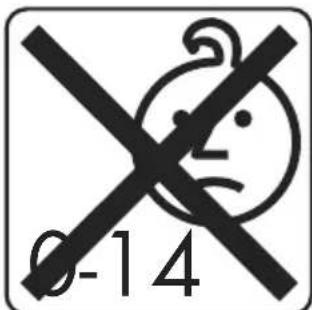

natural_image
Simple black icon of a diver swimming in water (no text or symbols)natural_image
Black and white graphic with a crossed-out 'X' symbol over a wave-like shape, no text or symbols present.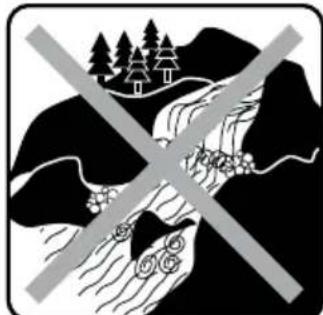
natural_image
Symbolic warning sign with a cross over a landscape featuring mountains, water, and a boat (no text or numbers present)


natural_image
Simple black icon of a diver swimming with waves, enclosed in a rounded square frame (no text or symbols)
natural_image
Black-and-white pictogram showing a mountainous landscape with a diagonal line crossing through it, no text or symbols present.MISTRAL is the owner of the Mistral Trademarks;
Mistral Trademarks are used with the permission
of MISTRAL under a license www.mistral.com