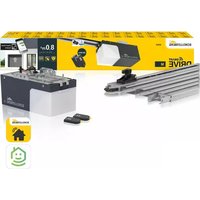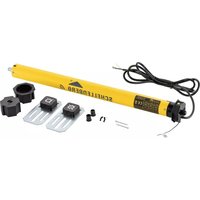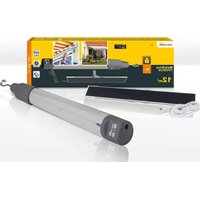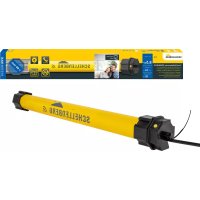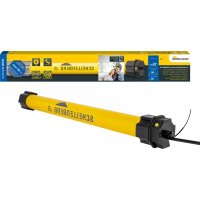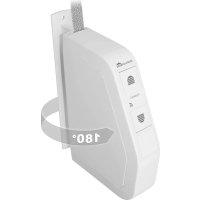
RolloDrive 75 Premium - Smart Home Schellenberg - Free user manual and instructions
Find the device manual for free RolloDrive 75 Premium Schellenberg in PDF.


User questions about RolloDrive 75 Premium Schellenberg
0 question about this device. Answer the ones you know or ask your own.
Ask a new question about this device
Download the instructions for your Smart Home in PDF format for free! Find your manual RolloDrive 75 Premium - Schellenberg and take your electronic device back in hand. On this page are published all the documents necessary for the use of your device. RolloDrive 75 Premium by Schellenberg.
USER MANUAL RolloDrive 75 Premium Schellenberg
text_image
SHELLENBERG SHELLENBERGDE
GB
FR
PL
IT
deutsch 4
english 12
français 20
polski 28
italiano 36
INHALTSVERZEICHNIS
Safety and notices 13
EU Declaration of Conformity 14
Intended use 15
Non-intended use 15
Technical data 16
Product explanation 18
Functional description 19
Dimensions 44
Scope of delivery & required tools 45
A Installation 46
B Setting the upper end positions 57
C Setting the lower end positions 60
D Changing/correcting the end positions 62
E Manual operation 63
F Automatic operation: Setting the opening and closing times 65
G Automatic operation: Manual and automatic switching 67
H Obstacle detection 68
I Stuck shutter detection 69
J Factory default reset 70
K Disassembly 71
L Removing the belt strap in the event of a device failure 77
M Run-time limiting 81
N Optional accessories: Sun and twilight sensor 82
O Setting the brightness value - Sun function 84
P On/off switching of the sun function 85
Q Function chart of the sun function 86
R Setting the Twilight value - Twilight function 88
S On/off switching of the Twilight function 89
T Function chart of the twilight function 90
U Optional accessories: Hand-held wireless remote control / timer 91
V Pairing of the hand-held wireless remote control 92
W Pairing of further hand-held wireless remote controllers 95
X Pairing with Smart Home System 98
SAFETY AND NOTICES
Dear customers,
Please completely read this instruction manual before the installation and commissioning. Observe all safety instructions before you begin to work. Keep the instruction manual stored at hand and advise each user about possible dangers that are related to this product. When ownership to this product changes, hand this instruction manual over to the new owner. In case of damage which is caused by misuse or improper installation the warranty and any warranty claim will be void.
SAFETY INSTRUCTIONS FOR ASSEMBLY
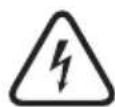
There is danger to life from electric shock!
Before working on electrical equipment, it must be completely de-energized. There is danger to life from electric shock when touching electrical components.
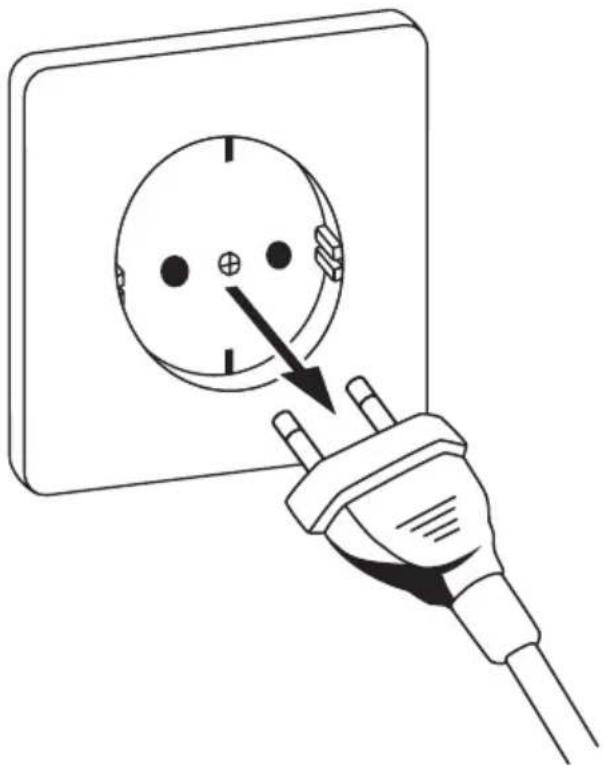
- Take safety measures against the accidental subsequent on-switching of the power. Disconnect the supply cable from the mains and secure it against being switched on again. This also applies for the maintenance, cleaning and repair of electric roller shutter systems.
- Required Installer's Expertise: Electrical connection, assembly and commissioning of the product must be carried out by trained electricians according to the instructions in this manual.
- When using a cable with mains plug, the mains socket and the mains plug must always be freely accessible.
- Improper installation can result in serious injuries or property damage.
- The use of defective devices can lead to the endangering of persons and to property damage (injury, electrical shock and fire). Therefore never use defective or damaged devices.
- All repairs may only be carried out by authorized customer service personnel.
- The provisions of the local electric utility company as well as all applicable standards and regulations for electrical installations must be complied with.
- Compare the data on the voltage / frequency on the rating plate with those of the local network.
- The product may only be used in dry rooms (IP20).
- The product and the packaging are not toys. Keep children away from it, since there is a risk of injury or suffocation.
- Do not open the product, risk of injury.
SCHELLENBERG
- There is a risk of injury as the roller shutter can fall down un-braked. Secure the roller shutter against falling down. Firmly grasp the belt strap, to avoid the roller shutter from falling down un-braked. Ask a second person for assistance during the unlocking.
- Observe the roller shutter during adjustment, and during normal operation, and keep persons away from the driving range of the roller shutter system. The movement range of the roller shutter system must be completely visually accessible during the operation. There is a risk of injury.
- Children or persons who are not capable of securely and prudently operating the product due to physical, psychological or sensory impairments, are not allowed to operate or install the product. The product may be used by children of 8 years and older as well as by persons with physical, psychological or sensory impairments or lack of experience and knowledge, provided that they are supervised or have been instructed in safe use of the device and know the risks involved. Cleaning and maintenance must not be carried out by children unless they are supervised.
EU DECLARATION OF CONFORMITY
The product (item no. DE 22576, 22578) meets the applicable requirements of European and national regulations. Conformity has been demonstrated. The full EU Declaration of Conformity document can be found at: http://www.schellenberg.de (under 'Download-Center', in the 'Service' tab).
Machinery Directive 2006/42/EC
RoHS Directive 2011/65/EU
EMC Directive 2014/42/EU

Do not dispose of together with household waste. The product is recyclable and can be deposited at a recycling center or a collection station for electrical household garbage.
INTENDED USE
- This product (Item No. 22576/22578) is intended exclusively for the operation of belt-driven roller shutter systems. Only use the product for the lifting and lowering of smooth roller shutters with a permissible belt strap. For this, the roller shutter system must comply with the technical requirements of the product.
- Any other or further utilization beyond the explicitly specified shall be regarded as not intended use.
- Alfred Schellenberg GmbH shall not be liable for any consequential damage, property damage and personal injury due to improper use.
- According to EN 13659, it must be ensured that the displacement requirements as per EN 12045 are met for the hanging material. When unrolled, the displacement at the lower edge must be at least 40 mm at an upward-directed force of 150 N. It must be ensured that the travel speed of the hanging must be less than 0.15 m/s in the last 0.4 m.
- The roller shutter system and its parts must be in a perfect condition. Defects in the system or its parts must be repaired before installing the product.
- An easily accessible 230 V / 50 Hz mains socket outlet must be available at the place of installation.
- The installation surface where the product is to be installed must be level and suitable.
- Only use original spare parts to avoid product malfunction or defects.
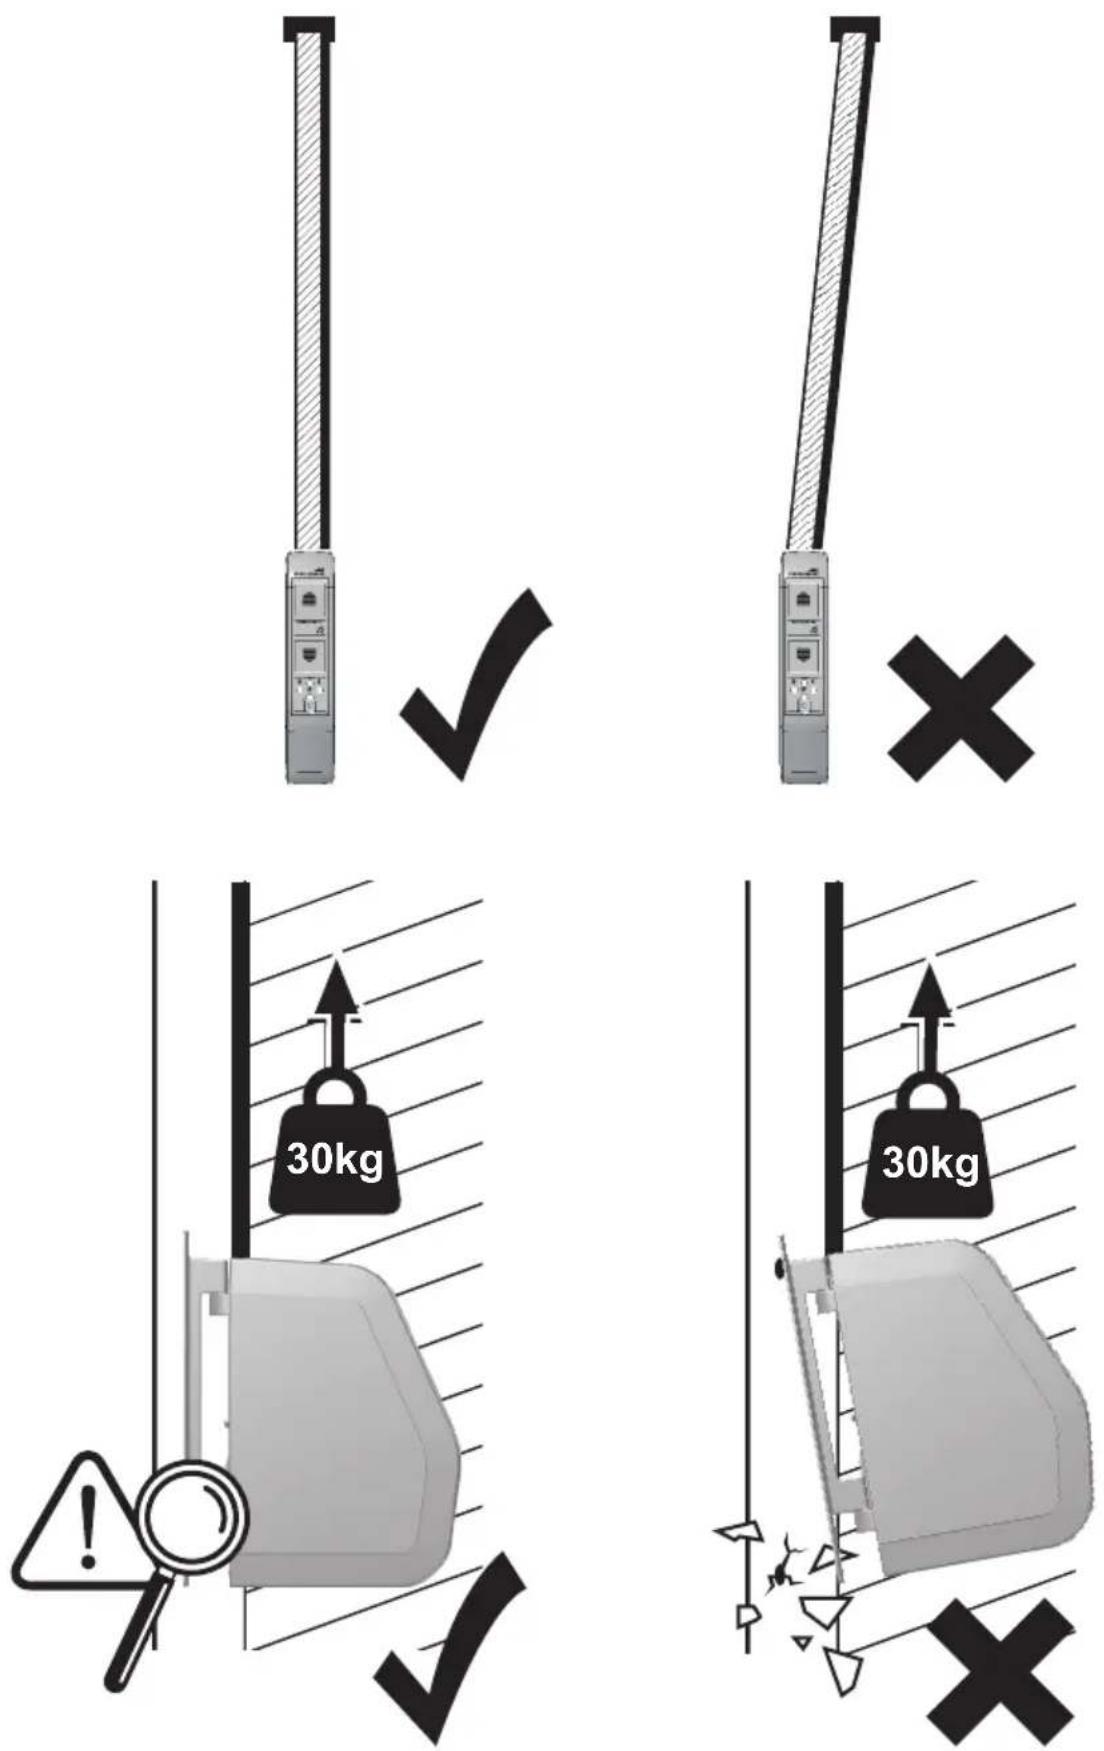
- Improper running of the belt (belt guiding) may destroy the shutter belt and cause unnecessary strain on the product. Install the product such that the belt enters the shutter belt drive as vertically as possible. This will avoid unnecessary friction and wear.
- Using too long belt straps can damage the product. Only use belt straps in the permitted lengths.
NON-INTENDED USE
- The use of the product for applications other than those mentioned above is not permitted.
- When using the product outdoors, there is a risk of a short circuit and electric shock.
- Never mount or operate the product outdoors.
- Mechanical interlocks of any kind are not suitable for an automated operation with the product.
| TECHNICAL DATA | |
| Power supply unit operating voltage | 230 V / 50 Hz |
| Rated power 70 Watt | |
| Standby power ca. 0,7 Watt | |
| Torque 8 Nm | |
| Short-time operation 4 minutes | |
| speed 36 U/min | |
| Enclosure rating IP 20 (for dry rooms only) | |
| Protection class II | |
| Number of switching times max. 2 (up and down) | |
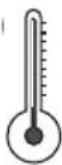
| Permissible ambient temperature 0-40 °C | |
| Dimensions see page 44 | |
| Permissible belt widths 15 mm (Miniature belt strap) | |
| Belt length 5 m bei 1,0 mm belt thickness | |
| Max. shutter surface area 5,0 m | ^2 plastic2,5 m^2 aluminium/wood |
| Max. roller shutter weight 4,5 kg/m | ^2 plastic10 kg/m^2 aluminium/wood |
| Power cord | 2x0,75qmm H03VVH2-F |
| Number operating buttons | 5 |
| Number of LEDs | 1 |
| Sound pressure level | LpA ≤ 70 dB (A) |
| Frequency | 868,4 MHz Schellenberg |

The specifications provided are recommended values and apply to ideal installation situations. Due to existing site conditions, the values may be different.
Notes
After a power failure, the settings will be permanently retained. As soon as the supply of power returns, the opening and closing times will be processed again. Setting the new opening and closing times.
Only use the product with roller shutter belts with the dimensions indicated in the „Technical data“ table. Wrong shutter belt lengths and widths will result in damage. Replace the old shutter belt when the requirements are not met.
Caution: regularly check the paneling as well as the belt for their flawless condition. In case of risk, decommission the system and have repairs executed by a specialist.
Note: since the belt pulley in the roller shutter box loses its rigidity due to aging, we recommend checking and if necessary replacing it after a prolonged usage time.
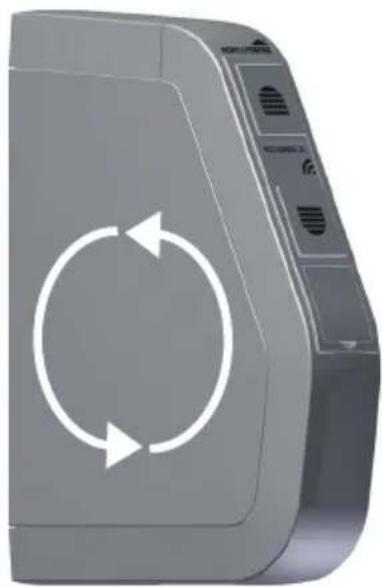
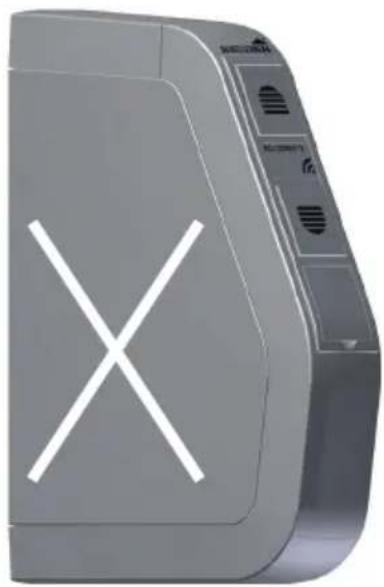
If the maximum motor run time is exceeded by 4 minutes the motor will stop. After approx. 60 minutes, the motor will have its full operational readiness again.
The LED of the unit will switch to standby after 5 minutes, and will only be activated again after pressing the buttons.
PRODUCT EXPLANATION
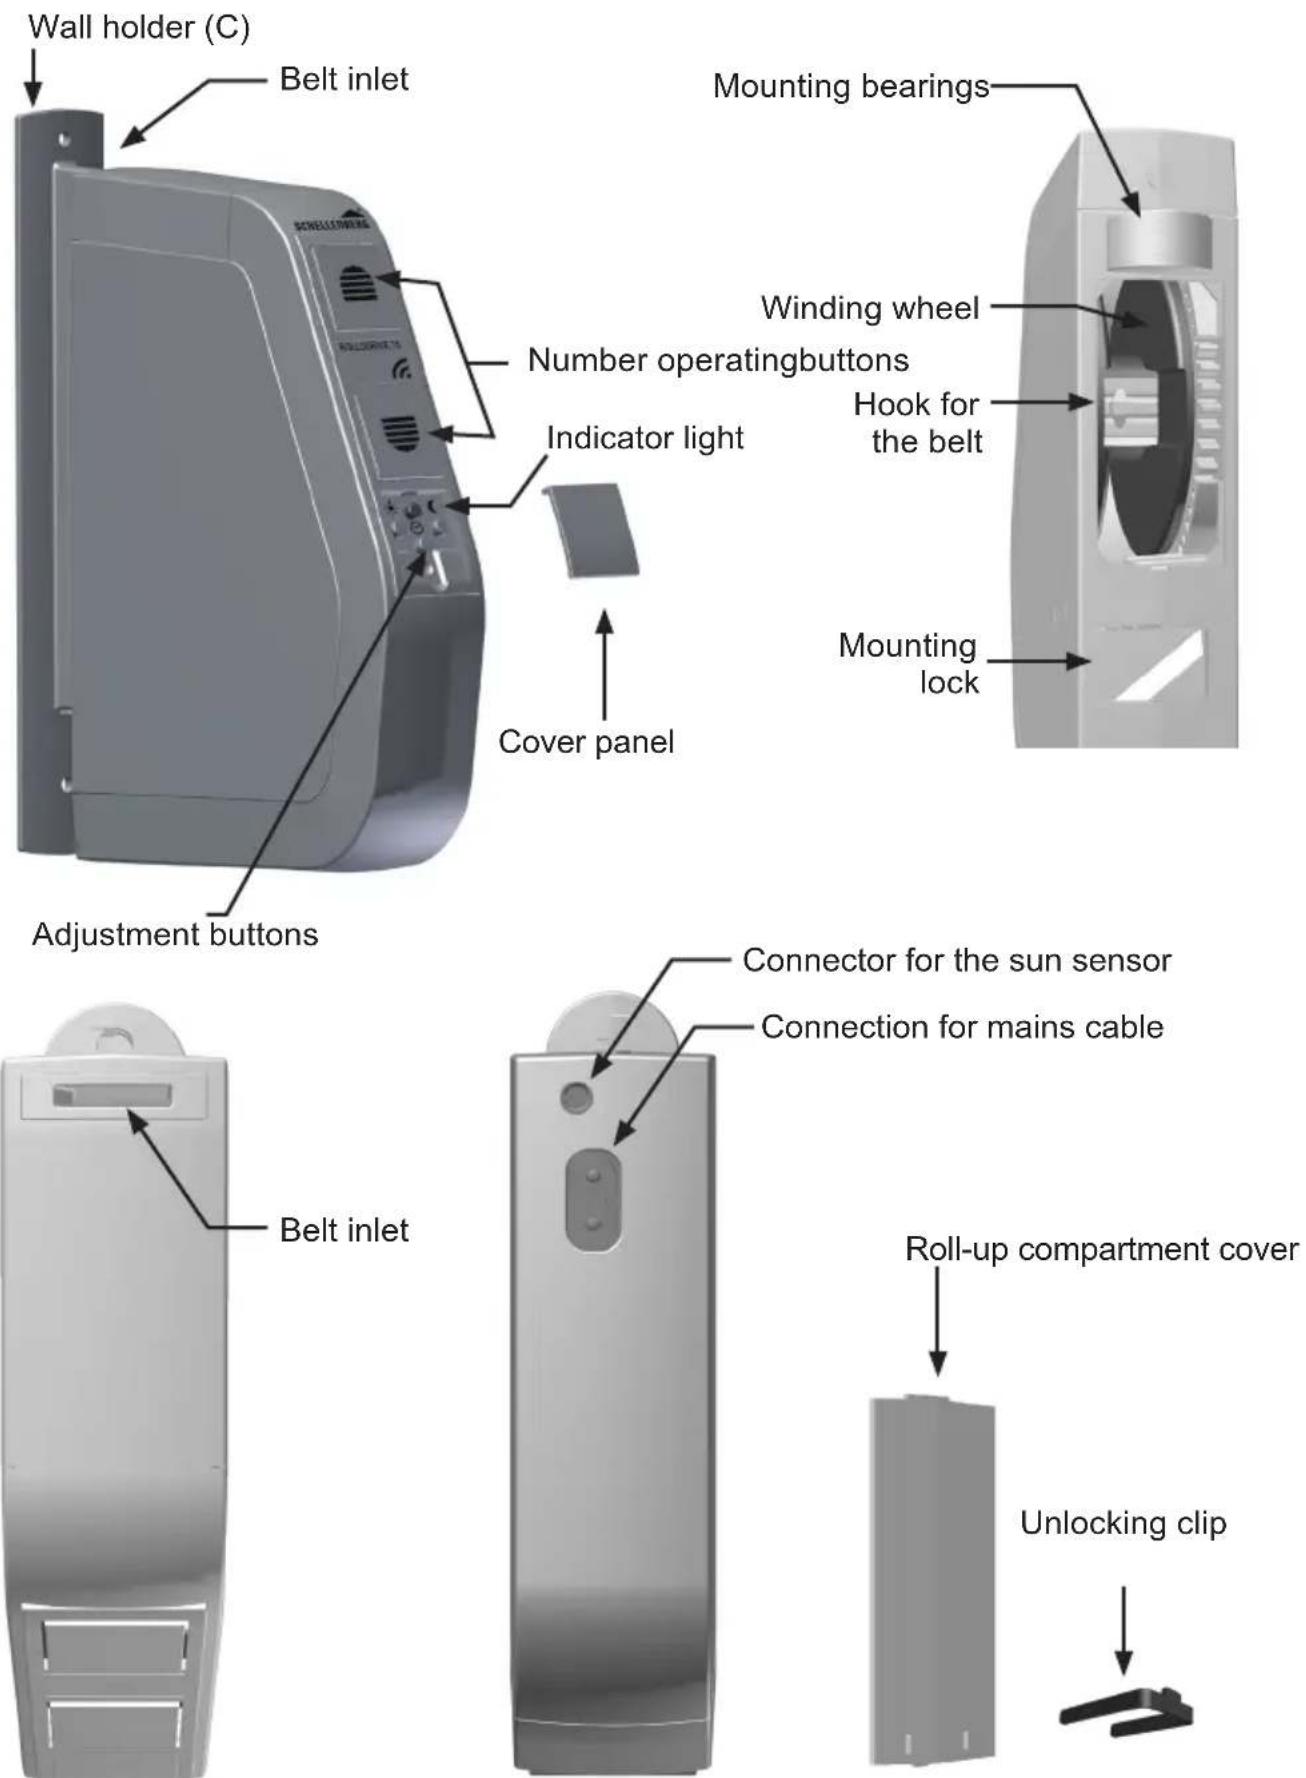
FUNCTIONAL DESCRIPTION G
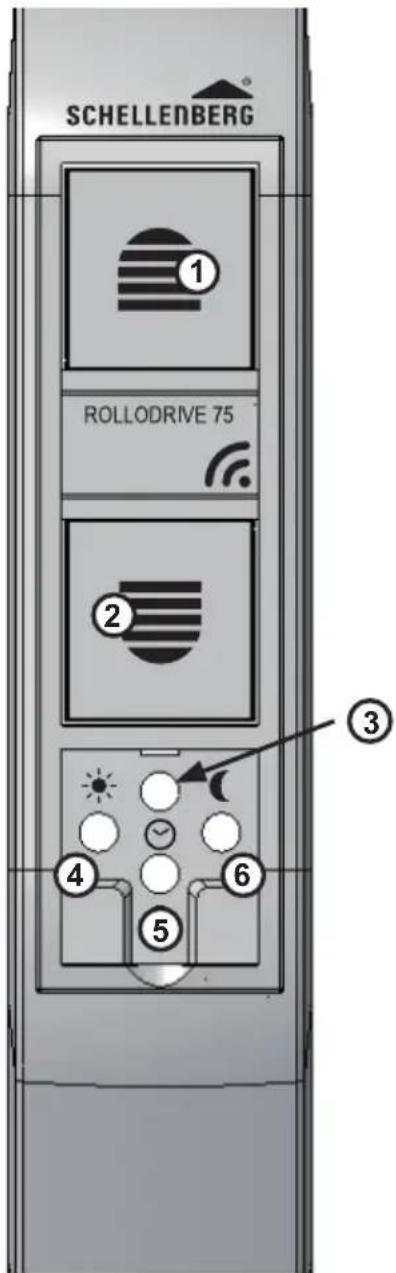
text_image
SCHELLENBERG 1 ROLLODRIVE 75 2 3 4 5 6| 1 | Open buttonRoller shutter moves up or stops. | |
| 2 | Close buttonThe roller shutter moves downwards or stops. Sets values in the menu. | |
| 3 | LED indicator light / status indicator | |
| 4 | Sun buttonSwitches the sun function on / off. | |
| 5 | Clock button- Setting of the two switching times.- Turning the time control on / off. | |
| 6 | Twilight buttonSwitches the twilight function on or off. |



LED flashes briefly:
Confirmation by pressing the buttons Sun, Clock or Twilight.
LED is constantly illuminated:
Status display for the respective function (10 seconds).
LED blinks:
■ After a power failure.
- If the runtime is exceeded by 4 minutes.
- In case of a reset.
- For settings.
Functional features & control options:
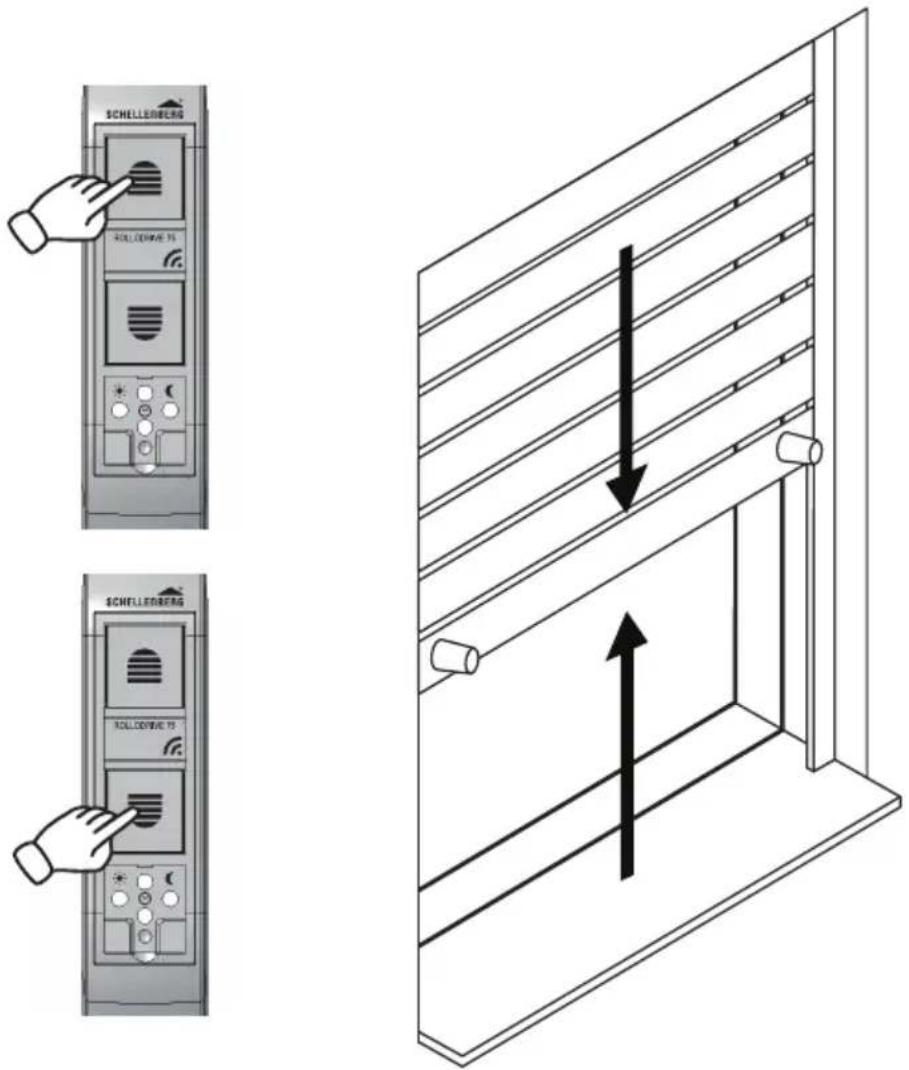
■ Manual operation.
- Automatic operation (respectively one switching time for upward and downward movement).
- Switch automatic operation on / off switching.
■ Switching between summer / winter
time.
■ End-position adjustment.
- Permanent storage of the settings.
- Obstacle detection.
- Overload protection.
- Reset to the factory settings (reset).
LED is switched off after 5 minutes. Press any key briefly to perform a check. LED will light again for 5 minutes.
TABLE DES MATIÈRES
Chers clients, chères clientes,
DÉCLARATION DE CONFORMITÉ UE
Directive Machines 2006/42/CE
RoHS Directive 2011/65/EU
Directive CEM 2014/42/UE
RoHS Directive 2011/65/EU
RoHS Directive 2011/65/EU
natural_image
Simple diagram showing a sun with radiating lines and a separate circle below (no text or symbols)
natural_image
Pure diagram of a vertical rod and horizontal lines with an arrow indicating downward direction, no text or symbols present.2.
text_image
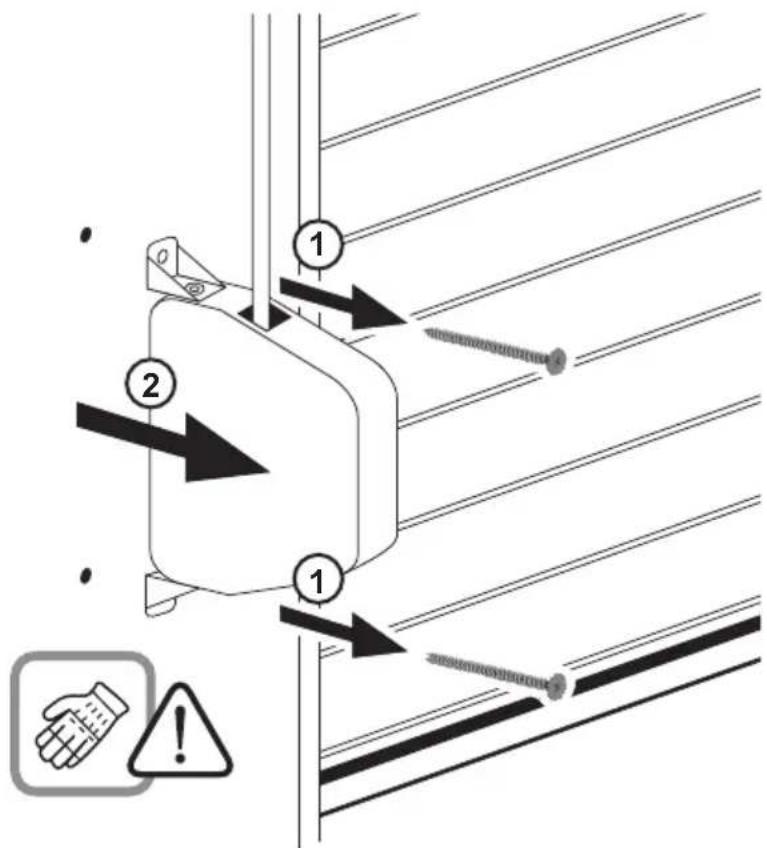
Diagram illustrating safety instructions for installing a wall-mounted cable, with numbered arrows and warning symbol.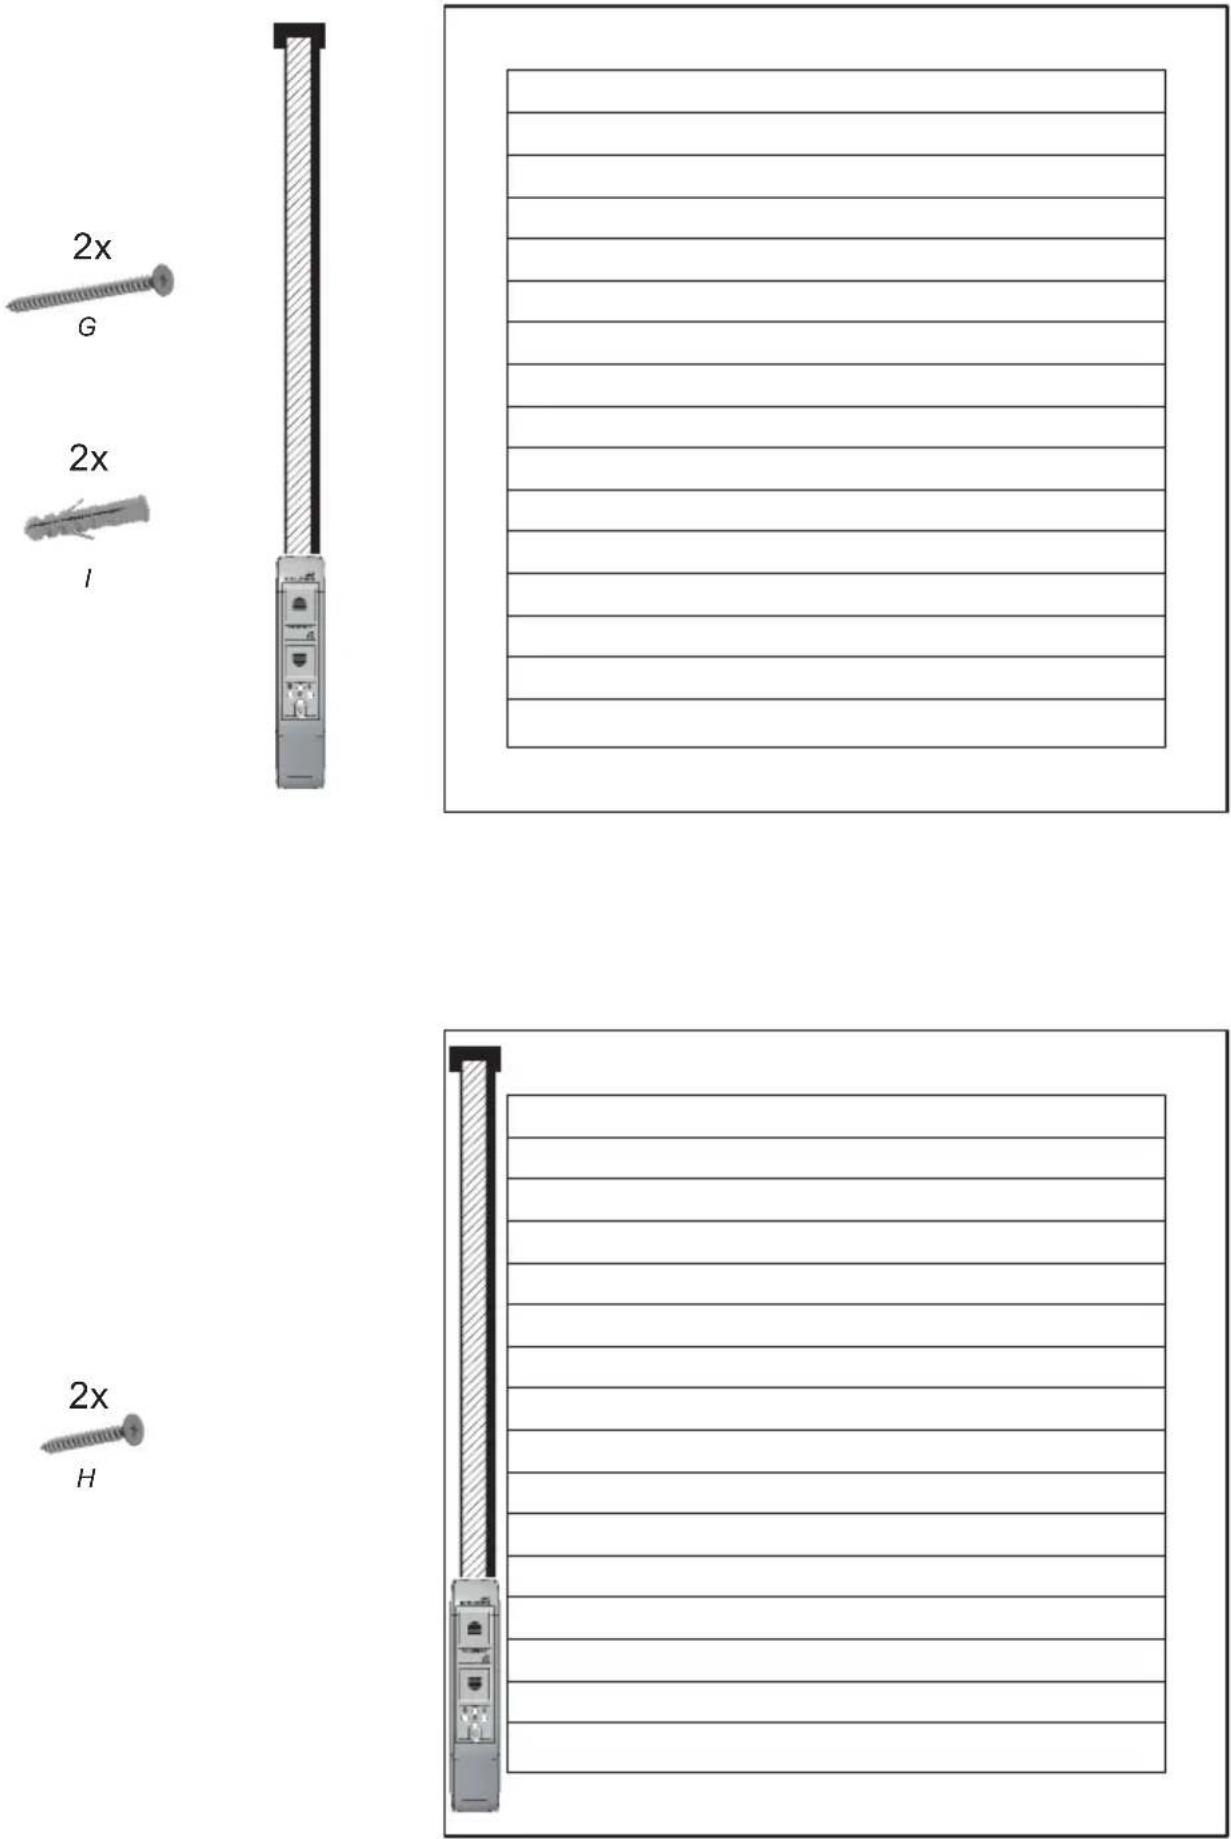
SCHELLENBERG

text_image
200 mm ① ②
text_image
20 mm ①
text_image
5 mm ②
natural_image
Line drawing of scissors with an upward arrow indicating growth (no text or symbols)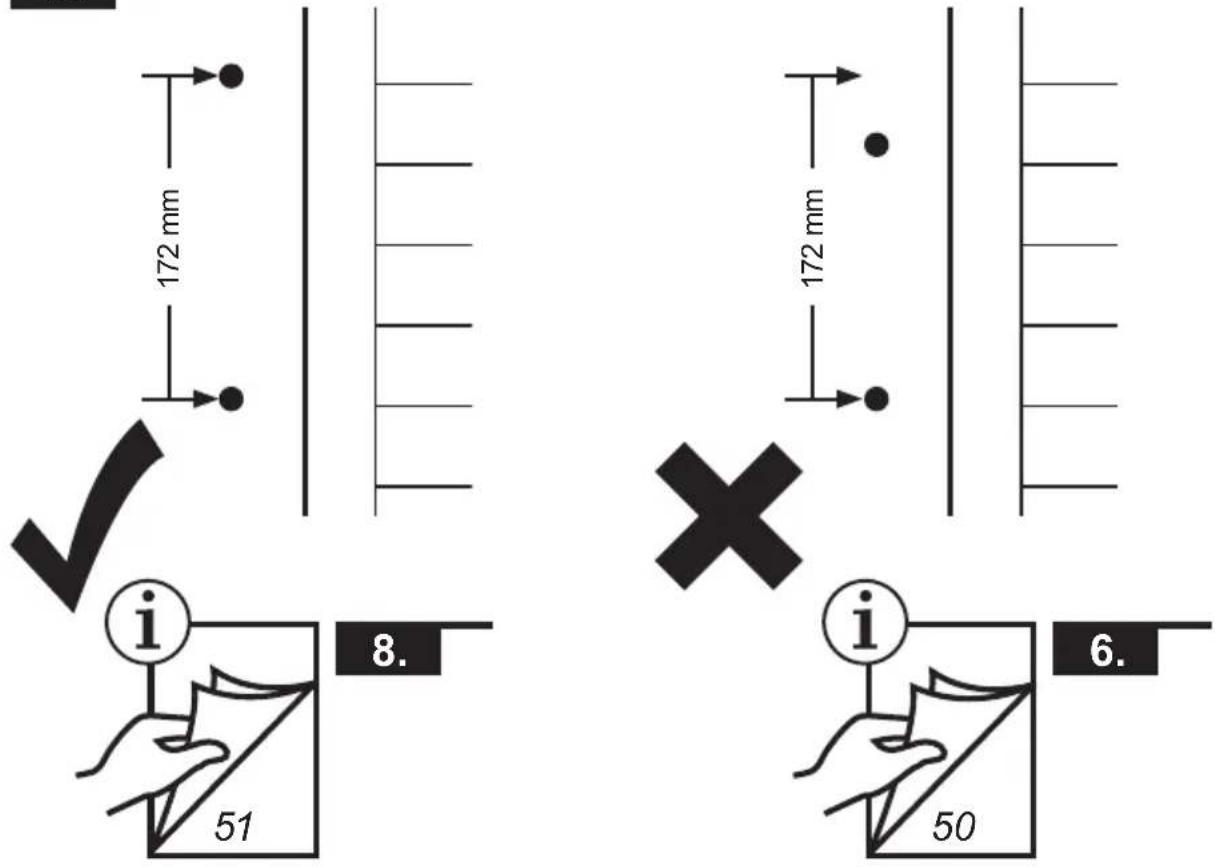
text_image
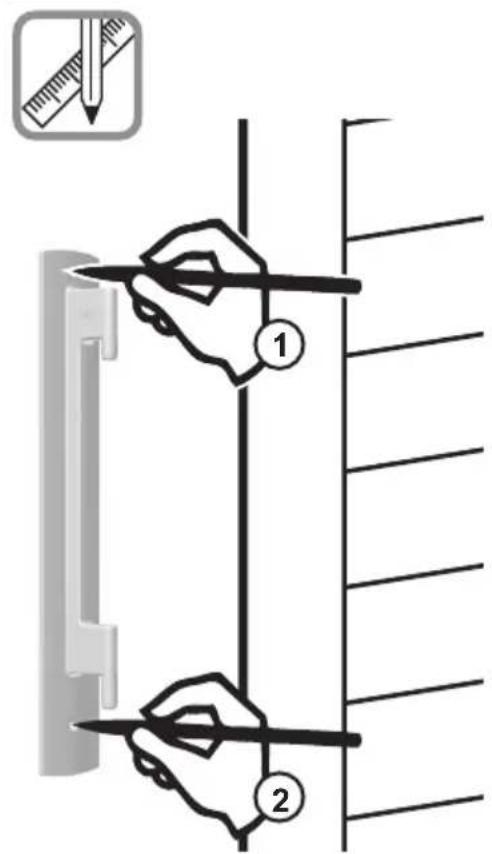
Diagram showing two hand-drawn tools (labeled 1 and 2) measuring a vertical line with pencil, alongside an icon of a pencil drawing on a ruler.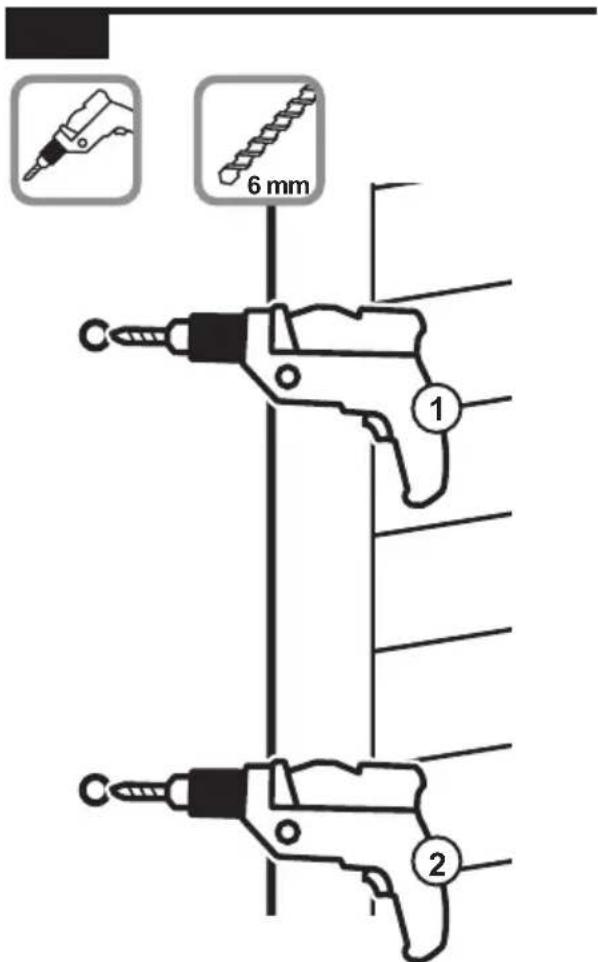
text_image
6 mm 1 2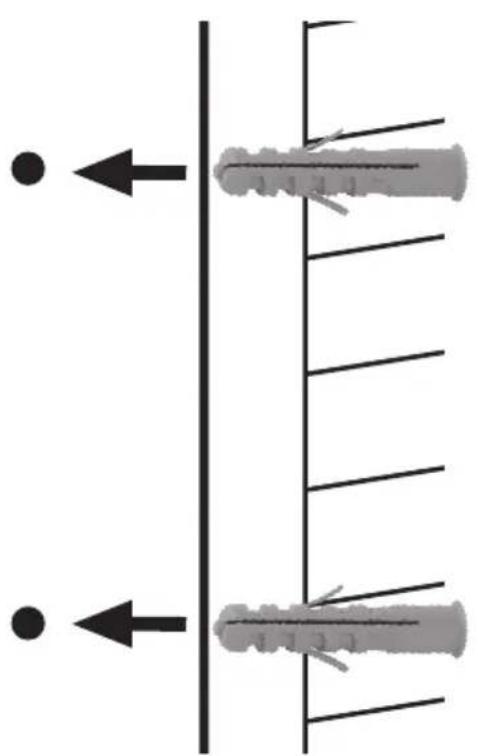
natural_image
Diagram showing two vertical structures with arrows pointing left, no text or symbols present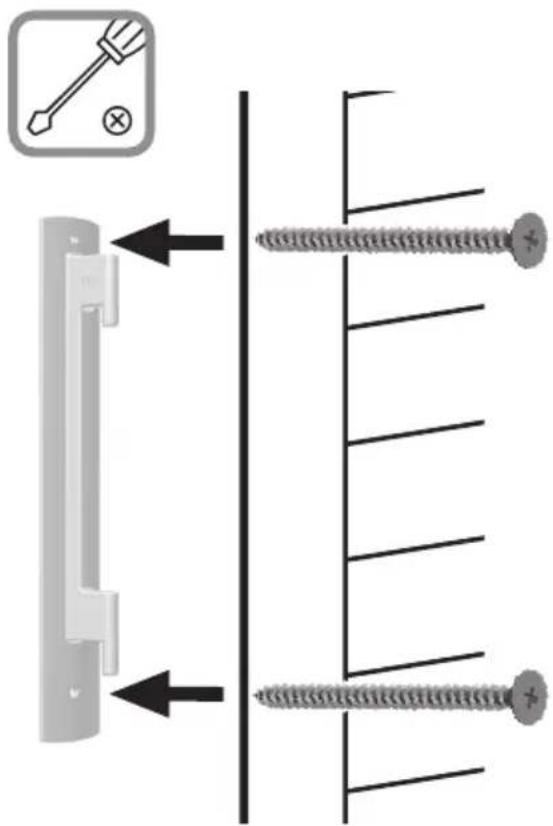
text_image
Diagram showing a screw fastener mounted on a wall with a close-up of its left side, alongside a close-up of the screw and its mounting bracket.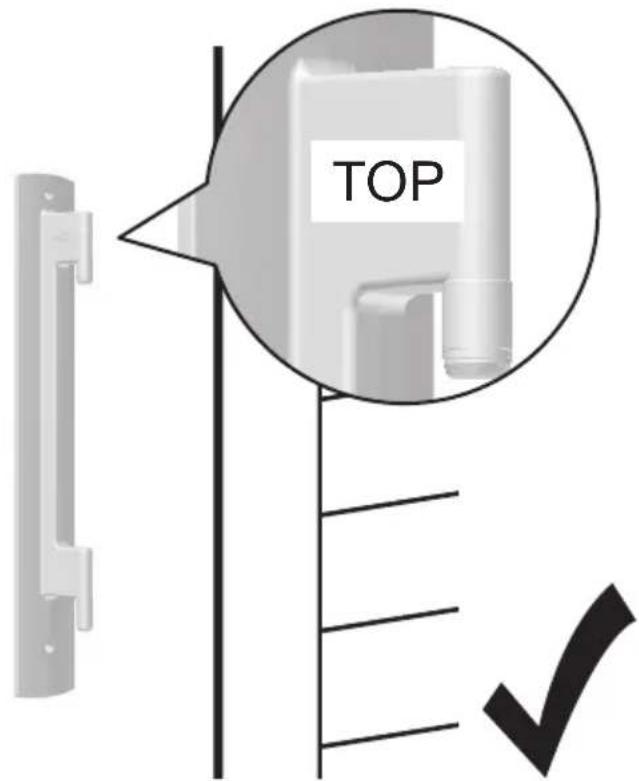
text_image
TOPSCHELLENBERG
natural_image
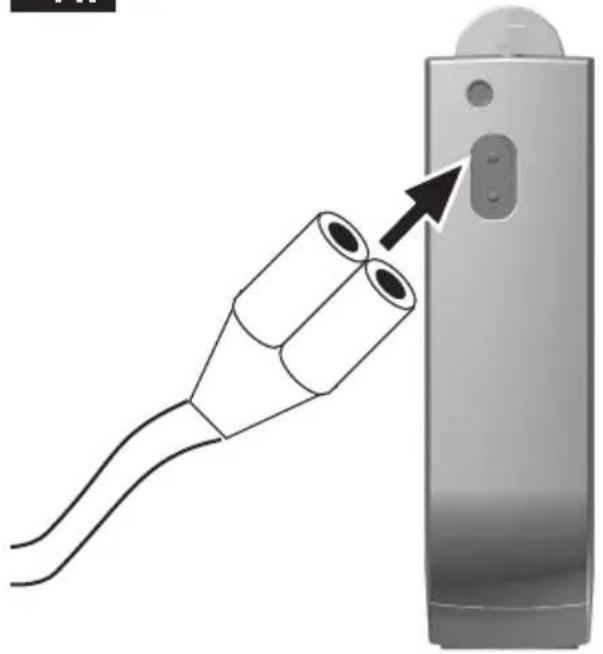
Diagram showing a cable being inserted into a device with a black arrow pointing to the connector (no text or symbols present)
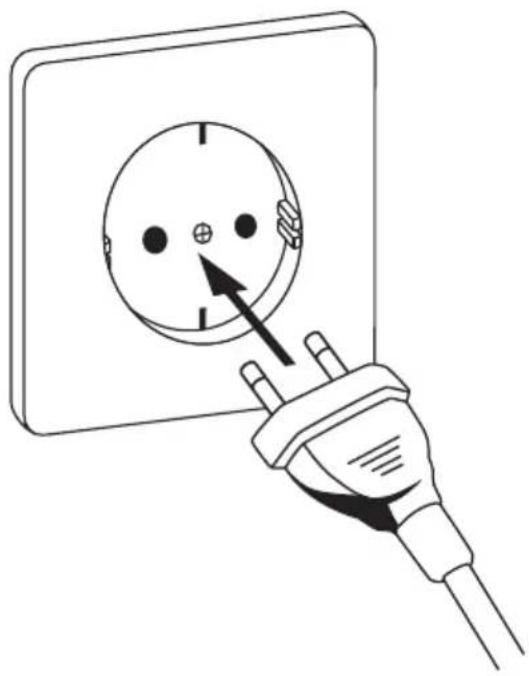
natural_image
Line drawing of a hand inserting a plug into an electrical outlet (no text or symbols)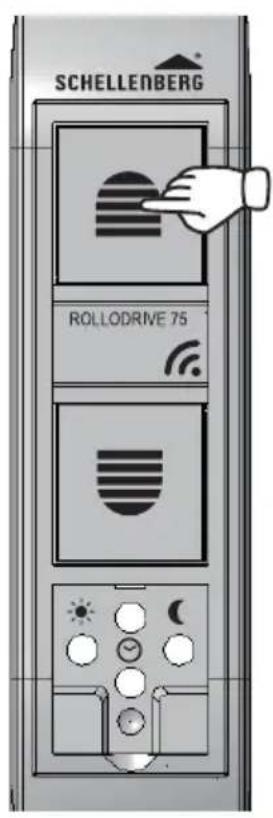
text_image
SCHELLENBERG ROLLODRIVE 75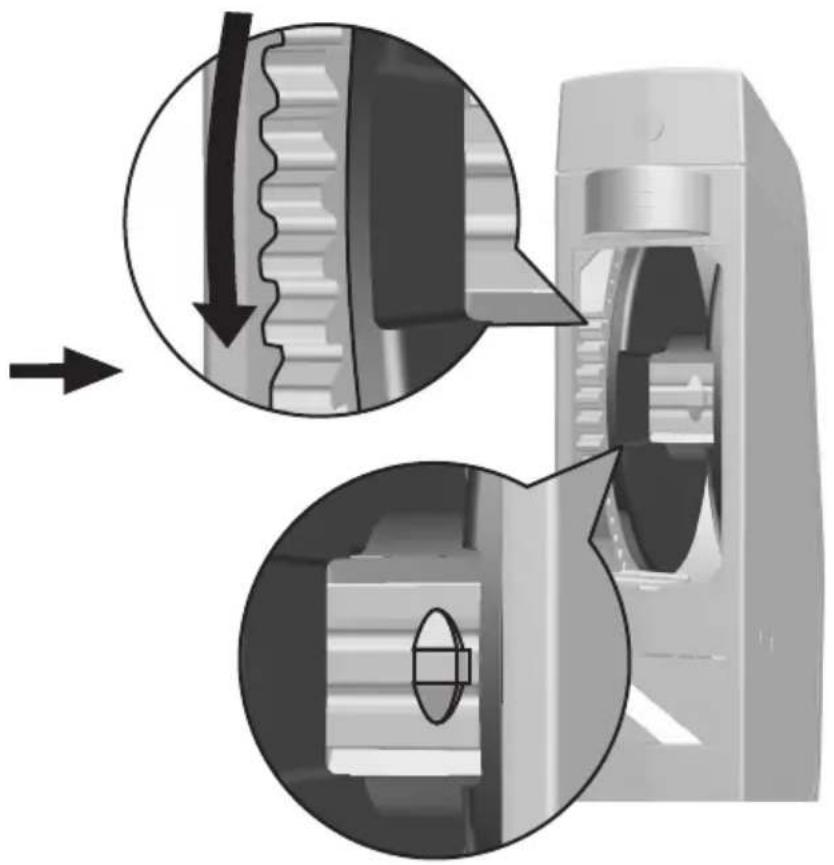
natural_image
Mechanical assembly diagram showing gear and shaft components with magnified views (no text or symbols)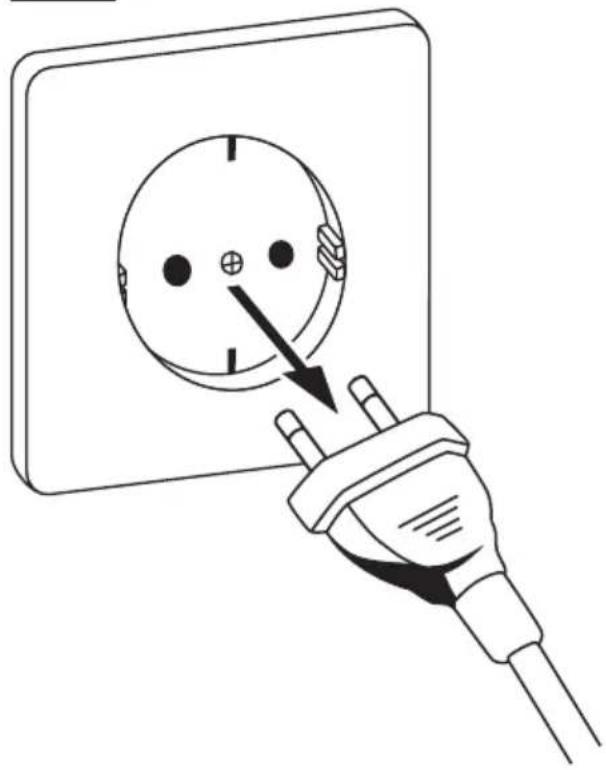
natural_image
Line drawing of a plug inserted into an electrical socket (no text or symbols)
natural_image
Diagram showing a hand holding a vertical panel above a 3D object, with an inset close-up of the component being cut (no text or symbols present)
natural_image
Cross-sectional diagram of a mechanical device showing internal components and directional arrows (no text or symbols)SCHELLENBERG
natural_image
Cross-sectional diagram of a mechanical device showing internal components and a curved arrow indicating rotation (no text or symbols)
natural_image
Line drawing of a plug inserted into an electrical socket (no text or symbols)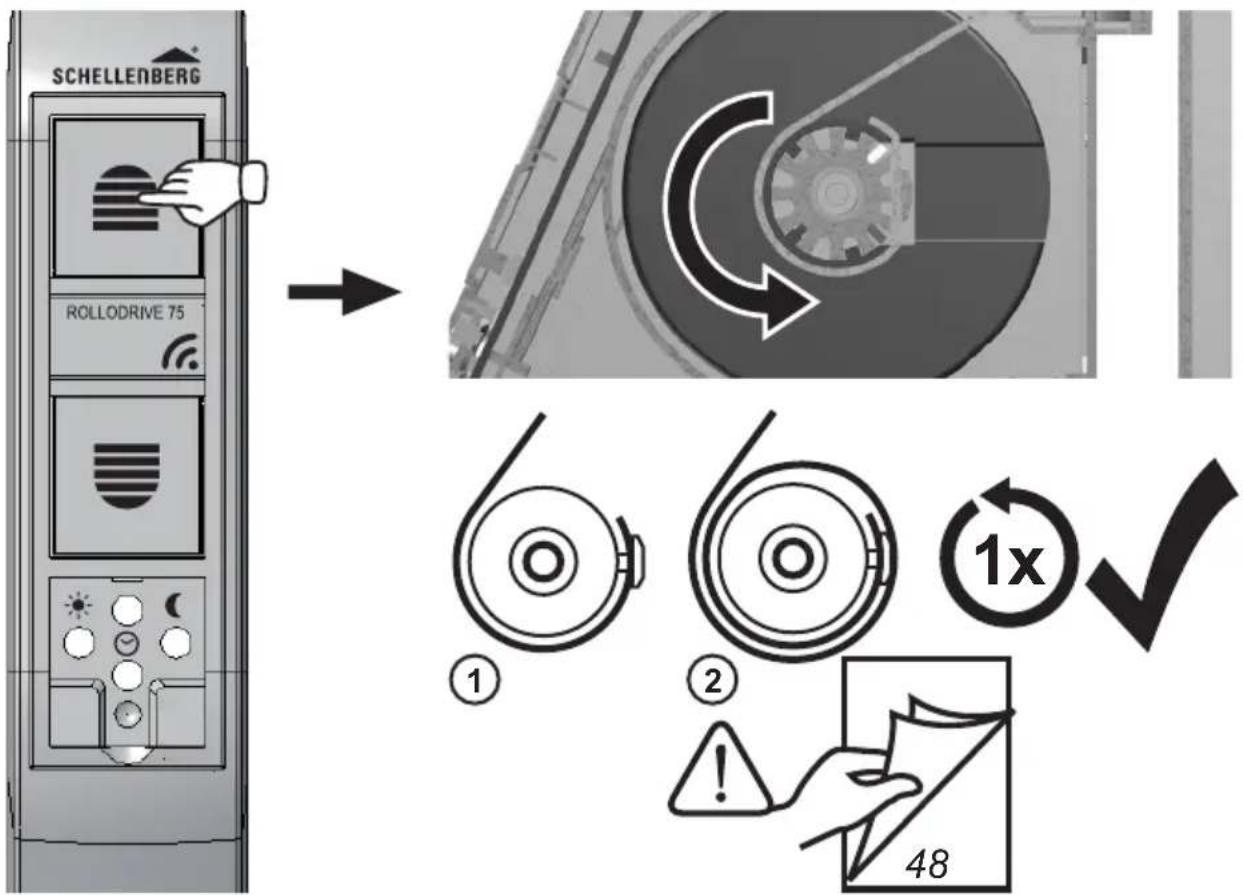
text_image
SCHELLENBERG ROLLODRIVE 75 ① ② 48 1x20.
natural_image
Line drawing of a plug inserted into a wall socket, showing electrical wiring and a circular socket (no text or symbols)21.
text_image
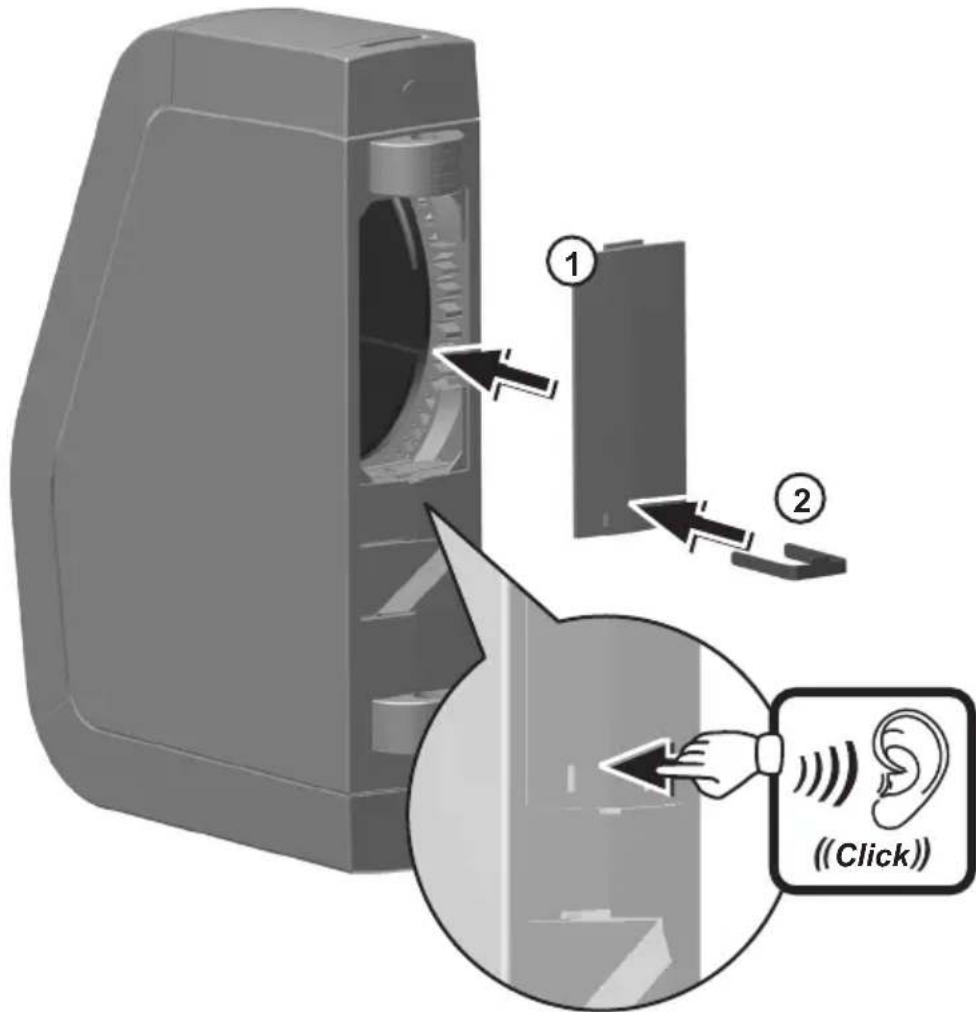
(Click)SCHELLENBERG
text_image
Technical diagram showing a mechanical component with labeled parts and an earbell icon indicating 'Click' operation.23.
natural_image
Technical drawing of a mechanical component or bracket (no text or symbols visible)
text_image
Diagram showing a hand holding an electrical outlet with a checkmark indicating disassembly or status.B
25.
natural_image
Line drawing of a window with slats and a handle, no text or symbols present
text_image
SCHELLENBERG ROLLODRIVE 75 2sec26.

text_image
SCHELLENBERG ROLLODRIVE 75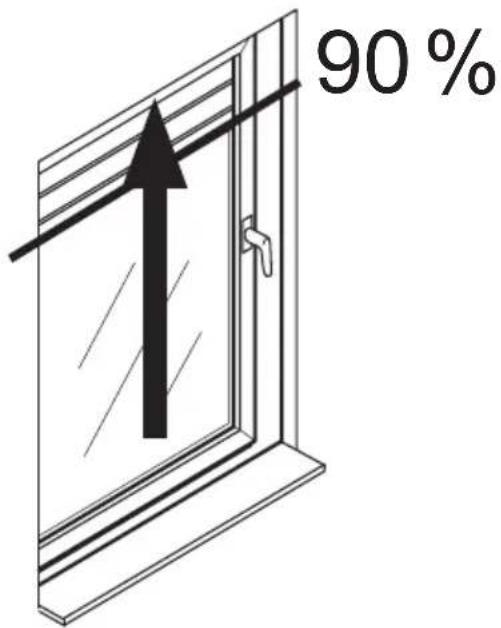
text_image
90%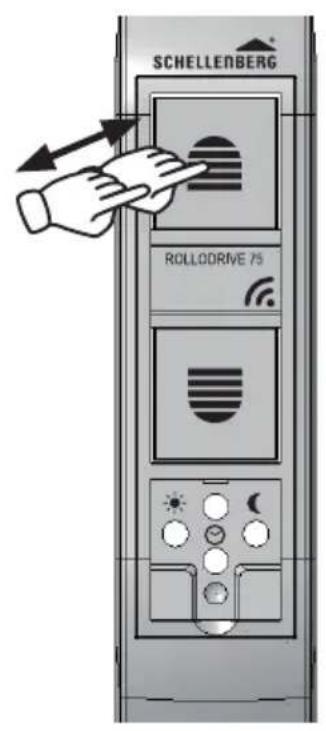
text_image
SCHELLENBERG ROLLORIVE 75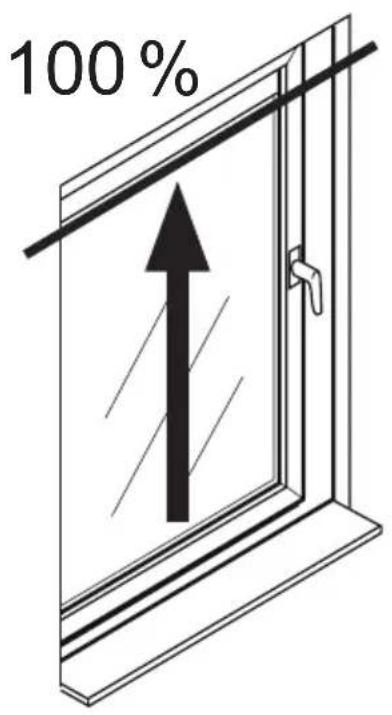
text_image
100%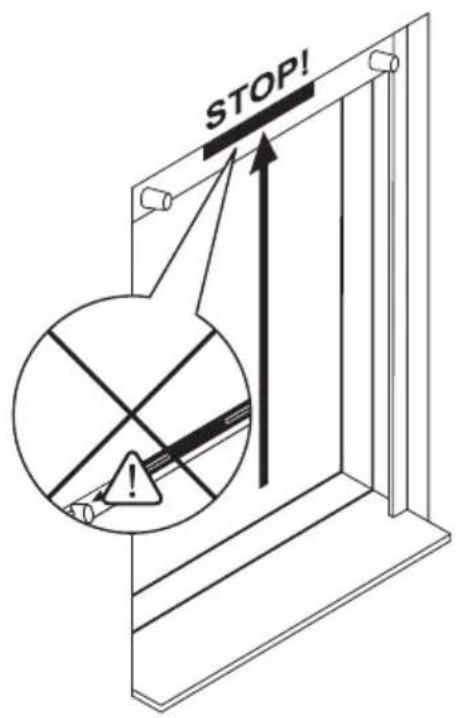
text_image
STOP!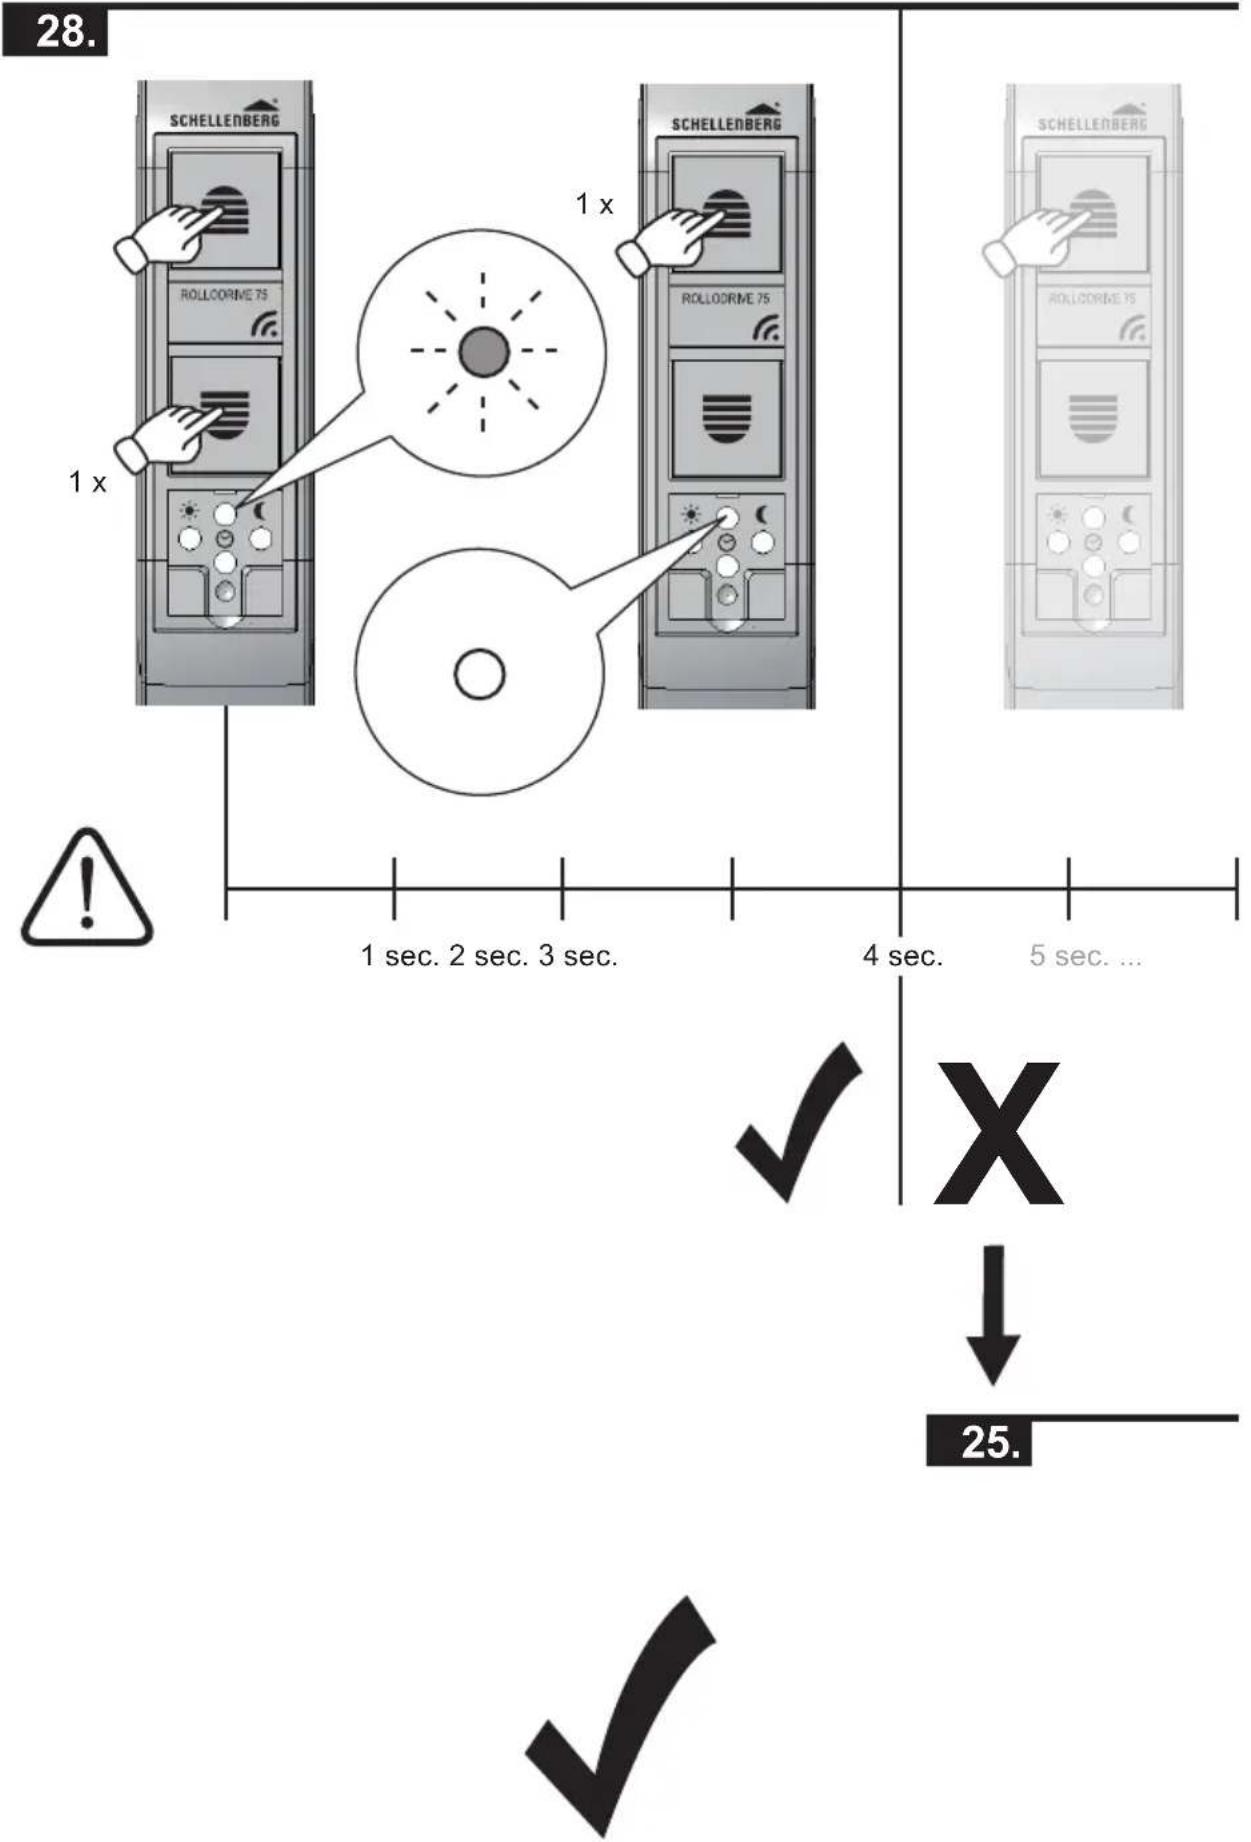
text_image
28. SCHELLENBERG 1 x ROLLORME 75 1 x SCHELLENBERG ROLLORME 75 1 sec. 2 sec. 3 sec. 4 sec. 5 sec... ✓ X ↓ 25.C
29.
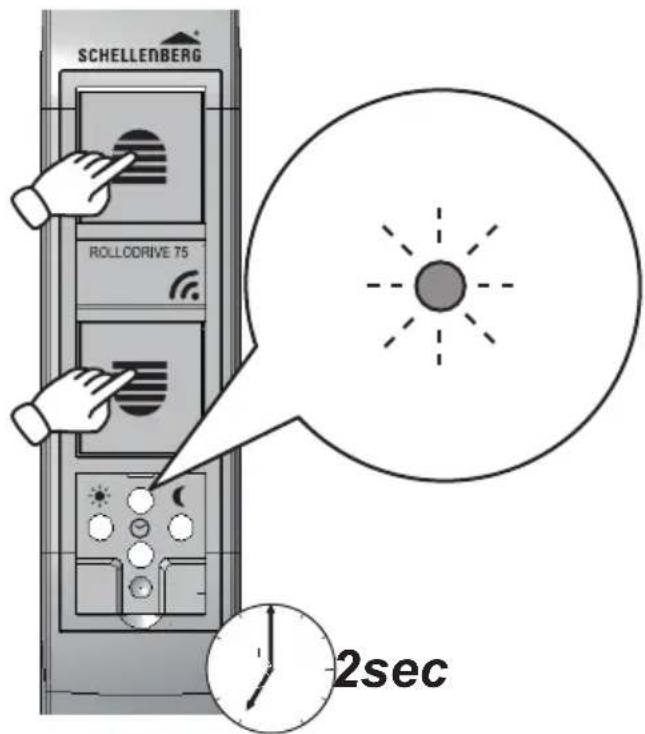
text_image
SCHELLENBERG ROLLDRIVE 75 2sec30.
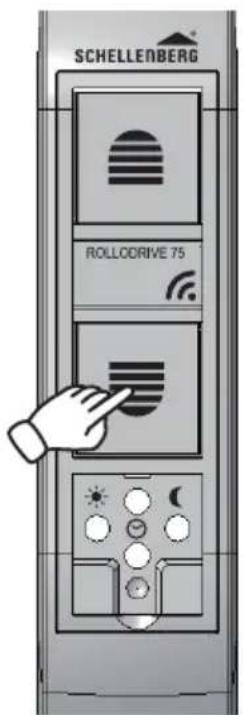
text_image
SCHELLENBERG ROLLORIVE 75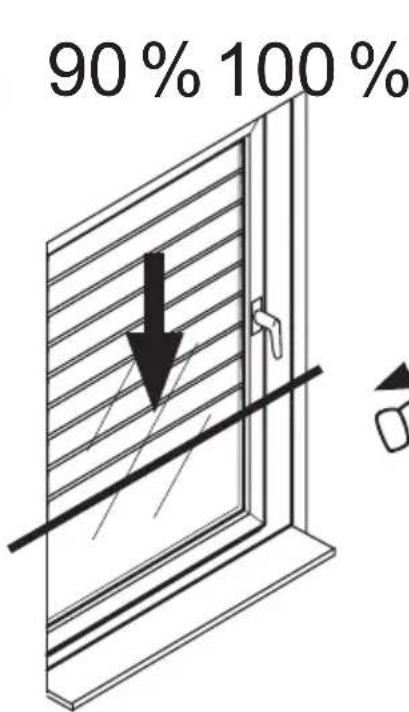
text_image
90% 100%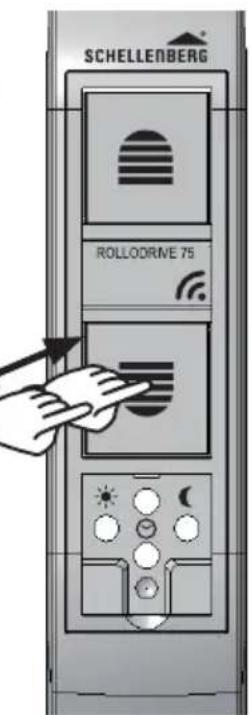
text_image
SCHELLENBERG ROLLODRIVE 75
natural_image
Diagram of a window with diagonal blinds and a downward arrow indicating compression or damage (no text or symbols)
text_image
32. SCHELLENBERG ROLLODRIVE 75 1 x 1 x SCHELLENBERG ROLLODRIVE 75 1 sec. 2 sec. 3 sec. 4 sec. 5 sec... ✓ X ↓ 29.D
33.
text_image
SCHELLERBERG KOLLDERWE 75 SCHELLERBERG KOLLDERWE 75 SCHELLERBERG KOLLDERWE 75 SCHELLERBERG KOLLDERWE 75 SCHELLERBERG KOLLDERWE 75 SCHELLERBERG KOLLDERWE 75 SCHELLERBERG KOLLDERWE 75 SCHELLERBERG KOLLORWHE 75 SCHELLERBERG KOLLORWHE 75 SCHELLERBERG KOLLORWHE 75 SCHELLERBERG KOLLORWHE 75 SCHELLERBERG KOLLORWHE 75 SCHELLERBERG KOLLORWHE 75 SCHELLERBERG KOLLORWHE 7534.
text_image
i 57 25. 32.
natural_image
Black checkmark symbol on white background (no text or additional symbols)E
35.
text_image
SCHELLENBERG ROLLDRIVE 75
natural_image
Isometric line drawing of a window frame with horizontal slats and a vertical arrow indicating direction (no text or symbols)
B

text_image
i 5736.
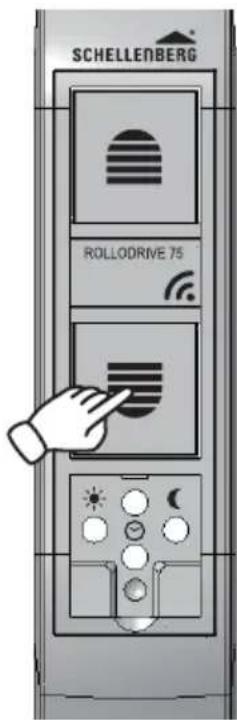
text_image
SCHELLENBERG ROLLODRIVE 75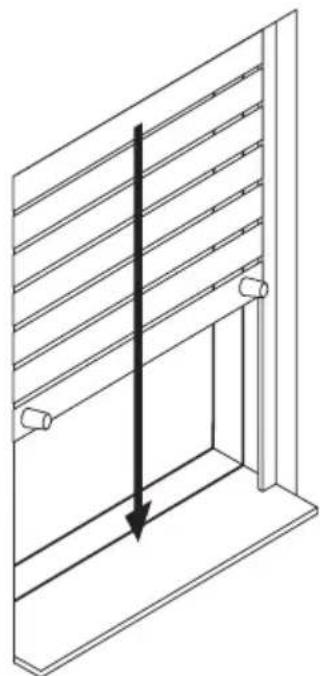
natural_image
Isometric line drawing of a window frame with horizontal slats and a vertical arrow indicating direction (no text or symbols)
B

text_image
i 57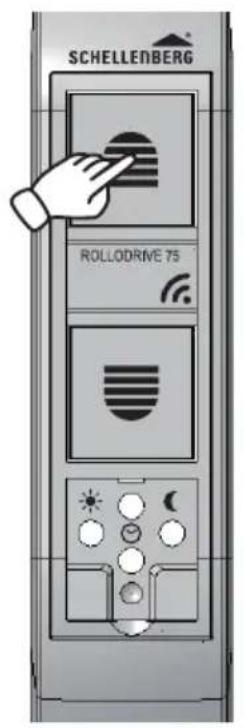
text_image
SCHELLENBERG ROLLDRIVE 75
text_image
SCHELLENBERG ROLLDRIVE 75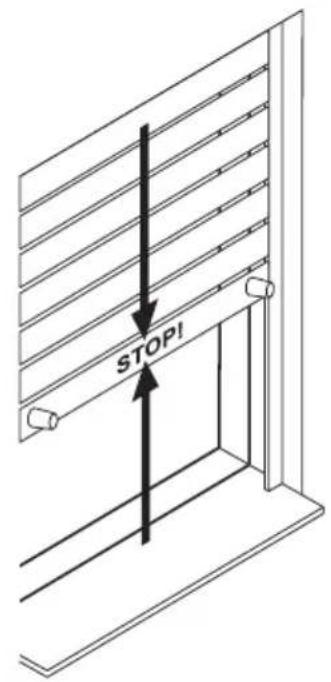
text_image
STOP!
natural_image
Black checkmark symbol on white background (no text or additional symbols)F

text_image
SCHELLENBERG ROLLDRIVE 75 B i 57
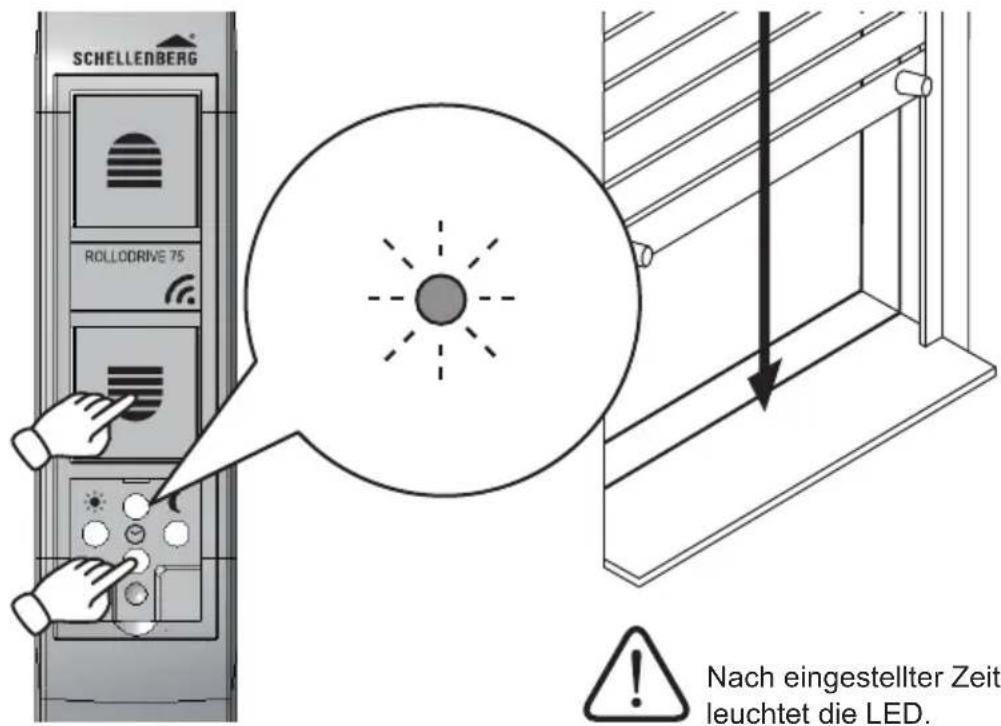
If the shutter hits an obstacle when closing, the ROLLODRIVE will switch off. Open the roller shutter upwards and remove the obstacle.
FR
natural_image
Black checkmark symbol on white background (no text or additional symbols)1
43.
text_image
SCHELLENBERG ROLLODRIVE 75DE
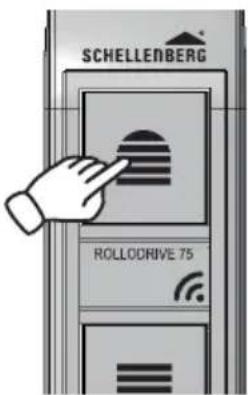
If the roller shutter gets stuck while opening (e.g. due to icing), the ROLLODRIVE will be switched off. Remove the cause of the overload.
FR
natural_image
Simple black checkmark symbol on white background (no text or additional symbols)J
44.
text_image
SCHELLENBERG 6sec ROLLDRIVE 75
natural_image
Black checkmark symbol on white background (no text or additional symbols)K
45.
text_image
SCHELLENBERG ROLLDRIVE 75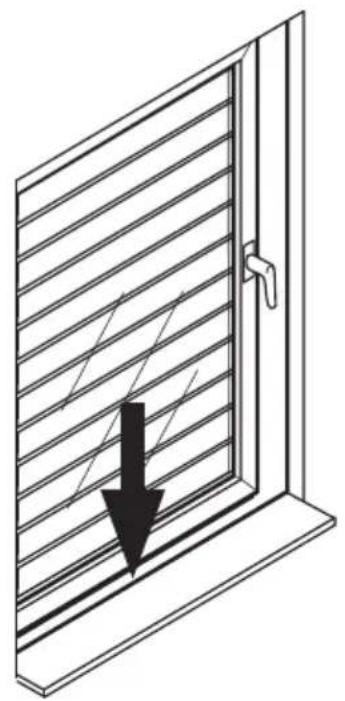
natural_image
Diagram of a window with diagonal blinds and a black arrow pointing to the edge (no text or symbols)46.
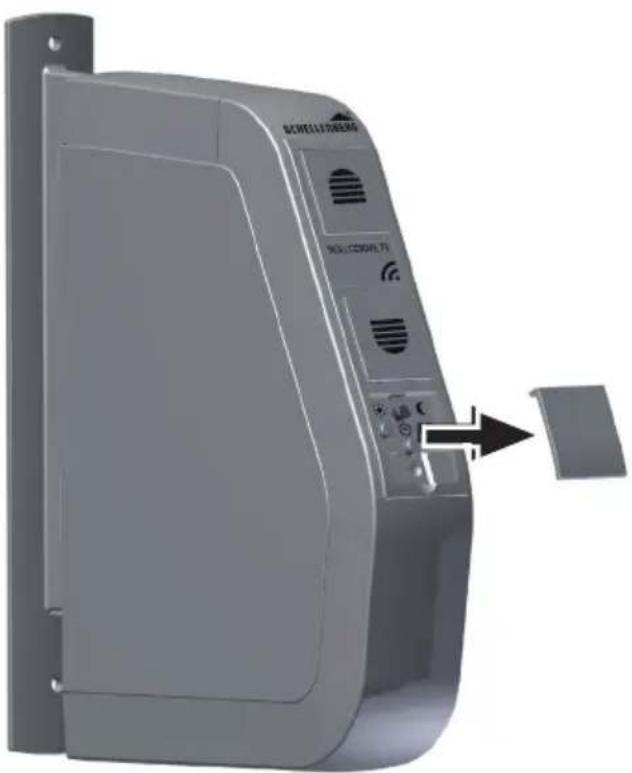
natural_image
3D rendering of a device with a door panel and control panel, showing no visible text or symbols.
text_image
J i 70 44.48.
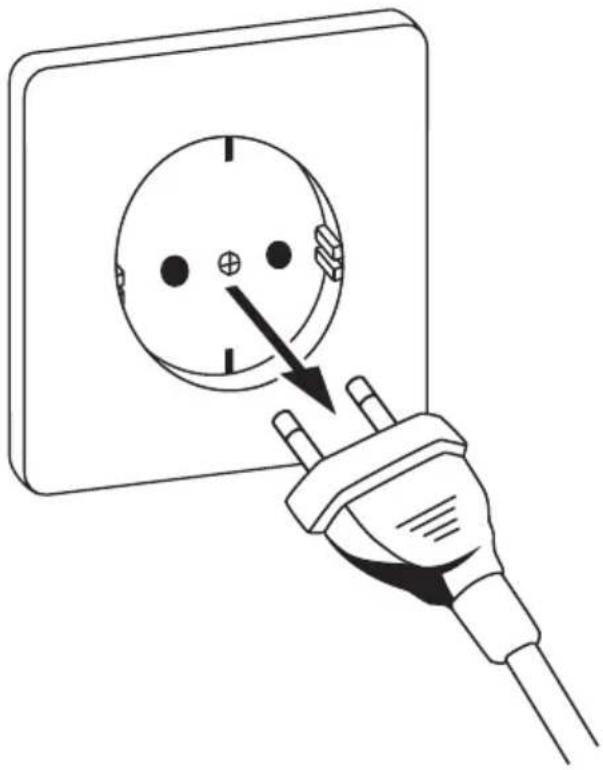
natural_image
Line drawing of a plug inserted into an electrical socket (no text or symbols)49.
text_image
49.
text_image
Technical diagram showing a mechanical assembly with labeled components and an inset view of a component detail.51.
natural_image
3D model of a mechanical device with a close-up view showing internal components and a separate housing (no text or symbols visible)SCHELLENBERG
natural_image
Cross-sectional diagram of a mechanical component with hatched fill and checkmark (no text or symbols)
natural_image
Cross-sectional view of a mechanical component with hatched area and black cross mark (no text or symbols)
text_image
i 7657.
flowchart
graph TD
    A["54."] --> B["56."]
natural_image
Line drawing of a hand inserting a plug into an electrical socket (no text or symbols)- 2

text_image
SCHELLENBERG ROLLDRIVE 75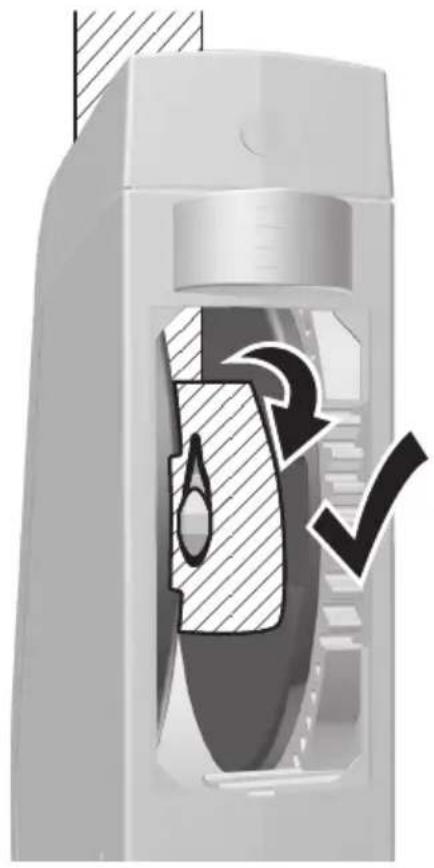
natural_image
Cross-sectional diagram of a mechanical device showing internal components and directional arrows (no text or symbols)
natural_image
Line drawing of a plug inserted into an electrical socket (no text or symbols)SCHELLENBERG
natural_image
Cross-sectional diagram of a mechanical device showing internal components and a highlighted section (no text or symbols)
natural_image
Diagram showing a hand pressing down on a vertical object with an upward arrow, no text or symbols present- 2
natural_image
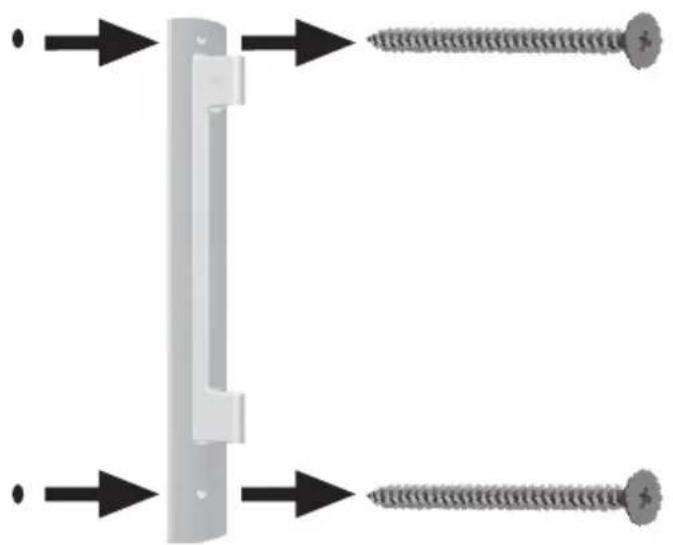
Diagram showing two screws aligned with a vertical bracket, each with directional arrows indicating movement (no text or symbols)
natural_image
Black checkmark symbol on white background (no text or additional symbols)L
60.
natural_image
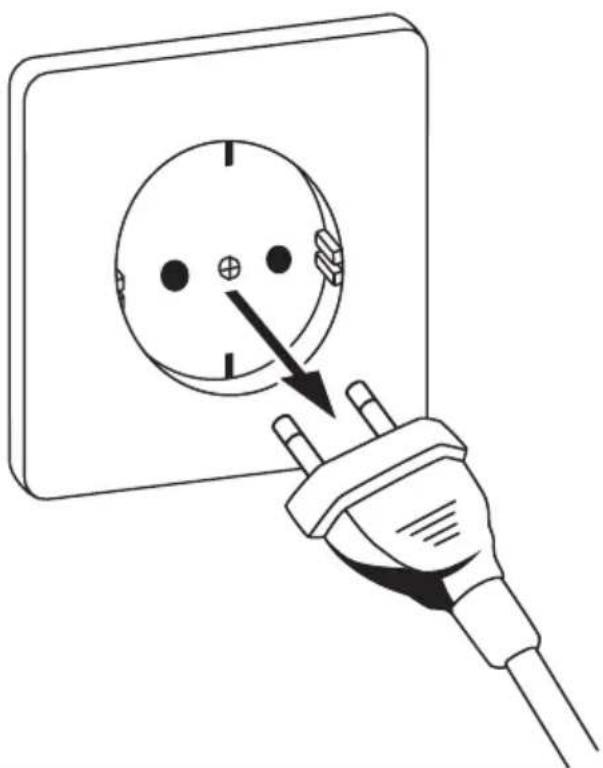
Line drawing of a plug inserted into a wall socket, showing electrical wiring and a pointer (no text or symbols)61.
natural_image
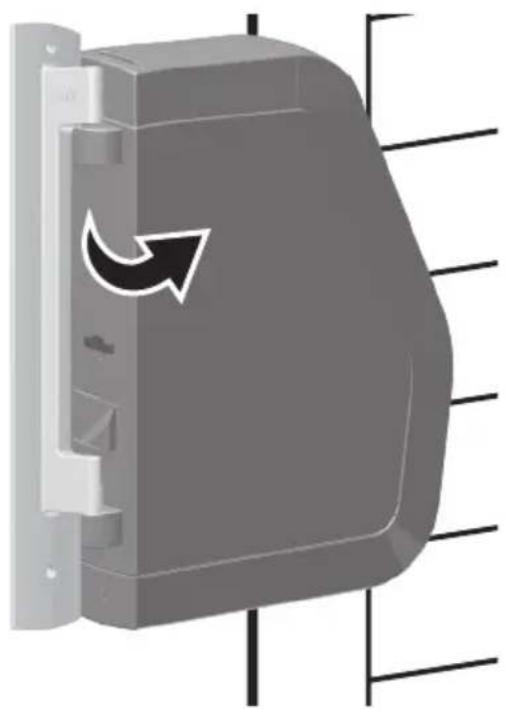
3D diagram of a gray mechanical component with an arrow indicating rotational motion, mounted on a vertical wall (no text or symbols)62.
natural_image
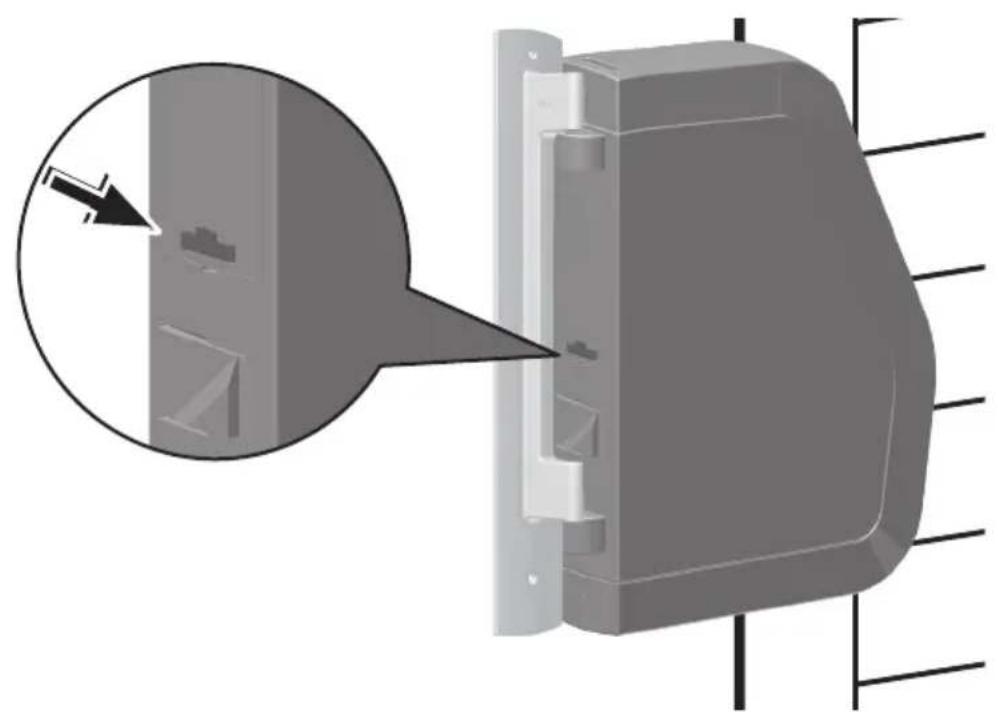
3D diagram of a device with an arrow pointing to a component, showing internal structure and mounting points (no text or symbols)
natural_image
3D model of a gray plastic enclosure with a black arrow pointing to a corner detail (no text or symbols)
natural_image
Diagram of a device casing with a magnified inset showing a selected square object and an arrow, no text or symbols present.
natural_image
3D diagram of a mechanical component with a directional arrow pointing to a specific feature (no text or symbols present)
natural_image
Illustration of a hand reaching up a vertical wall with diagonal hatching and an upward arrow, no text or symbols present.
natural_image
3D rendering of a gray plastic enclosure with a side panel and internal cavity, showing no text or symbols.
natural_image
Cross-sectional diagram of a mechanical device showing internal components and a highlighted section (no text or symbols)
natural_image
Illustration of a hand pressing down on a vertical surface with an arrow indicating compression (no text or symbols)M
69.

max. 4 min
natural_image
Gray electronic device with circular arrows indicating refresh or cycle (no text or symbols)
70.
min. 12 min
natural_image
Gray electronic device with a white X mark on its side, mounted on a panel (no visible text or symbols)
71.

60 min

natural_image
Exterior view of a gray electronic device casing with control panel and ventilation slots (no visible text or symbols)N
72.
natural_image
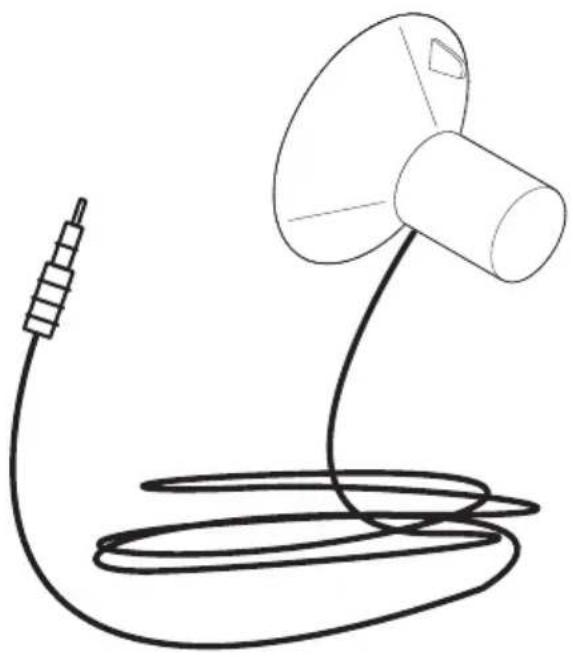
Simple line drawing of a handheld device with a coiled cable and a cylindrical component (no text or symbols)
natural_image
Diagram of a device with a plug inserted into a battery and connected to a handheld device (no text or symbols present)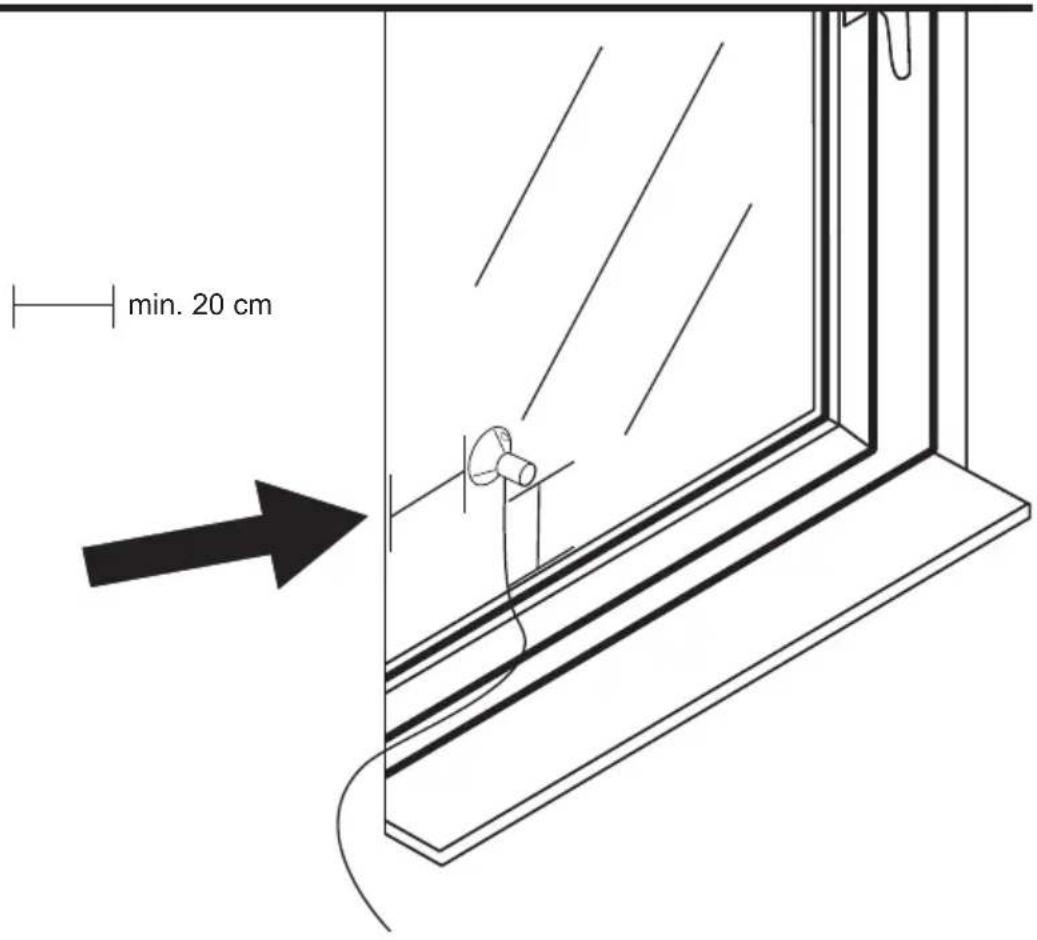
text_image
min. 20 cm0
75.
text_image
75. SCHELLENBERG ROLLODRIVE 75 2secDE
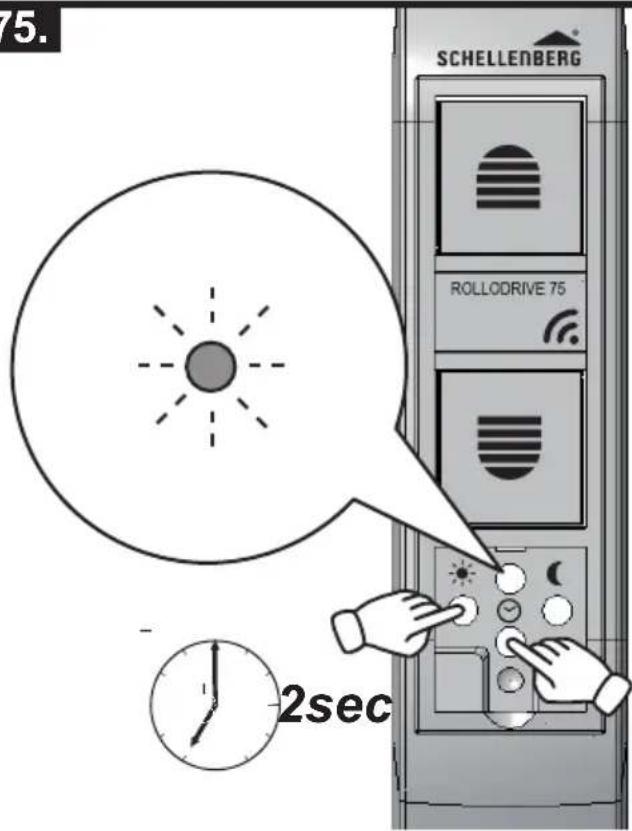
The automatic Sun function is switched on with the adoption of the current brightness value. Press the Sun and time key simultaneously. The current brightness value is now considered as the limit. For confirmation, the Sun LED will flash briefly.
Note: The adoption should be performed during the desired Twilight in the evening.
FR
natural_image
Illustration of a window with a cloud emitting rays, accompanied by a clock and directional arrow (no text or symbols)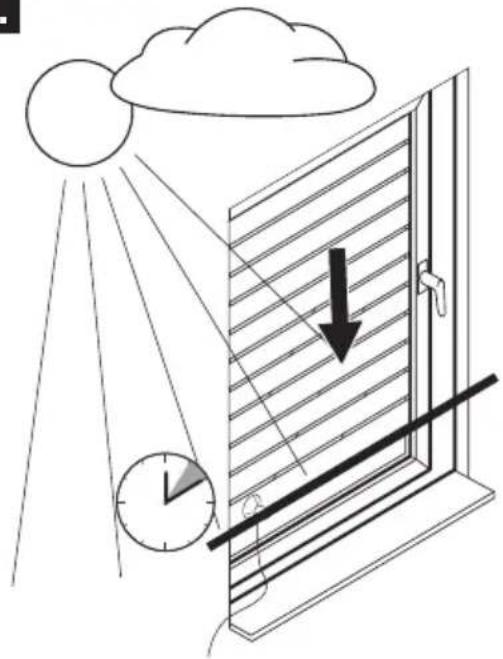
natural_image
Illustration of a window with sunlight illuminating the sky and a clock below, showing a downward arrow (no text or symbols)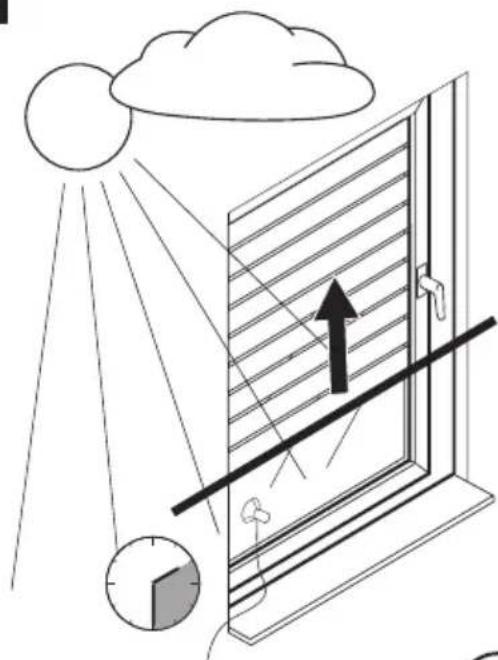
natural_image
Diagram showing light rays reflecting off a window with a cloud above, and a magnified view of the window's edge highlighted (no text or symbols)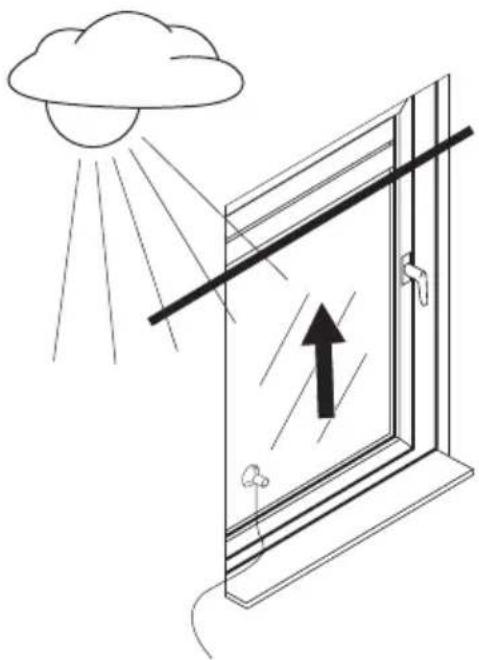
natural_image
Illustration of a window with sunlight illuminating the glass, showing an upward arrow and cloud (no text or symbols)
text_image
i 87| DE | Wird die eingestellte Helligkeit ca. 10 Minuten ununterbrochen erkannt, fährt der Rollladen bis zum Saugknopf des Sonnensensors nach unten. Nach ca. 20 Minuten wird der Roll-laden ein Stück hochgezogen und der Lichtsensor ist freigegeben. Wird weiterhin die eingestellte Helligkeit erkannt, bleibt der Rollladen dort stehen. Wird die eingestellte Helligkeit unterschritten, fährt der Rollladen bis zum oberen Endanschlag hoch.Hinweis! Die gewählte Position des Sensors entspricht dem Fahrweg des Rollladens. |
| GB | If the set brightness is continuously detected for approx. 10 minutes, the roller shutter will move down to the suction head of the sun sensor. After about 20 minutes, the roller shutter is pulled up a bit, the sun sensor is released and will measure again. If the set brightness continues to be detected, the roller shutter stop there. If the set brightness is underruns, the roller shutter will move up to the upper end position.Note! The selected position of the sensor corresponds to the movement path of the roller shutter. |
| FR | Si la luminosité réglée est constatée pendant 10 minutes environ sans interruption, le volet roulant se ferme jusqu'au bouton d'aspiration du capteur Soleil. Au bout de 20 minutes environ, le volet roulant s'ouvre un peu pour dégager le capteur Soleil. Celui-ci mesure alors de nouveau la luminosité. Si la luminosité réglée est encore constatée, le volet roulant s'immobilise. Si la luminosité réglée n'est plus atteinte, le volant roulant se déplace jusqu'au point d'extrémité supérieur.Nota! La position sélectionnée du capteur correspond à la trajectoire du volet roulant. |
| PL | Jeżeli ustawiona jasność będzie rejestrowana bez przerwy przez ok10 minut, roleta opuszcza się do ssawki czujnika słonecznego. Po ok. 20 minutach roleta jest nieco podnoszo-na, czujnik słoneczny odsłaniany i ponownie mierzy jasność. Jeżeli nadal rejestrowana jest ustawiona jasność, roleta zatrzymuje się w tym miejscu. Jeżeli ustawiona jasność nie jest osiągnięta, roleta jest podnoszona do górnego ogranicznika.Wskazówka! Wybrana pozycja czujnika słonecznego odpowiada drodze przesuwu rolety. |
| IT | Se la luminosità impostata viene rilevata di continuo per circa 10 minuti, l'avvolgibile scende fino alla ventosa del sensore solare. Dopo circa 20 minuti, l'avvolgibile viene sollevato un po', il sensore solare viene liberato e può rilevare di nuovo la luce. Se la luminosità impost-ata viene rilevata ancora, l'avvolgibile rimane fermo nella posizione in cui si trova. Se la luminosità scende sotto il valore impostato, l'avvolgibile sale fino alla posizione di fine corsa superiore.Nota! la posizione scelta per il sensore corrisponde alla corsa dell'avvolgibile. |
R
81.
text_image
81. SCHELLENBERG ROLLODRIVE 75 1secDE
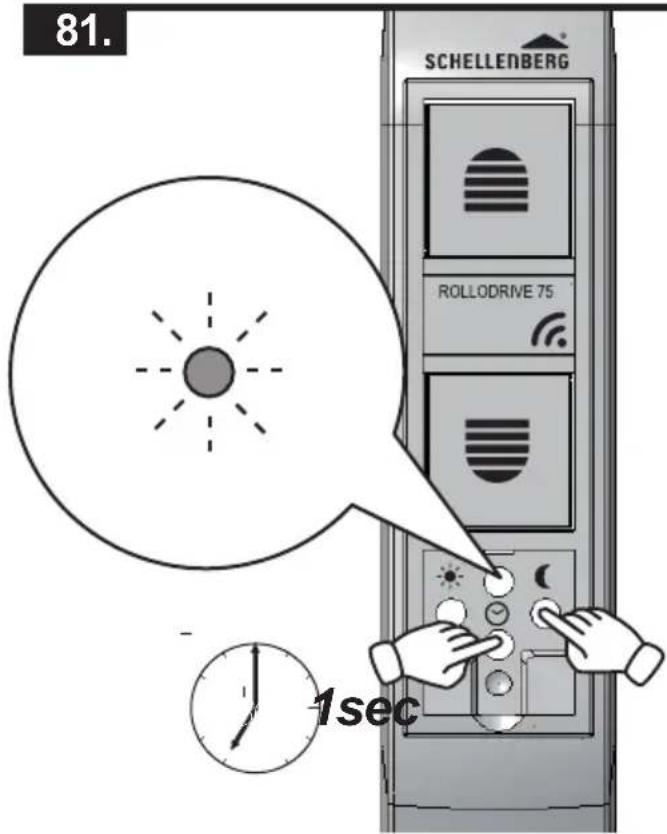
The Twilight function is switched on with the adoption of the current Twilight value. Press the Twilight and time key simultaneously. The current Twilight value will now be considered as the limit. For confirmation, the Moon LED will flash briefly.
Note: The adoption should be performed during the desired Twilight in the evening.
FR
text_image
82. SCHELLENBERG ROLLODRIVE 75 2sec = = X = 15sec !T
83.
natural_image
Simple line drawing of a window with sunlight illuminating the sky and buildings, no text or symbols present.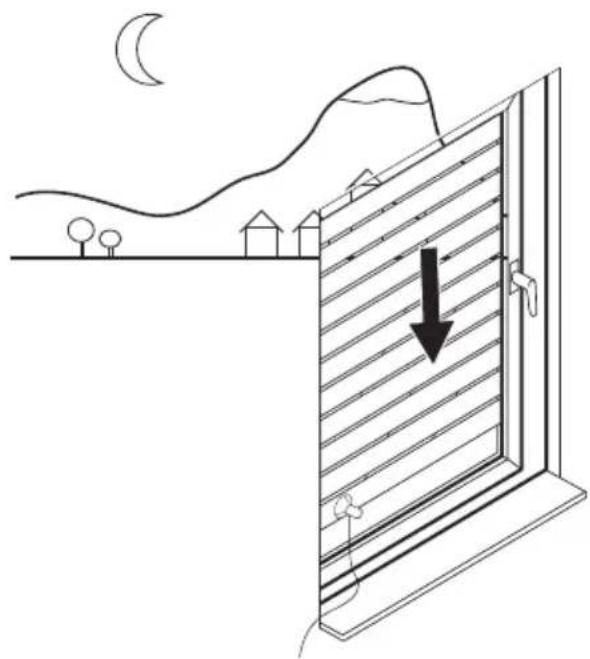
natural_image
Line drawing of a window with a downward arrow, set against a landscape with hills and a crescent moon (no text or symbols)DE
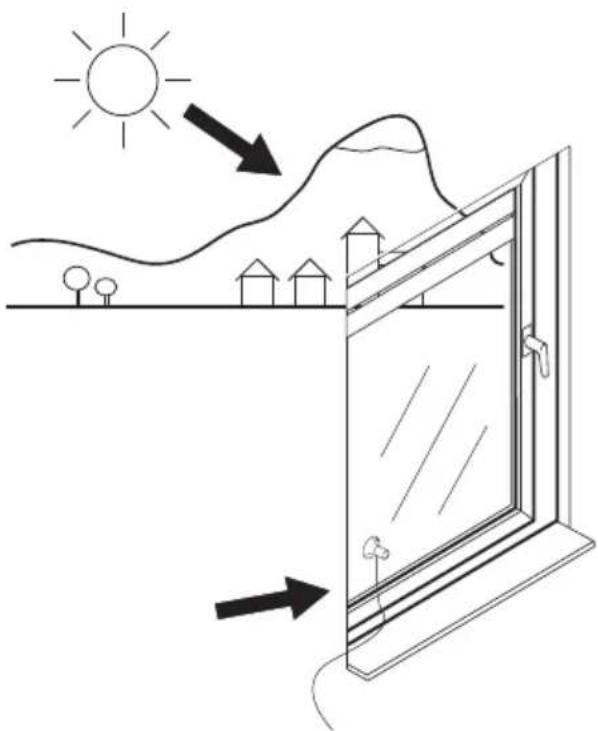
If the set Twilight value is recognized for approx. 15 seconds, the Moon LED will flash and the roller shutter will move down. After the descent, the Twilight function will only become active again after 19 hours. In the manual operating mode or at the next set raising time, the roller shutter will move upwards again.
FR
natural_image
Front view of a white electronic device with three buttons and a logo (no readable text or symbols beyond branding)20015
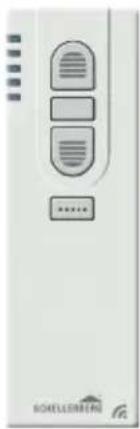
natural_image
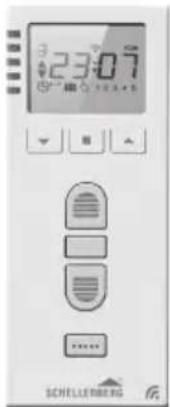
Front view of a white electronic device with four buttons and a 'SHELLERBERN' logo at the bottom (no readable text or symbols beyond branding)20016
text_image
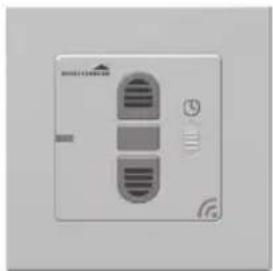
323.07 SCHELLERBERG20032
natural_image
Front view of a white electronic device with two ports and indicator lights (no visible text or symbols)20031
V FUNK-HANDSENDER KOPPELN
text_image
1 2 3 4 5 AAA AAA + - + - SCHELLLENBERG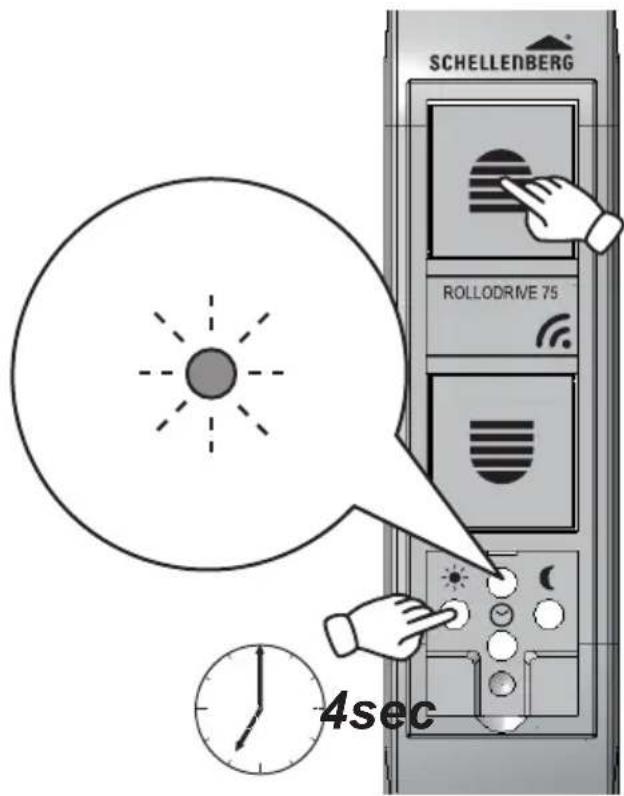
text_image
SCHELLENBERG ROLLDRIVE 75 4sec
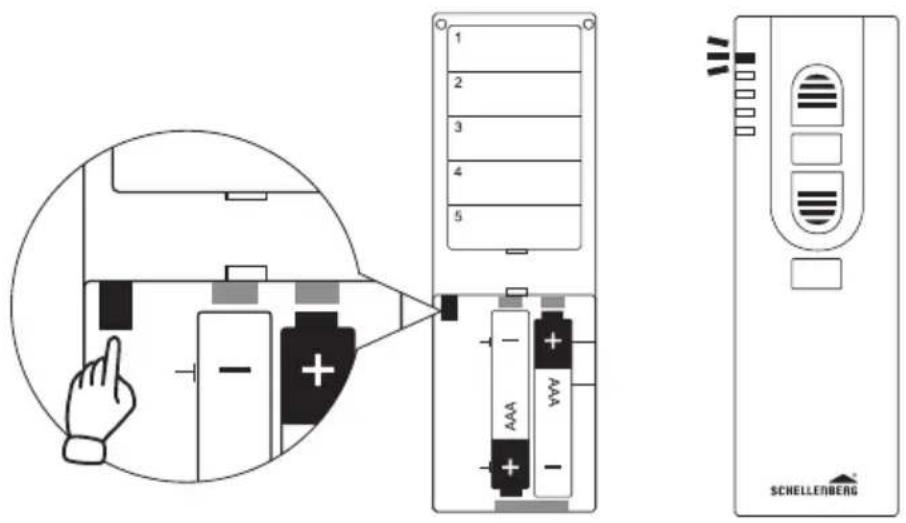
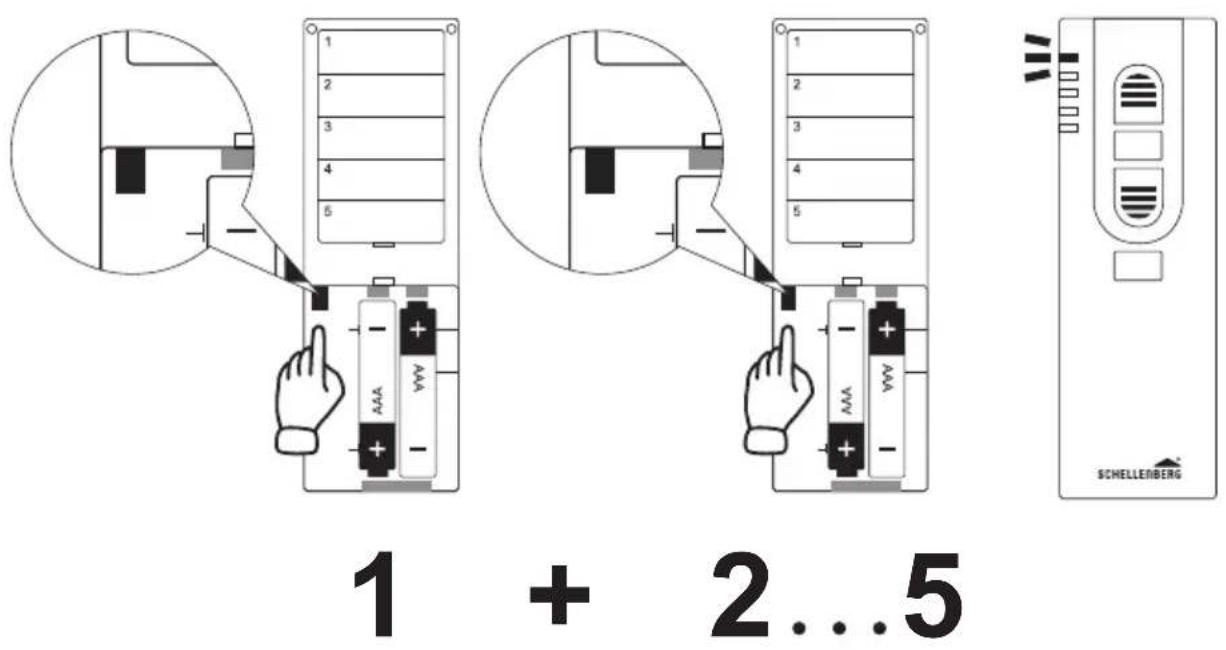
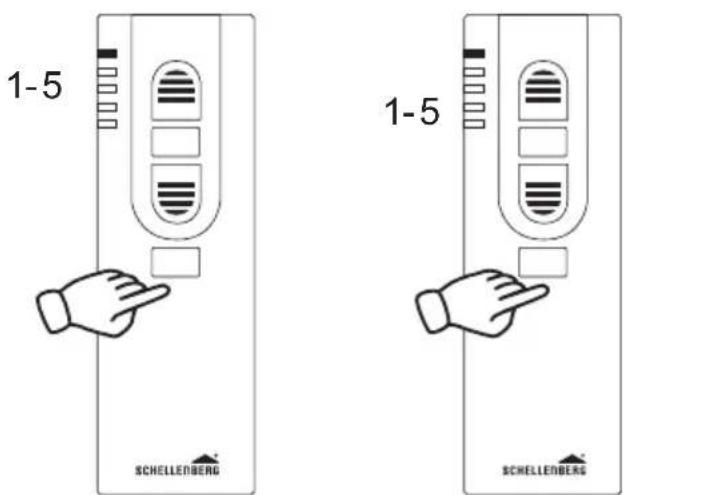
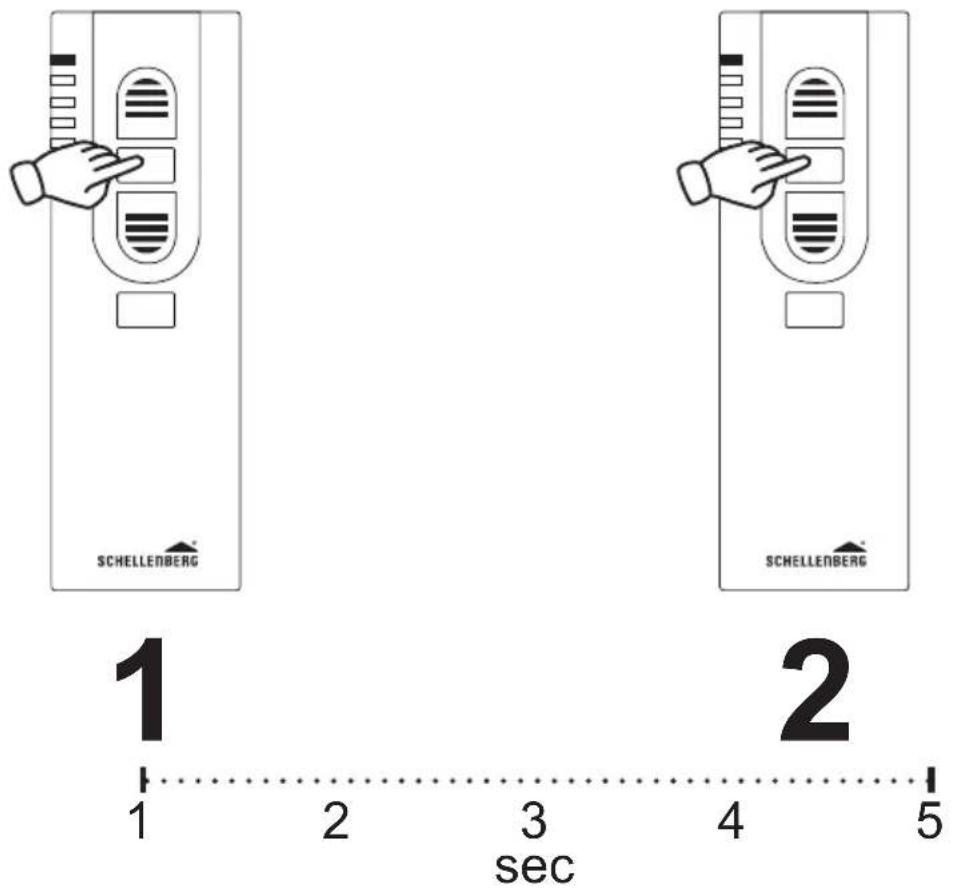
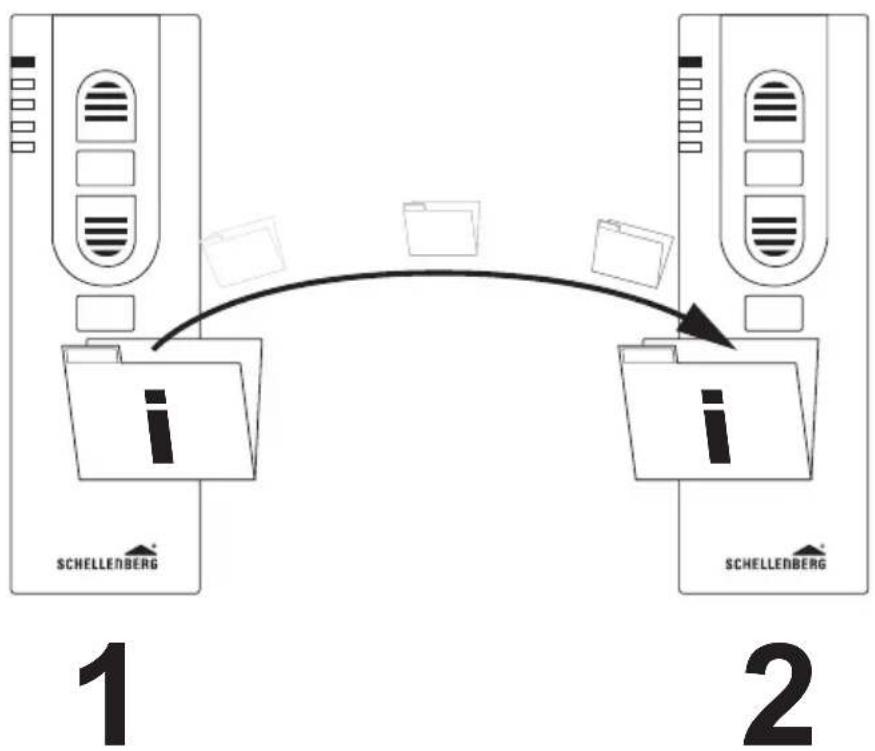
By pressing the two buttons, the ROLLODRIVE will be switched to the programming mode. As of this time, the pairing of the hand-held wireless remote control must be performed within 10 seconds (steps 86 to 89). If the 10 seconds have passed without pairing the hand-held wireless remote control, the ROLLO-DRIVE must be switched into the programming mode again by repeating step 86.A total of 5 hand-held transmitters can be programmed per channel.

text_image
Diagram illustrating battery charging process with hand pointing to battery, plus/minus signs, and battery pack layoutW
90.
91.
text_image
1-5 1-5 SCHELLENBERG SCHELLENBERG1 2 5
flowchart
graph TD
    A["Server 1"] -->|filing| B["Server 2"]
    B -->|filing| A
    style A fill:#f9f,stroke:#333
    style B fill:#bbf,stroke:#333
natural_image
Front view of a Siemens Elässer device with control buttons and indicator lights (no text or symbols visible)
natural_image
Front view of a Siemens Elässer device with four buttons and a 'Schelleinberg' logo (no readable text or symbols beyond branding)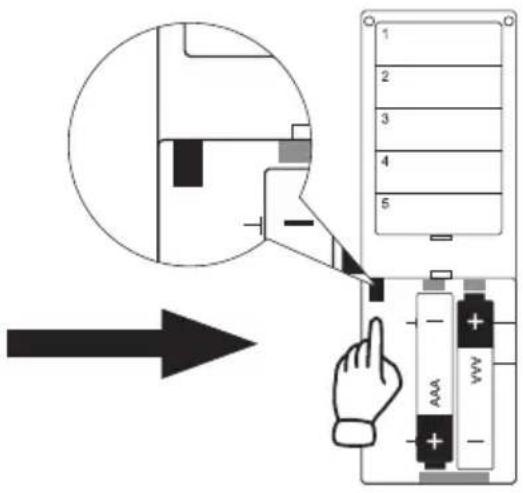
text_image
Diagram showing battery charging process with magnified view and hand pointing to battery terminal blockmax.
1 245
● ● ●

natural_image
Simple black checkmark symbol on white background (no text or additional symbols)X
natural_image
Illustration of a smart refrigerator with wireless signal icons and house symbols (no text or labels)Art.Nr. 21000
text_image
QR code image containing encoded data, no visible human-readable textnatural_image
White wireless router with signal icon and Wi-Fi symbol (no text or labels)Art.Nr. 26000
ABUS Paulmann Schellenberg Steinel
text_image
QR code image containing encoded data, no visible human-readable textwww.smart-friends.com
X

Pair the product with the Smart Friends System, and control all „Ready for Smart Friends“ products through the Friends app.


Security Tech Germany

Paulmann


text_image
QR code image containing encoded data, no visible human-readable text
natural_image
Three icon buttons: lock, security camera, and electrical socket (no text or symbols)
natural_image
Three icons: document, printer, and thermometer symbols arranged in a row (no text or labels)
natural_image
Three simple icons: a sun with rays, a house with snow, and a walking person with motion lines (no text or symbols)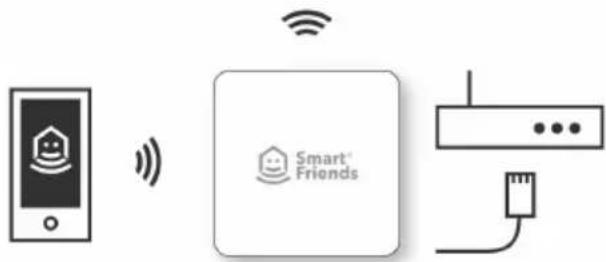
flowchart
graph LR
    A["Mobile Phone"] -->|Wireless Signal| B["Smart Friends"]
    B --> C["Network Interface"]

For warranty claims, spare parts requests or questions regarding the proper installation of your product, please contact our Consumer Service Department. service.int@schellenberg.de