PCLR 3083 - Air purifier ProfiCare - Free user manual and instructions
Find the device manual for free PCLR 3083 ProfiCare in PDF.
| Product type | Air purifier |
| Model | PC-LR 3083 |
| Net weight | Approximately 3.2 kg |
| Power supply | DC 24 V, 1 A |
| Power adapter | Input: AC 100-240 V, 50/60 Hz, 0.8 A; Output: DC 24 V, 1 A |
| Standby power consumption | 1.6 W (with network connection maintained) |
| Filtration type | Pre-filter, HEPA filter, activated carbon filter, catalyst filter |
| Number of speeds | 4 power levels + automatic mode |
| Operating modes | Normal, automatic, standby/energy saving |
| Timer | On/off delay from 1 h to 12 h |
| Remote control | Yes, with AAA batteries (2×1.5 V) |
| Mobile app | Smart Life – Smart Living (iOS 9.0+ / Android 4.4+) |
| Wi-Fi connectivity | 802.11 b/g/n, 2.4 GHz, WPA/WPA2 |
| Air quality sensor | DPA sensor (air pollution detection) with PM2.5 display and color ring (green, yellow, red) |
| Ionizer function | Yes, activation/deactivation by ANION button |
| Child lock | Yes, activation by long press 3 seconds |
| Maintenance | Filter cleaning (shake or soft brush); replacement if very dirty; sensor cleaning every 2 months |
| Protection class (device) | III |
| Protection class (adapter) | II |
| Operating temperature | 0 °C to 40 °C |
Frequently Asked Questions - PCLR 3083 ProfiCare
User questions about PCLR 3083 ProfiCare
0 question about this device. Answer the ones you know or ask your own.
Ask a new question about this device
Download the instructions for your Air purifier in PDF format for free! Find your manual PCLR 3083 - ProfiCare and take your electronic device back in hand. On this page are published all the documents necessary for the use of your device. PCLR 3083 by ProfiCare.
USER MANUAL PCLR 3083 ProfiCare
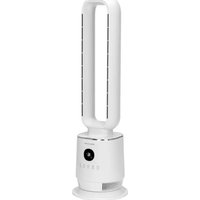
natural_image
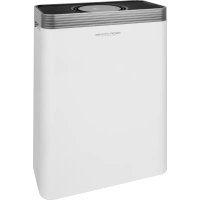
White air purifier with dotted pattern and green logo (no visible text or symbols on body)(Air Pollution Detection)
Chiavi Wi-Fi supportate:......WPA/WPA2
Thank you for choosing our product. We hope you will enjoy using the appliance.
Symbols in this Instruction Manual
Important information for your safety is specially marked. It is essential to comply with these instructions in order to avoid accidents and prevent damage to the appliance:

WARNING:
This warns you of dangers to your health and indicates possible injury risks.

CAUTION:
This refers to possible hazards to the appliance or other objects.

NOTE:
This highlights tips and information.
Contents
Overview of the Components....3
General Notes......45
Special Safety Precautions for this Appliance......46
Handling Batteries....47
Unpacking the Appliance....47
Overview of the Components/Scope of Delivery......47
Remote Control....48
Notes for Use....48
Location....48
Filter Element 48
Electrical Connection 48
Operating Buttons 48
APD Sensor 48
Information on the App "Smart Life - Smart Living" ....49
Information on How to Use the App....49
System Requirement for Use of the App ....49
Commissioning via the App 49
Disconnecting the Wi-Fi....49
Operation 49
Switching the Appliance On/Off 49
Power Level Selection 49
Sleep Mode / Power Saving Mode ....49
Time-delayed Switch On....49
Time-delayed Switch-off....50
Child Lock....50
Ionizing Function 50
Cleaning / Maintenance....50
Cleaning the Filter Element /
Replacing the Filter Element....50
Cleaning the Sensor ....50
Troubleshooting....51
Technical Data....51
Notice of Directive Conformity....51
Disposal 51
Battery Disposal....51
Meaning of the "Dustbin" Symbol ....51
General Notes
Read the operating instructions carefully before putting the appliance into operation and keep the instructions including the warranty, the receipt and, if possible, the box with the internal packing. If you give this appliance to other people, please also pass on the operating instructions.
- The appliance is designed exclusively for private use and for the envisaged purpose. This appliance is not fit for commercial use.
- The power adapter is only suitable for use in dry rooms.
- Check if the output current, voltage and the polarity of the power adapter match the information on the connected appliance!
- Do not touch the connected power adapter with wet hands!
- When cleaning if necessary disconnect the appliance from the power adapter.
- Ensure that the cable of the power adapter does not become kinked, jammed, driven over or come into contact with heat sources.
- Do not use a damaged power adapter.
- Do not repair the appliance yourself, but visit an authorized specialist.
- The appliance and the mains lead have to be checked regularly for signs of damage. If damage is found the appliance must not be used.
- Use only original spare parts.
- In order to ensure your children's safety, please keep all packaging (plastic bags, boxes, polystyrene etc.) out of their reach.

WARNING:
Do not allow small children to play with the plastic foil.
There is a danger of suffocation!
Special Safety Precautions for this Appliance
- Operate the appliance only with the filter element inserted and the cover closed.
- Never cover the appliance. Pay attention to a sufficient ventilation distance at the air intake and air outlet.
- Never place the appliance directly next to ovens or other sources of heat.
- Do not insert any items into the openings of the appliance.
- Never place burning items, such as candles, cigarettes or the like on the appliance. There is the danger of damage or even fire.
- Never operate the appliance in rooms with high air humidity, such as bathrooms, showers or swimming pools. Moisture could accumulate in the appliance and result in an electric shock.
- Never operate the appliance in rooms, in which explosive gases could build up. Danger of explosion by solvents in paints and adhesives or by leaking petrol.
- Do not use any sprays in the room. Do not sprinkle fragrance oil on the filter of the filter element.
- Only operate the appliance in rooms with a temperature between 0°C and 40°C.
- If the supply cord is damaged, it must be replaced by the manufacturer, its service agent or similarly qualified persons in order to avoid a hazard.
-
This appliance can be used by children aged from 8 years and above and persons with reduced physical, sensory or mental capabilities or lack of experience and knowledge if they have been given supervision or instruction concerning use of the appliance in a safe way and understand the hazards involved.
• Children shall not play with the appliance. -
Cleaning and user maintenance shall not be made by children without supervision.
- The appliance is intended for use with safety extra-low voltage. Connect only to a power supply according to the specifications on the rating label.
- Do not use any power adapter other than the one supplied.

CAUTION:
This appliance is not intended for immersion in water during cleaning. Please refer to the instructions provided in the chapter, "Cleaning / Maintenance".
Handling Batteries

WARNING:
- Do not expose batteries to excessive heat such as sunlight, fire or similar. There is a risk of explosion!
- Batteries are not toys. Keep away from children.
- Do not open batteries by force.
- Avoid contact with metal objects (rings, nails, screws, etc.). There is a risk of short circuit!
- A short circuit could cause the battery to heat up excessively or even to catch fire, resulting in injuries.
- For your own safety, cover the battery terminals with adhesive tape during transport.
- In case of battery leakage, make sure not to rub the liquid into your eyes or mucous membranes. In case of contact, wash your hands and rinse your eyes with clear water. Seek medical attention if any discomfort persists.

CAUTION:
- Different battery types or new and used batteries must not be used together.
- Batteries can leak and lose battery acid. If the remote control is not used for a long period of time, remove the batteries.
Unpacking the Appliance
- Take the appliance out of its packaging.
- Remove all the packaging material such as plastic foil, filling material, cable ties and cardboard packaging.
-
The filter element is wrapped in foil for protection against damage during transport. Before using the appliance for the first time, remove the foil and proceed to the sections "Cleaning / Maintenance" and "Cleaning the Filter Element / Replacing the Filter Element".
-
Check that all parts are supplied in the box.
- In case of incomplete delivery or damage, do not operate the appliance. Return it to your dealer immediately.
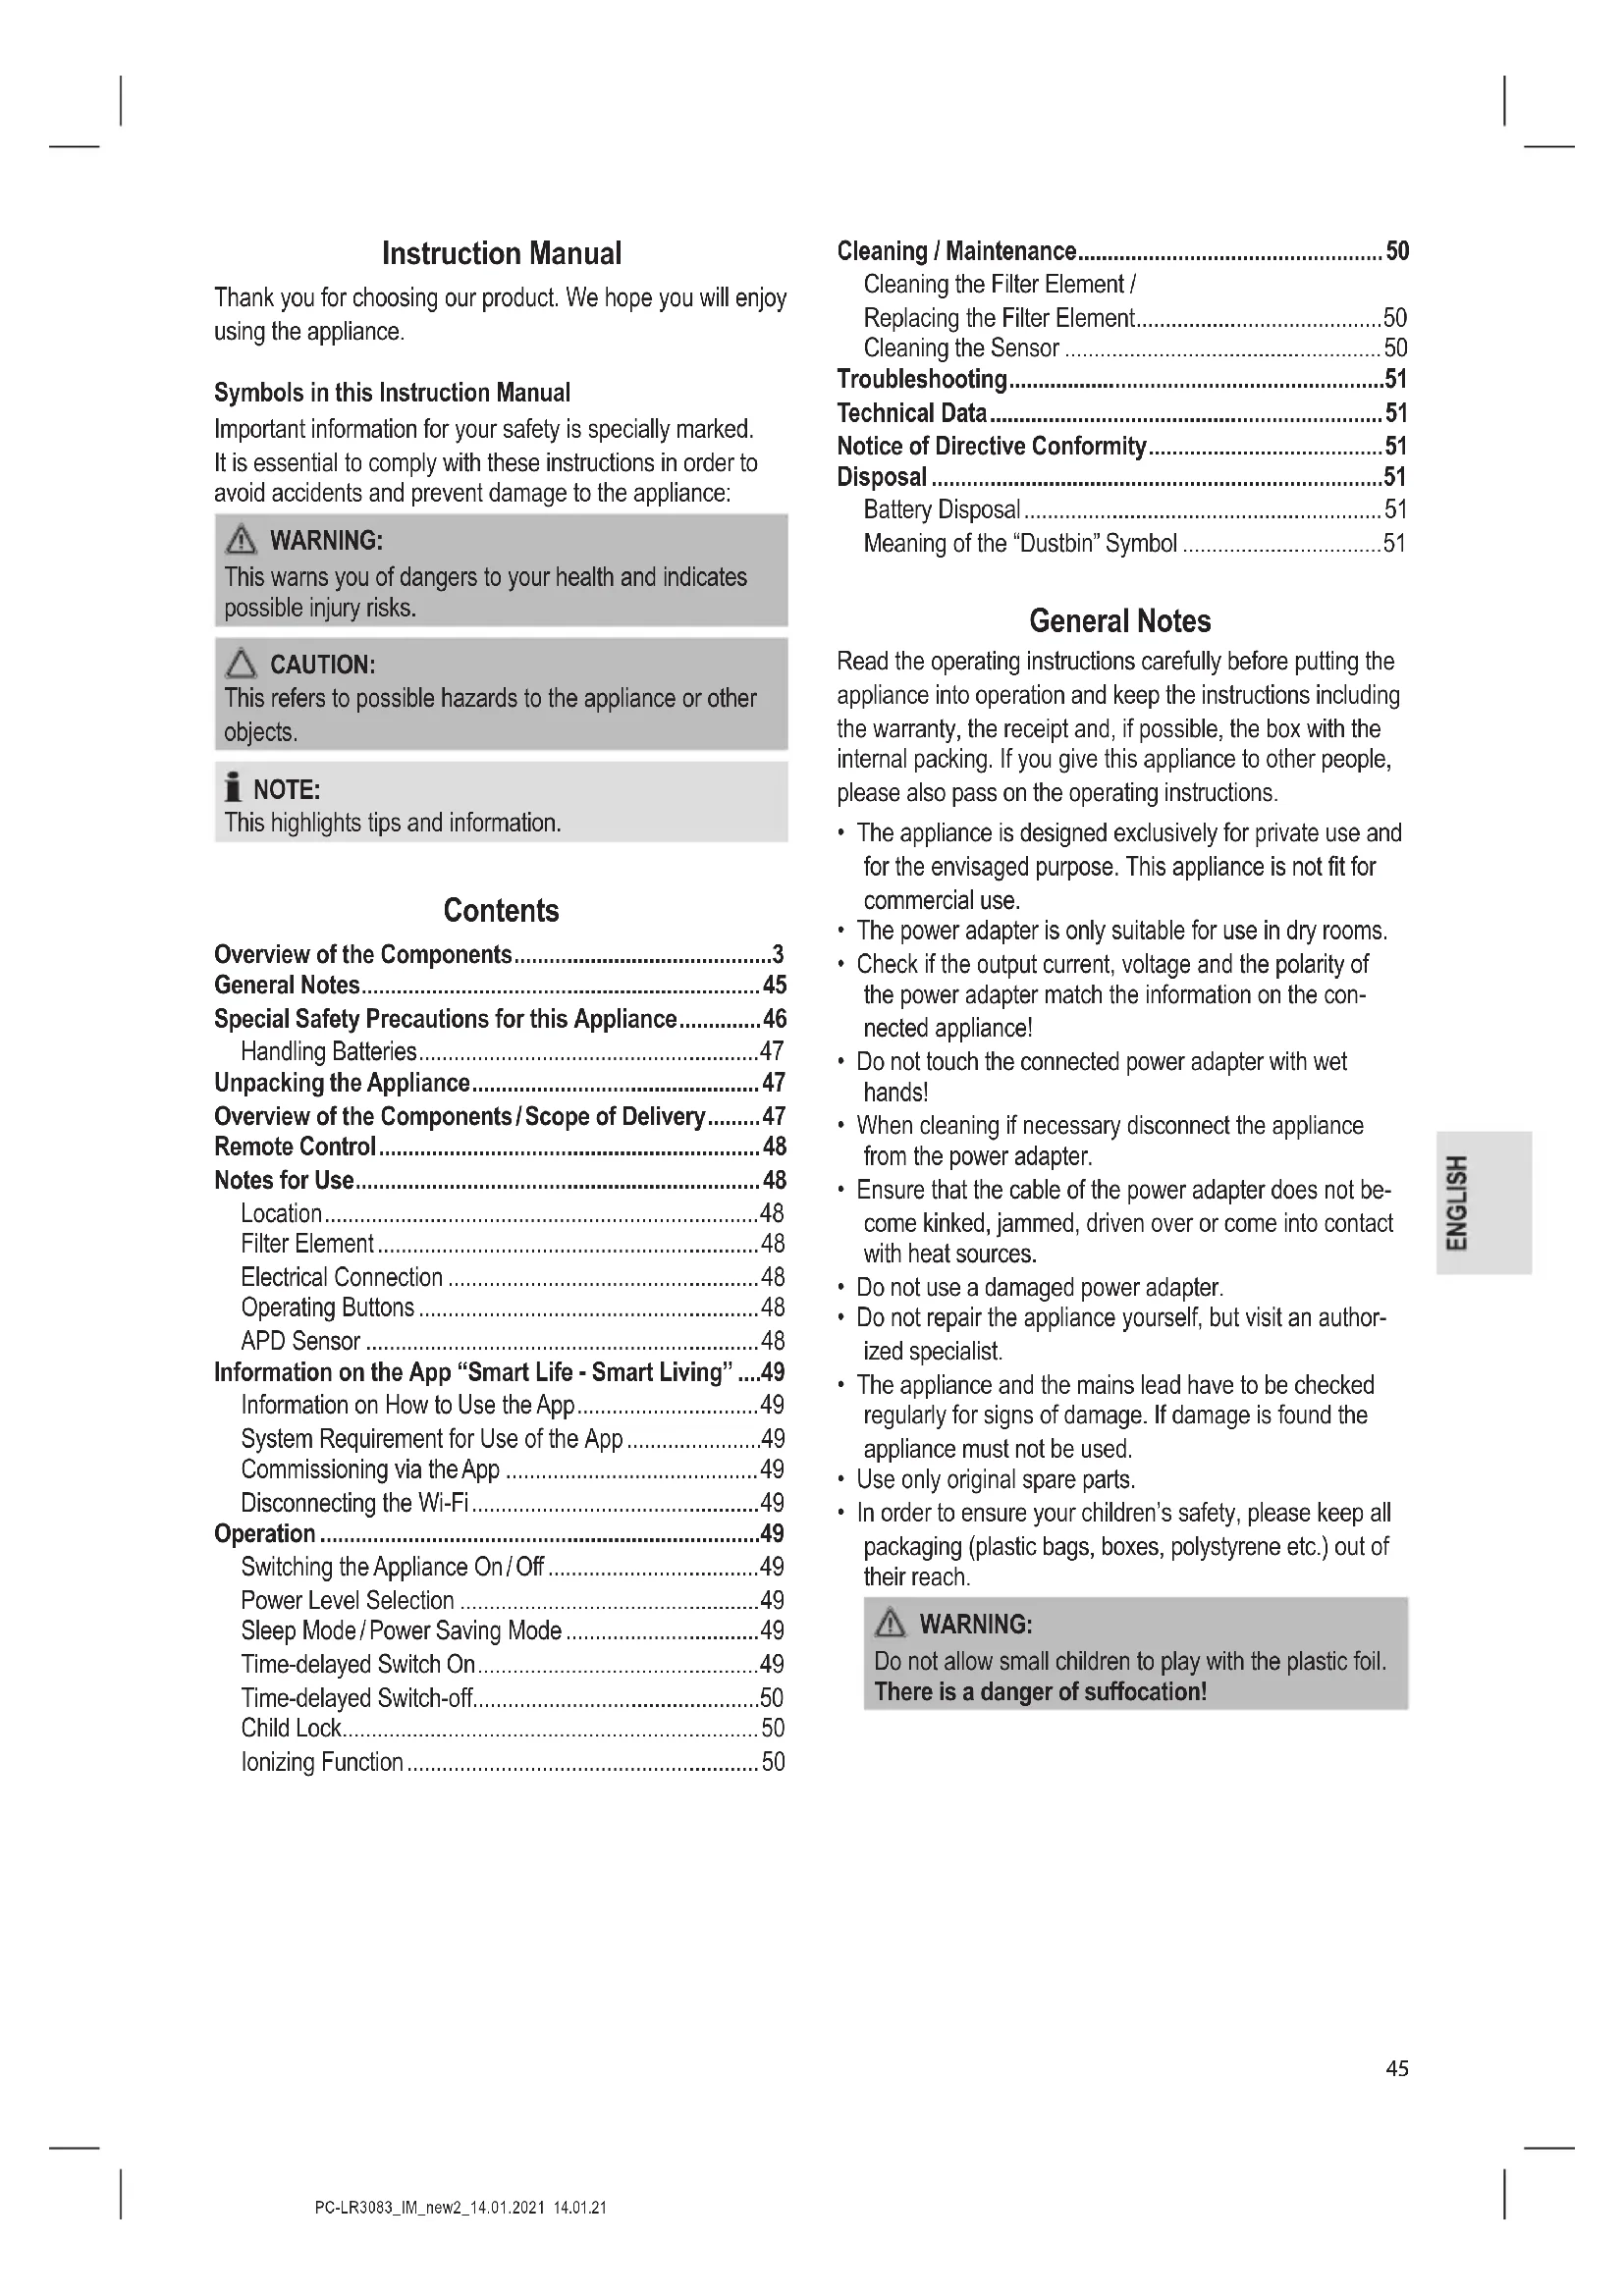
Overview of the Components / Scope of Delivery
1 Air outlet
2 Colour ring as indication of air quality
3 TIMER ON button (time-delayed switch on)
4 Display timer
5 Display speed
6 TIMER OFF button (time-delayed switch-off)
7 FILTER REPLACE button (filter reset)
8 ANION button (ionization function)
9 SLEEP button (sleep mode / power saving mode)
10 Display air quality
11 button (on / off)
12 SPEED button (power level selection)
13 button
14 CHILD LOCK button (child lock)
15 Filter cover
16 Air intake
17 Sensor cover
18 Motor housing
Not illustrated
Remote Control
2× Batteries
Power adapter
Remote Control
The range of the remote control is limited.
When using the remote control, please ensure that there are no obstacles placed between it and the sensor on the appliance.
- Open the battery compartment cover on the back of the remote control.
- Insert 2 batteries of type R03 "AAA" 1.5 V, observing the correct polarity (see markings on the bottom of the compartment)!
- Close the battery compartment cover.
Notes for Use
- The air purifier is not a substitute for medical treatment required when facing pre-existing allergic conditions. If you are not sure, always consult your doctor.
- By the use of the special filter system, the air purifier removes harmful spores causing the formation of mould from the ambient air. Thus, both the risk of mould spreading and health-related issues is reduced.

NOTE:
In case mould is already present in the room, it cannot be removed anymore just using the air purifier.
- Unpleasant odours are removed.
Location
- A skid-proof, even surface is suitable as installation location. The appliance operates more effectively, if you keep the windows and doors closed during operation.
- Maintain the following safety distances:
- 30 cm all around
- 120 cm to the ceiling

NOTE:
Do not forget to air on a regular basis.
Filter Element
Your appliance features a 4-filter system, consisting of the following filter stages:
• Pre-filter, retains coarse particles
• HEPA filter, retains fine dust particles, pollen etc.
- Activated carbon filter that, among other things, can remove odours
- Catalysis filter that neutralizes harmful environmental gases.
For more information about the filter element, see "Cleaning / Maintenance".
Electrical Connection
- Connect the power adapter with the connecting socket of the appliance.
- Plug the power adapter into wall outlet. You will hear a beep sound and all indicator lamps light up briefly. Additionally, the ring lights up. The appliance will then enter standby mode. The value PM2.5 is displayed.
Operating Buttons
The buttons on the appliance are sensor touch buttons. In order to perform the corresponding function gently touch the buttons. Whenever a button is pressed, it will be confirmed by a beep sound.
| Control Panel | Remote Control | Function |
| ON / OFF On / off | ||
| SPEED SPEED | Power level selection(1,2,3 and Auto) | |
| — | Wi-Fi connection is activated | |
| CHILD LOCK | ⊕3s | Child lock |
| TIMER ON TIME | Time-delayed switch on:th to 12h | |
| TIMER OFF TIME | Time-delayed switch-off:th to 12h | |
| FILTER REPLACE | — Filter reset | |
| ANION ANION Ionizing function | ||
| SLEEP | SLEEP | Sleep mode / power saving mode |
APD Sensor
(Air Pollution Detection)
The appliance is equipped with an APD sensor that is monitoring the air quality. It indicates the air quality as follows:
| PM2.5 ^+1 value in the display | Colour | Evaluation |
| 1 to 75 | green | good |
| 75 to 150 | yellow | satisfactory |
| 150 to 300 | red | poor |
| H (>300) red | poor |
^*1 PM2.5 is the threshold for fine dust. These microscopic particles, with a size of up to 2.5 microns, naturally float in the ambient air. Depending on conditions such as the condition of the room, the sensor and filter status and other environmental influences etc., this limit can vary.
Information on the App "Smart Life - Smart Living"
The Smart Life - Smart Living app is available for android and iOS. Scan the corresponding QR code to get directly to the download.
i NOTE:
Depending on the provider, there may be costs involved in downloading the app.
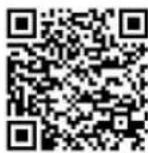
Google Play App Store
Information on How to Use the App
This appliance allows you to operate the appliance via your home network. A prerequisite is a permanent Wi-Fi connection to your router and the free app "Smart Life - Smart Living".
You can easily access all functions of the appliance via the app. Since the app constantly improved, we cannot provide a more detailed description here.
We recommend disconnecting the appliance from the power supply when you are away from home to prevent unintentional switching on while you are on the road!
System Requirement for Use of the App
- iOS 9.0 or higher
- Android 4.4 or higher
Commissioning via the App
- Install the "Smart Life - Smart Living" app. Create a user account.
- Activate the Wi-Fi function in the settings of your appliance.
- Place the appliance within 5 meters of your router.
- Switch on the appliance using the ⏻ button.
- Press and hold the button for approx. 3 seconds. The button flashes.
- Launch the app and select "+".
- Select the "Air Purifier" menu and follow the instructions on the display.
- Once the appliance has been connected successfully, the Wi-Fi indicator light will be solid. Now you can operate the appliance using the app.
i NOTE:
The appliance can only be operated with 2.4 GHz routers. 5 GHz routers are not supported.
Disconnecting the Wi-Fi
If you want to disconnect the existing Wi-Fi connection (control lamp 🔺 is lit), proceed as follows:
- Press and hold the button 📋 for about 3 seconds.
- The Wi-Fi connection will be disconnected and the appliance is removed from the app at the same time.
i NOTE:
If you want to re-establish the WLAN connection, proceed as described in the paragraph "Commissioning via the App".
Operation
i NOTE:
Operation is explained by the buttons on the remote control.
Switching the Appliance On/Off
- Press the ON/OFF button to switch on the appliance. Under normal conditions, the appliance basically always starts in automatic mode and shows the current air quality.
- Press the ON/OFF button again to switch off the appliance or to put it in standby mode. The value PM2.5 is displayed.
Power Level Selection
Press the SPEED button repeatedly to choose between the available power levels.
= Power level 1
2 = Power level 2
3 = Power level 3
4 = Power level 4
Press the SPEED button repeatedly until AUTO lights up in the display. Automatic mode is activated. Depending on the air quality, the power level in automatic mode will be automatically adjusted.
Sleep Mode / Power Saving Mode
Press the SLEEP button to enter sleep mode / power saving mode. The display and the colour ring goes out and the SLEEP button lights up. The appliance is operating in power level ^1 .
Time-delayed Switch On
You can switch on the appliance in a time-controlled manner.
i NOTE:
This is only possible when the appliance is switched off.
- Use the TIME button to select a time setting between 1h and 12h
- Upon expiry of the timer the appliance will switch on automatically.
Time-delayed Switch-off
You can set a time-controlled switch-off for the appliance.

NOTE:
This is only possible when the appliance is switched on.
- Use the TIME button to select a time setting between 1h and 12h
- Upon expiry of the timer, the appliance will switch off automatically.
Child Lock
Press and hold the 3s button for about 3 seconds to activate or deactivate the child lock. This prevents the operation of the appliance. CHILD LOCK lights up in the display when the childproof lock is activated.
Ionizing Function
The electronic ionization of the air causes dust particles to become electrostatically charged. As a result, they combine to form larger particles and thus get caught by the HEPA filter in a more reliable manner.
- Press the ANION button to activate or deactivate the ionization function.

NOTE:
If the ionization function is activated, the ANION button lights up on the control panel.
Cleaning / Maintenance

WARNING:
- Switch off the appliance before cleaning and maintenance. Disconnect the power adapter from the electrical outlet.
- Never immerse the motor housing in water for cleaning. It could result in an electric shock or fire.

CAUTION:
- Do not use any wire brush or other abrasive objects.
- Do not use any acidic or abrasive detergents.
- Clean the motor housing with a dry cloth, without additives.
You can moisten the cloth slightly to wipe away extreme soiling. - If the FILTER REPLACE button flashes, the filter has to be cleaned or replaced.

NOTE:
Despite this message, the appliance may still be operated with confidence. After you have cleaned or replaced the filter, press the FILTER REPLACE button for approx.
3 seconds. The lighting of the button goes out.
Cleaning the Filter Element / Replacing the Filter Element
- Turn the appliance upside down.
-
Open the cover by unscrewing and removing it counter-clockwise.
-
Remove the filter insert. If required, you may clean the filter element by beating it slightly or wiping it gently with a soft brush or a damp cloth.

CAUTION:
Do not immerse the filter element in water!
Replace the filter if it is heavily soiled. einstall the filter insert.
- Tighten the cover clockwise. Pay attention to the notches.
Cleaning the Sensor

NOTE:
- Only clean the sensor after the filter element has been cleaned or replaced.
-
If the sensor is the only component that is cleaned it will become dirty very quickly. This may cause the displayed air quality to be no longer accurate. It is therefore necessary to always clean both the filter element and the sensor.
-
Open the cover on the back of the appliance.
- Clean the sensor and the rest of the area at least once every two months. Vacuum the area with a vacuum cleaner.
- Close the cover again. It must audibly engage.
Troubleshooting
| Problem Cause Solution | ||
| Appliance does not work. No power supply. Examine the power supply connection. | ||
| The appliance is too loud. High air humidity. Reduce air humidity by a dehumidifier. | ||
| Too little air flows out of the outlet. | Soiled filter element. Replace the filter element. | |
| The coloured ring is permanently red. | Dirty sensor. Clean the sensor and the filter element. If necessary, replace the filter element. | |
| Soiled filter element. | ||
| It is not possible to press a button. | Child lock is enabled. | Deactivate the childproof lock by pressing the 3s button on the remote control for approx. 3 seconds. |
| The appliance does not respond to the remote control. | The batteries of the remote control are empty. | Replace the batteries. |
| The remote control is defective. | Please contact your dealer or the service department. | |
Technical Data
Model: PC-LR 3083
Net weight: .... approx. 3.2 kg
Protection class:......III
Input: ......DC 24 V, 1 A
Networked standby power consumption: 1.6W
Power adapter
Protection class:......II
Input: AC 100-240V, 50/60Hz, 0.8A
Output: DC 24 V, 1 A
WLAN
Supported network: 802.11 b/g/n
Maximum radio-frequency power transmitted:....100 mW
Frequency range: 2.4 GHz
Channels: 1 - 13
Supported Wi-Fi keys:......WPA / WPA2
The right to make technical and design modifications in the course of continuous product development remains reserved.
Notice of Directive Conformity
Hereby, Clatronic International GmbH declares that the radio equipment type PC-LR 3083 is in compliance with Directive 2014 / 53 / EU.
Furthermore, the appliance is in compliance with the requirements of the RoHS directive 2011 / 65 / EC & (EU) 2015 / 863.
The full text of the EU declaration of conformity is available at the following internet address: www.sli24.de
In the "Download" area, please enter the model name PC-LR 3083.
Tested for operation in Great Britain.
Disposal
Battery Disposal
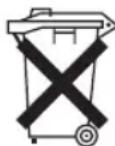
As a consumer you are obliged by law to return old batteries / accumulators.
Remove the battery from the remote control before disposing of the appliance.
Return the battery to a collection facility for the collection of old batteries or hazardous waste. Contact your local authority for more information.
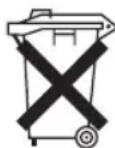
Meaning of the "Dustbin" Symbol
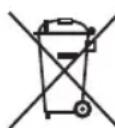
Protect our environment: do not dispose of electrical equipment in the domestic waste.
Please return any electrical equipment that you will no longer use to the collection points provided for their disposal.
This helps avoid the potential effects of incorrect disposal on the environment and human health.
This will contribute to the recycling and other forms of re-utilisation of electrical and electronic equipment.
Information concerning where the equipment can be disposed of can be obtained from your local authority.
Instrukcja obsługi
CTC Clatronic Sp. z o.o
Ul. Brzeska 1
45-960 Opole
Usuwanie
Usuwanie baterii