
S240SLETL - Water pump HAYWARD - Free user manual and instructions
Find the device manual for free S240SLETL HAYWARD in PDF.
| Product Type | Sand filter with integrated pump |
| Brand | Hayward |
| Model | S240SLETL |
| Approximate dimensions | Diameter 60 cm, height 80 cm |
| Approximate weight | 35 kg |
| Power supply | 230 V / 50 Hz |
| Estimated motor power | 0.75 kW (1 HP) |
| Filter capacity | Approximately 75 kg of special filter sand |
| Valve positions | Filter, Backwash, Rinse, Waste, Closed |
| Maximum service pressure | 2.5 bar |
| Tank material | Reinforced polyethylene |
| Connections | Pump inlet, return, drain |
| Functions | Filtration, backwash, rinse, waste, closed |
| Routine maintenance | Backwash when pressure exceeds 0.7 bar above initial pressure; clean pre-filters regularly |
| Winterization | Drain completely, leave the valve between two positions |
| Safety | Never operate the valve while the pump is running; all suction/discharge valves must be open when starting |
| Spare parts | Use only genuine Hayward parts |
| Warranty | 2 years (excluding wear parts) |
Frequently Asked Questions - S240SLETL HAYWARD
User questions about S240SLETL HAYWARD
0 question about this device. Answer the ones you know or ask your own.
Ask a new question about this device
Download the instructions for your Water pump in PDF format for free! Find your manual S240SLETL - HAYWARD and take your electronic device back in hand. On this page are published all the documents necessary for the use of your device. S240SLETL by HAYWARD.
USER MANUAL S240SLETL HAYWARD
SAVE THIS OWNER'S MANUAL

WARNING - Read and follow all instructions in this owner's manual and on the equipment. Failure to follow instructions can cause injury.
WARNING - This document should be given to the owner of the swimming pool and must be kept by the owner in a safe place.
WARNING - The appliance can be used by children aged from 8 years and above and persons with reduced physical, sensory or mental capabilities, or lack of experience and knowledge, if they have been given supervision or instruction concerning use of the appliance in a safe way and understand the hazards involved.
WARNING - Children should be supervised to ensure that they do not play with the appliance.
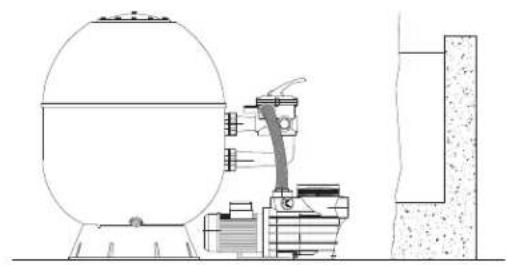
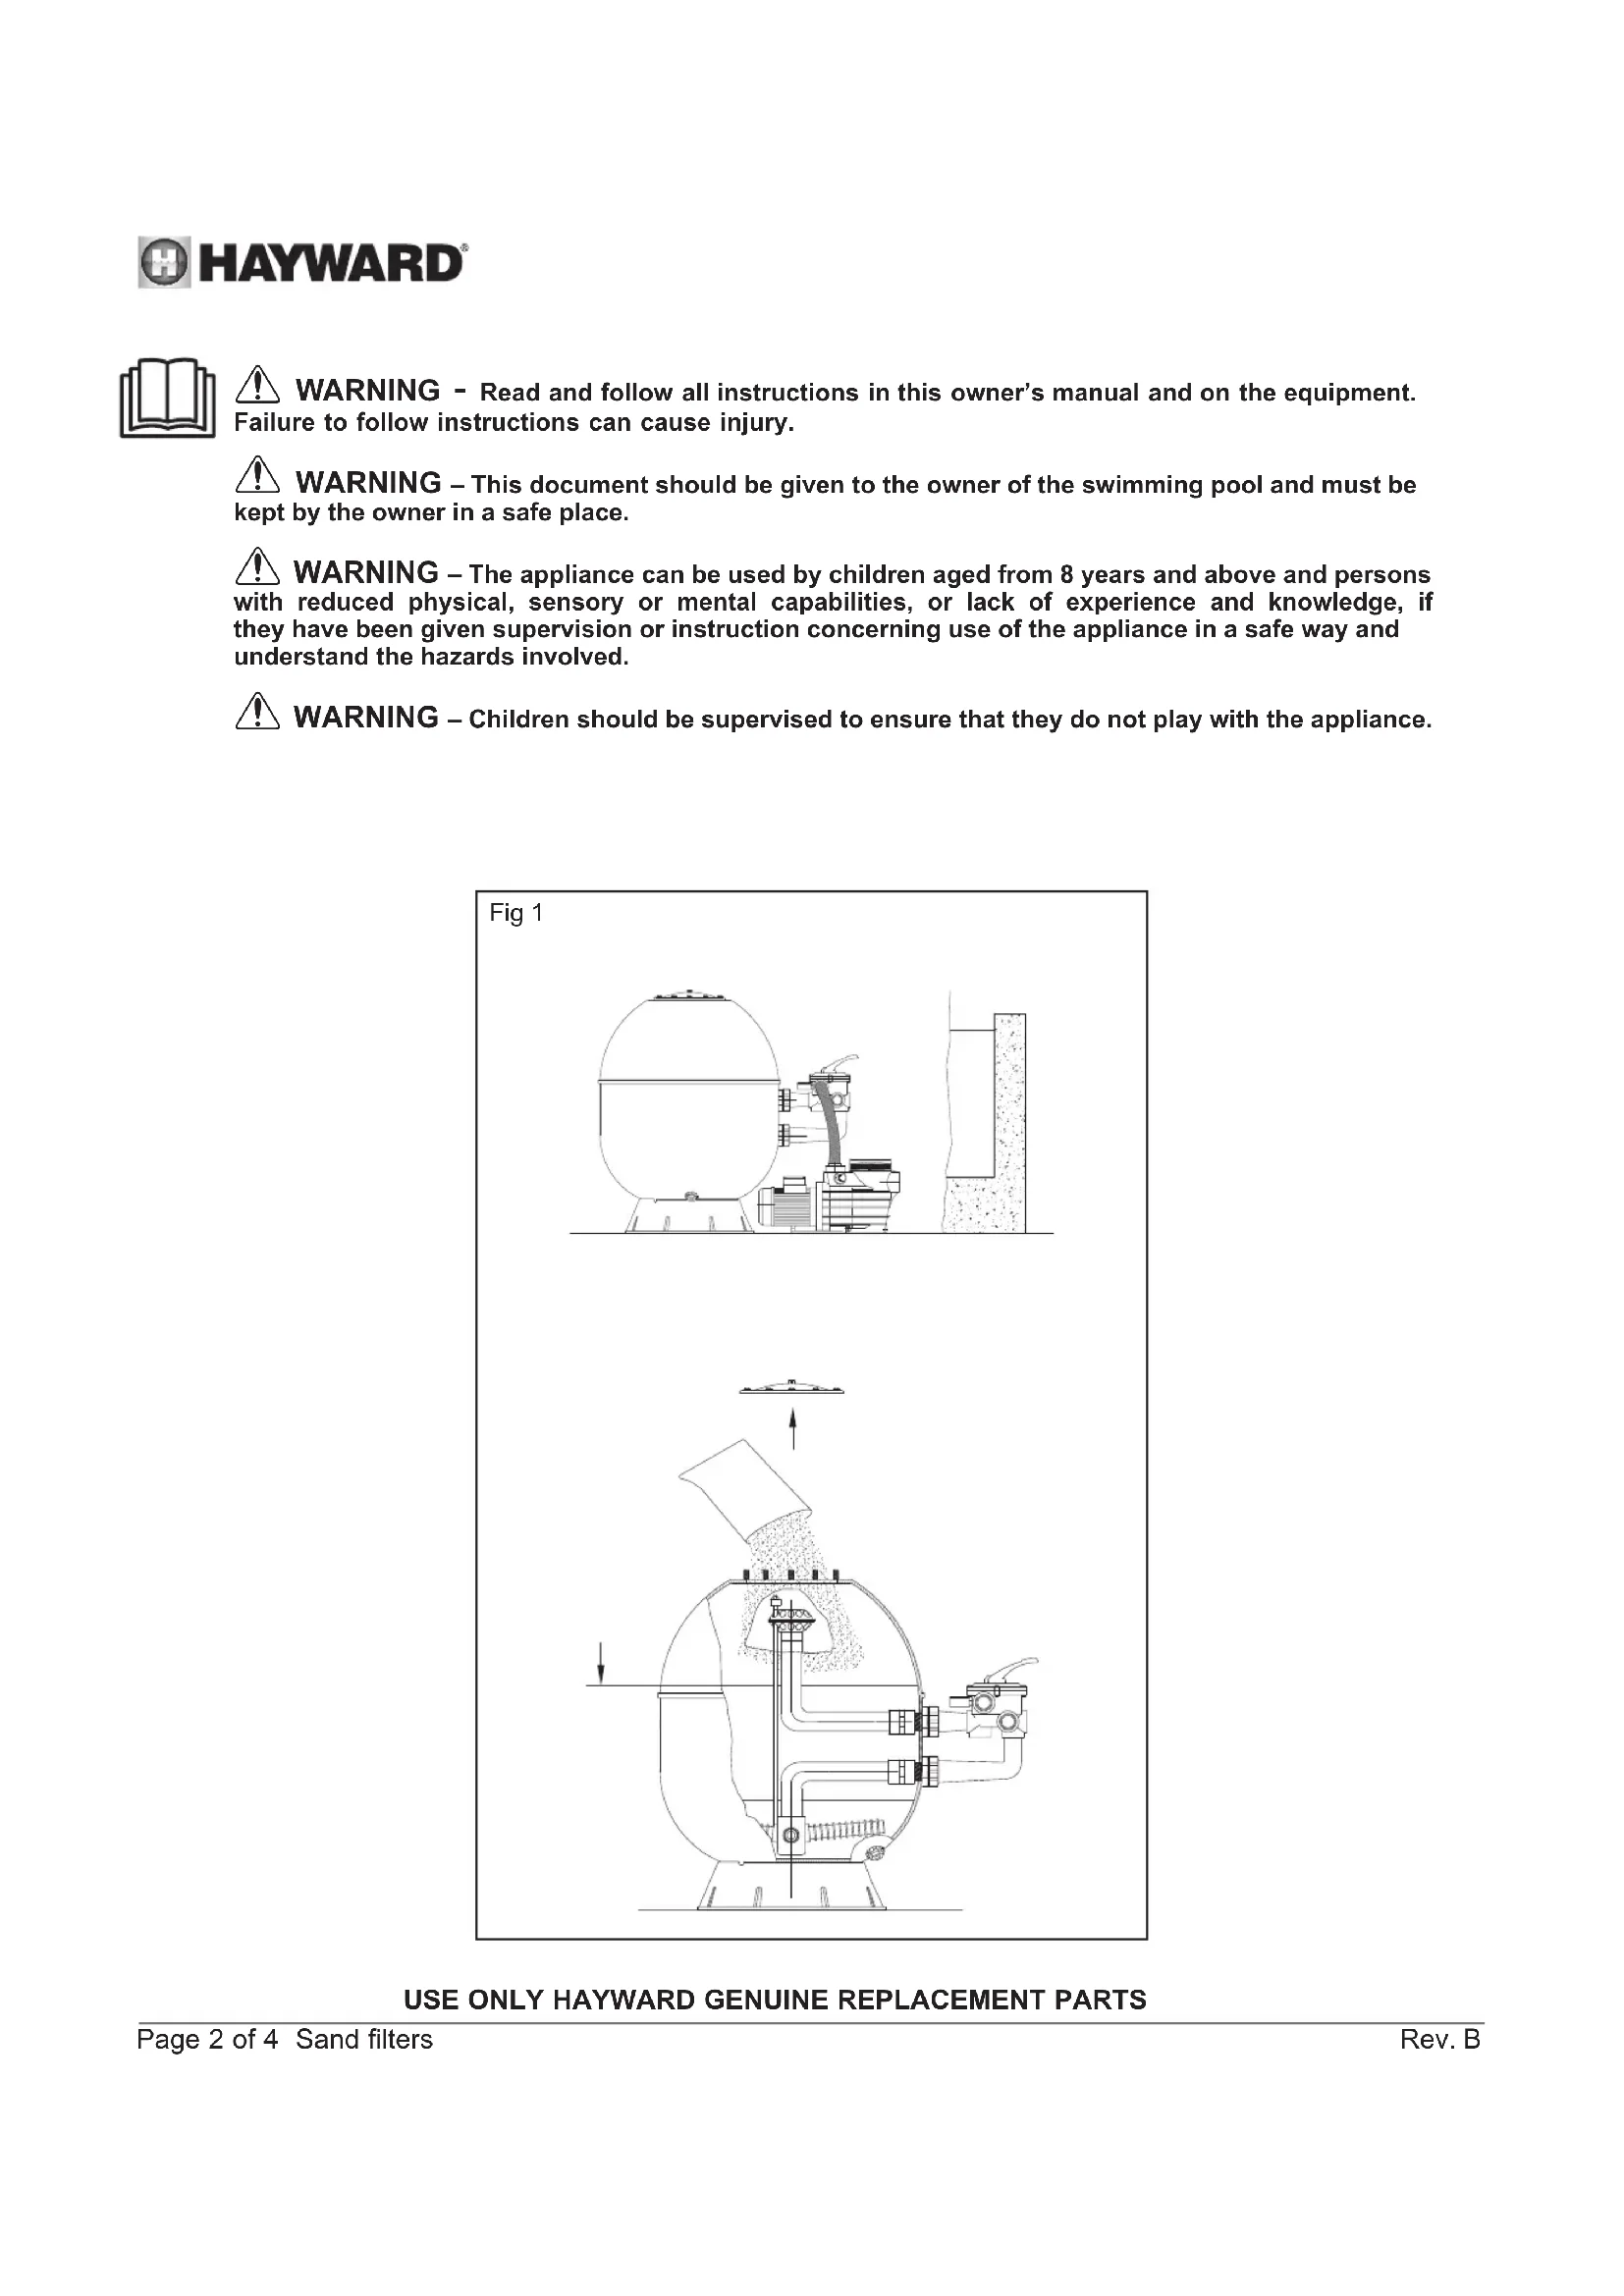
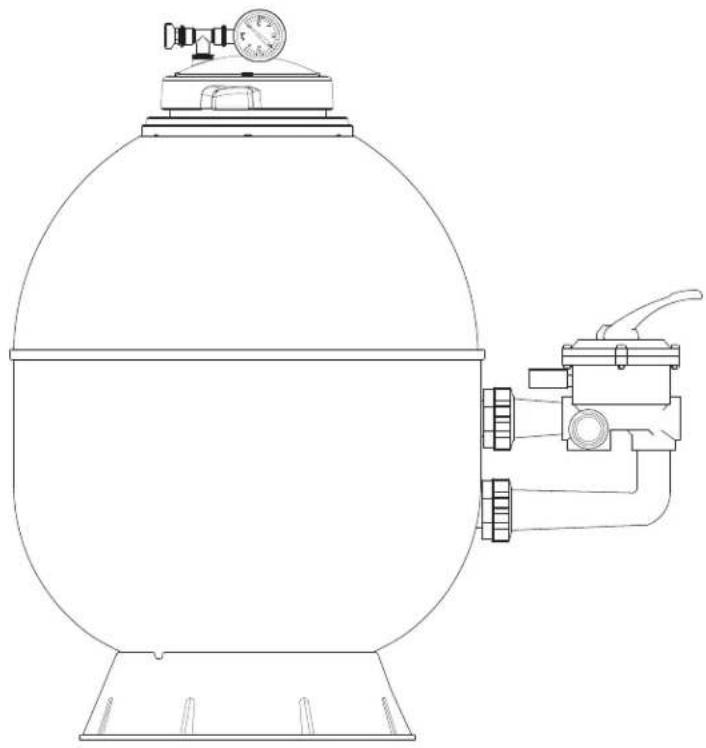
Fig 1
USE ONLY HAYWARD Genuine REPLACEMENT PARTS
You have just become the owner of a sand filter, its base and its valve.
OPERATION
Your filtration system uses a special sand designed to trap impurities in the pool water. The sand is poured into the tank and acts as a permanent filtration system. The pump draws in the unfiltered pool water, which contains impurities in suspension, and feeds it to the multi-way control valve. When the water flows through the sand, the impurities are trapped there and the water that returns to your pool is filtered.
INSTALLATION
1. Filter location
Provide a clean, level location The top of the filter must be no more than 1.5m above the water level. Position the filter so that the pipes, valve and drain plug are easily accessible. Servicing and wintering will then be easier.
2. Pump assembly
Attach the pump and its support to the filter according to the manufacturer's instructions.
3 SIDE filter (valve on the side, Fig. 1):
Install the valve, taking care to ensure that the O-rings are correctly seated and screw in the nuts by hand until the valve/ filter assembly is airtight.
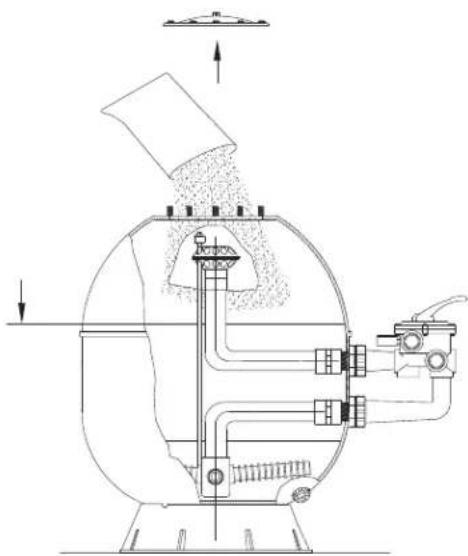
Remove the cover and fill the filter with water up to one third. Cover the diffuser to prevent sand from entering it. Then fill the filter with the quantity of sand indicated (2/3 to 3/4 of the height) and remove the diffuser protection. Clean off any remaining sand and put the cover back in place. Connect the pipes to the valve. The pump must be connected to the "PUMP" input, the water return to the "RETURN" output and the drain to the "WASTE" output.
Note 1: Do not use force when screwing the connection end-pieces into the valve fittings.
Note 2: Cover the male threads with teflon tape.
Note 3: We advise you to put a layer of gravel (grain size 3 to 5mm ) up to the level of the laterals (covering them) and then insert the filtering media up to 2/3 to 3/4 of the filter height. The layer of gravel ensures better drainage and facilitates backwashing.
STARTING UP
IMPORTANT: ALWAYS STOP THE PUMP BEFORE OPERATING THE MULTI-WAY VALVE.
- Check that all connections are tight and that the filter contains just the right amount of sand.
- Set the valve to "BACKWASH". Always lower the handle before turning.
- Start the pump as indicated by the manufacturer's instructions. Check that water is flowing normally within the circuit. WARNING: All suction and discharge valves must be open when the pump is started. Otherwise, there is a risk of damage to property, serious injury, or death.
Once the water is flowing smoothly, let the pump run for at least another 2 minutes. This backwash is recommended to eliminate any impurities or fine particles from the filtering sand.
- Stop the pump and set the valve to "RINSE". Restart the pump and let it run until the water becomes clear in the valve circulation sightglass (about a minute).
- Stop the pump and set the valve to "FILTER". Restart the pump and filtering will start.
Adjust the inlet and outlet valves for the desired water flow.
- Carefully note the pressure reading at that time and the position of the needle on the pressure gauge. As the filter operates, impurities are retained and the pressure increases in the tank.
When it exceeds the initial pressure (clean filter) by 10 PSI (0.7 bars or kg / cm^2 ), the filter must be backwashed.
Note 1: When your pool water is cleaned for the first time, it may be necessary to backwash the filter frequently: it is likely to contain a significant quantity of impurities.
Note 2: Clean the strainers of the pump and skimmers regularly to ensure trouble-free operation of your filtration system.
USE ONLY HAYWARD Genuine REPLACEMENT PARTS
Note 3: Installations including heaters or cleaning systems with nozzles or tentacles protruding from the walls are highly sensitive to pressure surges because they operate at high pressure. The installer must do everything necessary to prevent pressure surges in the installation.
VALVE AND FILTER FUNCTIONS
FILTER
Set the valve to "Filter" for normal filtration (10 to 14 hours a day).
BACKWASH
For cleaning the filter when the filter pressure gauge rises 10 PSI (0.7 bars or kg/cm^2 ) above start-up (clean) pressure. Stop the pump, set the valve to "Backwash". Run the pump until the water in the sight glass is clear. Stop the pump about 2 minutes later and set the valve to "Rinse".
RINSE
With the valve set to "Rinse", run the pump for about one minute. This evacuates the dirty backwash water to a drain, not the pool. Stop the pump, set back to "Filter", and restart.
WASTE
The water is discharged directly into the sewer without passing through the filter: to lower the pool water level and directly eliminate very dirty water when using the vacuum.
RECIRCULATE
The water bypasses the filter, for rapid dispersion of chemicals or for massive chlorination.
CLOSED
Cuts off circulation between the filter and the pump.
NEVER USE THIS POSITION WITH THE PUMP RUNNING.
WINTERIZING
- Completely drain tank by unscrewing drain cap at base of filter tank. Leave cap off during winter.
- Rotate and leave the valve handle set between any positions.
- Drain and winterize pump according to pump instructions.
SERVICE AND REPAIRS
Consult your local dealer. No products may be returned directly to the factory without the express written authorization of Hayward Pool Europe.
If malfunctioning continues, or for any other operating fault, contact your retailer-installer.
It is expressly stipulated that HAYWARD cannot be held responsible for any damage caused by its equipment if such damage is caused by non-conforming repairs, whenever HAYWARD original parts were not used as replacement parts, and if repair was not performed in conformity with HAYWARD instructions or if the information in this guide was not complied with.
The same applies for any additional parts and accessories fitted, other than those recommended by HAYWARD.

HAYWARD®

FILTROS DE ARENA
MANUAL DEL USUARIO
CONSERVE ESTE MANUAL DE INSTRUCCIONES

KLEP- EN FILTERFUNCTIES
FILTER (FILTER)
HIKOITDA HE INCNOJIb3OBATb DAHHYIO FYHKUNIO IPNI PABOTAOUEM HACOCE.
KOHCEPBAUHA 3IMHNIPEPOD
- POnHocTbO OnpoXnHTb PhJbTp, OTKpyTnB CnHBHyIO pO6Ky, paCNoIoxeHHyIO B HnXHeu qactn 6aKa. He yCTaHaBnBaTb npo6ky Ha MeTO B 3IMHn IepNOd.
- YctaHObntb n octaHTb pyKoTky KnaHaMexy DByMa NIOJKeHnAeM
- OnopoxHnTb n 3aKOHcepBnpoBaTb Ha 3mHnI nepnoHacoc, cNeDy INHCTpyKunm npOn3BOdnteJr.
PEMOHT IN TEXHnueCKOE OBCJyXnBAHne
O6paTbC8 K CBOeMy nIcTpBbTOpy Hayward. 3aBoD He npHnMaet o6paTHo n3deJn8 6e3 npEbpntbHoro nncbMeHHoro cornaHnKomnaHnn Hayward Pool Europe.
Pn coxpanen Hnpabunbno paobtbn no hno horo nHoro depekta obaTneB K BaWemy dInepy-ycTaHOBUKny.
KOMnHnA《HAYWARD》BЯBHOΦOpMe 3aBnIeT,HTo He HecET OTBcBeHHocTH 3a yUep6,BbI3BaHHb CBOHMN yCTpOJCTBaMn, npn INHEcoOTBcTByIOUeMpeMOHTe,3aMeHe INX OPINHaNbHbIX DeTaJIeH Ha DeTaII N TpeTbeC TOpOHb IIN BblONJIHeHn peMOHTa C HApY- WnepeKTHB KOMnHn《HAYWARD》nnNoLoKeHn DaHHoN IHCTpyKun.
Takke 3TO NOIOXKeHne DeIcTByET DnA CnyaA DoabBHeHna DeTaNe N BCNOMaTeJIbHbIX 3JeMeHTOB, OTNIuHbIX OT Tex, KOToPbIE peKoMeHdyET KOMNaHn «HAYWARD».
NcNoJIb3yIe TOJIbKO HEnOJaJIbHbIE 3ANACHbIE YACTn HAYWARD

HAYWARD
S210SLETL / S240SLETL / S310SLETL / S360SLETL
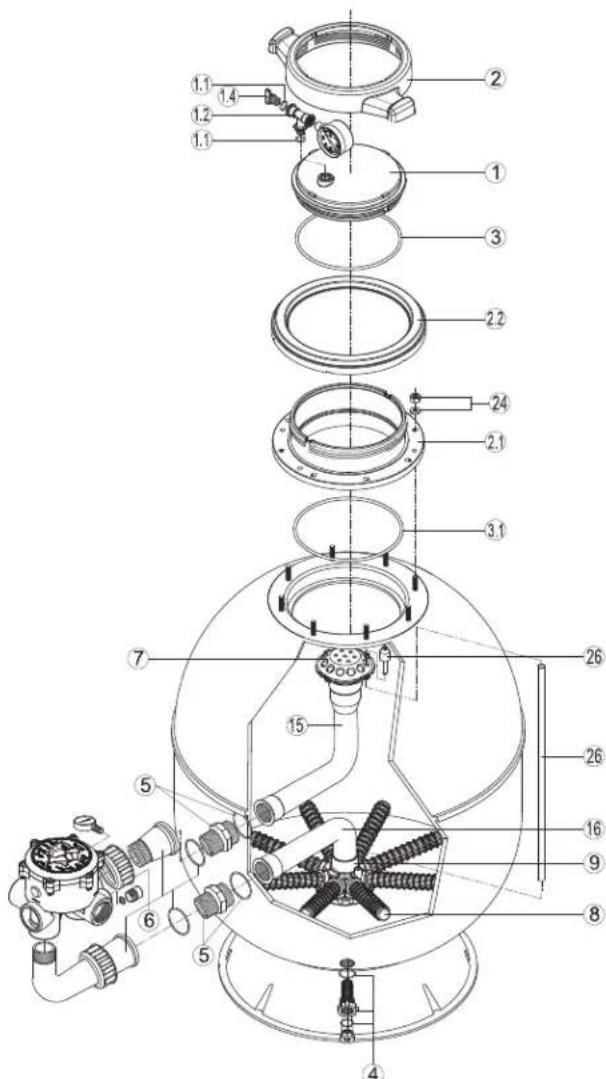
| 1+2+350022800 | 103 8 (Ø760) 5002011 | 400 | 0 | |
| 1.1+1.2+1.450021 | 120300 8 (Ø900) 5002 | 011 | 50000 | |
| 1.4+1.1 | 500100000000 | 9 | 500203000000 | |
| 2.1500228000201 | 15 (Ø520) 5002041030 | 00 | ||
| 2.2500228000202 | 15 (Ø640) 5002041040 | 00 | ||
| 3.1500201001100 | 15 (Ø760) 5002041061 | 08 | ||
| 4500413000400 | 15 (Ø900) 50020410710 | 0 | ||
| 5(1.5")500201202 | 000 16 + 9 (Ø520) 5002 | 203 | 33200 | |
| 5(2") | 500201201100 | 16 + 9 (Ø640) | 500203104200 | |
| 6(1.5")SPX0719PAKKR | 16 + 9 | (Ø760) | 500203196200 | |
| 6(2") | 500200061100 16 + 9 | (Ø900) | 500203217200 | |
| 7500200070300 24 | 50020 | 100 | 1300 | |
| 8(Ø520)5002011 | 20000 25 + 26 | 500413002500 | ||
| 8(Ø640-680) | 500201130000 |
GARANTIE LIMITÉE
All HAYWARD products are covered for manufacturing defects or material defects for a warranty period of 2 years as of date of purchases. Any warranty claim should be accompanied by evidence of purchase, indicating date of purchase. We would therefore advise you to keep your invoice.
The HAYWARD warranty is limited to repair or replacement, as chosen by HAYWARD, of the faulty products, provided that they have been subjected to normal use, in compliance with the guidelines given in their user guides, provided that the products have not been altered in any way, and provided that they have been used exclusively with HAYWARD parts and components. The warranty does not cover damage due to frost and to chemicals. Any other costs (transport, labour, etc.) are excluded from the warranty.
HAYWARD may not be held liable for any direct or indirect damage resulting from incorrect installation, incorrect connection, or incorrect operation of a product.
In order to claim on a warranty and in order to request repair or replacement of an article, please ask your dealer.
No equipment returned to our factory will be accepted without our prior written approval.
Wearing parts are not covered by the warranty.
GARANTÍA LIMITADA
BESCHRANKTE GARANTIE
- OPERATION
- INSTALLATION
- Filter location
- Pump assembly
- SIDE filter (valve on the side, Fig. 1):
- STARTING UP
- IMPORTANT: ALWAYS STOP THE PUMP BEFORE OPERATING THE MULTI-WAY VALVE.
- USE ONLY HAYWARD Genuine REPLACEMENT PARTS
- VALVE AND FILTER FUNCTIONS
- FILTER
- BACKWASH
- RINSE
- WASTE
- RECIRCULATE
- CLOSED
- WINTERIZING
- SERVICE AND REPAIRS
- HAYWARD®
- FILTROS DE ARENA
- KLEP- EN FILTERFUNCTIES
- FILTER (FILTER)
- KOHCEPBAUHA 3IMHNIPEPOD
- PEMOHT IN TEXHnueCKOE OBCJyXnBAHne
- HAYWARD
- GARANTIE LIMITÉE
- GARANTÍA LIMITADA
- BESCHRANKTE GARANTIE
Brand : HAYWARD
Model : S240SLETL
Category : Water pump