DBM230X - Drill MAKITA - Free user manual and instructions
Find the device manual for free DBM230X MAKITA in PDF.
Download the instructions for your Drill in PDF format for free! Find your manual DBM230X - MAKITA and take your electronic device back in hand. On this page are published all the documents necessary for the use of your device. DBM230X by MAKITA.
USER MANUAL DBM230X MAKITA
Original Instructions
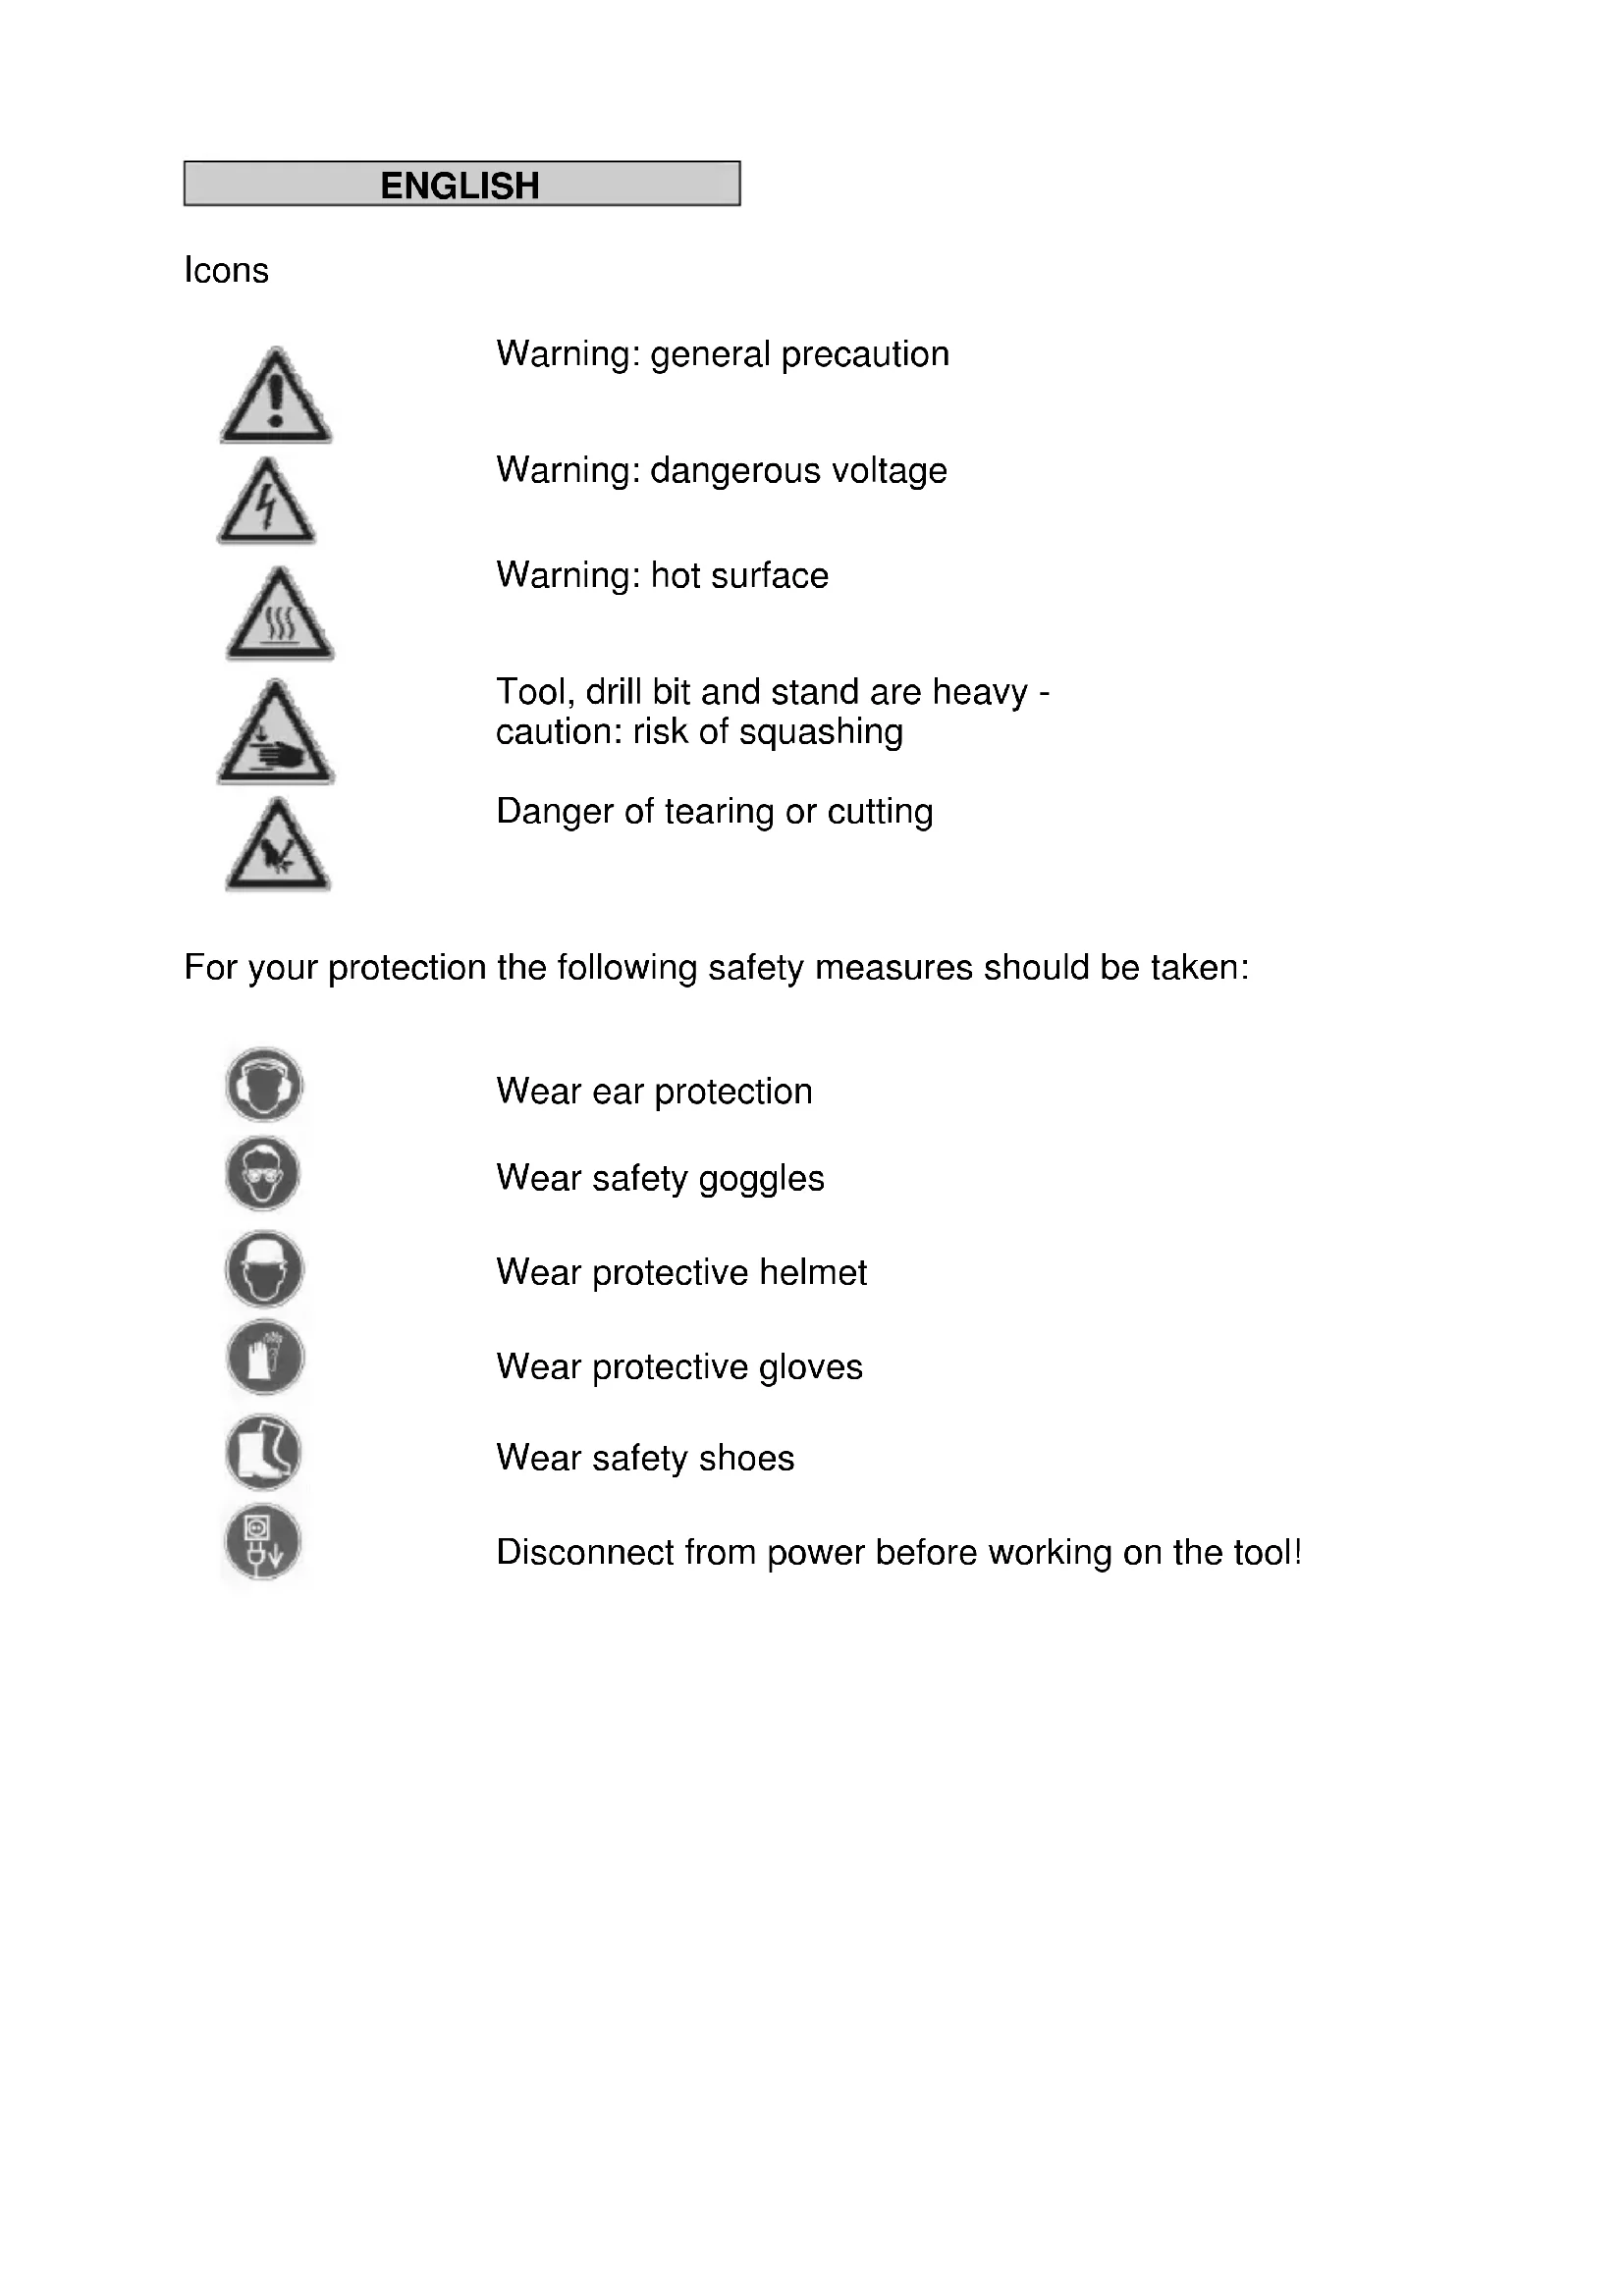
Tool, drill bit and stand are heavy - caution: risk of squashing
Danger of tearing or cutting For your protection the following safety measures should be taken:
Disconnect from power before working on the tool!Equipment characteristics
The Wet Diamond Core Drill DBM 230 shall only be operated by trained personnel! The DBM 230 in connection with wet core drill bits is designed for drilling in concrete, stone and masonry for wet cutting only. The tool may only be used in conjunction with a suitable diamond drilling stand (P-54190). Safety precautions
Important directions and safety precautions are represented by symbols on the tool.
Read these instructions carefully and completely and adhere to them strictly in order to ensure safe working conditions. In addition, the general safety regulations in the annexed brochure must be observed. Before using the tool for the first time, ask for a practical demonstration.Work carefully and with concentration. Keep your work area clean and avoid hazardous situations.
Take precautions for the protection of the operator. If the cable is damaged or severed during operations, do not touch the cable, immediately pull the main plug. Never use the tool when the cable is damaged. Before drilling in ceiling or walls make sure not to drill into electrical mains, gas or water pipes. Use a metal detection system where appropriate. Consult the structural engineer in charge in order to determine the exact position of drilling before you start. When drilling through ceilings, secure the area below as the drill core may drop downwards.
Take care not to expose the tool to direct rain. Do not operate the tool in areas with explosion hazard. Do not operate while standing on ladders. Material containing asbestos must not be drilled. Never carry the tool by the cable. Before using the tool make sure to check tool, cable and plug. Damages must be repaired by an authorized specialist. Make sure that the tool is switched off before connecting to the power outlet. Manipulations of the tool will result in a forfeit of the warranty. During operations the tool must be under constant supervision. The tool should be switched off and disconnected from power when not under supervision, in case of mounting or dismounting the tool, in case of voltage drops or when fixing or mounting accessories. If the engine stops during operations switch the tool off. Thus you avoid an undesired sudden re-start of the engine. Do not use when parts of the housing, the switch, power cable or plug are damaged. Electric tools must be visually inspected and tested by a specialist at regular intervals. When operating the drill, cooling water must never get into the motor and all electrical parts. Overhead-drilling must only be performed while observing suitable safety precautions (water collection). Stop operating when water is seeping out of the overflow tap in the gear collar and take the tool to an authorized service point. After an interruption of operations, the engine should only be switched on again if the drill bit can be turned freely. When operating the tool always wear ear protection. Do not touch rotating parts. Persons under 16 years of age must not operate the tool and persons over 16 and under 18 must only use under close supervision
The operator and persons in the vicinity must wear appropriate safety goggles, protective helmet, ear protection, protective gloves and safety shoes during operations. Always work with concentration. Do proceed with consideration and do not operate the tool when not fully concentrated. For further safety instructions refer to the enclosure! Mounting the core drill tool on
diamond drilling stand P-54190 Mounting the mounting plate Dimensions of the motor unit Use the turnstile to open the locking device of the mounting plate. Take it out and connect it to the core drill as described below.
The drilling stand P-54190 comes with a mounting plate, a 10 mm fitting key and 4 hexagon hollow head plugs M8. The mounting plate is fixed on the tool with the fitting key so that the coupling on the mounting plate is on the same side as the gear change of the engine. The 4 plugs are then inserted and tightened.
Insert the core drill tool with the affixed mounting plate into the drilling stand which must be firmly anchored on the surface. Lock it with the turnstile (see page 18).Power connection The DBM 230 is a protection class I insulated machine. For protection purposes the tool may only be operated with a GFCI. Therefore a GFCI-switch is integrated in the cable for use in a safety plug with ground.
- The GFCI safety switch must not be submerged in water. - Do not use the GFCI switch for switching the tool on/off! - Before operations check the proper functioning by pushing the TEST-button. First, check the correspondence of available voltage and frequency against the data on the identification plate. +6 - -10% voltage difference is permitted. Use only three-wire extension cable with protective conductor and a sufficient cross-section (min. 2,5 mm2). A cross section which is to small could lead to excessive power loss and to overheating of the cable and the motor. Recommended minimum cross section and cable lengths Line voltage cross section in mm
If the drill bit is not sufficiently cooled with water, the diamond segments could heat up which will damage and weaken them. Therefore you should always make sure that the cooling system is not blocked. In order to provide the drilling tool with water the following steps must be taken: Plug the tool to the water supply or a water pressure vessel via the hose fitting. Ascertain that the tool is only operated with sufficient clean water as otherwise the seals will get damaged when the tool is running dry. Caution: Water pressure must not exceed 3 bar. Make sure that the segments are cooled sufficiently. If the drilling water is clear, cooling is adequate. If you want to enlarge a hole which you just drilled, close it in order to achieve an adequate provision of cooling water. When working over-head, a water collecting ring must be used. Drain the water system when temperatures below the freezing point are prognosticated.Gear shifting
The DBM 230 is equipped with a mechanical 3-gears transmission in oil bath. Adjust the rotation speed of the engine to the drill diameter (for details see identification plate). Turn the gear switch to a faster/slower gear until it arrests. Gears must only be shifted when the engine is at stand-still. It may be necessary to support the switching operation by slightly turning the lead screw. Warning! Never use force, shift gears only when the motor decelerates or is at stand- still! Do not use tools e.g. wrenches, hammers for gear shifting! Changing the drill bit
Caution! The tool is heavy and may heat up during operations or sharpening. You could burn your hands, cut, tear or squash yourself on the segments. Before working on the equipment pull the power plug. Raise the engine retainer with the core drill until it arrests in the final position. Always wear protective gloves when changing tools.
The drill spindle has a right-hand thread. To retain the spindle use an open-end wrench 32mm on the drill spindle. Never remove the drill bit by hitting it (with a hammer) as this will cause damage to the core drill tool. Putting some waterproof grease on the drill spindle thread and a copper ring placed between the spindle and the drill bit will further facilitate the removal of the drill bit. Operating the drill unit
In order to safely operate the tool, please observe the following notes: Details to the work area Keep the work area free of everything which could obstruct operations. Provide for adequate illumination of the work area. Adhere to the regulations concerning the power supply. Install power lines in such a way that any damage by the drill can be avoided. Make sure to always keep the work area in view and to be able to reach all necessary operating elements and safety installations. Keep other persons away from your work area in order to avoid accidents. Space requirements for operations and maintenance Keep a free space for operations and maintenance of about 2 m around the drill, whenever possible, so that you can work safely and have immediate access in case of a malfunction. Drilling
Preparation When drilling into blocks make sure that they are well fixed and fastened. Before drilling into load-bearing elements, make sure that the foundation are not damaged. Follow the instructions of the specialists responsible for the planning. Make sure not to damage gas or water pipes or power lines during drilling. Make sure that the drill core will not hurt anybody or cause damage to anything when falling out. Clear and secure the work area. When drilling through holes through ceilings, secure the area from below, as the drill core may fall downwards. If the drill core could cause damage when falling down, set up a construction to hold back the drill core. Make sure that the drill bit is fixed correctly. Use the correct tools appropriate for the material to be worked upon. Take care that the drill stand is attached firmly to the surface. The following possibilities exist for mounting the P-54190: Fixing the mount in concrete by means of dowels For brickwork, expending anchor must be used. Mark the position of the drill holes for the fixing on the surface to be drilled. Drill a hole (Ø 15) 50 mm deep (A), into which the dowel M12 (B) is to be placed;insert the dowel and secure the dowel with the doweling tool (C). Screw the quick action clamping screw (D) into the dowel. Install the mount. Fix the washer (E) and finally the fastening nut (F) on the quick action clamping screw (D). Torque the fastening nut with a SW 27 wrench. Before and after tightening the nut (F) the adjustable screws have to be adjusted. Do check whether the mount is installed safely and firmly. Fixing the mount on the floor by vacuum Do not use vacuum fixing on walls or over-head! Vacuum fixing may only be used if the area to be drilled is level, free of pinholes and cracks, otherwise this method cannot be applied. For the vacuum fixing you need the vacuum set P-54190, vacuum pump and - hose. They are available on request. Screw the plug-in nipple into the foot plate, to which previously seal strip has been applied. Insert the vacuum handle with the seal.
Fasten the vacuum handle with a washer and hexagon hollow head plug M8x30.
Connect the drill mount and the vacuum pump. Bring the drill mount in the correct position and switch the pump on. Check whether all 4 levelling screws in the foot plate are completely turned back and a vacuum of min. -0.8 bar is achieved. By pressing the valve button on the handle the drill mount may be disengaged and readjusted.The vacuum pump has to run during the complete operation, it is to be placed in such a way that you can always observe the pressure gauge. It is mandatory to check that the foot plate is firmly affixed before you start drilling. Fixing the mount by means of clamping device In order to brace the drill mount by means of a clamping device, the distance between the opposite wall must be between 1,7 m and 3 m.
Position the drill mount. Position the clamping device as close as possible behind the column on the base of the mount. Fix the mount by turning the crank (G) clockwise. Secure the installation with the appropriate bolt (H).
Caution! The drill stand must be firmly connected to the surface. Otherwise the operator might suffer injuries or the drill could be damaged. Uncontrolled movements during drilling will cause the drill bit to hit the surface to be drilled, this may cause chipping of the segments. The drill bit might also tilt in the borehole which will also damage it. Execution of drilling Switch the GFCI to ON. Open the water supply. Switch the motor ON, the drill bit must not yet touch the surface. Lower the drill bit until it touches the surface. In order to achieve an exact centering of the drill bit, minimize the forward travel of the drill bit during he first centimeter of cutting depth. Now you can increase the drilling speed to the correct speed for the core bit in use. If the drilling speed is too high, the diamond segments will become blunt in short time. Inclined drilling Remove the bolt in the foot plate, which holds the column at a 90º angle. Loosen the thumb screw between support and column and swivel the column to the desired angle. Tighten the two bolts again. At the start of drilling, use low drill speed as only a portion of the drill bit touches the surface. If the drill speed or pressure is too high the drill bit may become erratic.Overhead drilling You must install a water extracting device. Connect a wet vacuum to the extracting device and switch it on. Open the water supply and ensure that the water reaches the segments before you start drilling. When drilling overhead take special care that no water enters into the tool. In case you notice during drilling that the advance speed becomes very slow, that you have to employ increased pressure and that the water emerging from the borehole is clear and mixed with metal splinters you probably have hit reinforcement iron. Reduce the pressure on the drill bit and switch to the next lower gear if possible in order to separate it without problems. You may increase the pressure, and the drill speed after separating the reinforcement. Extension of the drill bit If you have to drill deeper than the working length of the drill bit permits: At the outset, drill only as deep as the working length of the bit permits. Remove the drill bit and take the drill core out of the drilled hole without moving the core drilling installation. Replace the drill bit into the drilled hole. Install an appropriate extension between drill bit and motor. If the drill bit holding fixture is 1¼ " do not forget to install the copper rings in order to facilitate the loosening of the drill bit.Overload Protection
In order to protect the operator, the motor and the drill bit, the DBM 230 is equipped with mechanical, electronic and thermal overload protection. Mechanical: If the drill bit is suddenly blocked in the borehole, a slip clutch will disengage the drill bit from the motor. Electronic: An LED is built into the housing in order to alert the operator in case of excessive forward pressure. During no-load or normal operations, there will be no indication. In case of overload, the LED will give a red signal. In this case the tool must be disengaged. If the red signal is disregarded for a longer period of time, the tool will be switched of automatically by the electronic device. After disengagement and switching the tool switch to off and on again drilling may continue. Thermal: The motor is protected from destruction by a thermal element in case of continuous overload. In this case, the engine will stop automatically. It may be put back into operations after a cooling period of approx. 2 min, depending on the degree of overheating of the motor winding and ambient temperature. Safety clutch
The slip clutch is designed to absorb shocks and excessive loads. It is designed as an auxiliary means and not an absolute protection. Therefore, care must be taken during drilling. To maintain the operability, the clutch should slip for max. 2 seconds. After excessive wear the clutch must be exchanged by an authorized service point. Do not loosen a jammed drill bit by switching the tool off and on. This will cause a premature wear of the clutch. Breaking of a segment
In case that a diamond segment, parts of the reinforcement or similar loosens during drilling and the drill bit thereby gets jammed, stop working on this borehole and drill a hole with the same center and a 15 to 20 mm greater diameter. Do not try to finish drilling with another drill bit of the same diameter!After drilling
After you have finished drilling: Remove the drill bit from the borehole. Switch the motor off. Use the motor switch and not the GFCI for this purpose. Close the water supply. Removal of the bore core, in case it is stuck in the drill bit. Remove the drill bit from the motor. Put the drill bit in an vertical position. Slightly tap with the wooden handle of a hammer against the tube until the bore core slides out. Never knock the drill bit forcefully against a wall or treat it with tools like hammers or wrenches, the tube may become deformed so that neither the bore core will loosen nor the drill bit may be used again. Removal of the bore core in a blind hole Break off the core with a wedge or a lever. Remove the core with suitable pliers or drill a hole into the core, insert a lifting screw and pull the core out. Main tenance and Care
Before doing any work on the machine, pull the mains plug!
Repairs may only be performed by qualified, trained and experienced personnel. After each repair the tool must be inspected by an electrical specialist. Due to its design, the tool needs only a minimum of care and maintenance. Nevertheless the following rules should be observed: Clean the core drill unit after finishing the drilling. Afterwards grease the thread of the drill spindle. The air vents must always be open and clean. Take care that while cleaning the tool no water enters into the core drill tool. After the first 150 operating hours the transmission oil must be exchanged. The oil exchange will greatly increase the life cycle of the transmission. After approx. 200 operating hours the carbon brushes must be inspected by an electrical specialist and replaced if necessary (only use original carbon brushes). Switches, cable and plug must be inspected regularly by an electrical specialist.In case of malfunctions
In case of malfunctions switch the tool off and pull the mains plug. Repairs on the electric parts of the tool may only be performed by an electrical specialist. Troubleshooting
Tool does not operate - Line voltage interrupted - Power cable or plug defective - Switch defective - Plug in other electric tool, check function - Have them checked by specialist, replace if needed. - Have it checked by specialist,replace if needed Motor runs- drill bit does not turn - Transmission defective - Have the tool repaired by an authorized service point Drilling speed decreases - Water pressure/water
throughput too high - Drill bit defective
- Transmission defective - Drill bit polishes - Regulate water throughput
- Check drill bit for damages, exchange if needed - Have the tool repaired by an authorized service point - Sharpen drill bit on oilstone with water flushing running Motor switches off - Engine stops
- Tool overheated Overload protection activated - Hold tool in a straight position - Disengage tool and put it backto operations by activiting theswitch Water leaks from transmission housing - Gland rings defective - Have the tool repaired by an authorized service pointFRANÇAIS
- Transmissie defect
EC Declaration of Conformity We Makita Corporation as the responsible Manufacturer declare that the following Makita Machine(s): Designation of Machine:Wet + Dry Diamond Core Drill Model No / Type: DBM 230 Are of series production and Conforms to the following European Directives: 2006/42/EC And are manufactured in accordance to the following standards or standardised Documents: EN 61029 The Technical Documentation is kept by our authorised Representative in Europe who is:
Makita International Europe Ltd, Michigan, Drive, Tongwell, Milton Keynes, MK15 8JD, England.