DHP 55 - Dehumidifier Master - Free user manual and instructions
Find the device manual for free DHP 55 Master in PDF.

| Product type | Dehumidifier |
| Brand | Master |
| Model | DHP 55 |
| Refrigerant | R290 (flammable, GWP 3) |
| Power supply | ~220-240 V / 50 Hz (DV models: ~110-120 V / 50 Hz or ~220-240 V / 50 Hz) |
| Main functions | Dehumidification, ventilation, automatic defrost, timer (delayed start/stop), humidity and temperature display |
| Adjustable humidity range | 30% to 90% RH |
| Continuous mode | Yes (set to lower limit, display "CO") |
| Built-in drain pump | Yes, max. discharge head 3 m H2O |
| Water tank | Optional (used if pump fails) |
| Minimum room area | 4 m² |
| Safety distance | At least 50 cm from other objects |
| Operating temperature | 5 °C to 35 °C |
| Filter cleaning | At least once a month (warm water and neutral detergent, dry before reinstalling) |
| Defrost | Automatic, fan stops during the cycle |
| Error codes | E1: Refrigerant shortage; E2: Temperature sensor; E3: Humidity sensor; E4: Pump / tank full; E5: Defrost sensor |
| Safety | Indoor use only, do not use near water or ignition sources, do not pierce refrigerant circuit, do not use extension cord |
| Maintenance | Unplug before cleaning, do not disassemble the unit yourself (except the filter) |
| Stackable | Yes, up to 2 units (do not stack more than one) |
Frequently Asked Questions - DHP 55 Master
User questions about DHP 55 Master
0 question about this device. Answer the ones you know or ask your own.
Ask a new question about this device
Download the instructions for your Dehumidifier in PDF format for free! Find your manual DHP 55 - Master and take your electronic device back in hand. On this page are published all the documents necessary for the use of your device. DHP 55 by Master.
USER MANUAL DHP 55 Master
natural_image
Icon of an open book with an exclamation mark, enclosed in a diamond shape with a yellow diagonal stripe (no text or symbols)USER AND MAINTENANCE MANUAL
DHP 55 - DHP 55DV
| en | it | de | es | fr | nl | pt | da | pl | ru | cs | hu | lt | lv | et | ro | uk | zh |
NOTE:
ТЕХНИЧЕСКИ ДАНИ - ТЕСННІСКЕ ЎДАJE - ТЕСННІСНЕ DATEN - TEKNISK DATA - TEHNILISED ANDMED - ESPECIFICACIONES TÉCNICAS - TEKNISET TIEDOT - DONNÉES TECHNIQUES - TECHNICAL DATA - TEHNIČKI PODACI - MÓSZAKI ADATOK - DATI TECNICI - TECHNINIAI DUOMENYS - TEHNISKIE DATI - TECHNISCHE GEGEVENS - TEKNISKE DATA - DANE TECHNICZNE - DADOS TÉCNICOS - INFORMAII TEHNICE - ТЕХНИЧЕСКИЕ ДАННЫЕ - TEKNISKA DATA - TEHNIČNI PODATKI - TECHNICKÉ PARAMETRE - ТЕХНІЧНІ ДАНИ
| MODEL DHP 55 DHP 55DV | ||
 | ~220-240 V-B 50 Hz-Γμ 830 W-Bτ 4,2 A | ~220-240 V-B 50 Hz-Γμ 830 W-Bτ 4,2 A~110-120 V-B 50 Hz-Γμ 880 W-Bτ 8,4 A |
 | 45,9 l/24h-л/24ч 45,9 l/24h-л/24ч | |
 | 400 m3/h-m3/ч 400 m | ^3 /h-M3/ч |
| [YBTX] | R290 0,15 kg-кг R290 0,15 kg-кг | |
 | 5÷35°C 5÷35 | °C |
 | 20÷90% 20÷90% | |
 | ≤52 dB-дБ ≤52 dB-дБ | |
 | 47 kg-кг 58 kg-кг | |
| CO2Eq | 0,0005 0,0005 | |
| GWP | 3 | 3 |
NOTE:
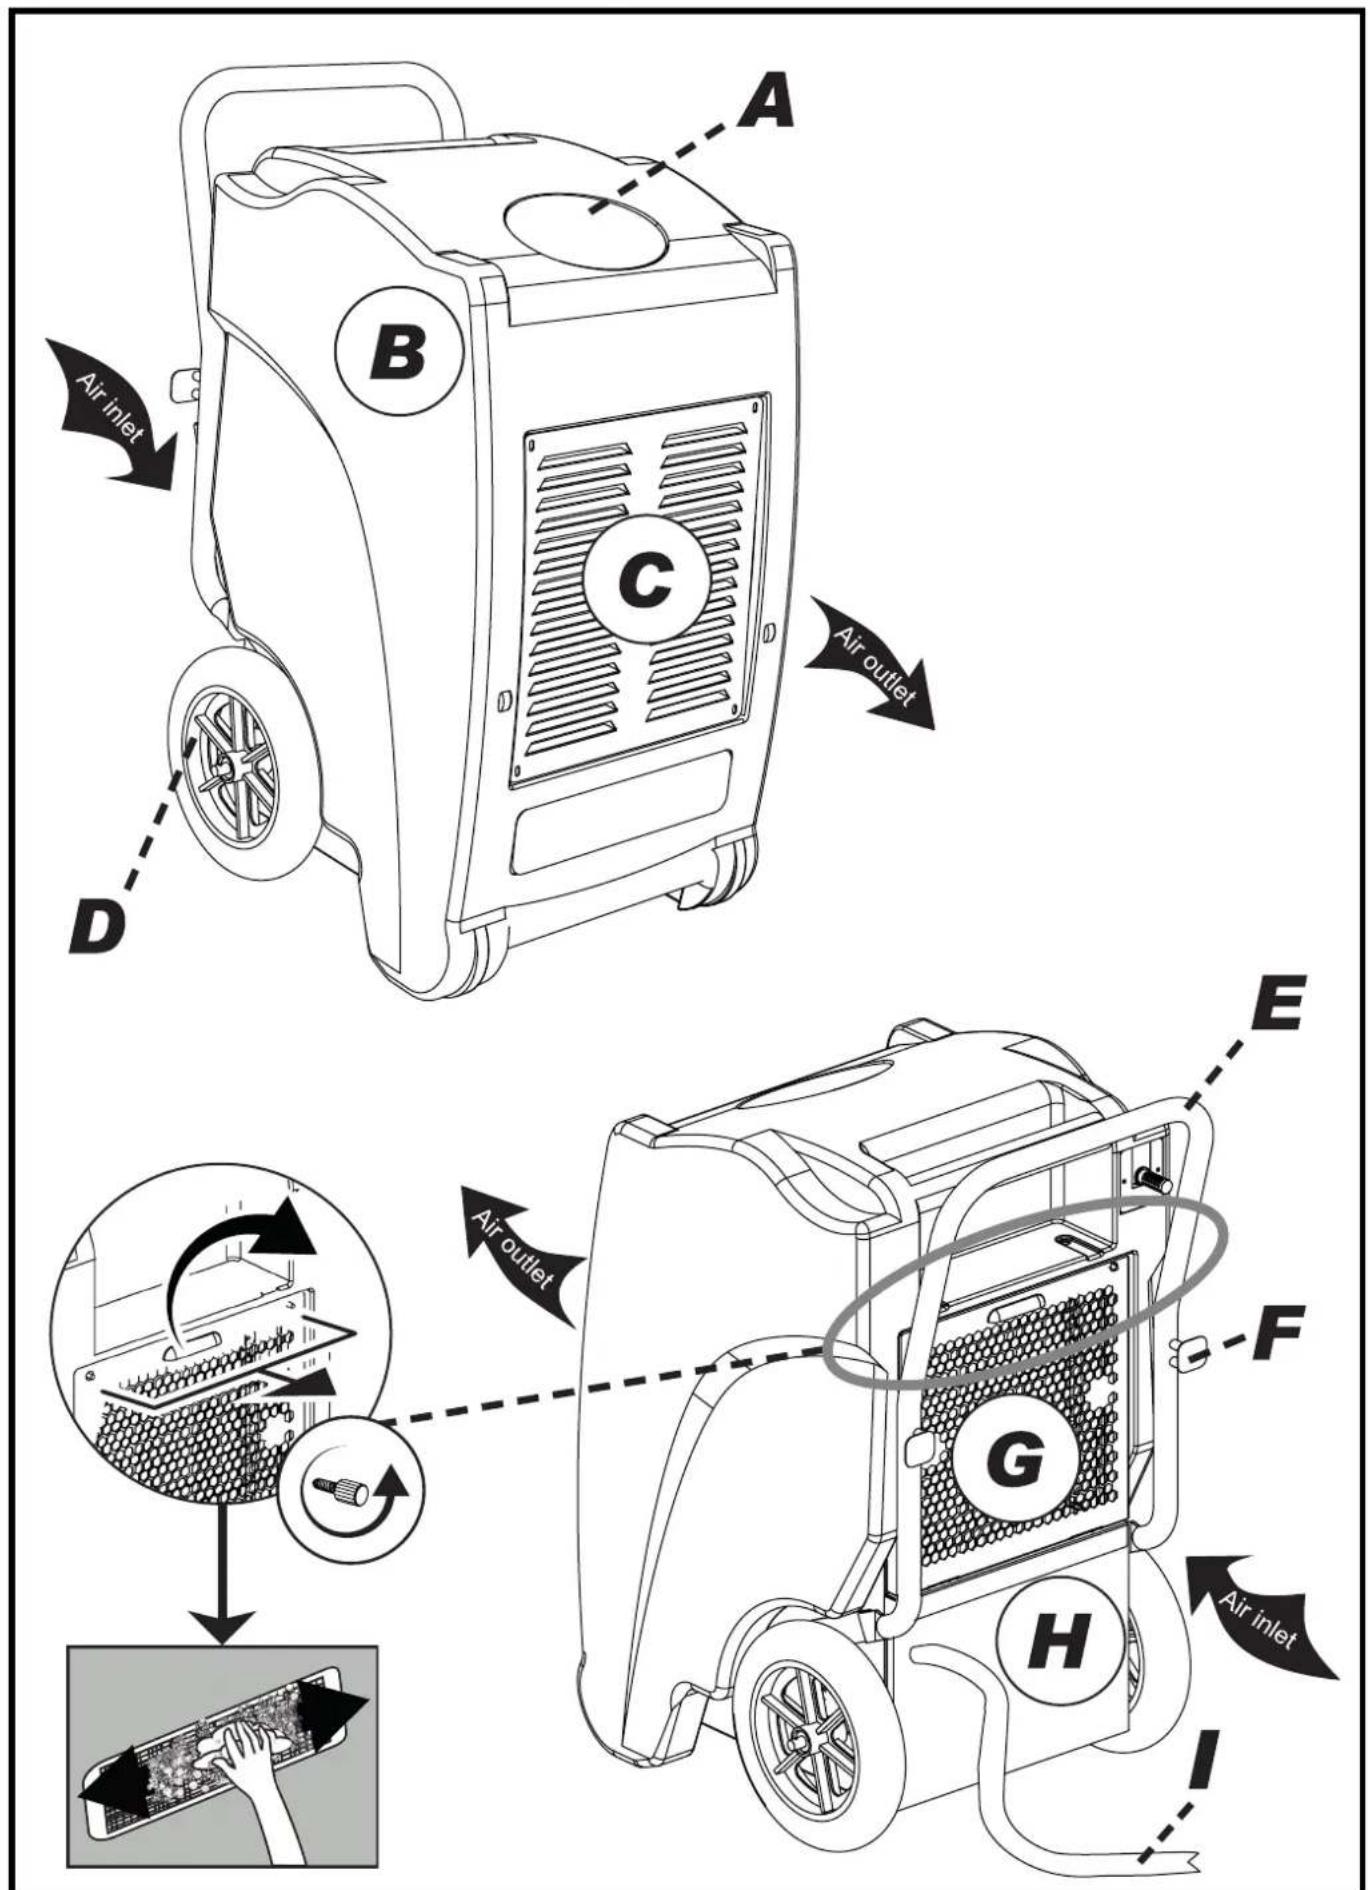
Fig. 1

Fig. 1
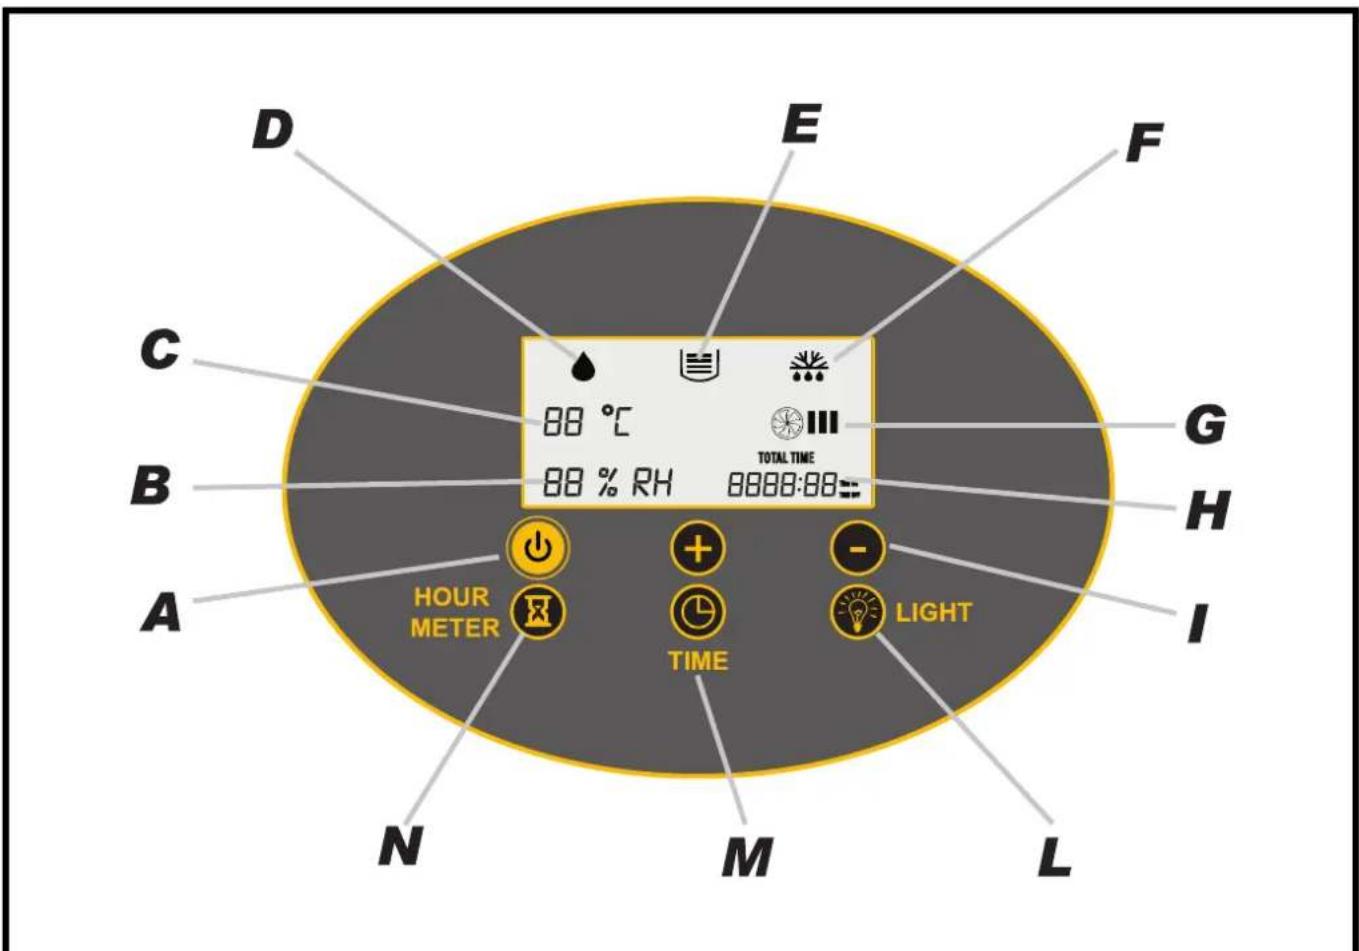
Fig. 2
natural_image
Simple line drawing of a plug with three blocks and a prohibition symbol (no text or labels)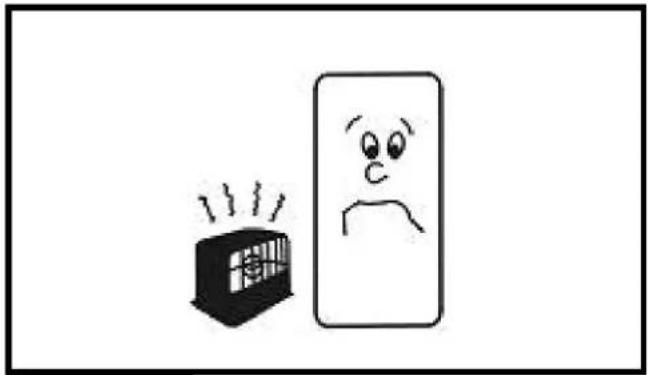
natural_image
Simple line drawing of a distressed face next to a smiling box with steam, no text or symbols presentFig. 4Fig
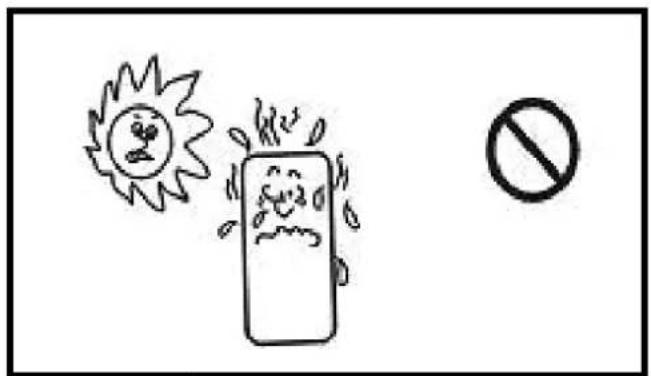
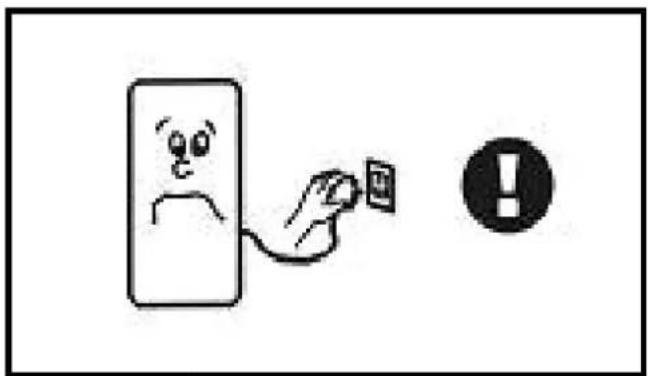
Fig. 6Fig
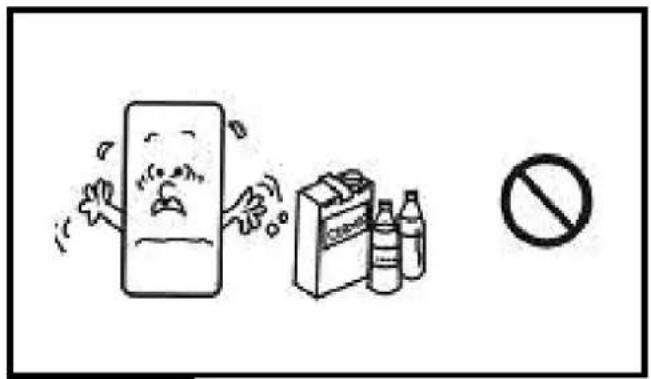
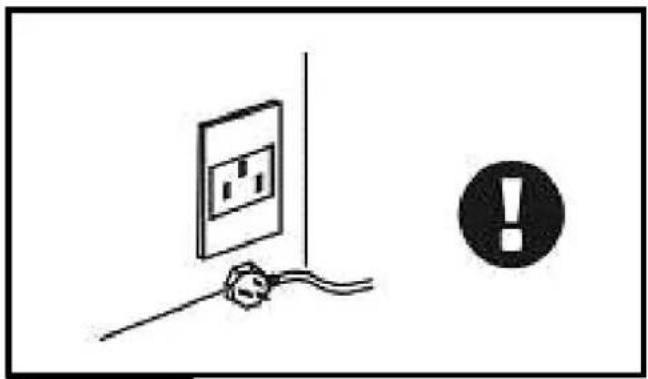
Fig. 8Fig
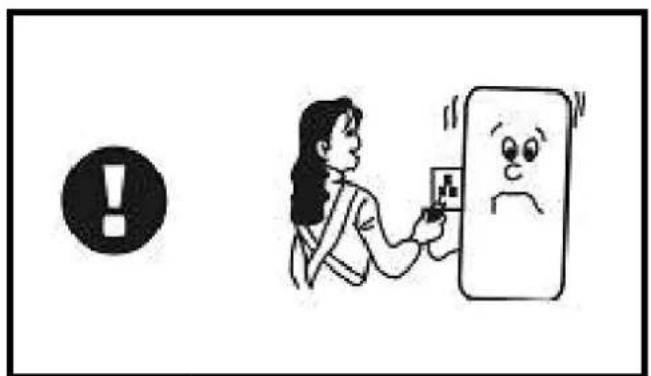
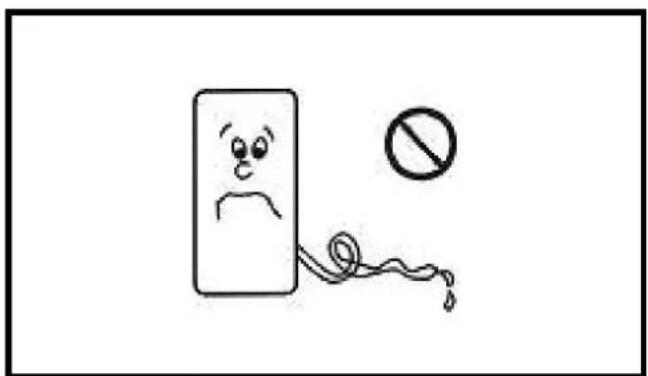
Fig. 10F
natural_image
Simple line drawing of a smiling face with a surprised expression, next to an exclamation mark (no text or symbols)Fig. 12F

natural_image
Simple line drawing of a stylized tablet device with a black screen on top (no text or symbols)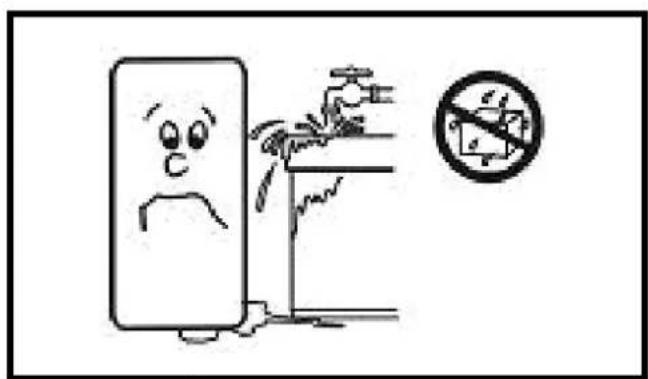
Fig. 14F
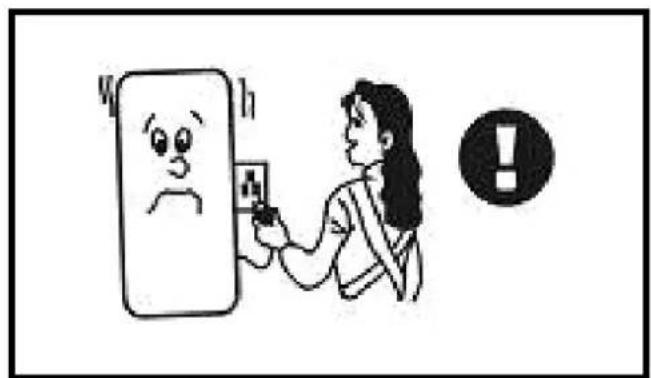
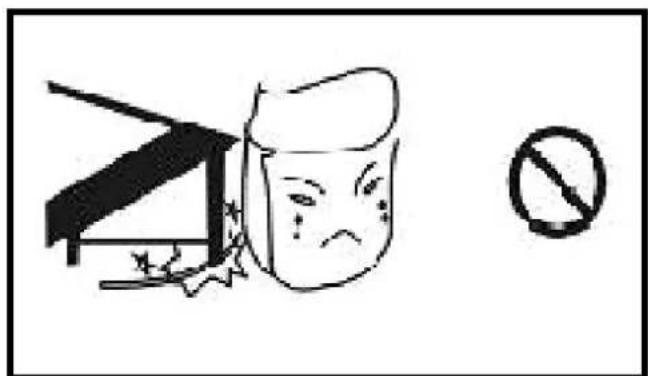
Fig. 16F
natural_image
Simple line drawing of a hand holding a wall-mounted device with an exclamation mark in the corner (no text or symbols on the device itself)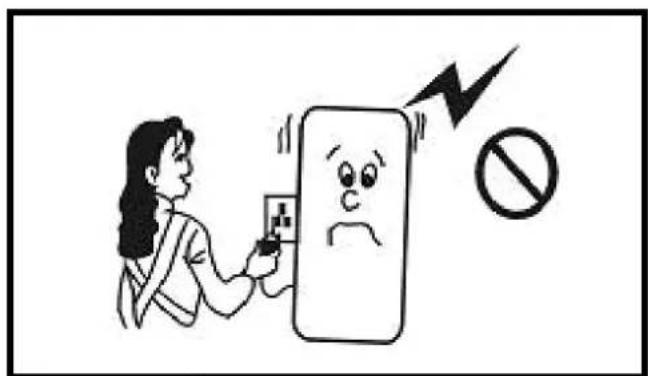
Fig. 18F

natural_image
Line drawing of a portable air purifier with wheels and ventilation grilles, showing a downward arrow (no text or symbols)Fig. 19

flowchart
graph TD
    A[" fan rotation"] --> B[" OFF "]
    B --> C[" timer ~20 sec. "]
    C --> D[" ~20 sec. "]
CONTENTS
| 1... | BEFORE USE |
| 2... | CONSTRUCTION |
| 3... | OPERATION |
| 4... | MAINTENANCE AND SAFETY |
| 5... | NOTICES ABOUT UNIT OPERATION |
| 6... | ELIMINATION DE DÉTÉRIORATIONS |
PLEASE TAKE TIME TO READ THIS MANUAL CAREFULLY BEFORE USE AND SAVE IT FOR FUTURE REFERENCE.
▶ 1. BEFORE USE CAUTION!

These symbols on your device mean:
This appliance is filled with Propane gas R290. Follow strictly the manufacturer's instruction concerning use and repairs!
▶ Before using the machine, read carefully the entire instruction manual.
▶ Do not install, operate or store the device in a room smaller than 4m^2 .
GENERAL CAUTIONS
▶ FOR INDOOR USE ONLY.
▶ Do not use in cabinet, closet, boats, caravans or similar locations.
▶ Do not use the unit in swimming pools, washrooms or similar wet areas.
▶ Leave the unit to stand for 12 hours before connecting to the mains supply after transport or when it has been titled (ex. During cleaning).
▶ Only use the unit in the upright position on a flat level surface (even during transport!) and at least 50cm from any objects.
▶ Do not use the unit in a potentially explosive environment containing combustible liquids, gases or dusts.
▶ Do not use the appliance in the vicinity of flammable or explosive substances or fuels. Never use any paint, cleaning sprays, anti-insect sprays or similar near the unit; this could deform the plastic or cause electrical damage.
▶ Ensure that there is at least 50cm between the sides of the appliance and any flammable, heating materials.
▶ Do not place objects on the unit or restrict air inlet/outlet.
▶ Avoid the unit from splash.
▶ Closely supervise any children and pets when the unit is in use.
▶ CHILDREN SHALL NOT PLAY WITH APPLIANCE.
▶ Cleaning and user maintenance shall not be made by children without supervision.
▶ Switch off and unplug the unit when not in use.
▶ Never leave a functioning device unsupervised.
▶ Do not pull the unit along by the cord.
▶ Avoid over-twisting, -coiling, -pulling the power cord, never use nylon or iron wire to tide the power cord.
▶ Make sure that the plug and socket remain visible and accessible at all the time.
▶ Do not use extension cords.
▶ Never reach to retrieve the unit if it has fallen in water. In such case, immediately pull the plug. Have the unit checked before using it again.
▶ The appliance shall be installed in accordance with national wiring regulations.
▶ Do not exceed the recommended room size for max. efficiency.
▶ Close the doors and windows.
▶ Keep curtains or blinds closed during the sunniest hours of the day.
▶ Keep filters clean.
▶ Do not turn on the appliance if you have discovered damage to the appliance, cord or plug, if the appliance is malfunctioning or if there are signs of any other defect. Return the complete product to the vendor or to a certified electrician for inspection and/or repair. Always ask for original parts. The appliance (incl. cord and plug) may only be opened and/or repaired by properly authorized and qualified persons.
▶ Suggest to send the unit for professional maintenance periodically.
▶ ONLY A LICENSED PROFESSIONAL IS ALLOWED TO DISMANTLE OR MODIFY THE APPLIANCE.
▶ THE MACHINE IS TO BE USED ONLY FOR ITS PRESCRIBED PURPOSE. ANY OTHER USE IS DEEMED TO BE A CASE OF MISUSE. THE USER/OPERATOR, NOT THE MANUFACTUER WILL BE LIABLE FOR ANY DAMAGE OR INJURIES OF ANY KIND CAUSED AS A RESULT OF THIS.
▶ Always keep the unit in vertical position.
▶ Keep all foreign objects away from the air intake or output openings.
▶ The mains supply must conform to the specification shown on the rating plate at the back of the unit.
▶ If the supply cord is damaged, it must be replaced by an approved service representative or a similar qualified person in order to avoid a hazard.
▶ Never use the plug to start and stop the unit. Always use switch on the control panel.
▶ Before moving the unit, first switch off, then unplug and empty the water tank.
- Don't use bug sprays or other flammable cleaners on the unit.
▶ Never pour or spray water over the unit.
▶ THIS APPLIANCE IS NOT INTENDED FOR USE BY PERSONS (INCLUDING CHILDREN) WITH REDUCED PHYSICAL, SENSORY OR MENTAL CAPABILITIES, OR LACK OF EXPERIENCE AND KNOWLEDGE, UNLESS THEY HAVE BEEN GIVEN SUPERVISION OR INSTRUCTION CONCERNING USE OF THE APPLIANCE BY A PERSON RESPONSIBLE FOR THEIR SAFETY. CHILDREN SHOULD BE SUPERVISED TO ENSURE THAT THEY DO NOT PLAY WITH APPLIANCE.
- Please do not cut off the power by pulling the wire. - Please do not plug or unplug to startup or shut off the unit.
▶ Please be careful when moving the unit, do not mangle the wire.
▶ Please do not put fingers or sticks into the grid.
▶ Please prohibit child to climb, stand or sit on the unit.
▶ Please unplug the unit before cleaning or maintenance.
▶▶ SAFETY RELATING TO REFRIGERANT R290:
▶ Read these warnings carefully.
▶ This appliance contains the refrigerant R290. R290 is a refrigerant that complies with the relevant European Directives. Never perforate the refrigerant circuit. R290 is flammable (GWP3)!
▶ Do not use means to accelerate the defrosting process or to clean, other than those recommended by the manufacturer.
▶ The appliance shall be stored in a room without continuously operating ignition sources (for example: open flames, an operating gas appliance or an operating electric heater).
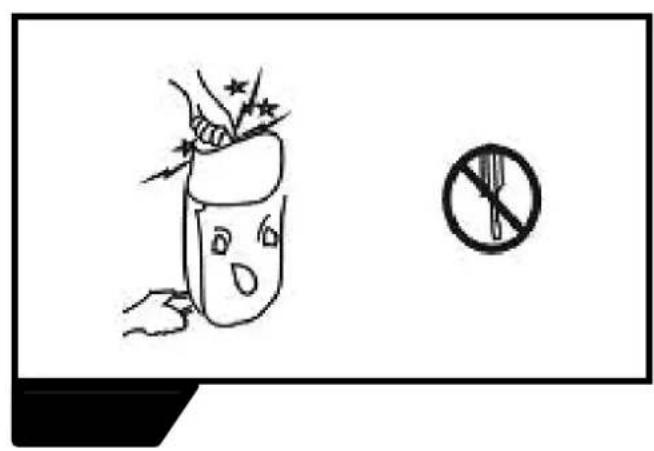
▶ Do not pierce or burn any of the components of the cooling circuit of the unit. Do not set light to the unit.
▶ The appliance shall be stored so as to prevent mechanical damage from occurring.
▶ Appliance should be installed, operated and stored in a room with a floor area larger than 4m^2 .
▶ Be aware that the refrigerants may not contain an odour, which means you cannot smell leaks.
▶ Compliance with national gas regulations shall be observed.
▶ Keep ventilation openings clear of obstruction.
▶ A warning that the appliance shall be stored in a well-ventilated area where the room size corresponds to the room area as specified for operation.
▶ Any person who is involved with working on or breaking into a refrigerant circuit should hold a current valid certificate from an industry-accredited assessment authority, which authorizes their competence to handle refrigerants safely in accordance with an industry recognized assessment specification.
▶ Servicing shall only be performed on the grounds as recommended by the equipment manufacturer. Maintenance and repair requiring the assistance of other skilled personnel shall be carried out under the supervision of the person competent in the use of flammable refrigerants.
NOTICE: WE SUGGEST THAT ANY REPAIRS SHOULD BE EXECUTED BY PROFESSIONAL SERVICEMEN
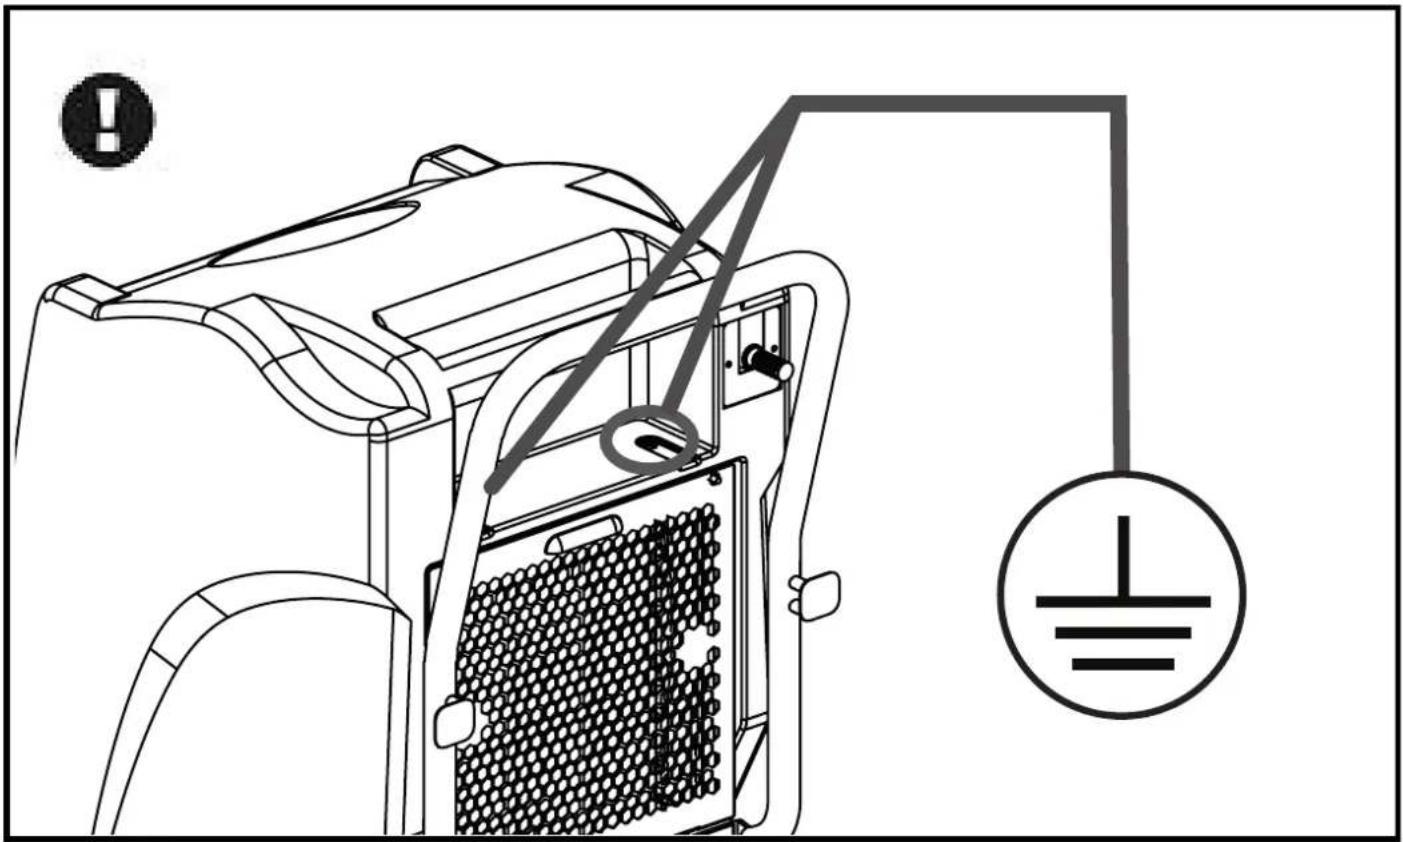
▶ Please make sure the unit is grounded.
▶ Please do not use unit in airproof conditions.
▶ Please follow the instructions thoroughly.
PRODUCT INTRODUCTION
Dehumidifiers can reduce air humidity in room and thus make people live comfortably and goods stored properly. Due to their neat appearance, compact configuration, high quality and easy operation, our dehumidifiers are widely used in research institutions, industry, transportation, medical centers, measuring institutions, stores, underground constructions, computer rooms, archives, warehouses, bathrooms, etc. Keeping apparatus, meters, computers, communication equipments, drugs and files away from moisture, eroding, and mildew.
▶▶2. DESCRIPTION
Dehumidifier PIC. 1
A. Control panel (display).
B. Cover.
C. Air outlet grille.
D. Wheels.
E. Transport handle. The handle must be installed by tightening the screws located on the side of the dehumidifier (Pic. 1).
F. Cord reel hooks.
G. Air inlet grille (contains the air filter which must be cleaned periodically. For cleaning remove the screws and remove the filter panel, clean the filter with low pressure air).
H. Compartment for the drain pump or water recovery tank (optional tank).
I. Drain pipe.
▶▶3. CONTROL PANEL AND DISPLAY
The control panel (Pic. 2) is located on the front of the dehumidifier and includes the following icons and buttons:
▶3.1. "ON/OFF" button (A Pic. 2): This button is used to switch the dehumidifier on or off.
▶3.2. RELATIVE HUMIDITY (B Pic. 2): The indicated value is the relative humidity in the room. When the desired humidity value is set, the reference value will be shown on the display for a few seconds.
▶3.3. ROOM TEMPERATURE (C Pic. 2): The indicated value is the temperature in the room.
▶3.4. DROP ICON (D Pic. 2): The "DROP" icon indicates when the dehumidifier is operating. When the "DROP" icon lights up on the display, it means that the dehumidifier is dehumidifying. If the "DROP" icon flashes on the display, it means that the humidity in the room is lower than the humidity set on the display and the dehumidifier, only the ventilation function will work.
▶3.5. WATER DRAIN ICON (with acoustic signal) (E Pic. 2): The "WATER DRAIN" icon (Error E4) indicates that the drain pump is blocked. If the water recovery tank (OPTIONAL) is used instead of the drain pump, it means that the tank is full and must be drained manually.
▶3.6. DEFROST ICON (F Pic. 2): The “DEFROST” icon indicates when the dehumidifier is defrosting (in this stage, ventilation is stopped).
▶3.7. VENTILATION ICON (G Pic. 2): The "VENTILATION" icon indicates when the dehumidifier is in ventilation mode.
▶3.8. TIMER (H Pic. 2): Displays the time (when the delayed switch-on or switch-off mode is set, the reference time for the desired setting is displayed for a few seconds).
▶3.9. “+” / “-” BUTTONS (I Pic. 2): These buttons are used to select the desired relative humidity in the room (by lowering this value, the dehumidifier will increase performance).
▶3.10. "LIGHT" BUTTONS (L Pic. 2): This button is used to turn on the display light for a few seconds, when the dehumidifier is on.
▶3.11. "TIME" BUTTONS (M Pic. 2): This button is used to activate or disable the delayed switch-on or switch-off mode.
-Delayed switch-on: With the dehumidifier switched off, press the "TIME" button, then press the "+" / "-" buttons until the desired switch-on time is displayed.
-Delayed switch-off: With the dehumidifier switched on, press the "TIME" button, then press the "+" / "-" buttons until the desired switch-off time is displayed.
▶3.12. "HOUR METER" BUTTONS (N Pic. 2): This button is used to set the clock. Press the "HOUR METER" button and then use the "+" / "-" buttons to set the correct time.
NOTE: Pressing and holding the button in question for a few seconds displays the total operating hours of the dehumidifier.
SWITCH-ON
IMPORTANT: The dual voltage models (...DV) set the correct voltage automatically.
In order to switch on the dehumidifier, it must have remained in a vertical position (normal use position) for at least 12 hours. Failure to comply with this rule may cause irreparable damage to the dehumidifier.
▶ Follow all the safety instructions.
▶Connect the power plug to the mains (SEE VOLTAGE IN "TECHNICAL DATA TABLE").
▶Press the "ON/OFF" button.
▶ Using the “+” / “-” buttons, select the desired relative humidity in the room. If you wish to operate the dehumidifier continuously, lower the relative humidity value to the lower limit, the display will show the indication "CO". When the "DROP" icon lights up on the display, it means that the dehumidifier is dehumidifying. If the "DROP" icon flashes on the display, it means that the humidity in the room is lower than the humidity set on the display and the dehumidifier, only the ventilation function will work.
SWITCH-OFF
▶ Press the "ON/OFF" button.
▶ Disconnect the supply plug from the power mains.
WARNINGS
If the humidity set is higher than the current humidity, the dehumidifier will not start working.
If the water drain pump is blocked or the tank is full, the "WATER DRAIN" icon will light up. In the meanwhile, the compressor and the fan power supply will switch off automatically and the system will emit the acoustic signal every 5 minutes, until it is reset.
Before switching the dehumidifier off, wait at least 3 minutes. After switching it off, wait at least 3 minutes before switching it on again.
During operation, in the event of low room temperatures, the dehumidifier will automatically check the circuit temperature for defrosting. During defrosting, the indicator on the display switches on automatically, the compressor works, but the fan turns off automatically.
The display and control panel show and allow you to set the desired humidity from 30% to 90%.
If the dehumidifier is not used for a long time, disconnect the power plug from the power supply.
WATER DRAIN PIPE
The dehumidifier is equipped with a drain pump and a pipe for water drainage. The drainage pump and the pipe automatically drain the water collected from the dehumidification process. The drainage pipe allows is used to convey the waste water where required.
CAUTION: Make sure you have positioned the drain pipe correctly in a place suitable for collecting water before operating the dehumidifier [Pressure generated by the pump: water column 3 m - H2O] (avoid blocking, crushing, etc. the piping).
CAUTION: The drain pump is activated automatically; make sure you have positioned the drain pipe correctly.
STORAGE
(Pic. 19)
The dehumidifier has been designed with specific shapes of the upper part of the cover which allow you to place a second dehumidifier on top. Make sure to perform the stacking operation in complete safety.
CAUTION: Do not stack more than one dehumidifier.
▶ 4. MAINTENANCE AND SAFETY
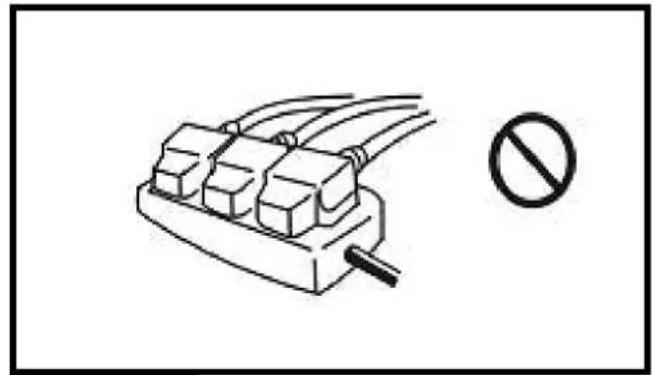
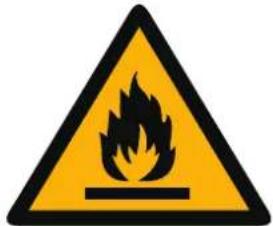
▶ FIG. 3
Do not use any relay, prolonged wire or adaptor. Otherwise, it might result in fire, radiation, or an electric shock.
FIG. 4
Do not put the unit nearby stove or heater. Otherwise parts of unit might melt down or even catch fire.
FIG. 5
Do not use the unit in the direct sunshine, wind or rain. (only for indoor usage)
▶ FIG. 6
In case of any other problems (for example smell of scorch), please shut off the unit and unplug it. Otherwise, it might result in fire, electric shock or other malfunctions.
FIG. 7
Do not use the unit in places easily affected by chemicals. Strong chemicals might damage the unit and cause the leakage.
▶ FIG. 8
Please unplug the unit when not used for a long time.
▶ FIG. 9
When cleaning, shut off and unplug the unit. Otherwise, it might result in an electric shock.
▶ FIG. 10
When draining continuously, put the drainer for smooth drainage. If the ambient temperature is as low as freezing, do not drain continuously.
▶ FIG. 11
Do not repair or disconnect the unit yourself. Otherwise it might result in fire or an electric shock.
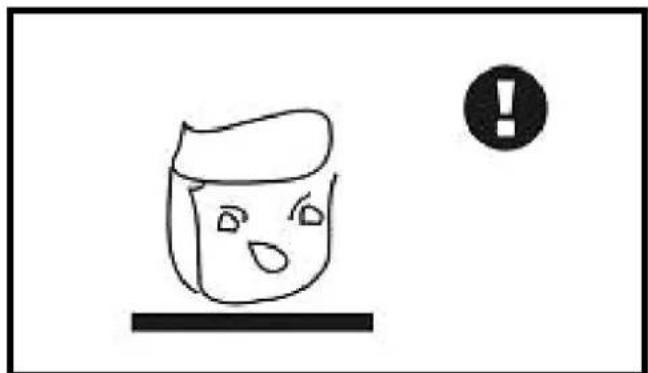
FIG. 12
Put the unit stably. If the unit turns over, the water will flow out from the tank and damage the objects nearby. Moreover, because of the damage, it might result in fire or an electric shock
▶ FIG. 13
Make the filter more endurable. When off for a long time, seal the filter in a plastic bag.
▶ FIG. 14
Do not use the unit near water. The unit might be damaged when soaked in water, so as to result in fire or electric shock.
▶ FIG. 15
Use the standard electric source of 220-240V / 50Hz [Model ...DV ( 110-120V / 50Hz) / ( 220-240V / 50Hz)]. Otherwise it might result in fire or electric shock.
▶ FIG. 16
Do not damage the wire. Do not put anything heavy on the wire or heat or pull the wire. Otherwise it might result in fire of an electric shock.
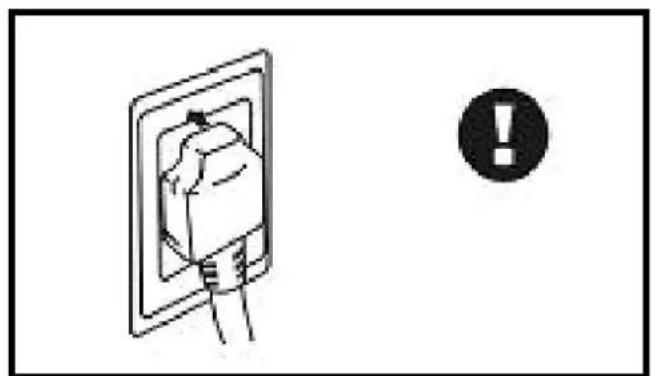
▶ FIG. 17
Clean the dirt on the plug and fix it tightly. If the plug is not fixed tightly, it might cause an electric shock.
▶ FIG. 18
Do not regard the plug as a switch. Otherwise it might result in fire or an electric shock.
▶ 5. NOTICES ABOUT UNIT OPERATION
▶ When moving the unit, do not tilt over 45^ to avoid any damaging of the compressor.
▶ The unit should be operated between 5°\~32°.
▶ When dehumidifying, because of the heat resulted from the running compressor, the indoor temperature will rise by 1^ 3^ . Such a reaction should be considered as normal.
▶ When indoor temperature is below 10^ , and the ambient absolute humidity is quite low, it is unnecessary to use the machine.
▶ Air inlet and air outlet should be at least 10cm away from the wall.
▶ Try to keep the room closed to enhance the dehumidification effect.
▶ Too much dirt on the filter affects dehumidification, may even result in malfunctioning of it, thus it should be cleaned at least once a month. If there is a great amount of powder in the air, the filter must be cleaned once a week, or even every day. Pull the front panel out and clean the filter. If necessary, you may slightly knock all over the filter, use a vacuum cleaner to remove bigger pieces of dirt or even wash the filter in warm clean water ( ≤ 40% with some neutral detergents) and then dry it.
▶ 6. TROUBLESHOOTING
UNIT DOES NOT WORK
▶ Analysis
- Power cut
2.Switch off
- Unplugged
4.Fuse melted
- Tank full
▶ Solution
- Power on
2.Switch on
-
Plug on
-
Exchange fuse
-
Empty the tank and replace it
DEHUMIDIFIES IN INADEQUATELY
▶ Analysis
1.Filter choked by dirt
- Some barrier
in air inlet or outlet
-
Door or windows open
-
Refrigerant leakage
▶ Solution
-
Clean the filter
-
Remove the barrier
-
Close the door and windows and seclude from the sunshine
-
Contact the manufacturer or seller
WATER LEAKAGE
▶ Analysis
-
The unit is inclined
-
Drainer choked
▶ Solution
- Adjust the unit to be stable
2.Pull out the panel and remove the barrier
STRANGE NOISE
▶ Analysis
-
Until instable
-
Filter choked
▶ Solution
-
Place the unit stably
-
Clean the filter
▶ When above malfunctions occur and they could not be removed, please contact the supplier or seller, do not disassemble the machine yourself.
▶ When the unit starts or stops running, it makes certain noises of refrigerating circulation, which should not be considered as a malfunction.
▶ Hot air coming from the air outlet is normal.
ERROR CODES
The system automatically analyses the possible errors that may occur (see display):
ERROR CODE E1
No refrigerant.
ERROR CODE E2
Temperature sensor failure.
ERROR CODE E3
Humidity sensor failure.
ERROR CODE E4
The water drain pump is faulty or the pipe is not draining properly (check that the pipe is not kinked or blocked).
ERROR CODE E5
The sensor that checks for correct defrosting is faulty.
INDICEINDICE
1... PRIMA DI UTILIZZARE IL DEUMIDIFICATORE
2... DESCRIZIONE
3... SERVIZIO


▶ 6. DIAGNOSTICAR LOS PROBLEMAS
EL APARATO NO FUNCIONA
▶ Análisis


OMSCHRIJVING VAN HET PRODUCT
ER LOOPT WATER UIT HET APPARAAT
▶▶ 4. KONSERWACJA I BEZPIECZEŃSTWO
FIG. 3
▶ 6. USUWANIE USTEREK
URZĄDZENIE NIE DZIAŁA
▶ Analiza


▶ 6. KLÜMJU NOVĚRŠANA
IERİCE NEDARBOJAS
▶ Analīze


这些标识在你的设备上的意思是:
Stefano Verani (Member of the Board)
| UKCA CONFORMITY CERTIFICATE | UKCA |
| UKCA CONFORMITY CERTIFICATEDANTHERM S.p.A. Via Gardesana 11, -37010- Pastrengo (VR), ITALYProduct: | |
| DHP 55 - DHP 55DV | |
| We declare that it is compliant with:2014/30/EU, 2014/35/EU, 2011/65/EUBS EN 60335-1:2012+A2:2019,BS EN 60335-2-40:2005+A13:2012,BS EN 55014-1:2017+A11:2020, BS EN 55014-2:2015,BS EN 61000-3-2:2014, BS EN 61000-3-3:2013, BS EN 62233:2008 | |
| Pastrengo, 2023Stefano Verani (Member of the Board) | |
NOTE:
▶en - DISPOSAL OF THE PRODUCT
-This product has been designed and manufactured with top-quality materials and components, which can be re-cycled and re-used. -When a crossed-wheely bin symbol is attached to the product, it means that the product is protected by the, 2012/19/UE European Directive.
-Please obtain information regarding the local differentiated collection system for electrical and electronic products.
-Respect local Standards in force and do not dispose of old products as normal domestic waste. Correct disposal of the product helps to prevent possible negative consequences for health, the environment and mankind.
▶ Iv - PRODUKTA IZNÍCINÁŠANA
natural_image
Abstract geometric composition with yellow and black blocks (no text or symbols)Dantherm S.p.A.
Via Gardesana 11
37010 Pastrengo (VR)
Italy
t.: +39 045 6770533
e.: info.it@danthermgroup.com

DOWNLOAD CATALOGUE

SEND US YOUR FEEDBACK

REGISTER FOR
3-YEAR WARRANTEE