DMR055 - Radio MAKITA - Free user manual and instructions
Find the device manual for free DMR055 MAKITA in PDF.
User questions about DMR055 MAKITA
0 question about this device. Answer the ones you know or ask your own.
Ask a new question about this device
Download the instructions for your Radio in PDF format for free! Find your manual DMR055 - MAKITA and take your electronic device back in hand. On this page are published all the documents necessary for the use of your device. DMR055 by MAKITA.
USER MANUAL DMR055 MAKITA
(Original instructions)
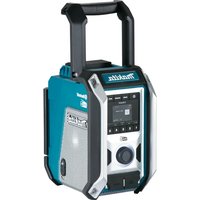
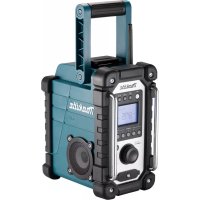
EXPLANATION OF GENERAL VIEW (Fig. 1)
- Carrying handle
- Speaker
- LED Lantern
- Battery compartment
- Volume up/down button
6.Mode button - Preset down button
- Power button
- Preset up button
- Tuning up/down button
- Light on/off button/Light mode button
- Strap buckle
LCD display
A. Volume
B. Low battery indicator
C. Memory number
D. Radio frequency/Sound volume
E. AM/FM band
SYMBOLS
The following show the symbols used for the equipment. Be sure that you understand their meaning before use.

Read instruction manual.
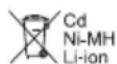
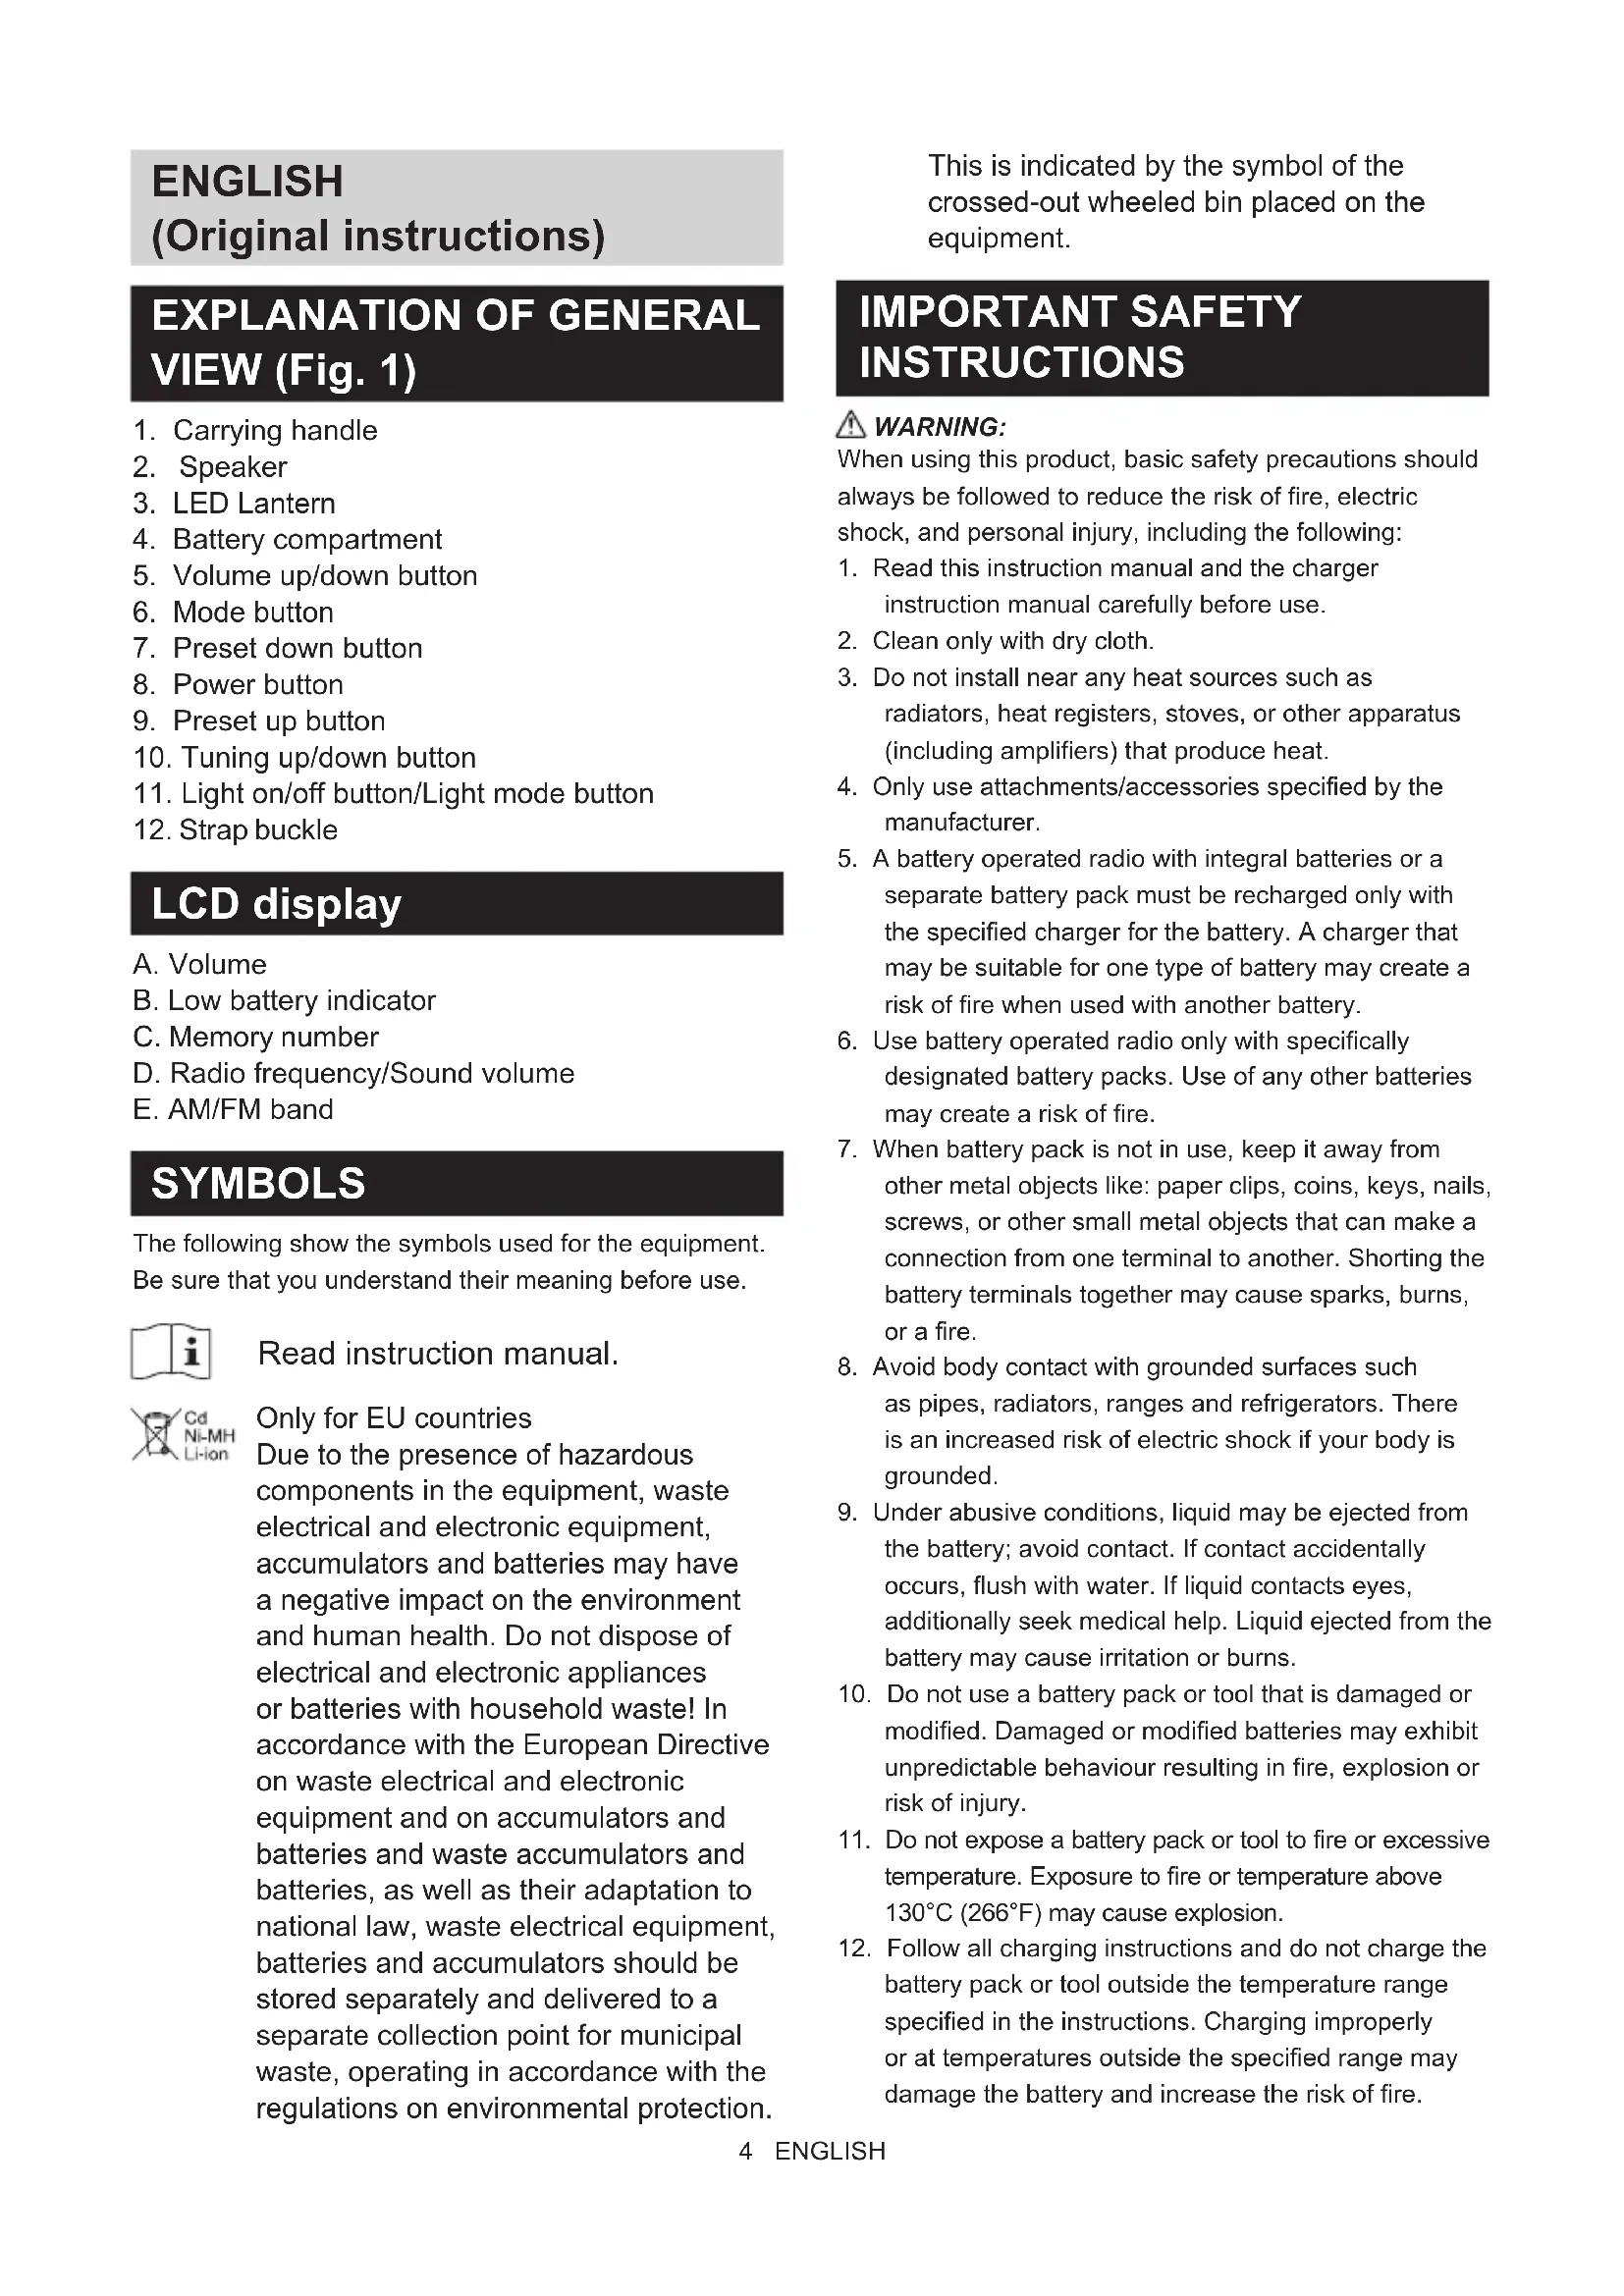
Only for EU countries Due to the presence of hazardous components in the equipment, waste electrical and electronic equipment, accumulators and batteries may have a negative impact on the environment and human health. Do not dispose of electrical and electronic appliances or batteries with household waste! In accordance with the European Directive on waste electrical and electronic equipment and on accumulators and batteries and waste accumulators and batteries, as well as their adaptation to national law, waste electrical equipment, batteries and accumulators should be stored separately and delivered to a separate collection point for municipal waste, operating in accordance with the regulations on environmental protection.
This is indicated by the symbol of the crossed-out wheeled bin placed on the equipment.
IMPORTANT SAFETY INSTRUCTIONS
WARNING:
When using this product, basic safety precautions should always be followed to reduce the risk of fire, electric shock, and personal injury, including the following:
- Read this instruction manual and the charger instruction manual carefully before use.
- Clean only with dry cloth.
- Do not install near any heat sources such as radiators, heat registers, stoves, or other apparatus (including amplifiers) that produce heat.
- Only use attachments/accessories specified by the manufacturer.
- A battery operated radio with integral batteries or a separate battery pack must be recharged only with the specified charger for the battery. A charger that may be suitable for one type of battery may create a risk of fire when used with another battery.
- Use battery operated radio only with specifically designated battery packs. Use of any other batteries may create a risk of fire.
- When battery pack is not in use, keep it away from other metal objects like: paper clips, coins, keys, nails, screws, or other small metal objects that can make a connection from one terminal to another. Shorting the battery terminals together may cause sparks, burns, or a fire.
- Avoid body contact with grounded surfaces such as pipes, radiators, ranges and refrigerators. There is an increased risk of electric shock if your body is grounded.
- Under abusive conditions, liquid may be ejected from the battery; avoid contact. If contact accidentally occurs, flush with water. If liquid contacts eyes, additionally seek medical help. Liquid ejected from the battery may cause irritation or burns.
- Do not use a battery pack or tool that is damaged or modified. Damaged or modified batteries may exhibit unpredictable behaviour resulting in fire, explosion or risk of injury.
- Do not expose a battery pack or tool to fire or excessive temperature. Exposure to fire or temperature above 130^ (266^) may cause explosion.
-
Follow all charging instructions and do not charge the battery pack or tool outside the temperature range specified in the instructions. Charging improperly or at temperatures outside the specified range may damage the battery and increase the risk of fire.
-
Do not use the product at a high volume for any extended period. To avoid hearing damage, use the product at moderate volume level.
- (For products with LCD display only) LCD displays include liquid which may cause irritation and poisoning. If the liquid enters the eyes, mouth or skin, rinse it with water and call a doctor.
- Do not expose the product to rain or wet conditions. Water entering the product will increase the risk of electric shock.
- This product is not intended for use by persons (including children) with reduced physical, sensory or mental capabilities, or lack of experience and knowledge, unless they have been given supervision or instruction concerning use of the product by a person responsible for their safety. Children should be supervised to ensure that they do not play with the product. Store the product out of the reach of children.
SAVE THESE INSTRUCTIONS
SPECIFIC SAFETY RULES FOR BATTERY CARTRIDGE
- Before using battery cartridge, read all instructions and cautionary markings on (1) battery charger, (2) battery, and (3) product using battery.
- Do not disassemble battery cartridge.
- If operating time has become excessively shorter, stop operating immediately. It may result in a risk of overheating, possible burns and even an explosion.
- If electrolyte gets into your eyes, rinse them out with clear water and seek medical attention right away. It may result in loss of your eyesight.
- Do not short the battery cartridge:
(1) Do not touch the terminals with any conductive material.
(2) Avoid storing battery cartridge in a container with other metal objects such as nails, coins, etc.
(3) Do not expose battery cartridge to water or rain. A battery short can cause a large current flow, overheating, possible burns and even a breakdown.
- Do not store and use the tool and battery cartridge in locations where the temperature may reach or exceed 50^ (122^) .
- Do not incinerate the battery cartridge even if it is severely damaged or is completely worn out. The battery cartridge can explode in a fire.
- Be careful not to drop or strike battery.
- Do not use a damaged battery.
- To avoid risk, the manual of replaceable the battery should be read before use.
- The contained lithium-ion-batteries are subject to the Dangerous Goods Legislation requirements. For
commercial transports e.g. by third parties, forwarding agents, special requirement on packaging and labeling must be observed. For preparation of the item being shipped, consulting an expert for hazardous material is required. Please also observe possibly more detailed national regulations. Tape or mask off open contacts and pack up the battery in such a manner that it cannot move around in the packaging.
- When disposing the battery cartridge, remove it from the tool and dispose of it in a safe place. Follow your local regulations relating to disposal of battery.
- Use the batteries only with the products specified by Makita. Installing the batteries to non-compliant products may result in a fire, excessive heat, explosion, or leak of electrolyte. If the tool is not used for a long period of time, the battery must be removed from the tool.
- If the tool is not used for a long period of time, the battery must be removed from the tool.
- Do not allow chips, dust, or soil stuck into the terminals, holes, and grooves of the battery cartridge. It may result in poor performance or breakdown of the tool or battery cartridge.
- Keep the battery away from children.
- During and after use, the battery cartridge may take on heat which can cause burns or low temperature burns.
- Do not touch the terminal of the tool immediately after use as it may get hot enough to cause burns.
- Unless the tool supports the use near a high-voltage electrical power lines, do not use the battery cartridge near a high-voltage electrical power lines. It may result in a malfunction or breakdown of the tool or battery cartridge.
CAUTION:
Only use genuine Makita batteries. Use of nongenuine Makita batteries, or batteries that have been altered, may result in the battery bursting causing fires, personal injury and damage. It will also void the Makita warranty for the Makita tool and charger.
Tips for maintaining maximum battery life
- Charge the battery cartridge before completely discharged. Always stop tool operation and charge the battery cartridge when you notice less tool power.
- Never recharge a fully charged battery cartridge. Overcharging shortens the battery service life.
- Charge the battery cartridge with room temperature at 10^ - 40^ (50^ - 104^) . Let a hot battery cartridge cool down before charging it.
- When not using the battery cartridge, remove it from the tool or the charger.
- Charge the battery cartridge if you do not use it for a long period (more than six months).
OPERATING TIME
- The suitable battery packs for this radio listed as the following table.
- The following table indicates the operating time on a single charge.
| Battery cartridge Battery capacity | Unit: Hour (Approximately) | |||
| Radio* Lantern | ||||
| LXT (14.4V) | BL1415N 1.5 Ah | 14 4.0 | ||
| BL1430B 3.0 Ah | 24 7.0 | |||
| BL1440 4.0 Ah | 38 11 | |||
| BL1460B 6.0 Ah | 50 15 | |||
| LXT (18V) | BL1815N 1.5 Ah | 15 4.5 | ||
| BL1820B 2.0 Ah | 20 6.0 | |||
| BL1830B 3.0 Ah | 28 8.5 | |||
| BL1840B 4.0 Ah | 40 12 | |||
| BL1850B 5.0 Ah | 52 16 | |||
| BL1860B 6.0 Ah | 63 19 | |||
- AT SPEAKERS OUTPUT = 100mW
WARNING:
Only use the battery cartridges listed above. Use of any other battery cartridges may cause injury and/or fire. NOTE:
- Table regarding to the battery operating time above is for reference.
- The actual operating time may differ with the type of the battery, charging condition, or usage environment.
- Some of the battery cartridges and chargers listed above may not be available depending on your region of residence.
Recommended cord connected power source
Portable power pack PDC01
- The cord connected battery pack (s) listed above may not be available depending on your region of residence.
- Before using the cord connected battery pack, read instruction and cautionary markings on them.
INSTALLATION AND POWER SUPPLY
CAUTION:
- Always switch off the radio before installing or removing the battery cartridge.
- Be careful not to drop or strike the radio. Broken shell may slash your finger or stab your body. Damaged radio may exhibit unpredictable behaviour resulting in fire, explosion or risk of injury.
- Hold the tool and the battery cartridge firmly when installing or removing battery cartridge.
IMPORTANT:
- Reduced power, distortion, stuttering sound or screen backlight flashing and icon flashing on the display are all the signs that the battery needs to be replaced.
- The battery cartridge is not included as standard accessories.
Installing or removing the sliding battery cartridge (Fig. 2)
- To install the battery cartridge, align the tongue on the battery cartridge with the groove in the housing and slip it into place. Always insert it all the way until it locks in place with a little click.
- If you can see the red indicator on the upper side of the button, it is not locked completely. Install it fully until the red indicator cannot be seen. If not, it may accidentally fall out of the radio, causing injury to you or someone around you.
- Do not use force when installing the battery cartridge. If the cartridge does not slide in easily, it is not being inserted correctly.
- To remove the battery cartridge, slide it from the radio while sliding the button on the front of the cartridge.
Indicating the remaining battery capacity (Fig. 3)
>1. Indicator lamps
2. Check button
Press the check button on the battery cartridge to indicate the remaining battery capacity. The indicator lamps light up for few seconds.
LXT battery cartridge
| Indicator lamps | Remaining capacity | ||
| Lighted Off Blinking | |||
| 75% ~ 100% | |||
| 50% ~ 75% | |||
| 25% ~ 50% | |||
| 0% ~ 25% | |||
| Charge the battery | |||
| The battery may have malfunctioned | |||
NOTE:
- Depending on the conditions of use and the ambient temperature, the indication may differ slightly from the actual capacity.
- The first (far left) indicator lamp will brink when the battery protection system works.
- Press the Power button to turn on the radio.
- Select the FM or AM radio mode by repeatedly pressing the Mode button.
- Press and hold the Tuning up or Tuning down button to scan the FM or AM band. The display will show the frequency of the signal which has been found. To find more FM or AM stations repeat the scan operation. Your radio will scan the FM or AM band from the currently displayed frequency and will stop scanning when it finds a signal of sufficient strength.
- Press the Tuning up or Tuning down button to fine-tune the frequency if needed.
- Press the Volume up/down button to adjust the desired sound level.
- To turn off the radio, press the Power button.
NOTE:
For FM/AM radio mode, if the radio's reception is not good, it may be necessary to relocate your radio to a position giving better reception.
Preset memory stations
There are 9 preset stations each for AM and FM radio. They are used in the same way for each waveband.
- Press the Power button to turn on the radio.
- Press the Mode button to select the desired waveband. Tune to the required radio station as previously described.
- Press and hold the Preset up or Preset down button until "M" flashes on the display.
- Press the Preset up or Preset down button to select the desired memory number.
- Press and hold the Preset up or Preset down button until "M" stops flashing on the display. The radio station is stored into the selected memory preset. The display will appear with the memory number.
- Repeat this procedure as needed for the remaining presets. Preset stations which have already been stored may be overwritten by following the above procedure if required.
Recall memory station
- Turn on the radio and select the AM or FM radio mode.
- Momentarily press the Preset up or Preset down button to tune to your radio to one of the stations stored in the preset memory.
LED lantern
- Press the Light on/off button repeatedly to select different light modes. This LED lantern features 2 different modes: 360^ light coverage and side-carry modes.
- Press and hold the Light on/off button to turn off the light.
MISCELLANEOUS SETTINGS
Using the strap (Fig. 4)
Using the supplied strap, you can hang the product in different ways whenever needed. (Refer to the installation method in Figure 4.)
MAINTENANCE
CAUTION:
- Never use gasoline, benzine, thinner, alcohol or the like. Discoloration, deformation or cracks may result.
- Do not wash the radio with water.
SPECIFICATIONS
| Battery 14.4V & 18V | |
| Frequency coverage | FM 87.5-108 MHz (0.05MHz/step) AM (MW) 522-1,710 kHz (9kHz/step) |
| Antenna system | FM: Built-in antenna |
| AM: bar antenna |
| Loudspeaker 2.25 inches | |
| Output power | 14.4V: 2.4W |
| 18V: 3.0W | |
| Dimensions (L x W x H) (with BL1860B) | 126 x 129 x 289mm ( Handle down) |
| Weight (without battery) | 0.95KG |
FRANÇAIS
(Instructions d'origine)
INTERPRÉTATION DE LA VUE GÉNÉRALE (Fig. 1)
- IN USCITA ALTOPARLANTI = 100mW
AVVERTENZE:
- NA SAÍDA DAS COLUNAS = 100 mW
ADVERTÉNCIA:
Lap hoac thao khay pin truqt (Hinh 2)
- De lap khay pin, dura lay tren khay pin thang voi ranh tren san pham va truyt khay pin vao vi tri. Luon lap khay pin het co' cho den khi nghe thai tieng cach.
- Néu bàn nhìn tháyden bao mau do o phía bèn trén nut bam thi né chura duoc khoa hoan toan. Lap hop pin hoàn chinh cho dén khi dén bao mau do bién mat. Néu khong, no có the vô tinh roi r agoi dai radio, gay chan thuong cho ban hao nh nguòxung quanh.
- Khong su dung luc de lap hop pin. Nouhop khong truot vao dāng, co nghia ban lap chua chinh xac.
- De thao hop pin, truot no khoi dai radio dong thai truot nut o mat truc hop pin.
Chi bao dung luong pin con lai (Hinh 3)
1. Den bao 2. Phim kiem tra
Nhan nut kiem tra tren khay pin de hien thi dung luong pin con lai. Den bao se sang len trong vai giay.
- Hop pin LXT
4ab = 2a
jigall 1i jie 1j 1j 1j 1j 1j 1j 1j 1j
yaill l aal
yol plll Jay Iacic (Jullg) Jj jssal
#
jgl jgl jgl jgl jgl jgl
2
Tuning down Tuning up
AM FM
paaa aae jS.AM FM cbaa aaalge
a a a a a a a a a a a a a a a a a a a a a a a
aLs oayi 1
Tuning down Tuning up 4
gillball gwall gwall biall gwall jais/6j jgl bial.5
ailll jie biai, yjll jaiy.6
45 - 2x = 0
mFAM
3^l + 2^l = 1
Preset down Preset up jj jai jai jai jai jai jai jai jai jai jai jai jai jai jai jai jai jai jai jai jai jai jai jai jai jai jai jai jai jai jai jai jai jai jai jai jai jai jai jai
i 1
0511 00000000
y
PDC01 1a,aaal aai bai aja
0e jgsall, dlll y gagal y jdaill (cde gao) aja jj
(1)
Cldal, Cldal 1 jai, dally al gall a jalal
1
aal 1
:
1
Sall aal 5u
j 15
y
aiee aiee eae ae baae ae aee aee aee aee aee aee aee aee aee aee aee aee aee aee aee aee aee aee aee aee aee aee aee aee aee aee aee aee aee aee aee aee aee aee aee aee aee aee aee aee aee aee aee aee aee
jai 1i jaiy jaiy jaiy jaiy jaiy jaiy jaiy jaiy jaiy jaiy jaiy jaiy jaiy jaiy jaiy jaiy jaiy jaiy jaiy jaiy jaiy jaiy jaiy jaiy jaiy jaiy jaiy jaiy jaiy jaiy jaiy jaiy jaiy jaiy
y 13. clll Jwll ally y aalll sclll jy, jy
alalalalalalalalalalalalalalalalalalalalalalalalalalal
y jia jia sliljia jia jia jia jia jia jia jia jia
Jibiljolglitio jie lyuygaiell biin ygiy
Caiyil 0i 1
yIbllgolal
j 1
A. yjlll (3) 211 (2) jlln (1)
.2
.3
i 1
aalglalal alal gals
i 1
aJblll 5.5
1.2020 2020
jio 1 jia 2000 1000 0000 0000 0000 0000 0000 0000
Jlll 1 j Jall j Jlll j
()
(1)
Joo 1
它恰好 x ≤ 4 或 3x + 4y + 1 ≥ 0
LED 3
4
gall jia/2rj .5
a. 6
jawal jaiil 7
j.8
j.9
Jauy/(jcj)jilbuai.10
gai gao jj1 11
jolil 12
LCD
jiaiaial 1
0
AM/FM
jg 1
jai lii jia jia jia jia jia jia jia jia jia jia jia jia jia jia jia jia jia jia jia jia jia jia jia jia jia jia jia jia jia jia jia jia jia jia jia jia jia jia jia jia jia jia jia
.
J 1

1 1
Cui xià jia jia zai li jiān liu li yu 1ji
ylllall ylll al yj j j j j j j j j j j j j j j j j j j j j j j j j j j j j j j j j j j
- jwJyIa aagaae g y
y
iJ 111111111111111
a a a a a a a a a a a a a a a a a a a a a a a
100 100
1
aJus aabba 2
3
()()
.
Makita Europe N.V.
Jan-Baptist Vinkstraat 2, 3070 Kortenberg, Belgium
Makita Corporation
3-11-8, Sumiyoshi-cho, Anjo, Aichi 446-8502 Japan
DMR055-10L-SEA5-2109
3A81eV5Z00000 (2021.12.30)
www.makita.com