233221 - Fridge Arktic - Free user manual and instructions
Find the device manual for free 233221 Arktic in PDF.
Download the instructions for your Fridge in PDF format for free! Find your manual 233221 - Arktic and take your electronic device back in hand. On this page are published all the documents necessary for the use of your device. 233221 by Arktic.
USER MANUAL 233221 Arktic
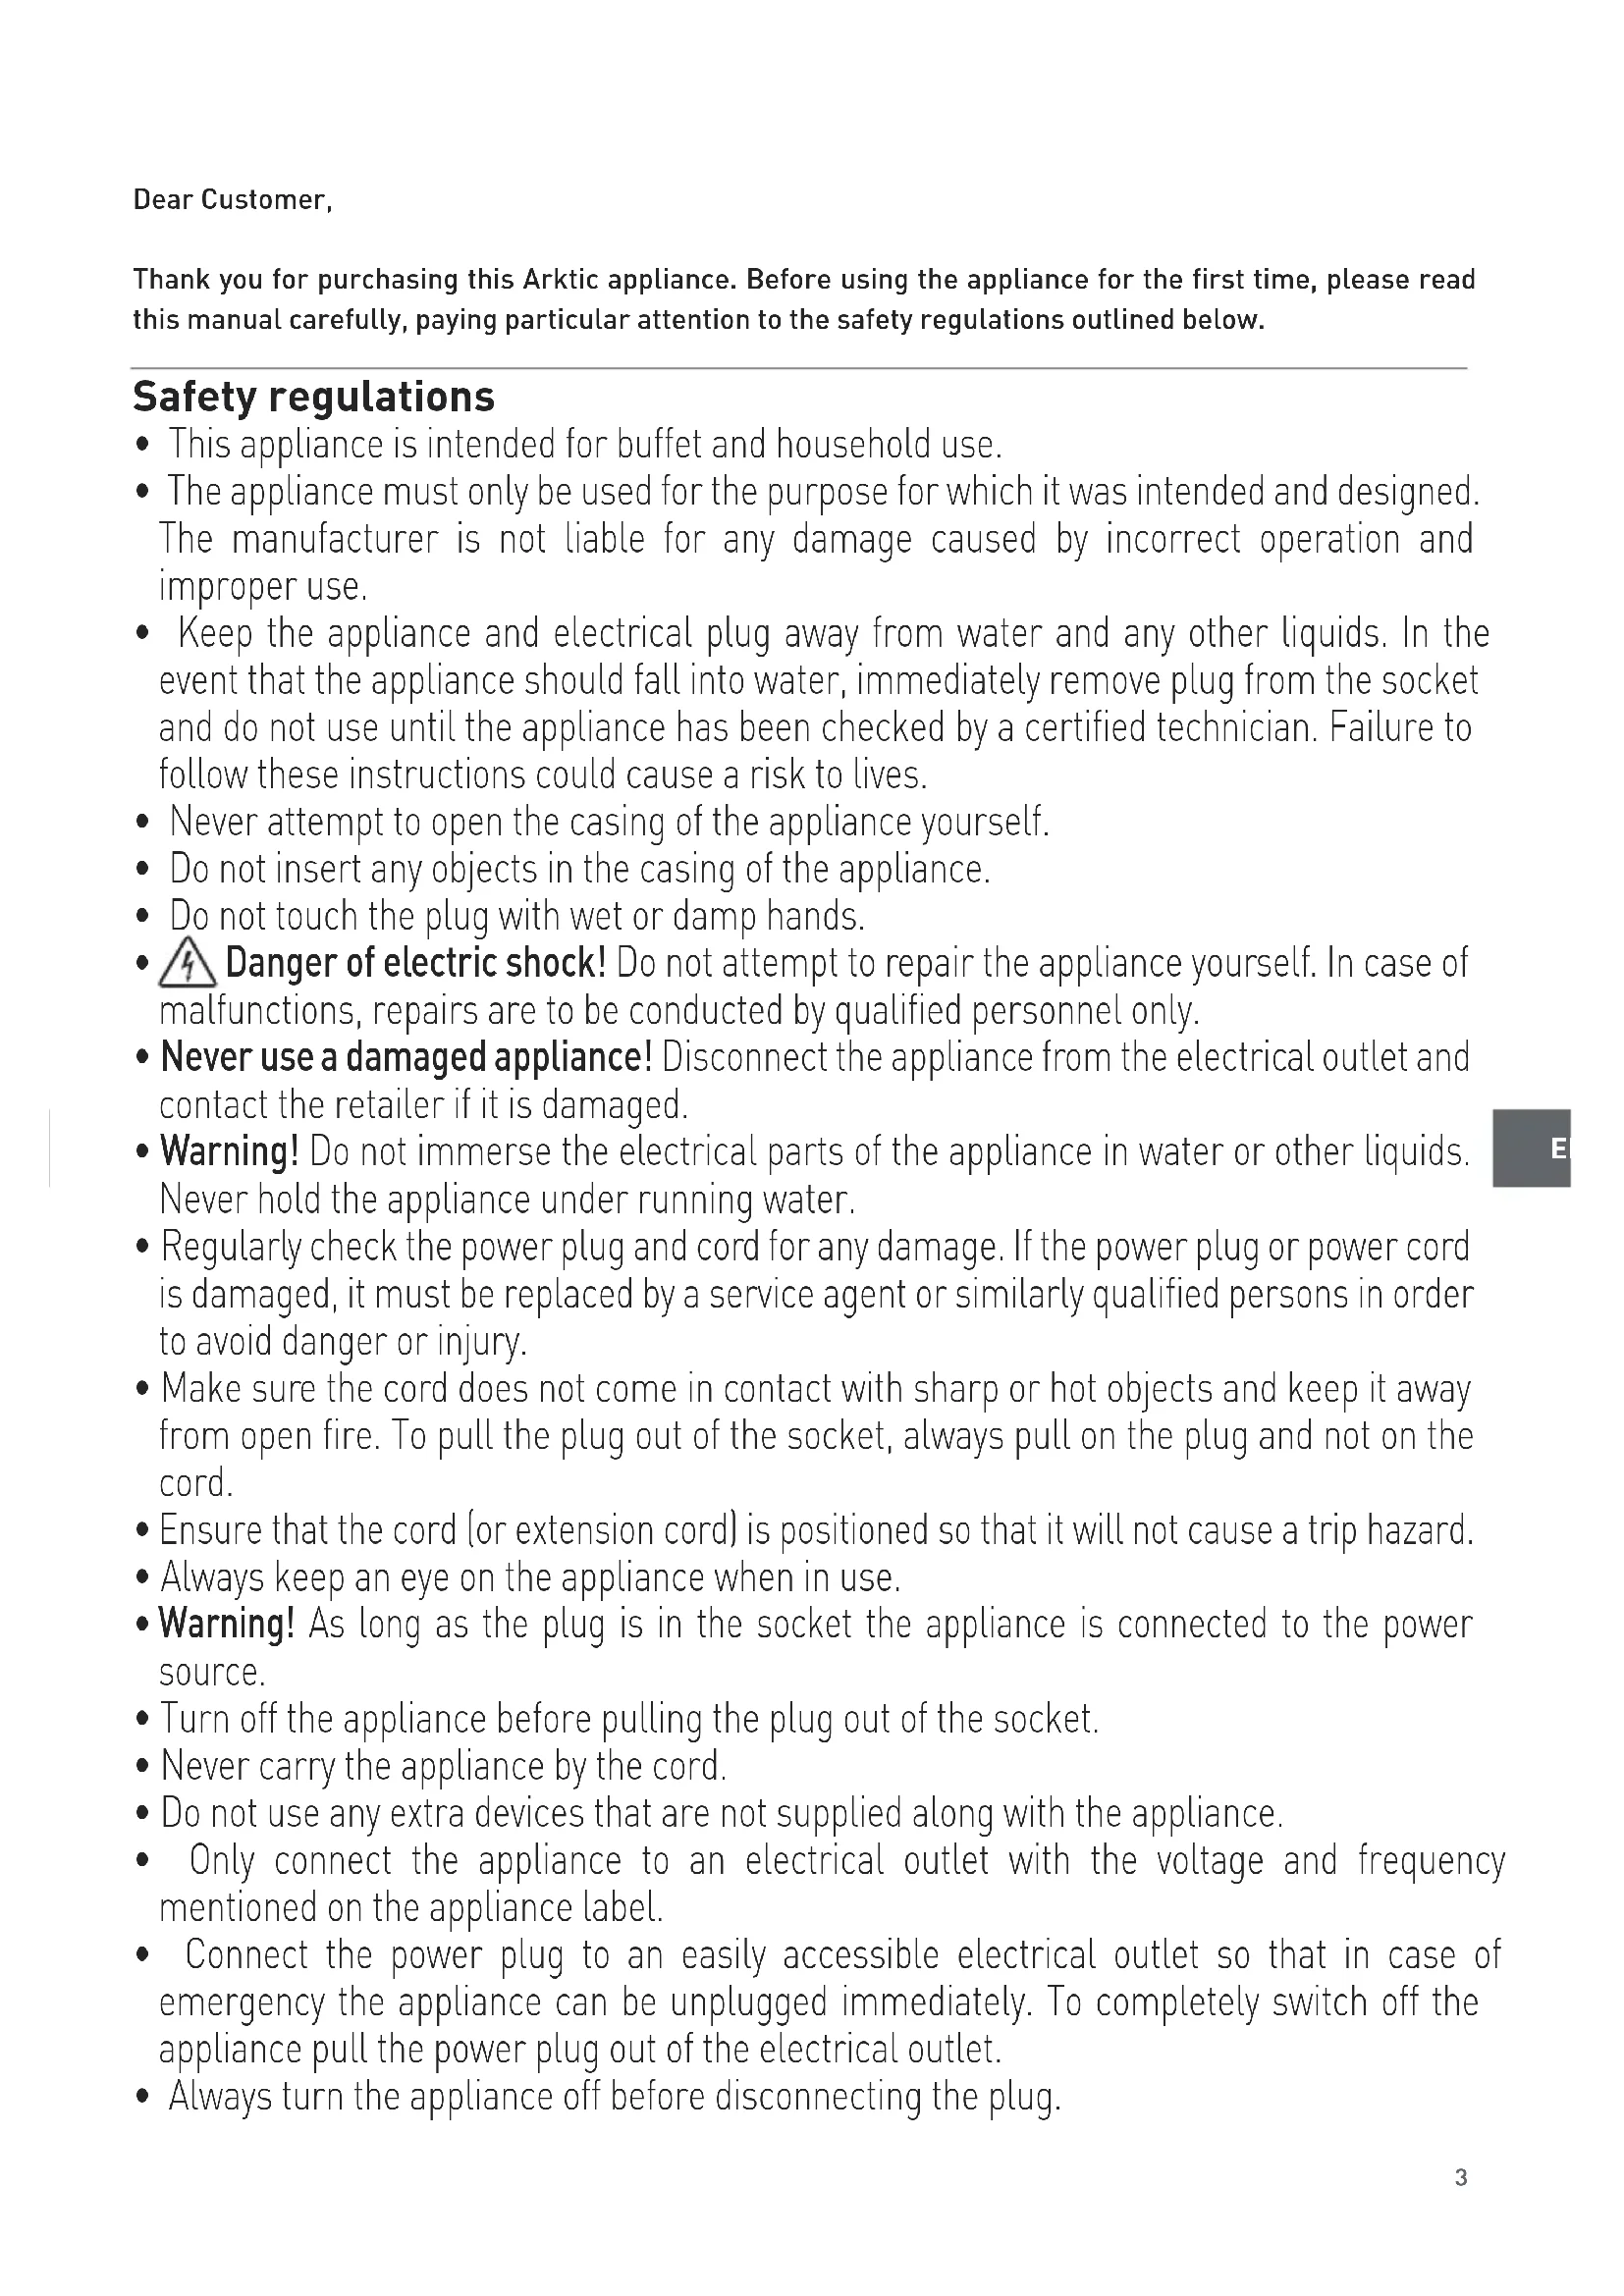
- This appliance is intended for buffet and household use.
- The appliance must only be used for the purpose for which it was intended and designed. The manufacturer is not liable for any damage caused by incorrect operation and improper use.
- Keep the appliance and electrical plug away from water and any other liquids. In the event that the appliance should fall into water, immediately remove plug from the socket and do not use until the appliance has been checked by a certified technician. Failure to follow these instructions could cause a risk to lives.
- Never attempt to open the casing of the appliance yourself.
- Do not insert any objects in the casing of the appliance.
- Do not touch the plug with wet or damp hands.
Danger of electric shock! Do not attempt to repair the appliance yourself. In case of malfunctions, repairs are to be conducted by qualified personnel only.
- Never use a damaged appliance! Disconnect the appliance from the electrical outlet and contact the retailer if it is damaged.
- Warning! Do not immerse the electrical parts of the appliance in water or other liquids. Never hold the appliance under running water.
- Regularly check the power plug and cord for any damage. If the power plug or power cord is damaged, it must be replaced by a service agent or similarly qualified persons in order to avoid danger or injury.
- Make sure the cord does not come in contact with sharp or hot objects and keep it away from open fire. To pull the plug out of the socket, always pull on the plug and not on the cord.
Ensure that the cord (or extension cord) is positioned so that it will not cause a trip hazard.
- Always keep an eye on the appliance when in use.
Warning! As long as the plug is in the socket the appliance is connected to the power source.
- Turn off the appliance before pulling the plug out of the socket.
- Never carry the appliance by the cord.
- Do not use any extra devices that are not supplied along with the appliance.
- Only connect the appliance to an electrical outlet with the voltage and frequency mentioned on the appliance label.
- Connect the power plug to an easily accessible electrical outlet so that in case of emergency the appliance can be unplugged immediately. To completely switch off the appliance pull the power plug out of the electrical outlet.
- Always turn the appliance off before disconnecting the plug.
- Never use accessories other than those recommended by the manufacturer. Failure to do so could pose a safety risk to the user and could damage the appliance. Only use original parts and accessories.
- This appliance is not intended for use by persons (including children) with reduced physical, sensory or mental capabilities, or lack of experience and knowledge.
- This appliance must not be used by children under any circumstances.
- Keep the appliance and its cord out of reach of children.
- Always disconnect the appliance from the mains if it is left unattended or is not in use, and before assembly, disassembly or cleaning.
- Never leave the appliance unattended during use. Special safety regulations
- Use the appliance only as described in this manual.
Caution! Risk of fire! The refrigerant used is R600a. It is a flammable natural gas which is environmentally friendly. It does not damage the ozone layer and does not increase the greenhouse effect. The use of this coolant has, however, led to a slight increase in the noise level of the appliance. In addition to the noise of the compressor, you might be able to hear the coolant flowing around the system. This is unavoidable and does not have any adverse effect on the performance of the appliance. Care must be taken during transportation and setting up of the appliance that no parts of the cooling system are damaged. Leakage coolant can damage the eyes.
- The foam blowing agent used is Cyclopentane in this appliance. It is highly flammable.
- This appliance is suitable for an ambient temperature from 16°C ~ 38°C.
- Do not place the appliance on a heating object (gasoline, electric, charcoal cooker, etc.) Keep the appliance away from any hot surfaces and open flames. Always operate and place the appliance on a horizontal, stable, clean, heat-resistant and dry surface.
- Do not use the appliance near explosive or flammable materials, credit cards, magnetic discs or radios.
- This appliance is not intended to be operated by means of an external timer or separate remote-control system.
- WARNING: Keep all ventilation openings in the appliance enclosure clear of obstruction.
- WARNING: Do not use mechanical devices or other means to accelerate the defrosting process, other than those recommended by the manufacturer.
- WARNING: Do not damage the refrigerant circuit.
- Allow at least 10 cm spacing around the appliance for ventilation purpose during use.
- Do not use a water jet, flush directly with water or steam cleaner as the parts will get wet and electric shock might be resulted.
- Caution! Securely route the power cord if necessary in order to prevent unintentional pulling or contact with the heating surface.
- Do not clean or store the appliance unless it is completely cooled down.
- Keep the key of the door out of the reach of the children.5
- The appliance should not be tipped over an angle of 5°. After installing the appliance, wait for 2 hours before connecting it to the electrical power supply to switch on. The same applies if the appliance is moved at a later date. Intended use
- This appliance is intended for buffet and house- hold use.
- The appliance is designed only for wine storage and cooling. (e.g. Champagne, white wine, red wine, etc.). Any other use may lead to damage to the appliance or personal injury.
- Operating the appliance for any other purpose may deemed as a misuse of the device. The user shall be solely liable for the improper use of the device. Grounding installation This appliance is classified as protection class I appliance and must be connected to a protective ground. Grounding reduces the risk of electric shock by providing an escape wire for the electric current. This appliance is equipped with a cord having a grounding wire with a grounding plug. The plug must be plugged into an outlet that is properly installed and grounded. Main components of the machine
1. Housing enclosure
2. Touch control panel (See ===> Operation)
3. Upper hinge cover
5. Wooden shelves (5 shelves for item 233221;
14 shelves for item 233245)
6. Lower hinge cover
10. Anti-tipping mounting kit: 2x bracket, 2x
- Remove the appliance from the carton box, then remove the external and internal packaging and wrapping.
- Check to make sure the appliance is undamaged. In case of incomplete delivery and damages, DO NOT use the appliance. Please contact supplier (See == > Warranty).
- Let the appliance stand upright for about 2 hours. This is to reduce the malfunction of the cooling system from improper handling during transpor- tation.
- Clean interior surface with warm water and soft cloth. (See == > Cleaning and Maintenance).
- Place the appliance on a horizontal, stable and heat resist surface that is safe against water splashes.
- Optimum working ambient temperature is be- tween 16°C and 32°C. Otherwise, the functional- ity will be limited.
- Ensure that there is sufficient ventilation. Keep a minimum distance of 10cm around the appliance. Do not block the ventilation holes.
- For energy savings, always make sure the door is closed. Anti-tipping brackets installation (For 233245 only) NOTE: Please use corresponding crosshead screwdriver for installation. Before installation: Check the brackets for any damage & the completeness of all installation kits. DO NOT install if any missing or damage.
WARNING: Accidents can occur as a result of the
wine cooler overturning. To prevent this cooler from tipping over, it must be fixed to the wall with the accompanying brackets. See illustration for in- stallation details. Wall fasteners are not included, as different wall materials require different types of fasteners. Use fastening materials that work with your walls. For advice on suitable fasteners, contact your local specialist dealer. Existing drilled holes7
Operation The appliance is divided into 2 separate zones. The “UPPER ZONE“ and “LOWER ZONE“ of the appliance are cotrolled independently with the use of the control panel (2). Upper zone U1 L1U2 L2U3 L3T1 S1 Lower zone Temperature control and display
- Plug into a suitable electrical outlet, “888” will be blinked for few seconds and beep sound will be heard for the default factory setting.
- Then, temperature of the upper zone and lower zone will be shown on the display (U2/L2).
- Next, set the temperature in either zone by press- ing the “+” or “-“ key of button (U1/L1) [Range: 41°F (5°C) to 68°F(20°C)]. The zone temperature has a tolerance of + / - 5°F (+/- 3°C) from setting depending on number of stored bottles & ambi- ent temperature conditions. Switch ON/OFF
- Press and hold S1 button for 3 to 4 seconds to switch ON / OFF the appliance.
- After switch OFF the appliance, both displays (U2 and L2) will become dark. Interior lighting
- Press either U3 or L3 button to turn ON the light of UPPER ZONE or LOWER ZONE of the appli- ance correspondingly.
- Press again the U3 or L3 button to turn OFF the light of UPPER ZONE or LOWER ZONE.
- The interior light will keep on lighting if it is not pressed to turn OFF. Temperature unit conversion
- The temperature display can be changed be- tween Celsius (°C) and Fahrenheit (°F) by press- ing the button (T1). Key Lock mode
- If no button is touch within 15 seconds, then the appliance will enter into “Key Lock” mode. Under the “Key Lock” mode, the button has no response unless you cancel the “Key Lock” mode.
- To cancel the “Key Lock” mode, press & hold the U1 button (Press both “+” and “-“ keys at the same time for few seconds). Then, the “Key Lock” mode will then be cancelled. Note: The door of the appliance can be locked at the bottom (8) by the keys (Supplied) Error codes display Error codes shown on the display (U2/L2) Possible causes Possible solutions “E0” is flashed Connection failure, wire or com- ponent is not connected securely. Contact the supplier. “E1” is flashed The temperature sensor is fail- ure in corresponding Contact the supplier. “E2” is flashed The defrost sensor is failure in corresponding zone Contact the supplier.8
- Clean the appliance before and after each use.
- Never immerse the appliance in water or other liquids.
- Do not clean the appliance with a water jet.
- Clean the surface with a slightly damp cloth or sponge with some mild soap solution
- All washed parts should be rinsed with clean wa- ter to remove the cleaning residues.
- Never use abrasive sponges or detergents, steel wool or metallic utensils to clean the interior or exterior parts of the appliance.
- Dry the interior and exterior surface with a soft cloth. Storage
- Before storage, always make sure the appliance has already been disconnected from the electri- cal outlet and cooled down completely.
- Store the appliance in a cool, clean and dry place. Transportation
- Unplug the appliance from the electrical outlet.
- Remove all the wine bottles inside the appliance.
- Securely tape all loose items inside the appli- ance.
- At least 2 people for assisting transportation.9
Troubleshooting If the appliance does not function properly, please check the below table for the solution. If you are still unable to solve the problem, please contact the supplier/service provider. Problems Possible causes Possible solutions The appliance is connected to the power supply but does not function. Power plug is not connected properly to the electrical power supply outlet. Check again to make sure it is connected properly. The circuit breaker has tripped or there is a blown fuse. Contact the supplier. Temperature inside the appli- ance is too warm Temperature is set too warm Turn to a cooler setting. Door is kept open too long. Open door less. The door gasket does not seal properly Check to make sure the door gasket seal properly. Moisture forms on the inside ap- pliance walls. Door is kept on for too long. Open the door less. Technical specification Item no. 233221 233245 Operating voltage and frequency 220-240V~ 50Hz Rated input power 45W 120W Rated current 0,5 A 1,0 A Setting temperature range 5°C to 20°C Protection class Class I Power of the illumination light 4W Noise level < 60 dB (A) Refrigerant used and injection quantity R600a / 30g R600a / 55g Energy efficiency class G Foam blowing agent Cyclopentane Climate class N-ST (16°C to 38°C) No. of temperature zones 2 Volume capacity 144L 424L Storage bottle capacity 43 ~ 44 bottles 165 ~ 166 bottles No. of shelves 5 14 Net weight (approx.) 55 kg 106 kg Dimension 596 x 654 x (H) 855 mm 595 x 720 x (H) 1820 mm Remark: Technical specification is subjected to change without prior notification.10
Micro computer controller Transformer Light(DC12V) Plug fuse YL/GN YL/GN
Rt RtRt White Red Red Blue
Rt RtRt White Red Red Blue
Warranty Any defect affecting the functionality of the ap- pliance which becomes apparent within one year after purchase will be repaired by free repair or re- placement provided the appliance has been used and maintained in accordance with the instructions and has not been abused or misused in any way. Your statutory rights are not affected. If the appli- ance is claimed under warranty, state where and when it was purchased and include proof of pur- chase (e.g. receipt). In line with our policy of continuous product devel- opment we reserve the right to change the product, packaging and documentation specifications with- out notice. Discarding & Environment When decommissioning the appliance, the prod- uct must not be disposed of with other household waste. Instead, it is your responsibility to dispose to your waste equipment by handing it over to a des- ignated collection point. Failure to follow this rule may be penalized in accordance with applicable regulations on waste disposal. The separate col- lection and recycling of your waste equipment at the time of disposal will help conserve natural re- sources and ensure that it is recycled in a manner that protects human health and the environment. For more information about where you can drop off your waste for recycling, please contact your local waste collection company. The manufacturers and importers do not take responsibility for recycling, treatment and ecological disposal, either directly or through a public system.12