TXA1802CD - Cd player/recorder Monacor - Free user manual and instructions
Find the device manual for free TXA1802CD Monacor in PDF.
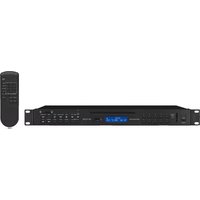
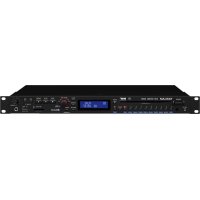
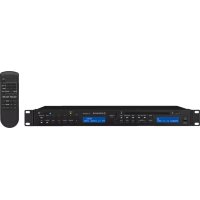
| Product type | CD player/recorder insert module |
| Brand | Monacor |
| Model | TXA1802CD |
| Dimensions (W × H × D) | 190 × 42.5 × 190 mm |
| Weight | 1 kg |
| Power supply | 12 V DC, 1 A |
| Audio output | 950 mV |
| Playback media | Audio CD, CD-R/RW, USB, SD/SDHC card (MP3 and WMA files) |
| Main functions | Play/Pause, stop, eject, programming, random play, repeat, speed adjustment, mute, infrared remote control, anti-shock memory |
| Maintenance and cleaning | Use a dry, soft cloth; do not use chemicals or water; cleaning of the laser optics by a specialized technician |
| Safety | Installation by a qualified technician; indoor use; operating temperature 0-40 °C; protect from humidity and splashes |
| Batteries | Remote control: 3 V button cell type CR 2025 (included) |
| Compatibility | Designed for TXA-800 and TXA-1020 active speakers; can be inserted into another device (cutout 171 × 41.5 mm required) |
| Warranty | The warranty becomes void in case of non-compliance, incorrect installation, or unauthorized repair |
| Included accessories | Remote control with battery, user manual |
Frequently Asked Questions - TXA1802CD Monacor
User questions about TXA1802CD Monacor
0 question about this device. Answer the ones you know or ask your own.
Ask a new question about this device
Download the instructions for your Cd player/recorder in PDF format for free! Find your manual TXA1802CD - Monacor and take your electronic device back in hand. On this page are published all the documents necessary for the use of your device. TXA1802CD by Monacor.
USER MANUAL TXA1802CD Monacor
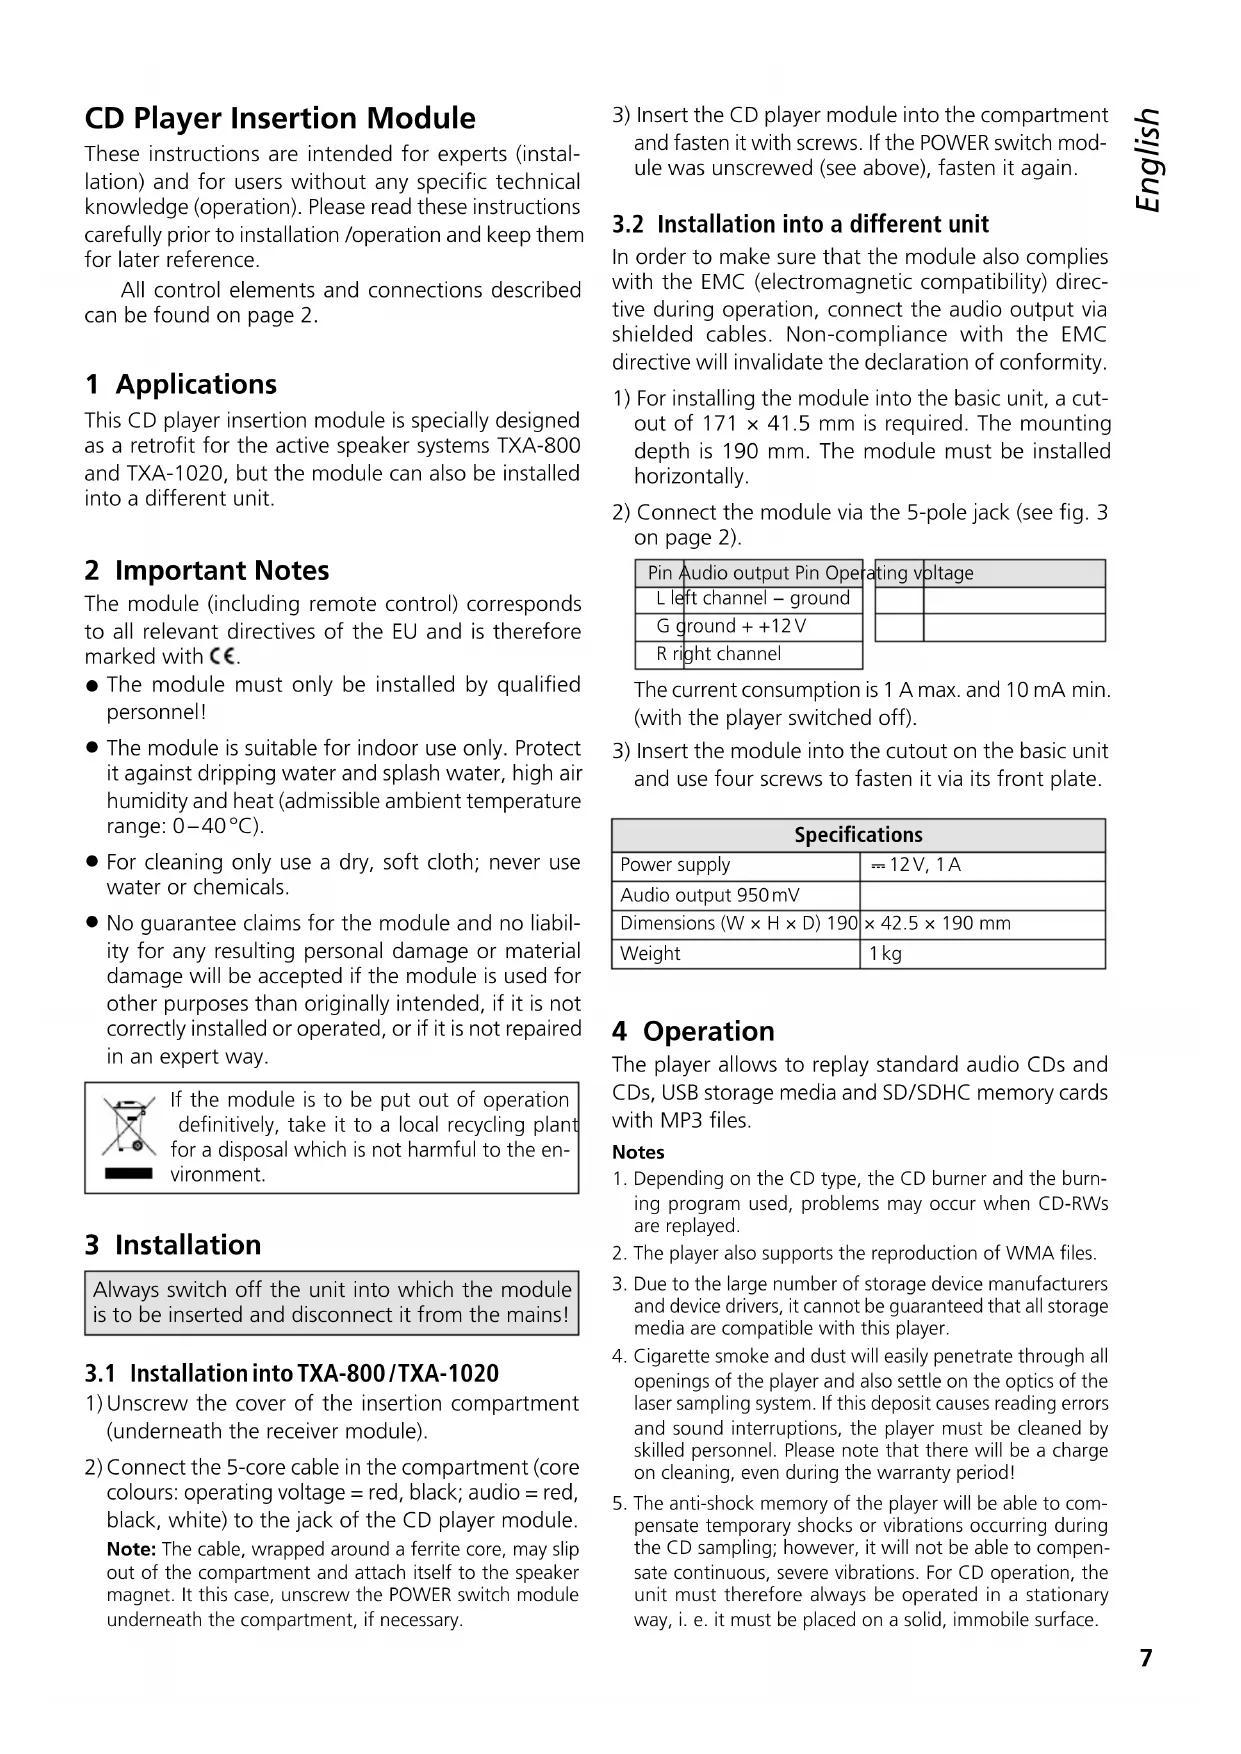
These instructions are intended for experts (installation) and for users without any specific technical knowledge (operation). Please read these instructions carefully prior to installation / operation and keep them for later reference.
All control elements and connections described can be found on page 2.
1 Applications
This CD player insertion module is specially designed as a retrofit for the active speaker systems TXA-800 and TXA-1020, but the module can also be installed into a different unit.
2 Important Notes
The module (including remote control) corresponds to all relevant directives of the EU and is therefore marked with
- The module must only be installed by qualified personnel!
- The module is suitable for indoor use only. Protect it against dripping water and splash water, high air humidity and heat (admissible ambient temperature range: 0 - 40^ ).
- For cleaning only use a dry, soft cloth; never use water or chemicals.
- No guarantee claims for the module and no liability for any resulting personal damage or material damage will be accepted if the module is used for other purposes than originally intended, if it is not correctly installed or operated, or if it is not repaired in an expert way.

If the module is to be put out of operation definitively, take it to a local recycling plant for a disposal which is not harmful to the environment.
3 Installation
Always switch off the unit into which the module is to be inserted and disconnect it from the mains!
3.1 Installation into TXA-800/TXA-1020
1) Unscrew the cover of the insertion compartment (underneath the receiver module).
2) Connect the 5-core cable in the compartment (core colours: operating voltage = red, black; audio = red, black, white) to the jack of the CD player module.
Note: The cable, wrapped around a ferrite core, may slip out of the compartment and attach itself to the speaker magnet. It this case, unscrew the POWER switch module underneath the compartment, if necessary.
3) Insert the CD player module into the compartment and fasten it with screws. If the POWER switch module was unscrewed (see above), fasten it again.
3.2 Installation into a different unit
In order to make sure that the module also complies with the EMC (electromagnetic compatibility) directive during operation, connect the audio output via shielded cables. Non-compliance with the EMC directive will invalidate the declaration of conformity.
1) For installing the module into the basic unit, a cutout of 171 × 41.5 ~mm is required. The mounting depth is 190 ~mm . The module must be installed horizontally.
2) Connect the module via the 5-pole jack (see fig. 3 on page 2).
| Pin Audio output Pin Op |
| L left channel - ground |
| G ground + +12V |
| R right channel |
| voltage | |
The current consumption is 1 A max. and 10 mA min. (with the player switched off).
3) Insert the module into the cutout on the basic unit and use four screws to fasten it via its front plate.
| Specifications | |
| Power supply | = 12V, 1A |
| Audio output 950mV | |
| Dimensions (W × H × D) 190 | × 42.5 × 190 mm |
| Weight | 1kg |
4 Operation
The player allows to replay standard audio CDs and CDs, USB storage media and SD/SDHC memory cards with MP3 files.
Notes
- Depending on the CD type, the CD burner and the burning program used, problems may occur when CD-RWs are replayed.
- The player also supports the reproduction of WMA files.
- Due to the large number of storage device manufacturers and device drivers, it cannot be guaranteed that all storage media are compatible with this player.
- Cigarette smoke and dust will easily penetrate through all openings of the player and also settle on the optics of the laser sampling system. If this deposit causes reading errors and sound interruptions, the player must be cleaned by skilled personnel. Please note that there will be a charge on cleaning, even during the warranty period!
- The anti-shock memory of the player will be able to compensate temporary shocks or vibrations occurring during the CD sampling; however, it will not be able to compensate continuous, severe vibrations. For CD operation, the unit must therefore always be operated in a stationary way, i.e. it must be placed on a solid, immobile surface.
The IR remote control for the player is supplied with a battery. Prior to initial operation, remove the foil from the battery holder. When pressing a button, always direct the remote control to the infrared sensor (2) of the player. There must be no obstacles between the sensor and the remote control.
If the remote control is not used for a longer time, remove the battery as a precaution so that the remote control will not be damaged in case the battery should leak.
Replacing the battery: Push the latch of the battery holder to the right (arrow 1 in the figure below) and remove the holder (arrow 2). Remove the old battery and insert the new battery (3 V button cell, type CR 2025) into the holder with the positive pole pointing upwards. Push the holder back into the remote control.

Batteries must not be placed in the household waste. Always take them to a special waste disposal (e.g. collection container at your retailer).
To switch on/off the player, use the POWER button (1).
Inserting a replay medium:
-
Insert a CD with the lettering showing upwards into the CD slot (A) until it is retracted automatically.
-
Connect a USB storage medium (USB flash drive or USB hard disk with separate power supply) to the USB port.
-
Insert a memory card (notched corner upward and contacts to the right) into the slot SD/SDHC(C) until it engages. To remove the card, slightly push it into the slot until it disengages.
To switch between the replay media, use the button MODE (4). After reading in a medium, its replay will start automatically. If a USB storage medium or a memory card has been selected and is then removed, the player automatically switches over to the CD player mechanism. The same happens when a new CD is retracted.
Control options and information on the display indications can be found in chapter 4.1.
4.1 Overview: Control elements and display
| Control element | Function | ||
| on the remote control | |||
| on the player | |||
| Volume | |||
| to set the volume | |||
| 4 | Selecting the replay medium | ||
| MODE | to switch between CD, USB storage medium and memory card | ||
| MODE | |||
| 5 | Replay/Pause | ||
| PLAY | to start the replay and to switch between replay and pause | ||
| PLAY/II | |||
| 6 | Stop mode / Ejecting the CD | ||
| STOP/EJ | to stop the replay; in the stop mode: to eject the CD When the CD has been ejected and has not been removed, press this button to retract the CD again. | ||
| EJECT | |||
| STOP | to stop the replay | ||
| 7 | Selecting folders | ||
| FOLDER | to go to the next folder (→) to the previous folder (→) | ||
| FOLDER | to go to the next folder | ||
| 8 | Skipping titles/ Fastforward/reverse | ||
| PREV_SKIP_FWD | →: to go to the next title, I→ to the previous folder (→) | ||
| REV_FWD | →: to go to the next title, I→ to the beginning of the title; each time the button is pressed again, the player will go back one title at a time fast forward/reverse: keep →I←pressed | ||
| F.B F.F | fast forward / reverse: briefly press→or At the desired spot press .→ | ||
Notes
-
Selecting folders and titles during replay/pause: Select the folder (brief indication of folder number and time 00:00): the replay of title 1 in the folder will start. If required, go to another title. Selecting folders and titles in the stop mode: Select the folder and go to the desired title in the folder (indication of folder number and title number in the folder). Start the replay.
-
Button: When this button is pressed while the player is in the pause mode (during CD operation) or within a programmed title sequence, the player will immediately go back one title.
| Control element | Function | |
| on the remote control | ||
| on the player | ||
| 9 Continuous repeat / ID3 tag feature | ||
| REP/ID3 | to switch between: - repeat of the title ("REP1") - repeat of the folder ("REP1 F")* - repeat of all titles ("ALL") - no repeat To activate the ID3 tag feature*, keep the button pressed for 2 seconds during the replay: File name ("FILE"), title name ("TITLE"), artist ("ARTIST") and album ("ALBUM") will scroll through the display. To deactivate the feature, keep the button pressed again for 2 seconds. The feature will automatically be deactivated when the next title is reached or when a button is pressed. * for MP3 media only | |
| ID3 REPEAT | ||
| Continuous random replay / Confirming the title selection | ||
| RAN/ENT. | to replay all titles in random order ("RAN"): on/off to confirm the title selection: see position ⑪ | |
| RAN | to replay all titles in random order ("RAN"): on/off | |
| ENTER | to confirm the title selection: see positions ⑪ and ⑭ | |
| 11 Programming a title sequence | ||
| PROGRAM PROG | 1. Press PROG ("PROG" will be indicated). 2. Select the first title: -press/ to go to the title; select the folder before selecting the title, if required or - use the numerical keys to enter the title number* and press RAN / ENT. or ENTER to confirm the title selection. 3. Proceed in the same way to program all other titles (10 max.). 4. Press start the title sequence ("MEMO" will be indicated). 5. Press PROG to return to the normal replay mode: the title sequence will be deleted. If no repeat function has been activated ("REP1" and "ALL" are available), the player will stop when the title sequence has been replayed and the title sequence will be deleted. * for MP3 media with several folders: The number of the title on the medium, not the number in the folder! | |
| PROG | ||
| Control element | Function | ||
| on the remote control | |||
| on the player | |||
| 12 Muting the sound | |||
| MUTE | √ | to mute / unmute the sound | |
| √ | |||
| 13 Changing the speed (and the pitch) | |||
| SPEED LOW NOR HI | √ | HI(GH): to increase the speed in 10 steps LOW: to reduce the speed in 10 steps NOR: to return to normal speed Press HI(GH) or LOW repeatedly until the desired speed is reached. The display will briefly indicate the setting, e. g. PH 05 normal speed increased by 5 steps PH-02 phased out by 2 steps | |
| SPEED LOW NOR HIGH | √ | ||
| PH-02 PH-02 phased out by 2 steps | |||
| 14 Selecting a title via the title number | |||
| 1 ... 0 | √ | Enter the title number* and press ENTER to confirm. * for MP3 media with several folders: The number of the title on the medium, not the number in the folder! | |
| 15 Repeating a section within a title (continuous loop) | |||
| A→B | √ | Press the button at the start and at the end of the section. To exit the loop, press the button once again. | |
| MEMO REP1 ALL RAN PROGF A:B M3 CD II | Display |
| MP3 Media "M3" Audio CDs Replay •Pause • number of the title in the folder and time played of the title (keeps flashing in the pause mode) When the player is stopped: number of folders and titles e.g. 10-57 10 folders, 57 titles | "CD" Replay •Pause • number of the title and time played of the title (keeps flashing in the pause mode) When the player is stopped: number of titles e.g. 20-0000 20 titles |
| "REP1" repeat of the title "REP1 F" repeat of the folder "ALL" repeat of all titles "RAN" random replay "A→B" starts flashing when the start of a loop has been defined and is always indicated while the loop is replayed "PROG" while a title sequence is programmed, "MEMO" while the title sequence is replayed | |
Subject to technical modification.