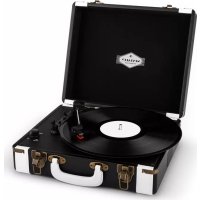
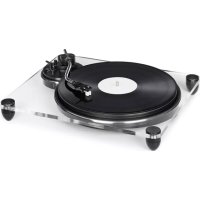
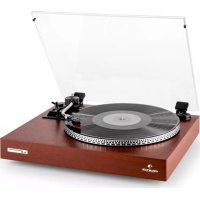
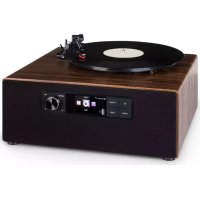
TTClassic Light - Media player Auna - Free user manual and instructions
Find the device manual for free TTClassic Light Auna in PDF.
| Product Type | Media player (turntable with built-in speakers) |
| Brand | Auna |
| Model | TTClassic Light |
| Dimensions (W x D x H) | 410 x 340 x 130 mm |
| Weight | 3.2 kg |
| Power supply | AC adapter 5 V DC 1 A, 100-240 V ~ 50/60 Hz |
| Power consumption | 4 W |
| Speeds | 33, 45, and 78 RPM |
| Cartridge | Stereo ceramic |
| Amplifier output power | 2 W + 2 W |
| Frequency response | 60 - 20,000 Hz |
| Bluetooth | Frequency 2402-2480 MHz, max transmission power 4 dBm |
| Main functions | Turntable, Bluetooth transmitter, AUX input, line output, built-in speakers, LED lighting |
| Care and cleaning | Clean with a soft, dry cloth. Do not use abrasive cleaners. Protect the stylus when not in use. |
| Safety | Do not open the device. Do not expose to water or moisture. Disconnect during thunderstorms or prolonged non-use. |
| Spare parts and repairability | Use only replacement parts supplied by the manufacturer. Have any repairs carried out by qualified personnel. |
| Included accessories | User manual, AC adapter |
Frequently Asked Questions - TTClassic Light Auna
User questions about TTClassic Light Auna
0 question about this device. Answer the ones you know or ask your own.
Ask a new question about this device
Download the instructions for your Media player in PDF format for free! Find your manual TTClassic Light - Auna and take your electronic device back in hand. On this page are published all the documents necessary for the use of your device. TTClassic Light by Auna.
USER MANUAL TTClassic Light Auna
Berlin Brands Group UK Ltd
PO Box 1145
Oxford, OX1 9UW
United Kingdom
Congratulations on the purchase of your appliance. Please read the following instructions carefully and follow them to prevent potential damage. We accept no liability for damage caused by disregarding the instructions or improper use. Please scan the QR code to access the latest operating instructions and for further information about the product.

CONTENTS
Technical Data Technical Data 16
Safety instructions 17
Device components and function keys 18
First steps 19
Use 19
LINE-OUT connection 20
BT Functions 20
Aux In/ Line Out 21
Troubleshooting 22
Disposal Considerations 23
Declaration of Conformity 23
TECHNICAL DATATECHNICAL DATA
Amplifier
Record player
| Output power 2W+2W | |
| Frequency response 60 - 20,000 Hz |
Speaker system
| Item number 10038898, 10038899, 10 | 038900 |
| Power supply 100-240 V ~ 50/60 Hz | |
| Playback speed 33 / 45 / 78 rpm | |
| Synchronisation disturbance Less than 0.35 % (WTD) | |
| SNR More than 30 dB | |
| Cartridge type Ceramic stereo cartridge | |
| Output power 1 KHz - 600 mV | |
| BT frequency 2402-2480 MHz | |
| BT transmission power (max.) 4 dBm |
| Power consumption 4 W | |
| Dimensions (L x W x H) 410*340*130 | mm |
| Standard accessories Operating instructions, power supply unit | |
| Weight 3.2 kg | |
SAFETY INSTRUCTIONS
General instructions
- Lightning strike - If you are not using the unit for a longer period of time or if there is a thunderstorm, pull the plug out of the mains socket or disconnect the unit from the antenna connection. This prevents damage to the product due to lightning and overvoltage.
- Overloading - Do not overload electrical outlets, extension cords or integral sockets as this may result in a fire or electric shock.
- Foreign objects and liquid entry - Never push objects of any kind into the unit through openings as they may touch dangerous voltage points or short out parts that could cause a fire or electric shock. Never spill liquids of any kind on the unit.
- Repair and maintenance - Do not attempt to service this product yourself as opening or removing covers may expose you to dangerous voltages or other hazards. Leave all maintenance work to qualified service personnel.
- Damage requiring servicing - Unplug the appliance from the wall outlet and refer servicing to qualified service personnel when any of the following situations occur:
a) If the mains cable or plug is damaged.
b) If liquid has been spilled or objects have fallen onto the product.
c) If the product has been exposed to rain or water.
d) If the product has been dropped or damaged.
e) If the product has a significantly reduced performance.
- Spare parts - If spare parts are needed, make sure that the specialist company replacing the parts only uses spare parts that are approved by the manufacturer or have the same characteristics as the original part. Unauthorised substitutions may result in fire, electric shock or other hazards.
- Heat - Do not install near any heat sources such as radiators, heat registers, stoves, or other products (including amplifiers).
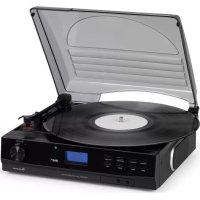
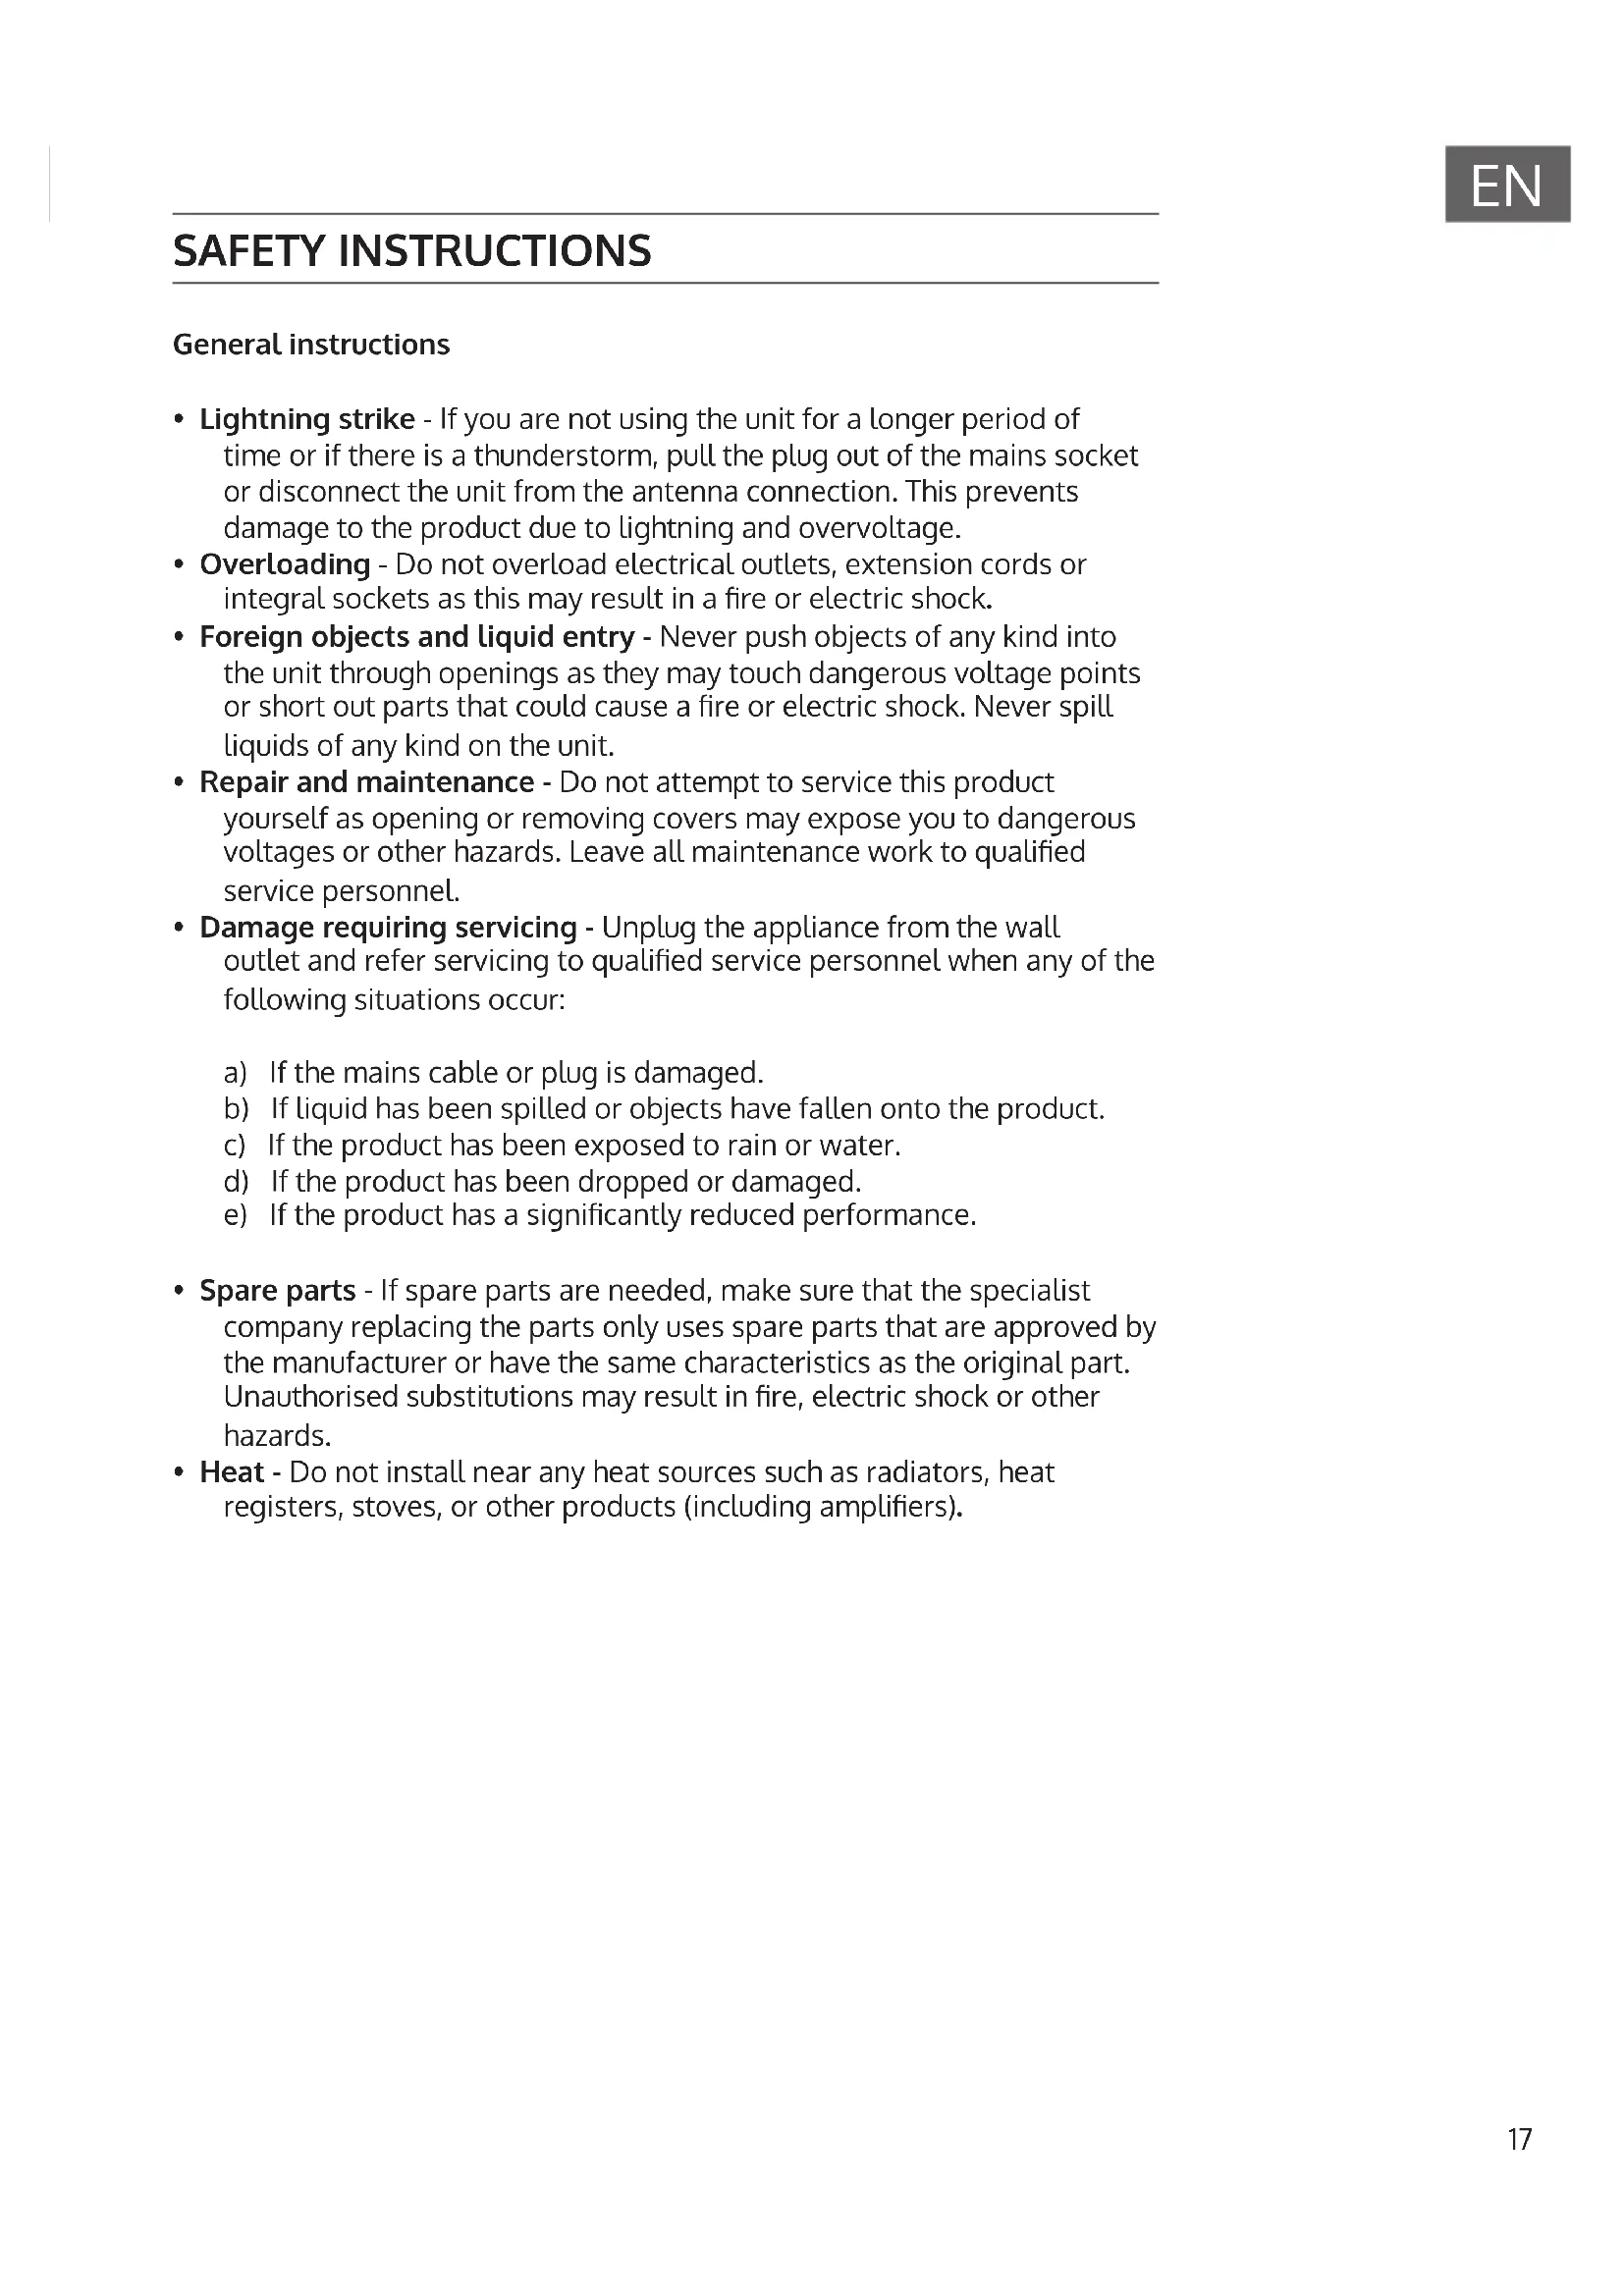
DEVICE COMPONENTS AND FUNCTION KEYS
| 1 turntable 8 AUX-IN | |
| 2 Rotation axis 9 LED illumination on | /off |
| 3 Tone arm 10 Volume control and on | /off button |
| 4 Lift lever 11 Dust protection | |
| 5 Speed control 12 Line-out connection | |
| 6 Needle 13 Power supply | |
| 7 Transmitter on/off 14 Speaker |
FIRST STEPS
Power supply
A mains adapter with an output power of 5 V DC 1 A (included in the scope of delivery) is required for using the unit. Follow the steps below to connect the mains adapter to the unit and a power socket:
- Plug the DC adapter into the DC IN connector on the back of the unit.
- Insert the power plug of the power adapter into a grounded socket. Turn the volume control (10) clockwise to switch on the unit. The power indicator will light up.
USE
Ensure the following before first use:
- Remove the needle guard.
- Make sure that the tone arm can be moved down freely from the tone arm holder. Secure the tone arm on the tone arm bracket when the unit is not in use.
Record playback
- Move the function selection switch to the 'PHONO' position and remove the dust cover (11).
- Place a record over the central spindle on the turntable (1). Place an EP adapter on the central spindle when playing 17 cm EP records.
- Use the speed selector (5) to set a speed of 33, 45 or 78 RPM, depending on the record.
- Lift the tone arm (3) from the tone arm mount with the lever (4) and move it carefully over the record. The turntable (1) will start to rotate.
- Place the tone arm (3) in the desired position on the record.
- Lower the tone arm (3) carefully onto the record to start playback.
- As soon as the record is finished, the tone arm (3) will stop automatically. Lift the tone arm (3) off the record and secure it on the tone arm holder.
- For manual stop, lift the tone arm (3) off the record and secure it on the tone arm holder.
Notes:
- Do not stop or turn the turntable with your hands.
- Turning or shaking the turntable without securing the tone arm first can damage the tone arm.
- Put the protective cap on the needle when the machine is not in use.
Automatic stop switch
Certain record types may have an auto-stop range outside the preset limit, so the turntable may stop before the last track is finished. In this case, set the automatic stop switch to the 'OFF' position. This allows the record to be played to the end, but it will not stop automatically. You must use the lift lever (4) to move the tone arm (3) from the record to the tone arm holder and then switch off the unit so that the turntable (1) no longer rotates.
LINE-OUT CONNECTION
You can connect this unit to an external stereo system or amplifier by connecting the line-out connector (12) to the AUX connector of your stereo system or amplifier using an RCA cable (not supplied).
BT FUNCTIONS
- Select,GRAMOPHONE' or, AUX IN' with the function knob when the unit is in playback mode or AUX IN mode.
- In operating status, set the transmitter button (7) to the 'ON' position so that the unit can be connected to the BT speakers of another unit.
- Once the connection is established successfully, the LED light will turn RED and VIOLET. After the music transmission is finished, move the transmitter button to the 'OFF' position. The BT transmission will be terminated.
AUX IN/ LINE OUT
- Select LINE IN with the function knob and plug an audio cable (not included) with a 3.5mm stereo plug at each cable end into the LINE IN connector (12).
- Plug the other end of the audio cable into the line OUT connector or headphone jack of the external audio device to play music from the external source through your unit's speakers.
- The volume can be regulated via the unit. For all other functions, use the external device as usual.
Note: When the LINE-OUT connector of the external device is connected, only the volume needs to be adjusted via your device. When the headphone jack of the external device is connected, the volume can be adjusted on both the external device and the turntable.
TROUBLESHOOTING
| Problem Potential cause | Solution | |
| The unit does not respond (no power) | The unit is not connected to the power socket. | Plug the power plug of the device into the mains socket. |
| The socket has no power. | Use a different socket. | |
| No sound The volume has been adjusted. | Adjust the volume. | |
| The wrong source has been selected. | Select the correct source. | |
| The unit is not switched on. | Switch the device on. | |
| The volume is set too low. | Increase the volume. | |
| Noise The volume setting is too high. | Decrease the volume. | |
| The unit becomes extremely warm after playing music at a high volume for a long time. | This is normal. Switch off the unit for some time or lower the volume. | |
DISPOSAL CONSIDERATIONS
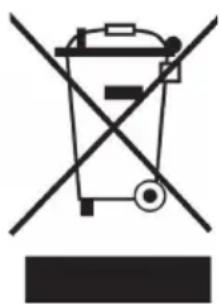
If there is a legal regulation for the disposal of electrical and electronic devices in your country, this symbol on the product or on the packaging indicates that this product must not be disposed of with household waste. Instead, it must be taken to a collection point for the recycling of electrical and electronic equipment. By disposing of it in accordance with the rules, you are protecting the environment and the health of your fellow human beings from negative consequences. For information about the recycling and disposal of this product, please contact your local authority or your household waste disposal service.
This product contains batteries. If there is a legal regulation for the disposal of batteries in your country, the batteries must not be disposed of with household waste. Find out about local regulations for disposing of batteries. By disposing of them in accordance with the rules, you are protecting the environment and the health of your fellow human beings from negative consequences.
DECLARATION OF CONFORMITY
CE UK CA
Manufacturer:
Chal-Tec GmbH, Wallstrasse 16, 10179 Berlin, Germany.
Importer for Great Britain:
Berlin Brands Group UK Ltd
PO Box 1145
Oxford, OX1 9UW
United Kingdom
Hereby, Chal-Tec GmbH declares that the radio equipment type TT-Classic Light is in compliance with Directive 2014/53/EU. The full text of the EU declaration of conformity is available at the following internet address: use.berlin/10038898
For Great Britain: Hereby, Chal-Tec GmbH declares that the radio equipment type TT-Classic Light is in compliance with the relevant statutory requirements. The full text of the declaration of conformity is available at the following internet address: use.berlin/10038898
Cher client, chere clientele,
Berlin Brands Group UK Ltd
PO Box 1145
Oxford, OX1 9UW
United Kingdom
Berlin Brands Group UK Ltd
PO Box 1145
Oxford, OX1 9UW
United Kingdom