
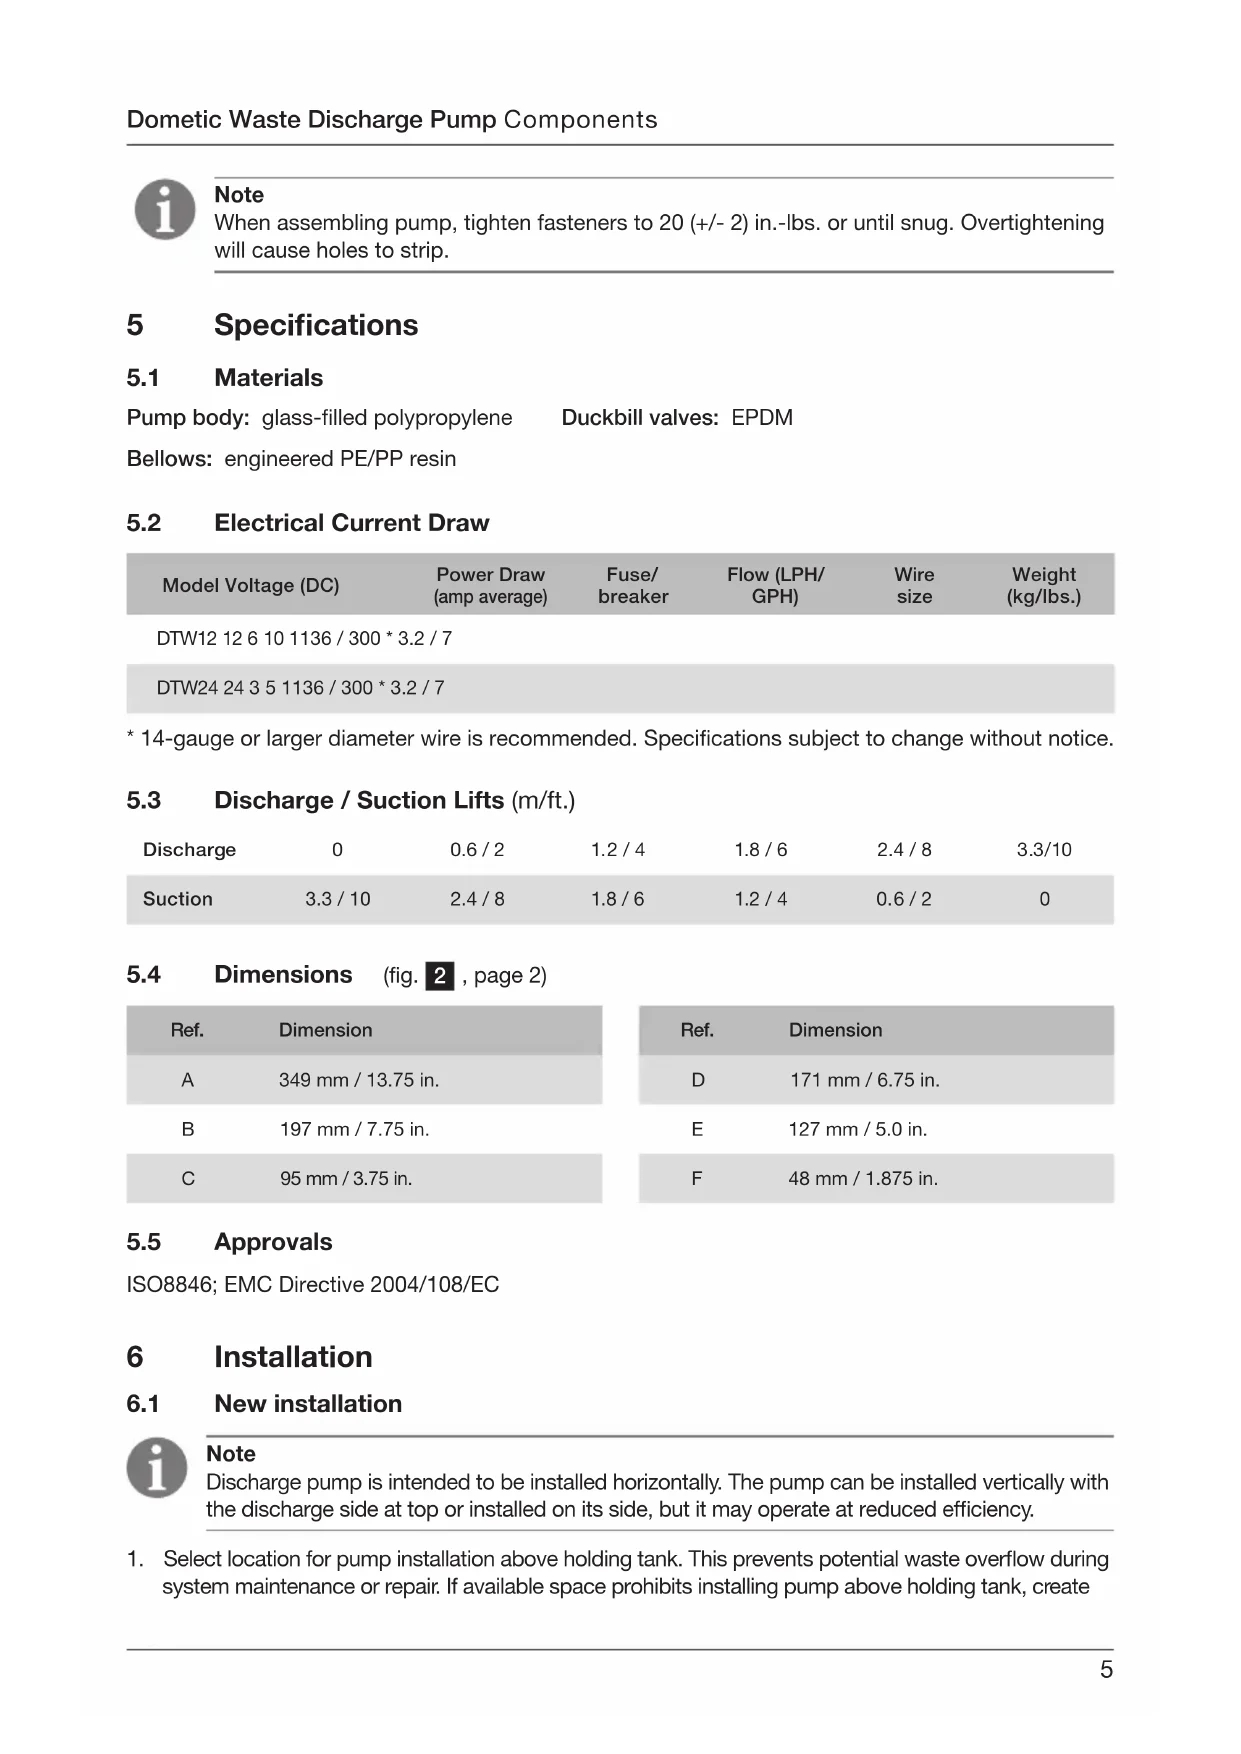
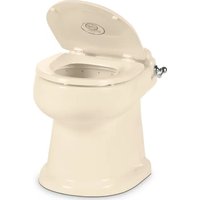
TW24 - Toilet DOMETIC - Free user manual and instructions
Find the device manual for free TW24 DOMETIC in PDF.
| Product Type | Electric Macerator Toilet |
| Brand | Dometic |
| Model | TW24 |
| Dimensions (L x H x D) | 349 mm x 197 mm x 95 mm |
| Weight | 3.2 kg |
| Supply Voltage | 24 V DC |
| Power Consumption | 3 A (average) |
| Recommended Fuse / Circuit Breaker | 5 A |
| Maximum Flow Rate | 1136 L/h (300 GPH) |
| Maximum Discharge Height | 3.3 m |
| Maximum Suction Height | 3.3 m |
| Body Materials | Fiberglass Reinforced Polypropylene |
| Valve Material | EPDM (duckbill) |
| Bellows Material | Machined PE/PP |
| Main Functions | Silent operation, self-priming, thermal overload protection, dry running without damage |
| Maintenance and Cleaning | Regular cleaning of duckbill valves and bellows; use Dometic pipe lubricant |
| Safety | Open valve before activation; disconnect power before maintenance; do not run dry for extended periods |
| Available Spare Parts | Cover kit, closure kit, O-ring kit, collets, eccentric, clamps, duckbill valve, body, bellows, motor, gearbox, hardware kit |
| Warranty (private use) | 1 year |
| Bellows Warranty | 5 years |
| General Information | Designed for horizontal or vertical marine installation; comply with local discharge regulations |
Frequently Asked Questions - TW24 DOMETIC
User questions about TW24 DOMETIC
0 question about this device. Answer the ones you know or ask your own.
Ask a new question about this device
Download the instructions for your Toilet in PDF format for free! Find your manual TW24 - DOMETIC and take your electronic device back in hand. On this page are published all the documents necessary for the use of your device. TW24 by DOMETIC.
USER MANUAL TW24 DOMETIC
1 Notes on using the manual 3
2 General safety instructions 3
3 Intended use 3-4
4 Components 4-5
5 Specifications 5
6 Installation 5-6
7 Operation. 7
8 Warranty and Product Liability 7-8
1 Notes on using the manual

Caution!
Safety Instruction: Failure to observe this instruction can cause material damage and impair the function of the device.

Note
Supplementary information for operating the device.
fig. 2 A, page 2: This refers to an element in an illustration. In this example, item A in figure 2 on page 2.
2 General safety instructions
The manufacturer will not be held liable for claims for damage resulting from the following:
- Faulty assembly or connection
- Damage to the unit from mechanical influences, misuse or abuse
- Alterations to the unit without express written permission from the manufacturer
- Use for purposes other than those described in the operating manual
3 Intended use
3.1 New installation
DTW Waste Discharge Pump provides quiet, reliable performance when emptying the contents of a holding tank through a seacock and overboard discharge fitting. The DTW discharge pump can be operated with a circuit breaker, generic power switch or with a Domatic DTD01 Tank Discharge Control panel. The pump connects to 38 mm (1.5 in.) ID sanitation hose.
3.2 Replacing macerator discharge pump
When replacing a macerator-type discharge pump with the DTW bellows-type discharge pump, use the 38mm× 25mm hose reducing adapter (supplied with pump). Install the reducing adapter in a 38mm ID discharge line from the DTW pump as close to the 25mm (1.0 in.) ID seacock fitting as possible (no more than 1m (3.3 ft.) from the seacock).

Caution!
Operator must know local regulations for emptying a holding tank.
3.3 Features
Quiet operation.
Runs dry without damage. Patented bellows design won't become damaged if pump runs without water.
Special five-year warranty on thermoplastic pump bellows. See Warranty.
Free-flow design. Duckbill valves provide free flow and reliable seal.
Thermal overload protection. Prevents motor damage from potential overheating.
Self-priming up to 3.3m (10 ft.) of water.
4 Components
Itemsinfig.
1 page 2
Description Item Number (Europe / North America)
1 Pump cover kit 860003853111428 / 385311142
2 Pump top closure kit 860003853112251 / 385311225
3 O-ring kit 860003853101510 / 385310151
4 Bellows bushing 860003853102427 / 385310242
5 Eccentric kit 860003853106444 / 385310644
6 Bellows clamp kit 860003853112269 / 385311226
7 Valve nipple 860006003406697 / 600340669
8 38 mm ID duckbill valve kit 860003853100769 / 385310076
9 Pump body 860006003414899 / 600341489
10 Bellows assembly (incl. 4) 860003852309809 / 385230980
11 12 V DC motor 860003853110651 / 385311065
24 V DC motor 860003853110669 / 385311066
12 38 mm x 25 mm reducing adapter 860003073411137 / 307341113
13 Hardware kit 860003853112244/385311224
Pump assembly, without motor 860003853102500 / 385310250 (not shown)
A Tighten
B Loosen
C Direction of flow

Note
When assembling pump, tighten fasteners to 20 (+ / - 2) in. - lbs. or until snug. Overtightening will cause holes to strip.
5 Specifications
5.1 Materials
Pump body: glass-filled polypropylene Duckbill valves: EPDM
Bellows: engineered PE/PP resin
5.2 Electrical Current Draw
| Model Voltage (DC) | Power Draw (amp average) | Fuse/ breaker | Flow (LPH/ GPH) | Wire size | Weight (kg/lbs.) |
| DTW12 12 6 10 1136 / 300 * 3.2 / 7 | |||||
| DTW24 24 3 5 1136 / 300 * 3.2 / 7 | |||||
- 14-gauge or larger diameter wire is recommended. Specifications subject to change without notice.
5.3 Discharge / Suction Lifts (m/ft.)
| Discharge | 0 | 0.6 / 2 | 1.2 / 4 | 1.8 / 6 | 2.4 / 8 | 3.3/10 |
| Suction | 3.3 / 10 | 2.4 / 8 | 1.8 / 6 | 1.2 / 4 | 0.6 / 2 | 0 |
5.4 Dimensions (fig. 2, page 2)
| Ref. | Dimension |
| A | 349 mm / 13.75 in. |
| B | 197 mm / 7.75 in. |
| C | 95 mm / 3.75 in. |
| Ref. | Dimension |
| D | 171 mm / 6.75 in. |
| E | 127 mm / 5.0 in. |
| F | 48 mm / 1.875 in. |
5.5 Approvals
ISO8846; EMC Directive 2004/108/EC
6 Installation
6.1 New installation

Note
Discharge pump is intended to be installed horizontally. The pump can be installed vertically with the discharge side at top or installed on its side, but it may operate at reduced efficiency.
- Select location for pump installation above holding tank. This prevents potential waste overflow during system maintenance or repair. If available space prohibits installing pump above holding tank, create
a vertical loop in the sanitation hose between the tank outlet and pump inlet that extends above the holding tank.
- Insert 38mm ID duckbill valve in open end of pump body, and tighten valve nipple into pump body with counter-clockwise motion (fig. 4, page 2).
- In the four mounting feet locations on pump base (fig. 4 1, page 2), use 6mm (#12) minimum diameter fasteners with 19mm (0.75 in.) maximum diameter washer to fasten pump to surface.
- Apply small amount of liquid dishwashing detergent or Dometic hose lubricant (not supplied with pump) around ends of pump inlet and discharge fittings and inside ends of 38mm ID sanitation hose that will attach to these fittings.
- Slip two hose clamps (not supplied) over each end of hose that attaches to pump. Push hose ends onto pump fittings and position the clamps screws so that they are 180^ apart from each other. Tighten hose clamps to pump fittings (fig. 5, page 2).
- With electrical power off, make proper wiring connections according to wiring diagram (fig. 3, page 2). With pump switch in "off" position, if applicable, turn on electrical power.
Key to discharge pump wiring (fig. 3, page 2)
Ref. Description
A Discharge pump
B V DC ground
C 12 or 24 V DC
D Black
Ref. Description
E Red
F Power switch (on / off)
Notes:
- Use 14 gauge or larger diameter standard copper wire.
- Max. discharge pump circuit breaker or fuse rating: 20 amps
6.2 Replacing macerator discharge pump
In discharge hose line from pump to seacock (if applicable) or overboard discharge fitting that measures 25mm (1.0 in.) ID, install the reducing adapter (fig. 12, page 2) as close to the seacock fitting as possible (no more than 1m (3.3 ft.) from the seacock). Use liquid dishwashing detergent or Domatic hose lubricant (not supplied) and properly sized hose clamps to connect the hose ends to the reducing adapter (as described in Section 6.1, step 4 and 5).

Caution - Flooding Hazard!
If the toilet, holding tank or any components are connected to any through-hull fittings, properly installed seacocks must be installed in all piping connected to the through-hull fittings. Seacocks must be easily accessible to all users of the system. All valves must be full-bore valves and of marine (corrosion resistant) quality. Screw-to-close gate valves are not recommended. Failure to do so can result in flooding, which can cause the loss of life and property.

Caution - Flooding Hazard!
Some marine practices and/or standards require the installation of a properly positioned ventilated (vented) loop in the discharge piping to prevent back-siphonage of seawater into the holding tank. It is up to the system installer and boat owner to select appropriate means of preventing backflow into the holding tank.
7 Operation

Caution!
OPEN SEACOCK BEFORE ACTIVATING DISCHARGE PUMP. Operating discharge pump against a closed seacock will result in damage to the pump duckbill valves and require replacement of the valves.
When in waters where overboard discharge of holding tank is allowed, open seacock (if applicable) and turn on electrical power to discharge pump. When discharge is complete, turn off power to the pump.

Caution!
Operator must know local regulations for emptying a holding tank.

Caution!
Do not allow discharge pump to operate for an extended period of time when there is no discharge from holding tank. Damage to pump may result.

Caution!
Discharge pump may start automatically. Turn off electrical power before servicing.
8 Warranty and Product Liability
Europe:
Warranty and Customer Service
Warranty arrangements are in accordance with EC Directive 44/1999/CE and the normal conditions applicable for the country concerned. For warranty or other service, please contact our Domatic/Waeco Service department listed elsewhere in this manual. Any damage due to improper use is not covered by the warranty.
The warranty does not cover any modifications to the product or the use of non-original Dometic parts; the warranty does not apply if the installation and operating instructions are not adhered to and no liability shall be entertained.
Product Liability
Product liability of Dometic Group and its subsidiary companies does not include damages which may arise from: faulty operation; improper alterations or intervention in the equipment; adverse effects from the environment which may impact the equipment itself or the direct vicinity of the equipment or persons in the area.
To obtain warranty service, first contact your local dealer from whom you purchased this product or go to http://www.dometic.com for a dealer near you.
North America and Rest of the World:
Manufacturer's One-Year Limited Warranty
Dometic Corporation, Sanitation Division warrants to the original purchaser only that this product (certain Dometic products, listed below, have a longer warranty period), if used for personal, family or household purposes, is free from defects in material and workmanship for a period of one year from the date of purchase.
If this Dometic product is placed in commercial or business use, it will be warranted to the original purchaser only to be free of defects in material and workmanship for a period of ninety (90) days from the date of purchase.
Domatic reserves the right to replace or repair any part of this product that proves, upon inspection by Domatic, to be defective in material or workmanship. All labor and transportation costs or charges incidental to warranty service are to be borne by the purchaser-user.
EXCLUSIONS
IN NO EVENT SHALL DOMETIC BE LIABLE FOR INCIDENTAL OR CONSEQUENTIAL DAMAGES, FOR DAMAGES RESULTING FROM IMPROPER INSTALLATION, OR FOR DAMAGES CAUSED BY NEGLECT, ABUSE, ALTERATION OR USE OF UNAUTHORIZED COMPONENTS. ALL IMPLIED WARRANTY, INCLUDING ANY IMPLIED WARRANTY OF MERCHANTABILITY OR FITNESS FOR ANY PARTICULAR PURPOSE, ARE LIMITED TO A PERIOD OF ONE YEAR FROM DATE OF PURCHASE.
IMPLIED WARRANTYIS
No person is authorized to change, add to, or create any warranty or obligation other than that set forth herein. Implied warranties, including those of merchantability and fitness for a particular purpose, are limited to one (1) year from the date of purchase for products used for personal, family or household purposes, and ninety (90) days from the date of purchase for products placed in commercial or business use.
OTHER RIGHTS
Some states do not allow limitations on the duration of an implied warranty and some states do not allow exclusions or limitations regarding incidental or consequential damages; so, the above limitations may not apply to you. This warranty gives you specific legal rights, and you may have other rights which vary from state to state.
To obtain warranty service, first contact your local dealer from whom you purchased this product or go to http://www.dometic.com for a dealer near you.
Inhalt
DE
5.3 Ablass-/Ansaughub (m/ft.)
ISO8846; Directive EMC 2004/108/EC
6 Installation
6.1 Nouvelle installation

Remarque
| Réf. Afmeting | |
| D | 171 mm / 6,75 in. |
| E | 127 mm / 5,0 in. |
| F | 48 mm / 1,875 in. |
5.5 Goedkeuringen
| Ref. | Dimension |
| A | 349 mm / 13,75 in. |
| B | 197 mm / 7,75 in. |
| C | 95 mm / 3,75 in. |
| Ref. | Dimension |
| D | 171 mm / 6,75 in. |
| E | 127 mm / 5,0 in. |
| F | 48 mm / 1,875 in. |
5.5 Godkannanden
ISO8846; EMC-direktiv 2004/108/EG
6 Installation
6.1 Ny installation

Observera
| Ref. Mål | Ref. Mål | ||
| A | 349 mm / 13,75 in. | D | 171 mm / 6,75 in. |
| B | 197 mm / 7,75 in. | E | 127 mm / 5,0 in. |
| C | 95 mm / 3,75 in. | F | 48 mm / 1,875 in. |
5.5 Godkendelser
ISO8846; EMC-direktiv 2004/108/EF
6 Installation
6.1 Ny installation

Bemaerk
Belger: engineered PE/PP
5.2 Strømforbruk
| Modell | Spenning (DC) | Strømtrekk (amp gjennomsnitt) | Sikring/vern | Strømning (LPH/GPH) | Kabelstørrelse | Vekt (kg/lbs.) |
| DTW12 | 12 6 10 | 1136 / 300 * 3,2 / 7 | ||||
| DTW24 | 24 3 5 | 1136 / 300 * 3,2 / 7 |
- 14-gauge ell er storre kabeldiamater anbefales. Spesifikasjner kan endres uten varsel.
5.3 Tommpe-/Sugehoyde (m/ft.)
| Ref. Mål | |
| A | 349 mm / 13,75 in. |
| B | 197 mm / 7,75 in. |
| C | 95 mm / 3,75 in. |
| Ref. Mål | |
| D | 171 mm / 6,75 in. |
| E | 127 mm / 5,0 in. |
| F | 48 mm / 1,875 in. |
5.5 Godkjenninger
ISO8846; EMC-direktiv 2004/108/EC
6 Montering
6.1 Ny installationsjon

Merk
Tommepumpen er beregnet på horizontal installationsjon. Pumpen kan installereres vertikalt med tommasiden på toppen eller installerer på sider, men da kan den gå med redusert effekt.
Dometic Australia Pty. Ltd.
1 John Duncan Court
Varsity Lakes QLD 4227
Tel +61755076000
Fax +61755076001
Mail sales@dometic-waeco.
com.au
FRANCE
Dometic S.N.C.
Dometic Branch Office
Belgium
Zinkstraat 13
B-1500 Halle
Tel +32 2 3598040
Fax +32 2 3598050
Mail info@dometic.be
CHINA
WAECO Impex Ltd.
Shenzhen Futian office (WIE)
1402-1404 1 D/F
Zhou Yue Building
Fu Hua Road,
Futian Central Zone
518048 Shenzhen
Tel +86 755 2560 7722
DENMARK
Dometic Denmark A/S
Nordensvej 15, Taulov
DK-7000 Fredericia
Tel +45 75585966
Fax +45 75586307
Mail info@waeco.dk
FINLAND
Dometic Finland OY
Mestarintie 4
FIN-01730 Vantaa
Tel +358 20 7413220
Fax +35897593700
Mail info@dometic.fi
GERMANY
Dometic WAECO
International GmbH
Hollefeldstraße 63
D-48282 Emsdetten
Tel +49 2572 879-0
Fax +49 2572 879-300
Mail info@dometic-
waeco.de
HONG KONG
Dometic Group Asia Pacific
Suites 2207-11·22/F·
Tower 1
The Gateway 25 Canton
Road
Tsim Sha Tsui · Kowloon
Tel +852 2 4611386
Fax +852 2 4665553
Mail info@waeco.com.hk
ITALY
Domatic Italy S.p.A.
Via Gazzani, 8/2
Domatic New Zealand Ltd.
26 Cashew Street
NZ-Grenada North
Wellington 6440
Tel +64 4 232 3898
Fax +64 4 232 3878
Mail customerservices@
dometic.com.nz
POLAND
Dometic Poland Sp. z o.o.
ul. Puławska 435A
PL-02-801 Warszawa
Tel +48 22 414 32 00
Fax +48 22 414 32 01
Mail info@dometic.pl
RUSSIA
Dometic RUS LLC
Komsomolskaya square 6-1
RU-107140 Moscow
Tel +74957807939
Fax +74959165653
Mail info@dometic.ru
SINGAPORE
Dometic Pte Ltd
18 Boon Lay Way 06-140
Trade Hub 21
Singapore 609966
Tel +65 6795 3177
Fax +65 6862 6620
Mail dometic@dometic.com.
sg
SLOVAKIA
Dometic Slovakia s.r.o
Tehelná 8
SK-98601 Filakovo
Tel +421 47 4319 100
Fax +421 47 4319 144
Mail dometic@dometic.sk
SOUTH AFRICA
Dometic (Pty) Ltd.
Regional Office
South Africa & Sub-Saharan
Africa
P.O.Box 2562
2008 Bedfordview
Tel +27 11 4504978
Fax +27 11 4504976
Mail info@dometic.coM.za
SWITZER
Dometic Switzerland AG
Riedackerstrasse 7a
CH-8153 Rümlang
Tel +41 44 8187171
Fax +41 44 8187191
Mail info@
dometic-waeco.ch
UNITED ARAB EMIRATES
Dometic AB
Regional Office Middle East
PO Box 74775
Dubai
Tel +97143212160
Tel +97148833858
Mail info@dometic.ae
USA
Dometic Marine Division
2000 N. Andrews Ave. Ext.
Pompano Beach, FL 33069
Tel +954-973-2477
Fax +954-979-4414
Mail marinesales@
dometic.com
SOUTH AFRICA
Dometic (Pty) Ltd.
Regional Office
South Africa & Sub-Saharan
Africa
2008 Bedfordview
Tel +27 11 4504978
Fax +27 11 4504976
Mail info@dometic.coM.za
SPAIN
Dometic Spain S.L.
Avda. Sierra del
Guadarrama, 16
E-28691 Villanueva de la
Canada · Madrid
Tel +34 902 111 042
Fax +34 900 100 245
Mail info@dometic.es

DOMETIC
Dometic Corporation, Sanitation Division
13128 State Rt. 226, P.O. Box 38
Big Prairie, OH 44611 USA
1-800-321-9886·Fax:330-496-3097
www.Dometic.com

- Notes on using the manual
- Caution!
- Note
- General safety instructions
- Intended use
- New installation
- Replacing macerator discharge pump
- Features
- Components
- Specifications
- Materials
- Electrical Current Draw
- Discharge / Suction Lifts (m/ft.)
- Dimensions (fig. 2, page 2)
- Approvals
- Installation
- New installation
- Key to discharge pump wiring (fig. 3, page 2)
- Notes:
- Replacing macerator discharge pump
- Caution - Flooding Hazard!
- Operation
- Warranty and Product Liability
- Europe:
- Warranty and Customer Service
- Product Liability
- North America and Rest of the World:
- Manufacturer's One-Year Limited Warranty
- EXCLUSIONS
- IMPLIED WARRANTYIS
- OTHER RIGHTS
- Inhalt
- DE
- Ablass-/Ansaughub (m/ft.)
- Nouvelle installation
- Remarque
- Goedkeuringen
- Godkannanden
- Ny installation
- Observera
- Godkendelser
- Bemaerk
- Strømforbruk
- Tommpe-/Sugehoyde (m/ft.)
- Godkjenninger
- Montering
- Ny installationsjon
- Merk
- FRANCE
- Dometic Branch Office
- CHINA
- DENMARK
- FINLAND
- GERMANY
- HONG KONG
- ITALY
- POLAND
- RUSSIA
- SINGAPORE
- SLOVAKIA
- SOUTH AFRICA
- SWITZER
- UNITED ARAB EMIRATES
- USA
- SPAIN
- DOMETIC
Brand : DOMETIC
Model : TW24
Category : Toilet