
Shiny Smile CD7901 - Toothbrush SOLAC - Free user manual and instructions
Find the device manual for free Shiny Smile CD7901 SOLAC in PDF.
| Brand | Solac |
| Model | Shiny Smile CD7901 |
| Product type | Rechargeable electric toothbrush |
| Power supply | Mains charger via charging base, internal battery |
| Input voltage | 100-240 V (according to rating plate) |
| Charging time | 12 hours for full charge, 24 hours recommended for first charge |
| Battery life | Approx. 90 uses per charge (monthly charge recommended) |
| Brushing modes | Cleaning, Soft, Massage |
| Built-in timer | 30-second interval per quadrant, auto stop after 2 minutes |
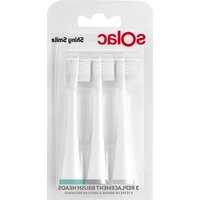
| Brush head type | Removable, replace regularly |
| Indicators | Blue charging indicator, mode indicator |
| Water resistance | Not suitable for use in shower |
| Approximate weight | 100 g |
| Dimensions (handle) | Approximately 20 cm length |
| Maintenance | Clean with a damp cloth and mild detergent, rinse head after each use |
| Safety | Auto stop after 2 minutes, standby mode, overload protection |
| Warranty | According to applicable legislation, Solac authorized after-sales service |
| Recycling | Removable battery for recycling in accordance with WEEE |
Frequently Asked Questions - Shiny Smile CD7901 SOLAC
User questions about Shiny Smile CD7901 SOLAC
0 question about this device. Answer the ones you know or ask your own.
Ask a new question about this device
Download the instructions for your Toothbrush in PDF format for free! Find your manual Shiny Smile CD7901 - SOLAC and take your electronic device back in hand. On this page are published all the documents necessary for the use of your device. Shiny Smile CD7901 by SOLAC.
USER MANUAL Shiny Smile CD7901 SOLAC
natural_image
Electric toothbrush with brand logo (no visible text or symbols on body)CEPILLO DE DIENTES INSTRUCCIONES DE USO
TOOTHBRUSH INSTRUCTIONS FOR USE
Many thanks for choosing to purchase a SOLAC brand product.
Thanks to its technology, design and operation and the fact that it exceeds the strictest quality standards, a fully satisfactory use and long product life can be assured.
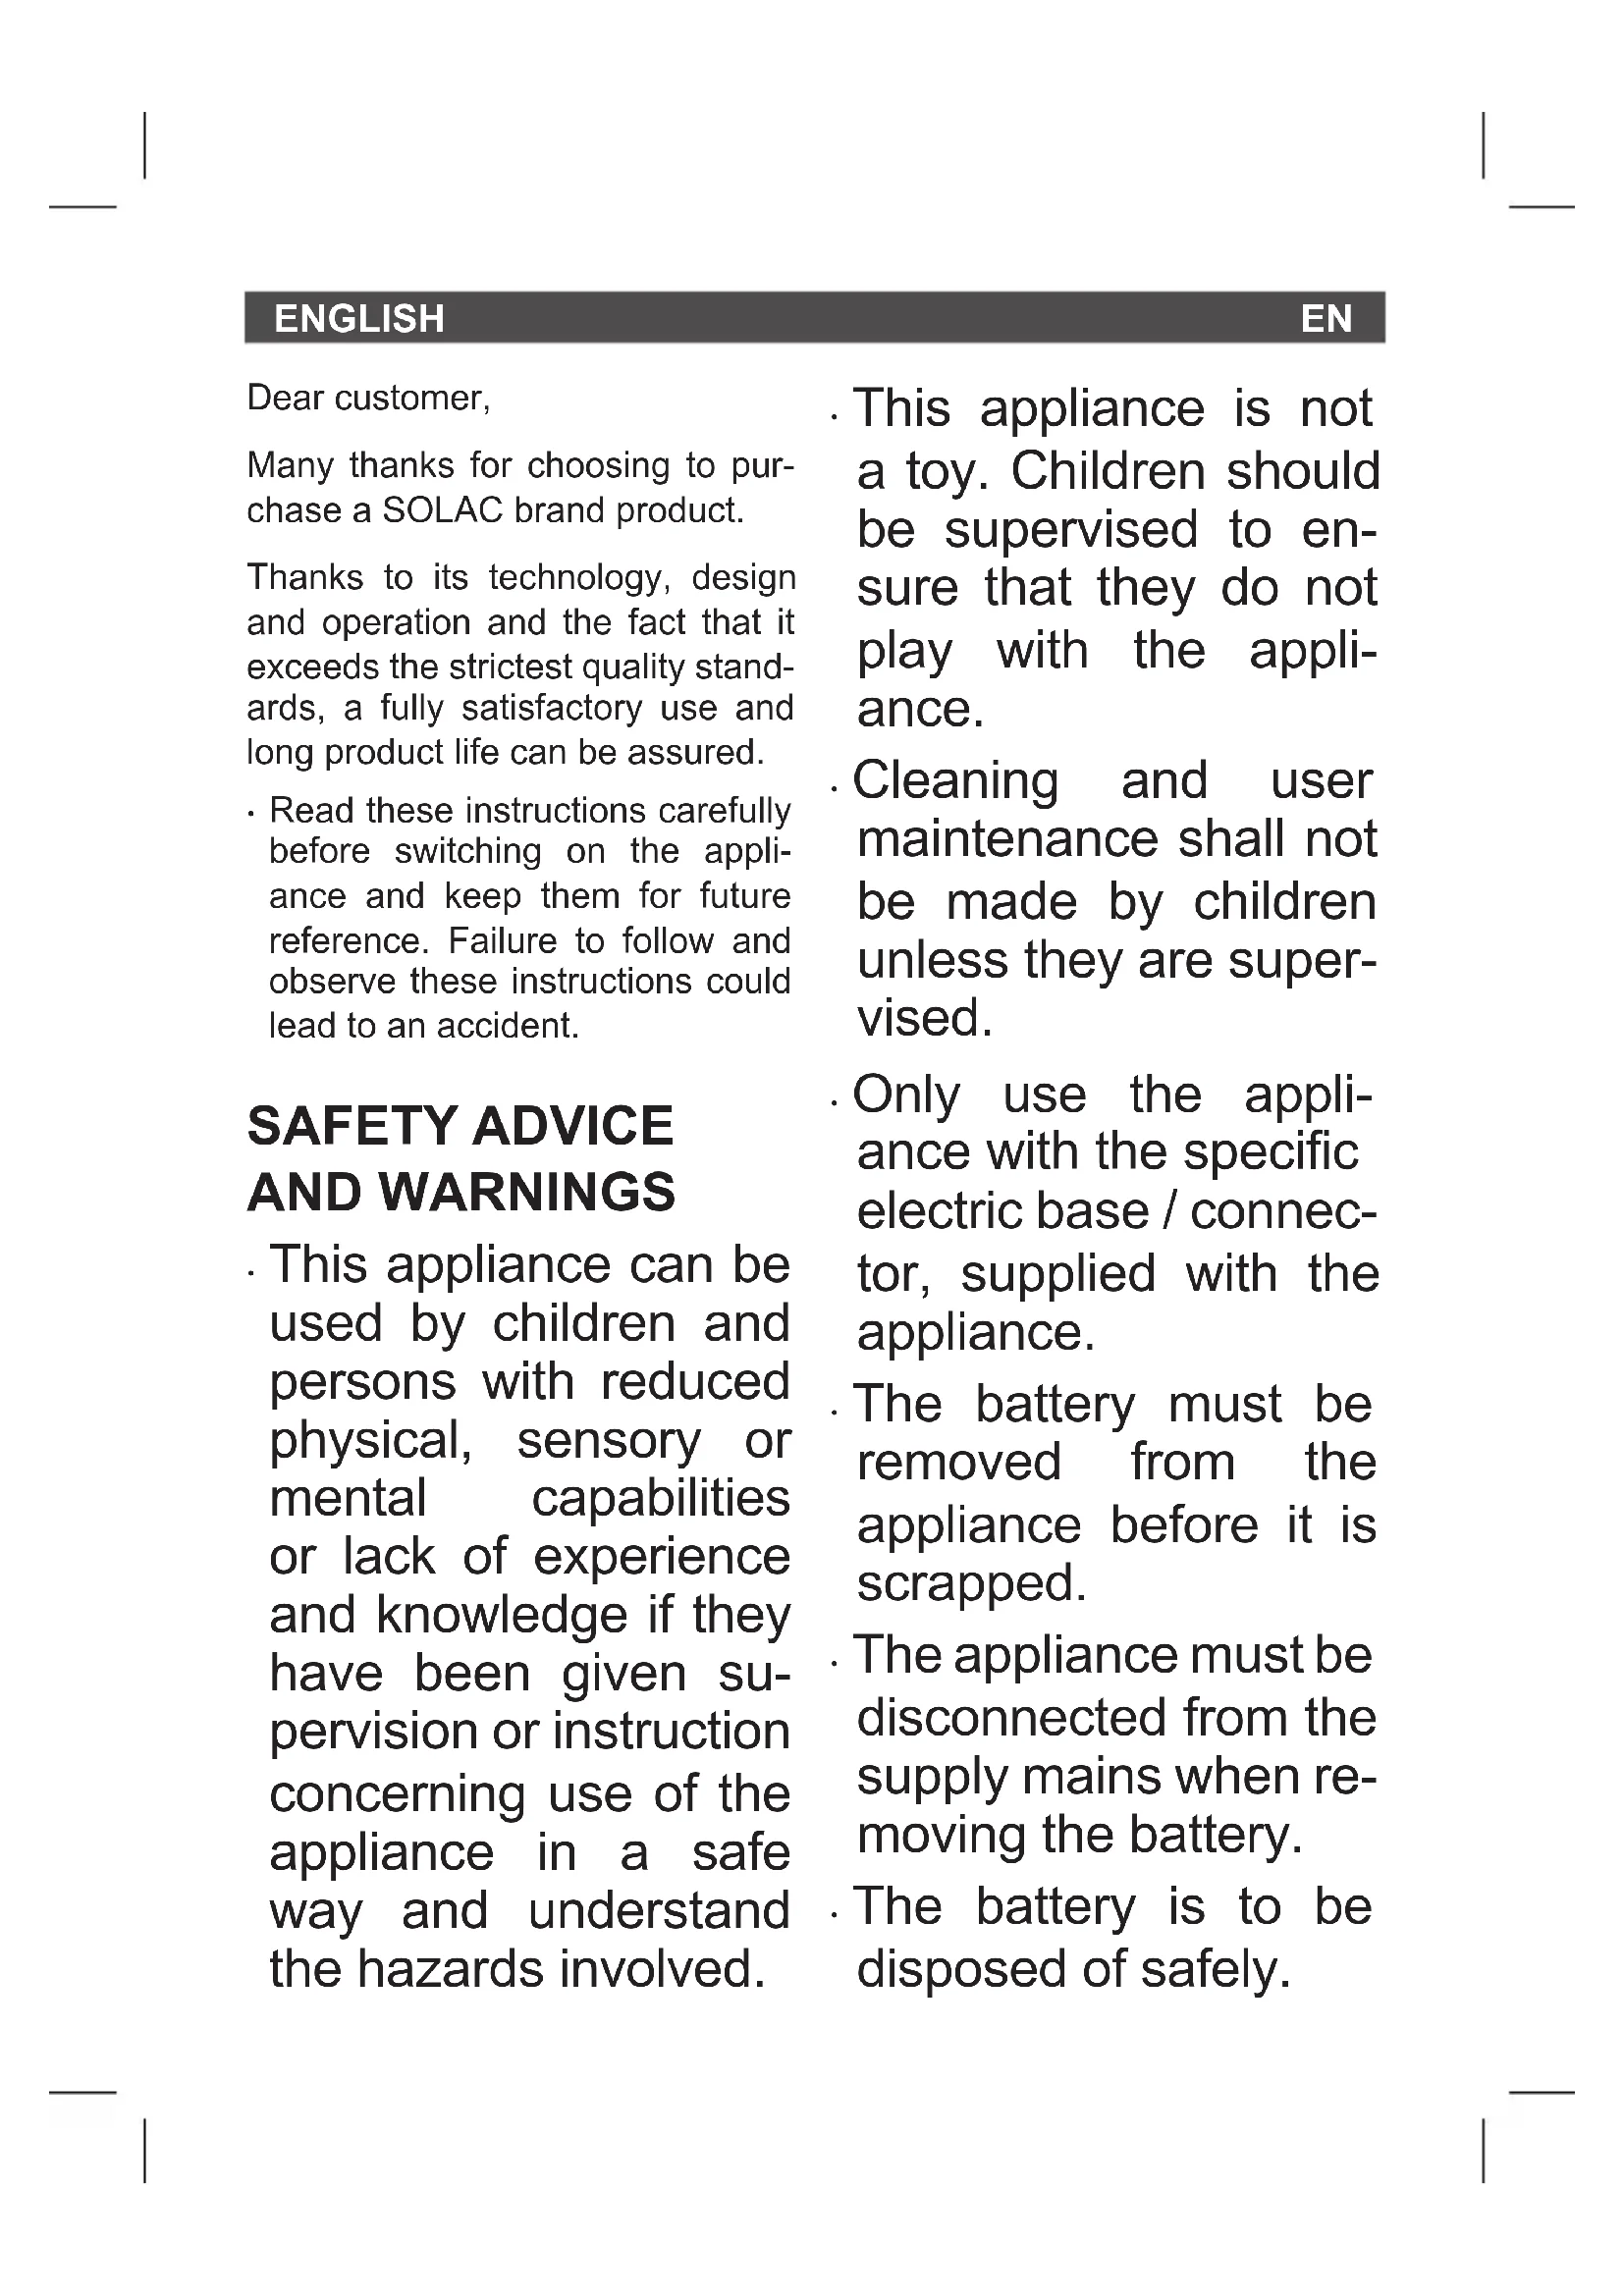
- Read these instructions carefully before switching on the appliance and keep them for future reference. Failure to follow and observe these instructions could lead to an accident.
SAFETY ADVICE AND WARNINGS
- This appliance can be used by children and persons with reduced physical, sensory or mental capabilities or lack of experience and knowledge if they have been given supervision or instruction concerning use of the appliance in a safe way and understand the hazards involved.
- This appliance is not a toy. Children should be supervised to ensure that they do not play with the appliance.
· Cleaning and user maintenance shall not be made by children unless they are supervised. - Only use the appliance with the specific electric base / connector, supplied with the appliance.
- The battery must be removed from the appliance before it is scrapped.
- The appliance must be disconnected from the supply mains when removing the battery.
. The battery is to be disposed of safely.
EN
- If the connection to the mains has been damaged, it must be replaced, take the appliance to an authorised technical support service. Do not attempt to disassemble or repair the appliance by yourself in order to avoid a hazard.
- This appliance is for household use only, not professional, industrial use.
- Ensure that the voltage indicated on the charger rating label matches the mains voltage before plugging in the charger.
- Connect the appliance to a socket that can supply a minimum of 10 amperes.
- The charger's plug must fit correctly into the mains socket. Do not alter the plug. Do not use plug adaptors.
-
Do not force the power cord. Never use the power cord to lift up, carry or unplug the battery charger.
-
Check the state of the power cord. Damaged or tangled cables increase the risk of electric shock.
- Do not touch the plug with wet hands.
- Do not use the appliance if the cable or plug is damaged.
- If any of the appliance casings breaks, immediately disconnect the appliance from the mains to prevent the possibility of an electric shock.
- Do not use the appliance if it has fallen on the floor, if there are visible signs of damage or if it has a leak.
- Avoid all contact with the liquid that could be released from the battery. In case of contact with eyes, wash them thoroughly and seek medical advice. The liquid spilled from the battery may cause irritation or burns.
- The appliance must only be used with the stand provided.
- Do not use or store the appliance outdoors.
USE AND CARE:
- Fully unroll the appliance's power cable before each use.
- Do not use the appliance if the accessories or consumables attached to it are defective. Replace them immediately.
EN
- Do not use the appliance if the on/off switch does not work.
- Remove the batteries from the appliance if you are not going to use it for some time.
- Do not use the device during the shower.
- Disconnect the battery charger from the mains when not in use and before undertaking any cleaning task.
- Store this appliance out of reach of children and/or persons with physical, sensory or reduced mental or lack of experience and knowledge.
- Keep the appliance in a dry, dust-free place, out of direct sunlight.
- Use the appliance and its accessories and tools in accordance with these instructions, taking into account the working conditions and the work to be performed. Use the appliance for operations different from those intended could result in a hazardous situation.
- Do not open the battery/ies under any circumstances whatsoever.
- Never rest the appliance into a surface while in use.
- Do not use the appliance with pets or animals.
- Recharge the battery/ies only with the charger supplied by the manufacturer. A charger that is
suitable for one type of battery may cause explosion or fire hazard when used with other battery/ies.
- Use the device only with the battery/ies for which has been specifically designed. The use of any other battery/ies can cause an explosion or fire hazard.
SERVICE:
- Any misuse or failure to follow the instructions for use renders the guarantee and the manufacturer's liability null and void.
DESCRIPTION
A Toothbrush head
B Colour ring
C Handle
D On/Off and Mode button
E Mode indicator
F Charging Indicator
G Charger base
H Power cord
CHARGING THE BATTERY
- Caution: A new battery is not fully charged and must therefore be charged before the appliance is used for the first time.
- Charge the battery at an atmospheric temperature of between 4 and 40^ .
EN
- Approximately 12 hours are needed for a complete charge of the battery, although it is recommended that the first charge of the battery be of 24 hours in duration.
- The blue pilot light will come on to indicate that the charger is charging the battery.
- When the battery is charged, the light will turn off, disconnect the charger from the mains supply.
- If during use, the pilot light flashes, the battery is low and must be recharged.
- For a long battery life, it is advisable to charge the battery at least once a month (every 90 uses).
INSTRUCTIONS FOR USE
BEFORE USE:
- Make sure that all the product's packaging has been removed.
- Before using this product for the first time, it is important to make a full charge of batteries (24 hours).
USE:
- Extend the cable completely before plugging it in.
-
Attach the appliance to its base / connector making sure that it is correctly fitted into place.
-
Connect the appliance to the mains.
- Insert the head on the top of the handle until it fits. There should be a small gap between the coloured ring and the handle (Fig.1).
- Wet the bristles and apply a small amount of toothpaste.
- Place the bristles against the teeth at a slight angle towards the gum line (Fig. 2).
- Press the On/Off button to turn on the toothbrush. It starts working in mode
* Mode m(Cleaning): Standard mode for complete dental cleaning.
* Mode (Soft): For gentle cleaning of teeth and sensitive areas.
* Mode (Massage): Cleans and stimulates gently the gums.
- If you want to select another mode of use, press the On/ Off button until you reach the desired mode (Mode, Mode and Off).
- If 4 seconds have elapsed since the selected mode was started and we press the On/Off button again, the device will turn off.
- Apply light pressure and gently move the brush head over the
EN
teeth with a small forward and backward movement.
- To maximize the effectiveness of the cleaning, divide your mouth into 4 sections. Begin with section 1 and brush each section for 30 seconds. The brushing action will pause briefly between each 30-second interval, indicating when to move on to the next section. The toothbrush will stop automatically after 2 minutes of use. (Fig. 3).
STAND-BY FUNCTION:
- In order to save energy, the appliance passes to stand-by after 2 minutes if the user does not use it.
- To return to normal operation simply press the appliance's on/off button.
ONCE YOU HAVE FINISHED USING THE APPLIANCE:
- Turn the appliance off using the on/off switch.
- Unplug the appliance from the mains.
- Clean the appliance.
TROUBLESHOOTING:
| Problem Possible cause | Solution | |
| The toothbrush does not work. | You have just purchased the product or it has not been used for more than 3 months. | Charge the main unit for at least 24 hours. |
| Weake or diminished vibration. | The toothbrush is pressed hard against your teeth. | Place the toothbrush head gently on the teeth. |
| The toothbrush operates only for a short period of time even immediately after being charged. | The battery has reached the end of its life cycle. | Contact our customer service department for further assistance. |
| Charging time was insufficient. | Charge the main unit for at least 24 hours. |
EN
CLEANING
- Disconnect the battery charger from the mains and allow it to cool before undertaking any cleaning task.
- Remove the toothbrush head
- Clean the equipment with a damp cloth with a few drops of washing-up liquid and then dry.
- Do not use solvents, or products with an acid or base pH such as bleach, or abrasive products, for cleaning the appliance.
- Never submerge the connector in water or any other liquid or place it under running water.
- Rinse the toothbrush head and bristles after each use.
ANOMALIES AND REPAIR
• Take the appliance to an authorised technical support service if product is damaged or other problems arise. Do not attempt to disassemble or repair the appliance yourself as this may be dangerous.
FOR EU PRODUCT VERSIONS AND/OR IN CASE THAT IT IS REQUESTED IN YOUR COUNTRY:
ECOLOGY AND RECYCLABILITY OF THE PRODUCT
- The materials of which the packaging of this appliance consists are included in a collection, classification and recycling system. Should you wish to dispose of them, use the appropriate public recycling bins for each type of material.
- The product does not contain concentrations of substances that could be considered harmful to the environment.
This symbol means that in case you wish to dispose of the product once its working life has ended, take it to an authorised waste agent for the selective collection of Waste from Electric and Electronic Equipment (WEEE).

This symbol means that product may include a battery or batteries; user must to remove them before disposing of the product. Remember that
EN
batteries must be disposed of in duly authorised containers. Do not dispose of them in fire.
HOW TO REMOVE THE BATTERIES FROM THE INTERIOR OF THE DEVICE:
- CAUTION: It is important that the batteries are fully discharged prior to its withdrawal from the apparatus.
- To remove the batteries, once the life of the appliance, proceed as follows:
- Open the top shell of the apparatus, removing previously with the help of a screwdriver fixing screws. (Fig.4).
-
Identify the battery wires and cut their (Red and Black). To avoid risks of a short circuit with a possible residual battery load, first cut the Red wire and protect it by using insulating tape, then proceed to cut the Black wire proceeding in the same way. (Fig.5).
-
Safely remove the battery from its housing.
- This appliance complies with Directive 2014/35/EU on Low Voltage, Directive 2014/30/EU on Electromagnetic Compatibility, Directive 2011/65/EU on the restrictions of the use of certain hazardous substances in electrical and electronic equipment and Directive 2009/125/EC on the ecodesign requirements for energy-related products.
FRANÇAIS
FR
Cher Client,
VEILIGHEIDSADVIE- ZEN EN WAARSCHU- WINGEN
NIEPRAWIDŁOWOŚCI I NAPRAWA
This product enjoys the recognition and protection of the legal guarantee in accordance with current legislation. To enforce your rights or interests you must go to any of our official technical assistance services.
You can find the closest one by accessing the following web link: http://solac.com
You can also request related information by contacting us by phone.
You can download this instruction manual and its updates at http://solac.com
DE) GARANTIE UND TECHNISCHER SERVICE
Unit 25 & 26, San Croy Office Park,
Die Agora Road, Croydon, Kempton
Park, 1619
Johannesburg
(+27) 011 392 5652
sOlac


- SAFETY ADVICE AND WARNINGS
- EN
- USE AND CARE:
- SERVICE:
- DESCRIPTION
- CHARGING THE BATTERY
- INSTRUCTIONS FOR USE
- BEFORE USE:
- USE:
- STAND-BY FUNCTION:
- ONCE YOU HAVE FINISHED USING THE APPLIANCE:
- CLEANING
- ANOMALIES AND REPAIR
- FOR EU PRODUCT VERSIONS AND/OR IN CASE THAT IT IS REQUESTED IN YOUR COUNTRY:
- ECOLOGY AND RECYCLABILITY OF THE PRODUCT
- HOW TO REMOVE THE BATTERIES FROM THE INTERIOR OF THE DEVICE:
- FRANÇAIS
- FR
- VEILIGHEIDSADVIE- ZEN EN WAARSCHU- WINGEN
- NIEPRAWIDŁOWOŚCI I NAPRAWA
- DE) GARANTIE UND TECHNISCHER SERVICE
- sOlac
Brand : SOLAC
Model : Shiny Smile CD7901
Category : Toothbrush