RL30J3015SA - Fridge SAMSUNG - Free user manual and instructions
Find the device manual for free RL30J3015SA SAMSUNG in PDF.


User questions about RL30J3015SA SAMSUNG
0 question about this device. Answer the ones you know or ask your own.
Ask a new question about this device
Download the instructions for your Fridge in PDF format for free! Find your manual RL30J3015SA - SAMSUNG and take your electronic device back in hand. On this page are published all the documents necessary for the use of your device. RL30J3015SA by SAMSUNG.
USER MANUAL RL30J3015SA SAMSUNG
User servicing manual
- You can check where to buy replacement parts at http://samsung.com/support
-
Visit the part purchase site and enter the model code of your product to check the parts available for purchase. The model code is labelled on the outer side of your product.
-
You can check the model code and version on the barcode label at the bottom left of the product.
-
For replacement parts, make sure the part name matches that of the illustration in this manual.
- User-serviceable parts are limited to handles (some models only), gaskets, drawers, and hinges.
NOTE
Following the repair by a non-authorised service provider, self-repair or non-professional repair of the product, Samsung is not liable for any damage to the product, any injury or any other product safety issue caused by any attempt to repair the product which does not carefully follow these repair and maintenance instructions. Any damage to the product caused by an attempt to repair the product by any person other than a Samsung certified service provider will not be covered by the warranty.
CAUTION
- The part name listed on the site may differ from that in this manual. Please make sure you choose the right part name.
- Replacing hinges requires extreme caution because it involves detaching the door.
- Be sure to wear safety gloves while making repairs.
English
The actual image and provided parts of the refrigerator may differ, depending on the model and the country.
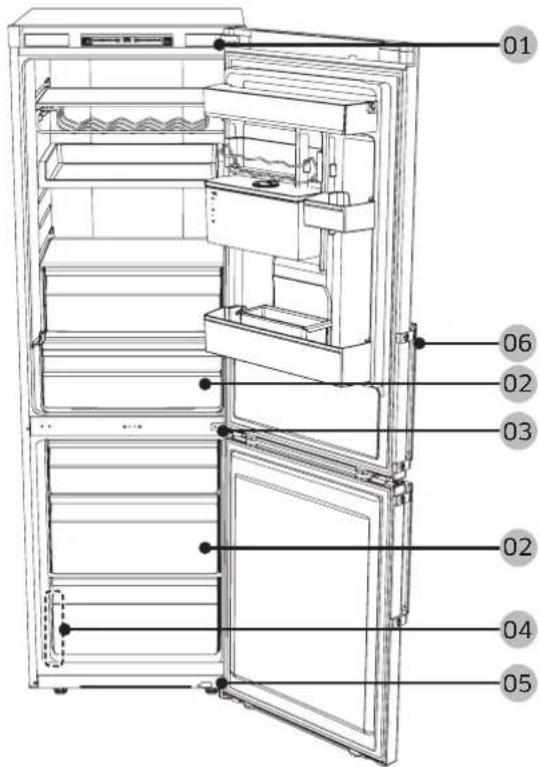
01 Cover hinge 02 Drawer
03 Middle hinge 04 Barcode label
05 Hinge low 06 Handles (Applicable models only)
English
Handle replacement

CAUTION
- When replacing the door handle, take care not to scratch the front of the door.
- Firmly press the handles at the supports. Make sure there is no gap between the supports and the door.
- Tightly fasten the screws when attaching the handle.
- Check that the handle is firmly attached before using the product.
Tools required (not provided)
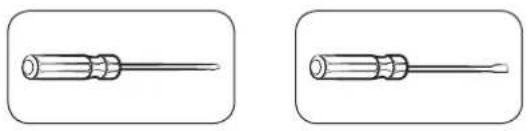
Phillips screwdriver Flat-head screwdriver
To detach the handles
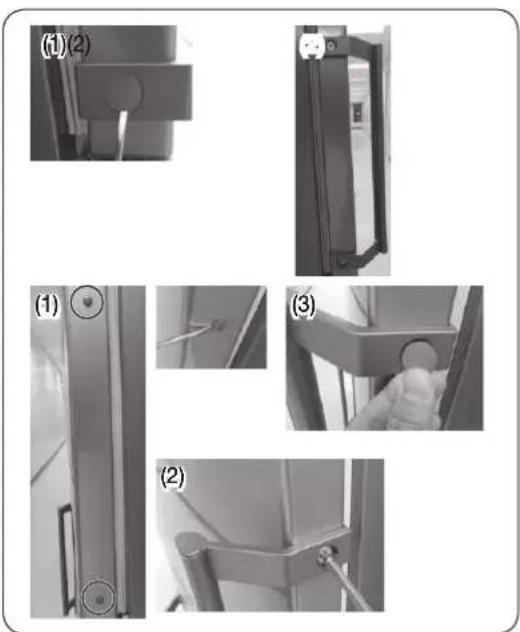
Remove the Cap Handle and the Screws by Flat-Head (-) screwdriver.

NOTE
Remove the Cap by Flat-Head (-) screwdriver and assemble the Handle and Cap-Handle.
English
Gasket replacement
CAUTION
Make sure you firmly attach the gasket. Otherwise, cold air from the refrigerator may leak.
To remove the gasket
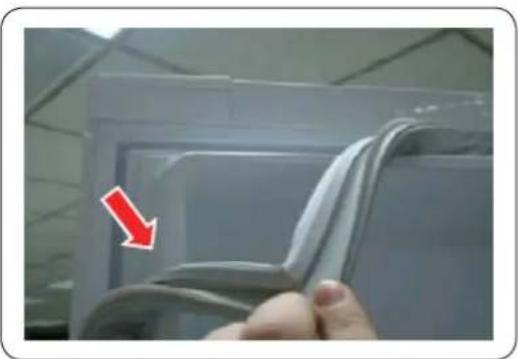
Open the door and remove the gasket from the door.
To replace the gasket
Attach a new gasket to the refrigerator door.
Make sure there is no gap between the newgasket and the door.
English
Drawer replacement
CAUTION
Check that the drawer is inserted properly into the rail during assembly.
To remove the drawer
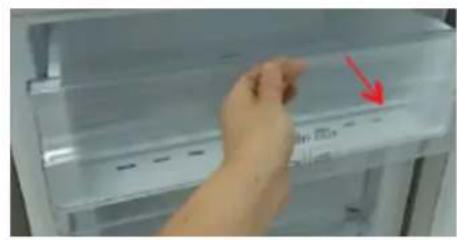
-
Pull out the drawer as far as it goes.
-
Tilt the drawer up and pull it out until it is removed.
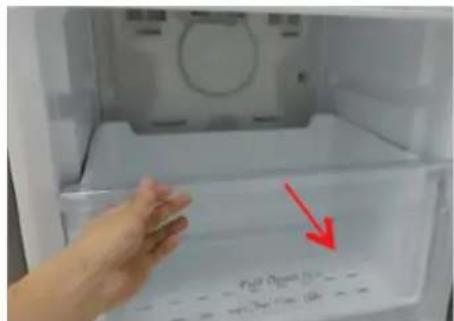
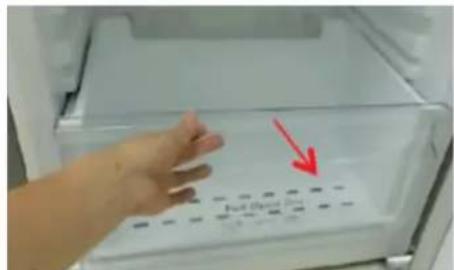
To reattach the drawers
Reattaching the drawers follows the reverse order of their respective removal steps.
English
Hinge replacement
To replace the hinges, you must remove the doors first.

CAUTION
- When removing the doors, take extreme caution because the doors are heavy.
- Before replacing the hinges, put a soft pad such as cardboard on the floor to prevent scratches on the door when you place the doors down.
- As the hinges must be handled carefully and replaced by two or more persons, we recommend you to call for professional technical service.
If you remove the hinge without holding the door, the door may fall and cause injury. - Ensure that the shaft is firmly tightened on the hinge.
- Check that the hinge is firmly attached to the cabinet.
- Make sure the wire connectors are connected properly.
- Be careful not to damage the wires when fastening the top cover.

WARNING
- Tilting/laying the refrigerator requires a minimum of 2 people.
- Disconnect the power cord before reversing the doors.
Tools required (not provided)
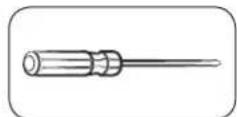
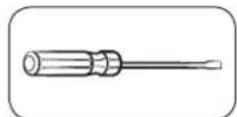
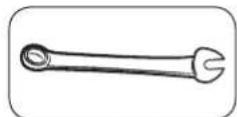
Phillips screwdriver Flat-head screwdriver 11 mm spanner
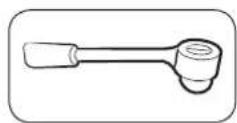
8 mm socket wrench (for bolts)
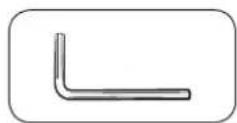
Allen wrench (5 mm)
Reversing the door
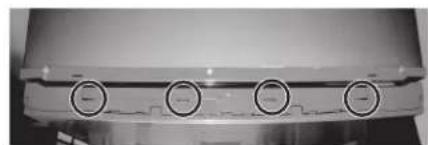
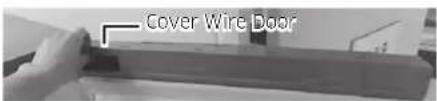
^RB37^ model only
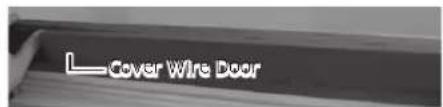
- Remove the Cover Wire Door.
English
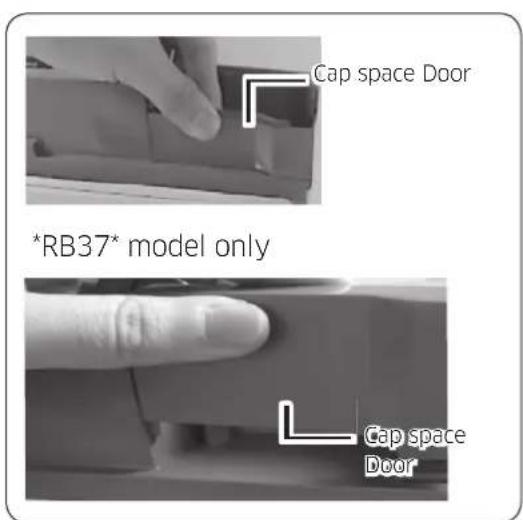
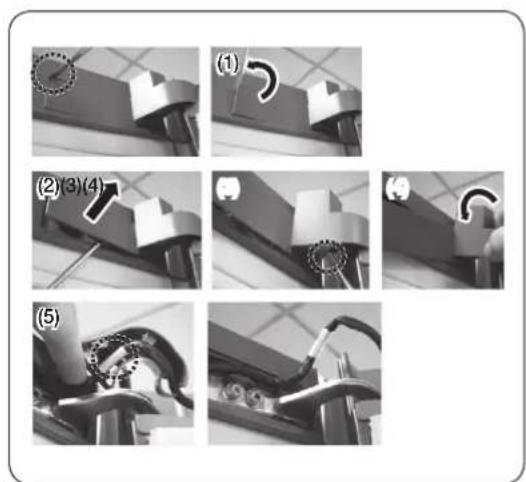
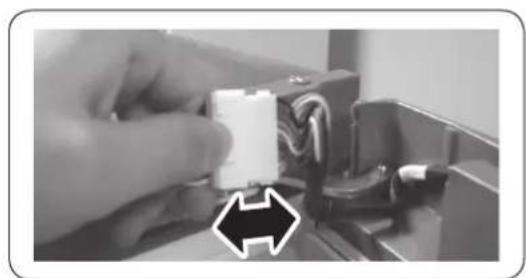
-
Disassemble the Cap space Door.
-
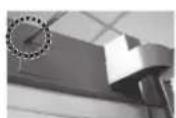
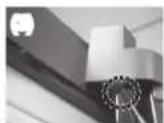
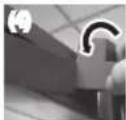
Remove the Cover Hinge to push a hook like below Pictures.
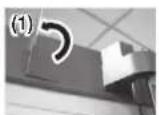
- Insert a flat-head screwdriver and put it back as shown in Figure #1.
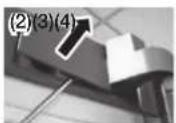
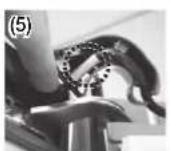
- As shown in Figure #2, Lever up the cover and push a hook as shown in Figure #3. (Take care not to damage the Cover Hinge Wire by pushing it too hard)
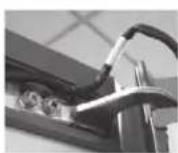
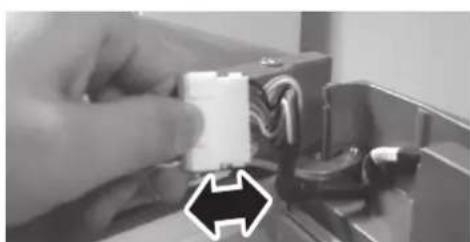
Disassemble it by pushing the A in Figure #4 by hand as Figure #5. - Disconnect the wiring connector for the fridge door. (Only on models with external display).
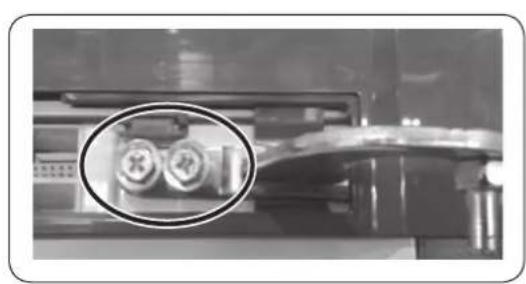
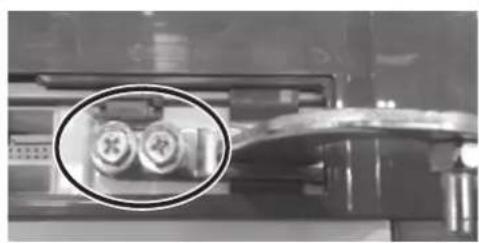
- Remove the screws. (Be careful not to drop the door when you disassemble it.)
English
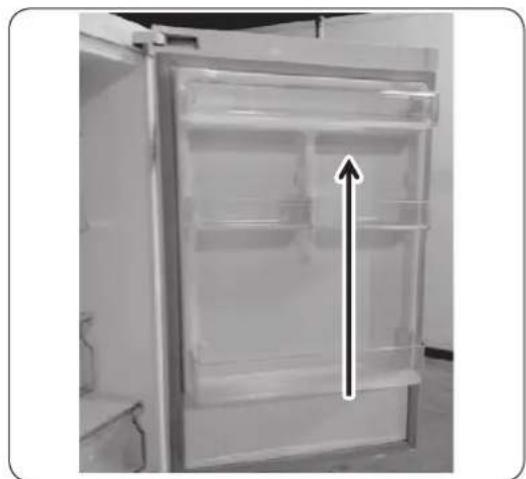
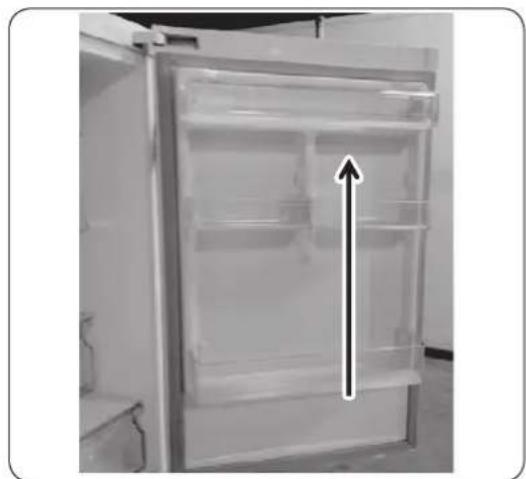
- Remove the fridge door from the middle hinge by carefully lifting the door straight up.
CAUTION
The door is heavy, be careful not to injure yourself when removing the door.
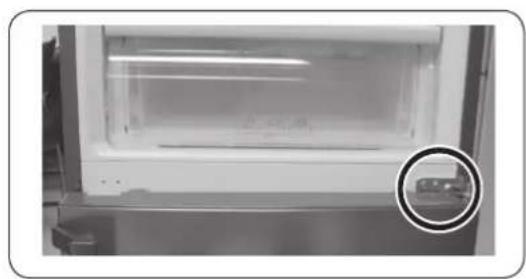
- Disassemble the middle hinge by removing the screws using a Phillips Head (+) screwdriver.
CAUTION
The freezer door may fall forward so please support the door.
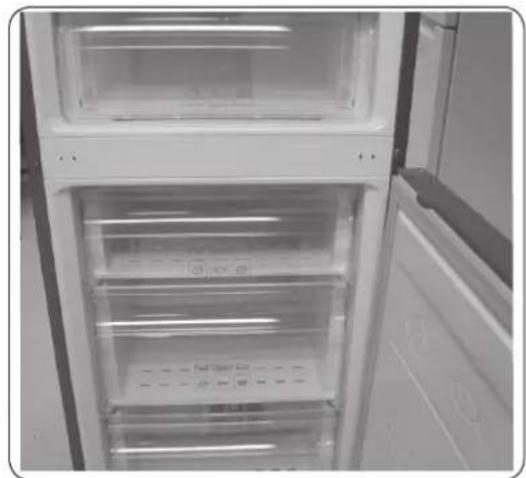
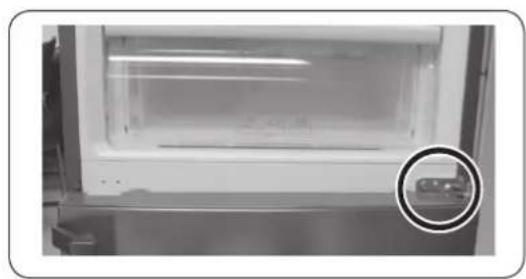
- Remove the freezer door from the bottom hinge by carefully lifting the door straight up.
English
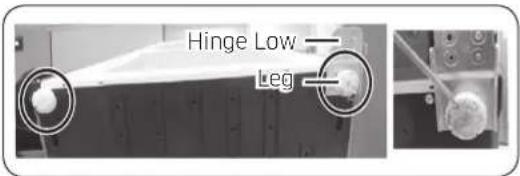
- Lay the refrigerator carefully on it's back. Remove the leg (unscrew in an anticlockwise direction) and the Hinge Low.
NOTE
To protect the refrigerator damage, cut a large section of the cardboard carton and place it under the refrigerator.
- Reassemble in the opposite order of disassembly after replacing the Hinge Up, Hinge Mid, and/or Hinge Low.
CAUTION
- Make sure the wire connectors are connected properly.
- Be careful not to damage the wires when fastening the top cover.
English
Guide de réparation
Móvo yia to μoovéλo RB37

-
ApaipoeTo KaTaki Kevou npTaC
-
Apaipeote To kALUmu ToueYia va Onpwete To aykiotpo, onwc paivetal otic npakatw EIKovec.
Eioayayete eva katoaibi i e eniteo kepaan kai avaonkwote tny akn tou kaumatoc, onwc, qaiyetal otny Eikova 1.
Avaonkwote To kalumu onwoc paivetai otny Eikova 2 kai onpwTe to aykiotpo onwc paivetai otnv Eikova 3. (Ppooexeve ma npokaleoetc nmu oTo kaawdo Tou kaUmuatoc eVTEOE, wovtac to nou duvata.)
Apaipote to onpwxovtac to A otyn Eikova 4 e to xepi, onc paivetai otny Eikova 5. - AnouvδeTeTov ouvδeOo KaωδiWv ano Tnv πópta tou yuyéiou. (Móvo yia Ta μoVTελa με ειwτepikn oθovn.)
- ApaipoeTe Tic BiEe, (Ipooexete va mV oac n eoi npota otav tny anouuvapuooyeite.)
EAnyika
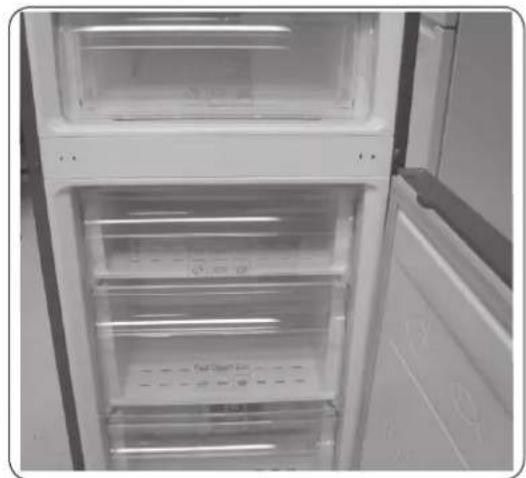
- Apaipoe Tny npTa Tou yyeiou ano Tov eaoio evteoe, aavaonkwovtac Tnv npooektka kal u0eia npoc Ta enavw.
PPOOXH
H npota eivai bapi. Pooexe va uny tpaupatoteite otav Tny aopaieite.
- Anouuapuooyote tv eaoioe, aqaipwvtac tic biDEC xpooionovtac eva katoaibiE iE KepaIn Phillips (+).
PPOOXH
H nópta tou katauktη evéexetai va neoei npoc ta εμnpoc, onote ppoviotε va otpiēte tyn nópta.
- Apaipoe Tny npTa Tou katauKtn anTov KaTow eVTEOE,avaankwovtac Tny pooekTKa kal EuaTeia npoc Ta enavw.
EAnyika
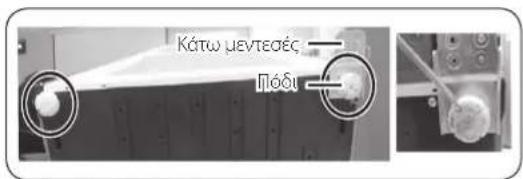
- TOnoTheTne npooeKtka to yuyEio OE opiovtia
theon, Etoi wote to niow epeoc tou va akoumaei
oto danoe. ApaipoeTo nod (EeBldwote
apioTepoOToPpOa) kai ToV KAtw mevTeOE.
HMEIOH
Tia va unv npokn9ei znua oTo yuyeo, koyte eva
eayalo koupati xaptovikai tooetnoTe To katw ano
to yuyeo.
- Suvapuoyote apapocovtac nTv avtiotpoqn diaikoaie oxon me tny anouvapuoyon, apouavtikataohtoe tov enawuveTeOE, tov eaoioe ne/kaTov katoveTeOE.
PPOOxH
Baeaiwthei ooi ouvdeouoi kalwdiuv evai ouvdeevoi owota.
- Pooexe va unv npokaleoet zmuia ota kaawida otavotepeewete to enavw kaumu.
EAnyika
Serviceanvisningar for anecdare
8 mm pipenokkel (for bolter)
Sekskantnokkel (5 mm)
Reversere doren
Kun modeli *RB37