Snack ToGo - Food Dehydrator WMF - Free user manual and instructions
Find the device manual for free Snack ToGo WMF in PDF.
| Product type | Food dehydrator |
| Brand | WMF |
| Model | Snack ToGo |
| Base dimensions | 290 x 190 x 216 mm |
| Power supply voltage | 220-240 V ~ 50-60 Hz |
| Power | 220 W |
| Temperature range | 30 °C to 70 °C (in 5 °C increments) |
| Timer | 0 to 24 hours (in 30-minute increments) |
| Automatic shut-off | Yes, at the end of the programmed time |
| Capacity | 5 trays (expandable to 8 trays; additional trays sold separately) |
| Main functions | Hot air drying with fan, adjustable audible signal, LC display, rotary control |
| Included accessories | 5 dehydration trays, 1 lid, 1 silicone mold for cereal bars, 2 storage containers |
| Maintenance | Trays and lid washable in hot water; wipe base with damp cloth; do not immerse base |
| Safety instructions | Do not use with external timer; supervise children; hot surfaces; do not cover slots; do not immerse in water |
| Protection class | II |
| Intended use | Household and similar applications (staff kitchens, offices, farmhouses, hotels, bed & breakfasts) |
Frequently Asked Questions - Snack ToGo WMF
User questions about Snack ToGo WMF
0 question about this device. Answer the ones you know or ask your own.
Ask a new question about this device
Download the instructions for your Food Dehydrator in PDF format for free! Find your manual Snack ToGo - WMF and take your electronic device back in hand. On this page are published all the documents necessary for the use of your device. Snack ToGo by WMF.
USER MANUAL Snack ToGo WMF
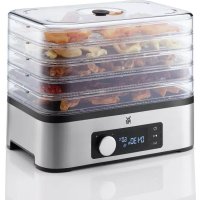
What is included and setup
1 Lid with ventilation slot
2 Drying racks - 5 items
3 Basic device
4 Control panel with LCD display
5 Silicone cereal bar mould
6 Storage boxes
7 Cereal bar box
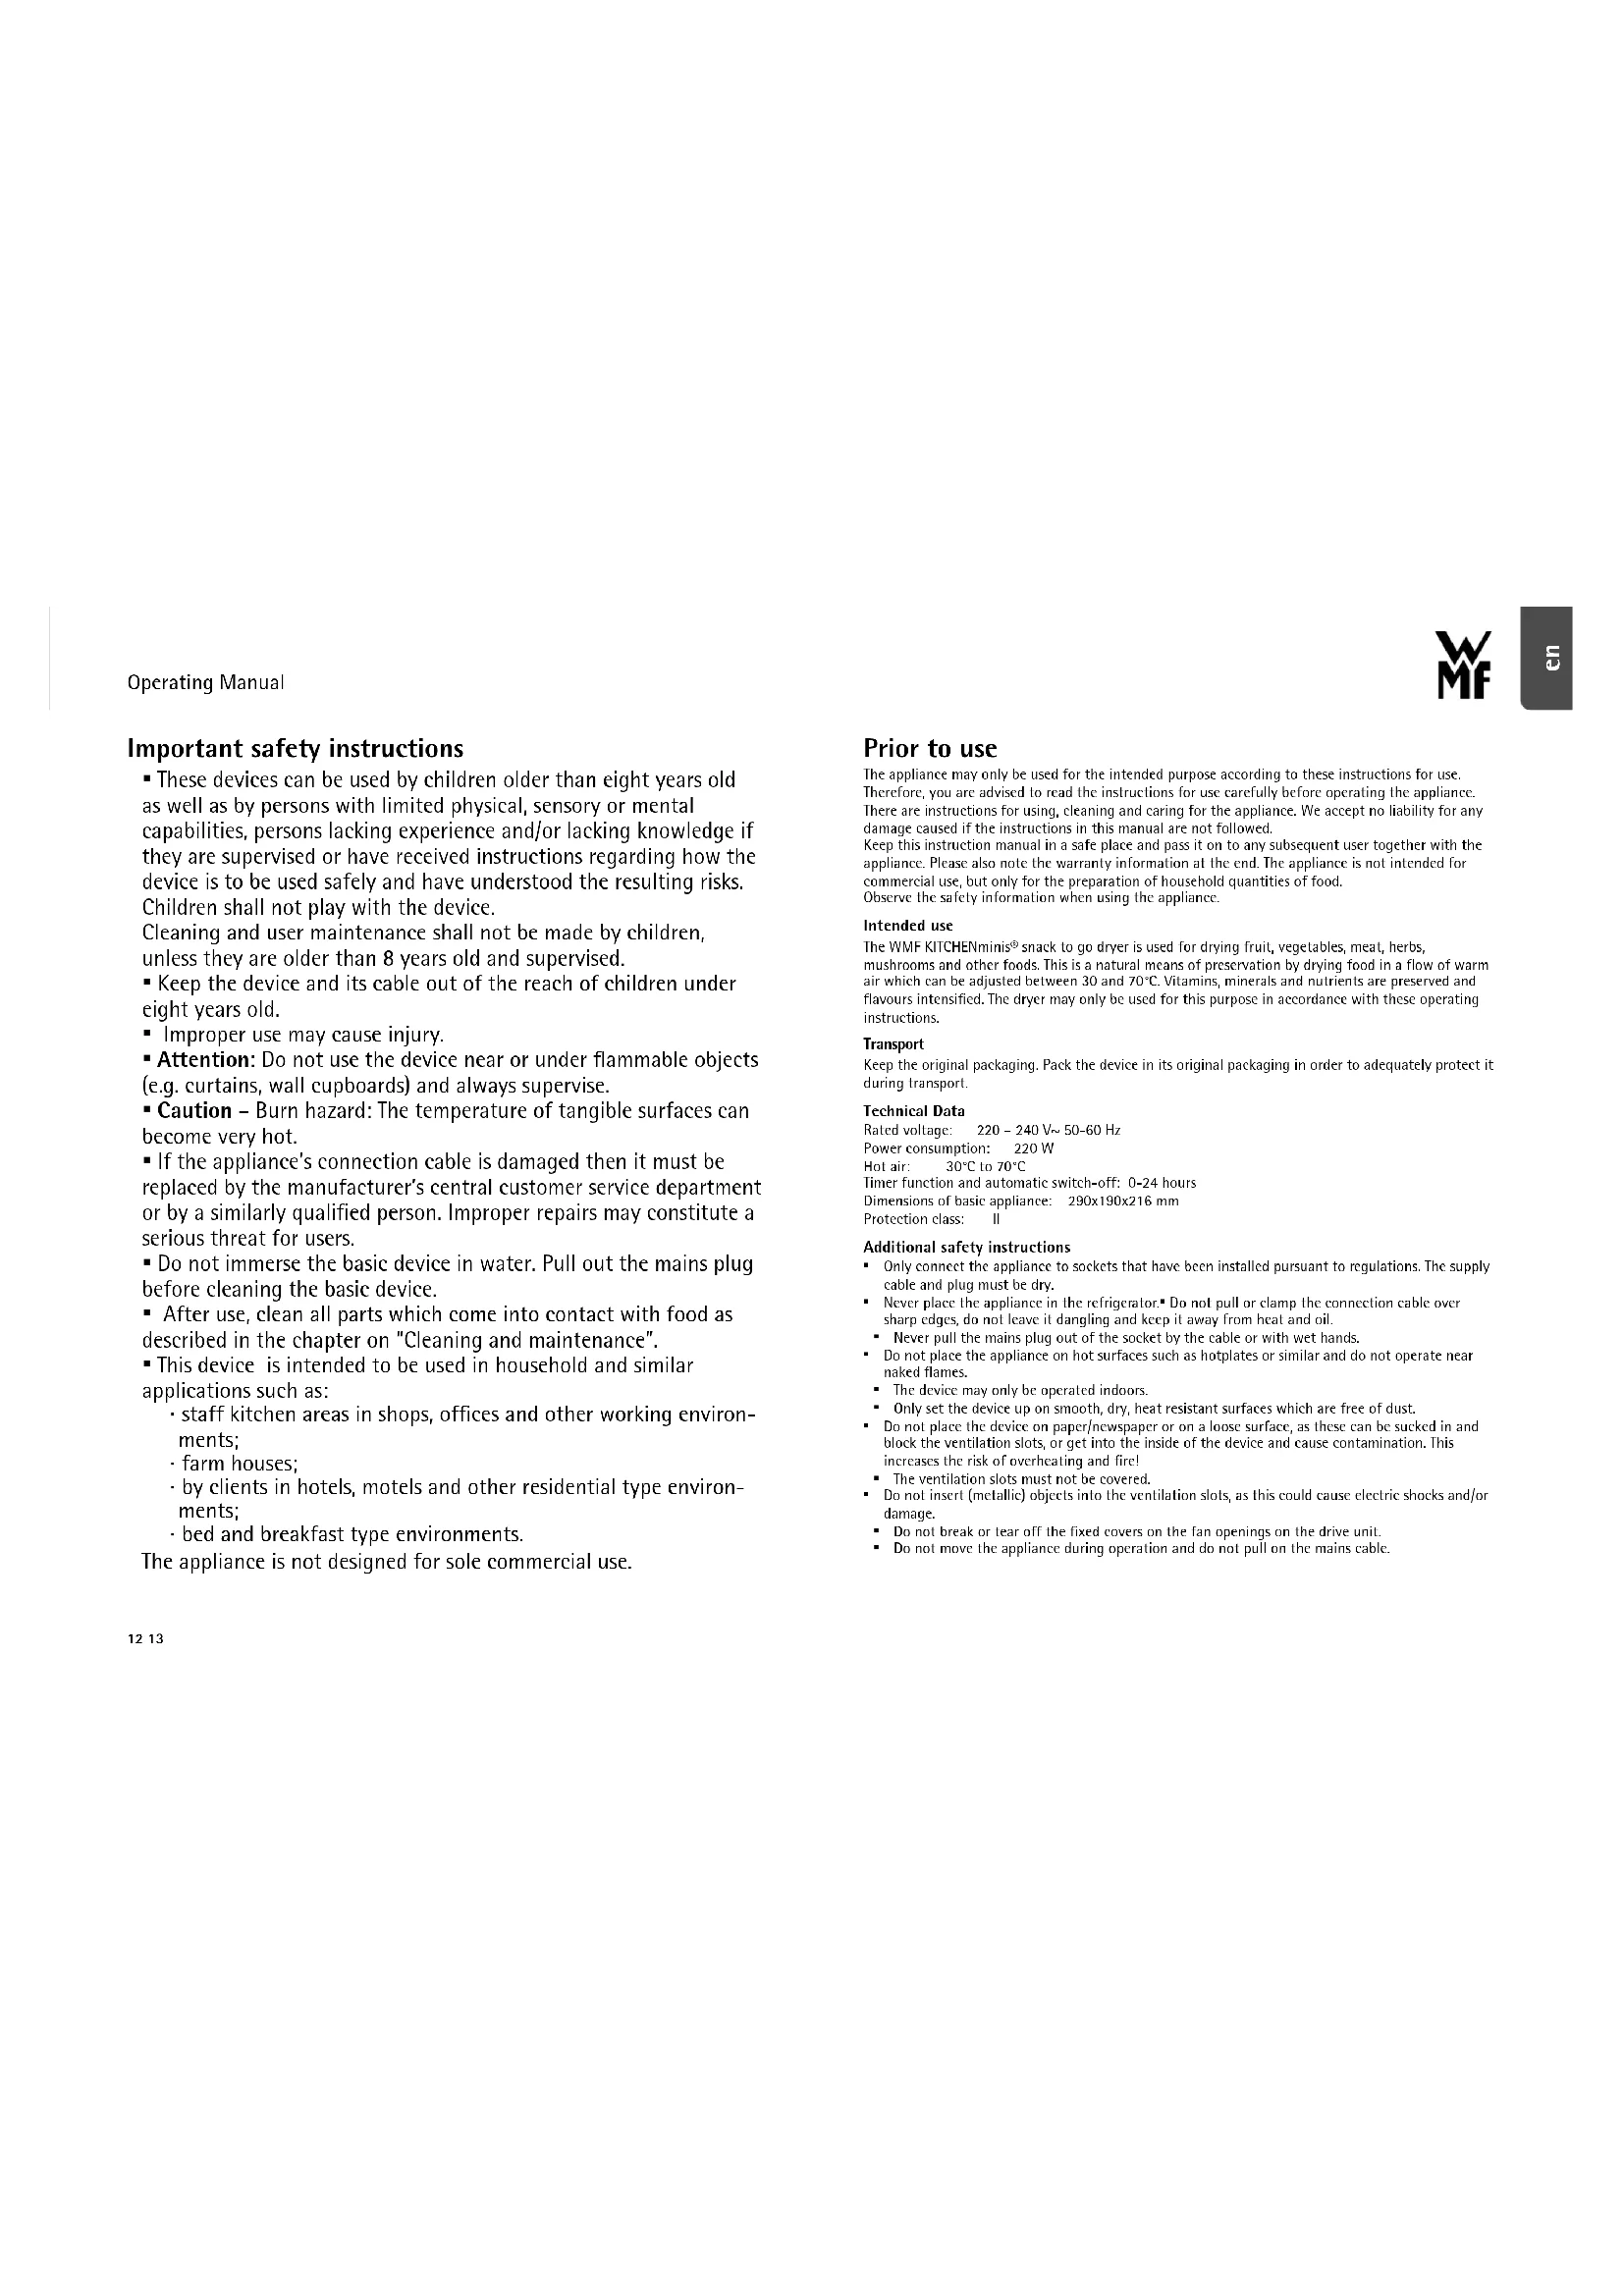
Important safety instructions
- These devices can be used by children older than eight years old as well as by persons with limited physical, sensory or mental capabilities, persons lacking experience and/or lacking knowledge if they are supervised or have received instructions regarding how the device is to be used safely and have understood the resulting risks. Children shall not play with the device.
Cleaning and user maintenance shall not be made by children, unless they are older than 8 years old and supervised. - Keep the device and its cable out of the reach of children under eight years old.
- Improper use may cause injury.
- Attention: Do not use the device near or under flammable objects (e.g. curtains, wall cupboards) and always supervise.
- Caution - Burn hazard: The temperature of tangible surfaces can become very hot.
- If the appliance's connection cable is damaged then it must be replaced by the manufacturer's central customer service department or by a similarly qualified person. Improper repairs may constitute a serious threat for users.
- Do not immerse the basic device in water. Pull out the mains plug before cleaning the basic device.
After use, clean all parts which come into contact with food as described in the chapter on "Cleaning and maintenance". -
This device is intended to be used in household and similar applications such as:
-
staff kitchen areas in shops, offices and other working environments;
-farm houses; - by clients in hotels, motels and other residential type environments;
- bed and breakfast type environments.
The appliance is not designed for sole commercial use.
Prior to use
The appliance may only be used for the intended purpose according to these instructions for use. Therefore, you are advised to read the instructions for use carefully before operating the appliance. There are instructions for using, cleaning and caring for the appliance. We accept no liability for any damage caused if the instructions in this manual are not followed.
Keep this instruction manual in a safe place and pass it on to any subsequent user together with the appliance. Please also note the warranty information at the end. The appliance is not intended for commercial use, but only for the preparation of household quantities of food. Observe the safety information when using the appliance.
Intended use
The WMF KITCHENmnis® snack to go dryer is used for drying fruit, vegetables, meat, herbs, mushrooms and other foods. This is a natural means of preservation by drying food in a flow of warm air which can be adjusted between 30 and 70^ . Vitamins, minerals and nutrients are preserved and flavours intensified. The dryer may only be used for this purpose in accordance with these operating instructions.
Transport
Keep the original packaging. Pack the device in its original packaging in order to adequately protect it during transport.
Technical Data
Ratcd voltage: 220 - 240 V~50-60 Hz
Power consumption: 220 W
Hot air: 30^ C to 70^ C
Timer function and automatic switch-off: 0-24 hours
Dimensions of basic appliance: 290x190x216 mm
Protection class: II
Additional safety instructions
-
Only connect the appliance to sockets that have been installed pursuant to regulations. The supply cable and plug must be dry.
-
Never place the appliance in the refrigerator. Do not pull or clamp the connection cable over sharp edges, do not leave it dangling and keep it away from heat and oil.
- Never pull the mains plug out of the socket by the cable or with wet hands.
- Do not place the appliance on hot surfaces such as hotplates or similar and do not operate near naked flames.
The device may only be operated indoors.
Only set the device up on smooth, dry, heat resistant surfaces which are free of dust. - Do not place the device on paper/newspaper or on a loose surface, as these can be sucked in and block the ventilation slots, or get into the inside of the device and cause contamination. This increases the risk of overheating and fire!
The ventilation slots must not be covered. - Do not insert (metallic) objects into the ventilation slots, as this could cause electric shocks and/or damage.
- Do not break or tear off the fixed covers on the fan openings on the drive unit.
- Do not move the appliance during operation and do not pull on the mains cable.

-
Stop using the appliance and/or pull the mains plug out of the socket immediately if:
-
the appliance or mains cable is damaged;
the appliance is leaking;
- you suspect the appliance is faulty after dropping it, for example.
In such cases, arrange for the appliance to be repaired.
Pull the mains plug:
- if the appliance malfunctions during use;
before cleaning and care
-
after use.
-
We accept no liability for damage caused as a result of misuse, incorrect operation, improper repair or non-observance of the descending instructions.
Claims under warranty are likewise excluded in such cases.
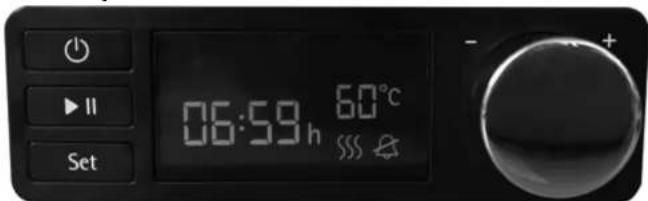
Control panel
| Symbol/button | Function |
| ∅ | On/Off button To switch the device on and off. When you switch the device on, the last drying parameters set (drying time, drying temperature, beeper on/off) are displayed. If no buttons are pressed on the control panel for 1 minute, the device automatically switches off again. The device can be switched off using this button at any time, even when drying. |
| ▲II | Start/Pause button This button starts the drying process at the drying time and temperature displayed/selected. The hot air symbol \(\text{串}\) is shown on the display. Once the drying time set has finished (Timer shows 00:00), the heating and hot air fan arc automatically switched off and the unit beeps 5 times [can also be muted. See 'beeper'].If you press the Start/Pause button during the drying process, e.g. to adjust the drying racks, the drying process is interrupted, i.e. the heating and warm air arc switched off, the display shows the remaining time and the hot air symbol \(\text{串}\) flashes. Press the Start/Pause button again to continue the drying process. |
| Symbol/button function | |
| Set | Set button Use this button to set the drying time and temperature you want. If you press the Set button once, the time display flashes and can be adjusted using the rotary knob (0 to 24 hours in 30 minute increments). Press the Set button again and the temperature display flashes. Now use the rotary knob to set the temperature you want (30°C to 70°C in 5°C increments). Press the Set button again to save your selection. You can change the parameters at any time during the drying process. |
| A | Mute bcceper Press and hold the Set button for more than 3 seconds to activate mute mode. The device will not beep at the end of the drying process. This is handy if you wish to dry overnight. The setting is saved until you press the Set button again for longer than 3 seconds and the mute symbol disappears. |
Before using for the first time
When you use the device for the first time, operate it for about half an hour at maximum temperature to get rid of any smells:
Wipe the surface of the basic device with a damp cloth.
- Wash the drying racks and the lid in warm water and washing-up liquid.
- Place the dry drying rack and the lid on the basic device so they fit properly.
Connect the device to the mains.
- Switch the device on by pressing the On/Off button. The pre-set drying parameters are shown on the display, 08:00 hours and 70^ .
Start the device by pressing the Start/Pause button.
After 30 minutes, switch the device off using the On/Off button and allow it to cool down.
Use
Preparing the food to be dried
Use only fresh, washed food. Avoid overripe fruit or vegetables.
Remove stems, cores and stones.
You can also sprinkle with lemon juice to preserve the colour.
Vegetables with a firm structure: blanch for 2 minutes in hot water.
Cut the food into even rings, pieces or slices. Thin slices dry quicker. The thicker they are, the longer the drying time.
Cover the drying rack with food.
- Leave a space between the pieces of food on the drying rack so enough air can circulate. Do not overlap the pieces.
Getting started
- Stack the loaded drying racks one on top of the other on the basic device. S drying racks are supplied. Three further drying racks can be purchased as accessories to extend the total drying area.
-
Then put the lid on the top rack. Make sure that all the layers and the lid are correctly fitted to ensure the warm air does not escape.
Connect the device to the mains.
Switch the device on by pressing the On/Off button. -
Set the drying time and temperature you want using the Set button and the rotary knob. Start the drying process by pressing the Start/Pause button.
After half the time, switch the racks around (e.g. move the bottom one to the top).
To do this, press the Start/Pause button in order to ,pause* the drying process. Press the Start/
Pause button again to continue the drying process.
At the end of the set drying time, the device automatically switches off and bceps 5 times.
After one minute, the display switches off.
| Food to bc dried | Recommended preparation | Recommend- ded drying time | Result Recommended quantity per rack | Weight dried as 1g of fresh weight | Recommended temperature in \( {}^{ \circ }\mathrm{C} \) |
| Fruit | |||||
| Apples, pears | *Remove pigs and cut into 4-6 mm slices (with or without skin, as you prefer) | 7-9 hours bedy 170 g | 10-15%a | \( {70}^{ \circ }\mathrm{C} \) | |
| Apricots, plums | halve, die-stone, place with cut surface facing up or cut into slices | 10-12 hours bendy 330 g | 20% 60 | \( {0}^{ \circ }\mathrm{C} \) | |
| Kiwi | Peel and cut into 5 mm thick slices | 10-12 hours bendy 95 g 2 | 9% 65° | ||
| Banana | Peel and cut into 5 mm thick slices | 10-12 hours crispny | 150 g | 10% | \( {70}^{ \circ }\mathrm{C} \) |
| Rice mango | Peel and cut into 8 mm thick slices for "mango stripes" | 6-7 hours bedy 170 g | 20% w 70°C | ||
| Chips: 3-4 mm slices | 8-9 hours crispny | 150 g | 10%b | \( {70}^{ \circ }\mathrm{C} \) | |
| Oranges, grape- (fruit, berries) | Peel and cut into 2-3 mm thick slices | 8-9 hours crispny 120 g | 10% 70°C | ||
| Pincapple | Peel, remove stem and cut into 5-6 mm thick slices | 7-8 hours bedy 175 g | 20% 70°C | ||
| Strawberries | Remove stem and cut into 5 mm thick slices | 10-12 hours bendy 200 g | 15% 66° | ||
| Vegetables | |||||
| Carrots | Peel and cut into 3-5 mm thick slices or dice | 8-8 hours bedy 85 g | 15% 70°C | ||
| Cucumbers | Unpeeled, cut into 3-5 mm thick slices | 4-5 hours crispny 100 g | 10% w 70°C | ||
| Lck | Halve, cut into 6 cm pieces, blanch if necessary | 7-8 hours crispny 140 g | 20% 70°C | ||
| Chillies, peppers | Cut into 2 mm thick slices. | 7-8 hours bedy 100 g | 20% w 70°C | ||
| Celery | Peel, cut into 8 mm thick slices or dice | 7-8 hours bedy 250 g | 15% a 70°C | ||
| Tomatoes | 4 mm thick slices | 8-10 hours bedy | 190 g | 15%a | \( {70}^{ \circ }\mathrm{C} \) |
| Soup vegetables (carrots, celery, leek, kohlabi, cablance) | Cut into fine slices or dice, blanch if necessary | 7-8 hours bedy See information for each rack | 15%w 60°C | ||
| Cunnette | Unpeeled, cut into 2-3 mm thick slices | 12 hours crispny 80 g 15%w 40°C | |||
| Bectrot / Sweet potato chips | Peel and cut into 2-3 mm thick slices | 7-9 hours crispny 60 g 15%w 70°C | |||
| Food to be dried | Recommended preparation | Recommen- ded drying time | Result | Recommended quantity per rack | Weight dried as # of fresh weight | Recommended temperature in °C |
| Kale, savoy, palm hearts | Remove stem and cut leaves into small pieces | 18 hours, crisp | 90 g 15%: 40°C | |||
| Herbs | ||||||
| All herbs (basil, alli, parsley, rose- mary, etc.) | Whole leaves or chop small if required | 4-6 hours fragile approx. 40 g 40°C | ||||
| Mushrooms | ||||||
| All mushrooms Clean, cut into 5 mm thick slices | 4-7 hours hot | dry approx. 70 g 50°C | ||||
- The table contains only recommended times and temperatures. The water content of the food to be dried can vary depending on the variety and ripeness, and this also affects the drying time required and the temperature. All figures are guidelines only and are not guaranteed.
- The drying time also varies based on the level of humidity in the room, the thickness of the slice and the level of drying required.
- The more food is placed on the racks, the longer the drying time required to achieve the desired level of drying.
If you want to dry based on raw food principles, set the temperature to no more than 40^ .
Using the silicone mould for cereal bars:
- Spread the prepared mixture into the cereal bar mould. The gaps should be filled up to the edges.
Make sure that the top of the mould stays clean.
- Place the silicone mould on the top rack.
- After half the drying time, break the cereal bar out of the silicone mould and place the bar on the top rack without the mould.
The silicone mould can also be used in the oven at up to 200^
Note: The recipe book provided includes ideas for cereal bars. But don't be afraid to come up with your own ideas.
Permanent baking parchment:
You can also use permanent baking parchment on the drying racks if you are drying foods which are moist or stick easily (e.g. tomatoes, cereal bars). Cut the baking parchment to around 25 × 16 cm so it is slightly smaller than the drying rack and the warm air can circulate well. Now spread the cereal mixture onto the baking parchment. Here too, the baking parchment can be removed after half the drying time.
Storage
Here are a few handy hints on storing your dried fruits properly so you can snack on them for a long time:
-
Use clean, dry storage containers which are, if possible, air-tight and opaque. The storage boxes provided are perfect.
Make sure that there is no residual moisture left in the fruit, as this will cause it to rot.
Wait for the dried food to cool before putting it in the container. -
Avoid sunlight.
The dried food will keep up to six months if it is very dry. For dried foods with a residual moisture of 15 - 20% , we recommend storing for a maximum of 3 weeks.

Using the dried food
- Dried fruit for snacking, for adding to cereal in the morning or for adding to and refining sauces. They can also be used in the preparation of sweet and sour dishes and desserts. Dried fruit is also excellent in rice and meat dishes.
- Dried vegetables, herbs and mushrooms can be cooked in sauscs and soups or softened in water first.
- In order to give food a special flavour, the dried food can be ground in a spice mill or a mixer and added to various dishes as seasoning.
Cleaning and care
Unplug the mains plug and allow the appliance to cool down.
Remove the drying racks from the basic device. If there are crumbs inside the device, tip the device over and shake the crumbs through the fan slots. Clean the basic device with a soft cloth only. Do not clean the basic device under running water.
You can soak the drying racks in warm water with washing-up liquid and clean them with a brush. Then rinse with clean water and dry.
All other parts (storage boxes and cereal bar mould) are dishwasher safe
For UK use only
- This product is supplied with a 13 A plug conforming to BS 1363 fitted to the mains lead. If the plug is unsuitable for your socket outlets or needs to be replaced, please note the following. If the plug is a non-rewireable one, cut it from the mains lead and immediately dispose of it. Never insert it into a socket outlet as there is a very great risk of an electric shock.
- The replacement of the plug at the mains lead has to be done according to the following instructions:
Warning - This appliance must be earthed!
Important: The wires in this mains lead are coloured in accordance with the following code:
green/yellow Earth
blue Neutral
brown Live
As the colours of the wires in the mains lead of this appliance may not correspond with the coloured markings identifying the terminals in your plug, proceed as follows:
- the wire which is coloured green and yellow must be connected to the terminal which is marked with the letter E or by the earth symbol , or coloured green or green and yellow.
-
the wire which is coloured blue must be connected to the terminal which is marked with the letter N or coloured black.
-
the wire which is coloured brown must be connected to the terminal which is marked with the letter L or coloured red.
If a 13 A (BS 1363) plug is used it must be fitted with a 3 A fuse conforming to BS 1362 and be ASTA approved. If any other type of plug is used, the appliance must be protected by a 5 A fuse either in the plug or adapter or at the distribution board. If in doubt - consult a qualified electrician.
- Never use the plug without closing the fuse cover.

The appliance complies with the European directives 2014/35/EC,2014/30/EC and 2009/125/EC.
This product may not be disposed of with the normal household waste at the end of its service life but must be delivered to a collecting point for recycling electrical and electronic appliances. The materials are reusable in accordance with their identification. You will make an important contribution to the protection of our environment by recycling used appliances.
Please ask about the responsible disposal point at your community offices.
Subject to changcy
| Sopp | |||||||
| Allele sopper | reins. 5 mm lytic silver | 4-7 L | byclicg | ca. 70 g | 50° | ||