RR70P - Radio BIGBEN - Free user manual and instructions
Find the device manual for free RR70P BIGBEN in PDF.


User questions about RR70P BIGBEN
0 question about this device. Answer the ones you know or ask your own.
Ask a new question about this device
Download the instructions for your Radio in PDF format for free! Find your manual RR70P - BIGBEN and take your electronic device back in hand. On this page are published all the documents necessary for the use of your device. RR70P by BIGBEN.
USER MANUAL RR70P BIGBEN
11 Projection active
PLL dual alarm clock radio
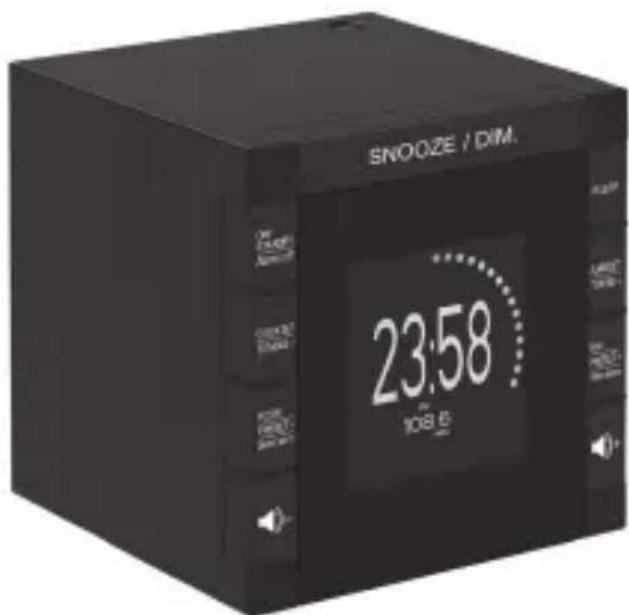
OPERATINGINSTRUCTIONS
PLEASE READ THIS USER MANUAL CAREFULLY BEFORE
OPERATING THIS UNIT AND RETAIN FOR
FUTURE REFERENCE.
Important safety instructions
- Read these instructions.
- Keep these instructions.
Heed all warnings. - Follow all instructions.
Refer all servicing to qualified service personnel. - Do not expose the unit to dripping or splashing and make sure that no objects filled with liquids, such as vases, are placed on it.
Class I appliances must be connected to the mains socket outlet with a protective-earth connection.
The mains plug connects the device and should remain operable during use. - To disconnect the unit from the mains, the plug should be fully disconnected from the mains socket outlet. The mains plug should not be obstructed and should be easily accessible during use.
- When a power indicator light is on, it indicates the unit is connected to the mains supply. When the light is off, it indicates the unit is fully disconnected from the mains supply.
INFORMATION ABOUT BATTERIES (applicable only if batteries included)
- Polarity must be respected when inserting batteries.
- The bat teries should be inserted in such a way as to avoid any short circuit.
- Do not mix used and new batteries.
- Do not mix alkaline, standard (carbon-zinc) and rechargeable (nickel-cadmium) batteries.
- Do not expose the battery to excessive heat such as sunshine or fire.
- Remove the ba tteries when they have not been used for a long time.
- If the liquid contained in the batteries comes in contact with eyes or skin, immediately and carefully wash the affected area with clear water and consult a doctor.
The product/remote control may contain a coin/buttn type battery:
WARNING
Do not ingest the battery. Chemical burn hazard. This product contains a coin/button cell battery. If the coin/button cell battery is swallowed, it can cause severe internal burns in just 2 hours and can lead to death. Keep new and used batteries away from children. If the battery compartment does not close securely, stop using the product and keep it away from children. If you think batteries might have been swallowed or placed inside any part of the body, seek immediate medical attention.
CAUTION
Danger of explosion if battery is incorrectly replaced.
Replace battery only with the same or equivalent type.
Setup
When switching on the unit, the automatic update function means the radio will automatically search for radio stations within three minutes. The screen shows the digits and station numbers.
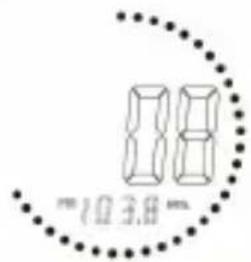
Once complete, the unit will store its maximum of 20 radio stations as preset stations.
General Functions
1) FM radio by Digital Tuning System (DTS)
2) LCD display with backlight and dimmer control
3) 12/24-hour clock display
4) Alarm signal can be set to radio or beeping sound
5) Beep sounds can be set to ascend (increase in volume from quiet to loud)
6) 20 preset radio stations
7) Automatic/manual search up/down
8) A.M.S.(automatic memory store) function
9) Automatic dimmer timer
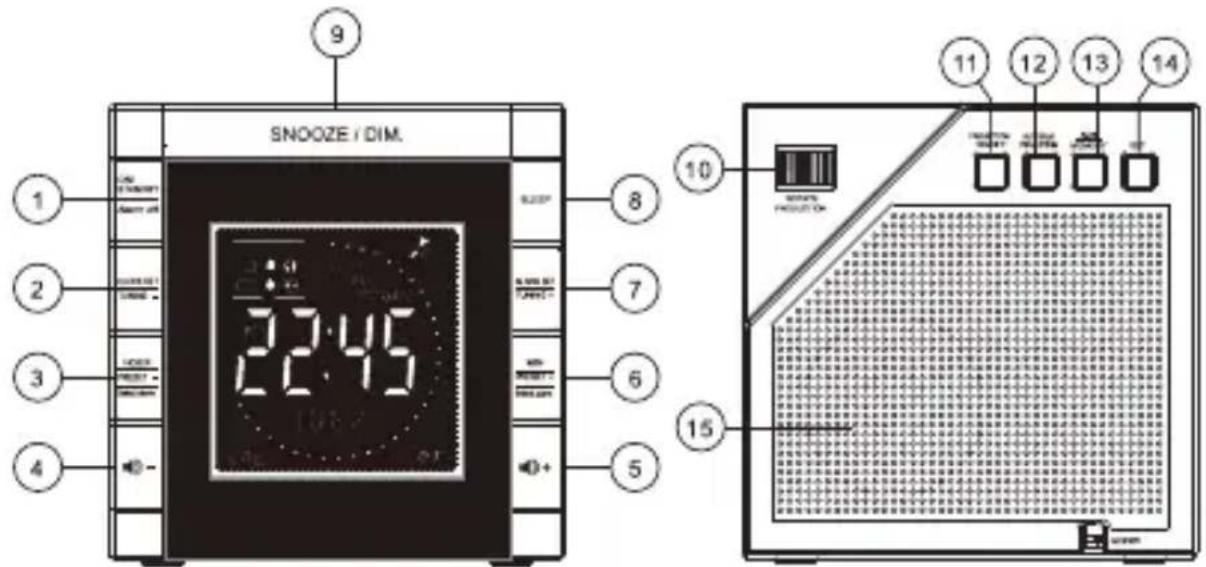
Key functions:
1) radio on/standby/alarm off
10) adjust rotation
2) clock setup/tuning -
11) projection on/off
3) set hour/station -/select alarm
12) flip projection upside-down
4) volume -
13) radio station memory/AMS (AutoMemory Search)
5) volume +
14) SET: function setup - date, 12/24-hour clock, dimmer timer (DT)
6) minute/station +/-select alarm
7) set alarm/tuning +
15) speaker
8) sleep button
9) snooze/dimmer control
1. Set the clock
In standby mode, press [2] for 3 seconds. The display will flash and show 0:00.
- Set the time by pressing [3] to set the hour and [6] to set the minute.
- Press [2] again to confirm the time. The unit will start to show the passing of every two seconds through the dot indicator.
2. Set the date
In standby mode, press [14] on the back. The display will flash and show 2014.
Press [14], "Year" will flash. Set the year by pressing [4]/[5], e.g. 2015, 2016, etc.
After the year has been set, press [14]. "Month" will flash. Set the month by pressing [4]/[5], e.g. 1, 2, up to 12.
After the month has been set, press [14]. "Day" will flash. Set the day by pressing [4]/[5], e.g. d01, d02, up to d031.
- The date will be set and be automatically confirmed if the user does not press any buttons for 15 seconds.
3. Set clock format
- Press [14] and hold until "Year" flashes in the display.
Press [14] 3 more times.
12/24H will flash. Now you can adjust the time format: - Press [5] for 12H (12-hour format).
- Press [4] for 24H (24-hour format).
The clock format will be set and be automatically confirmed if the user does not press any buttons for 15 seconds.
4. Set a dimmer timer (DT)
The display backlight can be set to automatically dim at night time, from 23:00 to 06:00, in order to save energy.
Set as below:
Press [14] and hold for 3 seconds until "Year" flashes in the display. Press [14] 4 more times.
- "DT" will flash.
- Press [5] to activate the dimmer timer. The display will show "DT ON". When the dimmer timer is activated, the display backlight will be set to automatically dim at night time, from 23:00 to 06:00.
- Press [4] to deactivate the dimmer timer. The display will show "DT OFF", and the display will not dim at night.
5. Set alarm
In standby mode, press [7] for 3 seconds. The unit will go to alarm setup, the "alarm 1" icon in the upper left corner will flash and the main digit will show 0:00.
- Press [3] to set the alarm hour.
- Press [6] to set the alarm minute.
- Press [7] again to confirm the time of the alarm.
- With the alarm time set, press [3/6] to select whether the alarm should start the radio or a beep sound.
- Press [7] again to confirm and proceed to set alarm 2.
- Repeat all the steps above exactly as when setting alarm 1.
- Press [7] again to confirm the settings for alarm 2.
- Disable alarm function:
- Press and hold [7] for 3 seconds, then press [7] once more.
The display will flash "Alarm 1" or "Alarm 2". Press [3/6] to turn off or and press [7] again to confirm.
Output format as below:
| Output | LCD display | |
| Beep sound Display | shows bell symbol | ALARMB |
| Radio output Display | shows radio symbol | ALARMB |
| Disabled | All the bell, radio and alarm symbols are gone | |
If no key is pressed for 15 seconds, the system will go back to normal mode.
6. Use the snooze function
When the alarm is ringing, press [9] "SNOOZE/Dimmer". The display will flash "SNOOZE". The alarm will stop, but ring again every 9 minutes. Press [1] to completely turn off the alarm.
7. Listen to FM radio
For radio mode, press [1]. The display will show FM and the current frequency in digits, e.g. FM92.6 MHz.
- When the radio is on, you can adjust the signal by pressing [2 / 7] to tune up or down by 0.1MHz and search for the next station.
7.1 Store a station to memory - as a preset station
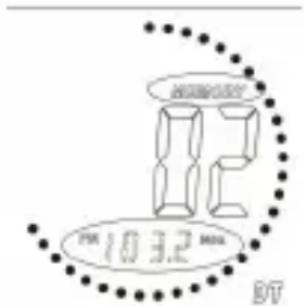
While already in radio mode, press [13]. Press [3/6] to select the preset station number, e.g. P01, P02... P20. The display will flash MEMORY and the chosen program station, for example P01 (or whichever program number was chosen - P01... P20). Press [2/7] to select the channel. Finally, press [13] to confirm and save this station to the preset stations.
7.2 Return to preset station
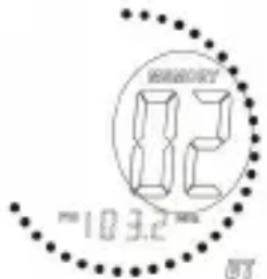
- When radio mode is on, press [3/6] to select the desired preset station number, P01, P02, to P20. The display will then show MEMORY, the preset station number (P01 or whichever preset station number is chosen), and the FM frequency.
- Once the preset station has been selected and confirmed or you have waited for 3 seconds, the display will show the current time and FM frequency.
7.3 AMS
- With radio mode on, press and hold [13] for 3 seconds to activate AMS mode.
The radio will automatically scan the frequency and save the preset station to memory, with a total of up to 20 different radio stations. Once AMS finishes scanning and stops automatically, it will return to preset station no. P01. The display will show the current time and FM frequency.
When the AMS function is activated, the newly found stations will replace the preset stations that have been previously stored in the memory.
8. Volume control
- With the radio on, press [5/4] for volume +/-. The display will show the volume level, 00 ~ 15, from minimum to maximum sound level.
- Press [5] to increase the sound volume level.
- Press [4] to decrease the sound volume level.
9. Dimmer control (display digit light)
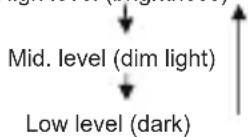
- Press [9] to control the brightness of digits on the display.
- There are 3 levels: Brightness, dim light and dark.
High level (brightness)
10. Sleep mode timer
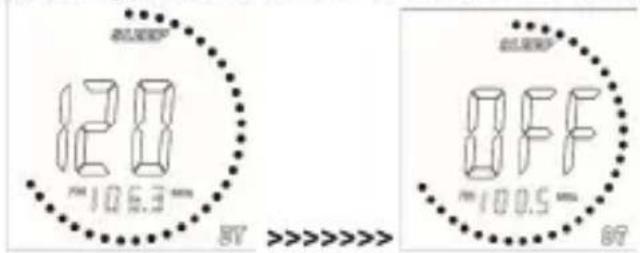
Press [8] to activate sleep mode.
It will start to count down from the default 120 minutes. The radio will turn off after 120 minutes (or set time). Press [8] again to set the timer for when the radio will turn itself off (note: every press reduces the sleep timer by 5 minutes, and if reduced to zero, OFF will be displayed).
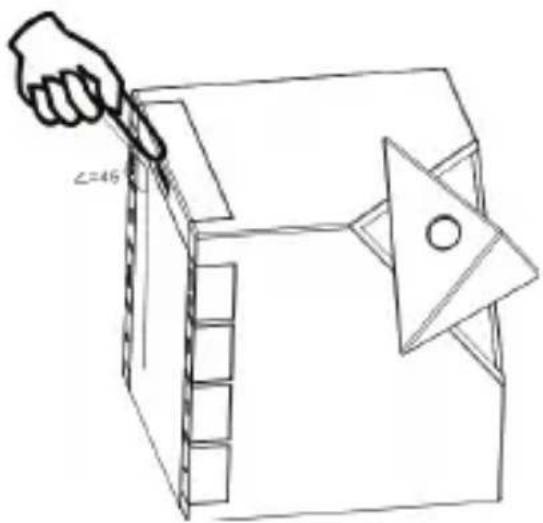
11. Projection display
- Press [11] to turn the projector on/off. The projector icon will be shown in the display when the projector is on.
Press [12] to flip the projection by 180 degrees.(optional)
Use the tuning knob [10] to rotate the projection angle in 90-degree amounts.
12. Replace clock backup batteries
Insert 2 AAA batteries. Check the polarity (+ and - at ends of the battery) and follow the instructions on the diagram near the battery compartment. Close the compartment door.
NOTE: Please make sure you properly dispose of batteries (see your local regulations).
Battery power:
Be sure that the batteries are inserted correctly to avoid damage to the appliance. Always remove the batteries when appliance will not be used for a long period of time, as this will cause leakage to the batteries and subsequently damage to your set.
Use batteries of the same type. Never use different types of batteries together.
Do not throw the battery into the fire, or exposed to sunshine or the like.
If the liquid contained in the batteries comes in contact with eyes or skin, wash the area immediately and carefully with clear water and consult a doctor
13. Basic specifications:
Output: 0.5W
FM range: 88.8 - 108 MHz
Input: AC-230V, 50Hz
Station preset 20
Default dimmer timer ON for 23:00-06:00
Important safety instructions, please read carefully
This unit has been designed and manufactured in such a way as to ensure personal safety, provided it is used as directed. However, improper use can result in potential electrical shock or fire hazards. Please read all safety and operating instructions carefully before installation and use. Keep these instructions handy for future reference. Take special note of all the warnings contained in these instructions and on the unit.
Do not dispose of electrical appliances in the standard household waste.
Bring such appliances to a collection point.
Some parts contained in these appliances may be hazardous to human or animal health.
Don't discard the electrical and electronic appliances in the regular waste disposal.
Take them to a collection point.
- Some components in these appliances may be hazardous to health and the environment.
DECLARATION OF CONFORMITY
The undersigned, Bigben Interactive declares that the radio equipment of the RR70P type complies with the 2014/53NEU directive.
The complete text is available at https://www.babeninteractive.co.uk/support/
Manufactured by BIGBEN INTERACTIVE SA
396, Rue de la Voyette
CRT2-FRETIN
CS 90414
59814 LESQUIN Cedex - France
www.bigben.eu

Fabriket: Bielen Interactive FRANCE
246.Rue cca La Vephe. C.R.I.7, Fintin
FNCI, 1and a vmted [aund pae]
10NGG 08.69397560
DEECOLANrntgno
160 182
10
M
ELINELCUSTOMERSERVICEIDENXACTIVEB
MELIANT, 1
EPAA
Maturities Offic Park, Bldg. 1
Eaepee 15 411
Bipose interactive MDRAM 3x
Faeae 148-38 175 58 Foeae Moerand
Bipolar interactive SPAIN S.L.
C/nae 5,7 pnta, Hcrt3 Madrid Spain
Bipen (t)
Cnssrpsse 217,2008 Legans - M. tain
FABRERENCHNEA
HOTLINE
ITALIA. supercomputer operation 2
www.hgnet.cn
Fabricado en China






N. modello RR70P
Mugae 5, 2* plants, 1972 Madrid, Spain
BUTUSCHAND, Mertag h
02180
1.2017年1月1日
A
3E.
10
BPAAL
1111.
www.hkbox.com
Fabricado na China





Modell Nr. RR70P
CPSDA4-59816 Caspain Cadax, France