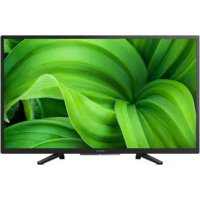
KD75ZF9 - TV SONY - Free user manual and instructions
Find the device manual for free KD75ZF9 SONY in PDF.
| Technical Specifications | 75-inch LED TV, 4K resolution (3840 x 2160), HDR technology, X1 Ultimate processor |
|---|---|
| Connectivity | 4x HDMI, 3x USB, Ethernet, Wi-Fi, Bluetooth |
| Audio | Dolby Atmos sound, 60W power, built-in speakers |
| Dimensions | Dimensions with stand: 167.7 x 104.4 x 34.2 cm, weight: 36.6 kg |
| Usage | Compatible with streaming apps, Android TV interface, voice control |
| Maintenance | Clean the screen with a soft cloth, firmware update via Internet |
| Safety | CE, RoHS certifications, protection against electrical surges |
| General Information | 2-year warranty, availability of spare parts, online technical support |
Frequently Asked Questions - KD75ZF9 SONY
Download the instructions for your TV in PDF format for free! Find your manual KD75ZF9 - SONY and take your electronic device back in hand. On this page are published all the documents necessary for the use of your device. KD75ZF9 by SONY.
USER MANUAL KD75ZF9 SONY
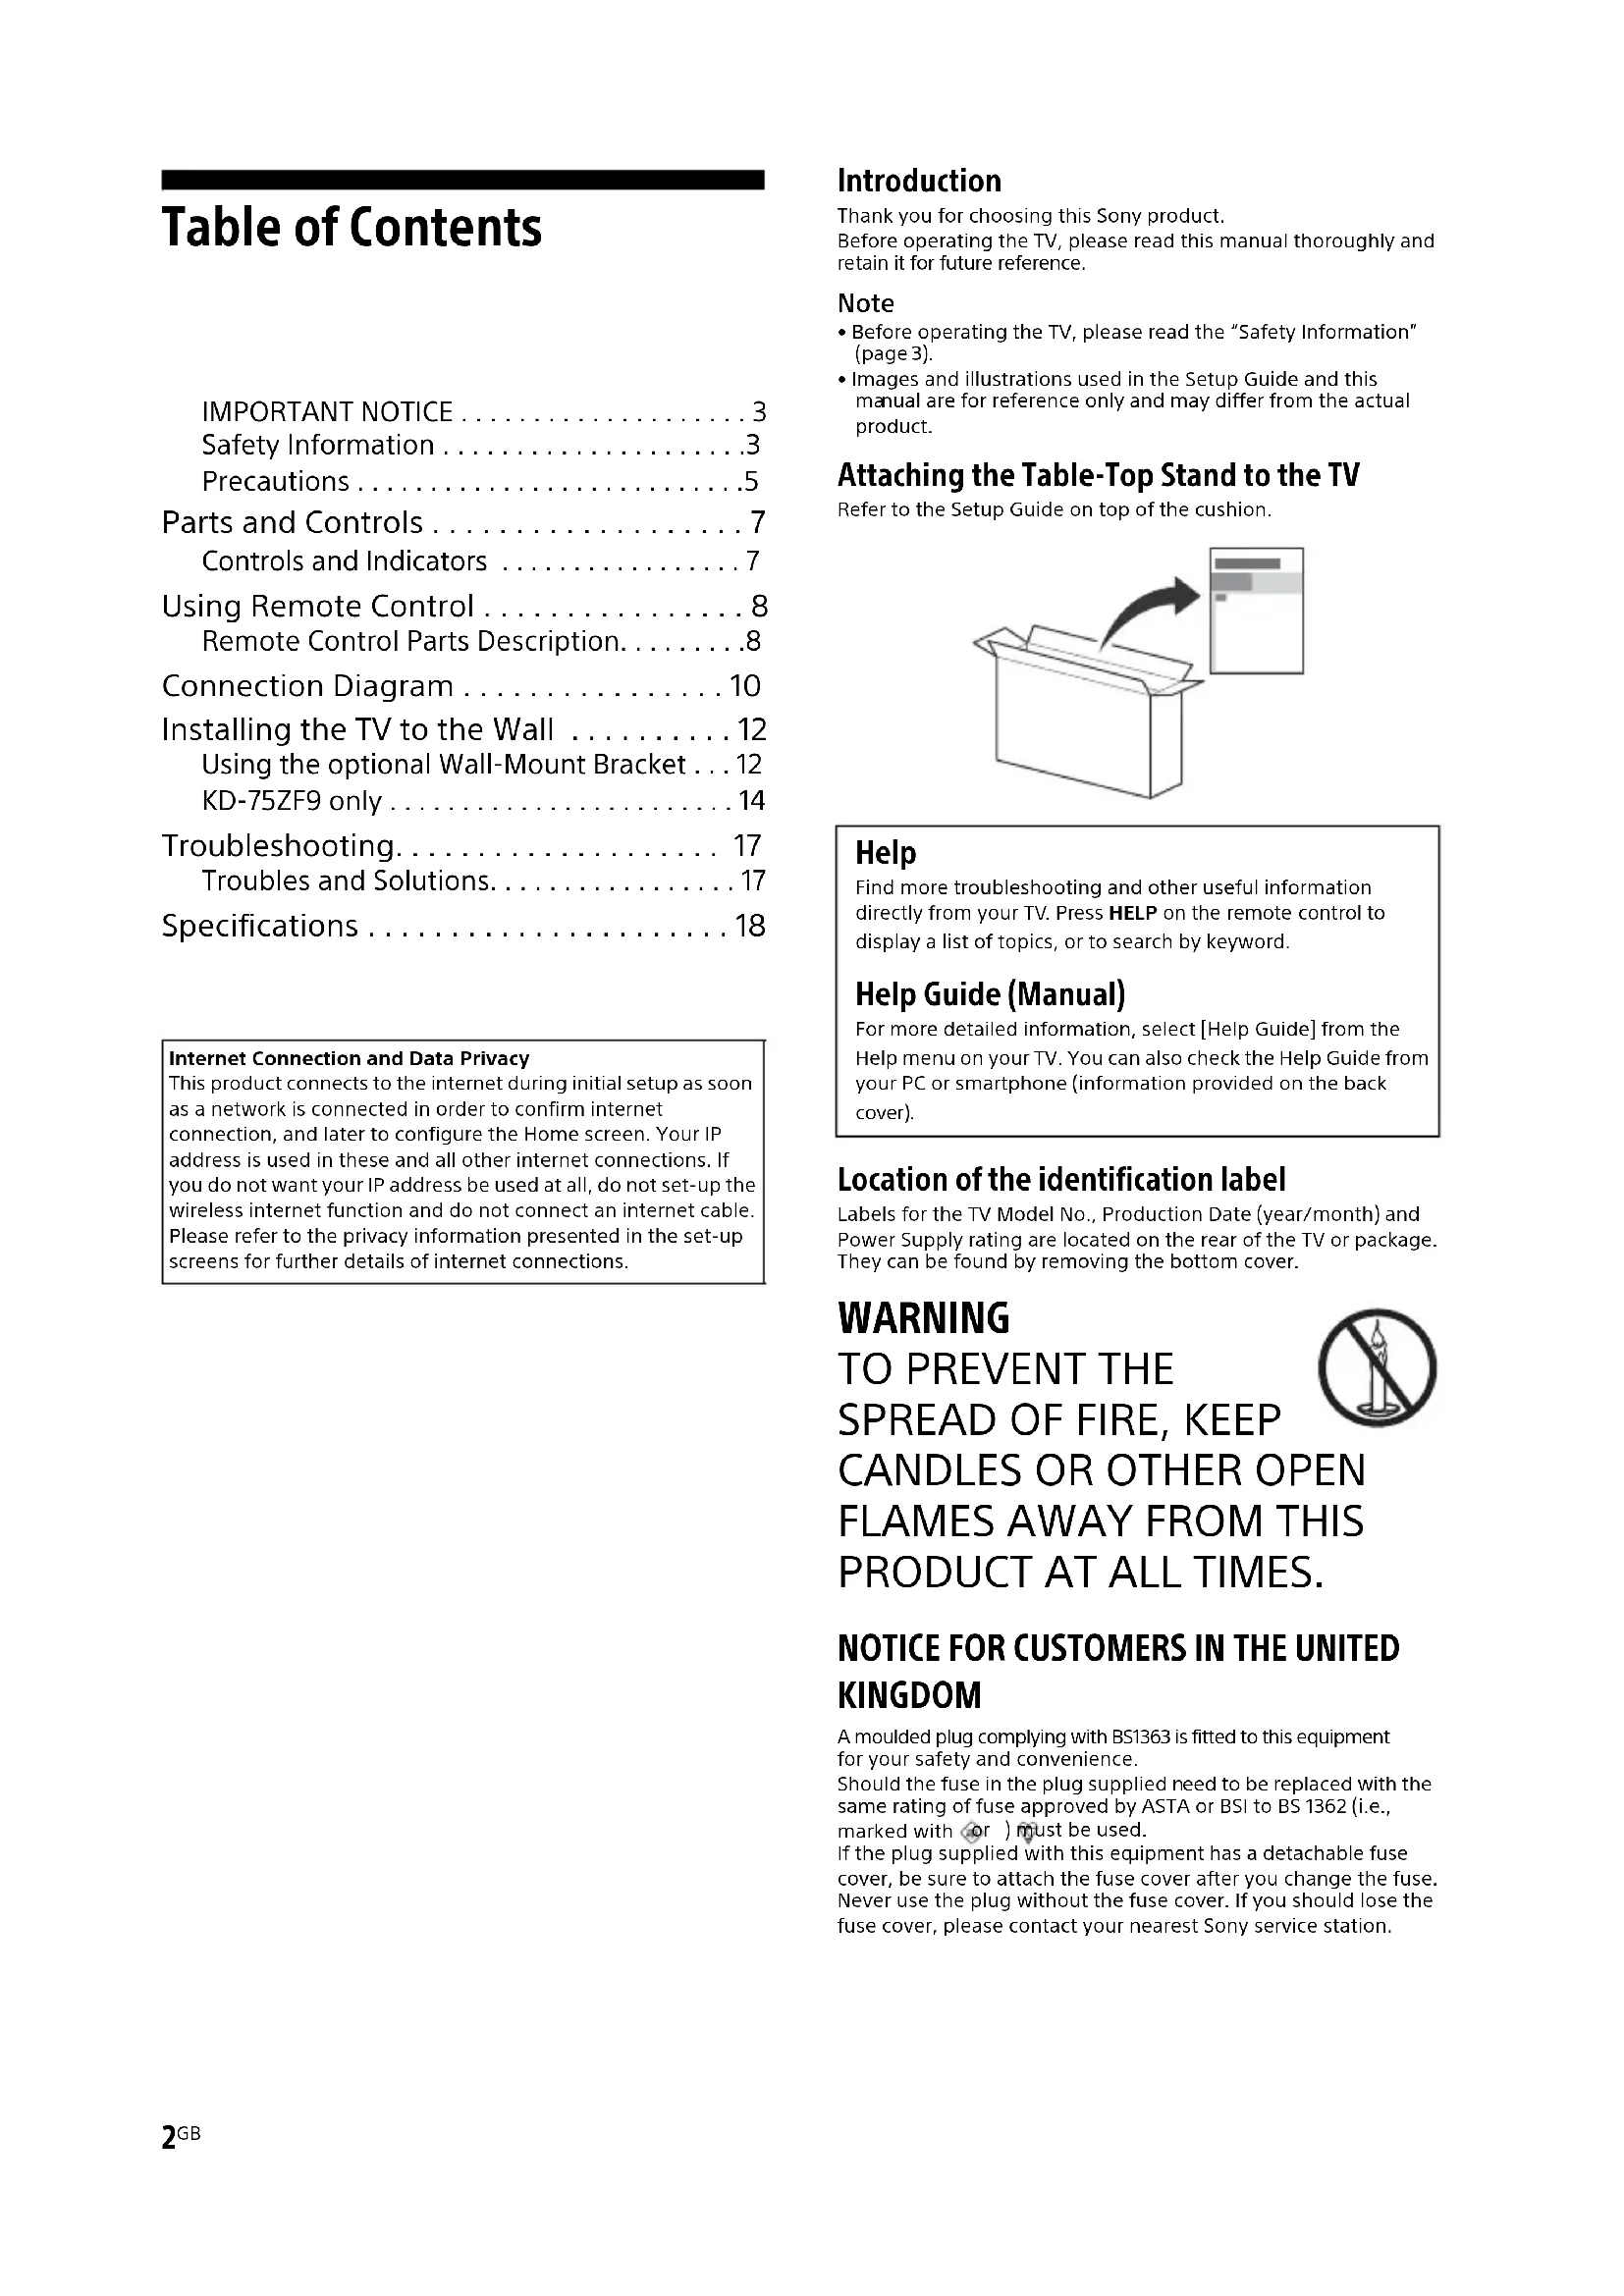
- Before operating the TV, please read the “Safety Information” (page 3). • Images and illustrations used in the Setup Guide and this nual are for reference only and may differ from the actual product. Attaching the Table-Top Stand to the TV Refer to the Setup Guide on top of the cushion. Location of the identification label Labels for the TV Model No., Production Date (year/month) and Power Supply rating are located on the rear of the TV or package. hey can be found by removing the bottom cover. WARNING
SPREAD OF FIRE, KEEP
CANDLES OR OTHER OPEN
FLAMES AWAY FROM THIS
PRODUCT AT ALL TIMES.
NOTICE FOR CUSTOMERS IN THE UNITED
KINGDOM A moulded plug complying with BS1363 is fitted to this equipment for your safety and convenience.Should the fuse in the plug supplied need to be replaced with the same rating of fuse approved by ASTA or BSI to BS 1362 (i.e., marked with or ) must be used.If the plug supplied with this equipment has a detachable fuse cover, be sure to attach the fuse cover after you change the fuse. Never use the plug without the fuse cover. If you should lose the fuse cover, please contact your nearest Sony service station.Internet Connection and Data PrivacyThis product connects to the internet during initial setup as soon as a network is connected in order to confirm internet connection, and later to configure the Home screen. Your IP address is used in these and all other internet connections. If you do not want your IP address be used at all, do not set-up the wireless internet function and do not connect an internet cable. Please refer to the privacy information presented in the set-up screens for further details of internet connections. Help Find more troubleshooting and other useful information directly from your TV. Press HELP on the remote control to display a list of topics, or to search by keyword. Help Guide (Manual) For more detailed information, select [Help Guide] from the Help menu on your TV. You can also check the Help Guide from your PC or smartphone (information provided on the back cover).3
How to replace the fuse Open the fuse compartment with a blade screwdriver, and replace the fuse. Please refer to the illustration that actually equipped with the
oduct. Notice for Radio Equipment Hereby, Sony Visual Products Inc. declares that the radio equipment types KD-75ZF9, KD-65ZF9 are in compliance wit h Directive 2014/53/EU. The full text of the EU declaration of conformity is available at the following internet address: http://www.compliance.sony.de/ This radio equipment can be operated in the EU without inf ringing applicable requirements on the use of radio spectrum. Notice for customers: the following information is only applicable
o equipment sold in countries applying EU directives. TV wireless system may be operated in following countries: AT, BE, HR, CY, CZ, DK, EE, FI, FR, DE, EL, HU, IE, IT, LV, LT, LU, MT,
L, PL, PT, SK, SI, ES, SE, UK, IS, LI, NO, CH, BG, RO, TR, AL, BA, MK, MD, RS, ME, Kosovo This equipment can be operate d in other non-European countries. WARNING Caution Risk of explosion if the battery is replaced by an incorrect type. Batteries must not be exposed to excessive heat such as sunshine, fire or the like or extremely low air pressure that can result in an explosion or leakage of flammable liquid or gas. Stability Hazard The television set may fall, causing serious personal injury or death. Never place a television set in an unstable location. A television
t may fall, causing serious personal injury or death. Many injuries, particularly to children, can be avoided by taking simple precautions such as:
- Using cabinets or stands recommended by the manufacturer of
- Only using furniture that can saf ely support the television set.
- Ensuring the television set is not overhanging the edge of the suppor ting furniture.
- Not placing the television set on ta ll furniture (for example, cupboards or bookcases) without anchoring both the furniture and the television set to a suitable support.
- Not placing the television set on cloth or other materials that may be loc ated between the television set and supporting furniture.
- Educating children about the dan gers of climbing on furniture to reach the television set or its controls. If your existing television set is being r etained and relocated, the same considerations as above should be applied. Installation/Set-up Install and use the TV set in accordance with the instructions below in order to avoid any risk of fire, electric shock or damage and/or injuries. Apparatus connected to the protective earthing of the building
stallation through the mains connection or through other apparatus with a connection to protective earthing – and to a television distribution system using coaxial cable, may in some circumstances create a fire hazard. Connection to a television distribution system therefore has to be provided through a device providing electrical isolation below a certain frequency range (galvanic isolator, see EN 60728-11). Installation
- The TV set should be installed near an easily accessible mains socket.
- Place the TV set on a stable, level surface to prevent it from
alling over and causing personal injury or property damage.
- Install the TV where it cannot be pulled, pushed, or knocked
- Install the TV so that the TV's Table-Top Stand does not protrude
ut from the TV stand (not supplied). If the Table-Top Stand protrudes out from the TV stand, it may cause TV set to topple over, fall down, and cause personal injury or damage to the TV.
- Only qualified service personnel should carry out wall-mount installations.
- For safety reasons, it is strongly recommended that you use
ony accessories, including:
all-Mount Bracket SU-WL450 (KD-65ZF9 only)
- Be sure to use the screws supplied with the Wall-Mount Bracket
hen attaching the Wall-Mount Bracket to the TV set. The supplied screws are designed as indicated by illustration when measured from the attaching surface of the Wall-Mount Bracket. The diameter and length of the screws differ depending on the
all-Mount Bracket model. Use of screws other than those supplied may result in internal
amage to the TV set or cause it to fall, etc. Upper side IMPORTANT NOTICE This product has been manufactured by or on behalf of Sony Visual Products Inc. EU Importer: Sony Europe Limited. Inquiries to the EU Importer or related to product compliance
Lower side Transporting
- Before transporting the TV set, disconnect all cables.
- Two or three people are needed to transport a large TV set.
- When transporting the TV set by hand, hold it as shown below. Do no t put stress on the LCD panel and the frame around the screen.
- When transporting the TV set, do not subject it to jolts or
- When transporting the TV set for repairs or when moving, pack
using the original carton and packing material. Topple prevention Ventilation
- Never cover the ventilation holes or insert anything in the cabinet.
- Leave space around the TV set as shown below.
- It is strongly recommended that you use a Sony Wall-Mount
racket in order to provide adequate air circulation. Installed on the wall Installed with stand
not lay the TV set flat, install upside down, backwards, or sideways.
not place the TV set on a shelf, rug, bed or in a closet.
o not cover the TV set with a cloth, such as curtains, or items such as newspapers, etc.
not install the TV set as shown below. 8 mm - 12 mm Screw (M6) Wall-Mount Bracket M4 screw (not supplied) Cord (not supplied) Screw (not supplied) 4 mm - 7 mm 30 cm 10 cm 10 cm 10 cm Leave at least this space around the set. 30 cm 10 cm 10 cm Leave at least this space around the set. 6 cm Wall Air circulation is blocked. Wall5
Mains lead Handle the mains lead and socket as follows in order to avoid any risk of fire, electric shock or damage and/or injuries:
- Use only mains leads supplied by S ony, not other suppliers.
- Insert the plug fully into the mains socket.
- Operate the TV set on a 220 V - 240 V AC supply only.
- When wiring cables, be sure to unplug the mains lead for your
fety and take care not to catch your feet on the cables.
- Disconnect the mains lead from the mains socket before wor king on or moving the TV set.
- Keep the mains lead away from heat sources.
- Unplug the mains plug and clean it regularly. If the plug is
overed with dust and it picks up moisture, its insulation may deteriorate, which could result in a fire. Note
- Do not use the supplied mains lead on any other equipment.
- Do not pinch, bend, or twist the mains lead excessively. The core conductors may be exposed or broken.
- Do not modify the mains lead.
- Do not put anything heavy on the mains lead.
- Do not pull on the mains lead itself when disconnecting the mains le ad.
- Do not connect too many appliances to the same mains socket.
- Do not use a poor fitting mains socket. Prohibited Usage Do not install/use the TV set in locations, environments or situations such as those listed below, or the TV set may malfunction and cause a fire, electric shock, damage and/or injuries. Locations:
- Outdoors (in direct sunlight), at the seashore, on a ship or other vessel, inside a vehicle, in medical institutions, unstable locations, near water, rain, moisture or smoke. Environments:
- Places that are hot, humid, or excessively dusty; where insects may enter; where it might be exposed to mechanical vibration, near flammable objects (candles, etc.). The TV set shall not be exposed to dripping or splashing and no objects filled with liquids, such as vases, shall be placed on the TV. Situations:
- Use when your hands are wet, with the cabinet removed, or with attachments not recommended by the manufacturer. Disconnect the TV set from mains socket and aerial during lightning storms.
- Install the TV so that it sticks out into an open s pace. Injury or damage from a person or object bumping into the TV may result.
- Place the TV in a humid or dusty space, or in a room with oily smoke or steam (near cooking tables or humidifiers). Fire, electric shock, or warping may result.
- Install the TV in places subject to
xtreme temperature such as in direct sunlight, near a radiator or a heating vent. The TV may overheat in such condition which can cause deformation of the enclosure and/or TV malfunction.
- If the TV is placed in the changing room of
public bath or hot spring, the TV may be damaged by airborne sulfur, etc.
- For best picture quality , do not expose the screen to direct illumination or sunlight.
- Avoid moving the TV from a cold area to a
arm area. Sudden room temperature changes may cause moisture condensation. This may cause the TV to show poor picture and/or poor colour. Should this occur, allow moisture to evaporate completely before powering the TV on. Broken pieces:
- Do not throw anything at the TV set. The screen glass may break by the impact and cause serious injury.
- If the surface of the TV set cracks, do not touch it until you have unplugge d the mains lead. Otherwise this may cause an electric shock. When not in use
- If you will not be using the TV set for several days, the TV set should be disconnected from the mains for environmental and safety reasons.
- As the TV set is not disconnected from the mains when the TV
t is just turned off, pull the plug from the mains socket to disconnect the TV set completely.
- Some TV sets may have features that require the TV set to be left in sta ndby to work correctly. For children
- Do not allow children to climb on the TV set.
- Keep small accessories out of the reach of children, so that they
e not mistakenly swallowed. If the following problems occur... Turn off the TV set and unplug the mains lead immediately if any of the following problems occur. Ask your dealer or Sony service centre to have it checked by
- Mains lead is damaged.
- Poor fitting of mains socket.
- TV set is damaged by being dropped, hit or having something thr own at it.
- Any liquid or solid object falls through openings in the cabinet. About LCD TV Temperature When the LCD TV is used for an extended period, the panel surrounds become warm. You may feel hot when touching there by the hand. Viewing the TV
- View the TV in moderate light, as viewing the TV in poor light or during long period of time, strains your eyes.
- When using headphones, adjust the volume so as to avoid
xcessive levels, as hearing damage may result. LCD Screen
- Although the LCD screen is made with high-precision technology and 99.99 % or more of the pixels are effective, black dots may appear or bright points of light (red, blue, or green) may appear constantly on the LCD screen. This is a structural property of the LCD screen and is not a malfunction.
- Do not push or scratch the front filter, or place objects on top of this TV set. The image may be uneven or the LCD screen may be damaged.
- If this TV set is used in a cold place, a smear may occur in the
icture or the picture may become dark. This does not indicate a failure. These phenomena disappear as the temperature rises.
- Ghosting may occur when still pictures are displayed
ontinuously. It may disappear after a few moments.
- The screen and cabinet get warm when this TV set is in use. This is no t a malfunction.
- The LCD screen contains a small amount of liquid crystal. Follow your local ordinances and regulations for disposal. Handling and cleaning the screen surface/ cabinet of the TV set Be sure to unplug the mains lead connected to the TV set from mains socket before cleaning. To avoid material degradation or screen coating degradation, obser ve the following precautions. Precautions6
- To remove dust from the screen surface/cabinet, wipe gently with a soft cloth. If dust is persistent, wipe with a soft cloth slightly moistened with a diluted mild detergent solution.
he TV set. It may drip to the bottom of the screen or exterior parts and enter the TV set, and may cause damage to the TV set.
- Never use any type of abrasive pad, alka line/acid cleaner, scouring powder, or volatile solvent, such as alcohol, benzene, thinner or insecticide. Using such materials or maintaining prolonged contact with rubber or vinyl materials may result in damage to the screen surface and cabinet material.
- Do not touch the TV if your hand is covered in any chemical subst ance such as hand cream or sunblock.
- Periodic vacuuming of the ventilation openings is
ecommended to ensure proper ventilation.
- When adjusting the angle of the TV set, move it slowly so as to
event the TV set from moving or slipping off from its table stand. Optional Equipment
- Keep optional components or any equipment emitting electromagnetic radiation away from the TV set. Otherwise picture distortion and/or noisy sound may occur.
- This equipment has been tested and found to comply with the lim its set out in the EMC Directive using a connection signal cable shorter than 3 meters.
- This equipment has been tested and found to comply with the limit s set out in the EMC Directive using a RF cable shorter than 30 meters for terrestrial/satellite/CATV terminal. Recommendation of F type plug Projection of the inner wire from the connection part must be less than 1.5 mm. Wireless Function of the unit
- Do not operate this unit near medical equipment (pacemaker, etc.), as this may result in the malfunction of the medical equipment.
- Although this unit transmits/receives scrambled signals, be
areful of unauthorised interception. We cannot be responsible for any trouble as a result.
- This equipment should be installed and operated keeping a separ ation distance of 20 cm or more between the antenna of this device and a person's body. Caution about handling the remote control
- Observe the correct polarity when inserting batteries.
- Do not use different types of batteries together or mix old and new batteries.
- Dispose of batteries in an environmentally friendly way. Certain
egions may regulate the disposal of batteries. Please consult your local authority.
- Handle the remote control with care. Do not drop or step on it, or spill liquid of any kind onto it.
- Do not place the remote control in a location near a heat source,
place subject to direct sunlight, or a damp room. Disposal of the TV set Disposal of old electrical & electronic equipment (applicable in the European Union and other countries with separate collection systems) This symbol on the product or on its packaging indicates that this product shall not be treated as household waste. Instead it shall be handed over to the appropriate collection point for the recycling of electrical and electronic equipment. By ensuring that this product is disposed of correctly, you will help to prevent potential negative consequences for the environment and human health, which could be caused by inappropriate waste handling of this product. The recycling of materials will help to conserve natural resources. For more detailed information about recycling of this product, please contact your local Civic Office, your household waste disposal service or the shop where you purchased the product. Disposal of waste batteries (applicable in the European Union and other countries with separate collection systems) This symbol on the battery or on the packaging indicates that the battery provided with this product shall not be treated as household waste. On certain batteries this symbol might be used in combination with a chemical symbol. The chemical symbol for lead (Pb) is added if the battery contains more than 0.004 % lead. By ensuring that these batteries are disposed of correctly, you will help to prevent potentially negative consequences for the environment and human health which could be caused by inappropriate waste handling of the battery. The recycling of the materials will help to conserve natural resources. In case of products that for safety, performance or data integrity reasons require a permanent connection with an incorporated battery, this battery should be replaced by qualified service staff only. To ensure that the battery will be treated properly, hand over the product at end-of-life to the appropriate collection point for the recycling of electrical and electronic equipment. For all other batteries, please view the section on how to remove the battery from the product safely. Hand the battery over to the appropriate collection point for the recycling of waste batteries. For more detailed information about recycling of this battery, please contact your local Civic Office, your household waste disposal service or the shop where you purchased the product or battery.
(Reference drawing of the F type plug) 7 mm max.7
Parts and Controls (Power) / + / – When the TV is off,Press to power on.When the TV is on,Press and hold to power off. Press repeatedly to change the function, then press + or – button to:• Adjust the volume.• Select the channel.• Select the input source of TV. Remote Control sensor*
/ Illumination LED The illumination LED lights up or blinks according to the status of the TV. For more information, refer to the Help Guide. Built-in MIC*
Use the hands-free built-in microphone for Voice Search. To enable the built-in MIC, press HOME, then select [Settings] [Google]. Built-in MIC LED The built-in MIC LED lights up in amber when the built-in MIC is enabled. The built-in MIC LED can be disabled.* *1 Do not place anything near the sensor.*2 The built-in MIC will be available when software is updated. For the latest information, visit Sony support website (information provided on the back cover). The Voice Search requires an Internet connection. The Voice Search with the built-in MIC is available only on limited region/country/language. Standby power consumption will increase because the built-in MIC is always listening when the Voice Search with the built-in MIC is enabled.*3 For more information, see the Online Help Guide (page 2). Controls and Indicators
Using Remote Control / (Input select/Text hold) In TV mode: Display and select the input source. In Text mode: Hold the current page. (TV standby) Turn on or turn off the TV (standby mode). DIGITAL/ANALOG Switch between digital and analogue mode. TV/RADIO Switch between TV or RADIO broadcasts. EXIT Return to the previous screen or exit from the menu. When an Interactive Application service is available, press to exit from the service. Number buttons / (Info/Text reveal) Display information. (Text) Display text information. Remote Control Parts Description The remote control shape, location, availability and function of remote control buttons may vary depending on your region/country/TV model. MIC (Microphone)Use Voice Search*. (e.g., Search various content by voice.)EXT.BOX MENUDisplay the connected External Box (cable/satellite box) menu.• For models with supplied IR Blaster, connect and set up the IR Blaster (page 11).• The External Box menu may be displayed for some HDMI CEC compatible devices when the IR Blaster is not supplied/connected. //// (Navigation D-Pad) On screen menu navigation and selection. Switch to a TV channel or input and display the TV Menu Bar.* The Voice Search requires an Internet connection.9
Google Play Access the “Google Play” online service. NETFLIX (Only on limited region/ country/TV model) Access the “NETFLIX” online service. Colour buttons Execute corresponding function at that time. ACTION MENU Display a list of contextual functions. GUIDE/ Display the digital programme guide. APPS Access various services and applications. BACK/ Return to the previous screen. HOME Display the TV Home Menu. +/– (Volume) Adjust the volume. (Jump) Jump back and forth between two channels or inputs. The TV alternates between the current channel or input and the last channel or input that was selected. (Muting) Mute the sound. Press again to restore the sound. Hint
- You can switch the accessibility on and off by pressing and holding . PROG +/–// In TV mode: Select the channel. In Text mode: Select the next () or previous () page. AUDIO Change the language for the programme currently being viewed.
Operate media contents on the TV and connected BRAVIA Sync-compatible device. (Subtitle setting) Turn subtitles on or off (when the feature is available). HELP Display the Help menu. Help Guide can be accessed from here. REC Record the current programme with the USB HDD recording function. TITLE LIST Display the Title list.10
Connection Diagram For more information on connections, refer to the Help Guide by pressing HELP on the remote control. Cable/ Antenna/ External Box Router Satellite Audio System with ARC/ HDMI Device Digital still camera/ Camcorder/USB storage media Headphone < 14 mm IR Blaster HDMI Device HDMI Device VCR/Video game equipment/DVD player/ Camcorder/External Box*
< 14 mm Conditional Access Module Digital still camera/ Camcorder/USB storage media/ USB HDD device HDMI Device Audio System with Optical Audio Input11
- Provides access to pay TV services. For details, refer to the instruction manual supplied with your CAM.
- Do not insert the smart card directly into the TV CAM slot. It must be fitted into the Conditional Access Module provided by your authorised dealer.
- CAM is not supported in some countries/ areas. Check with your authorised dealer.
- You cannot output sound from both the headphone and the TV speakers at the same time. IR BLASTER*
- Use your Sony remote control to control your External Box (cable/satellite box). Connect the IR Blaster Cable*
to the IR Blaster port on your TV. Place the other end as shown below.
- Connecting a large USB device may interfere with other connected devices beside it.
- When connecting a large USB device, connect to the USB 1 port.
- Connect a USB HDD device to the USB 3 port (blue). HDMI IN 1/2/3/4
- HDMI interface can transfer the digital video and audio on a single cable.
- To enjoy high quality 4K 50p/60p contents, connect a Premium High Speed HDMI cable and set the [HDMI signal format] to [Enhanced format]. Do this setting individually for each connected HDMI IN terminal. For details of supported formats, refer to the “Specifications“ in this manual (page 18- 19).
- HDMI IN 3 ARC (Audio Return Channel) Connect your audio system to the HDMI IN 3 to route TV audio to your audio system. An audio system that supports HDMI ARC can send video to the TV, and receive audio from the TV via the same HDMI cable. If your audio system does not support HDMI ARC, an additional connection with DIGITAL AUDIO OUT (OPTICAL) is necessary. (RF input), (Satellite input)
- Connections for terrestrial/cable and satellite. Connection steps: SUB. MAIN Antenna
- For SUB. jack, connect only when you are using twin tuner mode except for Single Cable Distribution EN50494. *1 For an external device which has only SCART AV OUT, use a SCART-RCA adaptor and Analogue Extension Cable. *2 Only on limited region/country/TV model.
Installing the TV to the Wall This TV’s instruction manual only provides the steps to prepare the TV for Wall-Mount installation before it is installed on the wall. To Customers: For product protection and safety reasons, Sony strongly recommends that installation of your TV be performed by Sony dealers or licensed contractors. Do not attempt to install it yourself. To Sony Dealers and Contractors: Provide full attention to safety during the installation, periodic maintenance and examination of this product. Use the Wall-Mount Bracket SU-WL450 (not supplied) (KD-65ZF9 only) to install the TV to the wall. When installing the Wall-Mount Bracket, also refer to the Operating Instructions and Installation Guide supplied with the Wall-Mount Bracket. Note
- Be sure to store the removed screws in a safe place, keeping them away from children. For instructions on Wall-Mount Bracket installation, see the Installation Information (Wall-Mount Bracket) on the product page for your TV model. www.sony.eu/support/ KD-65ZF9 only 1 Remove the stand cover and terminal covers. Using the optional Wall-Mount Bracket Sufficient expertise is required for installing this product, especially to determine the strength of the wall for withstanding the TV’s weight. Be sure to entrust the attachment of this product to the wall to Sony dealers or licensed contractors and pay adequate attention to safety during the installation. Sony is not liable for any damage or injury caused by mishandling or improper installation.
2 Remove the screws from the rear of the TV. 3 Attach the Wall-Mount Attachment (supplied with the TV) to the rear of the TV (to make it parallel with the wall). Note
- If using an electric screwdriver, set the torque at approximately 1.5 N·m {15 kgf·cm}.• Be sure to fasten the Wall-Mount Attachment when attaching them to the TV. Use only a flat head screwdriver to install the Wall-Mount Attachment. Use of another tool might result in over torqueing the Wall-Mount Attachment and damaging the TV.
Your TV can be mounted on a wall using a Wall-Mount Bracket (not supplied) out of the box as packaged.Prepare the TV for the Wall-Mount Bracket before making cable connections.For product protection and safety reasons, Sony strongly recommends that installation of your TV the wall be performed by qualified professionals. Do not attempt to install it yourself.
- Follow the instruction guide provided with the Wall-Mount Bracket for your model. Sufficient expertise is required in installing this TV, especially to determine the strength of the wall for withstanding the TV’s weight.
- Be sure to store the unused screws and Table-Top Stand in a safe place until you are ready to attach the Table-Top Stand. Keep the screws away from small children. 1 Remove the stand cover and terminal covers. 2 Remove the screws from the rear of the TV. KD-75ZF9 only
3 Attach the Wall-Mount Attachment (supplied with the TV) to the rear of the TV (to make it parallel with the wall). 4 Attach the Wall-Mount Bracket (not supplied) using the screws (not supplied). Note
- If using an electric screwdriver, set the torque at approximately 1.5 N·m {15 kgf·cm}.• Be sure to fasten the Wall-Mount Attachment when attaching them to the TV. Use only a flat head screwdriver to install the Wall-Mount Attachment. Use of another tool might result in over torqueing the Wall-Mount Attachment and damaging the TV.
Wall-Mount Bracket (not supplied) Screw (not supplied)16
Troubleshooting General troubleshooting for issues like: black screen, no sound, frozen picture, TV does not respond, or network is lost, do the following steps. 1 Restart your TV by pressing the power button on the remote control until a message appears. The TV will restart. If the TV does not recover, try unplugging the TV from the mains lead for two minutes and then plug it in again. 2 Refer to the Help menu by pressing HELP on the remote control. 3 Connect your TV to the Internet and perform a software update. Sony recommends you to keep your TV software updated. Software updates provide new features and performance improvements. 4 Visit Sony support website (information provided on the back cover). When you plug in the TV, the TV may not be able to turn on for a while even if you press the power button on the remote control or the TV. It takes time to initialize the system. Wait for about one minute, then operate it again. Troubles and Solutions When the illumination LED is flashing in red. Count how many times it flashes (interval time is three seconds). Reboot the TV by disconnecting the mains lead
or two minutes, then turn on the TV. If the problem persists, disc onnect the mains lead, and contact your dealer or Sony service centre with the number of times the illumination LED flashes. Terrestrial/cable service cannot be received. Check the antenna (aerial)/cable connection and booster settings. Select terrestrial/cable service by pressing DIGITAL/ANALOG on the remote control. If the broadcasting service is not displayed, press TV and then press DIGITAL/ANALOG. Terrestrial signal might be suppressed if there is a strong signal supplied nearby. Set [LNA (CH ---)] to [Off] in digital tuning settings. After moving to a new house or trying to receive new services, attempt a service search by selecting [Digital Tuning]. Satellite service cannot be received. Check the satellite cable connection. When [No signal. LNB overload detected…] message is displayed, unplug the mains lead. Then, ensure the satellite cable is not damaged and the satellite signal line is not short-circuited in the satellite connector. The remote control does not function. Replace the batteries. The EXT.BOX MENU button on the remote control does not work. Connect and set up the IR Blaster (models with supplied IR Blaster only) (page 11). Connect HDMI CEC compatible device (except models with supplied IR Blaster) and change to that input. The parental lock for broadcast password has been forgotten. Enter 9999 for the PIN code and select [Change PIN code]. The TV surrounds become warm. When the TV is used for an extended period, the TV surrounds become warm. You may feel hot when touching there by the hand.18
Specifications System Panel system LCD (Liquid Crystal Display) Panel, LED Backlight TV system Depending on your country/area selection/TV model Analogue: B/G, D/K, I Digital: DVB-T/DVB-C DVB-T2* Satellite*: DVB-S/DVB-S2 Colour system PAL/SECAM/NTSC3.58 (Video only)/NTSC4.43 (Video only) Channel coverage Depending on your country/area selection/TV model Analogue: UHF/VHF/Cable Digital: UHF/VHF/Cable Satellite*: IF Frequency 950-2,150 MHz Sound output 10 W + 10 W Wireless technology Protocol IEEE802.11ac/a/b/g/n (IEEE802.11ac may not be available depending on
Press HELP o n the remote control to know the software version. Remote control: _._.__.___ Press HOM E, then select [Settings] [Voice Remote Control] [Software version]. Any updates of software/firmware for this
quipment/accessories/components will never affect its conformity to Directive 2014/53/EU in future.
When 4096 × 2160p is input and [Wide mode] is set to [Normal], the resolution is displayed as 3840 × 2160p. To display 4096 × 2160p, set [Wide mode] setting to [Full 1] or [Full 2].
To support 18 Gbps, set [HDMI signal format] to [Enhanced format].
Refer to the Help Guide for details. Audio: In eARC (Enhanced Audio Return Channel)
de* Refer to the Help Guide for details. Except eARC mode
5.1 channel linear PCM: 32/44.1/48/88.2/96/
- eARC will be available when software is
dated. Visit Sony support website (information provided on the back cover) for the latest information. eARC mode is active when [eARC mode] is set to [Auto], [Speakers] is set to [Audio system] and eARC compatible audio system is connected. Wireless LAN (IEEE802.11ac/a/b/g/n) Frequency range Output Power 2400 - 2483.5 MHz < 20.0 dBm 5150 - 5250 MHz < 23.0 dBm 5250 - 5350 MHz < 20.0 dBm 5470 - 5725 MHz < 20.0 dBm 5725 - 5850 MHz < 13.9 dBm Bluetooth Frequency range Output Power 2400 - 2483.5 MHz < 10.0 dBm Bluetooth
ARC (Audio Return Channel) (HDMI IN 3 only) In eARC mode* Refer to the Help Guide for details. In ARC mode Two channel linear PCM: 48 kHz 16 bits, Dolby Digital, Dolby Digital Plus, DTS
- eARC will be available when software is
dated. Visit Sony support website (information provided on the back cover) for the latest information. eARC mode is active when [eARC mode] is set to [Auto], [Speakers] is set to [Audio system] and eARC compatible audio system is connected. DIGITAL AUDIO OUT (OPTICAL) Digital optical jack (Two channel linear PCM: 48 kHz 16 bits, Dolby Digital, DTS) (Stereo mini jack) Headphone 1, 2, 3 (HDD REC)*
USB device port ( 3 USB HDD device for REC feature) USB port 1 and 2 support High Speed USB (USB 2.0) USB port 3 supports Super Speed USB (USB 3.1
n 1) CAM (Conditional Access Module) slot LAN 10BASE-T/100BASE-TX connector (Depending on the operating environment of the network, connection speed may differ. 10BASE-T/ 100BASE-TX communication rate and
IR Blaster Cable input (mini jack) Others Optional accessories Wall-Mount Bracket: SU-WL450 (KD-65ZF9 only) Operating temperature 0 ºC – 40 ºC Operating humidity 10 % – 80 % RH (non-condensing) Power, Product Fiche and others Power requirements 220 V - 240 V AC, 50 Hz Energy Efficiency Class KD-75ZF9: B KD-65ZF9: A Screen size (measured diagonally) (Approx.) KD-75ZF9: 189.3 cm / 75 inches KD-65ZF9: 163.9 cm / 65 inches Power consumption In [Standard] mode KD-75ZF9: 235 W KD-65ZF9: 162 W In [Vivid] mode KD-75ZF9: 416 W KD-65ZF9: 301 W Average annual energy consumption*
0.50 W (27 W in software/EPG update mode)
Display resolution 3,840 dots (horizontal) × 2,160 lines (vertical) Output Rating USB 1/2 5 V , 500 mA MAX USB 3 5 V , 900 mA MAX Dimensions (Approx.) (w × h × d) with Table-Top Stand KD-75ZF9: 167.6 × 103.9 × 39.9 cm KD-65ZF9: 145.3 × 90.6 × 31.4 cm without Table-Top Stand KD-75ZF9: 167.6 × 96.3 × 6.7 cm KD-65ZF9: 145.3 × 83.7 × 6.7 cm Mass (Approx.) with Table-Top Stand KD-75ZF9: 40.1 kg KD-65ZF9: 29.5 kg without Table-Top Stand KD-75ZF9: 38.5 kg KD-65ZF9: 28.2 kg *1 Only on limited region/country/TV model. *2 Energy consumption per year, based on the power consumption of the television operating 4 hours per day for 365 days. The actual energy consumption will depend on how the television is used. *3 Specified standby power is reached after the TV finishes necessary internal processes. *4 Standby power consumption will increase when your TV is connected to the network. Note
- Optional accessories availability depends on countries/region/TV model/stock.
- Design and specifications are subject to change without notice.20
- Digital TV (DVB terrestrial, satellite and cable), interactive services and network functions may not be available in all countries or areas. Some functions might not be enabled or might not operate correctly with some providers and network environments. Some TV service providers may charge a fee for their services.
- This TV supports digital broadcasting using MPE G-2, H.264/MPEG-4 AVC and H.265/ HEVC codecs, but compatibility with all operator/service signals, which may change over time, cannot be guaranteed. Trademark Information
- The terms HDMI and HDMI High-Definition Multimedia Interface, and the HDMI Logo are trademarks or registered trademarks of HDMI Licensing Administrator, Inc. in the United States and other countries.
- Manufactured under license from Dolby Labor atories. Dolby, Dolby Audio, Dolby Vision, and the double-D symbol are trademarks of Dolby Laboratories.
- “BRAVIA”, and BRAVIA Sync are trademarks or registered marks of Sony
- Gracenote, the Gracenote logo and log otype, “Powered by Gracenote” logo are either registered trademarks or trademarks of Gracenote, Inc. in the United States and/ or other countries.
- Vewd® Core. Copyright 1995-2017 Vewd Softw are AS. All rights reserved.
romecast built-in, YouTube and other related marks and logos are trademarks of Google LLC.
- Wi-Fi®, Wi-Fi Alliance® and Wi-Fi Direct® are
egistered trademarks of Wi-Fi Alliance.
- Wi-Fi Protected Setup™ is a trademark of
- The Wi-Fi CERTIFIED™ Logo is a
ertification mark of Wi-Fi Alliance.
- For DTS patents, see http://patents.dts.com. Manufactured
nder license from DTS, Inc. DTS, the Symbol, & DTS and the Symbol
ogether are registered trademarks, and DTS Digital Surround is a trademark of DTS, Inc. © DTS, Inc. All Rights Reserved.
- The Bluetooth® word mark and logos are
egistered trademarks owned by the Bluetooth SIG, Inc. and any use of such marks by Sony Corporation is under license. Other trademarks and trade names are those of their respective owners.
- Netflix is a registered trademark of Netflix, Inc.
- DiSEqC™ is a trademark of EUTELSAT. This TV supports DiSEqC 1.0. This TV is not
- TUXERA is a registered trademark of Tuxera
c. in the US and other countries.
- USB-IF SuperSpeed USB Trident logo is a
- All other trademarks are the property of their r espective owners.2
- Vewd® Core. Copyright 1995-2017 Vewd Softw are AS. All rights reserved.
- Vewd® Core. Copyright 1995-2017 Vewd Softw are AS. All rights reserved.
5.150 - 5.250 MHz < 23,0 dBm
an Sony Corporation.
- Vewd® Core. Copyright 1995-2017 Vewd Softw are AS. All rights reserved.
5.150 - 5.250 MHz < 23,0 dBm
- Vewd® Core. Copyright 1995-2017 Vewd Softw are AS. All rights reserved.
5.150 - 5.250 MHz < 23,0 dBm
- Vewd® Core. Copyright 1995-2017 Vewd Softw are AS. All rights reserved.
5.150 - 5.250 MHz < 23,0 dBm
- Vewd® Core. Copyright 1995-2017 Vewd Softw are AS. All rights reserved.
- Vewd® Core. Copyright 1995-2017 Vewd Softw are AS. All rights reserved.
5.150 - 5.250 MHz < 23,0 dBm
- Vewd® Core. Copyright 1995-2017 Vewd Softw are AS. All rights reserved.
- Vewd® Core. Copyright 1995-2017 Vewd Softw are AS. All rights reserved.
- Vewd® Core. Copyright 1995-2017 Vewd Softw are AS. All rights reserved.
- Vewd® Core. Copyright 1995-2017 Vewd Softw are AS. All rights reserved.
ftware AS. All rights reserved.
ftware AS. All rights reserved.
- Vewd® Core. Copyright 1995–2017 Vewd
ftware AS. All rights reserved.
5.150 - 5.250 MHz < 23,0 dBm
registrate ale Sony Corporation.
ftware AS. All rights reserved.
ertificare a Wi-Fi Alliance.
ftware AS. All rights reserved.
5.150 - 5.250 MHz < 23,0 dBm
- V ewd® Core. Copyright 1995-2017 Vewd Software AS. All rights reserved.
5.150 - 5.250 MHz < 23,0 dBm
- Vewd® Core. Copyright 1995-2017 Vewd Softw are AS. All rights reserved.
- Wi-Fi®, Wi-Fi Alliance® ve Wi-Fi Direct®, Wi-