SHBS 500 B2 - Electric mower SILVERCREST - Free user manual and instructions
Find the device manual for free SHBS 500 B2 SILVERCREST in PDF.
Frequently Asked Questions - SHBS 500 B2 SILVERCREST
User questions about SHBS 500 B2 SILVERCREST
0 question about this device. Answer the ones you know or ask your own.
Ask a new question about this device
Download the instructions for your Electric mower in PDF format for free! Find your manual SHBS 500 B2 - SILVERCREST and take your electronic device back in hand. On this page are published all the documents necessary for the use of your device. SHBS 500 B2 by SILVERCREST.
USER MANUAL SHBS 500 B2 SILVERCREST
Operating instructions
FR BE
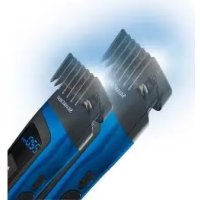
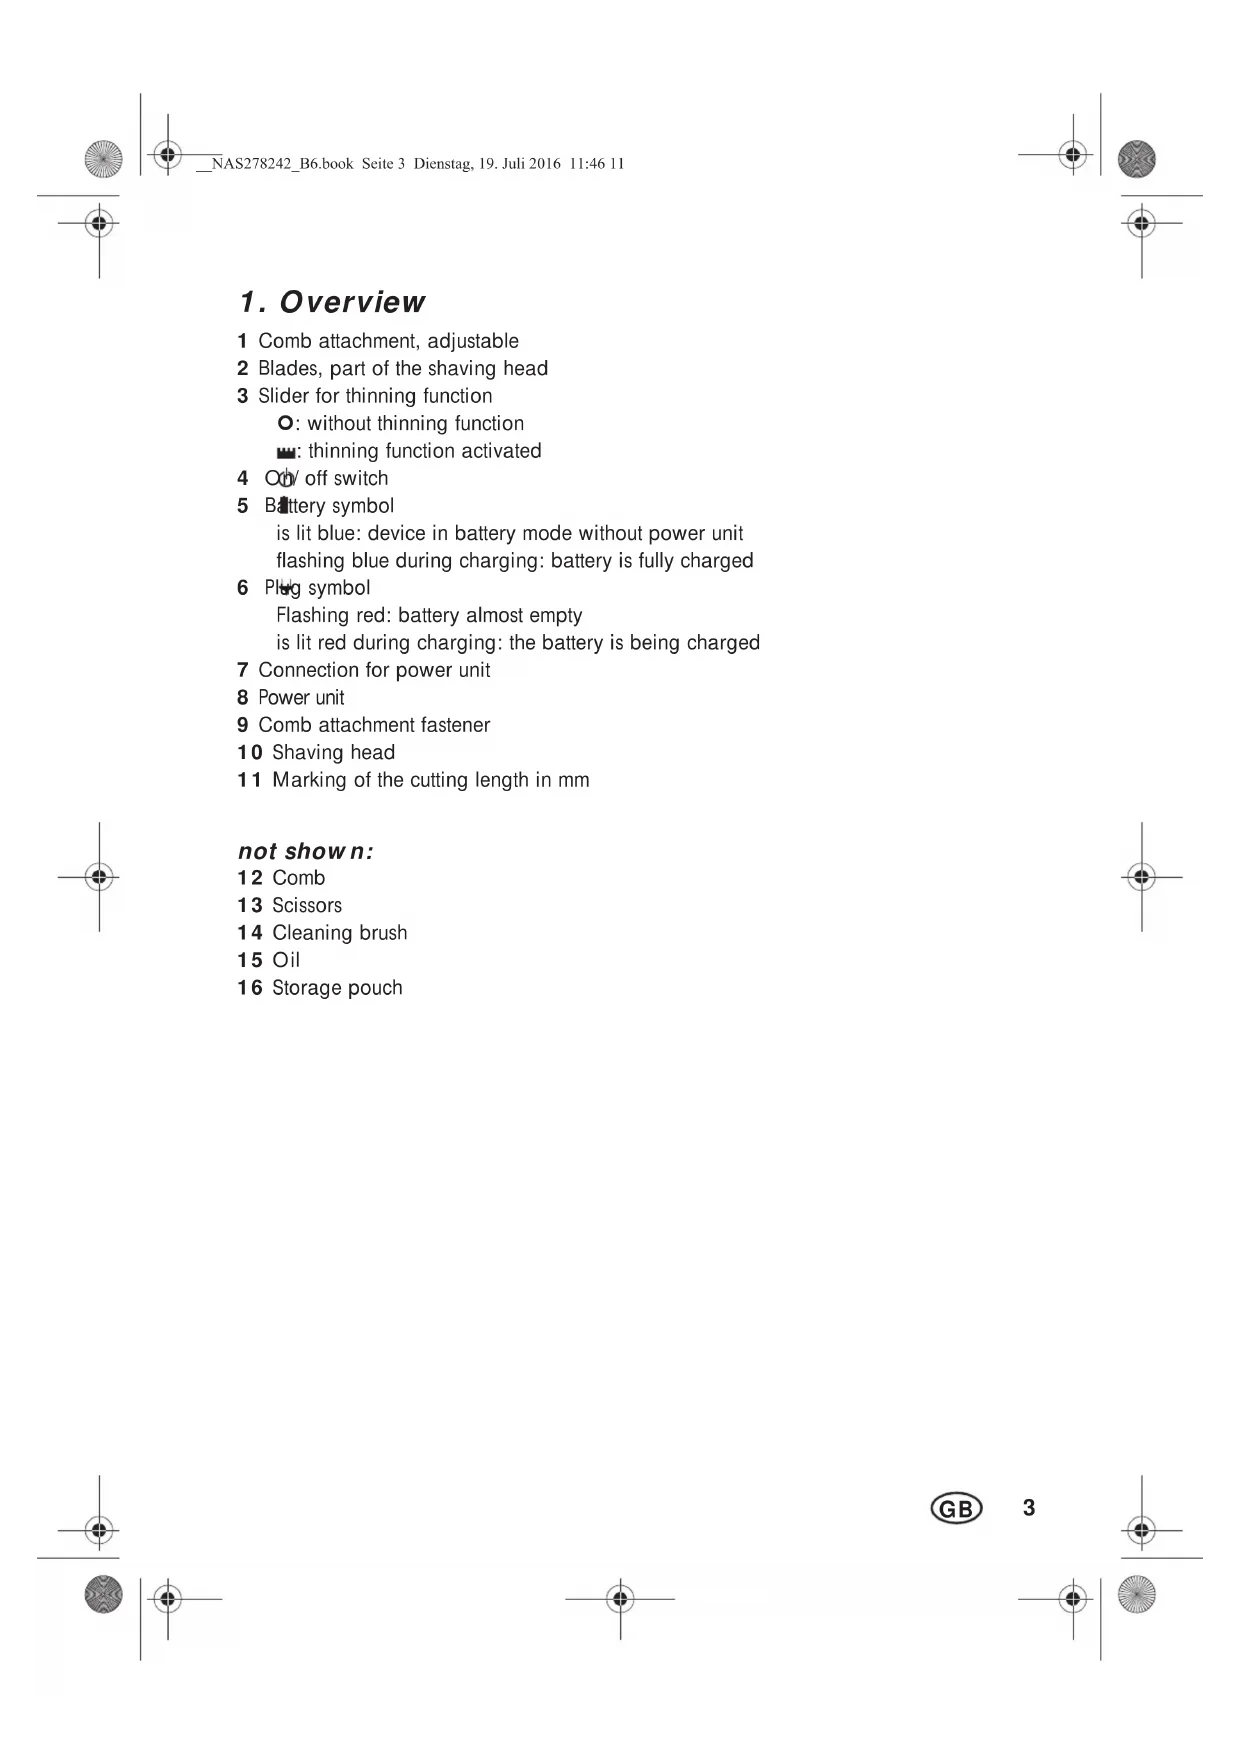
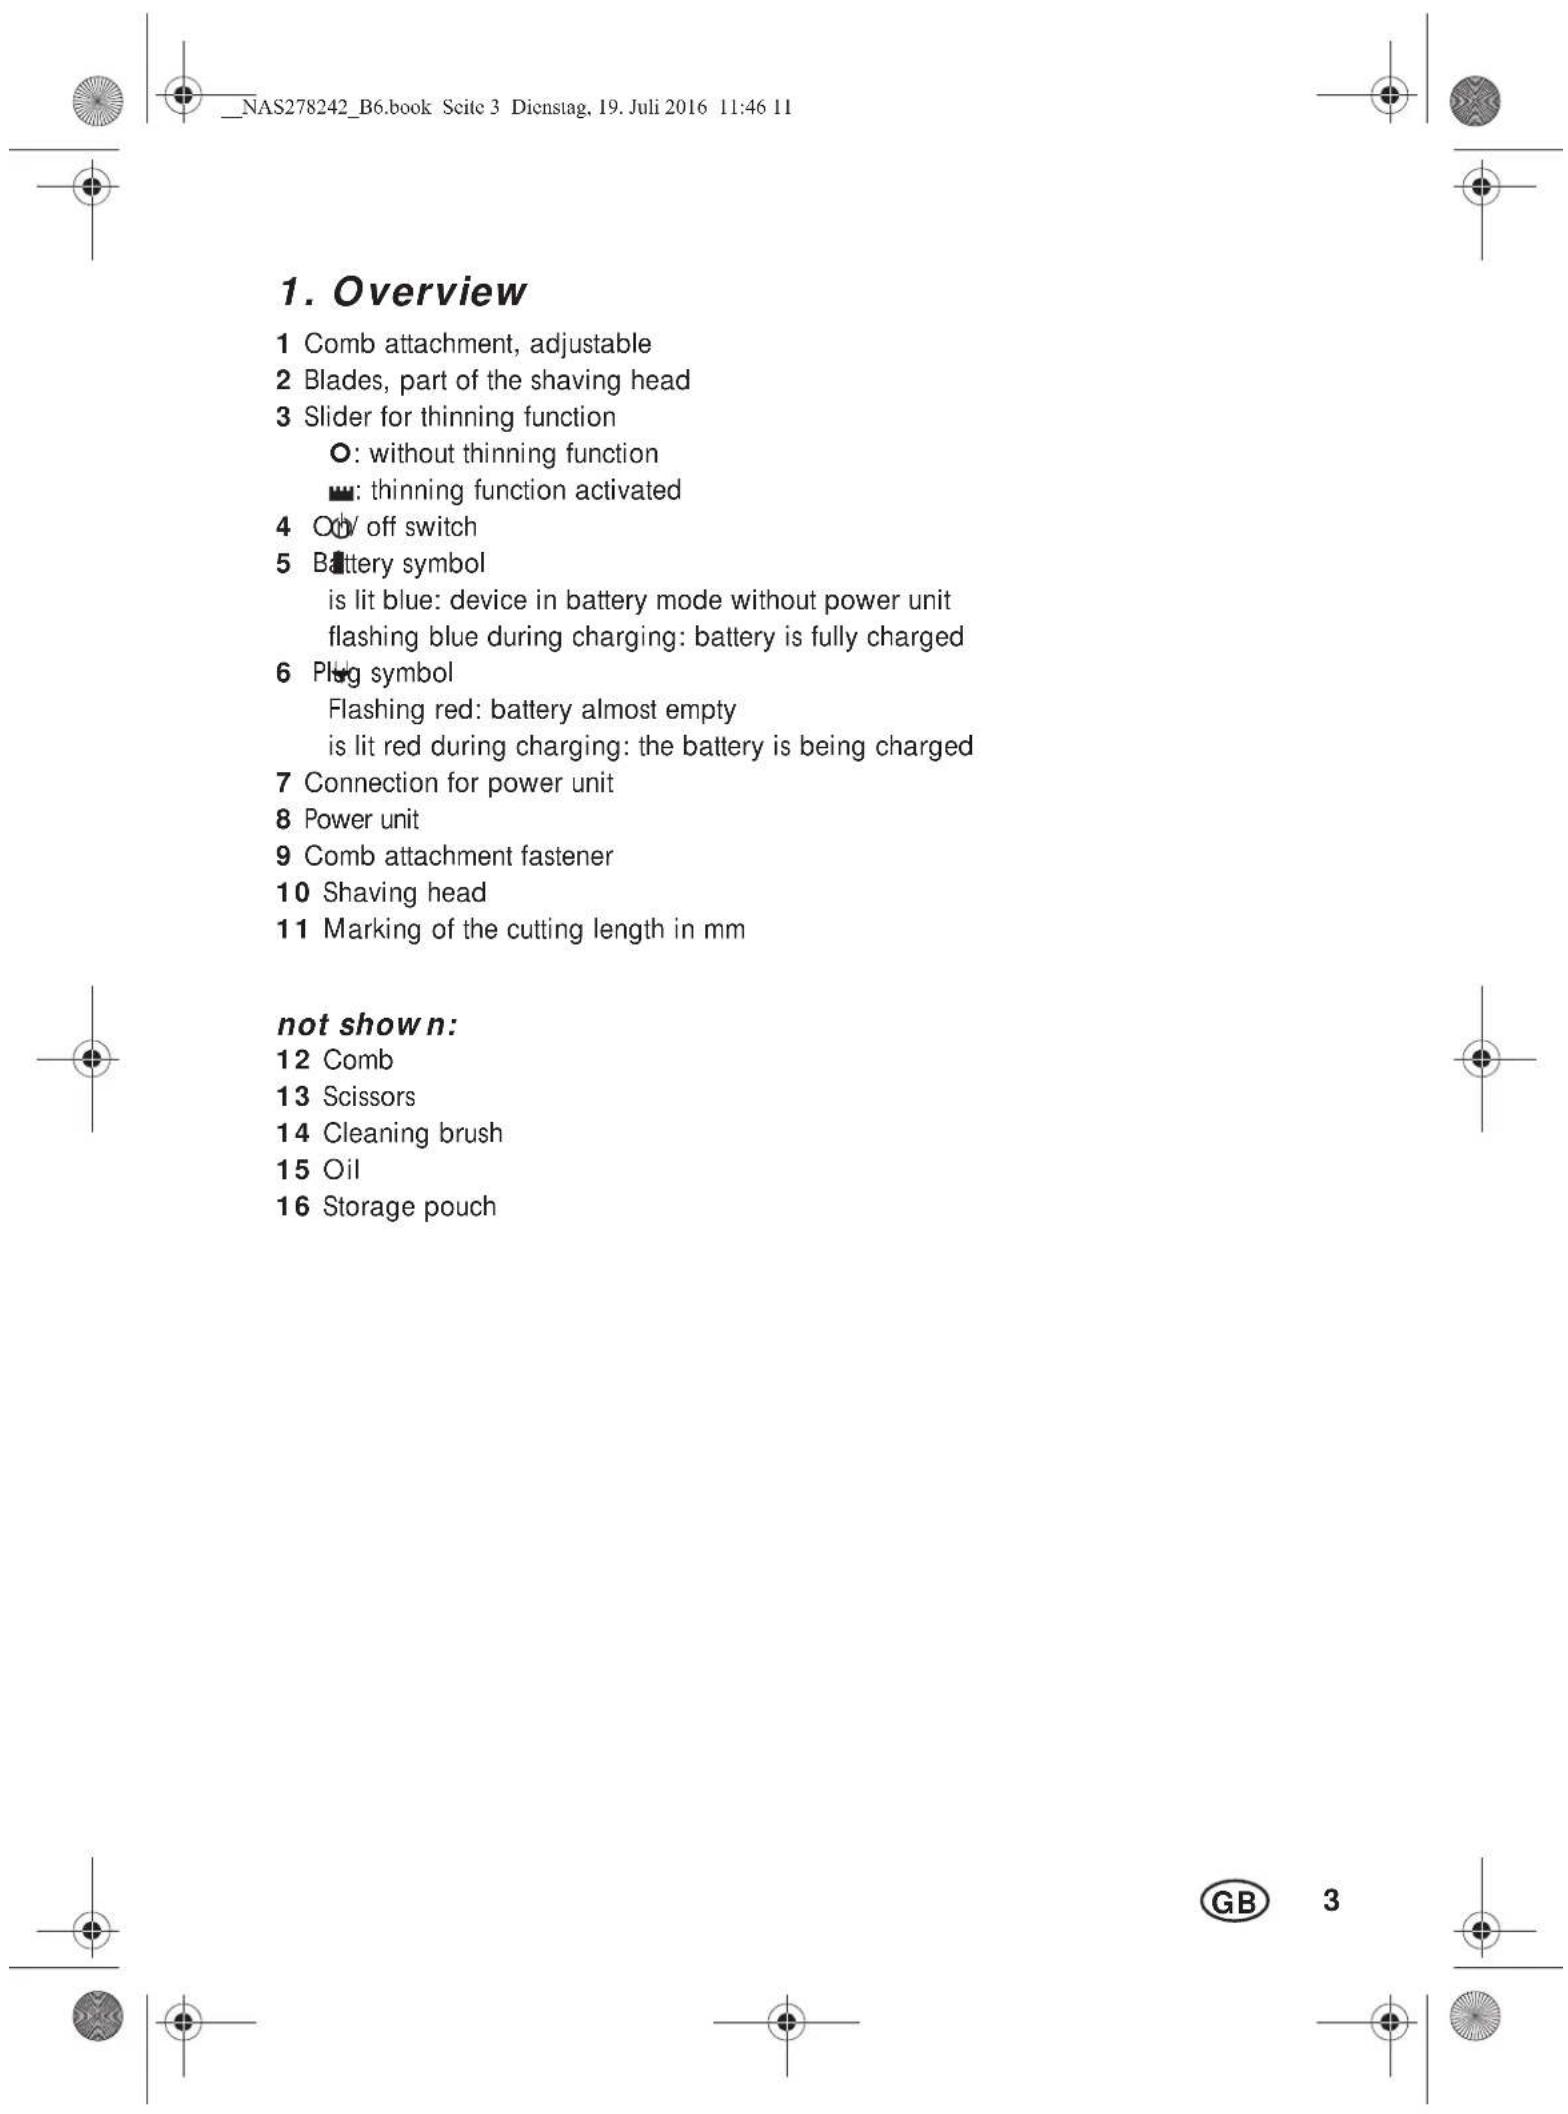
- Overview 3
- Intended purpose 4
- Safety information 4
- Items supplied 7
- Charging 7
- Operation 7
6.1 Pushing on/ removing the comb attachments.. 7
6.2 Cutting hair.. 7
6.3 Thinning hair 8
6.4 Cutting hairlines and beard 8
- Cleaning and care 9
- Disposal 9
- Troubleshooting 10
- Technical specifications 10
- Warranty of the HOYER Handel GmbH 11
Thank you for your trust!
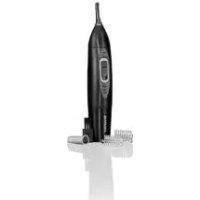
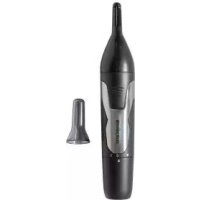
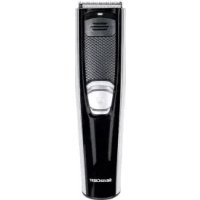
Congratulations on your new hair and beard trimmer.
For a safe handling of the device and in order to get to know the entire scope of features:
- Thoroughly read these operating instructions prior to initial commissioning.
- Above all, observe the safety instructions!
The device should only be used as described in these operating instructions. - Keep these operating instructions for reference.
- If you pass the device on to someone else, please include these operating instructions.
We hope you enjoy your new hair and beard trimmer!
2. Intended purpose
The hair and beard trimmer is intended exclusively for trimming human hair. Only use the device for dry hair.
The device is designed for private home use and must not be used for commercial purposes. The device must only be used indoors.
Foreseeable misuse
WARNING! Risk of material damage!
Do not use the device to cut artificial hair or animal hair.
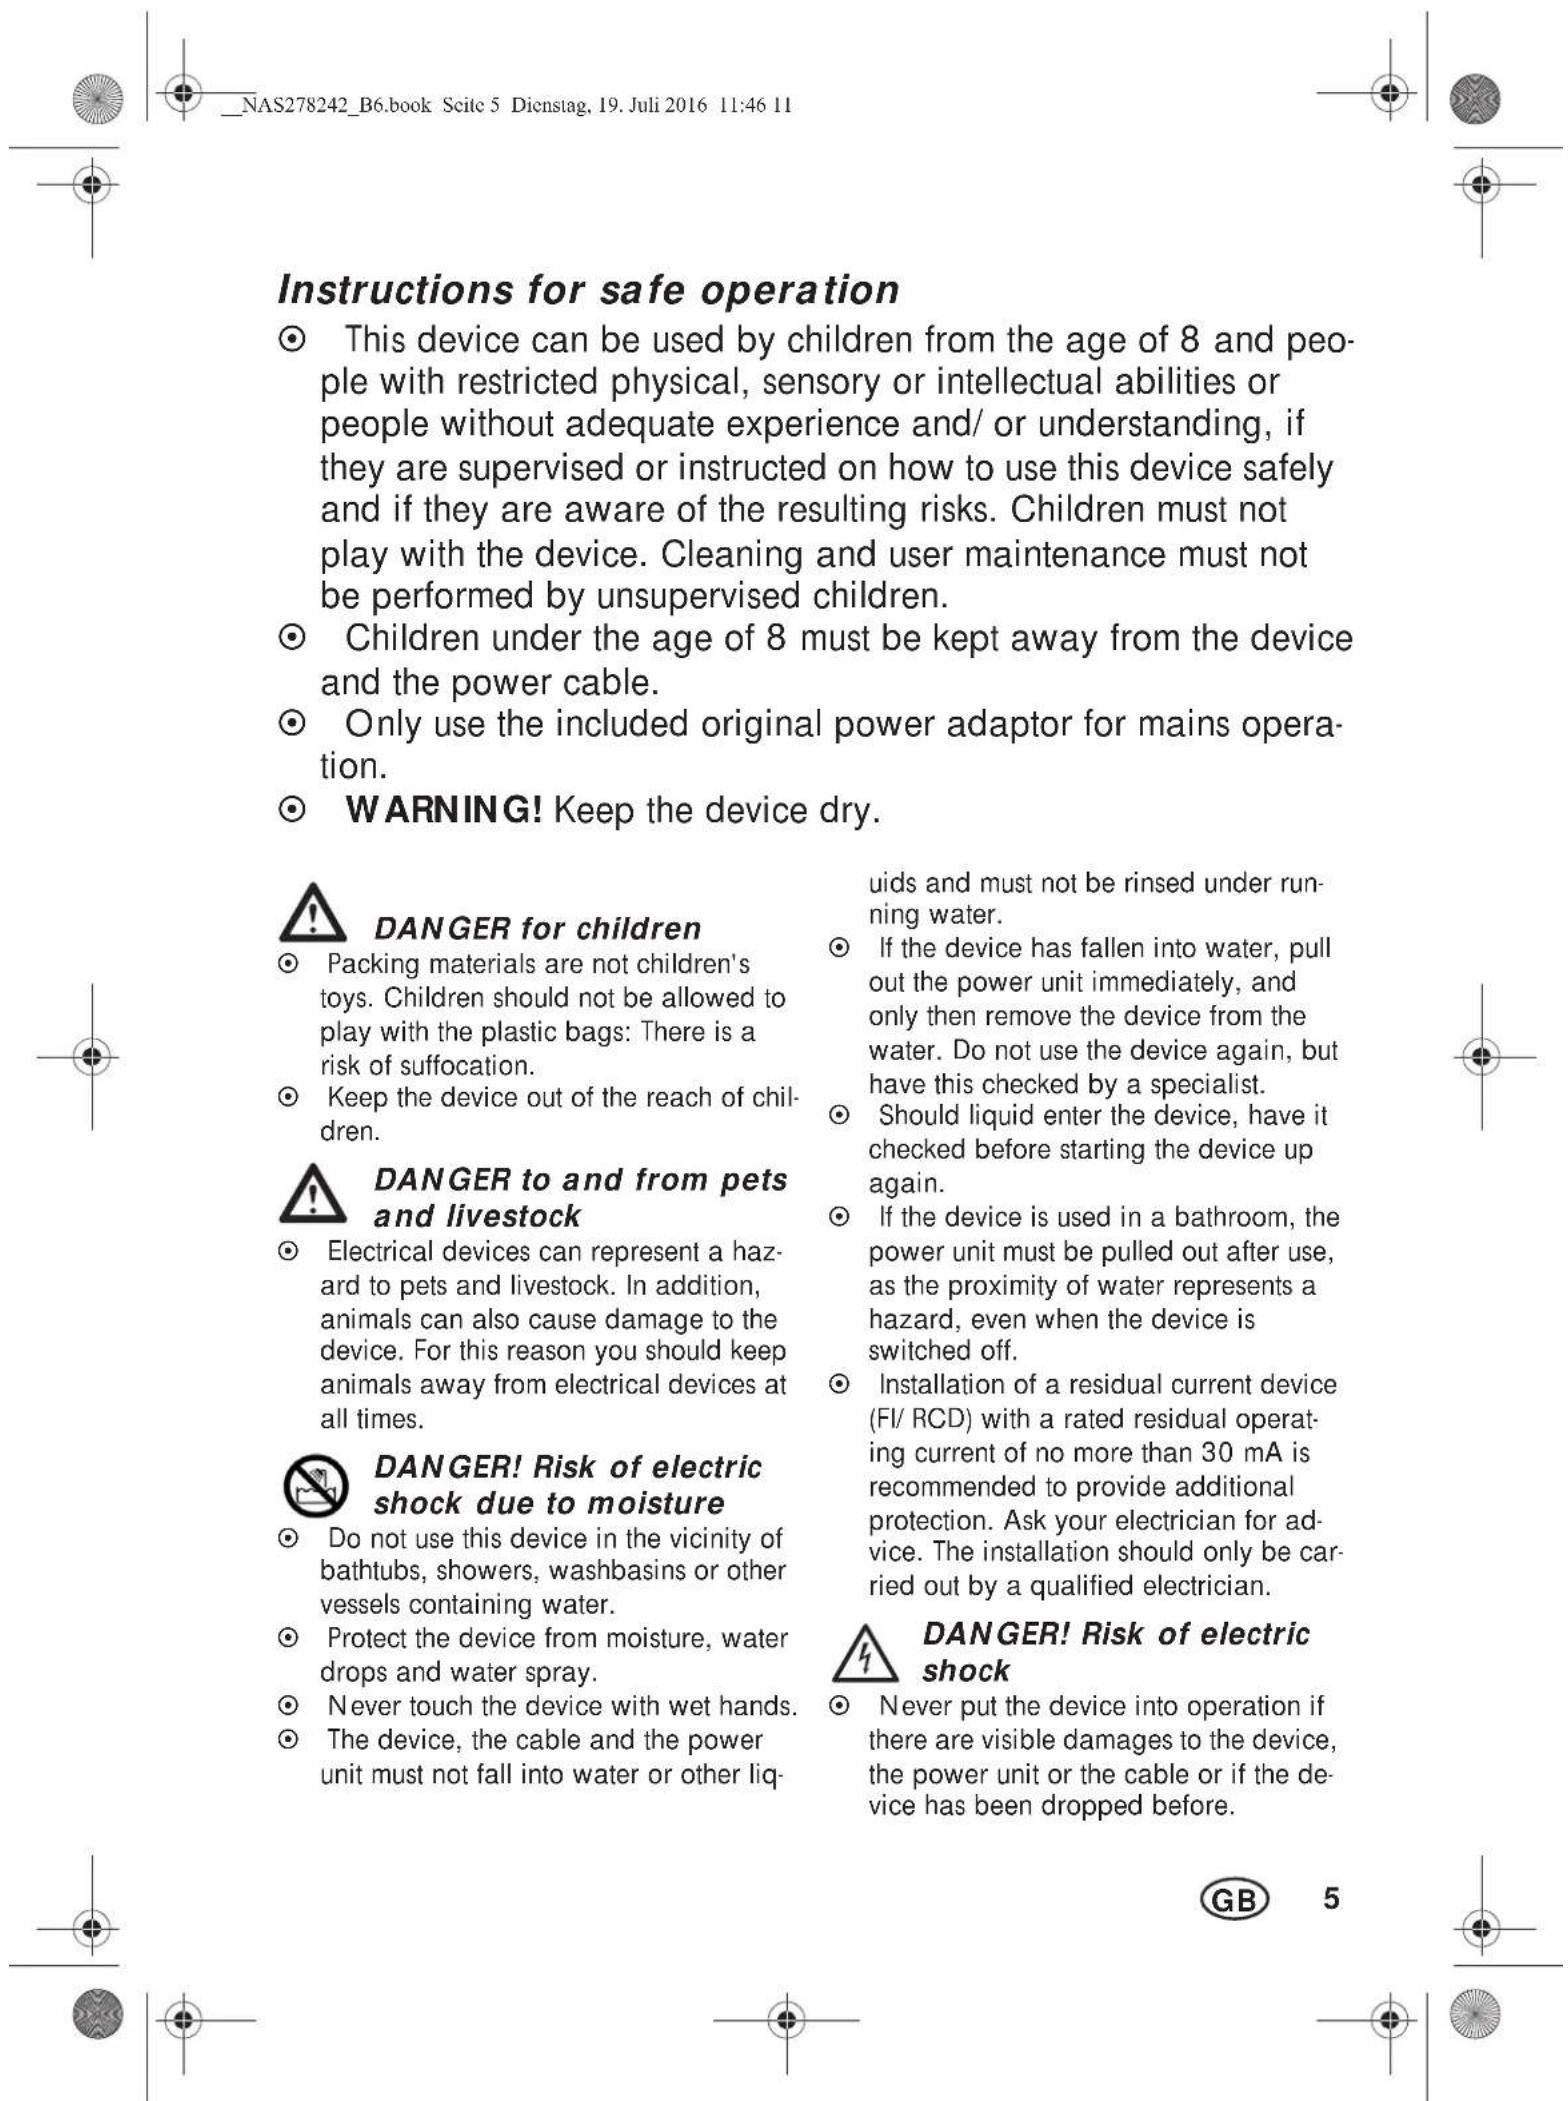
3. Safety information
Warnings
If necessary, the following warnings will be used in these operating instructions:

DANGER! High risk: failure to observe this warning may result in injury to life and limb.
WARNING! Moderate risk: failure to observe this warning may result in injury or serious material damage.
CAUTION: low risk: failure to observe this warning may result in minor injury or material damage.
NOTE: circumstances and specifics that must be observed when handling the device.

Connect the cable to the device before plugging the power unit into a wall socket.
- Only connect the power unit to a properly installed, easily accessible wall socket, the voltage of which corresponds to the specifications on the rating plate. The wall socket must continue to be easily accessible after the device is plugged in.
Ensure that the cable cannot be damaged by sharp edges or hot surfaces.
Ensure that the cable is not trapped or crushed.
- When removing the power unit from the wall socket, always pull the power unit and never the cable.
Pull the power unit out of the wall socket ... after every use, after each charging process, if there is a fault, before connecting the device to the cable, before you clean the device, and during thunderstorms.
To avoid any risk, do not make modifications to the device. Repairs must be carried out by a specialist workshop or the Service Centre.

DANGER from batteries
Protect the battery against mechanical damages. Fire hazard!
Do not expose the device to direct sunshine or heat. The ambient temperature should not be lower than -10^ and higher than +40^ .
The charge contacts on the device must not be connected by metallic objects.
Thebattery may only be charged with the original accessory (power unit).
Should the electrolyte solution leak out of the battery, avoid contact with eyes, mucous membranes and skin. Rinse immediately with plenty of clean water
and consult a doctor. The electrolyte solution can cause irritation.
WARNING! Risk of injury from cutting
The tips of the comb attachments and shaving head are sharp. Handle with care.
Do not use the device if the attachment shows damages.
- Switch off the device before pinning up or changing the attachments and each time before cleaning.
WARNING! Risk of injury
- Place the cable in such a way that no one trips over it or steps on it.
Do not use the device on open wounds, cuts, sunburn or blisters.
WARNING! Risk of material damage
Only use the original accessories.
- Never place the device on hot surfaces (e.g. hob plates) or near heat sources or open fire.
Do not cover the power unit to prevent overheating.
The blades of the shaving head may be cleaned with water. Do not use any other liquids.
Do not use any astringent or abrasive cleaning agents.
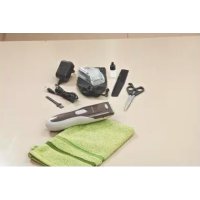
4. Items supplied
1 hair and beard trimmer
1 power unit 8
2 adjustable comb attachments 1: Attachment 1: 1/3/6/9/12/15 mm Attachment 2: 18/21/24/27/30/33 mm
1comb12
1 scissors 13
1 cleaning brush 14
1 oil 15
1 storage pouch 16
1 set of operating instructions
5. Charging
NOTES:
- Before the device is used for the first time, and during the following charging procedures, the device should be charged for 90 minutes in each case.
-
When the batteries are almost empty, the plug symbol 6 flashes in red. The device can then only be used for a short time without being connected to the electricity supply.
-
Switch off the device with the on/off switch 4 if necessary.
- Connect the power unit 8 to the connector 7 of the device.
- Insert the power unit 8 into a readily accessible wall socket whose voltage matches the voltage stated on the rating plate.
- The plug symbol 6 is lit red and the battery is charged. When the battery is fully charged, the battery symbol 5 flashes in blue. When the battery is fully charged, the device can be used for approximately 60 minutes without being connected to the power supply.
6. Operation
Regardless of the charging state of the battery, the hair and beard trimmer can always be mains-operated.
- Before switching to mains operation, ensure that the device is switched off.
- Connect the power unit 8 to the connection 7 of the device.
- Insert the power unit 8 into a readily accessible wall socket whose voltage matches the voltage stated on the rating plate.
- Switch on the device with the on/off switch 4.
6.1 Pushing on/ removing the comb attachments
WARNING! Risk of injury!
- Switch off the device before replacing or changing the comb attachments 1.
Pushing on
In order to attach a comb attachment 1, push this over the guide rails on the side of the device onto the comb attachment fastener 9, until it is heard to click into place.
Removing
- Push the comb attachment 1 upwards using a moderate amount of force. The comb attachment 1 is released from the comb attachment fastener 9.
- Remove the comb attachment 1.
6.2 Cutting hair
NOTES:
The hair to be dressed must be dry.
- The cutting length may deviate depending on the cutting angle.

- Place a sheet or cape around throat and neck to prevent cut-off hair from dropping into the collar.
- Comb the hair well.
Figure A: first, start with a longer cutting length and then, in the course of the cutting process, use progressively shorter cutting lengths. Adjust the cutting length according to the desired hair length. Press on the rear of the comb attachment 1 to adjust it, and read the cutting lengths by using the marking 11 on the side of the comb attachment 1.
It is only possible to adjust the cutting length of the comb attachment 1 when the device is switched off.
The cutting length setting of the comb attachment 1 is only locked when the device is switched on.
NOTE: ensure that the comb attachment 1 is still firmly attached to the device after adjustment.
- Start by cutting the hair in the neck or on the sides and cut towards the centre of the head. Then, cut the front section of the hair towards the centre of the head.
- Hold the device in such a way that the comb attachment 1 lies as flat as possible on the head. Move the device through your hair smoothly and in only one direction so as to avoid catching.
- If possible, cut against direction of hair growth.
- In order to catch all the hair, move the device several times through each section of the hair.
- Comb the hair repeatedly and well.
In order to achieve a straight cutting line for cutting lengths over 20mm the device should be passed through the hair several times from different directions.
6.3 Thinning hair
Use the thinning function to reduce the volume of the hair without changing its length.
- Push the slider 3 upwards towards the shaving head 10. The thinning function integrated into the shaving head 10 is extended upwards.
6.4 Cutting hairlines and beard
WARNING! Risk of injury!
The points of the shaving head 10 are sharp. Handle with care.
Figure A: adjust the cutting length according to the desired hair length. Press on the rear of the comb attachment 1 to adjust it, and read the cutting lengths by using the marking 11 on the side of the comb attachment 1. Now, shorten your beard step-by-step.
It is only possible to adjust the cutting length of the comb attachment 1 when the device is switched off.
The cutting length setting of the comb attachment 1 is only locked when the device is switched on.
NOTE: ensure that the comb attachment 1 is still firmly attached to the device after adjustment.
- Use the device only with the shaving head 10 and without comb attachment 1, to cut hair very short or to cut beard and hairline. In this way you can cut hair lengths of 1 - 2mm evenly.
7. Cleaning and care

DANGER! Risk of electric shock!
Pull the power unit 8 out of the wall socket before you clean the device.
WARNING! Risk of injury!
Always switch off the device before cleaning it.
WARNING! Risk of material damage!
The blades 2 of the shaving head 10 may be cleaned with water. Do not use any other liquids. Oil the blades as described in the following chapter.
Do not use any astringent or abrasive cleaning agents.
NOTE: clean and oil the device after every use.
- Remove the comb attachment 1. Rinse the comb attachment 1 with water and let it dry before reattaching it to the device.
- Wipe down the housing of the device with a damp cloth.
Cleaning and oiling the shaving head
- Figure B: remove the shaving head 10 from the device by pressing it with the thumb towards the rear.
- Remove the hair remnants from the shaving head 10 by using the cleaning brush 14 included in the delivery.
- Clean the blades 2 of the shaving head 10 with water. Do not use any other liquids. Let the shaving head 10 dry.
- Apply a few drops of the supplied oil 15 to the blades 2 of the shaving head 10 and spread it out evenly. Using a soft cloth, wipe off the surplus oil, if necessary. Only use acid-free oil, such as e.g. sewing machine oil.
- Figure C: guide the lug of the shaving head 10 under the edge of the hous
ing and press the shaving head downwards onto the blades until it is heard to lock in place.
8. Disposal
The battery integrated into this device must not be disposed of in household waste. The device must be disposed of properly with the battery installed.
This product is subject to the provisions of European Directive 2012/19/EC. The symbol showing a wheelie bin crossed through indicates that the product requires separate
refuse collection in the European Union. This applies to the product and all accessories marked with this symbol. Products identified with this symbol may not be discarded with normal household waste, but must be taken to a collection point for recycling electric and electronic appliances. Recycling helps to reduce the consumption of raw materials and protect the environment.
Packaging
When disposing of the packaging, make sure you comply with the environmental regulations applicable in your country.
9. Troubleshooting
If your device fails to function as required, please try this checklist first. Perhaps there is only a minor problem, and you can solve it yourself.

DANGER! Risk of electric shock!
Do not attempt to repair the device yourself under any circumstances.
| Fault | Possible causes / Action |
| No function | Has the device been connected to the power supply? Is the battery empty? |
| The blades 2 of the shaving head 10 are not running smoothly | Has the shaving head been cleaned and the blades oiled? |
10. Technical specifications
| Model: SHBS 500 | B2 |
| Device: Input: 5 V | , --- ○-○-+ 1000 mA |
| Power unit (Model SW- 050100EU-T / SW-050100BS): | Input: 100-240 V ~ 50/60 Hz, 0.2 A max. Output: 5 V —— ○-○-+ 1000 mA |
| Protection class of the power unit: II | □ |
| Protection type of the power unit: | IP20 (protection against penetration by solid for- eign objects with a diameter > 12.5 mm) |
| Ambient condi- tions: | □ only approved for in- door use |
| Battery: | 1x3,7 V Li-ion, 500 mAh |
| Operating temperature: -10 °C to +40 °C | |
Subject to technical modification.


| Indhold | |
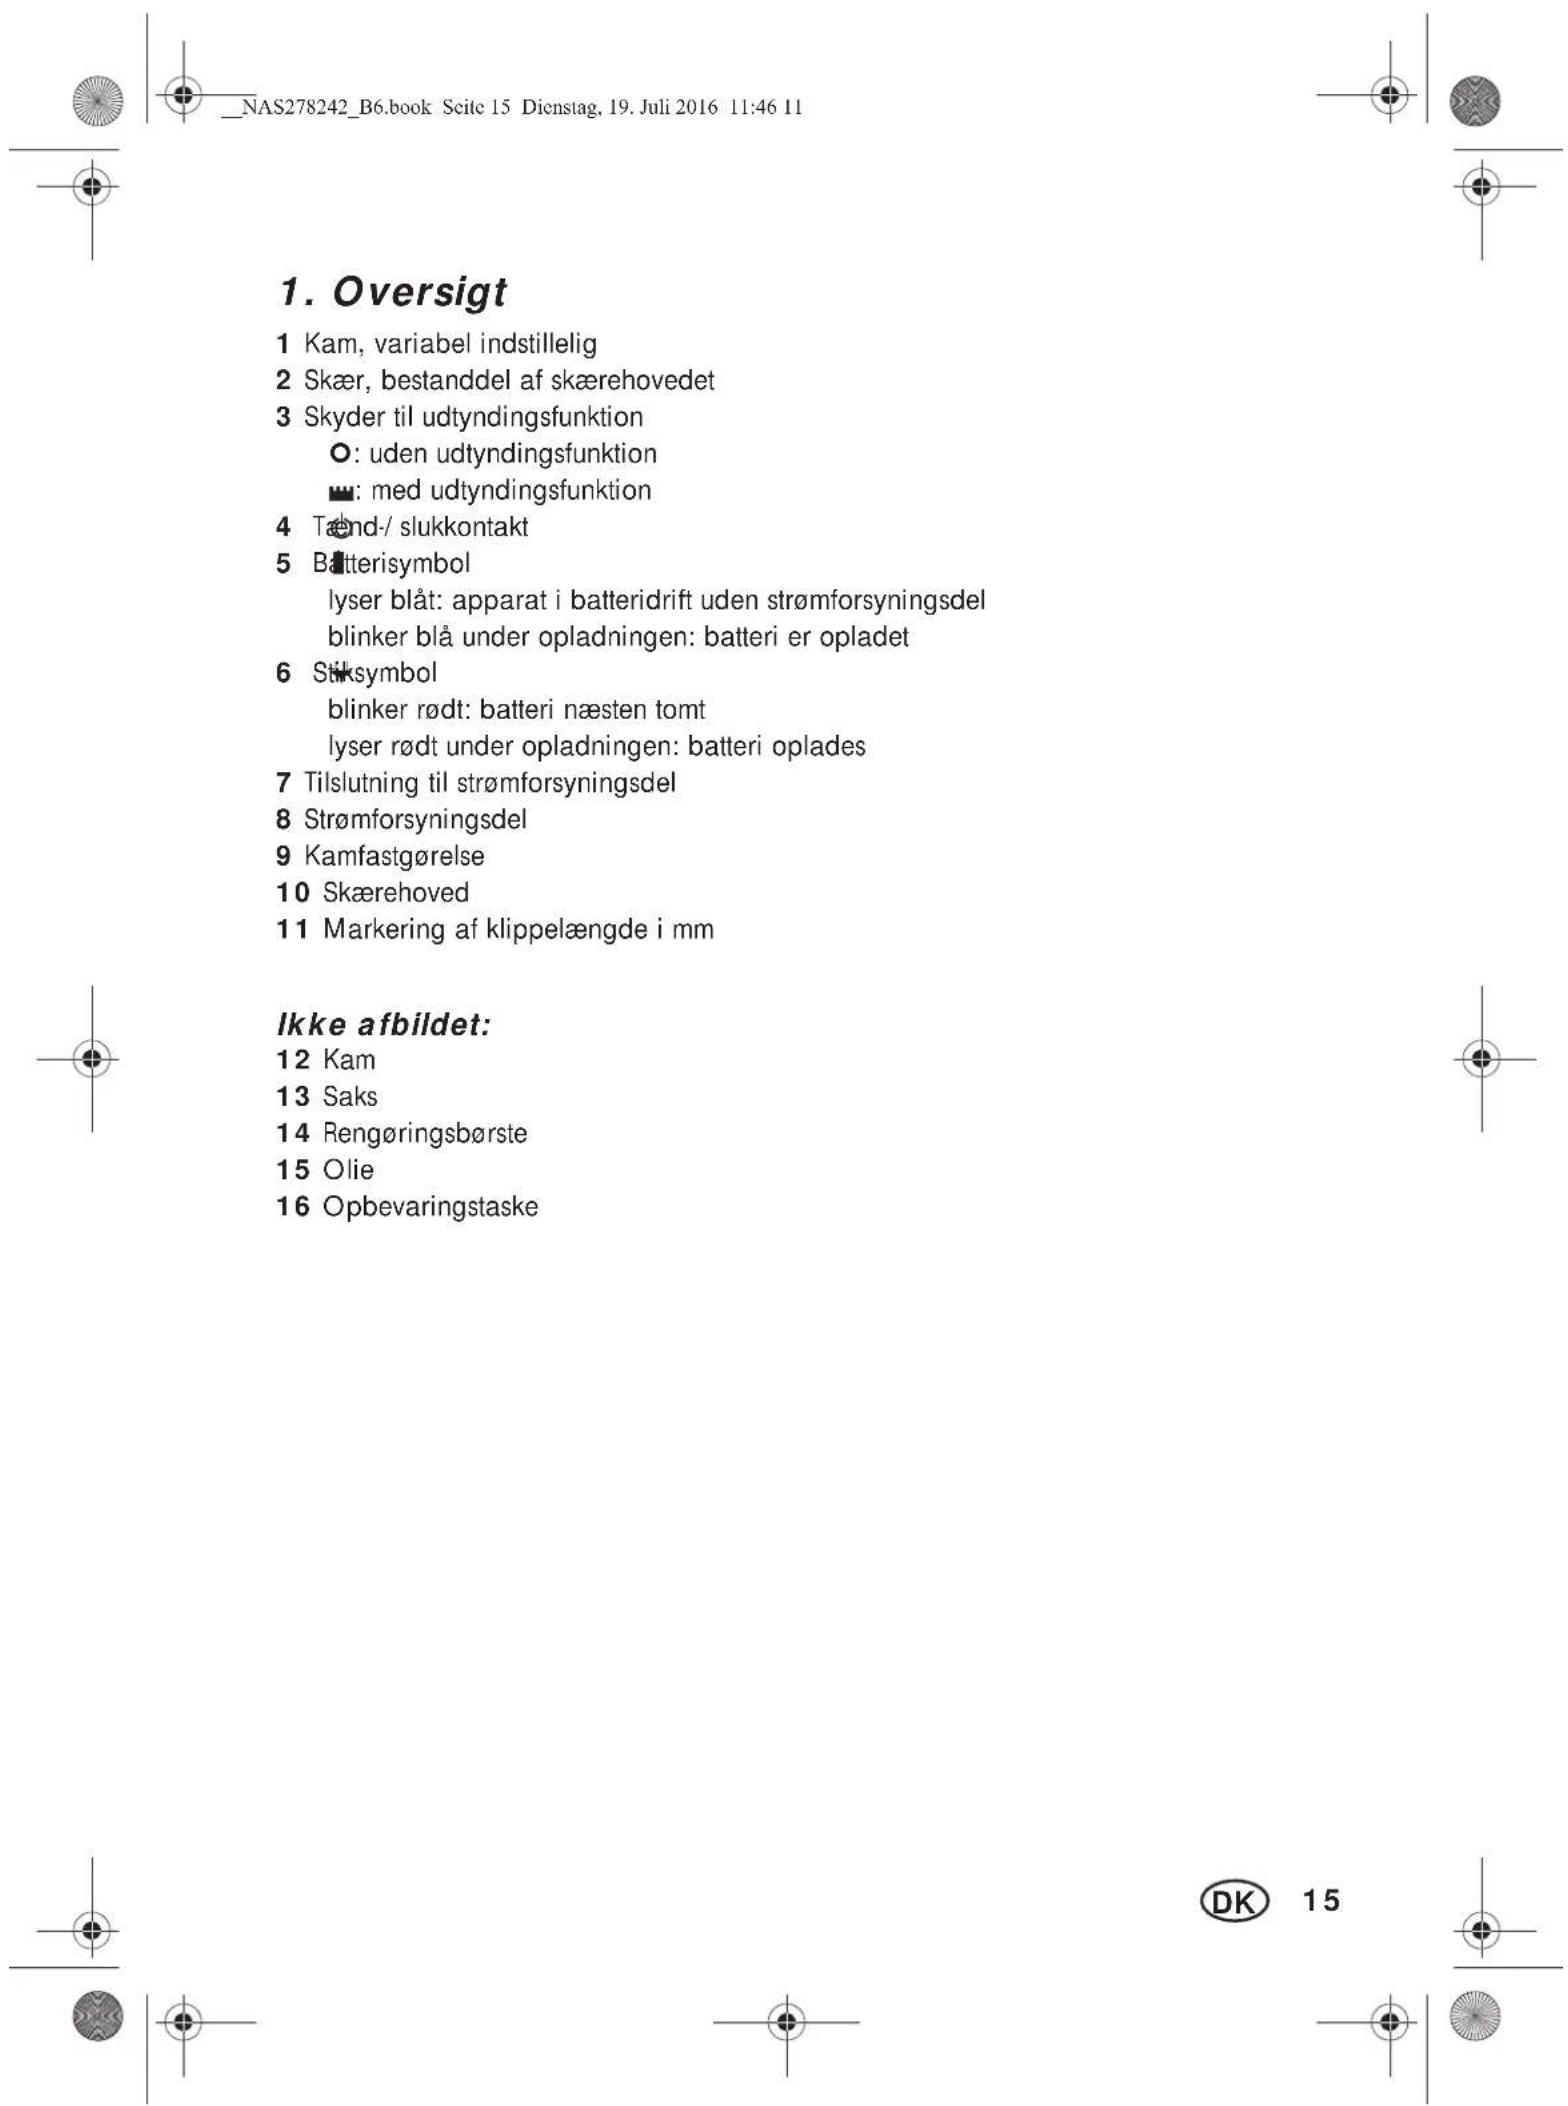
| 1. Oversigt .....................15 | |
| 2. Brug i overensstemmelse med formålet .........16 | |
| 3. Sikkerhedsanvisninger .....................16 | |
| 4. Leveringsomfang .....................18 | |
| 5. Opladning .....................19 | |
| 6. Betjening .....................19 | |
| 7. Rengaring og pleje .....................21 | |
| 8. Bortskaffelse .....................21 | |
| 9. Fejlfinding .....................22 | |
| 10. Tekniske data .....................22 | |
| 11. HOYER Handel GmbHs garanti .....................23 |
Mange tak fordin tillid!
Kam 2:18/21/24/27/30/33mm
1 kam 12
1 saks 13
1 rengringsborste 14
1 olie 15
1 opbevaringstaske 16
1 betjeningsvejledning