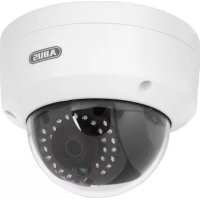
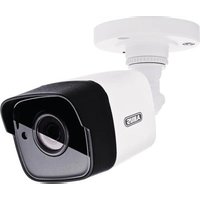
USER MANUAL TVIP42560 ABUS

Scope of delivery 18
Warnings 19
Overview 20
Network connection 22
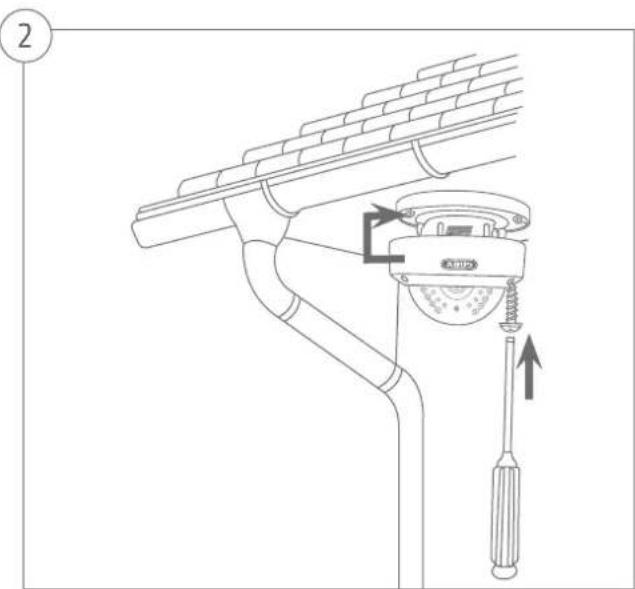
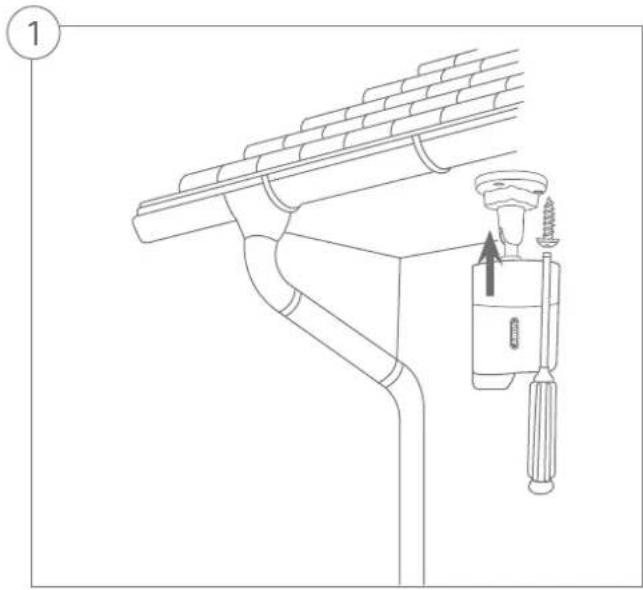
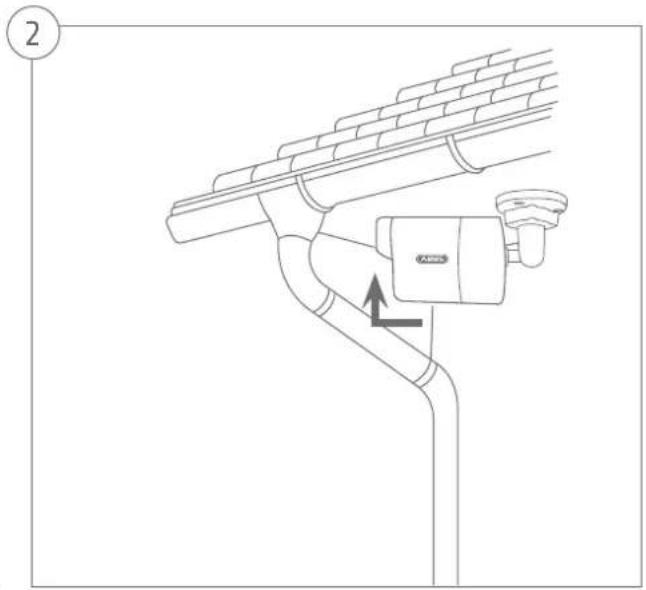
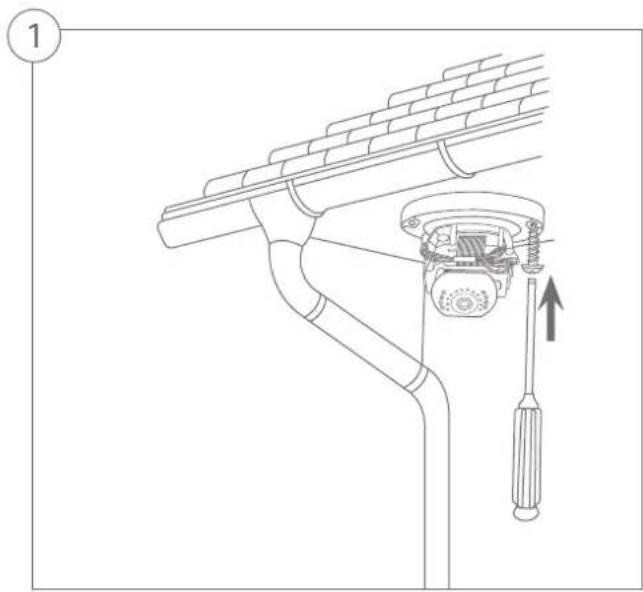
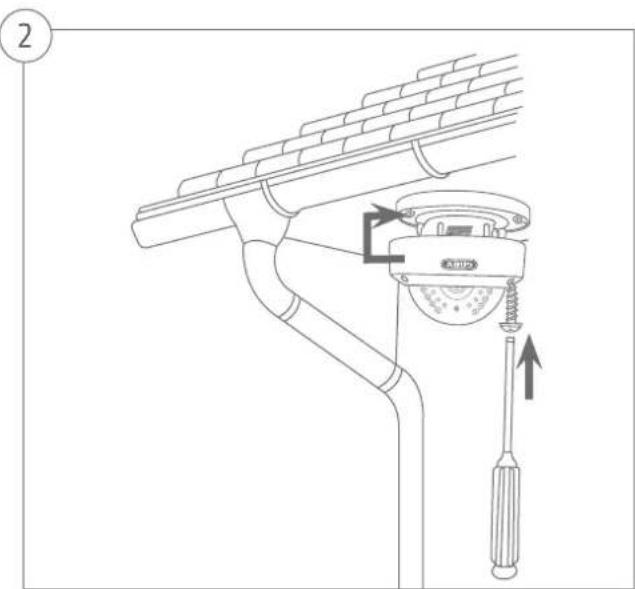
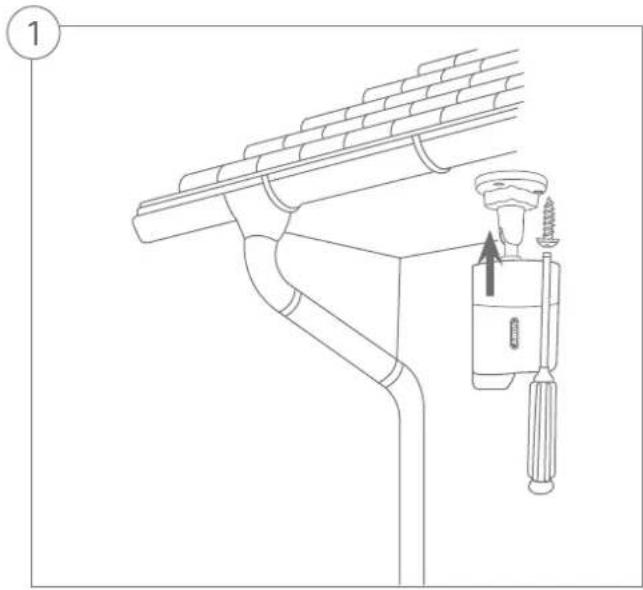
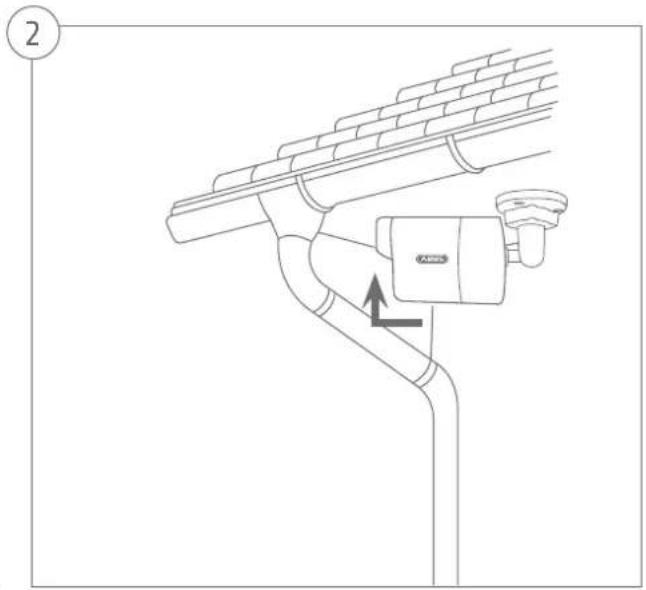
Hardware installation 28
Français
Security Tech Germany
Warnhinweise
Hardwareinstallation

Dear customers,
Thank you for purchasing this product. This product complies with current domestic and European regulations.
Conformity has been proven, and all related certifications are available from the manufacturer on request (ABUS Security-Center GmbH & Co. KG, Linker Kreuthweg 5, 86444 Affing).
To maintain this status and to guarantee safe operation, it is your obligation to observe these operating instructions! Read the entire operating manual carefully before putting the product into operation. Pay attention to all operating and safety information! All company names and product descriptions are trademarks of the corresponding owner. All rights reserved.
If you have any questions, please contact your specialist dealer.
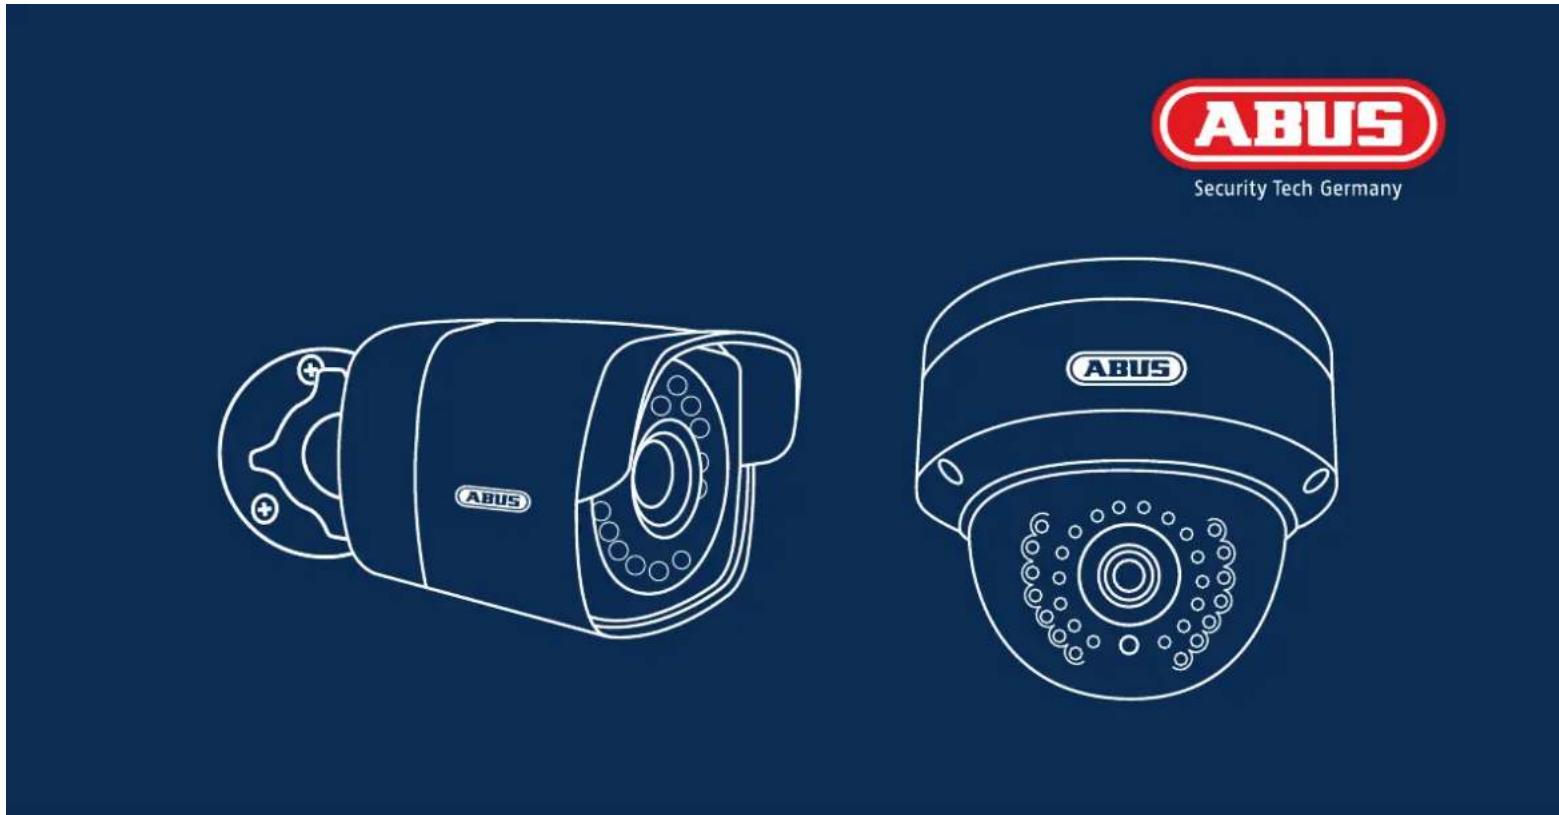
WLAN HD 1080p Outdoor Camera / WLAN HD 1080p Outdoor Dome Camera: TVIP62560 | TVIP42560
This quick start guide describes the initial installation steps for your network camera. More detailed information can be found in the accompanying user guide.
Scope of delivery
WLAN HD 1080p Outdoor Dome Camera
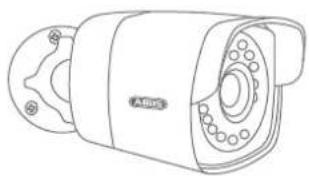
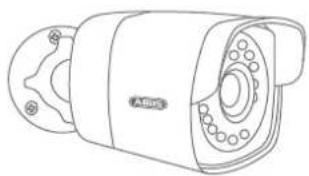
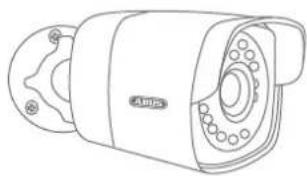
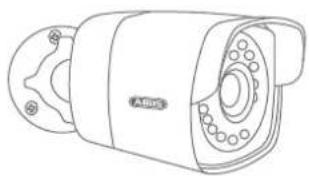
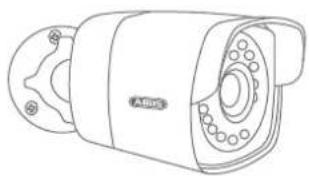
WLAN HD 1080p Outdoor Camera
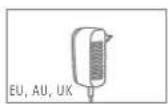
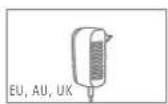
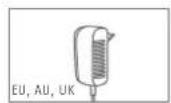
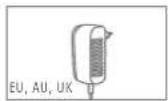
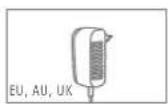
• Power supply unit (incl. EU, AU, UK)
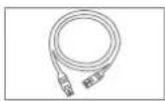
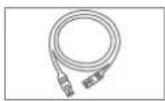
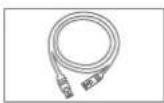
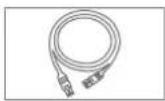
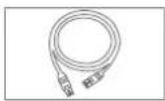
• 1 m network cable
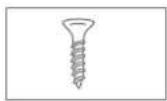
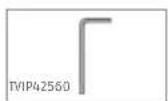
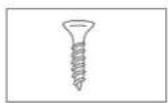
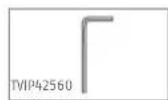
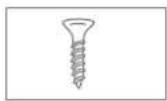
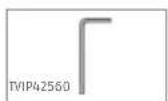
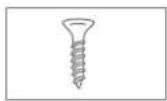
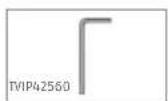
• Installation material
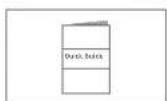
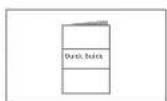
- Quick start guide
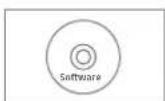
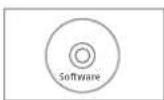
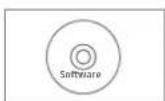
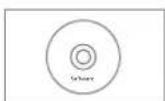
- CD ROM
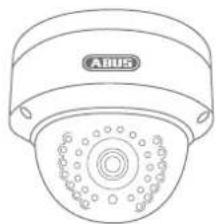
TVIP42560 TVIP62560

Security Tech Germany
Warnings
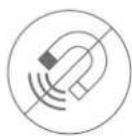
Keep strong magnetic fields away from the network camera.
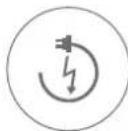
Ensure an uninterrupted power supply when operating the monitor on a permanent voltage source.
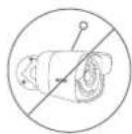
Do not insert any objects into the camera (e.g. needles).
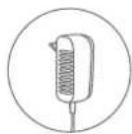
Only operate the network camera with a suitable power source.
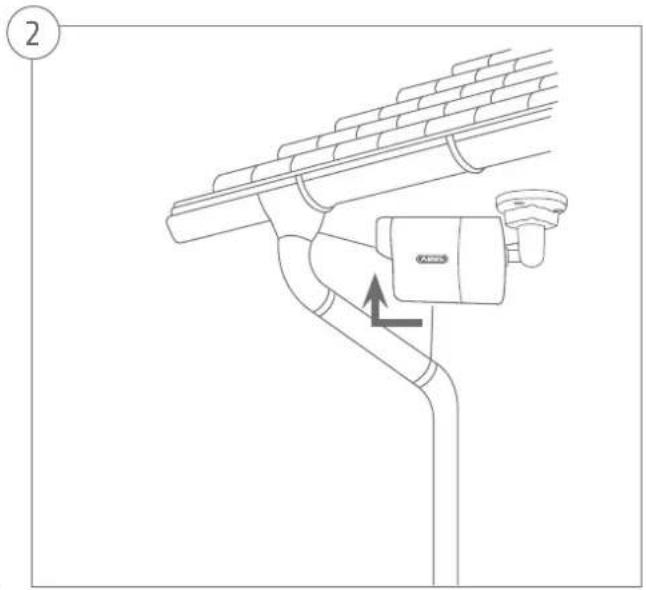
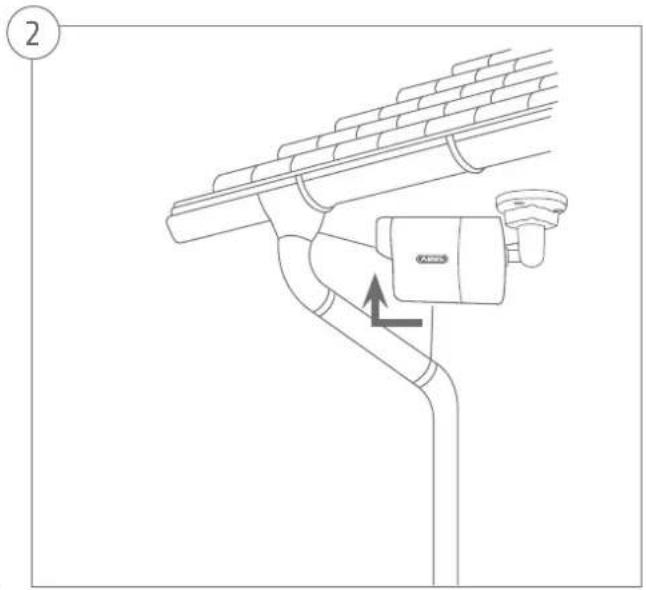
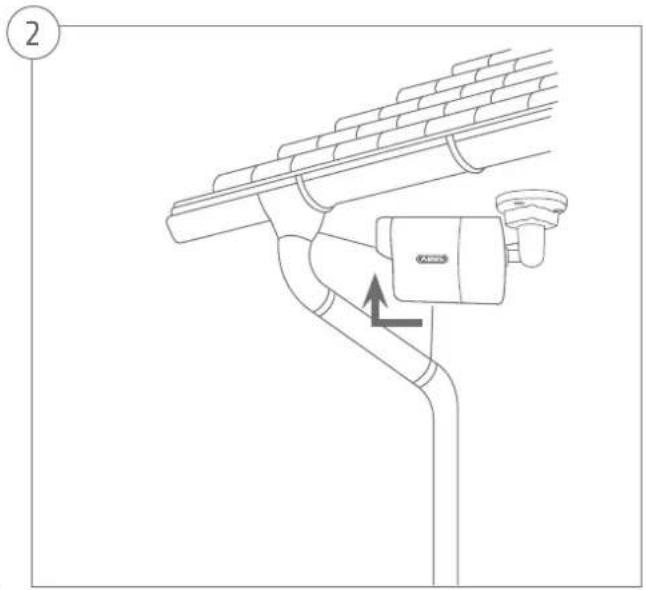
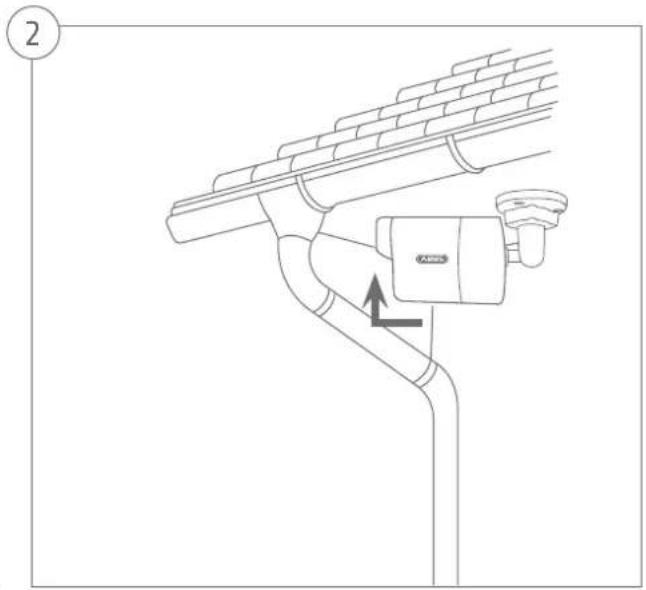
Make sure that the network camera is mounted securely.

Only operate the network camera in the ambient conditions recommended by the manufacturer.

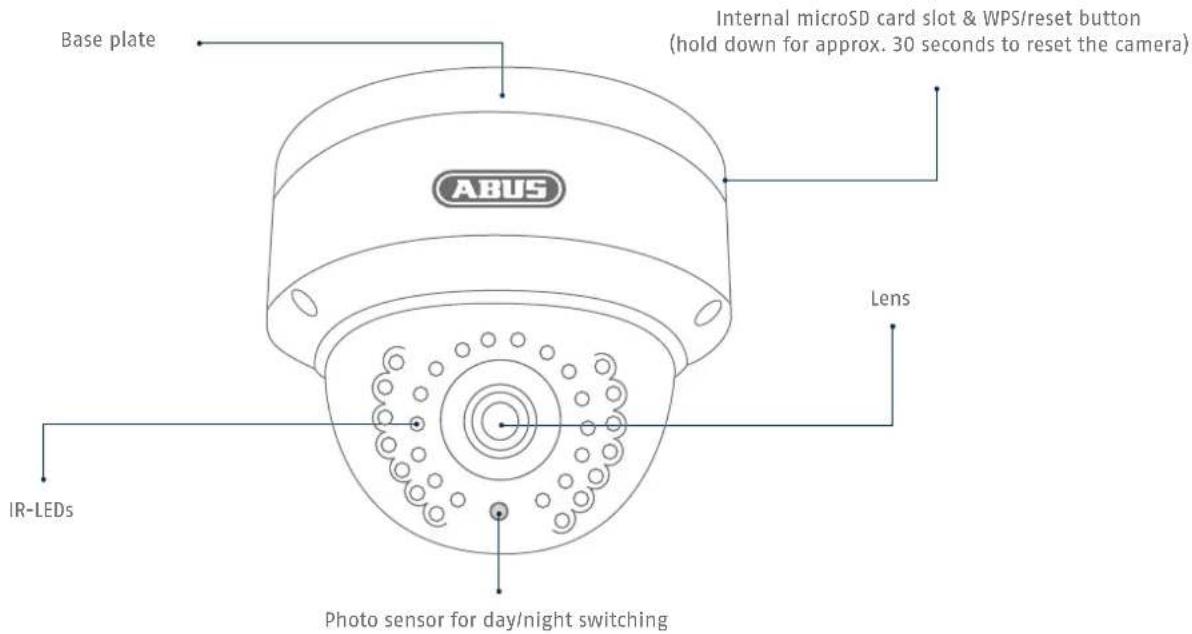
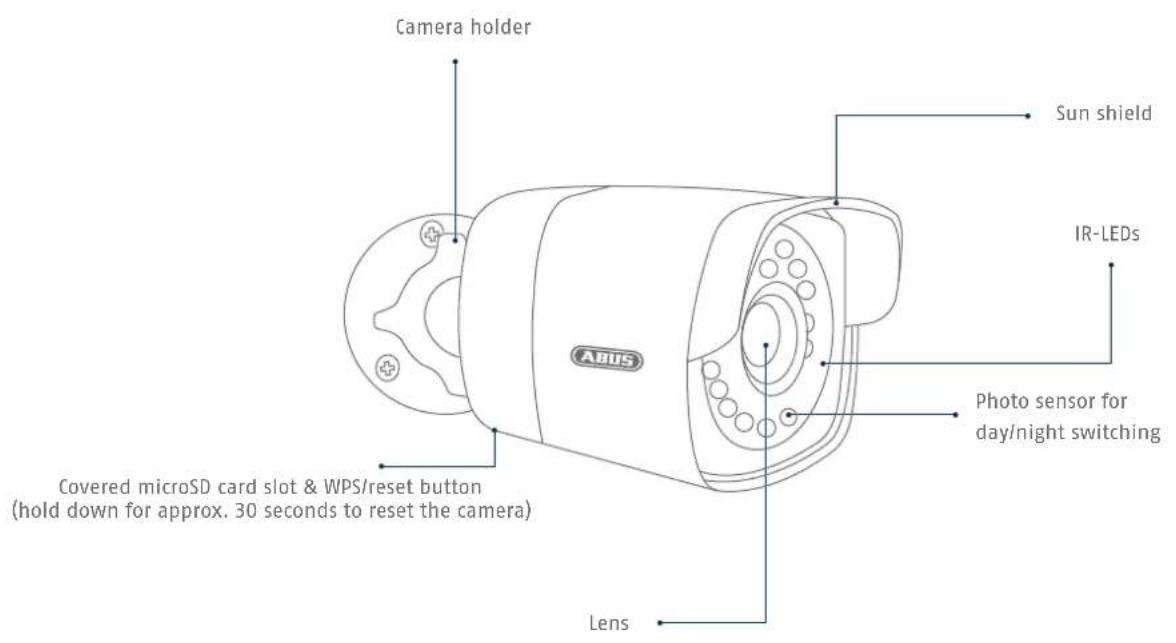
Overview

Network connection
There are three ways to set up the network.
1
Option 1:
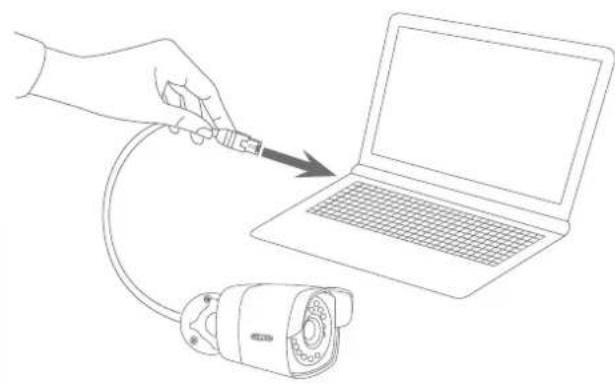
Connecting the network camera to a PC/laptop directly
- Use the network cable supplied to connect the camera and PC/laptop with one another.
- Connect the power supply to the network camera. The network camera automatically detects whether a direct connection between the PC and camera should be made.
- Configure the network interface of your PC/laptop to the IP address 192.168.0.2, the default gateway to 192.168.0.1 and the subnet mask to 255.255.255.0.
- Go to point 3 to finish the initial set-up and establish the connection to the network camera.

2
Option 2:
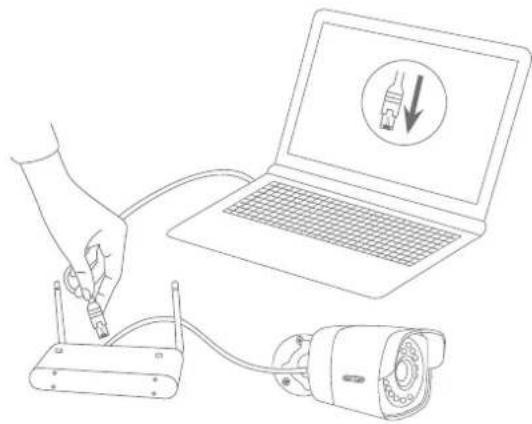
Connecting the network camera to a router/switch
- Connect the PC/laptop to the router/switch.
- Connect the network camera to the router/switch.
- Connect the power supply to the network camera.
- If a DHCP server is available in your network (IP address is assigned automatically via the router), set the network interface of your PC/laptop to "Obtain an IP address automatically".
- If no DHCP server is available, configure the network interface of your PC/laptop to 192.168.0.2, the default gateway to 192.168.01 and the subnet mask to 255.255.255.0.
- Go to point 3 to finish the initial set-up and establish the connection to the network camera.
3
Option 3:
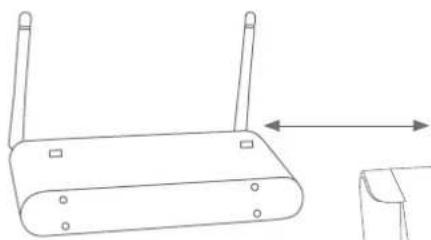
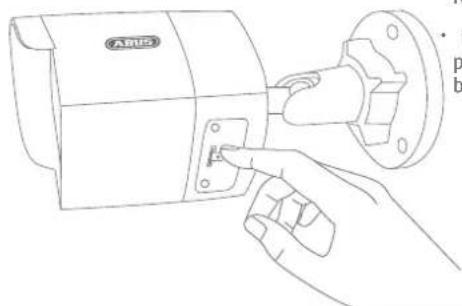
WLAN setup via WPS
- Press the WPS button on your router.
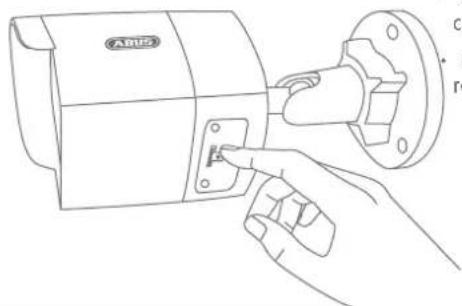
- Press the WPS button on the network camera within 2 minutes for approx. 10 seconds.
• The WLAN connection between the router and camera is now established.
- Restart the camera by unplugging the power supply unit and plugging it back in.

4
Activate "Automatic port releases with UPnP"
Fritz!Box:
- Open the user interface of the Fritz!Box.
- Click on "Settings".
- Click on "Advanced settings" / "System" / "Network settings" or "Network" / "UPnP".
- Activate the option "Transmit status information via UPnP" and "Permit changes to the security settings via UPnP".
- Save the settings by pressing "Apply".
D-Link:
- n the main router menu, click on the "Advanced" item.
- Click on the "Advanced network" item.
- Activate the UPnP item.
Netgear:
- Click on UPnP in the main menu of the browser interface under "Advanced".
• Automatic device configuration via UPnP can be activated and deactivated.
ABUS
Password assignment
User
installer
Password
......
1
The password must consist of
8 to 15 digits. The password
should include a combination
of numeric, small and capital
letters and special characters
At least two types of
combinations should be used
Confirm
......
Save
Password assignment
• No administrator password is set prior to delivery. The
administrator user name "installer" is set prior to delivery.
- First enter a password that meets the specified requirements and confirm it. Then click on "Save".
• The camera's web interface is then displayed automatically.
- The next time you call up the web interface, you will be asked to identify yourself with the user name and your password.
- You can then change the administrator name in the user settings
- You can write down the password you used here, then keep the quickstart guide in a safe place:

6
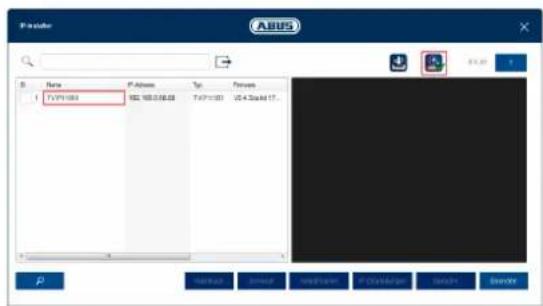
Accessing the network camera for the first time
- The network camera is accessed for the first time using the ABUS IP Installer.
- You can find the program on the CD-ROM included or on our abus.com homepage. Install the program on your PC and then run it.
• After the installation wizard is started, the IP Installer searches for all the network cameras and video servers connected in your network.
- Check whether the latest version of the IP Installer is installed. To do so, check the highlighted icon in the image on the left.
- Double click to call up the web interface of the camera to be set up.
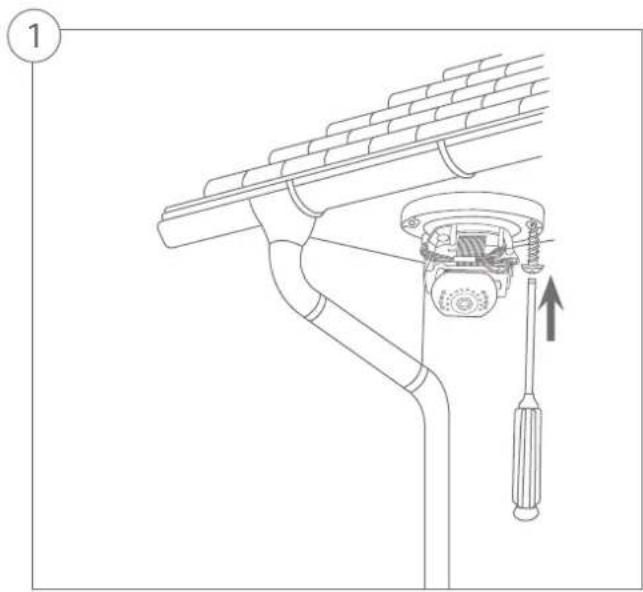
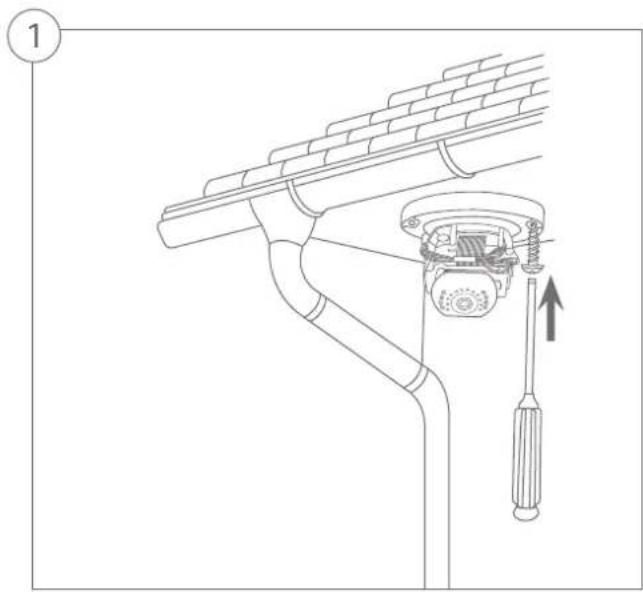
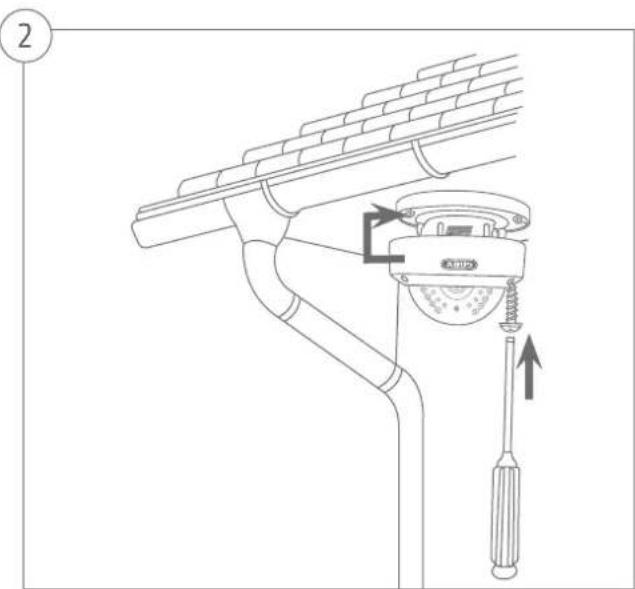
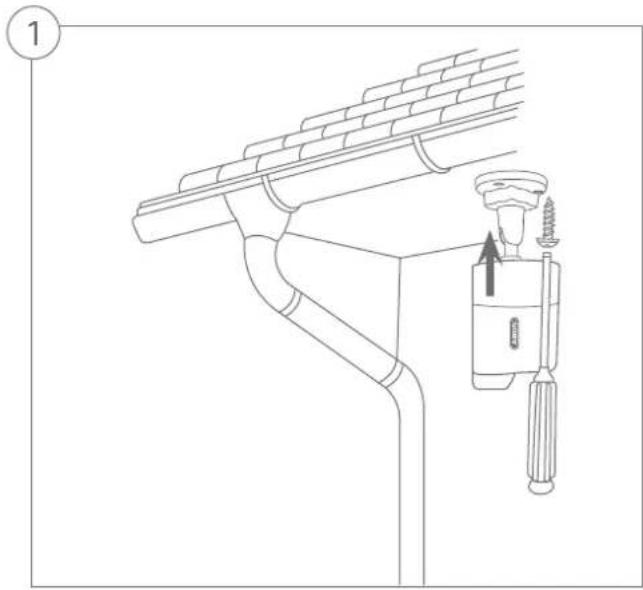
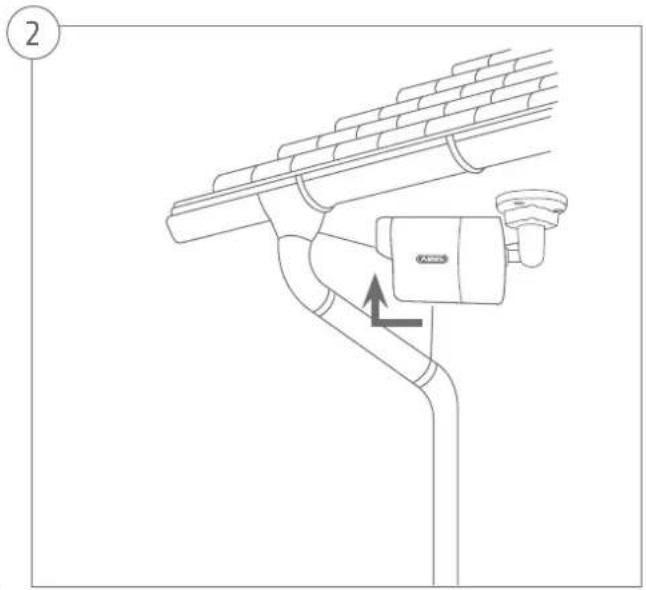
Hardware installation

Chère cliente, cher client,
Telecamera a Cupola Esterna WLAN HD 1080p | Caméra Extérieure WiFi HD 1080p: TVIP62560 | TVIP42560
Security Tech Germany
6
ABUS
Geachte klant,
WLAN HD 1080p Buiten Camera | WLAN HD 1080p Buiten Dome Camera: TVIP62560 | TVIP42560
TVIP42560 TVIP62560

Security Tech Germany
Waarschuwingen
WLAN-instelling via WPS

Security Tech Germany

ABUS
Wachtwoord aanmaken
Gebruikersnaam
installer
Wachtwoord

Sterk
Kære kunde.
WLAN HD 1080p Udendørs Kamera | WLAN HD 1080p Udendørs Domekamera: TVIP62560 | TVIP42560
TVIP42560 TVIP62560


WLAN-indstilling via WPS

Security Tech Germany

ABUS
Tildel kodeord
Bruger
installer
Kodeord

taerk
Hardwareinstallation

Szanowna Klientko, Szanowny Kliencie!
TVIP42560 TVIP62560

Gentile cliente,

Telecamera Esterna WLAN HD 1080p / Telecamera a Cupola Esterna WLAN HD 1080p: TVIP62560 | TVIP42560
Telecamera a Cupola Esterna WLAN HD 1080p
Telecamera Esterna WLAN HD 1080p
TVIP42560 TVIP62560

Security Tech Germany
Avvertenze
abus.com