
VLEVP2 - Battery charger VELLEMAN - Free user manual and instructions
Find the device manual for free VLEVP2 VELLEMAN in PDF.
| Product type | Smart battery charger |
| Brand | Velleman |
| Model | VLEVP2 |
| Dimensions | 135 x 68 x 35 mm |
| Weight | 125 g |
| Input power | 12 VDC, 1 A |
| Charging currents | 0.25 A, 0.5 A, 1 A |
| Charging voltages | 3.2 V, 3.6 V, 3.8 V |
| Compatible battery types | Li-ion 10440, 14500, 14650, 16340, 17670, 18350, 18500, 18650, 18700, 22650, 25500, 26650 |
| Number of channels | 2 (independent) |
| Display | LCD screen with level indicator and real-time voltage |
| LED indication | Red/green for charging status, green for standby |
| Protections | Reverse polarity, short circuit, undervoltage, overcharge, overheat |
| USB output | 5 V, max. 1 A (power bank mode) |
| Power bank function | Yes, with a battery ≥ 2000 mAh inserted in channel 1 |
| 0 V battery activation | Yes, gradual start |
| Operating temperature | 0 to 40 °C |
| Voltage display accuracy | ± 0.03 V |
| Maintenance and cleaning | Clean with a damp cloth; no special maintenance required |
| Warranty | 24 months (consumer), applicable conditions |
Frequently Asked Questions - VLEVP2 VELLEMAN
User questions about VLEVP2 VELLEMAN
0 question about this device. Answer the ones you know or ask your own.
Ask a new question about this device
Download the instructions for your Battery charger in PDF format for free! Find your manual VLEVP2 - VELLEMAN and take your electronic device back in hand. On this page are published all the documents necessary for the use of your device. VLEVP2 by VELLEMAN.
USER MANUAL VLEVP2 VELLEMAN
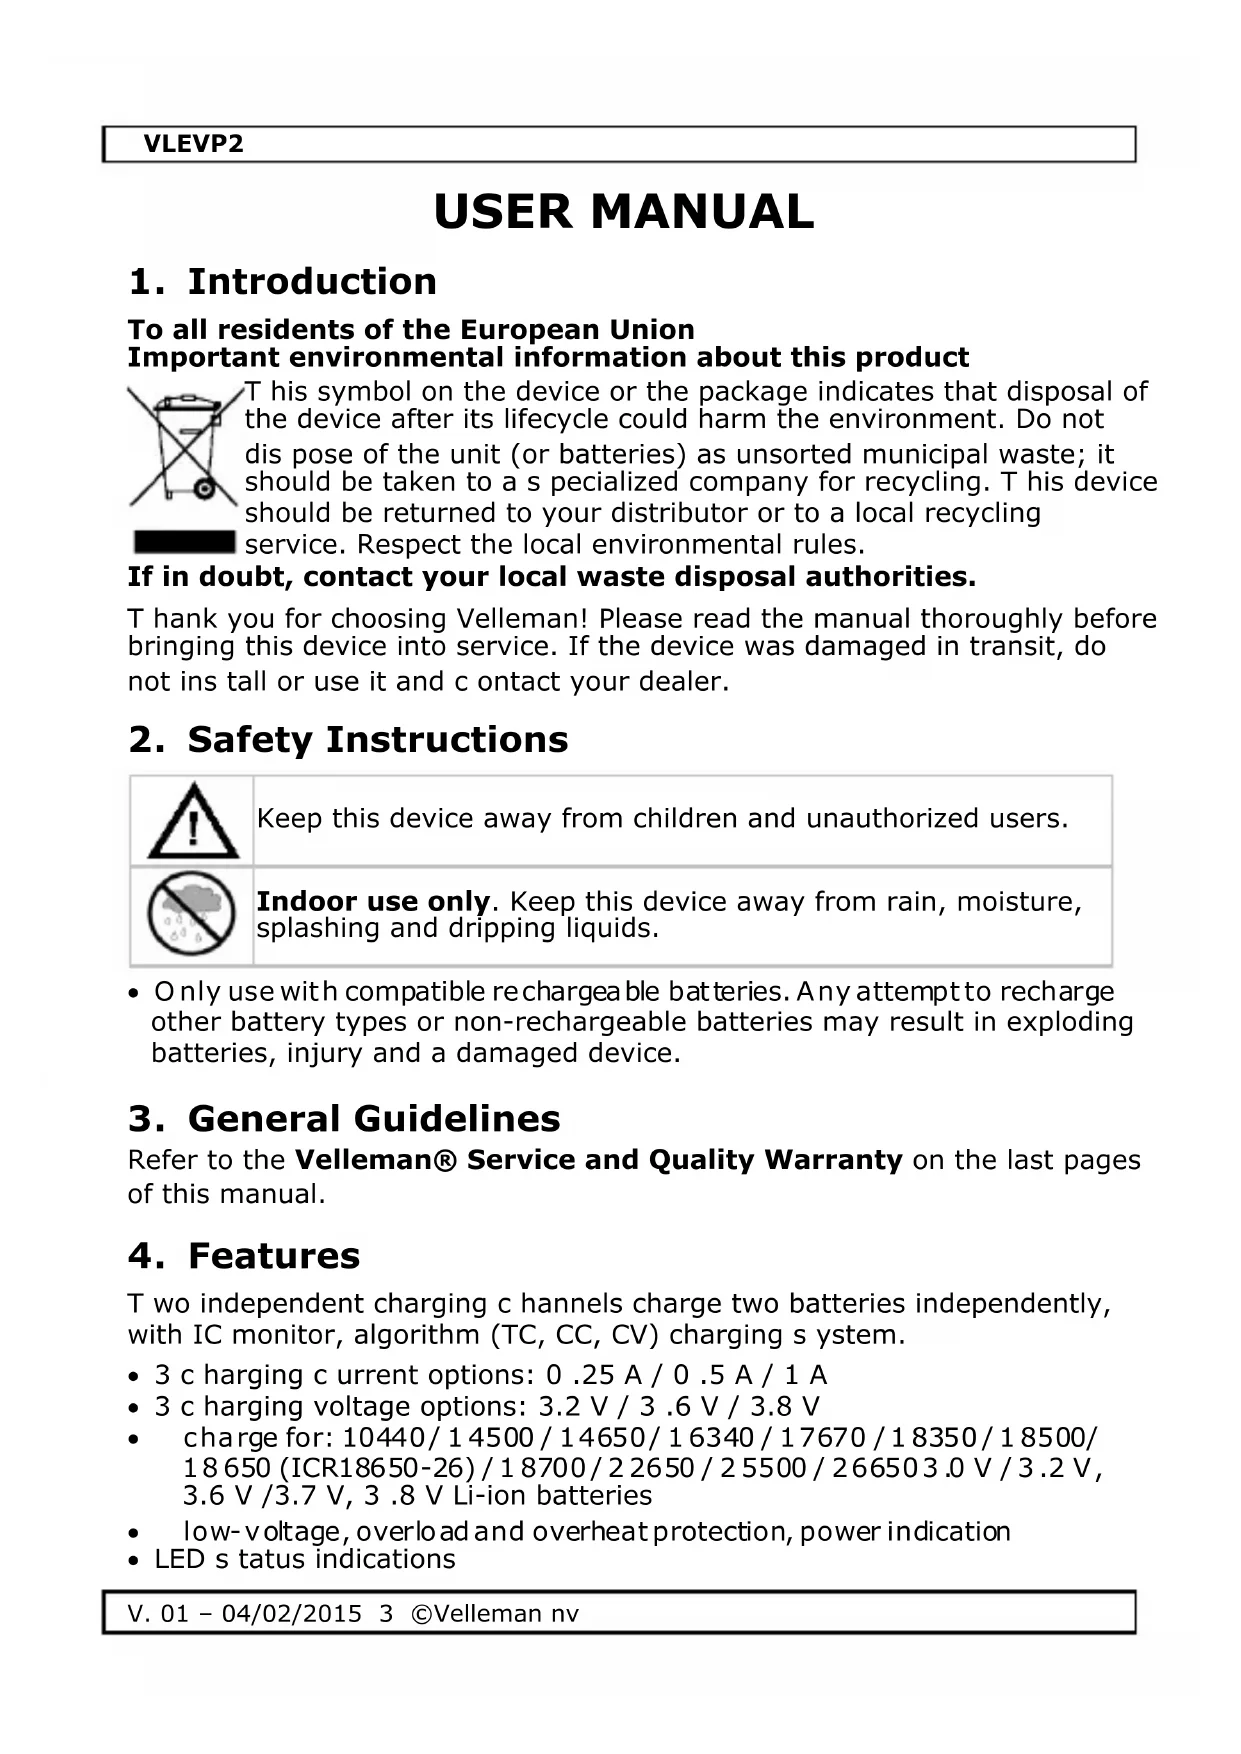
To all residents of the European Union Important environmental information about this product
T his symbol on the device or the package indicates that disposal of the device after its lifecycle could harm the environment. Do not dispose of the unit (or batteries) as unsorted municipal waste; it should be taken to a specialized company for recycling. T his device should be returned to your distributor or to a local recycling service. Respect the local environmental rules.
If in doubt, contact your local waste disposal authorities.
T hank you for choosing Velleman! Please read the manual thoroughly before bringing this device into service. If the device was damaged in transit, do not ins tall or use it and c contact your dealer.
2. Safety Instructions

Keep this device away from children and unauthorized users.
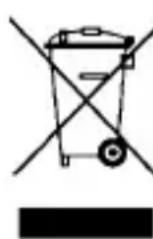
Indoor use only. Keep this device away from rain, moisture, splashing and dripping liquids.
- Only use with compatible rechargeable batteries. Any attempt to recharge other battery types or non-rechargeable batteries may result in exploding batteries, injury and a damaged device.
3. General Guidelines
Refer to the Velleman® Service and Quality Warranty on the last pages of this manual.
4. Features
T wo independent charging c channels charge two batteries independently, with IC monitor, algorithm (TC, CC, CV) charging s system.
- 3 c harging c current options: 0.25 ~A / 0.5 ~A / 1 ~A
- 3 c harging voltage options: 3.2 V/3.6 V/3.8 V
- charge for: 10440/14500/14650/16340/17670/18350/18500/18650(ICR18650-26)/18700/22650/25500/266503.0 V/3.2 V, 3.6 V/3.7 V, 3.8 V Li-ion batteries
- low-voltage, overload and overheat protection, power indication
- LED status indications
VLEVP2
real-time status display
- PWM technology to control the high-efficiency DC-DC circuit, lower the voltage and reduce energy loss
- three-stage charging and 0 V battery activation
- IC temperature monitor prevents overheating
- soft s tart charging
- compact size, portable
- reverse polarity and short circuit protection circuit
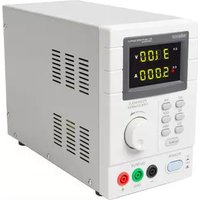
5. Overview
Refer to the illustrations on page 2 of this manual.
| 1 | battery s lot |
| 2 | charging/USB LED |
| 3 | voltage button |
| 4 | dis play |
Display
| 5 | charge current setting / voltage selection / U SB output button |
| 6 | charging / U SB power indicator |
| 7 | present charging current |
| 8 | present charging voltage |
| 9 | present battery power state |
Charging Rate
0.25 A: constant charging current 500 mA
0.5 A: constant charging current 1000 mA
1 A: constant charging current 2000 mA
Charging State and Battery Power Indication


- When the battery voltage reaches the next stage, one more bare will be added. No battery level icon will be displayed in the corresponding channel when the c harger is in one of the following c conditions:
VLEVP2
o no battery is placed in the c channel
o short circuit
○battery voltage < 1 .0V
○ battery is reversed or poorly connected
Charging LED Indication
| status | LE D indic ation | |
| charger self-check k | red (2 seconds) | |
| charger s tand-by | green | |
| battery | 1.0 V - 2.0 V | red |
| ac tivated | < 1.0 V | green |
| charging | red | |
| fully charged | green | |
| U SB output | > 50 % | green |
| power | 25 % - 50 % | red |
| indic ation | 5 % - 25 % | red flas hing |
| < 5 % | off | |
- Due to different battery types, deviation between the value on the indicator and the battery's actual capacity exist. In addition, when the battery is c charging, the LCD displays the battery's c charging voltage (inc luding the voltage generated by the battery's internal resistance). When the battery is fully charged or not connected, the LCD displays the no-load voltage of the battery.
6. Operation
Before c harging your batteries, check that the battery types are c compatible with the VLEVP2. T hen, determine the suitable charge current and voltage settings for them.
Remark
Damage c can occur to the batteries and c harger if incompatible batteries are inserted, or if improper c harge current and voltage settings are selected.
Charging Batteries
- Connect the supplied power adapter to the VLEVP2. The VLEVP2 performs a s elf-check, turning on two LEDs (red status indicator). During the s elf-check, the LCD displays the battery power indicator and the s elected voltage. After about two seconds, the two indicators turn green. The c harger then s witches to s tandby mode, no battery ic on will be displayed but the s elected voltage and default 0.25 A charge current.
- Slide the voltage setting switch to choose the suitable voltage for your battery. The LCD will display the corresponding selected voltage. For example, if your battery's nominal voltage is 3.6V / 3.7V , then you should choose the 3.6V voltage.
VLEVP2
- Choose the charge current that best suits your rechargeable Li-ion batteries:
| 0.25 A | suitable for 10440-18700 Li-ion batteries |
| 0.5 A | suitable for 18700-26650 Li-ion batteries with capacity ≥ 2 500 mAh |
| 1 A | suitable for Li-ion batteries with capacity ≥ 20 00 mAh, 1 A is the large charge current for fast charging |
- Press the CC button one or more times to change to a different charge current. Current arrangement is 0.25 A - 0.5 A - 1 A - 0.25 A.
- During charging, double-press the current change button to check the selected voltage setting. The corresponding LCD displays the selected voltage. Choose the voltage setting suitable for your battery. After about 3 seconds, the LCD reverts to show the charge current, battery real-time voltage and charge status.
- When the battery is fully charged, the VLEVP2 stops charging, and the status indicator turns green. The bars on the LCD will not be added again. It is recommended that you remove the batteries from the charger once charging has completed. If batteries are left in the charger after charging completes, the c harger will automatically restart the charging cycle when the voltage drops below 3 .9 V or 3.3 V, based on the c hosen voltage s etting.
- During charging, press and hold the charge current setting button 1.5 seconds to switch the LCD on or off. The LCD is s switched on by default.
USB Power Output Mode
- Ensure that the VLEVP2 is not connected to any powersource. Insert a battery ( ≥ 2000 mAh) into the CH1 s lot, being careful to insert it with the c correct polarity. P ress and hold the button for 1 .5 seconds to s tart the U SB power output function. After the LED indicator turns green, you can c onnect an external device to the USB port. In USB output mode, the LCD is invalid.
- When finished using the USB power output, disconnected the external device, press and hold the button for 1.5 seconds to switch off the USB power output. After the status indicator extinguishes, remove the battery.
- When battery capacity is above 50% , the LED indicator is green; when capacity is 25% to 50% , the LED indicator is red; when capacity is 5% to 25% , the LED indicator flashes red.
- When the battery capacity is low than 5% , the USB power output switches off automatically.
VLEVP2
Remarks
- The VLEVP2 is only for use with 3.0V / 3.2V, 3.6V / 3.7V, 3.8V rechargeable Li-ion or LiFePO batteries. Charging other battery types may be hazardous, and can damage the batteries and c harger.
- The VLEVP2 has an integrated short-circuit protection to protect the charger if a short circuit occurs in a battery. Note that this short-circuit protection protects the charger and does not prevent batteries from short-circuiting internally.
- Keep the VLEVP2 away from water and excessive dust.
- Do not disassemble the VLEVP2 as damage may result.
- Do not use a damaged VLEVP2.
Tips
- The USB power output is only available when no external power source is connected and the battery is inserted into the CH1 slot.
- Press and hold the charge current setting to check the selected voltage. Suitable voltage is s strongly being recommended.
- Because of different battery types, capacities and over-charge depths, the battery revive time may vary. Heavily over-discharged batteries may not be able to be revived.
- Do not judge the battery is being charged or not when it is in the process of activation.
To lengthen the over-discharged battery's lifespan, a 0.25 A charge current and suitable voltage are strongly being recommended. - Specifications and features are subject to change. Please find the most recent description and specifications of the VLEVP2 on the Velleman website.
7. Cleaning and Maintenance
- T his device does not need any particular maintenance. However, oc casonally c lean it with a damp c loth to keep it like new.
8. Technical Specifications
| input power | 12 VDC, 1 A |
| charge current options | |
| 0.2 5 A constant c current | 250 ± 30 mA |
| 0.5 A constant current | 500 ± 50 mA |
| 1 A c constant current | 1000 ± 80 mA |
| corresponding termination voltage for three voltage options | |
| 3.2 V | 3.6 ± 0.05 V |
| 3.6 V | 4.2 ± 0 .05 V |
| 3.8 V | 4.3 5 ± 0.05 V |
| T C of 0.25 A / 0.5 A | ≤ 50 mA |
VLEVP2
| TC of 1 A | ≤ 80 mA | |
| restart c harge automatically | ||
| 3.2 V voltage gear | 3.3 ± 0.15 V | |
| 3.6 V / 3.8 V voltage gear | 3.9 ± 0.15 V | |
| voltage display precision | ± 0 .03 V | |
| operating temperature | 0-40°C | |
| U SB output parameter | ||
| U SB output voltage | 5.0 ±0.3 V | |
| max. USB out c current | 1000 mA | |
| battery overcharge discharge protection voltage | 3.0 ± 0.2 V | |
| dimensions | 13 5 x 68 x 35 mm | |
| weight | 12 5 g | |
Use this device with original accessories only. Velleman nv cannot be held responsible in the event of damage or injury resulting from (incorrect) use of this device. For more info concerning this product and the latest version of this manual, please visit our website www.velleman.eu. The information in this manual is subject to change without prior notice.
© COPYRIGHT NOTICE
The copyright to this manual is owned by Velleman nv. All worldwide rights reserved. No part of this manual may be copied, reproduced, translated or reduced to any electronic medium or otherwise without the prior written consent of the copyright holder.
GEBRUIKERSHANDLEIDING
1. Inleiding
| 1 | compartment des piles |
| 2 | LE D de charge/USB |
Velleman® Service and Quality Warranty
Since its foundation in 1972, Velleman® acquired extensive experience in the electronics world and currently distributes its products in over 85 countries.
All our products fulfil strict quality requirements and legal stipulations in the EU. In order to ensure the quality, our products regularly go through an extra quality check, both by an internal quality department and by specialized external organisations. If, all precautionary measures notwithstanding, problems should occur, please make appeal to our warranty (see guarantee conditions).
General Warranty Conditions Concerning Consumer Products (for EU):
-
All consumer products are subject to a 24-month warranty on production flaws and defective material as from the original date of purchase.
-
Velleman® can decide to replace an article with an equivalent article, or to refund the retail value totally or partially when the complaint is valid and a free repair or replacement of the article is impossible, or if the expenses are out of proportion.
You will be delivered a replacing article or a refund at the value of 100% of the purchase price in case of a flaw occurred in the first year after the date of purchase and delivery, or a replacing article at 50% of the purchase price or a refund at the value of 50% of the retail value in case of a flaw occurred in the second year after the date of purchase and delivery.
Not covered by warranty:
-
all direct or indirect damage caused after delivery to the article (e.g. by oxidation, shocks, falls, dust, dirt, humidity...), and by the article, as well as its contents (e.g. data loss), compensation for loss of profits;
-
consumable goods, parts or accessories that are subject to an aging process during normal use, such as batteries (rechargeable, non-rechargeable, built-in or replaceable), lamps, rubber parts, drive belts... (unlimited list);
-
flaws resulting from fire, water damage, lightning, accident, natural disaster, etc....:
-
flaws caused deliberately, negligently or resulting from improper handling, negligent maintenance, abusive use or use contrary to the manufacturer's instructions;
-
damage caused by a commercial, professional or collective use of the article (the warranty validity will be reduced to six (6) months when the article is used professionally);
-
damage resulting from an inappropriate packing and shipping of the article;
-
all damage caused by modification, repair or alteration performed by a third party without written permission by Velleman®.
-
Articles to be repaired must be delivered to your Velleman® dealer, solidly packed (preferably in the original packaging), and be completed with the original receipt of purchase and a clear flaw description.
-
Hint: In order to save on cost and time, please reread the manual and check if the flaw is caused by obvious causes prior to presenting the article for repair. Note that returning a non-defective article can also involve handling costs.
-
Repairs occurring after warranty expiration are subject to shipping costs.
-
The above conditions are without prejudice to all commercial warranties.
The above enumeration is subject to modification according to the article (see article's manual).
NL


- To all residents of the European Union Important environmental information about this product
- If in doubt, contact your local waste disposal authorities.
- Safety Instructions
- General Guidelines
- Features
- VLEVP2
- Overview
- Display
- Charging Rate
- Charging State and Battery Power Indication
- Operation
- Remark
- Charging Batteries
- USB Power Output Mode
- Remarks
- Tips
- Cleaning and Maintenance
- Technical Specifications
- © COPYRIGHT NOTICE
- GEBRUIKERSHANDLEIDING
- Inleiding
- Velleman® Service and Quality Warranty
- General Warranty Conditions Concerning Consumer Products (for EU):
- Not covered by warranty:
- The above enumeration is subject to modification according to the article (see article's manual).
- NL
Brand : VELLEMAN
Model : VLEVP2
Category : Battery charger