EDB6 - Doorbells Perel - Free user manual and instructions
Find the device manual for free EDB6 Perel in PDF.
| Product type | Wireless doorbell |
| Brand | Perel |
| Model | EDB6 |
| Transmitter dimensions | 8.7 x 3.7 x 1.7 cm |
| Receiver dimensions | 16.5 x 10.3 x 4.5 cm |
| Transmitter power supply | 1 x 23A / 12V alkaline battery (included) |
| Receiver power supply | 230 VAC, 50 Hz (power cable not included) |
| Maximum range | 100 m in open field |
| Operating temperature | -30°C to +40°C |
| Ringtone | Authentic |
| Programming | Automatic (learning) |
| Maximum number of transmitters | 5 |
| Protection rating (transmitter) | IP20 |
| Usage | Indoor (receiver), outdoor (weatherproof transmitter) |
| Optional accessory | Additional transmitter EDB6/TX |
| Cleaning | Regular cleaning, no special maintenance |
| Safety | Keep out of reach of children, protect from rain and moisture |
| Warranty | 24 months (EU consumer products) |
Frequently Asked Questions - EDB6 Perel
User questions about EDB6 Perel
0 question about this device. Answer the ones you know or ask your own.
Ask a new question about this device
Download the instructions for your Doorbells in PDF format for free! Find your manual EDB6 - Perel and take your electronic device back in hand. On this page are published all the documents necessary for the use of your device. EDB6 by Perel.
USER MANUAL EDB6 Perel
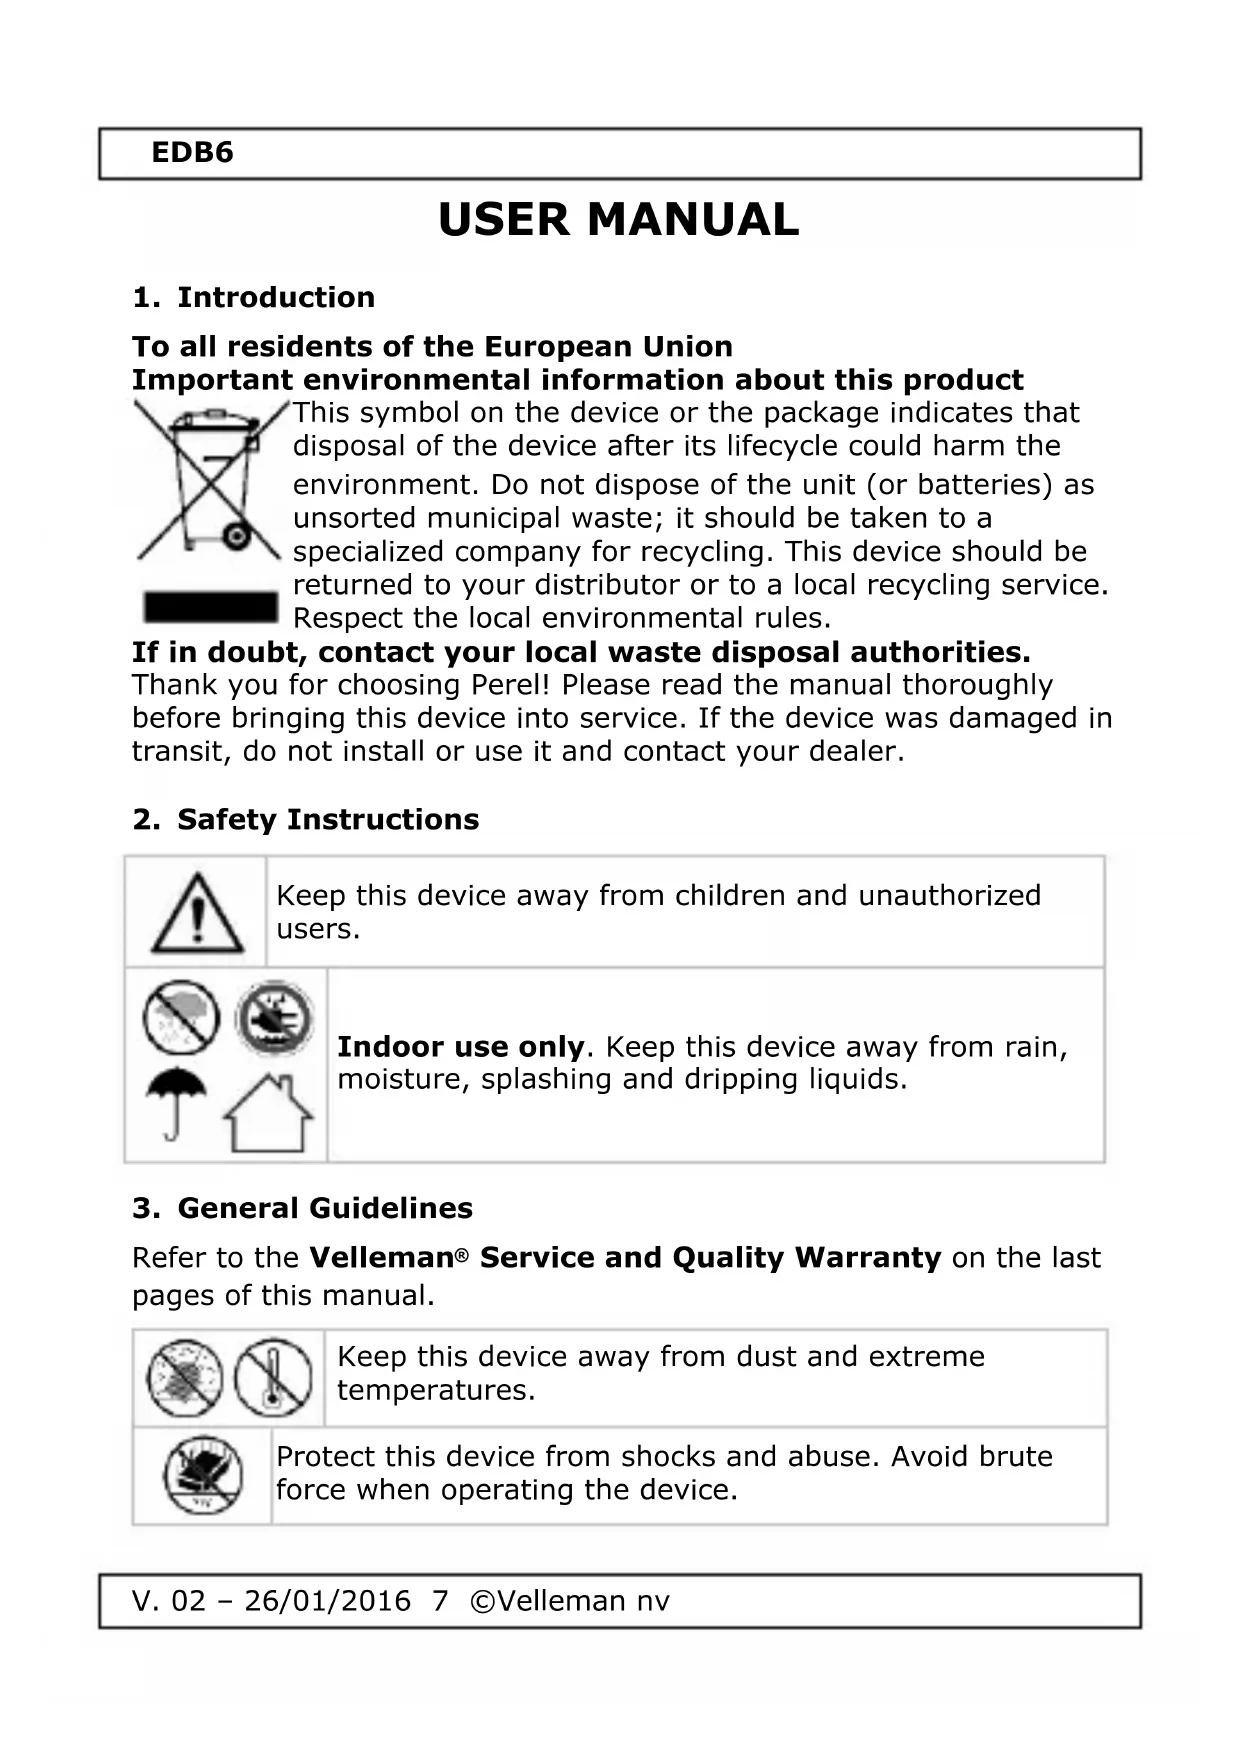
WIRELESS ELECTRO-MECHANICAL DOORBELL
DRAADLOZE DEURBEL - ELEKTROMECHANISCH
SONnette SANS FIL - ELECTROMÉCANIQUE
TIMBRE INALÁMBRICO ELECTROMECANICO
ELECTROMECHANISCHE FUNK-TÜRGLOCKE
BEZPRZEWODOWY DZWONEK DO DRZWI,
ELEKTROMECHANICZNY
CAMPAINHA ELETRO-MECÁNICA SEM FIOS
CAMPANELLO ELETTROMECCANICO SENZA FILI
USER MANUAL 7
GEBRUIKERSHANDLEIDING 13
MODE D'EMPLOI 19
MANUAL DEL USUARIO 25
BEDIENUNG SANLEITUNG 31
INSTRUKCJA OBSLUGI 38
MANUAL DO UTILIZADOR 45
MANUALE UTENTE 51

EDB6
A
B
C
EDB6
EN
R&TTE Declaration of Conformity
Hereby, Velleman NV declares that the radio equipment type [EDB6] + [EDB6/TX] is in compliance with Directive 1999/5/EC.
The full text of the EU declaration of conformity is available at the following internet address: www.velleman.eu.
NL
To all residents of the European Union Important environmental information about this product
This symbol on the device or the package indicates that disposal of the device after its lifecycle could harm the environment. Do not dispose of the unit (or batteries) as unsorted municipal waste; it should be taken to a specialized company for recycling. This device should be returned to your distributor or to a local recycling service. Respect the local environmental rules.
If in doubt, contact your local waste disposal authorities.
Thank you for choosing Perel! Please read the manual thoroughly before bringing this device into service. If the device was damaged in transit, do not install or use it and contact your dealer.
2. Safety Instructions

Keep this device away from children and unauthorized users.


Indoor use only. Keep this device away from rain, moisture, splashing and dripping liquids.
3. General Guidelines
Refer to the Velleman® Service and Quality Warranty on the last pages of this manual.


Keep this device away from dust and extreme temperatures.

Protect this device from shocks and abuse. Avoid brute force when operating the device.
EDB6
- Familiarise yourself with the functions of the device before actually using it.
- All modifications of the device are forbidden for safety reasons. Damage caused by user modifications to the device is not covered by the warranty.
- Only use the device for its intended purpose. Using the device in an unauthorised way will void the warranty.
- Damage caused by disregard of certain guidelines in this manual is not covered by the warranty and the dealer will not accept responsibility for any ensuing defects or problems.
- Due to constant product improvements, the actual product appearance might differ from the shown images.
- Product images are for illustrative purposes only.
- Do not switch the device on immediately after it has been exposed to changes in temperature. Protect the device against damage by leaving it switched off until it has reached room temperature.
- Keep this manual for future reference.
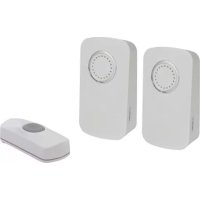
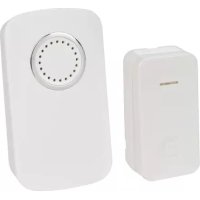
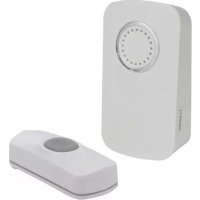
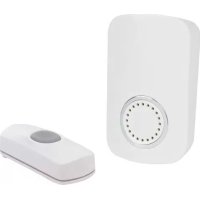
4. Features
- transmitter (IP20) and receiver (indoor use)
- easy installation without any damage thanks to the wireless system
- anti-interference system to avoid disturbance from other signals
- authentic doorbell sound
- auto-learning (no codes needed between button and receiver)
- weatherproof
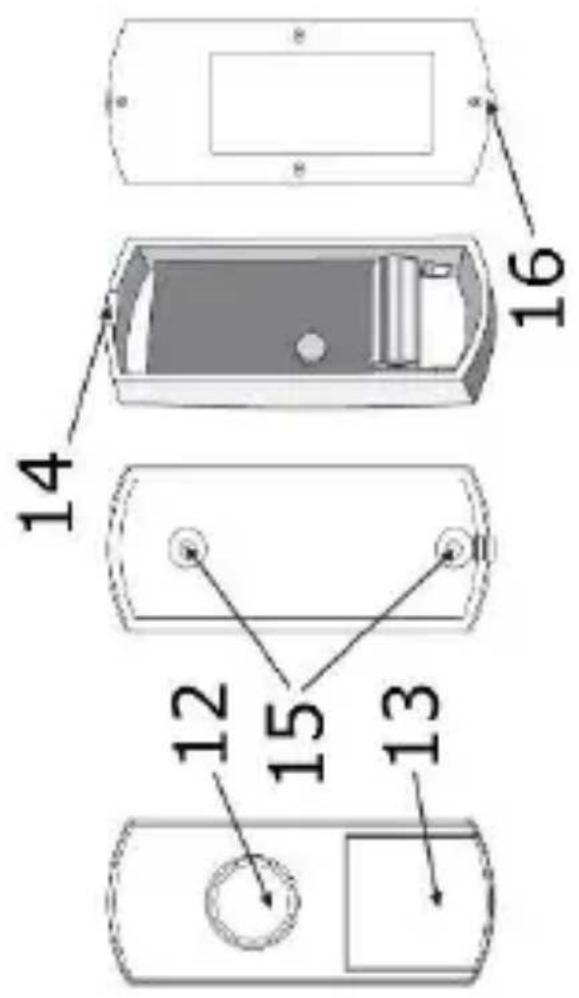
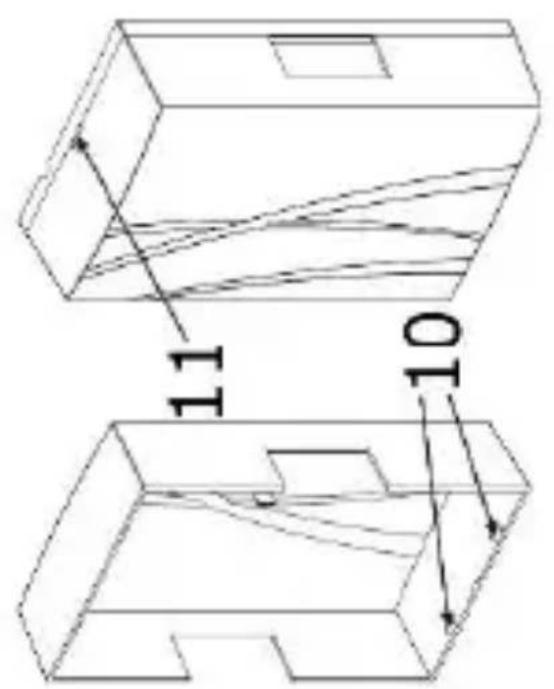
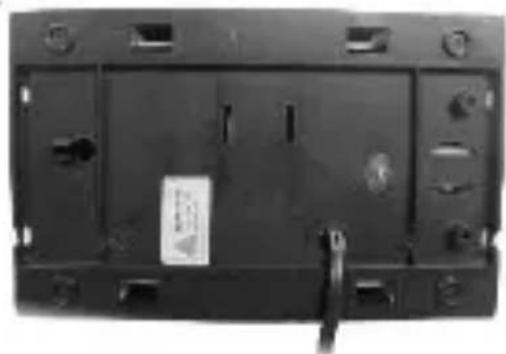
5. Overview
Refer to the illustrations on page 2 of this manual.
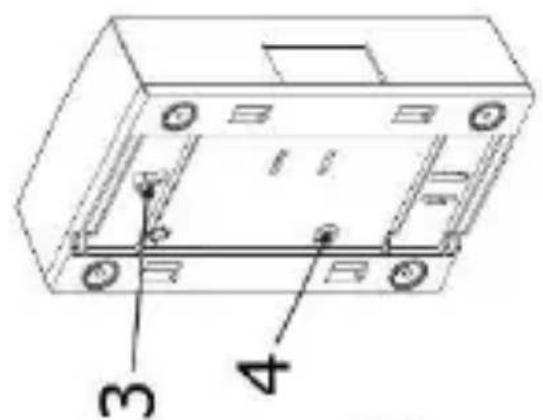
| 1 | front cover |
| 2 | back |
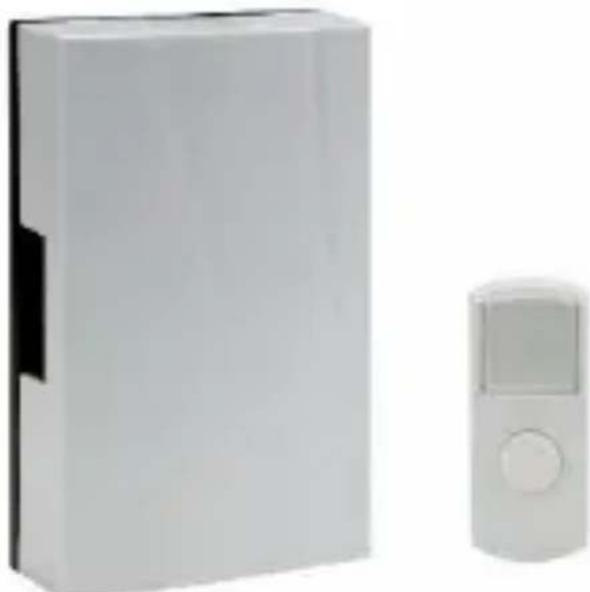
| 3 | hanging hole |
| 4 | power cable hole |
| 5 | auto-learning button |
| 6 | chime bars |
| 7 | plunger |
| 8 | connection terminals |
| 9 | fastening holes |
| 10 | fastening points |
| 11 | separate hole |
| 12 | push button |
| 13 | nameplate cover |
| 14 | cover hook |
| 15 | stand-by holes |
| 16 | interface |
EDB6
6. Power Supply
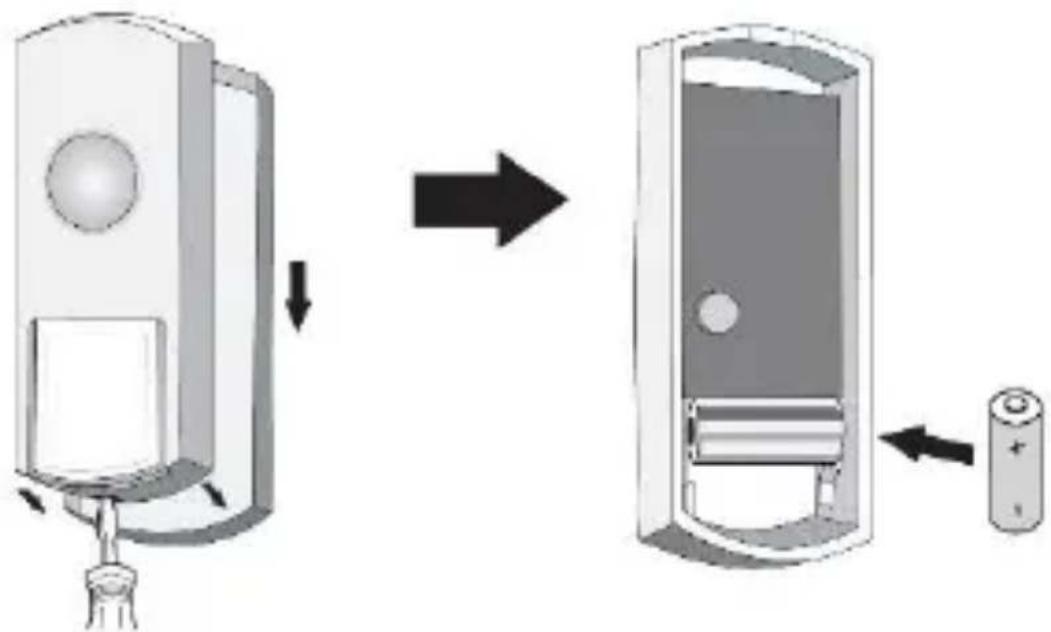
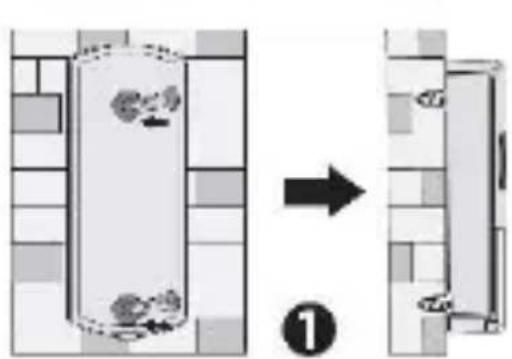
6.1 Transmitter
Refer to the illustrations [A] on page 4 of this manual.
- Open the transmitter by pushing the interface at the bottom using a flat screwdriver.
- Install the battery (included) according to the correct polarity.
- Close the transmitter or leave it open for installation (see below).

Warning: Do not puncture batteries or throw them in fire as they may explode. Do not attempt to recharge non-rechargeable batteries (alkaline). Dispose of batteries in accordance with local regulations. Keep batteries away from children.
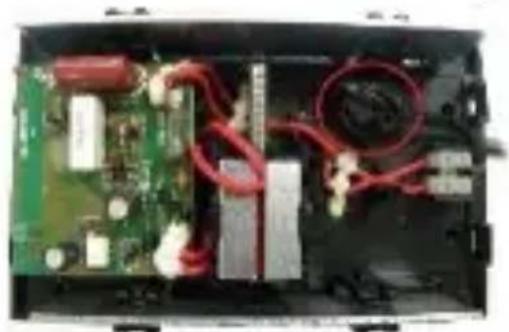
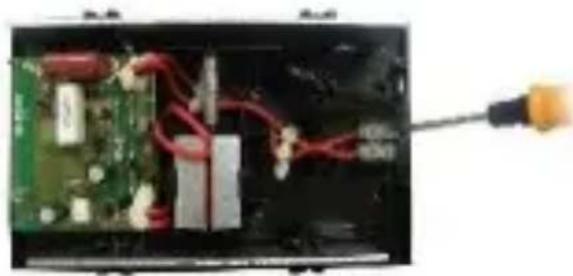
6.2 Receiver
Refer to the illustrations [B] on page 4 of this manual.
The receiver needs a 230V power supply. Connect as follows:
- Separate the front cover from the back.
- Insert the power cable into the receiver via the cable hole.
- Tie a knot in the cable.
- Loosen the screws on the connection terminal. Insert the null cable into the left cable connection and insert the live cable into the right cable connection.
- Tighten the screws on the connection terminal.
- Replace the front cover on the back cover.
- Connect the receiver to a 230V power supply.
7. Mounting
Before drilling any holes into walls, please make sure there are no cables or pipes that you may accidentally damage. It is also important that the distance between the receiver and the transmitter should be within the transmitting range (see technical specifications below).

Test the operating range between the receiver and the transmitter. The operating range is 100m in the open air, but may be less due to walls and other obstructions such as concrete, uPVC or metal frames.
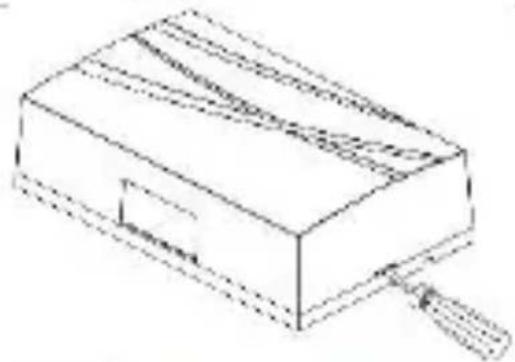
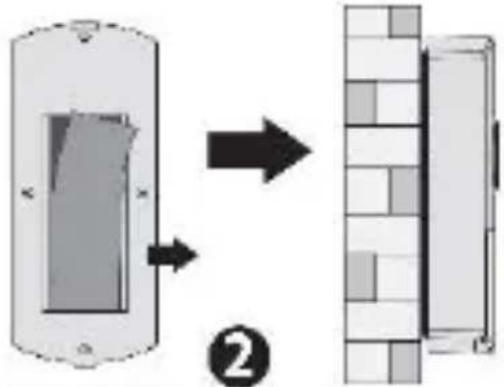
7.1 Transmitter
Refer to the illustrations [C] on page 4 of this manual.
- Open the transmitter by pushing the interface at the bottom using a flat screwdriver.
- Punch the screw holes on the back cover and fix it onto the wall.
- Close the transmitter.
Remark:
- Note that mounting on a concrete, metal or uPVC surface, near heat sources, and in damp environments will reduce the transmitting range.
- The transmitter can also be fixed using double-sided tape.
7.2 Receiver
- Choose your installation spot. Keep in mind that the receiver needs a 230V power supply.
- Fix a screw or hook on the wall at the desired installation height. Do not screw fully into the wall but leave 0.5cm exposed.
- Hang the receiver onto the screw or hook.
Remark:
- Note that mounting on a concrete, metal or uPVC surface, near heat sources, and in damp environments will reduce the transmitting range.
8. Setting the Auto-Learning Code
This doorbell features an auto-learning function for ease of use. Remember that you will have to relearn the code after replacing the batteries in the transmitter or repowering the receiver.
EDB6
8.1 Using the Receiver with a Single Transmitter
- Power both the transmitter and receiver (see above).
- Press the button once on the transmitter. The receiver will automatically learn and memorize the code.
- The transmitter and receiver are ready-for-use.
8.2 Using the Receiver with a Multiple Transmitters
- Pair the first transmitter to the receiver as explained above.
- Next, press the auto-learning button once on the receiver.
- Press the button once on the second transmitter. The receiver will automatically learn and memorize the code.
- Operate in the same way for all subsequent transmitters.
Remark:
- The receiver can be paired to a maximum of five transmitters.
8.3 Code Interference
In case of code interference, please proceed as follows:
- Disconnect the power supply to the receiver and wait for 30 seconds.
- Reconnect the power supply and restart the learning procedure.
9. Cleaning and Maintenance
The doorbell does not need any particular maintenance. However, it is advisable to clean it occasionally to keep it looking like new.
10. Troubleshooting
If the receiver does not chime, please check the following:
- Flat batteries in the transmitter. Replace the batteries.
- Make sure the receiver is well connected to the power supply.
- Check the battery polarity in the transmitter.
- Units are out of range. Lessen the distance between transmitter and receiver.
EDB6
11. Technical Specifications
| power supply | ||
| transmitter | 1 x alkaline 23 A / 12 V battery (incl.) | |
| receiver | 230 V~, 50 Hz (power cable not incl.) | |
| operating temperature | -30 °C to +40 °C | |
| operating distance | up to 100 m (in open field) | |
| sound type | authentic doorbell sound | |
| digital code | auto-learning | |
| dimensions | ||
| transmitter | 8.7 x 3.7 x 1.7 cm | |
| receiver | 16.5 x 10.3 x 4.5 cm | |
| options | ||
| extra transmitter | EDB6/TX | |
Use this device with original accessories only. Velleman nv cannot be held responsible in the event of damage or injury resulting from (incorrect) use of this device. For more info concerning this product and the latest version of this manual, please visit our website www.perel.eu. The information in this manual is subject to change without prior notice.
© COPYRIGHT NOTICE
The copyright to this manual is owned by Velleman nv. All worldwide rights reserved. No part of this manual may be copied, reproduced, translated or reduced to any electronic medium or otherwise without the prior written consent of the copyright holder.
GEBRUIKERSHANDLEIDING
1. Inleiding
- fácil instalación sin daños gratías al sistema inalámbrico
- con sistemas anti-interferencias para evaporar interferencias causadas por otros aparatos
- auténtico sonido de timbre
-illerys - acquirements
- acquirements
- acquirements
- acquirements
- acquirements
- acquirements
- acquirements
- acquirements
- acquirements
- acquirements
- acquirements
- acquirements
- acquirements
- acquirements
- acquirements
- acquirements
- acquirements
- acquirements
- acquirements
- acquirements
- acquirements
- acquirements
- acquirements
- acquirements
- acquirements
- acquirement
- resistente a la intemperie
5. Descripción
Velleman® Service and Quality Warranty
Since its foundation in 1972, Velleman® acquired extensive experience in the electronics world and currently distributes its products in over 85 countries.
All our products fulfil strict quality requirements and legal stipulations in the EU. In order to ensure the quality, our products regularly go through an extra quality check, both by an internal quality department and by specialized external organisations. If, all precautionary measures notwithstanding, problems should occur, please make appeal to our warranty (see guarantee conditions).
General Warranty Conditions Concerning Consumer Products (for EU):
- All consumer products are subject to a 24-month warranty on production flaws and defective material as from the original date of purchase.
- Velleman® can decide to replace an article with an equivalent article, or to refund the retail value totally or partially when the complaint is valid and a free repair or replacement of the article is impossible, or if the expenses are out of proportion.
You will be delivered a replacing article or a refund at the value of 100% of the purchase price in case of a flaw occurred in the first year after the date of purchase and delivery, or a replacing article at 50% of the purchase price or a refund at the value of 50% of the retail value in case of a flaw occurred in the second year after the date of purchase and delivery.
- Not covered by warranty:
- all direct or indirect damage caused after delivery to the article (e.g. by oxidation, shocks, falls, dust, dirt, humidity...), and by the article, as well as its contents (e.g. data loss), compensation for loss of profits;
- consumable goods, parts or accessories that are subject to an aging process during normal use, such as batteries (rechargeable, non-rechargeable, built-in or replaceable), lamps, rubber parts, drive belts... (unlimited list);
- flaws resulting from fire, water damage, lightning, accident, natural disaster, etc....;
- flaws caused deliberately, negligently or resulting from improper handling, negligent
maintenance, abusive use or use contrary to the manufacturer's instructions;
- damage caused by a commercial, professional or collective use of the article (the warranty validity will be reduced to six (6) months when the article is used professionally);
- damage resulting from an inappropriate packing and shipping of the article;
- all damage caused by modification, repair or alteration performed by a third party without written permission by Velleman®.
- Articles to be repaired must be delivered to your Velleman® dealer, solidly packed (preferably in the original packaging), and be completed with the original receipt of purchase and a clear flaw description.
- Hint: In order to save on cost and time, please reread the manual and check if the flaw is caused by obvious causes prior to presenting the article for repair. Note that returning a non-defective article can also involve handling costs.
- Repairs occurring after warranty expiration are subject to shipping costs.
- The above conditions are without prejudice to all commercial warranties.
The above enumeration is subject to modification according to the article (see article's manual).