524 VSA Premium - Tondeuse à gazon AL-KO - Free user manual and instructions
Find the device manual for free 524 VSA Premium AL-KO in PDF.
Download the instructions for your Tondeuse à gazon in PDF format for free! Find your manual 524 VSA Premium - AL-KO and take your electronic device back in hand. On this page are published all the documents necessary for the use of your device. 524 VSA Premium by AL-KO.
USER MANUAL 524 VSA Premium AL-KO
AL-KO KOBER G ROUP Kotz, Germany
This docum entation is allowed to-also in excerpts-only with express authorization of the A L-KO KOBER GR OUP duplicates or third
accessible is done. Technical alterations of influence of the function reservations.
2 Original-BetriebsanleitungNotice
470 591_c 21GB Petrol lawnmower
A b o u t th is h a n d b o o k
■ Read through these operating instructions before
starting up the machine. This is a prerequisite for
safe and trouble-free working. Before use, familiar-
ize yourself with the control elements and the cor-
rect use of the machine.
■ You should save these instructions, and also pass
them on to any subsequent users.
■ Observe the safety and warning signs on the
Safety and protection devices22
Starting electrically (optional]30
Maintenance and ca re32
Faults and rem edies34
EC declaration of conformity35
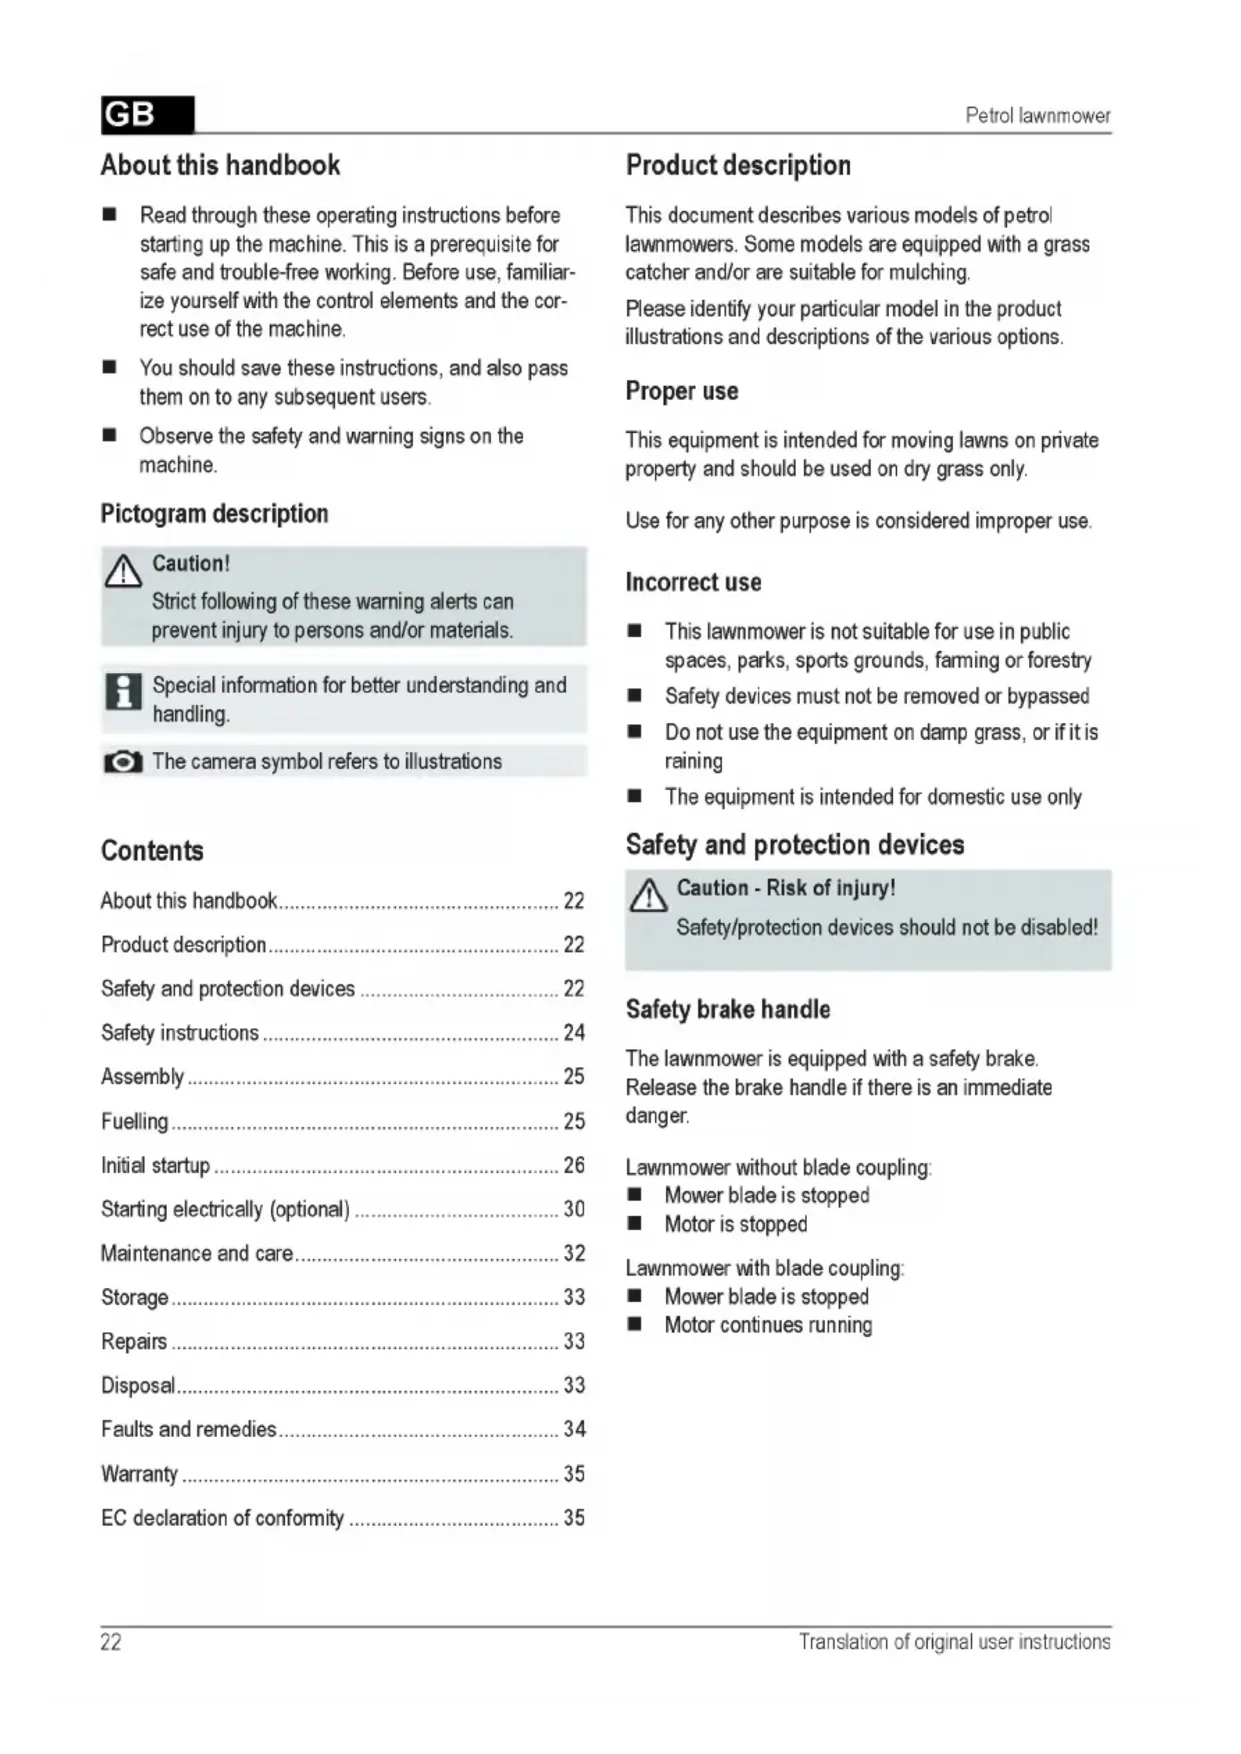
P r o d u c t d e s c r ip tio n
This document describes various models of petrol
lawnmowers. Some models are equipped with a grass
catcher and/or are suitable for mulching.
Please identify your particular model in the product
illustrations and descriptions of the various options.
This equipment is intended for moving lawns on private
property and should be used on dry grass only.
Use for any other purpose is considered improper use.
■ This lawnm ower is not suitable for use in public
spaces, parks, sports grounds, farming or forestry
■ Safety devices must not be removed or bypassed
■ Do not use the equipment on damp grass, or if it is
■ The equipm ent is intended for domestic use only
S a f e t y a n d p r o te c tio n d e v ic e s
S a fe ty b ra ke h an d le
The lawnm ower is equipped with a safety brake.
Release the brake handle if there is an immediate
Lawnmower without blade coupling:
■ Mower blade is stopped
Lawnmower with blade coupling:
■ Mower blade is stopped
■ Motor continues running
Strict following of these warning alerts can
prevent injury to persons and/or materials.
Special information for better understanding and
The camera symbol refers to illustrations
Caution - Risk of injury!
Safety/protection devices should not be disabled!
Translation of original user instructionsGB D e fle c to r p late
The deflector plate provides protection against any projectiles thrown up.
1 Starter cable 9 Cutting height adjustment*
2 Start, stop* 10 Blade coupling*
7 Deflector plate* 15 Mulch kit*
8 Grass catcher* * depending on version
Sym bo ls on the device
Be particularly careful when handling.
GB Rem ove the spark plug connector before
working on the cutting gear.
Before initial startup read the instructions for use! Release the motor brake.
A Keep other people out of the danger area!
Switch on the wheel drive.
Keep hands and feet away from the cutting gear! ^ / o Rem ote throttle control Start / Stop.
Keep aw ay from the danger area.
A dd itional sym bols on law nm ow ers with
A Caution! Risk of electric shock.
A Keep the connection line away from the m ower
If the cable is damaged, or when carrying out
maintenance work, always disconnect the
equipment from the mains supply.
S a fe t y in s tr u c t io n s
Use the equipm ent only if it is in correct operating
Safety/protection devices should not be disabled!
A Caution - risk o f fire!
After fuelling, do not store the m achine in
buildings where the petrol fumes might come into
contact with naked flam es or sparks!
Keep the area around the motor, exhaust, battery
case, and fuel tank clear of grass cuttings, petrol
■ Keep other people out of the danger area
■ The machine operator or user is responsible for any
accidents affecting other people or their property
■ Children, or any persons who have not read these
operating instructions, should not be allowed to use
■ Follow the local regulations regarding the minimum
age for operators of this type of machine
■ Do not use the equipment if under the influence of
alcohol, drugs or medication
■ W ear appropriate work clothes
■ Hard, non-slip shoes
■ Hearing protection
■ If working on slopes
■ always m ake sure you are positioned securely
■ always work across the slope, never upward
■ do not work on slopes where the gradient is
■ Take particular care when turning
■ Only use the lawnmower if there is sufficient
daylight or artificial lighting
■ Keep the body, limbs and clothing away from the
■ Follow the hours of use regulations applying in the
■ Do not leave the equipment unattended when ready
■ Only use the lawnmower if the m ower blade is sharp
■ Do not operate the equipment if the safety devices /
protective grilles are dam aged
■ Never operate the equipm ent if the safety devices
are not fully assembled (e.g. deflector plate, grass
■ Before each use, check the equipm ent for damage;
replace any dam aged parts before using again
■ Switch off the motor, wait for the equipm ent to
com e to a standstill, then pull out the spark plug
■ if leaving the equipment unattended
■ if a fault has occurred
■ before clearing blockages
■ before removing obstructions
■ if the lawnm ower has run into foreign objects
■ if malfunctions or unusual vibrations occur on
Check the lawnm ower for damage, and carry out
the necessary repairs before restarting or using
the lawnm ower again.
■ Insert the spark plug connector and start the motor
■ after correcting the fault (see Faults table) and
checking the equipment
■ after cleaning the equipment
■ Carefully check the ground to be mowed, and
rem ove any foreign objects
■ Take particular care when turning the lawnmower
around, or if pulling it towards you
■ Do not mow over obstacles
(such as branches, tree roots)
Translation of original user instructionsGB
Remove cuttings only when the m otor has stopped ■ Store petrol and oil only in containers intended for
Switch off the motor / mower blade when passing
over areas other than those that have to be mowed ■ Only add or drain oil in the open air, and when the
Never lift or carry the equipment while the motor is
motor has cooled down
running ■ Do not add petrol or oil while the motor is running
Do not eat or drink when topping up the petrol or ■ Do not overfill the tank (petrol expands]
■ Do not smoke when refuelling
Do not inhale the petrol fumes
■ Do not open the tank lock when the motor is
Move the m achine at walking speed
Before use, ensure that all nuts, screws and bolts
■ Replace the tank or tank lock if damaged
are securely fastened.
■ Always close the tank cap firmly
■ If petrol has been spilt:
Follow the accompanying assembly instructions.
The equipm ent can be used only after complete
Fill the lawnmow er with fuel before the initial startup.
^ W arning - risk of fire!
Petrol and oil are highly inflammable!
I I Always observe the operating instructions sup-
plied by the motor manufacturer.
O p e ra tin g flu id s
G rade Regular petrol /
Never leave a motor running in an enclosed
space. Toxic hazard!
■ Do not start the motor
■ Do not start the equipment
■ Clean the equipment
■ If motor oil has been spilled:
■ Do not start the motor
■ Soak up the spilled oil with an oil binding agent
and dispose of appropriately
■ Clean the equipment
□ Used oil should not be:
■ disposed of with domestic rubbish
■ poured into the sewage system, drains, or
W e recommend to collect the used oil in a closed
container and to deliver it to a suitable recycling or
1. Unscrew the tank cap, and keep in a clean place.
2. Pour in petrol using a funnel.
3. Firmly replace the cap on the filler opening and
A d d in g m o to r o il
1. Unscrew the filler cap, and keep in a clean place.
2. Pour in oil using a funnel.
3. Firmly replace the cap on the filler opening and
The equipm ent should not be used if the cutting
gear and/or fastenings are loose, dam aged or
Carry out a visual inspection before each start-
K * 1 The cam era symbol on the following page refers
to the illustrations on Page 4 -7.
A d ju s tin g th e c u ttin g h eig h t
Central adju stm ent (CJ 1)
1. Press and hold the central height adjustment knob
■ For shorter grass, press the central adjustment
handle downward ( O 1/2)
■ For longer grass, pull the central adjustment
handle upward ( n 1/2)
■ The central height adjustment level is indicated
2. Release the knob at the desired cutting height.
A xle adjustm ent o r central ad ju stm ent ( O 2, 3)
1. To release the lever, press to the side and hold.
2. Push the lever to the left or right to select the
desired cutting height.
3. Let the lever click into position.
4. Check that all wheels are set to the same position.
Quick adjustm ent of individ ual wheels
or axle ad justm ent
1. To release the lever, press to the side and hold.
2. Push the lever to the left or right to select the
desired cutting height.
3. Let the lever click into position.
4. Check that all wheels are set to the same position.
In d iv id u a l w h e e l a d ju s tm e n t ( a 5)
1. Loosen the wheel bolt.
2. Insert the wheel bolt in the hole corresponding to
the desired cutting height.
3. Tighten the wheel bolt.
4. Check that all wheels are set to the same position.
C e n tra l a x le a d ju s tm e n t ( c i 6)
1. Place a thumb at each end of the axle.
2. Place the fingers under the mower housing.
3. Using both thumbs, press the axle out of its present
height setting notch.
4. Using both thumbs, push the axle to the desired
height setting notch, then allow it to engage.
5. Check that all wheels are set to the same position.
Caution - Risk o f injury!
Adjust the cutting height only with the motor
switched off and when the m ow er blade has
com e to a standstill.
■ Always set all the wheels to the same cutting
■ Cutting height adjustment depends on the
Translation of original user instructionsGB M o w in g w ith th e g ra s s c a tc h e r
1. Lift the deflector plate and insert the grass catcher
in the holders (C l 8).
F ill le ve l in d ic ato r
The fill level indicator is pushed upward by the air flow
If the grass catcher is full, the indicator points to the box
(C l 7b). The grass catcher must be emptied.
E m p ty in g th e g ra s s ca tc h e r
1. Lift the deflector plate.
2. Unhook the grass catcher and pull backward to
3. Empty the grass catcher.
4. Lift the deflector plate and insert the grass catcher
M u lc h in g w ith th e m u lc h k it (o p tio n al)
W hen mulching, the grass cuttings are not collected, but
are left on the lawn. The grass mulch prevents the soil
from drying out, and supplies it with nutrients.
The best results are obtained by cutting back regularly
by about 2 cm. Only young grass with a soft leaf texture
■ Grass height before mulching: 8 cm maximum
■ Grass height after mulching: 4 cm minimum
Adapt your walking pace to the mulching process,
do not walk too fast.
Inserting the mulch kit
Caution - R isk of injury!
Insert/remove the mulch kit only with the motor
switched off and when the m ower blade has come
1. Remove the grass catcher
2. Lift the deflector plate and insert the mulch kit in the
It must lock into place.
^ C aution - Risk o f injury!
Attach/detach the grass catcher only when the
motor is switched off and the mower blade has
com e to a standstill.
If the mulch kit is not locked into position, both the
mulch kit and the m ower blade may be damaged.
M o w in g w ith o u t th e g ra ss ca tc h e r
Only work without the grass catcher if the
deflector plate torsion spring is working correctly.
The deflector plate is held to the mower housing by
spring force. This causes the mowed grass to be thrown
backward and downward.
Rem ovin g the m ulch kit
1. Lift the deflector plate.
2. Release the lock on the mulch kit ( a 10/1).
3. Pull out the mulch kit
Caution - risk o f injury!
Attach/detach the side outlet only when the motor
is switched off and the mower blade has com e to
Inserting th e side outlet
1. Remove the grass catcher and insert the mulch kit.
2. Fold up the side outlet cover and hold it ( O 11/1].
3. Insert the side outlet duct (C l 11/2].
4. Slowly close the cover.
The cover holds the side outlet duct and prevents
Rem oving the side outlet
1. Fold up the side outlet cover and hold it (C l 11/1].
2. Remove the side outlet and close the cover
S e ttin g th e h a n d le h e ig h t (o p tio n al)
1. Press and hold both knobs on the handlebar and
select the desired position (C l 12/1].
2. Release the knobs to lock the handlebar in position.
1. Hold the bar and loosen both clamps (C l 12/2].
2. Move the bar to the desired position
S ta rtin g th e m o to r
Caution - risk of poisoning!
Never leave a motor running in an enclosed
Caution - Risk of injury!
Do not tilt the lawnmower while starting.
■ Start the motor only when the blade is mounted
(the blade acts as a flywheel mass]
■ If starting the motor when hot do N O T use the
choke or primer button
■ Do not change the motor controller settings
■ Do not start the equipment if the outlet shaft is not
covered by one of the following parts:
■ Be particularly careful when operating the starter
switch - follow the manufacturer's instructions
■ Keep your feet at a safe distance from the cutting
■ Start the lawnm ower w here the grass is shorter
Position sym bols on the equipm ent:
* depending on version
Translation of original user instructionsGB S ta rtin g m a n u a lly
w itho u t rem ote th ro ttle control, with choke
2. Pull in the safety brake handle on the handlebar and
17) - the brake handle does not lock.
3. Pull out the starter cord sharply, then allow it to
4. When the motor has warmed up (about 15-20
seconds), set the choke to position 2
Motor speed (rpm value) is fixed.
Motor speed cannot be adjusted.
1. Set the throttle lever to position IM (CJ 14/1).
2. Pull in the safety brake handle on the handlebar and
hold it ( O 17) - the brake handle does not lock.
3. Pull out the starter cord sharply, then allow it to
slowly rewind ( O 18).
4. When the motor has warmed up (about 15-20
seconds), set the throttle lever to a position
between 'flt5 and O (C l 14/2).
w ith rem ote thro ttle con trol, w ith out p rim er/choke
2. Pull in the safety brake handle on the handlebar and
17) - the brake handle does not lock.
1. Pull out the starter cord sharply, then allow it to
5. Set the throttle lever to position <5? ( a 20/1).
6. Pull in the safety brake handle on the handlebar and
hold it ( a 17) - the brake handle does not lock.
7. Pull out the starter cord sharply, then allow it to
slowly rewind ( a 18).
8. When the motor has warmed up (about 15-20
seconds), set the throttle lever to a position
between ^ and O ( O 20).
Motor speed (rpm value) is fixed.
Motor speed cannot be adjusted.
w itho u t rem ote th ro ttle control, w ithout prim er/
2. Pull in the safety brake handle on the handlebar and
17) - the brake handle does not lock.
3. Pull out the starter cord sharply, then allow it to
Motor speed (rpm value) is fixed.
Motor speed cannot be adjusted.
470 591_c 29GB Petrol lawnmower
1. Set the throttle lever to position <5?
3. Pull in the safety brake handle on the handlebar and
17) - the brake handle does not lock.
4. Pull out the starter cord sharply, then allow it to
5. As soon as the motor starts running, set the throttle
lever for the desired motor rpm, at a position
1. S et the throttle lever to the "START" position
2. Pull in the safety brake handle on the handlebar and
17) - the brake handle does not lock.
3. Turn the ignition key fully to the right in the ignition
4. As soon as the motor starts running, release the
ignition key (it returns automatically to position "0").
5. According to the desired motor speed, set the
throttle lever to a position between and = 0 -
1. Set the throttle lever to the "START" position
10 °C, press the primer button 5 times.
3. Pull in the safety brake handle on the handlebar and
hold it (C l 17) - the brake handle does not lock.
4. Turn the ignition key fully to the right in the ignition
5. As soon as the motor starts running, release the
ignition key (it returns automatically to position "0").
6. According to the desired motor speed, set the
throttle lever to a position between and O
With the blade coupling, the mower blade can be engaged
or disengaged while the motor is running.
En gaging the blade coupling
1. Pull in the safety brake handle on the handlebar
17) - The brake handle does not
2. Push the coupling lever away from you
- The blade coupling is engaged.
Disengaging the blade coupling.
3. R elease the safety brake handle ( a 25).
- The blade coupling is disengaged.
- The coupling lever moves to rest position
Translation of original user instructionsGB T urn th e m o to r o ff
Law n m ow er w ith o ut blade coupling
1. Set the throttle lever to position O
2. R elease the safety brake handle
- The motor is switched off.
Caution - danger o f serious cut injuries!
The motor may continue running. After switching
off, make sure the motor has stopped turning.
W h e e l d riv e (o p tio n a l) ( n 22]
Engage the transmission only when the motor is
Sw itching on the w heel drive
1. Press the transmission control handle against the
handlebar and hold it (C l 22] - the transmission
control handle does not lock.
- The wheel drive is switched on.
Sw itching o ff the w hee l drive
Law n m ow er w ith blade coupling 1 Release the transmission contro handle (° 2 4 ].
- The wheel drive is switched off.
1. R elease the safety brake handle ( O 25].
2. Set the throttle lever to position O
- The motor is switched off.
Caution - d an g er of serious cut injuries!
The motor may continue running. After switching
off, make sure the motor has stopped turning.
V a rio tr a n s m is s io n (S pe e d C o n tro l) (o p tio n al)
The Vario transmission allows continuous variation of the
ground speed of the lawnmower.
Operate the lever only when the motor is running.
Operating the lever without the motor drive may
damage the drive mechanism.
■ To increase the speed, pull the lever
■ To lower the speed, pull the lever
B Always adjust the ground speed to suit the current
ground and lawn conditions.
470 591_c 31GB Petrol lawnmower
M a in te n a n c e a n d c a re
A Caution - R isk of injury!
■ Before carrying our any care or maintenance
work, always switch off the motor and pull out
the spark plug connector.
■ The motor may continue running. After switching
off, m ake sure the motor has stopped turning.
■ Always w ear working gloves when carrying out
maintenance or repair work.
■ Check the grass catcher regularly for wear, and to
ensure it is working correctly
■ Clean the equipment after each use
■ Do not wash the equipment by hosing or spraying
W ater infiltration can cause faults (in the ignition
system, carburettor)
■ Check the m ower blade regularly for dam age
■ Always replace the muffler if faulty
T iltin g th e la w n m o w e r
Depending on the motor manufacturer:
■ the carburettor / air filter must be facing upward
■ the spark plug must be facing upward ( n 27)
R e s h a rp e n in g /re p la c in g th e m o w e r b la de
C h a rg in g th e s ta rte r b a tte ry (o p tio n al)
The starter battery is maintenance-free and is normally
charged by the lawnmower.
In certain cases, however, the battery will need to be
charged by the user:
■ Before the initial start-up of the lawnmower
■ If discharged, before the winter season, or if left
unused for long periods (> 6 months)
1. Take the battery charger out of the battery box.
2. Disconnect the battery cable from the motor cable
3. Connect the battery cable with the charger cable
4. Connect the charger to the mains supply.
The mains voltage must match the operating
voltage of the charger.
The required charging time is about 36 hours.
Use only the original battery charger supplied.
Follow the operating instructions of the motor
■ Blunt or dam aged blades should be
resharpened / replaced only at a service point or by
an authorised specialist
■ Resharpened blades must be rebalanced
Blades that have not been rebalanced can cause
serious vibrations, and may result in dam age to
■ Charge the starter battery only in dry, well-
■ Do not start up the lawnmower while the battery
Translation of original user instructionsGB C a re o f th e m o to r
C hanging th e m otor oil
1. Have a suitable container ready to collect the used
2. Drain or suction off all the oil through the oil filler
C hanging th e air filter
■ Follow the instructions of the manufacturer of the
C hanging th e spark plug
■ Follow the instructions of the manufacturer of the
W h e e l d riv e (o p tio n al)
A djusting the Bow den cable
If the wheel drive can no longer be switched on or off
while the motor- is running, the related Bowden cable
needs to be adjusted.
1. Turn the adjuster on the Bowden cable in the
direction of the arrow ( O 30).
2. To test the cable setting, switch on the motor and
switch on the wheel drive.
3. If the wheel drive is still not working, the lawnmower
must be taken to a service point or an authorised
L u b ric a tin g th e d riv e pin io n
■ Allow the motor to cool down
■ To save storage space, fold the handlebar down
■ Store the equipm ent in an area which is kept dry,
and which cannot be accessed by children or
unauthorised persons
■ Store the starter battery where it will be protected
■ Recharge the starter battery from tim e to time
■ Drain the fuel tank
■ Pull out the spark plug connector
Repairs should be carried out only by a service point or
an authorised specialist.
Do not disp ose o f old equipm ent,
batteries o r accum ulators as ho usehold
Machine, packaging, and accessories were made
with recyclable materials, and should be disposed of
■ From time to time, lubricate the dnve pinion on the
The wheel drive gearing is m aintenance free.
H Dispose of used motor oil in a manner that is
compatible with the environment!
W e recom mend to collect the used oil in a closed
container and to deliver it to a suitable recycling
Used oil should not be
■ disposed of with domestic rubbish
■ poured into the sewage system or drains
■ poured out onto the ground
Caution - risk of explosion!
Do not store the equipment where there are
naked flames or heat sources.
Adjust the Bowden cable only when the motor is
The motor shaft and m ower blade should not be aligned.
The motor does not start ■ Add petrol
■ Set throttle lever to "Start"
■ Switch on the choke
■ Press the motor switch at the handlebar
■ Spin the mower blade
■ Recharge the starter battery
■ Start on a surface already mowed
Motor power reduced ■ Adjust the cutting height
■ Resharpen / replace the m ow er blade
■ Clean the outlet shaft/housing
■ Clean the air filter.
■ Reduce the working speed
Lawnmower cuts unevenly ■ Resharpen/replace the mower blade
■ Adjust the cutting height
Grass catcher does not fill
■ Adjust the cutting height
■ Allow the lawn to dry
■ Resharpen/replace the mower blade
■ C lear the grille on the grass catcher
■ Clean the outlet shaft/housing
W heel drive does not work ■ Adjust the Bowden cable
■ Contact the service-workshop
■ Clean any dirt away from the wheel drive, toothed belt and gearing
■ Lubricate the freewheels (drive pinion on drive shaft) with spray oil
W heels do not turn when the
transmission is switched on
■ Retighten the wheel bolts
■ Contact the service-workshop
Unusually strong vibrations in
■ Check the mower blade
I I For faults not listed in this table, or which you cannot resolve by yourself, please contact our customer service.
Translation of original user instructionsGB
■ Always have the equipment checked out by a pro- E C d e c la r a t io n o f c o n f o r m it y
fessional in the following cases:
■ after bumping against an obstacle ■ see assembly instructions
■ if the motor stops suddenly
■ if there is damage to the transmission
■ if the V-belt is faulty
■ if the blade is bent
■ if there is warping of the motor shaft
If any material or manufacturing defects are found during the statutory customer protection period, w e will either
repair or replace the equipment, w hichever we consider the more appropriate. This statutory period may vary
according to the legislation in force in the country where the equipment was purchased.
Our warranty is valid only if: The warranty is no longer valid if:
■ The equipment has been used properly
The equipment has been tampered with
■ The operating instructions have been followed
Technical modifications have been m ade
■ Genuine replacem ent parts have been used
The equipment was not used for its intended purpose
(for example, used for commercial or communal
The following are not covered by warranty:
■ Paint dam age due to normal wear
■ W ear parts identified by a border lX X X X X X (X i1 on the spare parts list
■ Combustion motors - these are covered by a separate warranty from the manufacturer concerned
To make a claim under warranty, please take this statement of warranty and proof of purchase to the nearest
authorised customer service centre. This warranty does not affect the usual statutory rights of the customer relative to
A lm a c e n am ie n to
Regulagao central ( a 1)
Activar a tracfao as rodas
Desactivar a tracfao as rodas
A tracgao as rodas nao
CurypHocHe HanoMeHe136
O gp *aB ate u Hera144
yKo^MKo KoMnneT 3a Ma^HoBa^e He ycKoHu
H arn to a to e K o c a n e
O p is p ro d u k tu
N as m aro w a n ie zo bnika
P o p is v yro b k u
Allitsa be a bowdent
S ik k e rh e ts a n v is n in g e r
O h u tu s ju h is e d
dodoties prom no ierices
Ž e n k l^ pa aiškinim as
Tinkam as na udojim as
E le k trin is s ta r te ris ( p a s irin k tin is )
OnucaHue npogyKTa302
6aTapeu u Ton^MBHoro 6aKa - TaM He g0^*H 0
c HacToa^MM pyK0B0gcTB0M no ^KC^^yaTa^MM,
HacTpoMKa BbicoTbi c tpmkkm
nepeg oTMeTKoM HywHotf BbcoTb cipuMU u gaMie
oguHaKoByo Bbcoiy crpuwKU.
TaKMM 06pa30M, cKomeHHaa TpaBa Bb6pacbBaeTca
Ecnu KOMnneKT gna MynbMupoBaHua He
noBpe*geHMo KOMnneKTa gna MynbMupoBaHua u
CHflTue KoMnneKTa fln fl MynbHMpoBaHMfl
KpurnKa ^uKcupyeT KaHan 6oKOBoro Bu6poca, He
pyKoflTKa He $UKcupyeicfl.
3. Ebcipo BbTflHUTe ciapiepHbM Tpoc, a 3aieM gaMie
eMy HaMoiaTbcfl, MegneHHo oinycKafl ero
eMy HaMoiaTbcfl, MegneHHo oinycKafl ero
eMy HaMoiaTbcfl, MegneHHo oinycKafl ero
pyKoflTKa He ^UKcupyeicfl.
3. Ebcipo BbTflHUTe ciapiepHbM Tpoc, a 3aieM gaMie
eMy HaMoiaTbcfl, MegneHHo oinycKafl ero
gaMie eMy HaMoiaTbcfl, MegneHHo oinycKafl ero
1. ycTaH0BMTe pbMar ra3a b nono*eHue "nyCK"
1. ycTaH0BMTe pbMar ra3a b nono*eHue "nyCK"
pyKoaTKa He $MKcupyeTca.
P eryrw pyeM bM pegyKTop (KoH Tporb
PegyKTop KonecHoro npuBoga He Hy*gaeicfl b
BKnoMeHHOM pegyKTope
yCTpOMCTBO CnumKOM CunbHO Bu6pupyeT
giTaM Ta iHmuM oco6aM, ati He O3HaMoMneHi 3
■ flnfl cKomyBaHHfl Kopoimoi TpaBU HaiucHiTb
pyMKy 4eHTpanbHoro perynoBaHHfl bucotu
■ flnfl cKomyBaHHfl goBmoi TpaBU noTflrHiTb
Aki^ o KoMnneKT gna MynbmyBaHHa He
MynbmyBaHHa (O 10/1).
BcTaHOB^eHHa 60K0B0r0 BUKugy
yTpuMyMTe Ti (O 11/1).
3 flMcTaH^MHMM KepyBaHHflM ra3oM, 3 npaMMepoM
HoKoBa M y$Ta (onuin )
K0p00Ka nep eflan 3 M 0KnuBicTK
He BMuKaeTbca a6o He BuMuKaeTbca, Heo6xigHo
3. Ak^ o KonicHuM npuBig Bce ^ e He $yH^ioHye,
npuBog Konic He npa4oe ■ BigperynoBaTu Tpoc BoygeHa
■ He KoceTe Ha CKnoHOBe c HaKnoH noBene ot 20°
ce xpaHeTe u He nuMTe
HacTpoMKa Ha BuconuHaTa Ha KoceHe
CK0p0CT, He ce gBU*eTe MHoro 6bp30.
HacTp0MKa c tc 3aTnraHe
pa3CToaHue ot pe*e^ua uHCTpyMeHT
BunKa He ce $uKCupa.
BunKa He ce ^uKCupa.
BunKa He ce $uKCupa.
BunKa He ce ^uKCupa.
BunKa He ce $uKCupa.
UHTepBan ot 0K0n0 2 ceKyHgu
UHTepBan ot 0K0n0 2 ceKyHgu
BunKa He ce $UKCupa.
npegaBaT ereH M exaH u3tM "B a p u 0" (Speed
KombT 3a TpeBa He ce
KonecHuaT MexaHu3bM He
BKnoMeH npegaBaTeneH MexaHu3bM
^apaH^uaTa He noKpuBa:
ruleze u for (C l 18).
ruleze u for (C l 18).
Ix c m a pc to n apćv £YX£ipiS io
outc aTn YcwpYia Kai Tn
M š a a A £iT oup yia^
■ M nv £v£pYonoi£iT£ to motep
1. nićorc npo? to nAai Kai KpaTiiaTc naTnpćvo to
1. nićaTc npo? to nAai Kai KpaTiiaTc naTnpćvo to
A ^aip£a n kit KaAu^n^ £5apou?
KaTa Tnv EKKivnan tou 0epmou KivnTnpa, MH XpnaiMonoi£iT£ to took n to koumh! apxi<n?
N I D I TnAex£ipiaMĆ?
YKaZiOU pE TCTOK Nit?!
■ Ekkcvwotc to pcZcpPouap Pcvčjvn?
■ Ev£pYonoinaT£ to took
nym T ate bo pa6oTa376
EneKTpuMHo cTapTyBate (no u36op )
O gpw yB ate u H era382
Ee36egHocHuTe u 3amTuTHuTe ypegu He cMeaT
Ee36egHocHuTe u 3amTuTHuTe ypegu He cMeaT
A BHuMaHue - OnacHOcT Og nO^ap!
He nyBajie Ha MamuHaTa co nonH pe3epBoap
perynupafce Ha BMcMHaTa ( O 1/3)
p acJ pn yB ate Ha TpeBaTa (Cl 10/1).
pa c^pn yB ate Ha TpeBaTa caMo Kora MoTopoT e
■ He cipaTyBajTe ro anapaToT Kora KaHanoT 3a
Ho* ot m motophoto BpaTuno He cMeaT ga ce nopaMHaT.
M o to r y a g in in d o ld u ru lm a s i