
LivingColors 6916431PH - Remote control PHILIPS - Free user manual and instructions
Find the device manual for free LivingColors 6916431PH PHILIPS in PDF.
| Product type | Remote control |
| Brand | Philips |
| Model | LivingColors 6916431PH |
| Power supply | 3 AAA batteries (1.5 V) |
| Compatibility | Philips products with SmartLink logo (LivingColors, LivingWhites, LivingAmbiance) |
| Maximum number of connectable lamps | 50 |
| Main functions | Color selection via touch wheel, saturation adjustment, brightness dimming, automatic color change mode, 3 storable ambiances |
| Buttons | Lamp selection, on/off, ambiances (x3), saturation +/-, brightness +/- |
| Communication type | Wireless RF (2.405 - 2.475 MHz) |
| Protocol | IEEE 802.15.4 |
| Available channels | 11, 15, 20 or 25 |
| Operating temperature | 0 to 40 °C |
| Storage temperature | -25 to 60 °C |
| Relative humidity | 5 to 95% (non-condensing) |
| Maintenance and cleaning | Soft dry cloth, no cleaning products |
| Safety | Do not open, avoid moisture, keep out of reach of children |
| Warranty | 2 years (subject to conditions) |
| General information | Household use only; batteries to be recycled |
Frequently Asked Questions - LivingColors 6916431PH PHILIPS
User questions about LivingColors 6916431PH PHILIPS
0 question about this device. Answer the ones you know or ask your own.
Ask a new question about this device
Download the instructions for your Remote control in PDF format for free! Find your manual LivingColors 6916431PH - PHILIPS and take your electronic device back in hand. On this page are published all the documents necessary for the use of your device. LivingColors 6916431PH by PHILIPS.
USER MANUAL LivingColors 6916431PH PHILIPS
natural_image
Close-up of a Philips brand electronic device with circular lens and control buttons (no visible text beyond brand name)PHILIPS
natural_image
Black-and-white photo of a couple in bed, one laughing and the other embracing (no text or symbols visible)Content
EN......7
FR...... 11
DE......16
NL......21
NO ...... 25
DA....29
SV......33
FI 38
ES 42
PT .....46
IT......51
EL....55
TR......60
PL....64
CS 68
SK .....73
HU......77
LV....81
LT....86
ET......90
RU......94
UK .....98
KK......103
RO......107
SL....112
MK......116
BG......121
HR .....125
SR.....129
AR.....134
|
Incl.
natural_image
Simple line drawing of a closed book with a circular design on the cover (no text or symbols)

natural_image
Diagram of a mechanical component with curved arrows indicating motion or force direction (no text or symbols)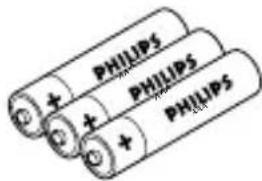
+
natural_image
Diagram of a mechanical component with concentric rings and radial arrows, no visible text or symbols+
a
natural_image
Illustration of a hand pressing a circular object with a lightbulb, no text or symbols present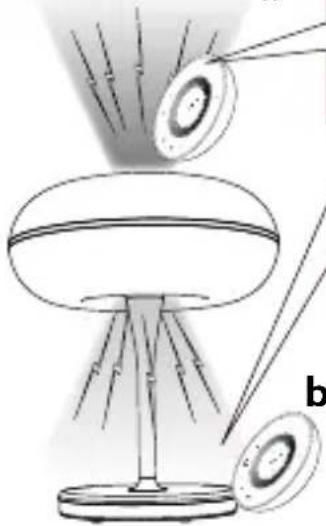
natural_image
Diagram of a lamp with light rays projecting onto a dome-shaped base, showing internal components and no text or symbols.b
2
natural_image
Diagram showing a circular object with concentric rings, a droplet on a surface, and a grid of dots (no text or symbols)

flowchart
graph TD
    A["ON"] --> B["5sec"]
    B --> C["60min"]
    C --> D["30min"]
    D --> E["Control Panel"]
3
4
natural_image
Simple line drawing of a table lamp with a glowing screen (no text or symbols)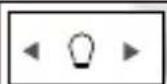
1
natural_image
Simple line drawing of a desk lamp with a base and a numbered label (no text or symbols on the lamp itself)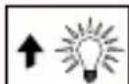


EN
Thank you for buying the Philips LivingColors remote control! It will help you connect different Philips LivingColors, LivingWhites and LivingAmbiance products to create the perfect ambience to suit the moment.
This manual will help you to...
- Get started
2 Create your personal ambience with light - Create lighting scenes
- Select and adjust individual lights
- Answer frequently asked questions
- Get additional support
1. Getting started
- Unpack the remote control.
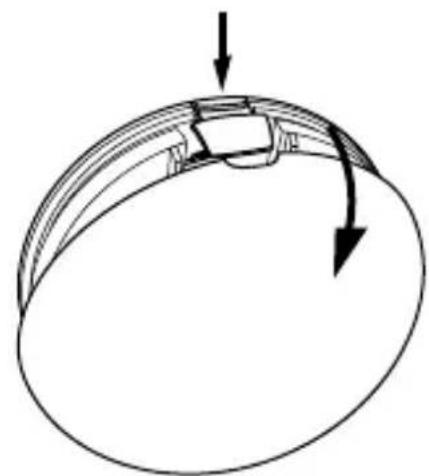
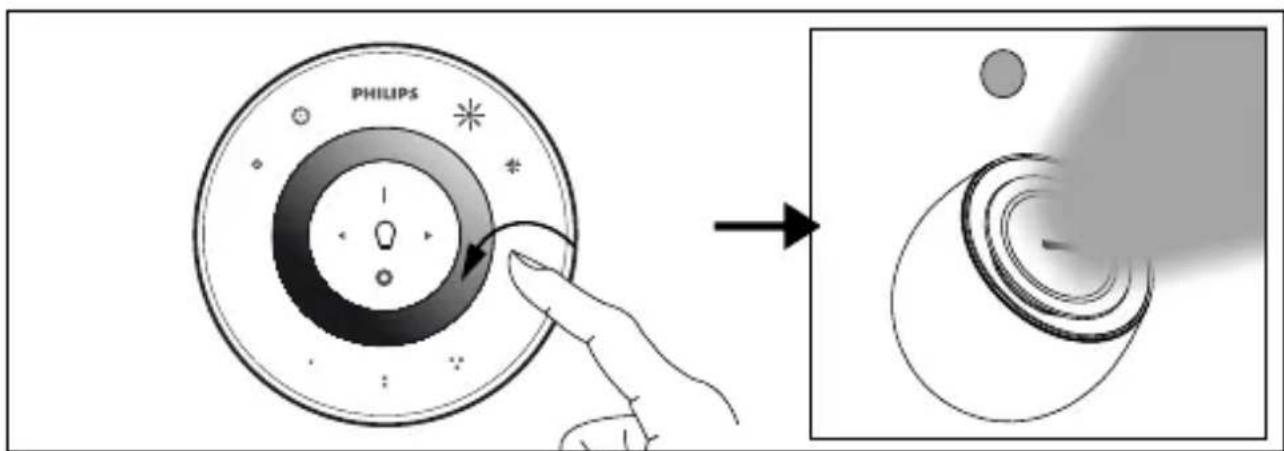
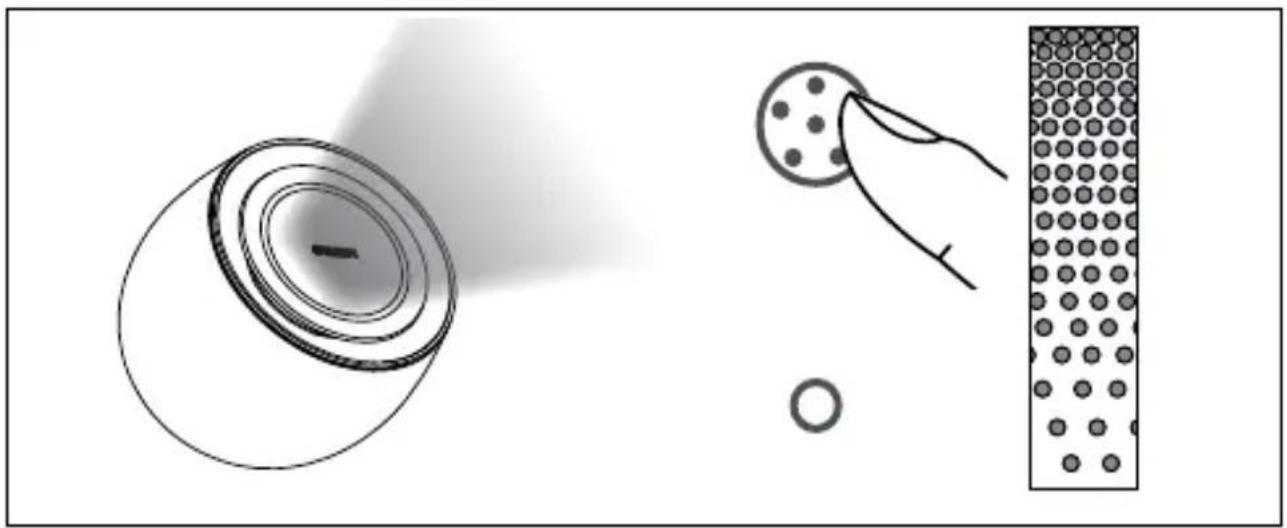
- Open the battery compartment of the remote control by pressing the button at the back. Insert the 3 AAA batteries (+ and - as indicated) included in the package.
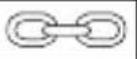
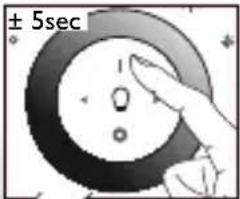
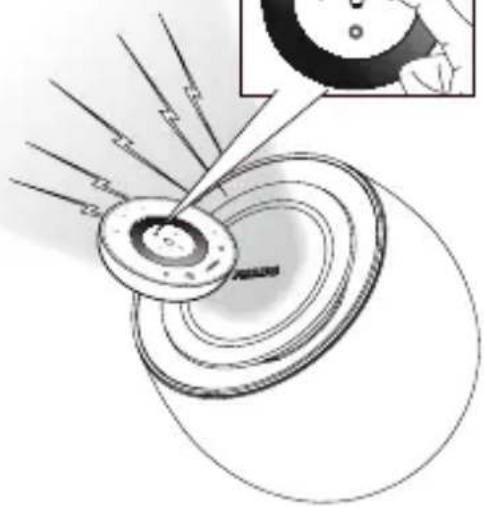
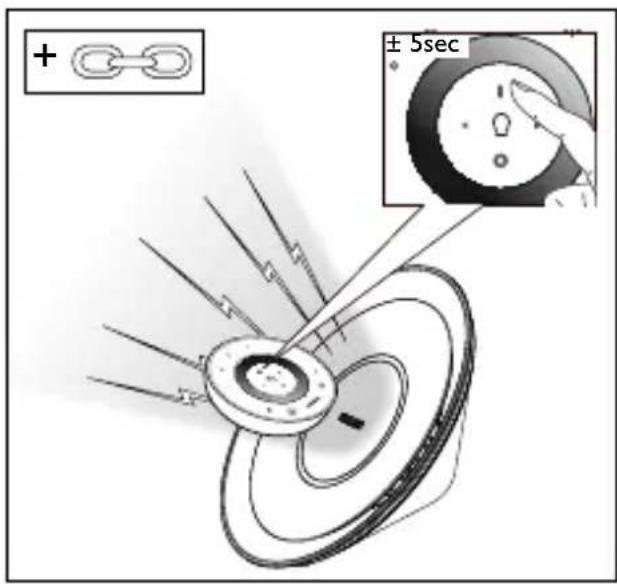
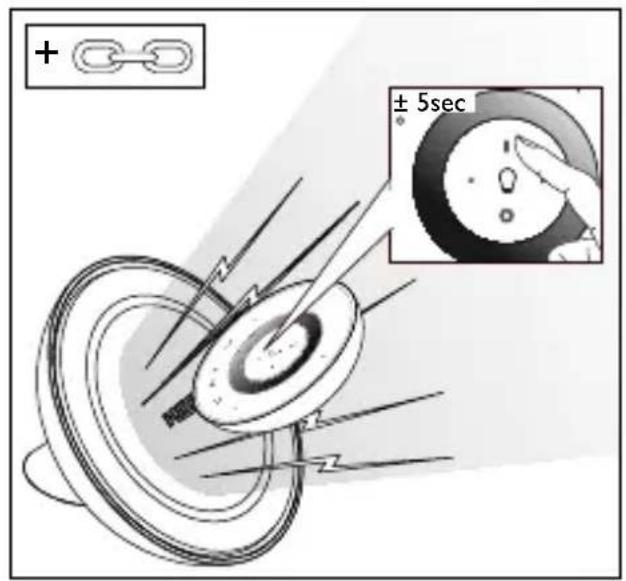
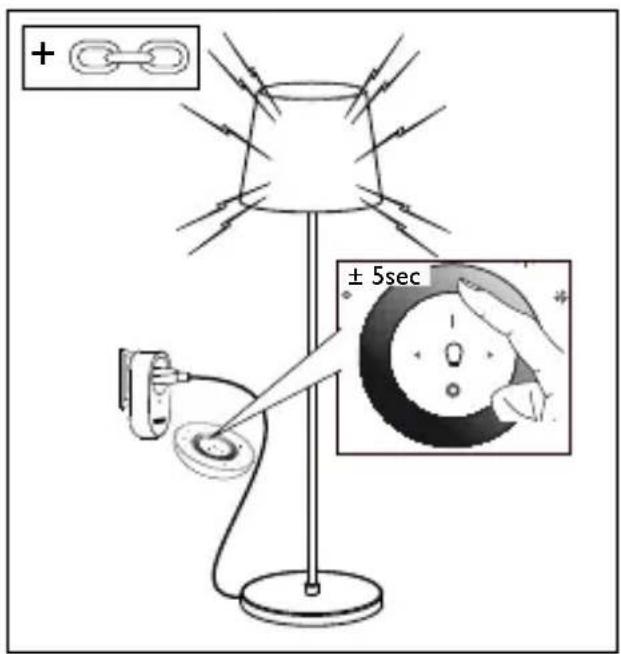
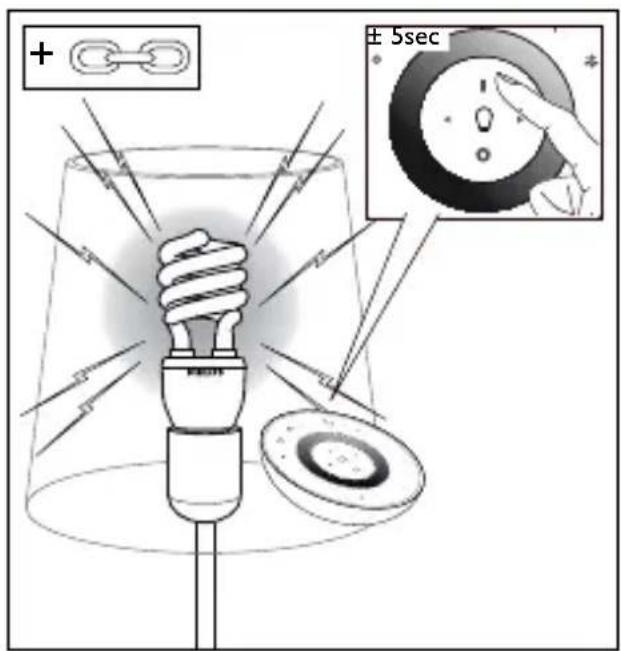
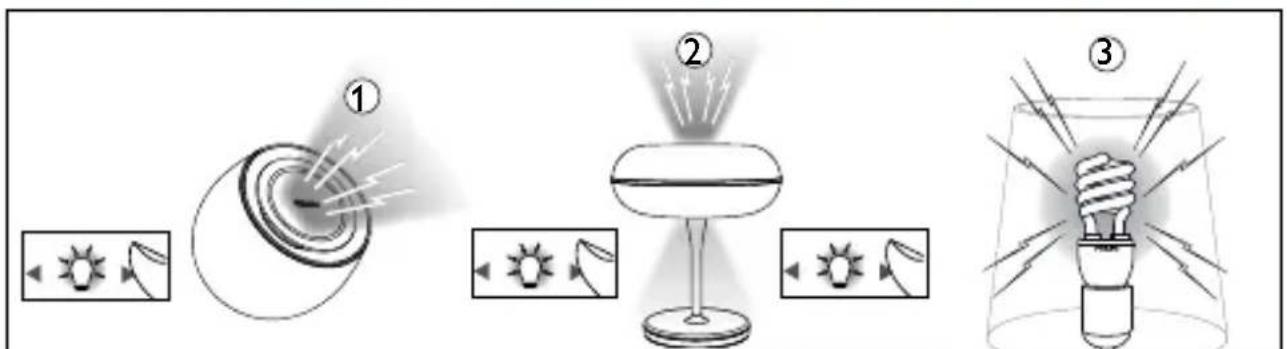
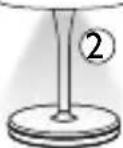
- Connect the remote control to the lamp(s) you'd like to control with it: bring the remote close to the LivingColors, LivingWhites or LivingAmbiance product; then press and hold the "I" button. The lamp will flash 3 times and then quickly flash green (if it is a coloured light lamp). Hold the "I" button until you hear a beep from the remote. The lamp is now connected to the remote control.
You can connect more lamps to the remote in the same way (up to 50 lamps can be connected).
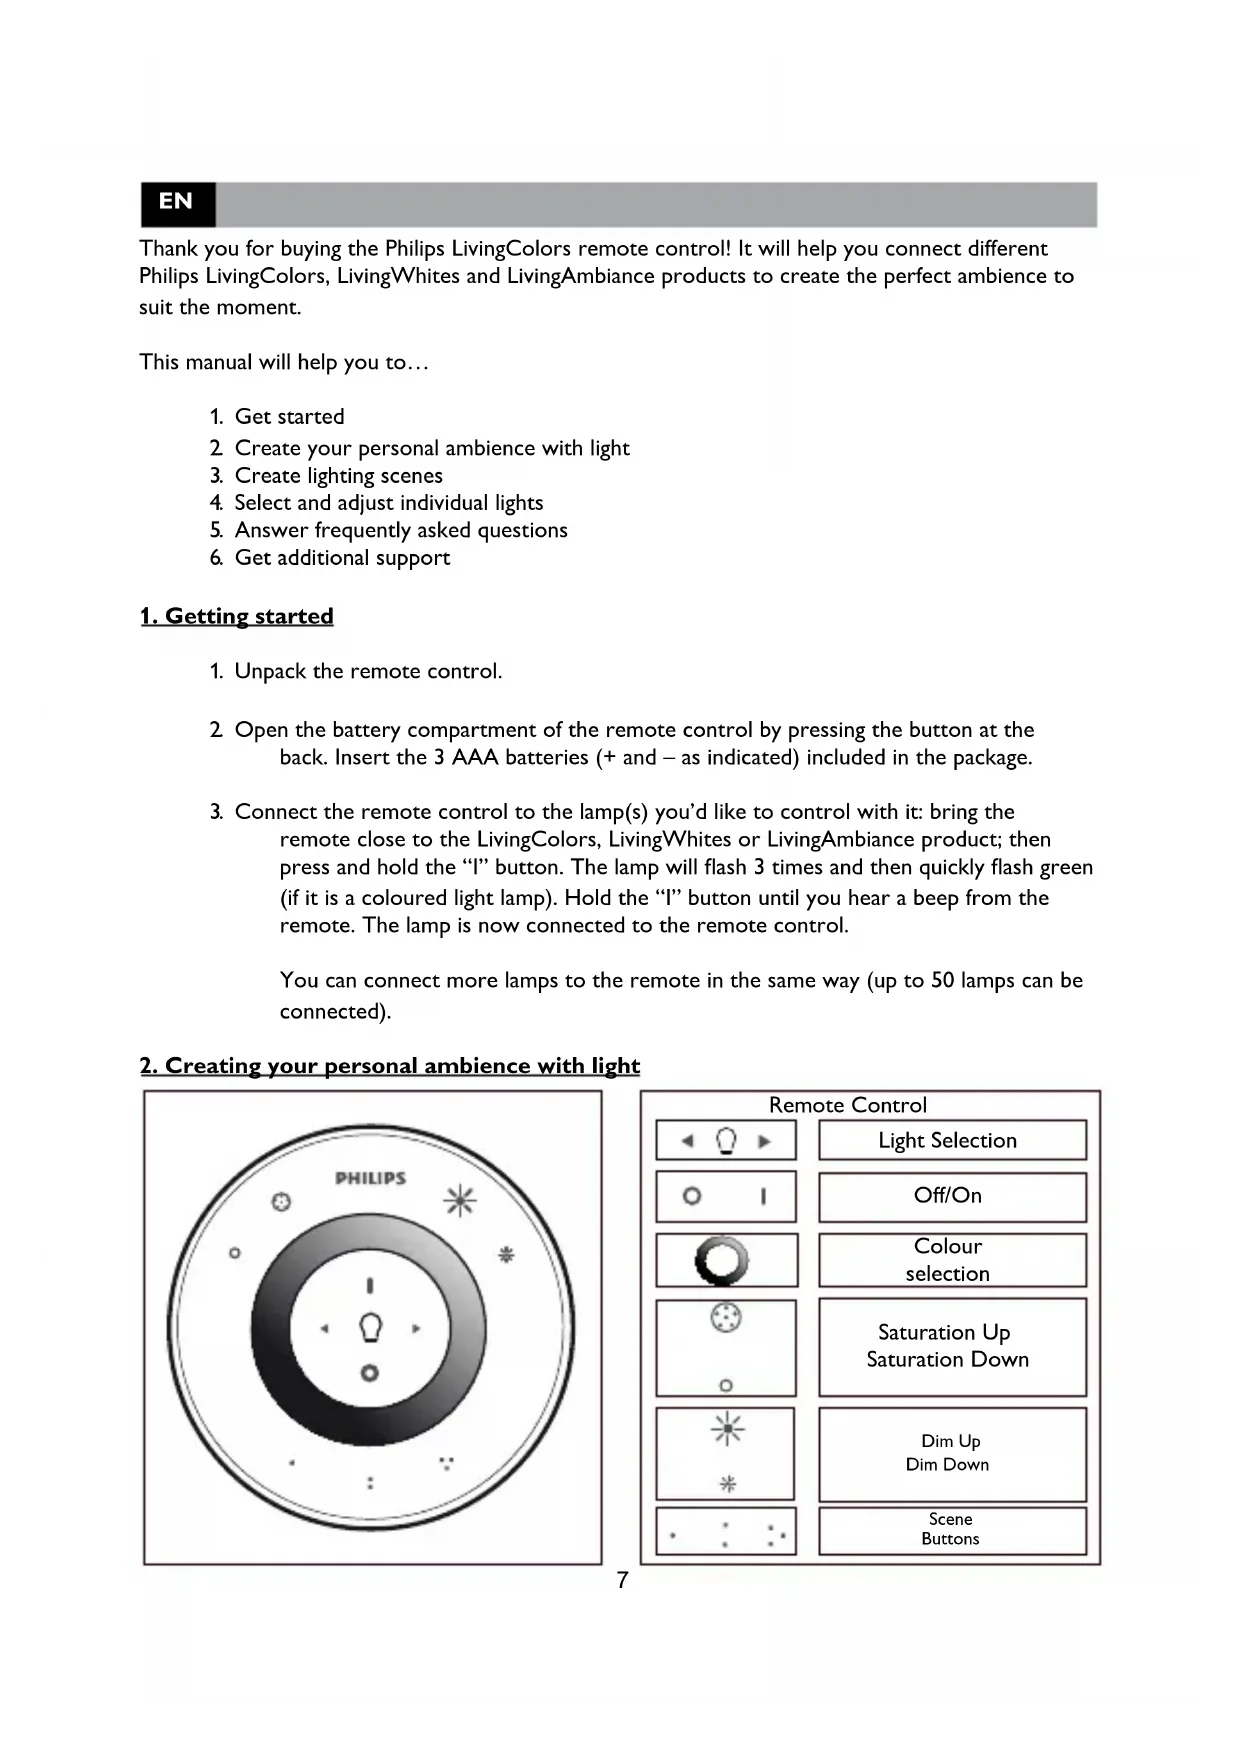
2. Creating your personal ambience with light

With LivingColors products, you can create your ambience by:
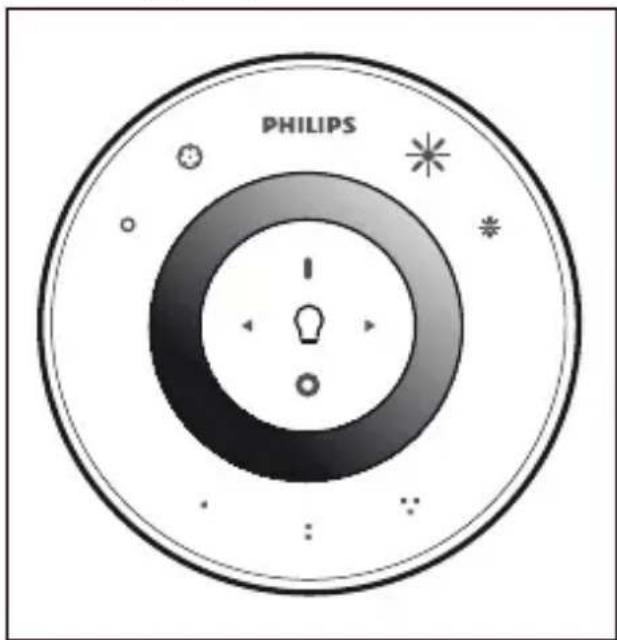
- Touching the desired colour on the colour wheel. You can move your finger over the colour wheel to refine the colour.
-
Changing the colour saturation (adding more white to the current colour). Press the saturation up button for a deep colour or the saturation down button for a more pastel colour. If you keep pressing the saturation down button, you will ultimately reach white.
-
Dimming. Increase or decrease the light intensity via the dimming buttons.
-
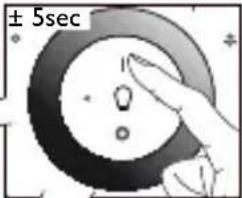
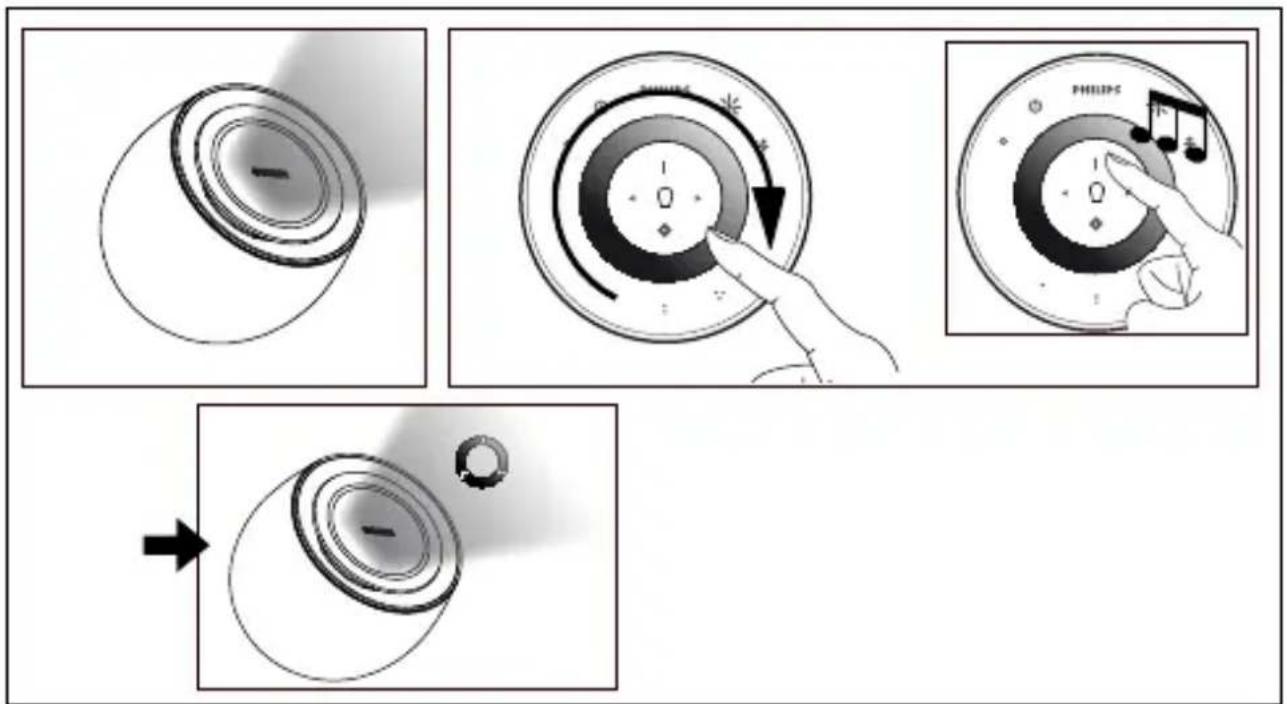
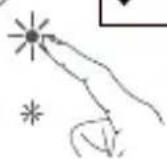
Starting the automatic colour-changing mode. Sweep your finger around the colour wheel (one full circle) and briefly press "l" ("On"); you will hear a beep, and LivingColors will switch to the automatic colour-changing mode: the lamp will start changing colours automatically.
You can adjust the speed at which colours change. Speed can be adjusted clockwise, from fast (dark blue colour on the colour wheel) to slow (purple). You can tap anywhere on the colour wheel. While in the automatic colour changing mode, you can also adjust the saturation and brightness of the colours.
To switch back to static colour mode, sweep around the colour wheel again (one full circle), then press "0".
- Switching lamps off ("0") and on ("1").
With LivingWhites products, you can create your ambience by dimming and switching lights on and off, as described above. When you switch off white light, it will slowly fade to off. If you would like to switch it off immediately, press the "0" button again.
3. Creating lighting scenes
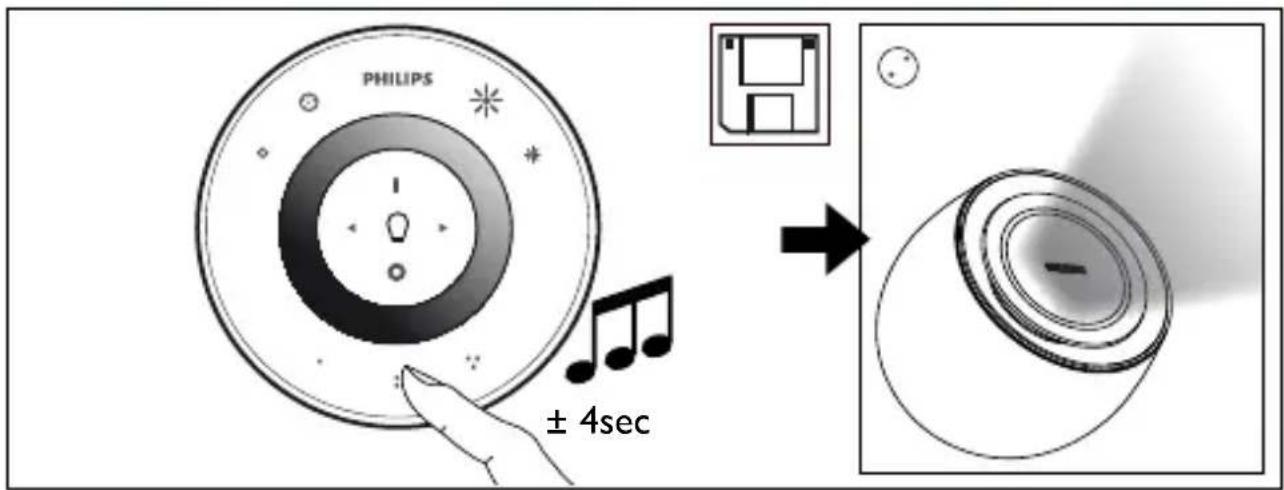
If you like a particular lighting setting (for example, red slightly dimmed), you can store this scene for easy recall: press and hold one of the Scene buttons until the remote control makes a beeping sound. Your scene is now stored under the Scene button you have pressed. You can also store a certain automatic colour-changing mode in this way.
You can continue adjusting the lights as you wish. Whenever you want to go back to your stored scene, just press the Scene button you pressed when storing it.
If the remote is connected to more than one lamp, it will store the scene for all lamps connected to it. For example, you can save a scene where some of your lamps are dimmed, and some are on orange.
You can store up to 3 scenes (one for each Scene button).
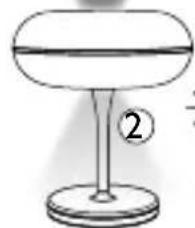
4. Selecting and adjusting individual lamps
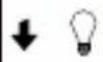
If you have connected several lamps to this remote control, you can control them all together or individually. In order to control a lamp, you need to select it. You can do this using the light selection buttons. When selected, the lamp will flash and the light selection indicator on the remote control (light bulb) will light up. This means you can now adjust the selected lamp individually.
When no lamp is selected (light selection indicator is off), all your adjustments will apply to all lamps connected to the remote control (for example, you can dim all lights in the room).
5. Frequently asked questions
What to do if...
o A lamp is not providing light
o Check the connections of the cord to the lamp. Check that the plug is correctly placed in the wall socket.
o Remove the power cord and then put it back. If the lamp briefly turns on and then goes off, use the remote control to switch it back on.
o A lamp is not responding to the remote control
o Link the remote to the lamp by following the procedure described in section 1 of this manual.
Check the batteries in the remote control. The batteries should be correctly loaded (+ and -) and should be charged. If the remote control is still not working, try replacing the batteries.
o Make sure that the lamp you are trying to connect to the remote control has a SmartLink logo on the box. Only products with a SmartLink logo on the box can be connected to this remote.
o Buttons are flashing after I have used the remote control
o This means that the batteries in the remote control are (almost) empty and need to be replaced.
o I cannot start the automatic colour changing mode
o It could be that the remote control did not understand your “sweep” movement. Please try again, making sure that your finger is on the colour wheel during the full circle movement
o My question is not listed here
Please check the extended online FAQ section on our website: www.philips.com/livingambiance. If you still cannot find an answer to your question, please contact Philips for assistance (see section 6 "Additional support").
6. Additional support
Service:
For your information and in the event of any problem, please visit the Philips website at www.consumer.philips.com or contact the Philips Lighting Contact Centre free of charge in the U.S.: 00800-PHILIPSL or 00800-74454775.
Warranty:
The Philips two-year warranty is valid if the product is used in accordance with the instructions and for its intended purpose. Claims will only be accepted on submission of the original proof of purchase (invoice, sales slip or receipt) stating the purchase date, the name of the dealer and a description of the product.
The Philips warranty lapses if:
- Anything has been changed, crossed out, deleted or rendered illegible on the purchase docket or product description.
- The failure is caused by damage, faulty connections or abuse.
- A defect is caused by extreme circumstances not inherent to the LivingColors, for example, lightning, flooding, fire, incorrect use or negligence.
- The LivingColors has been opened or disassembled.
Safety instructions:
Keep the plug and LivingColors away from liquids and humidity.
- LivingColors is for indoor use only. Do not use in wet locations, e.g. bathrooms or outdoors
- LivingColors is not a toy designed to be played with by children.
- Do not place on hot surfaces
- For safety reasons and under the terms of the warranty, the LivingColors and plug must not be opened.
- Only use the adapter supplied: using a different adapter can damage your LivingColors.
Cleaning and maintenance:
To avoid scratching, the LivingColors remote control should only be cleaned with a soft dry cloth. Do not use cleaning agents.
Do not place on hot surfaces.
Environment:
If you discard the appliance in due course, dispose of it in accordance with the instructions of the local authority. Remove the batteries when you discard the remote control. Do not throw the batteries away with normal household waste. They must be handed in at an official collection point or at a Philips Dealer, both of which will dispose of the batteries in an environmentally friendly way.
Technical specifications:
Batteries: 3 x Philips AAA LR03, 1.5 V
Wireless specification:
Wireless RF mode frequency band: 2405\~2475 MHz
Wireless communications protocol: IEEE 802.15.4
Operating channels: channel 11, 15, 20 or 25
Environmental specification:
Temperature (operation): 0...40°C
Temperature (storage): -25...60°C
Relative humidity: 5...95% non-condensing
FR
5. Questions/Réponses
Que faire si...
6. Yderligere support
Service:

- PHILIPS
- Content
- |
- EN
- Getting started
- Creating your personal ambience with light
- Creating lighting scenes
- Selecting and adjusting individual lamps
- Frequently asked questions
- o A lamp is not providing light
- o A lamp is not responding to the remote control
- o Buttons are flashing after I have used the remote control
- o I cannot start the automatic colour changing mode
- o My question is not listed here
- Additional support
- Service:
- Warranty:
- Safety instructions:
- Cleaning and maintenance:
- Environment:
- Technical specifications:
- Wireless specification:
- Environmental specification:
- FR
- Questions/Réponses
- Yderligere support
Brand : PHILIPS
Model : LivingColors 6916431PH
Category : Remote control