DR 836 - Radio CLATRONIC - Free user manual and instructions
Find the device manual for free DR 836 CLATRONIC in PDF.
| Product type | FM radio with clock and alarm |
| Brand | Clatronic |
| Model | DR 836 |
| Frequency range | FM 87,5 - 108 MHz |
| Radio power supply | 2 AAA batteries 1,5 V (not included) |
| Clock power supply | 1 LR44/AG13 battery 1,5 V (included) |
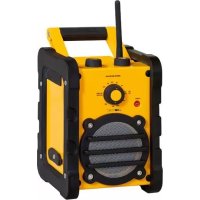
| Protection | IPX4 (splash-proof) |
| Net weight | approx. 0,166 kg |
| Display | Analog LCD screen for time |
| Speaker | Built-in |
| Alarm function | Audible alarm with snooze function (5 min) |
| Main controls | ON/OFF, Volume +/-, SET, MODE, SCAN, RESET |
| Included accessories | Suction cup, hanging loop, clock battery |
| Use | Indoor use, resistant to splashes (shower) |
| Cleaning | Damp cloth, do not immerse |
| Housing material | Plastic |
| Total power supply | 2 AAA batteries + 1 LR44 battery |
Frequently Asked Questions - DR 836 CLATRONIC
User questions about DR 836 CLATRONIC
0 question about this device. Answer the ones you know or ask your own.
Ask a new question about this device
Download the instructions for your Radio in PDF format for free! Find your manual DR 836 - CLATRONIC and take your electronic device back in hand. On this page are published all the documents necessary for the use of your device. DR 836 by CLATRONIC.
USER MANUAL DR 836 CLATRONIC
CE

Overview of the Components ....3
Instruction Manual 36
Technical Data 40
Disposal 41
Sommaire
D
Bedienungsanleitung
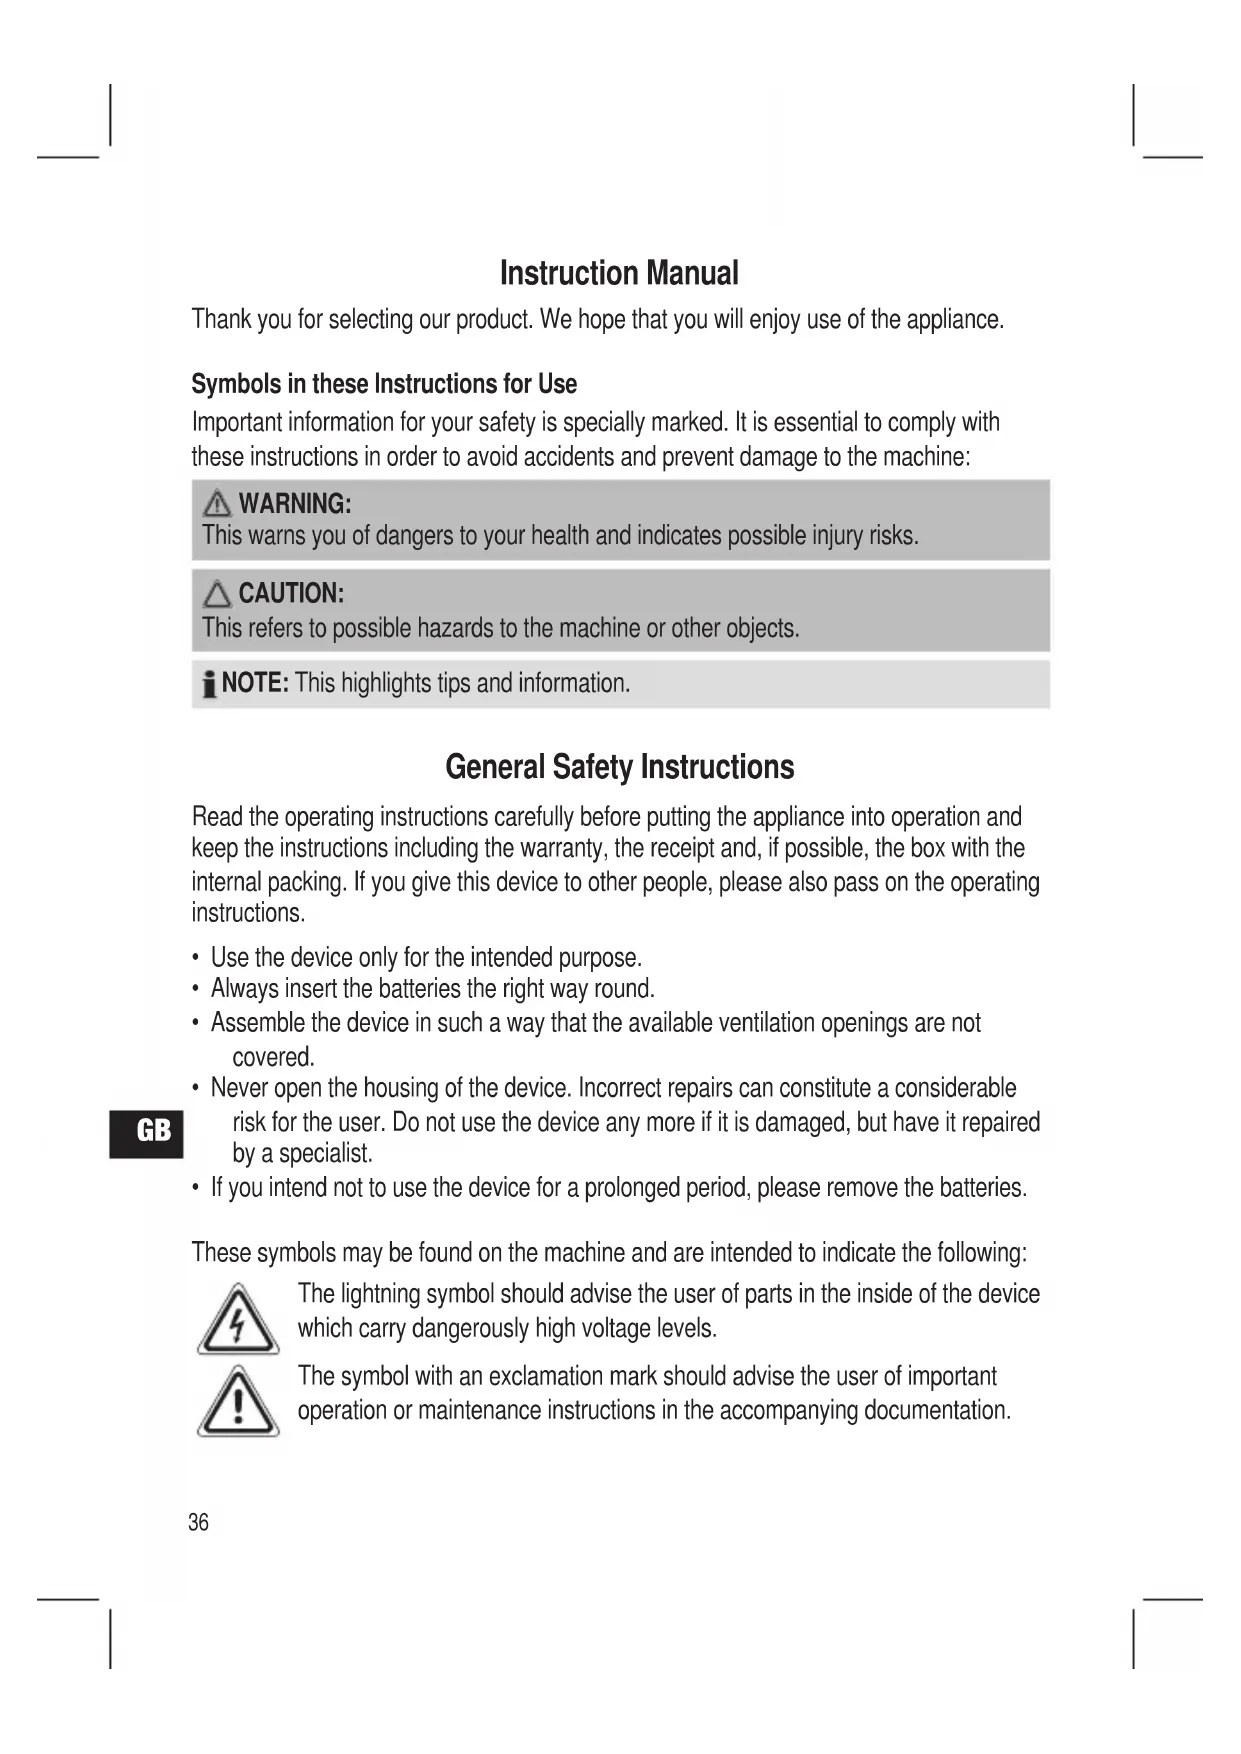
Thank you for selecting our product. We hope that you will enjoy use of the appliance.
Symbols in these Instructions for Use
Important information for your safety is specially marked. It is essential to comply with these instructions in order to avoid accidents and prevent damage to the machine:

WARNING:
This warns you of dangers to your health and indicates possible injury risks.

CAUTION:
This refers to possible hazards to the machine or other objects.

NOTE: This highlights tips and information.
General Safety Instructions
Read the operating instructions carefully before putting the appliance into operation and keep the instructions including the warranty, the receipt and, if possible, the box with the internal packing. If you give this device to other people, please also pass on the operating instructions.
- Use the device only for the intended purpose.
• Always insert the batteries the right way round. - Assemble the device in such a way that the available ventilation openings are not covered.
- Never open the housing of the device. Incorrect repairs can constitute a considerable risk for the user. Do not use the device any more if it is damaged, but have it repaired by a specialist.
- If you intend not to use the device for a prolonged period, please remove the batteries.
These symbols may be found on the machine and are intended to indicate the following:
The lightning symbol should advise the user of parts in the inside of the device which carry dangerously high voltage levels.

The symbol with an exclamation mark should advise the user of important operation or maintenance instructions in the accompanying documentation.
Children and Frail Individuals
- In order to ensure your children's safety, please keep all packaging (plastic bags, boxes, polystyrene etc.) out of their reach.

WARNING!
Do not allow small children to play with the foil as there is a danger of suffocation!
Special Safety Instructions
Splash-proof
The appliance is splash-proof. It can be used also inside the shower box.

CAUTION:
Do not dip it in water (e.g. in the bathtub), as the electronic parts of the appliance may be damaged.
Overview of the Components
1 ON/OFF button
2 Adjust volume (VOLUME +/-)
3 Speaker
4 SET button
5 Stand
6 MODE button
7 LCD display
8 Scan button (SCAN)
9 Frequency band reset button (RESET)
10 Suspension loop / Antenna
GB
Back (not shown)
Battery compartment
Accessories (not shown)
Suspension device with suction cup
Watch battery for the LCA clock (Liquid-Crystal-Analog – Clock face display in LCD technology)
Start-up of the device/introduction
- Read the operating instructions thoroughly before the start-up!
- Select an appropriate location for the device, e.g. a dry, flat, non-slip surface on which the device can be easily operated.
Inserting the Batteries (AAA batteries not included)
- Open the battery compartment lid on the back. Then remove the cover. Flip open the inner cover.
- Insert 2 AAA/R03 1.5 V type batteries for the radio, and one LR44/AG13 1.5 V type battery of the type for the LCA clock. Match the polarities correctly (see the inside of the battery compartment). If the device is not used for a long period of time, remove the batteries to avoid the “spilling” of battery acid.
- Snap shut the inner cover again and close the battery compartment again.

CAUTION:
- Batteries are not to be disposed of together with domestic wastes. Dispose of the used batteries at the relevant collection bin or at your dealer's.
- Different battery types or new and used batteries must not be used together.

WARNING:
The batteries shall not be exposed to excessive heat such as sunshine, fire or the like. There is a danger of explosion!
Start-up the device
Location
GB
You have two options:
- Place the appliance on the stand (5).
- Position the suctioning cup against, for example, a smooth wall. Hang the appliance up on the suspension loop (10).
Turning on/off
Turn the device on by the ON/OFF button (1). Press the button again to turn the device off again.
Setting the time and the alarm time
To be able to set the time, a watch battery must be inserted in the battery compartment.
i NOTE:
The time display is a 12-hour analog display. "PM" will show in the display for afternoon.
- Press the MODE button (6) once. The "AL" indicator will light up in the display. The current set alarm time is shown.
- Press the MODE button once more. The "AL" indicator will flash on the display. Now keep the SET button (4) pressed until the desired alarm time has been set. Then press the MODE button. The time display will appear.
- Press the MODE button three times. Now keep the SET button pressed until the time has been set. The seconds will automatically be reset to 12:01. Then press the MODE button.
Listening to the Radio
- Press the SCAN button (8) repeatedly to set a radio station.
- When the end of the frequency band is reached the scanning process stops. If you would like to start scanning again from the beginning of the frequency band, press the RESET button (9).
- The volume is set with the volume buttons (2).
- An aerial is integrated into the device for the reception of stations. If reception is too weak, try changing the position of the device in order to improve reception.
- After use, turn the device off again by the ON/OFF button (1). The display shows the time that has currently been set.
Alarm function
-
Press the MODE button (6) once. The "AL" indicator will light up in the display. The currently set alarm time is shown.
-
Press the SET button (4). The symbols “” and “Z will show on the display. The alarm time is activated.
Once the set alarm time has been reached, a buzzer will be heard.
i NOTE:
If the two AAA batteries are empty, a buzzer will not be heard.
Snooze Function
The automatically set alarm function can be turned off for about 5 minutes with the MODE button (6). The symbol “Z” in the display will flash.
Turning off the alarm function
- Press the MODE button (6) once. The "AL" indicator will light up on the display.
- Press the SET button (4) to turn off the alarm function. The symbols “” and “” on the display are no longer shown.
Cleaning

CAUTION:
Do not dip the appliance in water.
- Clean the device with a moist cloth and dry it well.
- Do not use abrasive detergents.
Technical Data
Model: DR 836
Power supply (Radio):....2x 1.5 V batteries type R03 / AAA
Power supply (LCA clock): 1x 1.5 V watch battery type LR44/AG13
Protection rating: IPX 4
Frequency ranges: VHF / FM 87.5 \~ 108.0 MHz
Net weight: ca. 0.166 kg
The right to make technical and design modifications in the course of continuous product development remains reserved.
This device has been tested according to all relevant current CE guidelines, such as electromagnetic compatibility and low voltage directives, and has been constructed in accordance with the latest safety regulations
GB
Disposal
Meaning of the "Dustbin" Symbol
Protect our environment: do not dispose of electrical equipment in the domestic waste.
Please return any electrical equipment that you will no longer use to the collection points provided for their disposal.
This helps avoid the potential effects of incorrect disposal on the environment and human health.
This will contribute to the recycling and other forms of reutilisation of electrical and electronic equipment.
Information concerning where the equipment can be disposed of can be obtained from your local authority.
GB
Instrukcja obsługi
CTC Clatronic Sp. z o.o.