CRUISER - Stroller HAUCK - Free user manual and instructions
Find the device manual for free CRUISER HAUCK in PDF.
| Product type | Stroller |
| Brand | HAUCK |
| Model | CRUISER |
| Recommended age | From birth (0 months) |
| Maximum child weight | 15 kg |
| Maximum child height | 1 m |
| Maximum basket load | 3 kg |
| Number of backrest positions | 3 |
| Harness type | 5-point harness with pelvic strap |
| Brakes | Brake on front and rear wheels |
| Canopy | Yes, removable |
| Footrest | Adjustable |
| Handle | Height adjustable |
| Folding | Compact with transport lock |
| Safety standard | EN 1888:2003-01 + A1:2005 + A2:2005 + A3:2005 |
| Care and cleaning | Clean with damp cloth; cover machine washable at 30°C |
| Spare parts | Original HAUCK spare parts recommended |
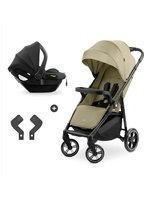
| Accessories | Optional 2-in-1 carrycot |
Frequently Asked Questions - CRUISER HAUCK
User questions about CRUISER HAUCK
0 question about this device. Answer the ones you know or ask your own.
Ask a new question about this device
Download the instructions for your Stroller in PDF format for free! Find your manual CRUISER - HAUCK and take your electronic device back in hand. On this page are published all the documents necessary for the use of your device. CRUISER by HAUCK.
USER MANUAL CRUISER HAUCK
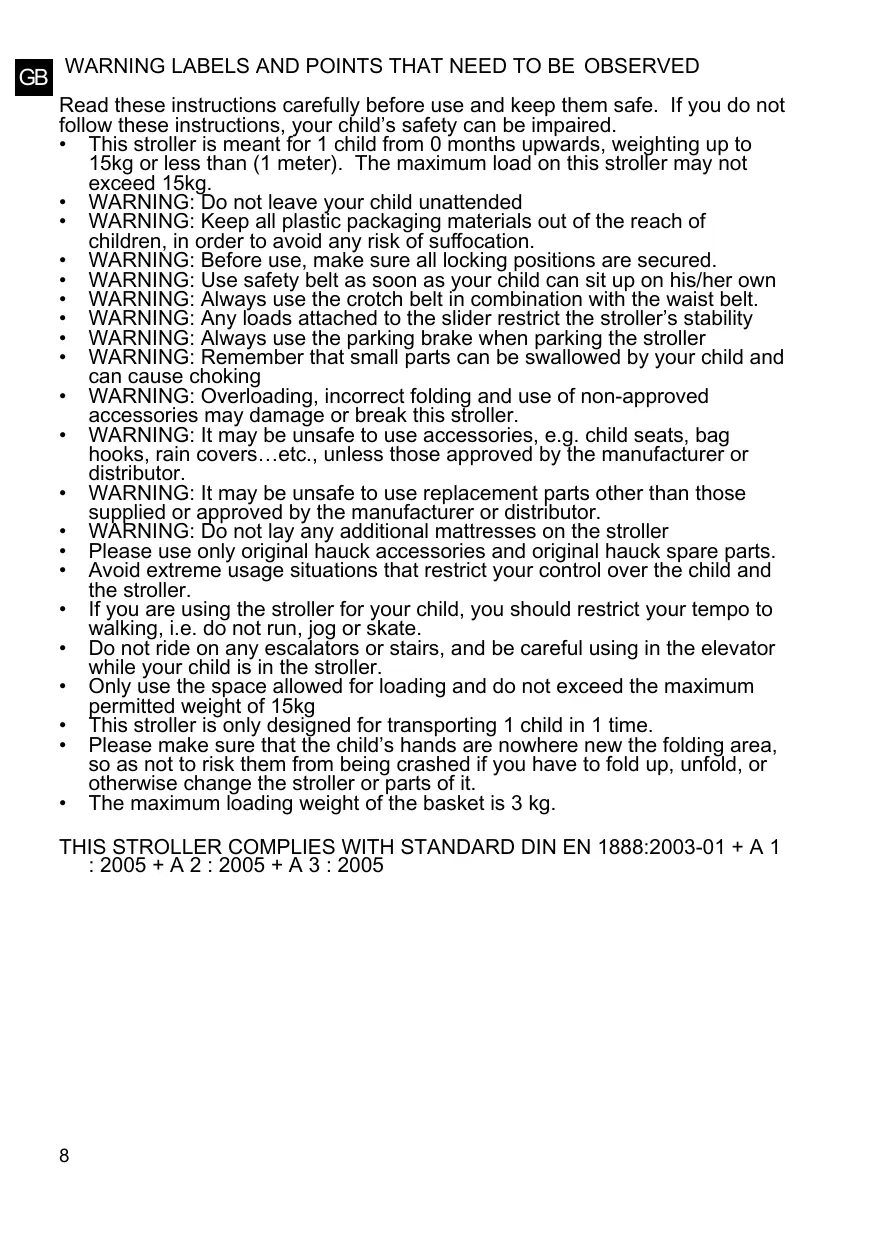
Read these instructions carefully before use and keep them safe. If you do not follow these instructions, your child's safety can be impaired.
- This stroller is meant for 1 child from 0 months upwards, weighting up to 15kg or less than (1 meter). The maximum load on this stroller may not exceed 15kg.
WARNING: Do not leave your child unattended
WARNING: Keep all plastic packaging materials out of the reach of children, in order to avoid any risk of suffocation.
WARNING: Before use, make sure all locking positions are secured.
WARNING: Use safety belt as soon as your child can sit up on his/her own
WARNING: Always use the crotch belt in combination with the waist belt.
WARNING: Any loads attached to the slider restrict the stroller's stability
WARNING: Always use the parking brake when parking the stroller
WARNING: Remember that small parts can be swallowed by your child and can cause choking
WARNING: Overloading, incorrect folding and use of non-approved accessories may damage or break this stroller.
WARNING: It may be unsafe to use accessories, e.g. child seats, bag hooks, rain covers...etc., unless those approved by the manufacturer or distributor.
WARNING: It may be unsafe to use replacement parts other than those supplied or approved by the manufacturer or distributor.
WARNING: Do not lay any additional mattresses on the stroller - Please use only original hauck accessories and original hauck spare parts.
- Avoid extreme usage situations that restrict your control over the child and the stroller.
- If you are using the stroller for your child, you should restrict your tempo to walking, i.e. do not run, jog or skate.
- Do not ride on any escalators or stairs, and be careful using in the elevator while your child is in the stroller.
- Only use the space allowed for loading and do not exceed the maximum permitted weight of 15kg
This stroller is only designed for transporting 1 child in 1 time. - Please make sure that the child's hands are nowhere new the folding area, so as not to risk them from being crashed if you have to fold up, unfold, or otherwise change the stroller or parts of it.
- The maximum loading weight of the basket is 3kg .
THIS STROLLER COMPLIES WITH STANDARD DIN EN 1888:2003-01 + A 1 : 2005 + A 2 : 2005 + A 3 : 2005
Part List (Photo 1):
Please check the list of parts to ensure that all parts have been delivered:
Stroller main frame with Seat unit
1 front bar
4 wheels
1 canopy
1 footrest
- UNFOLDING (fig. 1a-c)
Release the transport lock (1a). Lift up the stroller's handle to open the stroller (1b) until the locking latches on both sides have locked in place (1c).
2 .WHEELS ASSEMBLY (fig. 2)
Insert the wheels onto the front & rear wheel axles. Make sure the pushpin locks in place and cannot be pull off. When changing the wheel, press the quick release adjustor and pull the wheel out.
- BRAKE (fig. 3)
You can press either the front wheel brake or rear wheel brake to stop the stroller. Press the brake down by foot to stop the stroller and push the stroller to check.
Attention: Always apply brake(s) when parking the stroller.
- ADJUSTING THE BACK REST (fig. 4)
Pull the metal handle upwards and adjust the back rest to desired position. The back rest can be altered to 3 different positions.
- FIX & ADJUSTING THE LEG REST (fig. 5a-5d)
Insert the leg rest tubes (left & right sides) into the leg rest plastic housings, ensure the push pins are securely locked (5a), then fix the strap underneath the seat (5b), further secure by the elastic band onto the footrest (5c). To adjust the leg rest, press both (left & right) buttons to bring the leg rest to the desired position (5d).
- INSTALL THE FRONTBAR (fig. 6)
Install the front bar by pushing it into the housings (6). You will hear a click sound when they are secured onto the frame. Test the front bar by pulling on it to make sure it is locked into place. The front bar can be adjusted to different position by press the adjustors on the 2 sides.
- ADJUST THE HANDLE (fig. 7)
Press both (left & right) buttons on the handle and bring the handle height to the desired position.
- ASSEMBLE THE CANOPY (fig.8)
Insert the canopy plastic clamps into the housings on the 2 sides of the seat
- REVERSING THE HANDLE (fig. 9a-9c)
Twist both (left & right) adjustors (9a) on the handle to release the handle position (9b). Then swivel the handle to the opposite direction (9c). Please always take care the handle has engaged in the new position completely. Front & rear wheels must be additionally secured with both of the parking brakes when parking the stroller, if the handle is in the position facing towards the child.
- FOLDING AWAY (fig. 10a-10d):
Apply the brake on the stroller first. Press the second lock button (10a), then pull the folding latches (left & right sides) upwards (10b). Press the handle down to fold the stroller (10c). The transport lock will automatically engaged with the stroller is completely folded (10d)
- SECURE THE CHILD IN THE SEAT (fig 11):
Place the child in the seat and push the clips on the waist belt into the buckle on the crotch belt (the one that comes between the child's legs). Adjust the length of the belt to your child's needs. Always ensure the straps are not twisted or caught on the stroller frame. Check the adjustment every time you place the child in the seat and when the backrest is reclined. To release the harness, squeeze & open the buckle.
Harness adjustment: Insert both fasteners (B) into the buckle (A), ensure that both buttons click into position. Ensure both shoulder straps (C) are attached to the fasteners (B). Each strap has its own length adjuster (D). To undo the harness, press the buttons and pull apart. "D" Rings are provided for fitment of a full safety harness. The attachment points (D-rings) are located on side straps.
WARNING: (A child's safety is your responsibility.) The child should be harnessed in at all times and should never be left unattended. The child should be clear of moving parts while making adjustments. This stroller requires regular maintenance by the user.
Attention: Avoid serious injury from failing and sliding out, always use seat belt & always use as instructed. Never use the harness without the shoulder straps.
- FASTENING THE 2 IN 1 SOFT CARRY COT (Optional accessory) (fig. 12a-12c)
Do not place any additional mattress in the soft carry cot. The soft carry cot should be securely fixed by the attached plastic hooks to the D-rings, which are on the stroller seat (fig 12a). Then further secure the carry cot by fasten the nylon strap from the carry cot to the backrest of the stroller (fig. 12b-12c).
In General
Please check the stroller functions on a regular basis. Make sure that the frame is stable, the screws are tight, the latching devices are safely locked, the wheels are securely attached and the brakes are in working order. Check the cover occasionally, making sure that the stitching is still firm, and inspect the quality of the plastic parts. Any broken or worn working parts should be replaced immediately. Proceed in the same manner with components that are broken, torn, defect or worn-out. Please use only original hauck replacement parts.
Do not subject your stroller to excessive sunshine. This can lead to a fading of textile covers and plastic parts.
Cleaning the covers
Remove the covers from the frame by loosening the loops, press studs or screws. Please read the instructions on the sewn-in label before cleaning.
To clean the cover gently, wipe it down evenly using only a damp cloth. As long as there are no plastic, wood or metal parts on or in the cover, it can be machine-washed at 86^ (30^) and medium speed. The cover should be air-dried, but not exposed to excessive sunshine. Please do not dry the cover in the drier, to avoid shrinking. Do not re-fit the covers until they are completely dried.
Cleaning the frame
Dry the stroller with a soft cloth after cleaning or after use rain or snow. Use only mild soapy water or lukewarm water to clean the frame of your stroller. Plastic parts can be cleaned with mild detergent cleaners.
Wheel maintenance
Clean and service the wheels regularly. Apply corrosion or lubricant spray on the rim when necessary, to protect against rust and deposits. Please make sure in winter that road salt residue is removed immediately by using warm water and damp cloth. Remove dirt from the wheels and axles on a regular basis.
Stukliest (photo 1):
- LA CHIUSURA (ill. 10a-10d):
E-mail : info@hauck.de
Internet: http://www.hauck.de