MEMPHIS AIR - Stroller HAUCK - Free user manual and instructions
Find the device manual for free MEMPHIS AIR HAUCK in PDF.
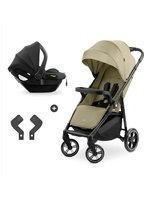
| Product type | Umbrella stroller |
| Age range | From birth (0 months) up to approximately 36 months (max weight 15 kg) |
| Maximum load | 15 kg |
| Safety standard | DIN EN 1888:2003-06 |
| Safety harness | 5-point harness with crotch strap and waist strap |
| Brake | Foot-operated brake (brake bar) |
| Adjustments | Handlebar height (2 positions), reclining backrest, adjustable footrest, adjustable front bar |
| Reversible handlebar | Yes, swivels for use facing child or facing forward |
| Hood | Removable, attaches to the seat shell |
| Carrycot | Included, attachment via hooks and D-rings |
| Folding | Compact, with lower unlocking levers on the handlebar |
| Wheels | Front and rear removable, snap-in assembly |
| Cover maintenance | Hand or machine wash (delicate cycle), air dry |
| Frame maintenance | Clean with a soft cloth and soapy water, anti-corrosion treatment for wheels |
| Recommended accessories | Use only original HAUCK accessories |
Frequently Asked Questions - MEMPHIS AIR HAUCK
User questions about MEMPHIS AIR HAUCK
0 question about this device. Answer the ones you know or ask your own.
Ask a new question about this device
Download the instructions for your Stroller in PDF format for free! Find your manual MEMPHIS AIR - HAUCK and take your electronic device back in hand. On this page are published all the documents necessary for the use of your device. MEMPHIS AIR by HAUCK.
USER MANUAL MEMPHIS AIR HAUCK
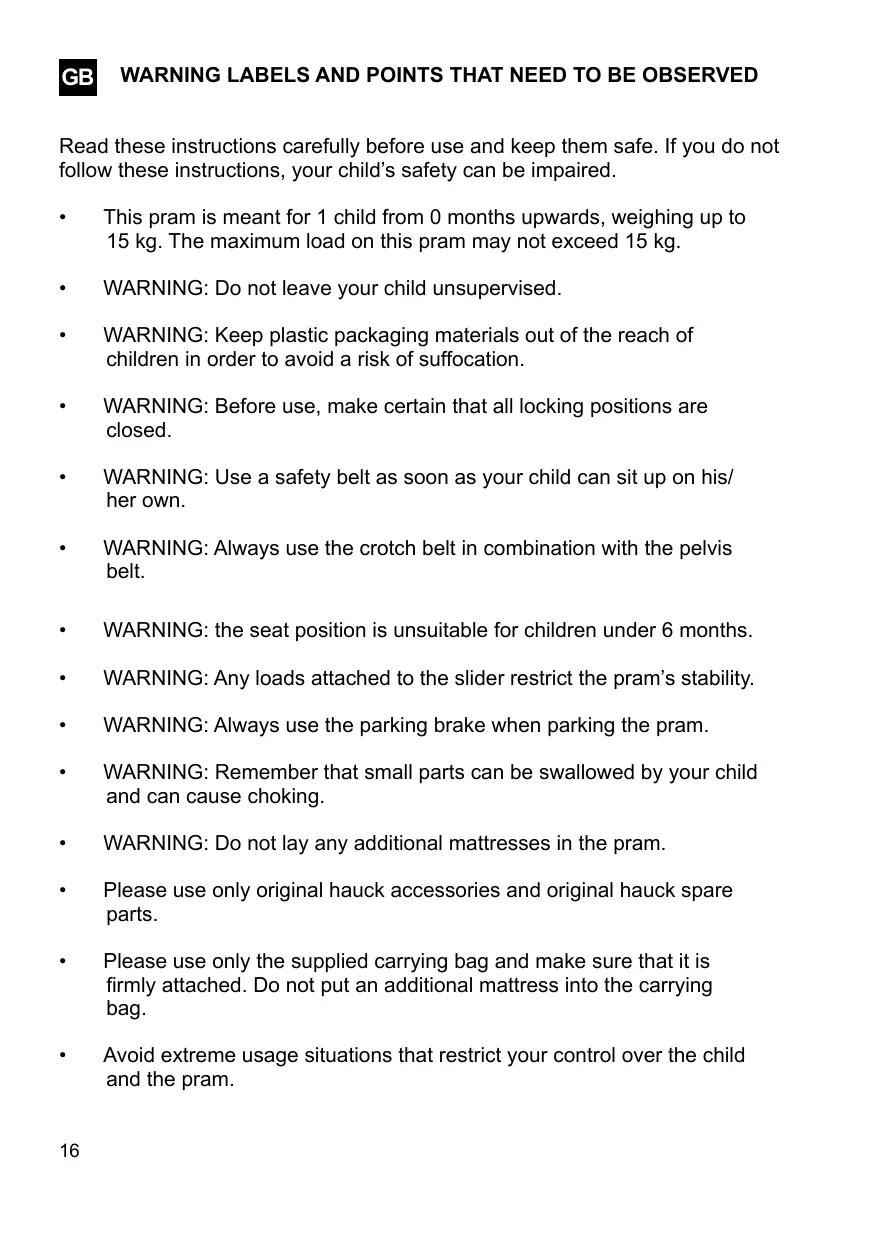
Read these instructions carefully before use and keep them safe. If you do not follow these instructions, your child's safety can be impaired.
- This pram is meant for 1 child from 0 months upwards, weighing up to 15 kg . The maximum load on this pram may not exceed 15 kg .
WARNING: Do not leave your child unsupervised.
WARNING: Keep plastic packaging materials out of the reach of children in order to avoid a risk of suffocation.
WARNING: Before use, make certain that all locking positions are closed.
WARNING: Use a safety belt as soon as your child can sit up on his/ her own.
WARNING: Always use the crotch belt in combination with the pelvis belt.
WARNING: the seat position is unsuitable for children under 6 months.
WARNING: Any loads attached to the slider restrict the pram's stability.
WARNING: Always use the parking brake when parking the pram.
WARNING: Remember that small parts can be swallowed by your child and can cause choking.
WARNING: Do not lay any additional mattresses in the pram. - Please use only original hauck accessories and original hauck spare parts.
- Please use only the supplied carrying bag and make sure that it is firmly attached. Do not put an additional mattress into the carrying bag.
- Avoid extreme usage situations that restrict your control over the child and the pram.
If you are using the pram for your child, you should restrict your tempo to walking, i.e. do not run, jog or skate.
- Do not use any escalators or stairs, and be careful using lifts while your child is in the pram.
- Only use the space allowed for loading and do not exceed the maximum permitted weight of 15kg .
The pram may only be used for transporting one child.
- Please make sure that the child's hands are nowhere near the folding area so as not to risk them being crushed if you have to fold up, unfold or otherwise change the pram or parts of it.
Please use only original MINI STAR accessories and original MINI STAR spare parts.
THIS PRAM COMPLIES WITH STANDARD DIN EN 1888:2003-06
INSTRUCTIONS FOR USE
1. Assembly
Release the transport safeguard.
Erect the pushchair by moving the slide until you can see and hear that the locking mechanisms on both sides have engaged.
2. Mounting the wheels (fig. 2)
Fit a wheel on the front axle until you hear it click and the metal clip has engaged in the axle groove. Check that it fits firmly. Push the axle through the two plastic guides at the ends of the frame and fit the other wheel. Here again, check that it fits firmly. Proceed accordingly with the rear axle.
3. Brakes
To lock the foot brake, press the brake bar down with your foot.
To release it again, lift the brake bar with your foot.
Caution! Always lock the brakes when parking the pushchair.
4. Mounting the hood (fig. 3)
Push the hood in the corresponding openings to the left and right of the pushchair superstructure.
5. Swivelling the push bar (fig. 4 a/b/c)
The push bar can be swivelled to use the pushchair with snug nest. To do so, pull the upper adjusting lever on the push bar and move it over to the other side at the same time. Check that it has engaged correctly.
6. Adjusting the height of the push bar (fig. 5)
Press the adjusting buttons underneath the handle on both sides and adjust the required height. After adjusting the required height, the buttons pop out again.
7. Adjusting the back rest (fig. 6)
To adjust the back rest, pull the metal handle at the back of the rest up and move the back rest back.
The sitting position is achieved by pushing the back rest up until the locking mechanism engages.
8. Adjusting the leg rest (fig. 7)
Bring the leg rest to the required position and hook the metal supports in position under the leg rest.
9. Adjusting the front strap (fig. 8)
Press the adjusting buttons on both sides and adjust the required position. After adjusting the required position, the buttons pop out again.
10. Safety belt
Fit the belt between the legs and around the hips. Adjust the width of the belt to fit your child.
Caution! To avoid any injuries, you should always secure your child with the safety belt.
11. Fastening the carrying bag (fig. 9)
Do not place an additional mattress in the carrying bag. The carrying bag is securely fixed when you attach D-rings on to the hooks.
12. Collapsing (fig. 10)
Pull the lower unlocking levers on both sides of the push bar upwards and push the pushchair down to collapse.
Tip: Before collapsing the pushchair, adjust it to the lying position.
In General
Please check the pram functions on a regular basis. Make sure that the frame is stable, the screws are tight, the latching devices are safely locked, the wheels are securely attached and the brakes are in working order. Check the covers occasionally, making sure that the stitching is still firm, and inspect the quality of the plastic parts. Any defective or worn working parts should be replaced immediately. Proceed in the same manner with components that are broken, torn, defect or worn-out. Please use only original hauck replacement parts.
Do not subject your pram to excessive solar radiation. This can lead to a fading of the textile covers and plastic parts.
Cleaning the covers
Remove the cover from the frame by loosening the loops, press studs or screws. Please read the instructions on the sewn-in washing label before washing.
To clean the cover gently, wipe it down evenly using only a damp cloth. When cleaning cloth covers with non-removable lining, please take care not to drench everything. As long as there are no plastic, wood or metal parts on or in the cover, it can be machine-washed at 30^ and spun at medium speed.
The cover should be air-dried, but not exposed to blazing sun. Please do not dry the cover in the drier, so as to avoid shrinking. Do not re-fi t the covers until they are completely dry.
Cleaning the frame
Dry the pram with a soft cloth after cleaning or after use in rain and snow. Use only mild soapy water or lukewarm water to clean the frame of your pram. Plastic parts can be cleaned with standard cleaners.
Wheel maintenance
Clean and service the wheels regularly. Treatment with a silicon or corrosion spray protects against rust and deposits. Please make sure in winter that road salt residue is removed immediately. Remove dirt from the wheels and axes on a regular basis.
4. MoHTaX cKJIaHNoI KpbIuN (pnc. 3)
BcTaBbTe cKnlaHnyo KpbIu7y B COOTBeTCTByUOuNe OTBepCTnHa cnOpTnBHOM MoDyIe CJIeBa n Cnpaba.
5. IpekeNDbIbAHne pyUKN KOJЯCKn (pnc. 4a/b/c)
ДяИСПОЛБ3OBAHЯ KOLЯСКИ C MOДУЛЕМ-NEPEHOCKKOМоЖно пеpeкнHyт b ручky KOLЯСКИ. ДяЗТOrO NOTHIne 3a BepxHnI perylnpoBOUHbI pyIurHa pyUKe KOLЯСКИ n OДНOBpeMeHNO пepeкнHbTe ee Ha dpyrTuO CTopoHy.ОбpaTIne BHNMaHne Ha To,ЧTo6ы 3aueJKN 3aKpbIINcB npaBUNbHO.
6. PerynipOBka BbICOTbl pyuKn (pnc. 5)
Haxmnte c o6eHX cTOpOH KhoNk peRyIuPOBKn PoiD pyKoY, yCTaHOBnTe ee Ha Jxelaemyo BbICOTy. IocNe 0nkcaunn JxelaemOy BbICOTbl OTOXMnte KhoNk.
7. PeryunpoBka noJIOXeHna cnnHkn (pnc. 6)
YTo6bI OtperynipoBaTb NOIOXeHne CnHHKn, NOHNMITE MeTaNnueckyUpyKu C3aNc CnHHKn N OTKNHbTe CnHHky Ha3aJ. IJa npBVeHEnr CnHHKn B BeptNKaJIbHOe NOIOXeHne NOHNMITE ee BBepx TaK, YTo6bI 3aueKe Ka nona J Ba3.
8. Perynipobka noDCTaBKn IJHor (pnc.7)
YctahOBHTe nOCTaBky dny HOr B JKeJaEMoe NIOJXeHne I 3aIeNITe MeTALIIueckyU OONpy NOIocTbKOJ dny Hor.
- PeryunpoBka nepeDHei nepeKlaHbI (pnc. 8)
Haxmnte c 06eHX CTOpOH Ha KhoNk peRyInpOBKn, yCTaHOBnTe nepeKlaIHy B Jxelaemoe nIoXKeHne. IocJIe qnkcaunn JxelaemOn IO3nCIN BHOBb OTOXMnte KHOPIKn.
- PemeHb 6e3OnaCHOCTn
HaedeHbTe naxOBbI u Ha6epeHHbI pemeHb. 3acterHnTe peMeHb I NOdROHnTe dINHy pemHr no pe6eHky.
BhImaHHe! Bo n36exaHne TpaBM Bcerda npicTeRnBaIte BaWero pe6eHka pemHem 6e30napochtn.
- KpenneHne JIOJbKn (pnc. 9)
He KlaIaIte B IIOIbKy DoONHInTeIbHbIM MaIpaI. IIOJIbKa HAdExHo 3aKpeIJIeHa, ecII Bbl 3aФИКсИрОВaII IN KpUChN C nOMOuBIO D-6pa3HbIX KOJIeU.
- CklaIbIbAHne (pnc. 10)
IOTAHNTe BBepx pbiarrn 6loKnpoBkn c oBeNX CTOpOH Ha pyUke KOJIaCKN n CLOXHTe KOJIaCKy BHN3.
Cobet: nepeid cKnaIbIbAHnem npuBeIte B rOpN3OHTaJIbHoe NOJIOXeHne CbeMHbI CNOpTnBbI MoyJIb KOJIACKN.
Obune yka3aHna
PeryIaRHO npOBepnTe yHKnBn BaWee JeTCKo KONJcK. O6paTnte BHNMaHne Ha CTAbNtBHoCTb paMbI, rnyxUO nocAky BuHTOB, HAdexHoe 3aueJIKNBaHne fNKCaTOPOB, HAdexHoe yDepXnBaHne KOJec, a TaKxe Ha pa6OTocNoC6HOCt b TOpMO3OB. Bpemr OT BpemEHn npOBepnTe MaTepyaTyU qAcTb Ha IpouHOCTb 1WBOB, a TaKxe COCTOHN He pACTIKOBbIX DeTaJe. DepeKTHbIE N3HOweHHbIE DeTaJIH Heo6XoDNMO 3aMeHNTb. ToUHO TaKxE CNeDyET NOCTynITb IN B OTHOweHN CNOMaHHbIX, pa3OpBaHHbIX, DepeKTHbIX INN N3HOweHHbIX KOHCTpyKCuOHHbIX 3JIeMeHToB. IcNoJIb3yIe PnI 3Tom JInsb OpINHaJIbHbIe 3aNaChbIe qActn FnpMbI "hauck".
3aunzaTe Bauy DetckyIO KOJACKy OT Upe3MepHoro DeIcTBnA COJIHeuHbIX JUyei, NOCKoJIbKY TAKOE DeIcTBNe MOKeT npINBeCTN K BblCBeTaHIO TEKCTNJbHOJ YactN I NpIACTNKOBbIX DeTaJeI.
UcTka yexJIOB
CHIMITE MaTepyaTyO YaCTb C paMbI, pacCTeRHyB neTJN, KHONK NIN Ocna6NB BnHTbl. Ipeed CTnpKOI o6paTInTe BnHMaHHe Ha yka3aHnno CTnpKe Ha npuShITOM yapIbIke.
Дябержногухoga 3a MaTepyaToJ qacTbIe ee CneJeYe TINbpaBHomepeHNo npotepeTb BnaxHoN TkaHbIO. Ipru YnCTke MaTepyaToJ qactn C HeCbeMhbIMN BKlaDbIaWMN CJIeDyEt N36eRaTb PpOMaUHbAHnBCEy qactn. Ecnn Ha IIIN B MaTepyaToJ qactn Het NpactNKOBbIX,DepeBraHHbIX ININ MetaJIInuecknx DeTaJeN, erO MoXHO CTnpaTB BCtupaHbOH MaunHKe np3 0^ n OTKaTb B MaunHKe npn CpedHem YncNe OboPoTOB. BlycUnTe MaTepyaTyO qactb Ha BO3dUxHe, ODAKO He NOI pIpyMbIMCOnHeuHbIMN LyuAmN. Bo n36eXaHne ycaKn MaTepyaToJ qactn He nONb3yIteCb cyuHko dJa 6BeJb.YctaHOBnte MaTepyaTyO qactb ToIbKO NocJe ee NOLHOro BBicbIXaHNr.
YncTkpaMbI
Iocne uNCTKN HNI NcNoJIb3OBAHnRA KOJRAckn B DOxDJIbByIO NII IN CHEXHYO nORoYy BbITpNTe ee Hacyxo MraKoT KtaHBIO. IJa YnCTKn paMbI BaWei DeTCKO KoJRAckn NcNoJIb3yIte NCKIIOHTeJIbHO MraKm MbIbHbI PaCTBOp HNI TENJyIO BODY. Iocne uNCTKN HNI NcNoJIb3OBAHnRA KOJRAckn B DOxDJIbBYIO HNI CHexHyIO nORoYy BbITpNTe ee Hacyxo MraKoT KtaHBIO. IJa YnCTKn PnactIKOBbIX DetaJe MoXHO NcNoJIb3OBAtB CTaHdApTHbie
YxOД 3a KOJecamn
Pereyraepno qnCTnte u yxaxnbaiTe 3a KOlecamn. O6pa6oTka cnIKHObblm nIaHTNKopp03NOHHbIM a3pO3OJeM 3aunTntnx OT pXaBcHbI HacJIoEHNI. 3mMoN cIeDyeT He3aMeJITeNbHO ydaJIITb C KOIEOCtATKn cOnn dJa IocbInKn Dopor. Pereyraepno ouHsaaiTe KOleca n OCNOT rpr3n.
IMPORTANT- KEEP IT FOR LATER READING
CONSERVER CE MODE D'EMPLOI POUR UN USAGE ULTERIEUR ET LE LIRE ATTENTIVEMENT
BELANGRIJK - BEWAAR ALS NASLAGWERK
CONSERVARE PER UNA CONSULTAZIONE SUCCESSIVA
CONSERVAR PARA APLICACION POSTERIOR
COXPAHnTb IJIa BUYUeRO NcIIOJb3OBAHn
\SHMANTIKO - ΦΥΑΕΤΕ TΙΣΟΔΗΓΙΕΣ ΓΙΑ MEΛΛONTIKH XPHΞH

hauck GmbH & Co KG
Tel. : +49 (0)9562 / 986-0
Frohnlacher Str. 8
Fax. : +49 (0)9562 / 6272
D-96242 Sonnefeld
Email : info@hauck.de
Germany
Internet: http://www.hauck.de