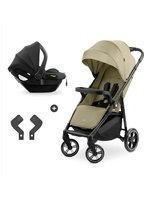
EXPLORER SL - Stroller HAUCK - Free user manual and instructions
Find the device manual for free EXPLORER SL HAUCK in PDF.



| Product type | Baby stroller |
| Brand | HAUCK |
| Model | EXPLORER SL |
| Recommended age | From 0 months |
| Maximum weight capacity | 15 kg |
| Safety standard | DIN EN 1888:2003-06 |
| Maximum basket load | 3 kg |
| Safety harness | 5-point system (crotch, hip and shoulder straps) |
| Parking brake | Yes, foot-operated |
| Front wheels | Swivel with lock |
| Adjustable handlebar | Yes, height-adjustable |
| Adjustable backrest | Yes, multiple positions |
| Adjustable footrest | Yes |
| Canopy | Removable |
| Front bar | Removable with safety button |
| Folding mechanism | Folding by operating two locks |
| Care of covers | Machine wash at 30°C, air dry |
| Frame care | Clean with soapy water, wipe after use |
| Wheel care | Regular cleaning, anti-corrosion treatment |
| Replacement parts | Use only original HAUCK accessories and parts |
| Included accessories | Handle bag (capacity not specified) |
Frequently Asked Questions - EXPLORER SL HAUCK
User questions about EXPLORER SL HAUCK
0 question about this device. Answer the ones you know or ask your own.
Ask a new question about this device
Download the instructions for your Stroller in PDF format for free! Find your manual EXPLORER SL - HAUCK and take your electronic device back in hand. On this page are published all the documents necessary for the use of your device. EXPLORER SL by HAUCK.
USER MANUAL EXPLORER SL HAUCK
natural_image
Black and white photo of a baby stroller with a back cover and wheels (no text or symbols visible)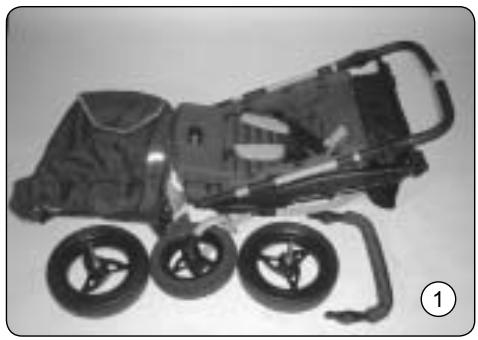
natural_image
Disassembled car chassis with three wheels and a bracket, shown in black and white (no text or symbols visible)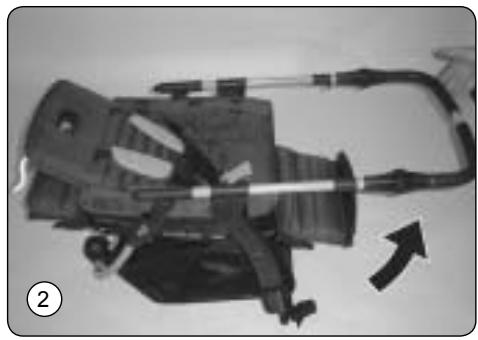
natural_image
Mechanical assembly with attached components and a directional arrow (no visible text or symbols)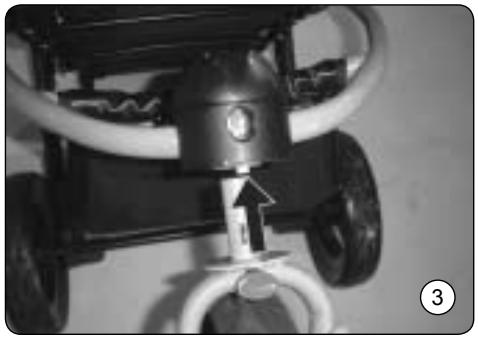
natural_image
Close-up of a car chassis with visible wheels and a valve, no text or symbols present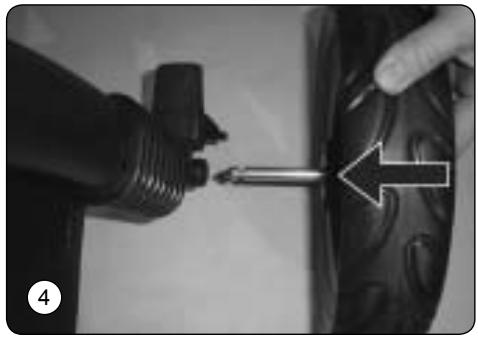
natural_image
Close-up of a hand using a screwdriver to adjust the tire surface (no text or symbols visible)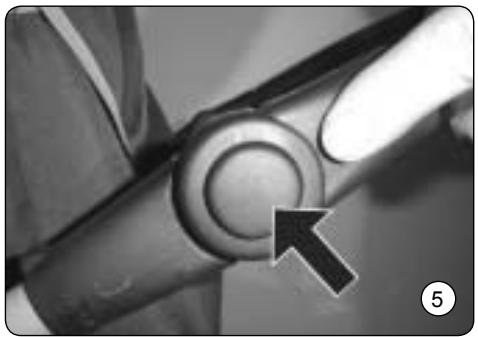
natural_image
Close-up of a mechanical component with a circular knob and an arrow pointing to it, no visible text or symbols.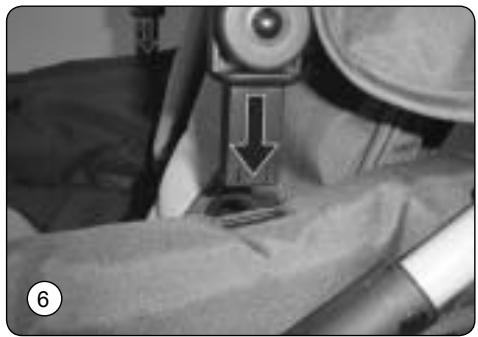
natural_image
Close-up of a sewing machine needle stitching fabric, with a downward arrow indicating the seam (no text or symbols visible)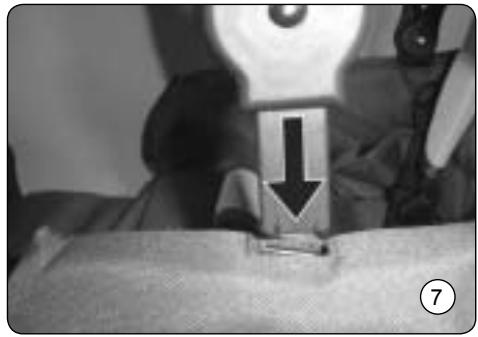
natural_image
Close-up of a person's abdomen with a downward arrow indicating a specific area (no text or symbols visible)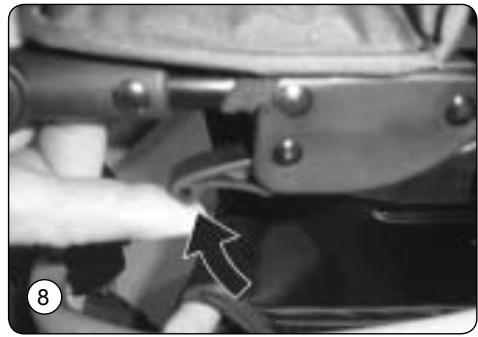
natural_image
Close-up of a mechanical component with a hand applying a white tool to a surface, no visible text or symbols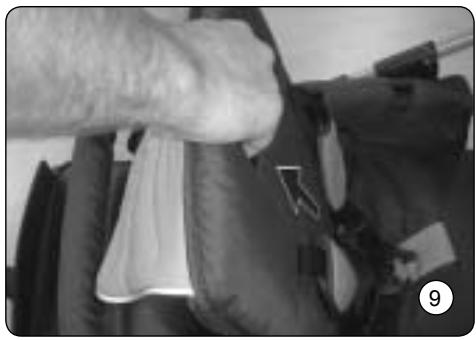
natural_image
Close-up of a hand holding a white fabric over a dark garment, with no visible text or symbols.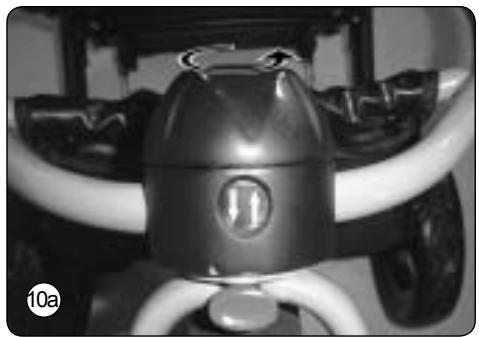
natural_image
Close-up of a motorcycle's front wheel and side arm, showing no visible text or symbols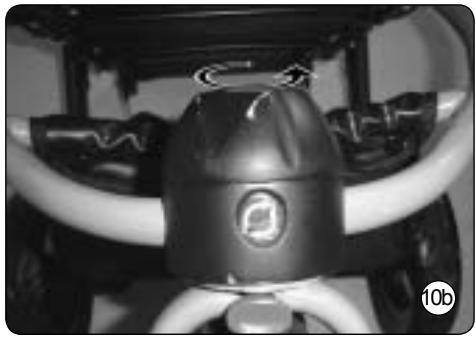
natural_image
Close-up of a black and white toy car wheel assembly with visible wheels and a circular logo (no text or symbols)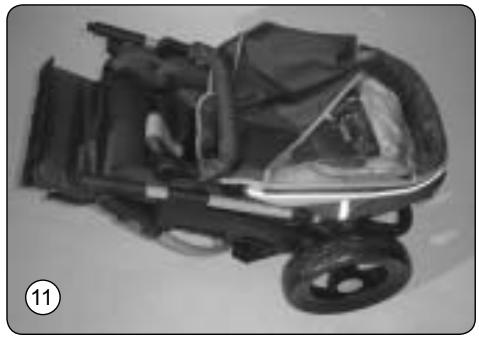
natural_image
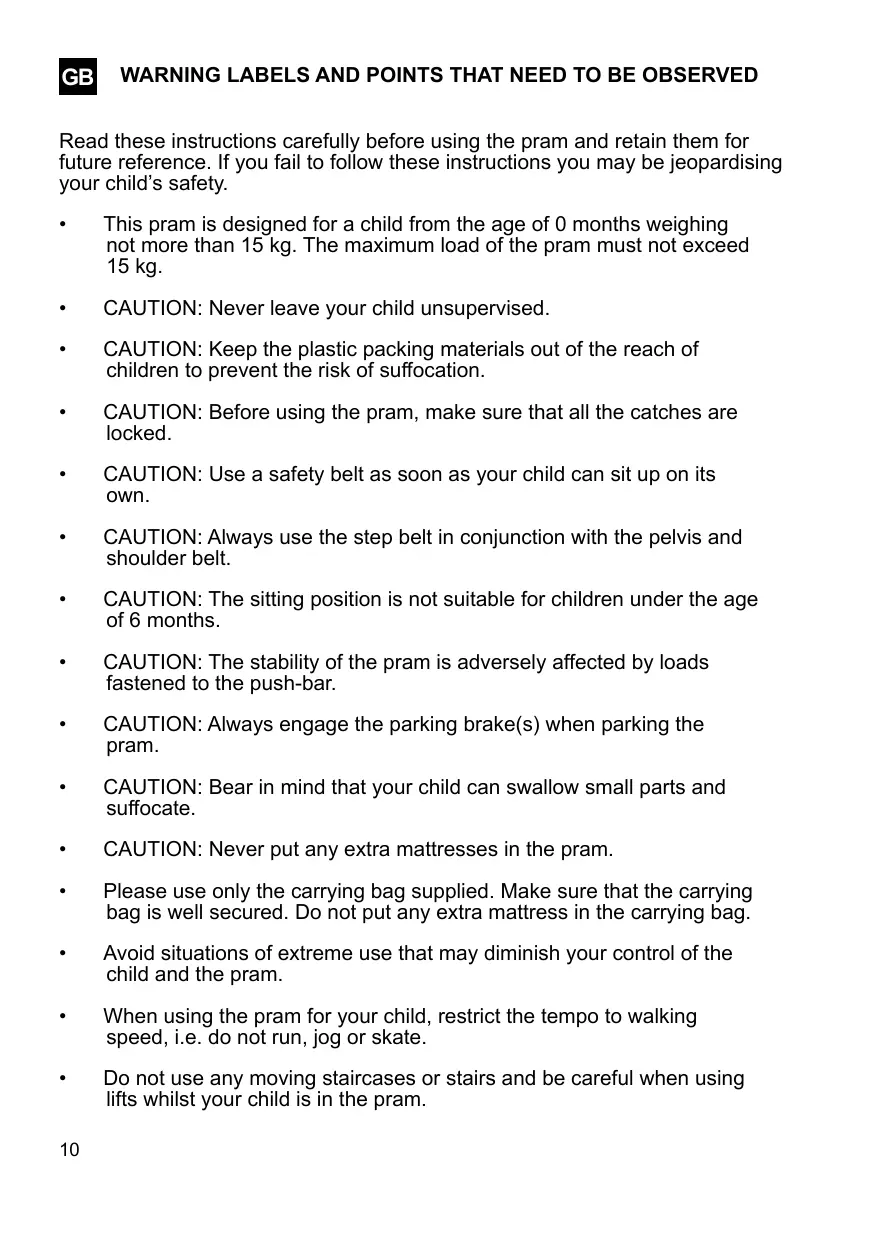
Black and white photo of a baby stroller with visible frame, wheels, and internal compartments (no text or symbols)Read these instructions carefully before using the pram and retain them for future reference. If you fail to follow these instructions you may be jeopardising your child's safety.
- This pram is designed for a child from the age of 0 months weighing not more than 15 kg. The maximum load of the pram must not exceed 15 kg.
• CAUTION: Never leave your child unsupervised. - CAUTION: Keep the plastic packing materials out of the reach of children to prevent the risk of suffocation.
- CAUTION: Before using the pram, make sure that all the catches are locked.
- CAUTION: Use a safety belt as soon as your child can sit up on its own.
- CAUTION: Always use the step belt in conjunction with the pelvis and shoulder belt.
- CAUTION: The sitting position is not suitable for children under the age of 6 months.
- CAUTION: The stability of the pram is adversely affected by loads fastened to the push-bar.
- CAUTION: Always engage the parking brake(s) when parking the pram.
- CAUTION: Bear in mind that your child can swallow small parts and suffocate.
• CAUTION: Never put any extra mattresses in the pram. - Please use only the carrying bag supplied. Make sure that the carrying bag is well secured. Do not put any extra mattress in the carrying bag.
- Avoid situations of extreme use that may diminish your control of the child and the pram.
- When using the pram for your child, restrict the tempo to walking speed, i.e. do not run, jog or skate.
-
Do not use any moving staircases or stairs and be careful when using lifts whilst your child is in the pram.
-
Use only the place indicated for loading and do not exceed the maximum admissible weight of 15 kg.
• Do not load the basket with more than 3 kg.
• The pram may only be used for transporting one child. - Make sure that your child's hands are kept out of the folding areas to prevent the risk of their being squeezed when you fold, unfold or otherwise modify the pram or its parts.
Use only original hauck accessories and original hauck spare parts.
THIS PRAM COMPLIES WITH STANDARD DIN EN 1888:2003-06
Delivery contents (Figure1)
1. Setting it up (Figure 2)
Tilt the pram forwards and outwards until you hear and see the two catches click into place.
2. Fitting the front wheels (Figure 3)
Now the whole front wheel unit can be mounted onto the frame until the metal stud is completely locked into place. Make sure that the wheels are firmly in place.
3. Fitting the rear wheels (Figure 4)
Put the wheels onto the ends of the axle until they are firmly in place, and check that the wheels are firmly in place.
4. Fitting the push-bar
Place the ends of the push-bar onto the frame. When you do this, the two spring studs must protrude fully and visibly. Check that the push-bar is firmly in place.
5. Adjusting the height of the push-bar (Figure 5)
Press the adjusting buttons and adjust to the required height.
6. Fitting the folding top (Figure 6)
To fit the folding top, put the ends of the folding top into the apertures on the side of the seat.
7. Fitting the front bracket (Figure 7)
Place the front bracket onto the frame and put it in the required position. If you want to remove the front bracket, press the safety button and release the front bracket.
8. Adjusting the leg support (Figure 8)
Press the two adjusting buttons and put into the required position.
9. Adjusting the seat (Figure 9)
Under the head cushion there is an aperture providing access to the backrest adjustment handle. To adjust the backrest, pull this handle upwards to unlock the backrest. Now you can set the required position. Release the handle and move the backrest up or down until you hear it click into place.
10. Braking
To engage the brake, press the brake lever down with your foot. To disengage the brake, lift the brake lever with your foot.
Caution: always engage the brake when ‘parking’ the pram.
11. Adjusting the front wheel (Figures 10 a + 10 b)
The front wheel can be adjusted by locking or unlocking the ring mount on the swivelling wheel.
12. Collapsing the pram (Figure 11)
To collapse the pram, pull the folding top back and put the seat in the horizontal position. Now pull the two catches up at the same time and tilt the pram forwards.
In General
Please check the pram functions on a regular basis. Make sure that the frame is stable, the screws are tight, the latching devices are safely locked, the wheels are securely attached and the brakes are in working order. Check the covers occasionally, making sure that the stitching is still firm, and inspect the quality of the plastic parts. Any defective or worn working parts should be replaced immediately. Proceed in the same manner with components that are broken, torn, defect or worn-out. Please use only original hauck replacement parts.
Do not subject your pram to excessive solar radiation. This can lead to a fading of the textile covers and plastic parts.
Cleaning the covers
Remove the cover from the frame by loosening the loops, press studs or screws. Please read the instructions on the sewn-in washing label before washing.
To clean the cover gently, wipe it down evenly using only a damp cloth. When cleaning cloth covers with non-removable lining, please take care not to drench everything. As long as there are no plastic, wood or metal parts on or in the cover, it can be machine-washed at 30^ and spun at medium speed. The cover should be air-dried, but not exposed to blazing sun. Please do not dry the cover in the drier, so as to avoid shrinking. Do not re-fit the covers until they are completely dry.
Cleaning the frame
Dry the pram with a soft cloth after cleaning or after use in rain and snow. Use only mild soapy water or lukewarm water to clean the frame of your pram. Plastic parts can be cleaned with standard cleaners.
Clean and service the wheels regularly. Treatment with a silicon or corrosion spray protects against rust and deposits. Please make sure in winter that road salt residue is removed immediately. Remove dirt from the wheels and axes on a regular basis.
Fourniture (figure 1)
1. Montage (figure 2)
IMPORTANT- KEEP IT FOR LATER READING
CONSERVER CE NOTICE D'INSTRUCTIONS POUR
UN USAGE ULTERIEUR ET LE LIRE ATTENTIVEMENT
BELANGRIJK - BEWAAR ALS NASLAGWERK
CONSERVARE PER UNA CONSULTAZIONE SUCCESSIVA
CONSERVAR PARA APLICACION POSTERIOR