
C552 - CD Player NAD - Free user manual and instructions
Find the device manual for free C552 NAD in PDF.



| Product Type | Turntable |
| Brand | NAD |
| Model | C552 / C555i |
| Drive | Belt drive |
| Speeds | 33 1/3 and 45 rpm |
| Motor | High torque synchronous |
| Suspension | 3 synthetic rubber energy absorbing feet |
| Tonearm - Operation | Manual |
| Tonearm - Overall length | 289 mm |
| Tonearm - Pivot to stylus | 244 mm |
| Tonearm - Effective mass | 9 g |
| Tonearm - Overhang | 19.1 mm |
| Standard cartridge (C552) | Ortofon OM5E |
| Cartridge - Type | Moving magnet |
| Cartridge - Recommended tracking force | 1.75 g (C552) |
| Cartridge - Weight | 5 g (C552) |
| Cartridge - Internal resistance | 750 ohms (C552) |
| Cartridge - Internal inductance | 450 mH (C552) |
| Cartridge - Load capacitance | 200 to 600 pF |
| Dimensions (WxHxD) | 447 x 115 x 365 mm |
| Net weight | 5.25 kg |
| Packed weight | 6.9 kg |
| Care and cleaning | Clean with a soft slightly damp cloth if necessary. Do not use liquid products. Keep the dust cover closed. |
| Safety | Do not lift the center hub. Keep packaging for transport. |
Frequently Asked Questions - C552 NAD
User questions about C552 NAD
0 question about this device. Answer the ones you know or ask your own.
Ask a new question about this device
Download the instructions for your CD Player in PDF format for free! Find your manual C552 - NAD and take your electronic device back in hand. On this page are published all the documents necessary for the use of your device. C552 by NAD.
USER MANUAL C552 NAD
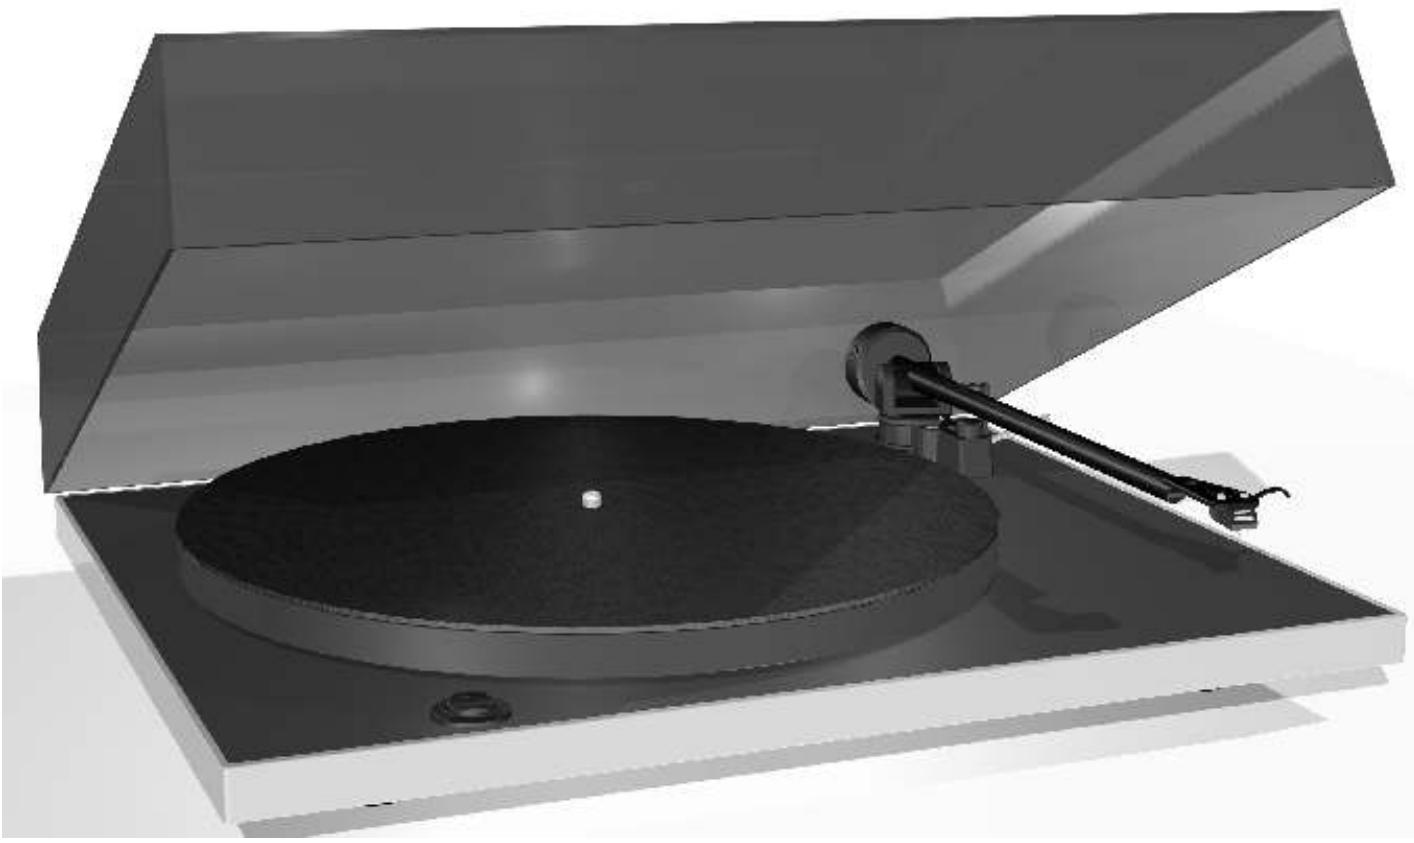
Turntable C555i/C552
natural_image
3D rendering of a vintage rotary disc with a flat top and mechanical lever (no text or symbols visible)NAD Turntable - Owner's Manual
IMPORTANT SAFETY INSTRUCTIONS
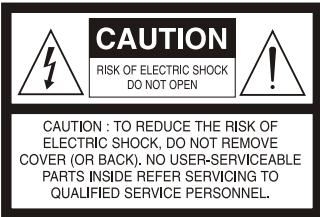
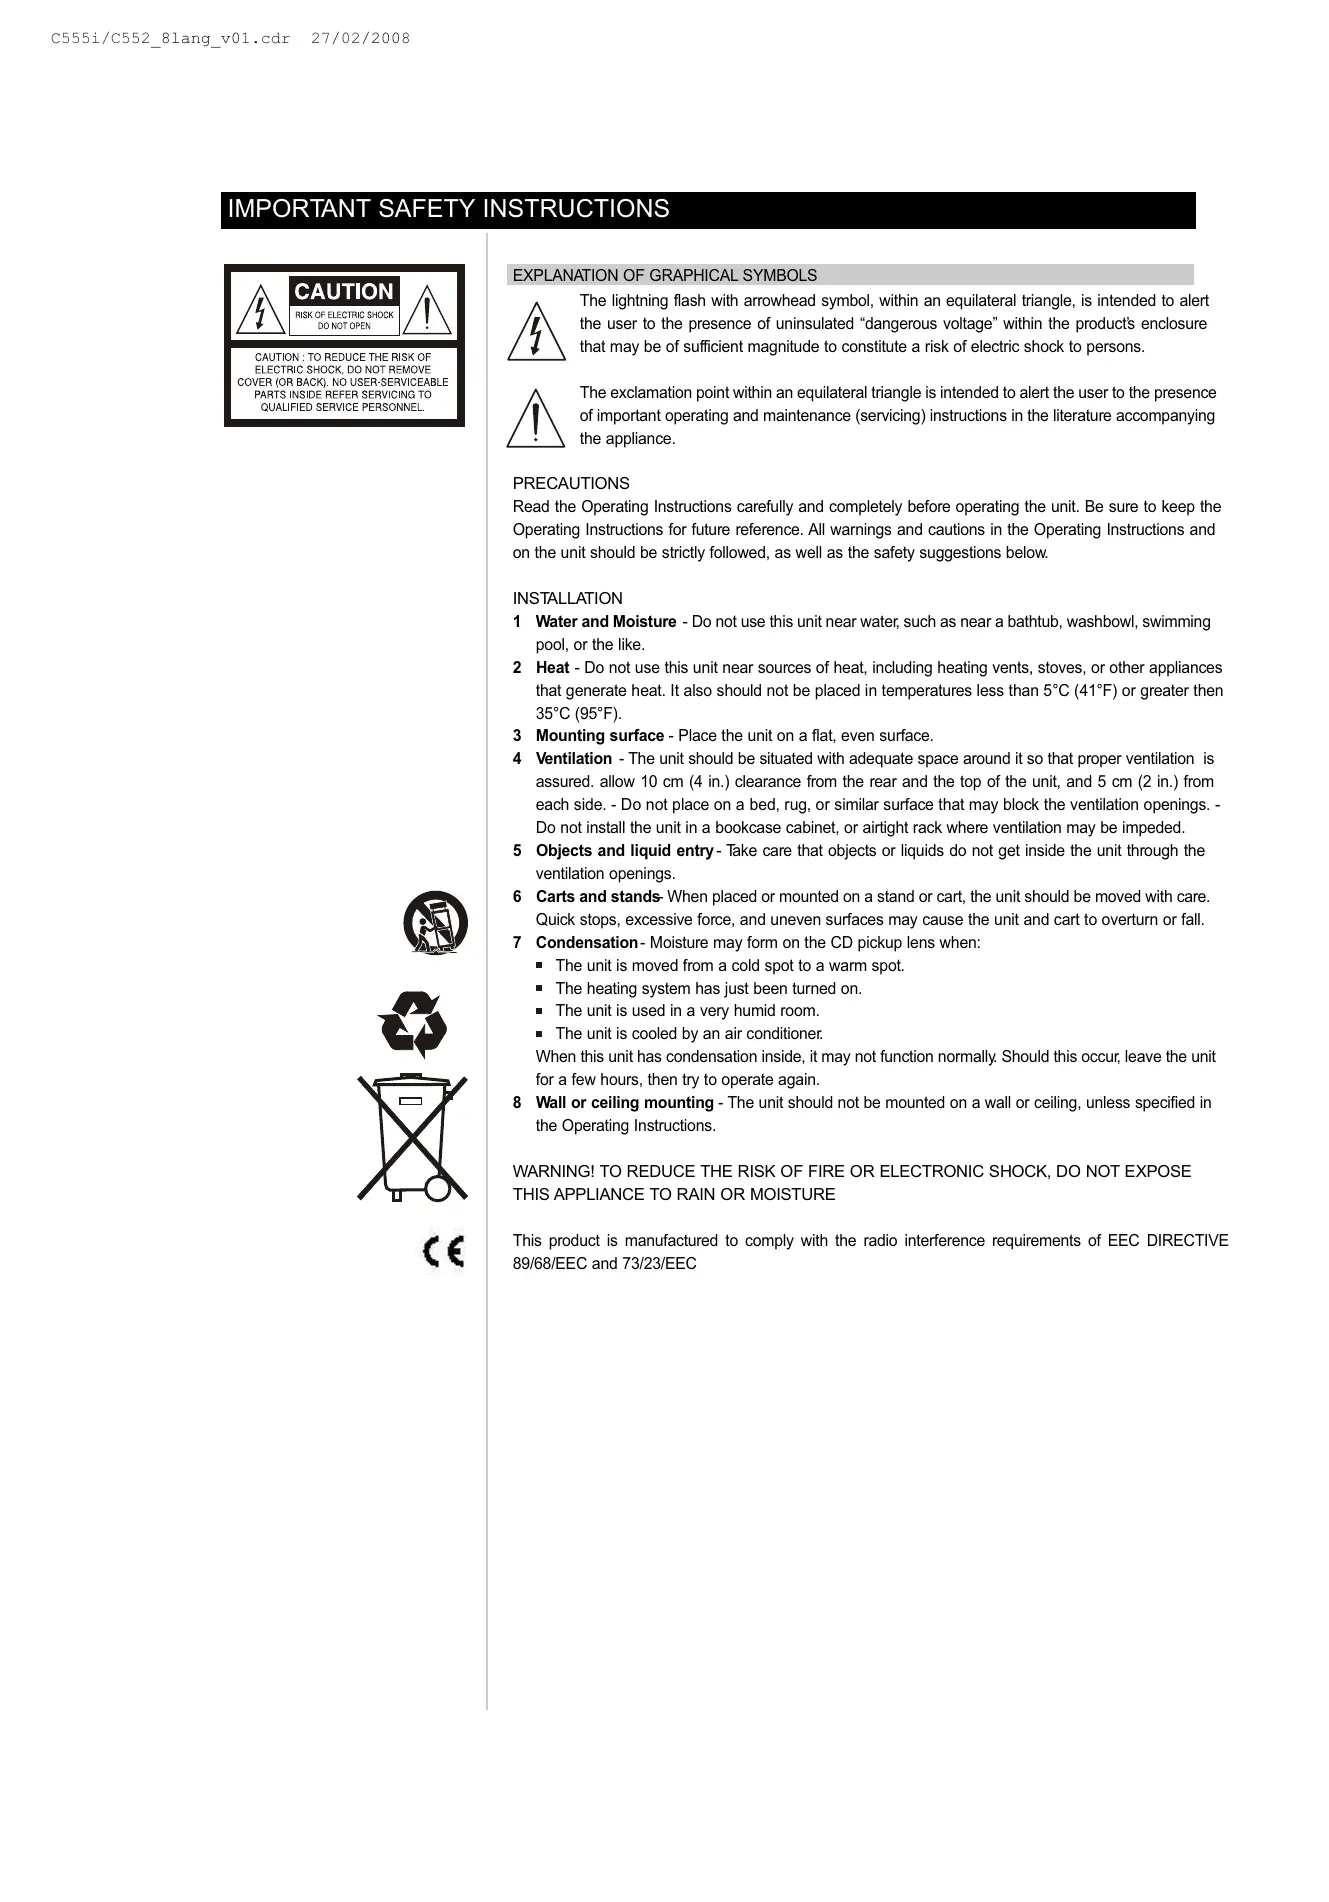
EXPLANATION OF GRAPHICAL SYMBOLS

The lightning flash with arrowhead symbol, within an equilateral triangle, is intended to alert the user to the presence of uninsulated “dangerous voltage” within the product's enclosure that may be of sufficient magnitude to constitute a risk of electric shock to persons.

The exclamation point within an equilateral triangle is intended to alert the user to the presence of important operating and maintenance (servicing) instructions in the literature accompanying the appliance.
PRECAUTIONS
Read the Operating Instructions carefully and completely before operating the unit. Be sure to keep the Operating Instructions for future reference. All warnings and cautions in the Operating Instructions and on the unit should be strictly followed, as well as the safety suggestions below.
INSTALLATION
1 Water and Moisture - Do not use this unit near water, such as near a bathtub, washbowl, swimming pool, or the like.
2 Heat - Do not use this unit near sources of heat, including heating vents, stoves, or other appliances that generate heat. It also should not be placed in temperatures less than 5^ C ( 41^ F) or greater than 35^ C ( 95^ F).
3 Mounting surface - Place the unit on a flat, even surface.
4 Ventilation - The unit should be situated with adequate space around it so that proper ventilation is assured. allow 10 cm (4 in.) clearance from the rear and the top of the unit, and 5 cm (2 in.) from each side. - Do not place on a bed, rug, or similar surface that may block the ventilation openings. - Do not install the unit in a bookcase cabinet, or airtight rack where ventilation may be impeded.
5 Objects and liquid entry - Take care that objects or liquids do not get inside the unit through the ventilation openings.
6 Carts and stands- When placed or mounted on a stand or cart, the unit should be moved with care. Quick stops, excessive force, and uneven surfaces may cause the unit and cart to overturn or fall.
7 Condensation- Moisture may form on the CD pickup lens when:
■ The unit is moved from a cold spot to a warm spot.
■ The heating system has just been turned on.
■ The unit is used in a very humid room.
■ The unit is cooled by an air conditioner.
When this unit has condensation inside, it may not function normally. Should this occur, leave the unit for a few hours, then try to operate again.
8 Wall or ceiling mounting - The unit should not be mounted on a wall or ceiling, unless specified in the Operating Instructions.
WARNING! TO REDUCE THE RISK OF FIRE OR ELECTRONIC SHOCK, DO NOT EXPOSE THIS APPLIANCE TO RAIN OR MOISTURE
This product is manufactured to comply with the radio interference requirements of EEC DIRECTIVE 89/68/EEC and 73/23/EEC

IMPORTANT SAFETY INSTRUCTIONS
ELECTRIC POWER
1 Power Sources- Connect this unit only to power sources specified in the Operating Instructions, and as marked on the unit.
2 Polarization - As a safety feature, some units are equipped with polarized AC power plugs which can only be inserted one way into a power outlet. If it is difficult or impossible to insert the AC power plug into an outlet, turn the plug over and try again. If it still does not easily insert into the outlet, please call a qualified service technician to service or replace the outlet. To avoid defeating the safety feature of the polarized plug, do not force it into a power outlet.
3 AC power cord- When disconnecting the AC power cord, pull it out by the AC power plug. Do not pull the cord itself.
■ Never handle the AC power plug with wet hands, as this could result in fire or shock.
■ Power cords should be routed to avoid being severely bent, pinched, or walked upon. Pay particular attention to the cord from the unit to the power socket.
- Avoid overloading AC outlets and extension cords beyond their capacity, as this could result in fire or shock.
4 Extension cord- To help prevent electric shock, do not use a polarized AC power plug with an extension cord, receptacle, or other outlet unless the polarized plug can be completely inserted to prevent exposure of the blades of the plug.
5 When not in use - The primary method of isolating the turntable from the mains supply is to disconnect the mains plug. Ensure that the mains plug remains accessible at all times. Unplug the AC power cord from the AC outlet if the unit will not be used for several months or more.
CAUTION
Modifications or adjustments to this product, which are not expressly approved by the manufacturer, may void the user's right or authority to operate this product.
MAINTENANCE
Clean the unit only as recommended in the Operating Instructions.
DAMAGE REQUIRING SERVICE
Have the unit serviced by a qualified service technician if
■ The AC power plug has been damaged.
■ Foreign objects or liquid have got inside the unit.
■ The unit has been exposed to rain or water - The unit does not seem to operate normally.
■ The unit exhibits a marked change in performance.
■ The unit has been dropped, or the cabinet has been damaged
DO NOT ATTEMPT TO SERVICE THE UNIT YOURSELF
OWNER'S RECORD
For your convenience, record the model number and serial number (you will find them on the rear of your set) in the space provided below. Please refer to them when you contact your dealer in case of difficulty.
Model No.:
Serial No.:
This turntable has been engineered to give extremely good musical reproduction. Inherent in the design are several features that improve sound quality and focus the manufacturing costs where they are most needed.
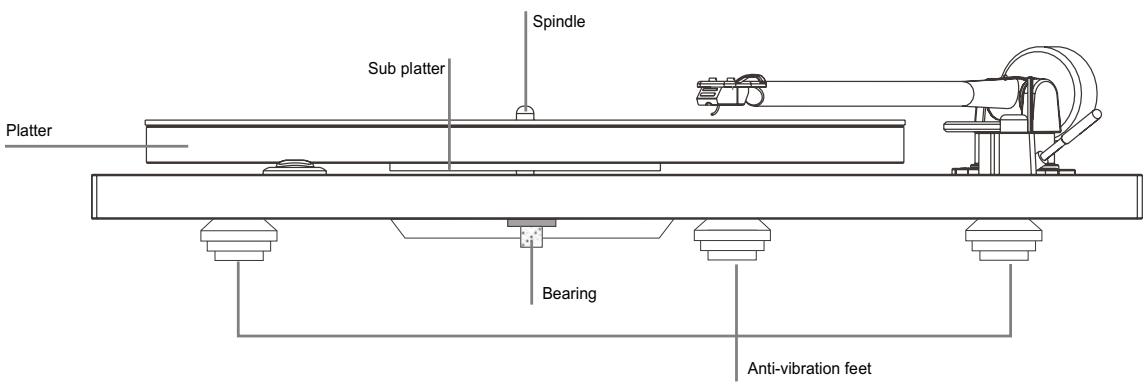
Example: Speed change is achieved by manually moving the drive belt from one pulley to another as shown below.
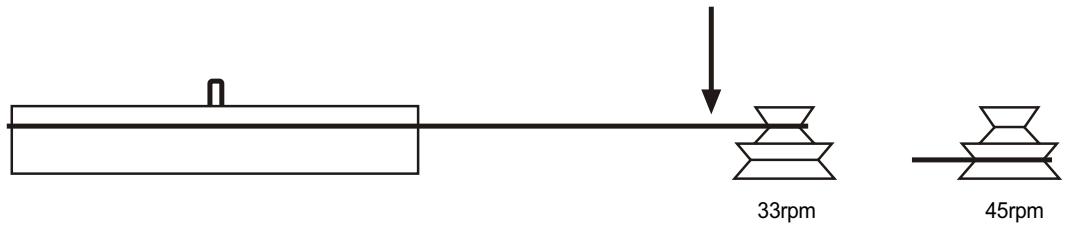
The cost saving from the use of manual speed change allows a very expensive low vibration motor with an accuracy exceeding that of conventional designs to be employed.
TIPS AND SUGGESTIONS
1 Try to mount the turntable on a rigid, level surface. A light shelf screwed to the wall or in an alcove would be ideal. Avoid mounting on hollow or heavy cabinets, or anything mounted on a wooden floor.
2 Try to keep the lid closed whilst playing records. This will prevent dust falling onto the records and make cleaning unnecessary. There may also be a sound improvement.
3 Don't use a record cleaner that works as the record plays, or any cleaners that use water or fluids. Don't touch the playing surface of records. Visible dust on the record surface is simply brushed aside by the stylus, and any that collects there can easily be blown away.
4 Try to leave the turntable running during a record playing session. Switch on before the start, and only switch off after the last record has finished. Changing records whilst the platter revolves is easier than it sounds!
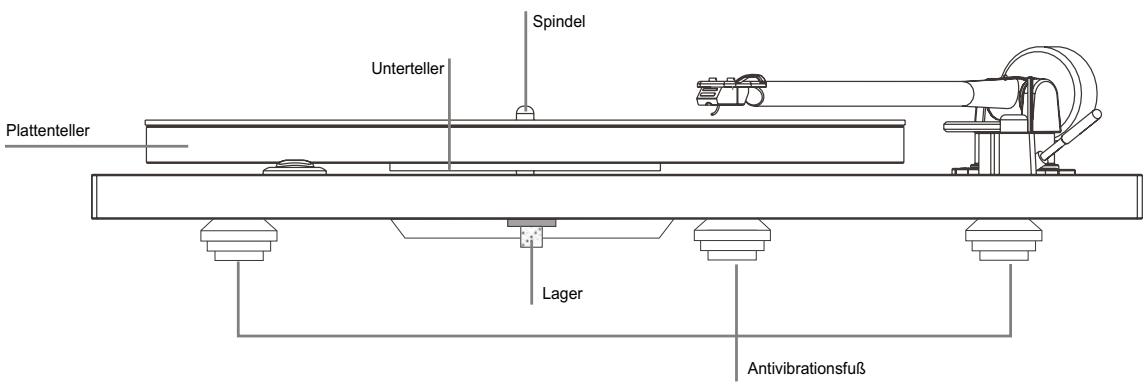
5 DO NOT lift the centre hub from its bearing. The bearing is factory assembled with a film of thick lubricant. Disturbance of this can cause serious problems with speed variation and wear.
6 When switching on the turntable, especially at 45rpm, it is recommended to give the platter a quick spin clockwise as the 'ON' switch is pressed. This relieves strain on the motor and belt.
7 No maintenance should be necessary. If the turntable is working well, leave it alone. Some settling of the anti-vibration feet may cause the turntable to lean backwards slightly after a few months, but this is nothing to worry about.
8 Don't use any polishes on the turntable or lid. To clean or dust, wipe gently with a soft cotton duster (slightly damp, only if necessary).
9 The tonearm is automatically earthed (or ground) through the arm cable screening. No other earthing should be necessary.
10 Save the packing, in case the turntable has to be transported in the future.
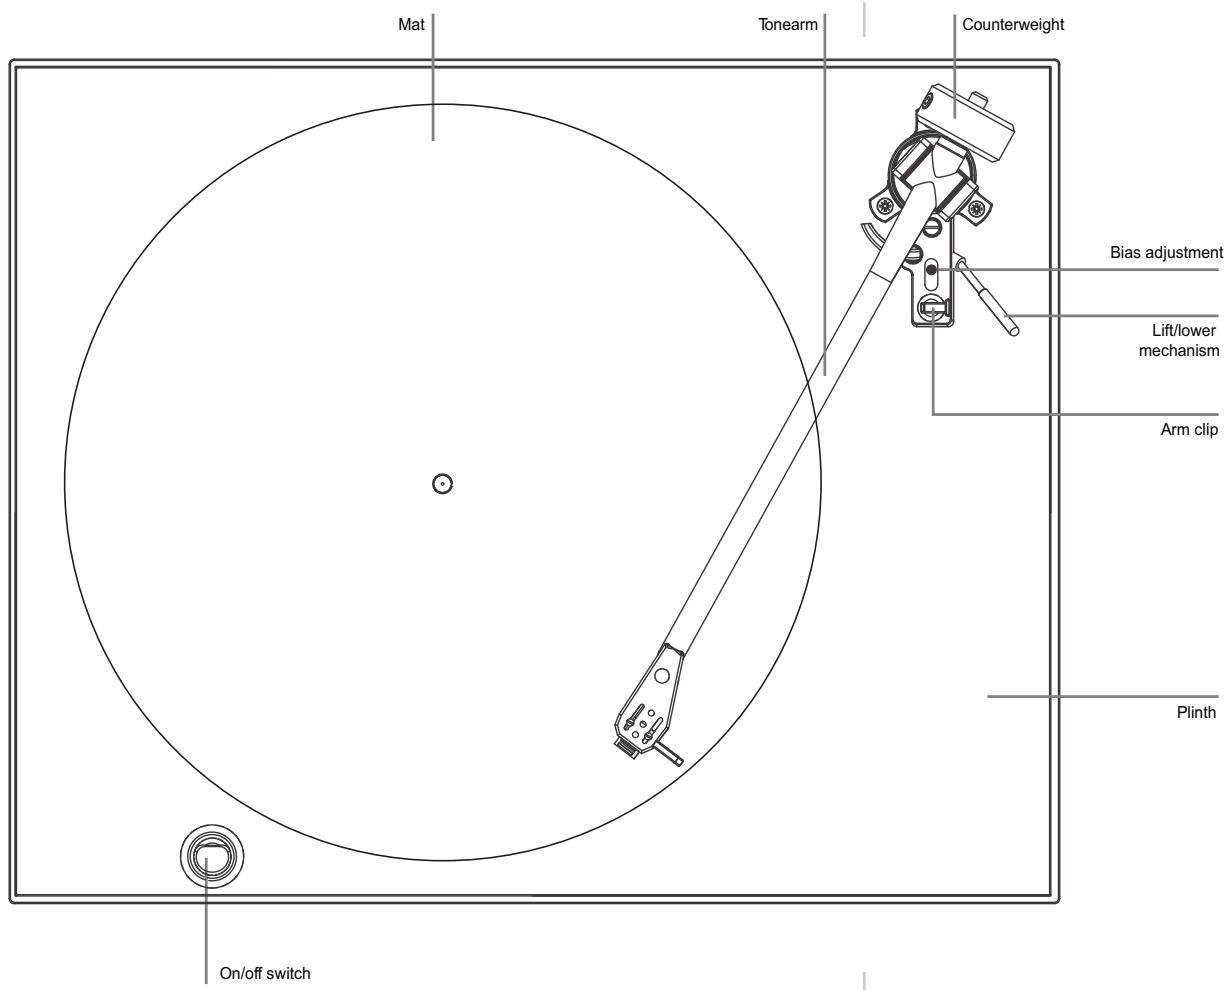
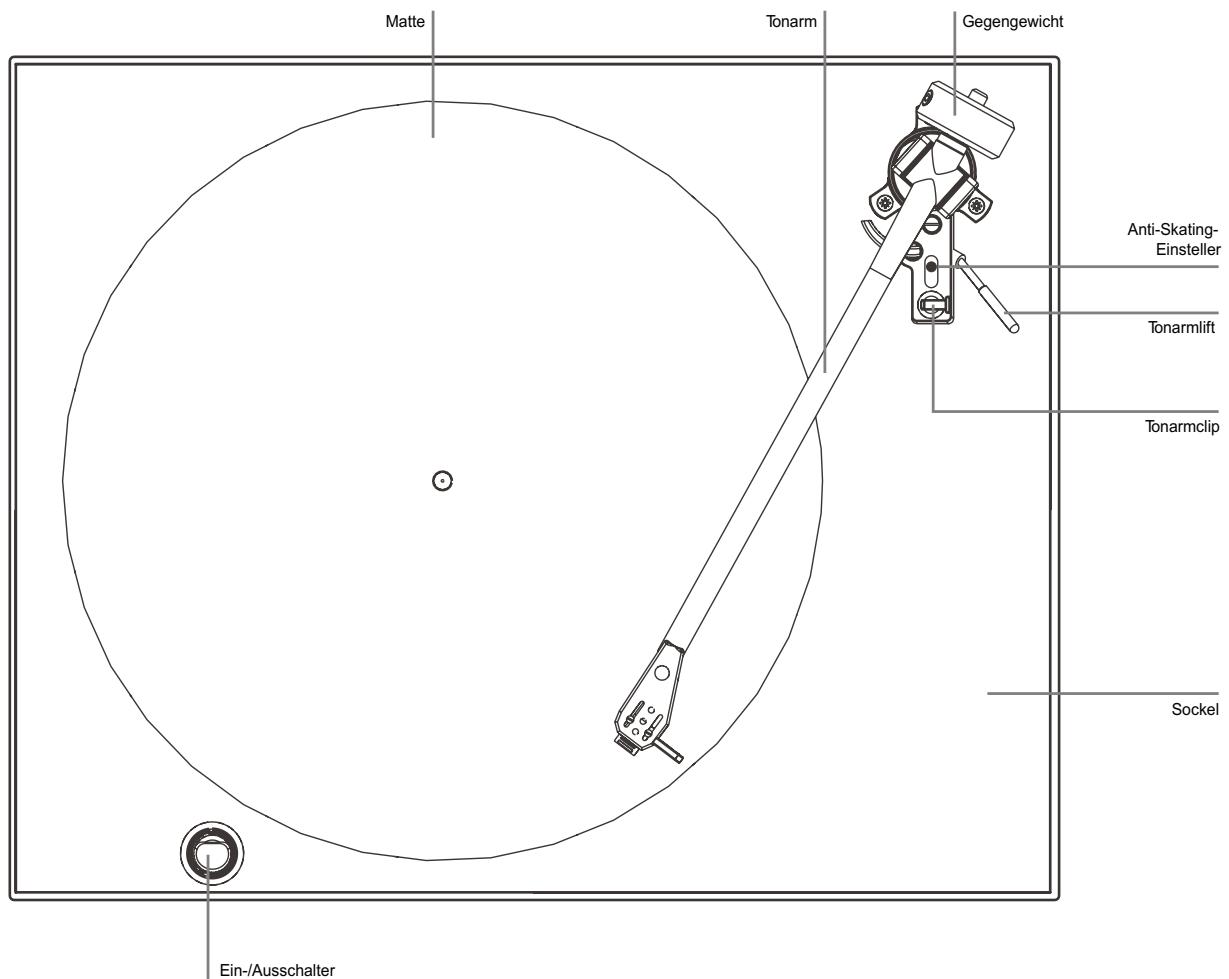
11 When the record reaches the end of one side, remember to lift the stylus off the surface of the record using the lift/lower mechanism.
ENJOY THE MUSIC!
CARTRIDGE
Your NAD C555i/C552 turntable comes with a factory fitted moving magnet cartridge.
When following the setting-up instructions, please note that the optimum tracking weight is 1.7 grams for the cartridge. The bias adjustor should then be set to the same setting.
Replacement styli are available from your NAD dealer.
ARM WIRING
Blue = LH earth
Green = RH earth
Red = RH signal
White = LH signal
SETTING UP THE CARTRIDGE
With the cartridge fitted using the alignment protractor supplied and the wiring chart (shown left), next set the tracking force and thrust bias.
First, slide off the plastic protection shroud from the cartridge - carefully! Unclip the arm from its Holder and make sure that the bias adjuster is set to zero, use the balance weight to 'float' the stylus about 1mm clear of a record, then dial inwards with the weight, (1 complete turn = 2g) until the cartridge's tracking weight is achieved. Finally, set the bias adjuster to the same setting.
C 555i CARTRIDGE SPECIFICATION: GOLDRING ELECTRA
TRANSDUCER CHARACTERISTICS
| Frequency response | 20Hz - 20 kHz ±3dB |
| Channel balance | 2dB at 1 kHz |
| Channel separation | 20dB at 1 kHz |
| Output level | 5mV ±2dB at 1 kHz at 5cm/s |
| Static compliance | 16mm/N |
| Equivalent tip mass | 0.7mg |
| Vertical tracking angle | 26 degrees |
| Stylus radius | Elliptical 0.00072" x 0.0003" / 18μ x 7μ |
| Stylus type | replaceable |
ELECTRICAL CHARACTERISTICS
Load resistance 47k ohms
Load capacitance 150 - 400pF
Internal inductance 560mH
Internal resistance 700 ohms
MECHANICAL CHARACTERISTICS
Cartridge weight 4.2g
Fixing centres 0.5" / 12.7mm
Tracking weight 1.5 - 2.0g (1.7g nominal)
C 552 CARTRIDGE SPECIFICATION: ORTOFON OM5E
TRANSDUCER CHARACTERISTICS
Frequency response 20-20.000 Hz ± 2 dB
Channel balance 2dB at 1 kHz
Channel separation 22dB at 1 kHz 15dB at 15kHz
Output voltage at 1000 Hz, 5cm/sec. 4mV
Tracking force range 1,5-2,0 g (15-20 mN)
Tracking force, recommended 1,75 g (17,5 mN)
Vertical tracking angle 20 degrees
Stylus radius r/R 8/18 μm
Stylus type Elliptical 0.00072" x 0.0003" / 18μ x 7μ
ELECTRICAL CHARACTERISTICS
Recommended load resistance 47k ohms
Recommended load capacitance 200 - 600pF
Internal inductance 450mH
Internal impedance, DC resistance 750 ohms
MECHANICAL CHARACTERISTICS
Cartridge weight 5 g
Tracking weight 1.5 - 2.0g (15-20 mN)
Replacement stylus unit Stylus 5 E
C 555i/C 552 SPECIFICATIONS
TURNTABLE
Drive system Belt drive
Motor High torque synchronous motor
Speeds 33.3 and 45.1 rpm
Suspension system 3 energy absorbent synthetic rubber feet
TONEARM
Operation Manual
Length 289mm total length - 244mm pivot to stylus
Effective mass 9 grams
Overhang 19.1mm
Cable capacitance 150-400pF
PHYSICAL SPECIFICATIONS
Dimensions (WxHxD) with dust cover down 17^3/8 × 4^9/16 × 14'' / 447 × 115 × 356mm
Net Weight 11.57lb / 5.25kg
Shipping Weight 15.21lb / 6.9kg
Weiß = Linker Kanal, Signal
INBETRIEBNAHME DES TONABNEHMERSYSTEMS
White = Vänster signal
C 555i/C 552 PICKUP
www.NADelectronics.com
©2008 NAD ELECTRONICS INTERNATIONAL
A DIVISION OF LENBROOK INDUSTRIES LIMITED
- Turntable C555i/C552
- IMPORTANT SAFETY INSTRUCTIONS
- EXPLANATION OF GRAPHICAL SYMBOLS
- PRECAUTIONS
- INSTALLATION
- ELECTRIC POWER
- CAUTION
- MAINTENANCE
- DAMAGE REQUIRING SERVICE
- DO NOT ATTEMPT TO SERVICE THE UNIT YOURSELF
- OWNER'S RECORD
- TIPS AND SUGGESTIONS
- CARTRIDGE
- SETTING UP THE CARTRIDGE
- C 555i CARTRIDGE SPECIFICATION: GOLDRING ELECTRA
- TRANSDUCER CHARACTERISTICS
- ELECTRICAL CHARACTERISTICS
- MECHANICAL CHARACTERISTICS
- C 552 CARTRIDGE SPECIFICATION: ORTOFON OM5E
- C 555i/C 552 SPECIFICATIONS
- TURNTABLE
- TONEARM
- PHYSICAL SPECIFICATIONS
- INBETRIEBNAHME DES TONABNEHMERSYSTEMS
Brand : NAD
Model : C552
Category : CD Player