
15187 - Multimeter PROLINE - Free user manual and instructions
Find the device manual for free 15187 PROLINE in PDF.


| Product Type | AC Clamp Multimeter |
| Brand | Proline |
| Model | 15187 |
| Display | LCD, max 6000 counts |
| AC Current Range | 0.01 A – 200 A |
| AC Current Accuracy | ±(2.5% + 8 digits) |
| DC Voltage Range | 0.5 V – 600 V |
| DC Voltage Accuracy | ±(0.5% + 3 digits) |
| AC Voltage Range | 1 V – 600 V |
| AC Voltage Accuracy | ±(0.8% + 5 digits) |
| Resistance Range | 0 – 6 kΩ |
| Resistance Accuracy | ±(0.8% + 3 digits) |
| Continuity Test | Buzzer sounds if < 50 Ω |
| Safety Rating | CAT III 600 V, double insulation |
| Power Supply | 2 × 1.5V AAA batteries |
| Auto Power Off | After 10 minutes of inactivity |
| Data Hold | Yes |
| Backlight | Yes, auto-off after 1 minute |
| Weight | Max 200 g |
| Dimensions (approx.) | 200 × 70 × 35 mm |
| Accessories | Test leads, cloth bag, manual, batteries |
| Storage Temperature | -10 °C to 50 °C |
| Working Temperature | 18 °C to 28 °C |
Frequently Asked Questions - 15187 PROLINE
User questions about 15187 PROLINE
0 question about this device. Answer the ones you know or ask your own.
Ask a new question about this device
Download the instructions for your Multimeter in PDF format for free! Find your manual 15187 - PROLINE and take your electronic device back in hand. On this page are published all the documents necessary for the use of your device. 15187 by PROLINE.
USER MANUAL 15187 PROLINE
Please operate this instrument with great care. Improper operation may result in an electric shot or damage to the instrument. Throughout the operation, you should follow the generally accepted safety procedures and teke the safety measures as required by the Operation.
Please read carefully this Manual and take the operational methods as specified herein so as to make full use of the instrument's functionalities and ensure safe operation.
This instrument is in strict compliance with the safety requirements as specified in IEC-61010-1, IEC-61010-2-030 and IEC-61010-2-032 for electrical measuring instruments. Its pollution reaches the level of Class II and over-voltage standard is CAT III 600V.
Please strictly follow the guideline for safe operation so as to ensure safety while operating this instrument.
Full conformity with safety standards is guaranteed only if the test leads supplied with the product are used. If they are damaged, the leads should be replaced with the same models or leads with the same electrical parameters.
a) To prevent electrocution or fire, do not expose the meter to rain or humidity. The meter is intended for indoor use only.
b) Replace the batteries immediately after the warning symbol is displayed. Otherwise, the next result may be inaccurate. This may lead to deviations, false results, or even electrocution.
c) Disconnect and turn off the meter before replacing the batteries.
d) Check the meter for damage before turning it on. If any damage is visible on the instrument, do not perform any measurements. Do not use a damaged meter.
e) Check the insulation of the probes before turning the meter on. If the probes are damaged, a risk of electrocution occurs. Do not use damaged probes.
f) Do not touch the tips and terminals during the measurement. Do not conduct measurements with wet hands or in high humidity. Failure to conform poses a risk of electrocution.
g) Always keep your fingers behind the finger guards of the meter or test lead probes during measurements as they indicate the limit of safe access to the probes and instrument.
h) Disconnect the test leads from the tested circuit before changing the measurement range.
i) Do not exceed the limit values of electricity parameters indicated for each measurement range. Select the highest range if the scale of the measured value is unknown.
j) It is inadvisable to use the meter in an environment with strong electromagnetic fields, a risk of explosion or fire.
k) Keep away from children.
I) Protect against humidity, dust, and high temperature during the storage and transport.
m) Do not modify the instrument whatsoever.
1.1 Preparation
1.1.1 The user must observe the standard safety rules when operating this instrument:
- General protection against electrical shock
- Prevention of unintended use
1.1.2 Upon the arrival of the instrument, check any damage that arises during transportation.
1.1.3 Upon the arrival of the instrument that has been stored and shipped in rough conditions, check and identify any damage.
1.1.4 The instrument must be kept in a good condition. Prior to its use, check the possible damage to insulation part and potential exposed metal wire of the lead.
1.2 Symbols
Note (For important safety information, see Operation Manual).
This symbol indicates that it can be used on a hazardous live conductor.
☐ Double insulation protection (Category II).
CAT III refers to over-voltage level III (installation) as specified in IEC-61010-1 standard. Pollution level 2 refers to the level of impulse withstand voltage protection.
CE It is compliant with appropriate EU standard.
Grounding.
1.3 Maintenance
1.3.1 Do not attempt to open the bottom case to adjust or repair instruments. Such operation can only be executed by an electrician who is fully familiar with the instrument and electric shock risks.
1.3.2 Remove pen-shaped meter from the line to be measured, before opening the instrument's bottom case or battery cover.
1.3.3 To avoid an electric shock that results from any false readings, replace existing battery when the symbol □ is displayed.
1.3.4 Don't use any abrasive agents or solvents when a wet cloth and mild detergent are being employed to clean the instrument.
1.3.5 Power off and keep the range switch to the position "OFF" when the instrument is not in use.
1.3.6 Remove battery to avoid any damage to the instrument when the instrument is not in use for a long period.
2. Description
2.1 Components
① Data hold / Backlight key
② Func. key: select measurement functions
③ Display screen
④ Input socket
⑤ Power key
⑥ Trigger
⑦ On/Off indicator
⑧ Current clamp head: for current measurement
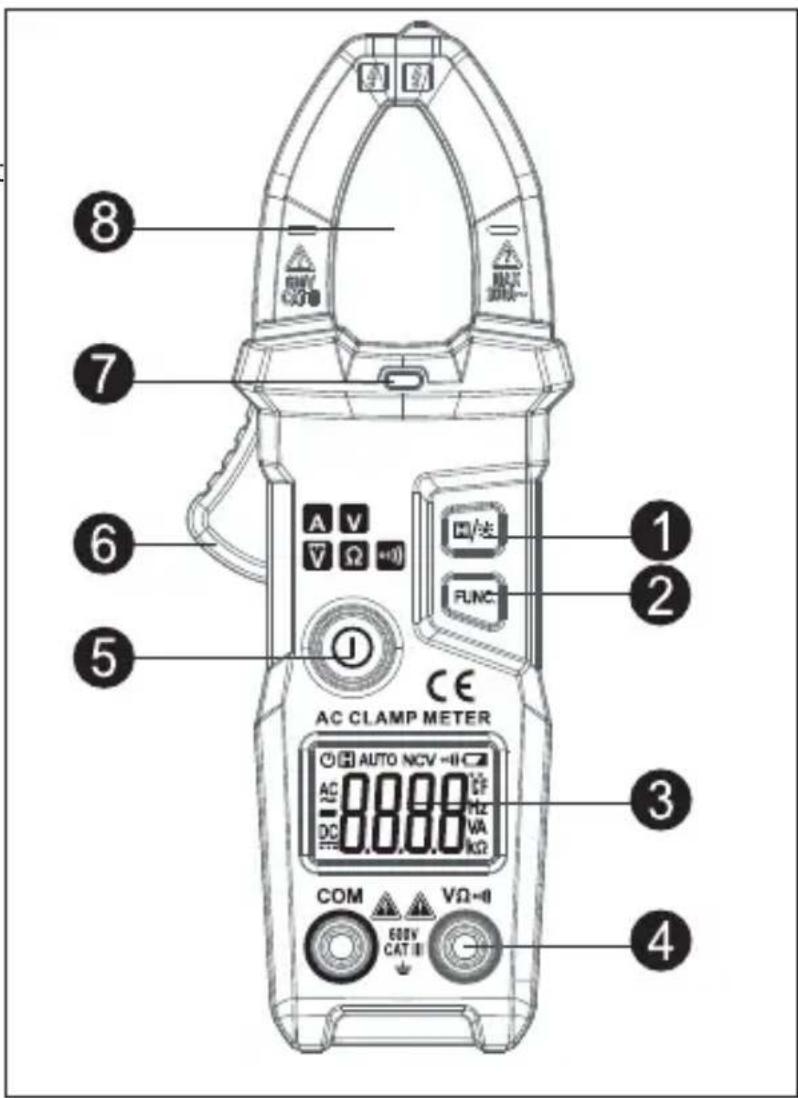
2.2 LCD monitor
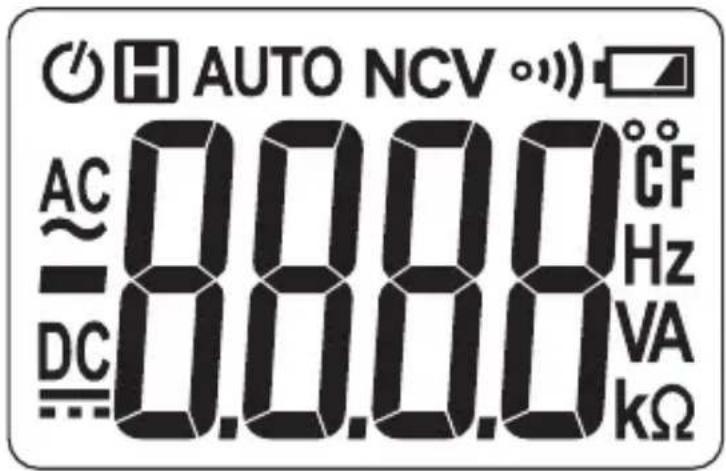
| ~ | AC & DC |
| • | On/Off indication |
| AUTO | Auto scan mode |
| Auto shutdown indication | |
| LOW BATTERY | |
| Hold status | |
| V;A | Volt (Voltage); Ampere (Current) |
| Ω; kΩ; MΩ | Ohm, kilohm and megohm (Resistance) |
3. Specification
The instrument shall be re-calibrated at an interval of one year under the conditions of 18^ C- 28^ C and relative humidity of less than 75%.
3.1 Overview
- The instrument is designed to automatically select measurement functions and measuring ranges.
• Full range overload protection. - Allowable max voltage between terminal to be measured and ground: 600V DC or 600V AC.
• Working weight: max200g - Display unit: LCD
• Max display value: 6000 numbers - Polarity indication: automatic indication. "-" indicates negative polarity.
• Over range indication: '0L' or '-0L' - Sampling rate: approximately 3 times per second
- Unit display: to display functions and electric quantity
• Automatic shut-down time: 10 minutes
• Power supply: 1.5V AAA battery x 2
- Battery under-voltage indication: LCD display symbol
• Temperature coefficient: less than 0.1 x accuracy/°C
• Working temperature: 18 C \~ 28 C
• Storage temperature: -10 C \~ 50 C
3.2 Technical parametr
3.2.1 AC current
| Measuring range | Resolution | Accuracy |
| 6A | 0.001A | ±(2.5% Reading + 8 digits) |
| 60A | 0.01A | |
| 200A | 0.1A |
- Minimum input current: 0.01A AC current
- Max input current: 200A AC current
- Frequency range: 45\~65Hz;
3.2.2 DC voltage
| Measuring range | Resolution | Accuracy |
| 600V 0.1V | ±(0.5% Reading + 3 digits) |
- Minimal input current 0.5V DC
- Maximal input current: 600V DC
3.2.3 AC voltage
| Measuring range | Resolution | Accuracy |
| 600V 0.1V | ±(0.8% Reading + 5 digits) |
- Minimal input current: 1.0V AC
- Maximal input current: 600V AC (valid value)
- Frequency range: 45 \~ 65Hz
3.2.4 Electric resistance
| Measuring range | Resolution | Accuracy |
| 6kΩ 0.001kΩ | ±(0.8% Reading + 3 digits) |
- Overload protection: 600V DC or AC (valid value)
3.2.5 Line On/Off test
| Measuring range | Resolution | Functions |
| ••• | 1Ω | If the electric resistance of the line measured is less than 50Ω, the buzzer inside the instrument may sound. |
- Overload protection: 600V DC or AC (valid value)
4. Operational guidelines
4.1 Reading hold
During the process of measurement, gently touch the key 📄/❄ if you want tu hold readings, and monitor's display value will be locked. Touch again the key 📄/❄, the readings hold will be removed.
4.2 Backlight
1) In the process of measurement, if the measurement environment is too dark, press the key H/★for more than 2 seconds to enable backlight function. Then about 1 minute later, the backlight function will be automatically disabled.
2) During this process, press the key 📄/✿ for 2 seconds to disable backlight.
4.3 Auto shutdown
1) If no operations occur within 10 minutes after the initialization, the instrument will be in the state of dormancy. Auto shutdown at this moment can save power consumption. 2 minutes before shutdown, the buzzer will sound at an interval of 1 minute.
2) Press any key after auto shutdown to wake the instrument into operation.
3) The function of auto shutdown will be disabled if FUNC key is pressed while the instrument is initialized.
4.4 Preparation for measurement
1) Press the power key for 2 seconds to initialize the instrument. If the battery voltage is low (approximately ≤2.4V), the monitor will display the simbol ☐. At this moment, the battery should be replaced. The instrument will be shut down if the power key is pressed after the initialization.
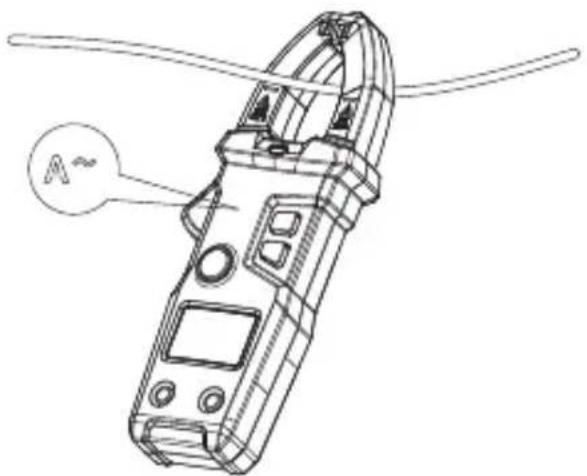
4.5 AC current measurement
1) Hold a trigger, open clamp head, and catch one guide wire of a line to be measured.
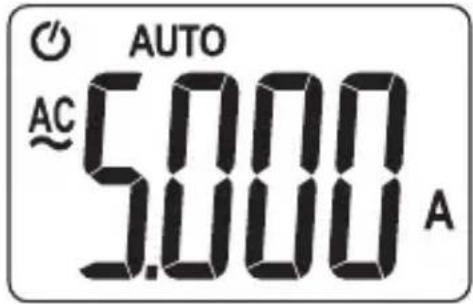
2) Press the FUNC key to switch to AC current measurement mode. When the measured signal is >0.01A, the instrument will display the measured current value.
4.6 DC voltage measurement
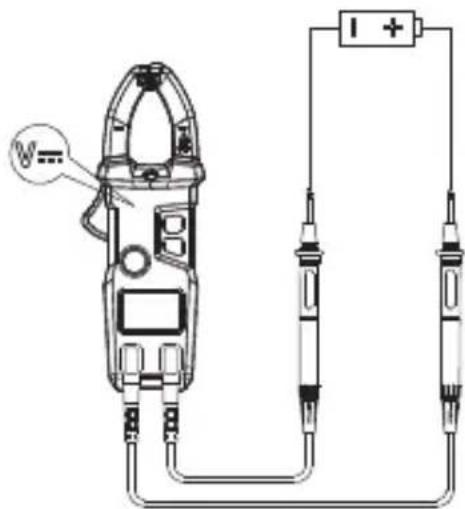
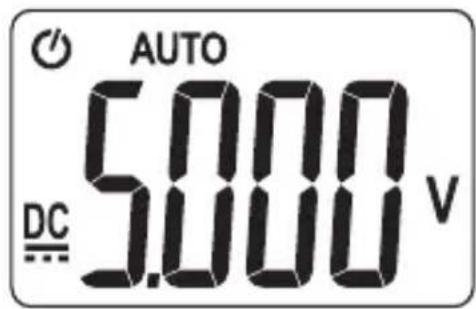
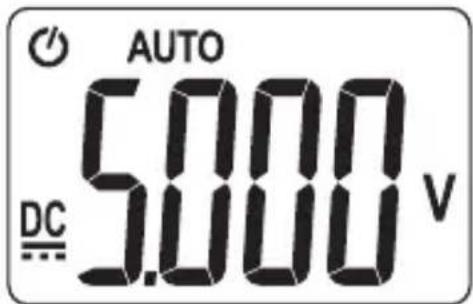
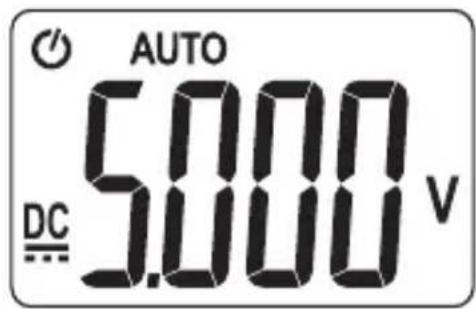
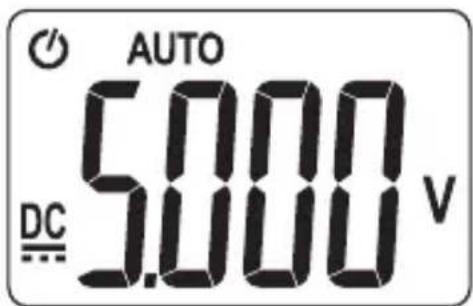
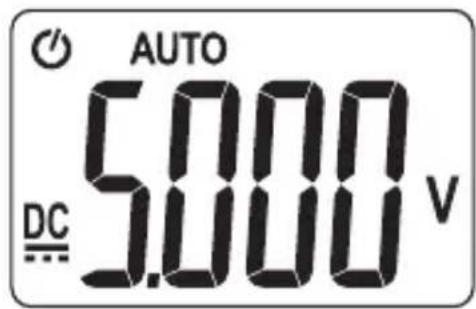
Press FUNC key to switch to DC voltage measurement mode, connect the pen-shaped meter to the DC voltage signal being measured, and then the instrument will display the measured DC voltage value.
4.7 AC voltage measurement
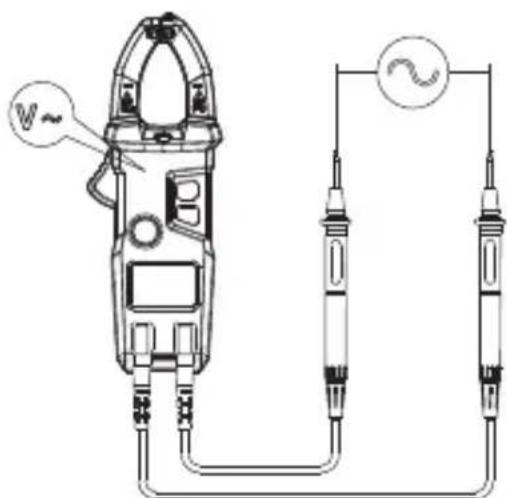
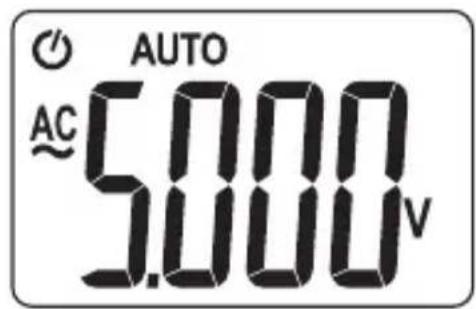
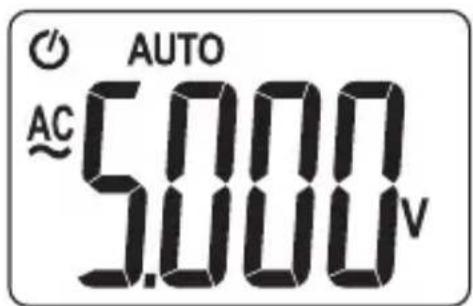
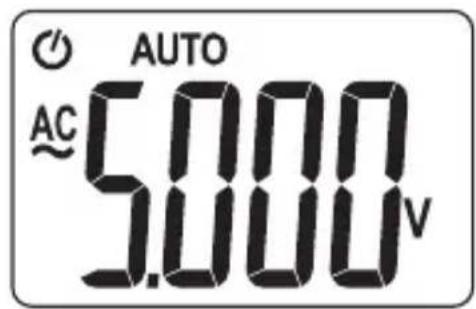
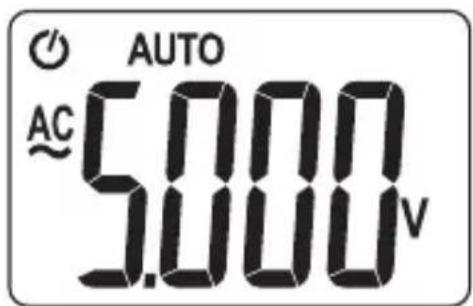
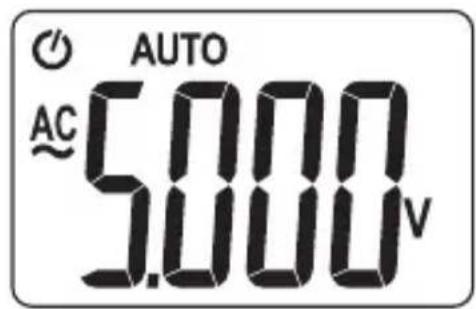
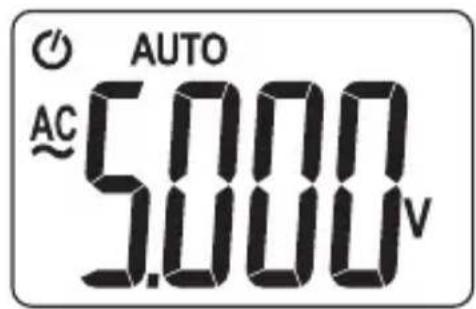
Press FUNC key to switch to AC voltage measurement mode, connect the pen-shaped meter to the AC voltage signal being measured, and then the instrument will display the measured AC voltage value.
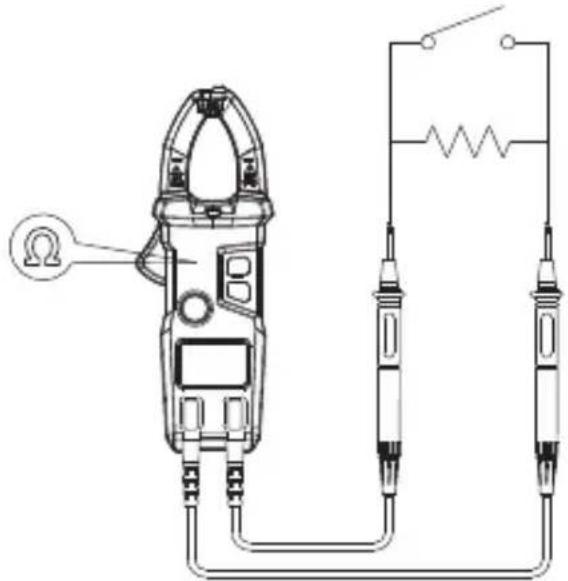
4.8 Electric resistance measurement
Connect the pen-shaped meter with the resistance being measured. When the measured resistance is >6kΩ the instrument will display ----; when the measured resistance is less than 50Ω, the buzzer will sound alarms and ON/Off indicator will be on simultaneously.
5. Maitenance
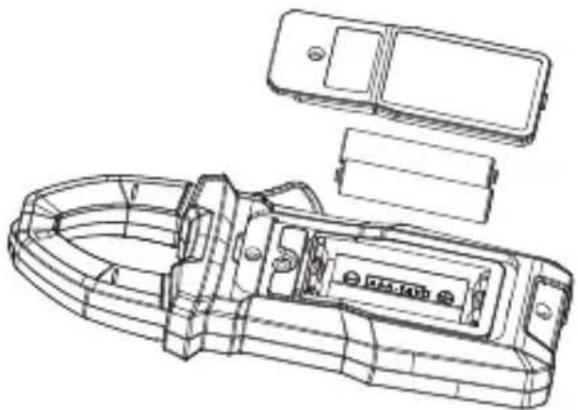
5.1 Battery replacement


Before the instrument's battery cover is opened, remove the pen-shaped meter from the circuit to be measured, so as to avoid the risk of an electric shock.
1) If the symbol " " appears, it indicates that the battery should be replaced.
2) Unscrew the fastening screw on the battery cover and remove it.
3) Replace the old batteries.
4) Mount the battery cover as it is.
Note:
Battery polarities cannot be reversed.
natural_image
Technical line drawing of a mechanical device with internal components (no text or symbols)5.2 Replacement of pen-shaped meter
Warning

The same or equivalent pen-shaped meter must be used to replace the old pen-shaped meter. The pen-shaped meter must be intact. Its grade must be 1000V 10A.
The pen-shaped meter must be replaced if its insulating layer is damaged (e.g. the metal wire of the guide is exposed.)
6. Accessories
① Pen-shaped meter Level:1000V 10A A pair
② Operation Manual one
③ Battery 1.5V AAA battery 2
④ Cloth bag 1
MANUFACTURER:
PROFIX Co.Ltd.,
34 Marywilska Street,
03-228 Warsaw, POLAND.
5. Konserwacja
5.1 Wymiana baterii


natural_image
Technical line drawing of a mechanical device with internal components (no text or symbols)5.2 Wymiana sondy


5. Консервация
5.1 Замена батарей
Внимание!

natural_image
Technical line drawing of a mechanical device with internal components (no text or symbols)5.2 Замена зонда
Внимание!

5. Întreținere
natural_image
Technical line drawing of a mechanical assembly with internal components (no text or symbols)5.2 Înlocuire sondă


5. Priežiūra
natural_image
Technical line drawing of a mechanical device with internal components (no text or symbols)5.2 Zondo keitimas
Dèmesio!

5. Konservācija
5.1 Bateriju maiņa
Uzmanību!

natural_image
Technical line drawing of a mechanical assembly with internal components (no text or symbols)5.2 Zondes maina
Uzmanību!

5. Karbantartás
5.1 Elemcsere
Figyelem!

natural_image
Technical line drawing of a mechanical device with internal components and housing (no text or symbols)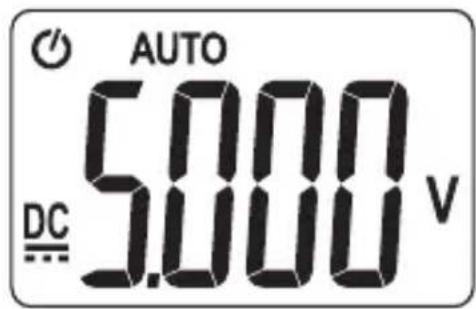
5. Údržba
5.1 Výměna baterií


natural_image
Technical line drawing of a mechanical assembly with internal components (no text or symbols)5.2 Výměna sondy



- Preparation
- Symbols
- Maintenance
- Description
- Components
- LCD monitor
- Specification
- Overview
- Technical parametr
- AC current
- DC voltage
- AC voltage
- Electric resistance
- Line On/Off test
- Operational guidelines
- Reading hold
- Backlight
- Auto shutdown
- Preparation for measurement
- AC current measurement
- DC voltage measurement
- AC voltage measurement
- Electric resistance measurement
- Maitenance
- Battery replacement
- Note:
- Replacement of pen-shaped meter
- Warning
- Accessories
- MANUFACTURER:
- Konserwacja
- Wymiana baterii
- Wymiana sondy
- Консервация
- Замена батарей
- Внимание!
- Замена зонда
- Întreținere
- Înlocuire sondă
- Priežiūra
- Zondo keitimas
- Konservācija
- Bateriju maiņa
- Zondes maina
- Karbantartás
- Elemcsere
- Figyelem!
- Údržba
- Výměna baterií
- Výměna sondy
Brand : PROLINE
Model : 15187
Category : Multimeter