
H1139 - Intercom Emos - Free user manual and instructions
Find the device manual for free H1139 Emos in PDF.


| Product Type | WiFi IP Door Camera Intercom |
| Model | H1139 |
| Brand | Emos |
| Power Supply | 12V DC, 1A (via included power adapter) |
| Network | Wi-Fi 2.4 GHz only; also supports wired LAN via RJ45 |
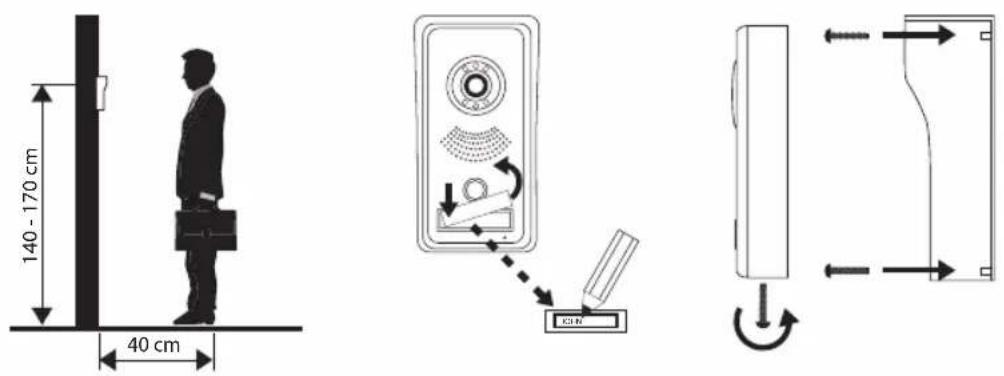
| Mounting | Wall-mounted; recommended height 140-170 cm; silicone seal for plaster walls |
| Camera | Built-in video camera with live preview, snapshot, and recording |
| Audio | Two-way audio with microphone and speaker; adjustable volume and microphone gain |
| Door Lock Control | Electric lock release (12V) via app or door camera unit button |
| Included Components | Door camera unit, assembly hood, power supply, melodic bell, fastening screws |
| Mobile App | VDP app (iOS/Android); supports device pairing, live view, recording, settings |
| Melodic Bell | Wireless chime (3x AA batteries); pairing with door camera unit via code button |
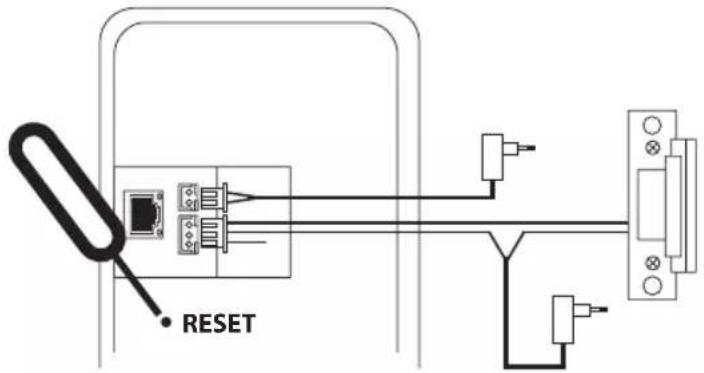
| Reset | Press and hold reset button for 5 seconds to restore factory defaults |
| Water Resistance | IP rating not specified; silicone sealing recommended to prevent moisture ingress |
| Operating Temperature | Not specified; typical for outdoor use |
| Maintenance | Clean lens gently; check cables; dry unit if condensation appears |
| Safety | CE compliant; do not dispose with household waste; use collection points |
| Spare Parts / Repairability | Not specified; contact Emos support for service |
Frequently Asked Questions - H1139 Emos
User questions about H1139 Emos
0 question about this device. Answer the ones you know or ask your own.
Ask a new question about this device
Download the instructions for your Intercom in PDF format for free! Find your manual H1139 - Emos and take your electronic device back in hand. On this page are published all the documents necessary for the use of your device. H1139 by Emos.
USER MANUAL H1139 Emos
1
2
3
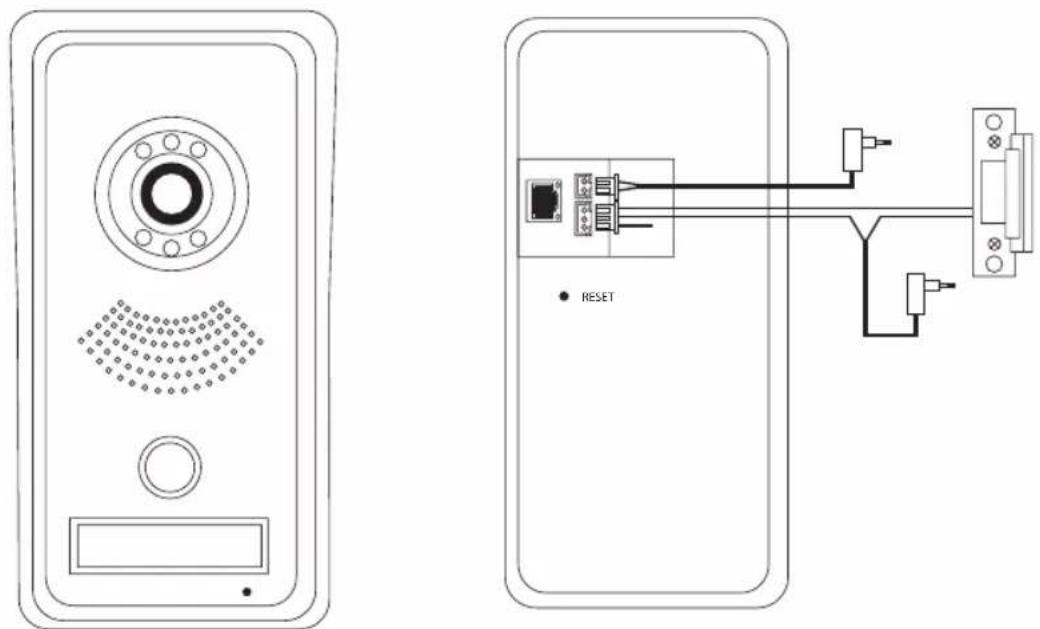
GB | IP Door camera unit
Contents of Delivery
assembly hood 1 pc
door camera unit 1 pc
power supply 1 pc
melodic bell 1 pc
fastening screws
Installation
see Fig. 3
Proper functioning of the device requires quality signal from the WiFi network. In case of poor wireless connection quality, connect the device to the home network using a data cable with RJ45 connectors.
- Unscrew the screw on the bottom side and slide the door camera unit out from the hood.
- Choose a suitable place for mounting and attach the hood.
- Attach the connected door camera unit to the covering hood using the enclosed screws.
Door camera unit on plaster – apply a layer of silicone between the wall and the door unit which will prevent ingress of humidity. The silicone should be applied on the top and the sides. The bottom side must remain free to allow humid air to flow away.
Control of Application for Remote Access
1. Downloading the Application
Download the application from Google Play or Apple Store. Name: VDP

VDP
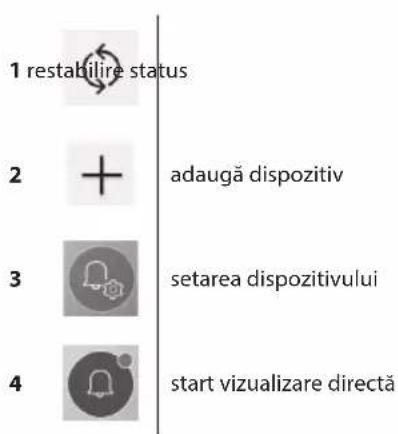
2. Adding a New Device
a) pairing a new device

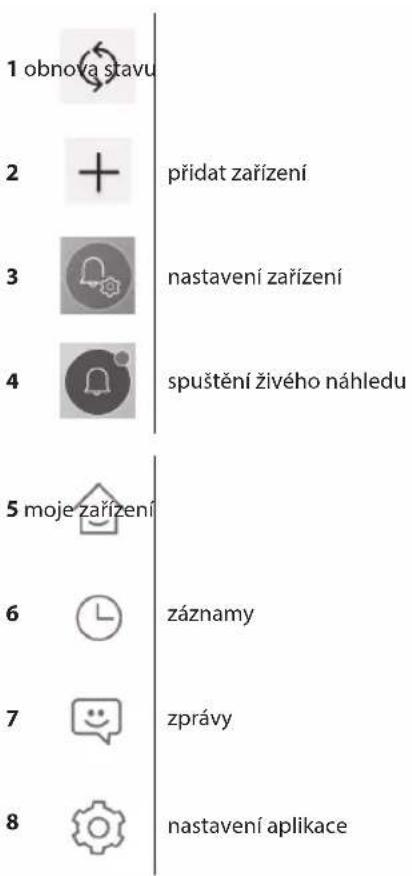
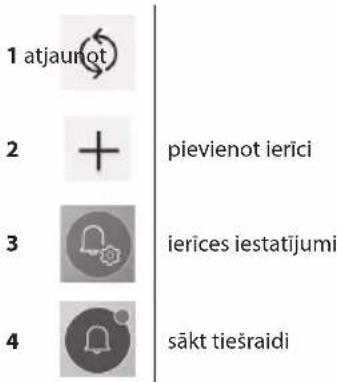
Click the icon on the main screen.
Choose the model of the device you wish to connect based on the picture.
b) adding a shared device (device is already added and used by another user)
Click the icon on the main screen.
Load the QR code from the display of the user who wants to share access to the device.
Access must already be set for the device.
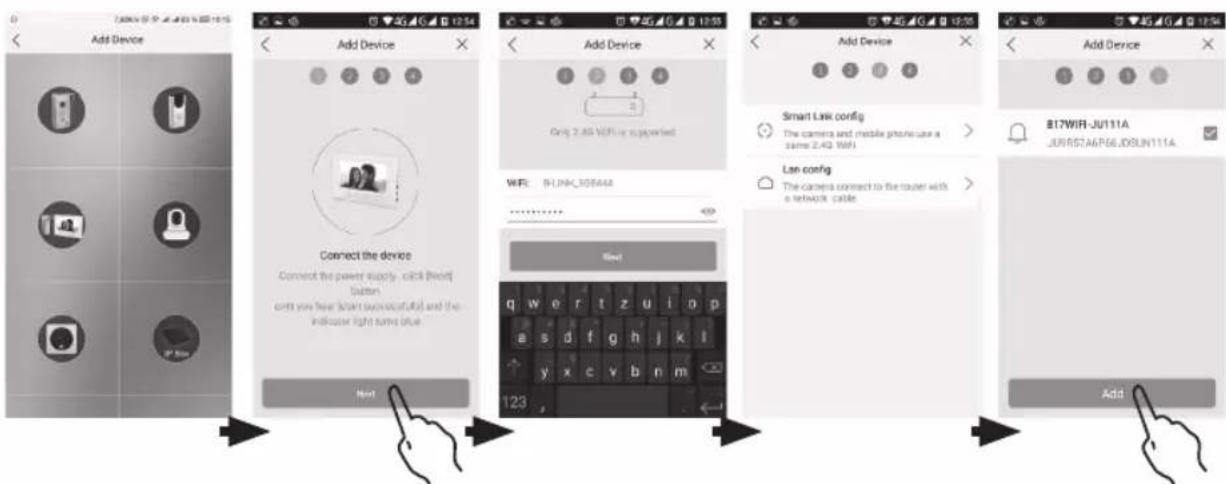
3. Pairing a Device with a Local Network
a) Connect your mobile device to a local network (Wi-Fi only 2.4 GHz).
b) After selecting the correct model for the connected device based on the picture, enter access information for the network (SSID name of the network and access key).
c) Choose smart config method.
d) You must enter name and password after successful pairing (default: admin/admin).
e) Default password must be changed upon first connection.
4. Unsuccessful Automatic Pairing
If automatic pairing fails, the device must be reset to factory values by pressing and holding the reset button for 5 seconds and disconnecting and reconnecting power supply.
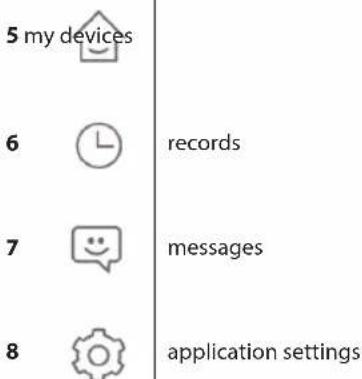
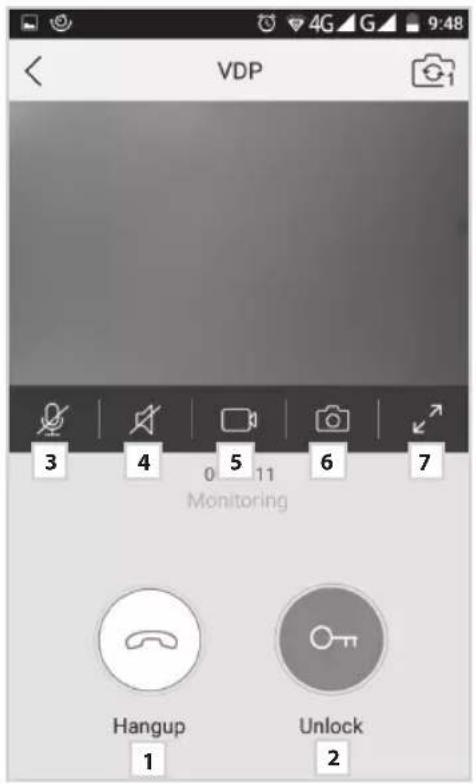
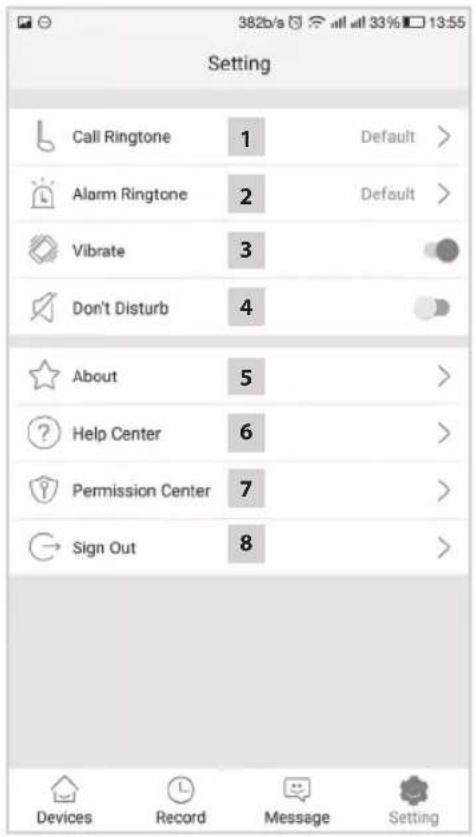
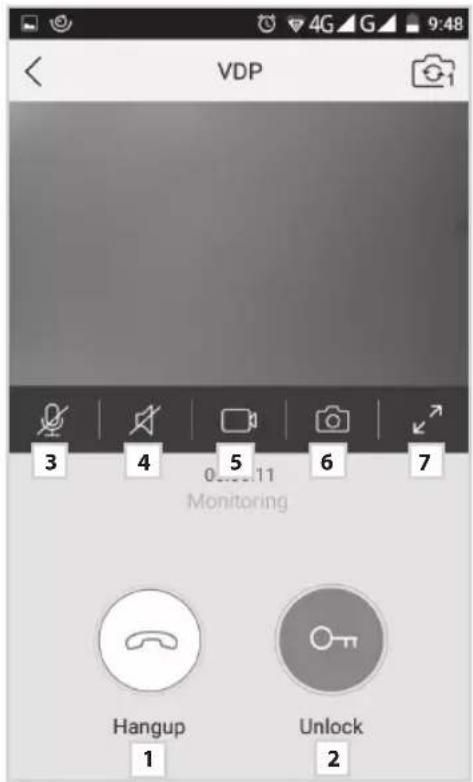
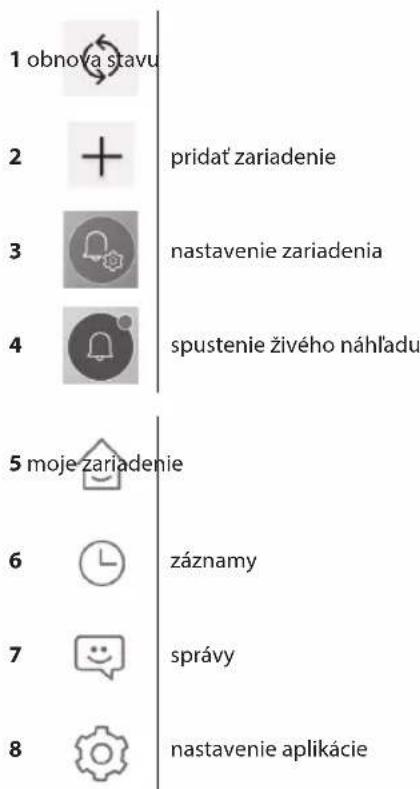
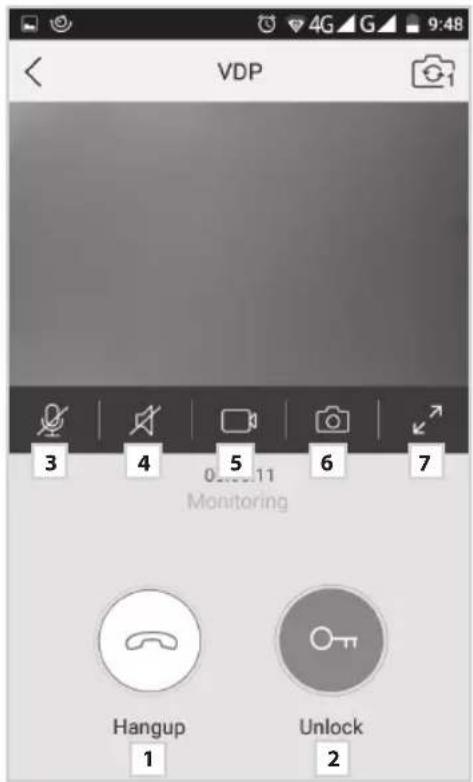
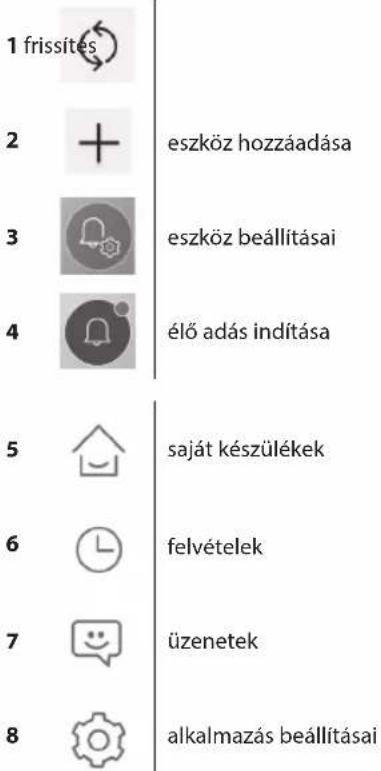
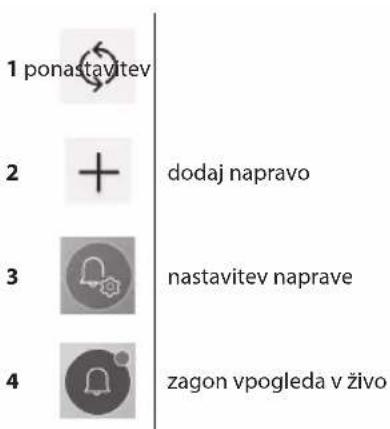
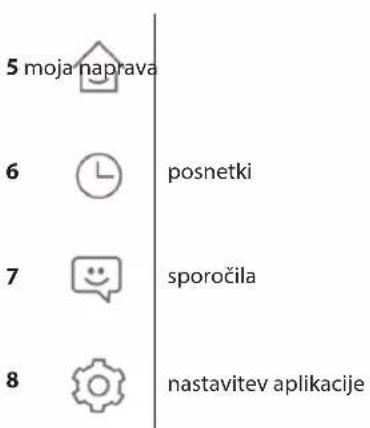
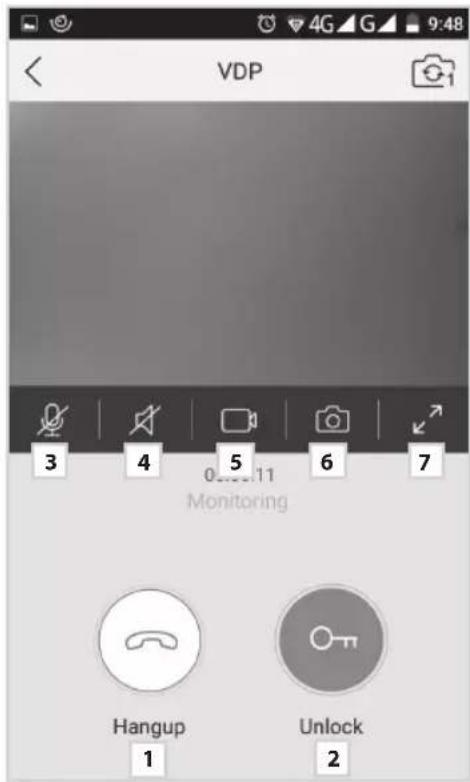
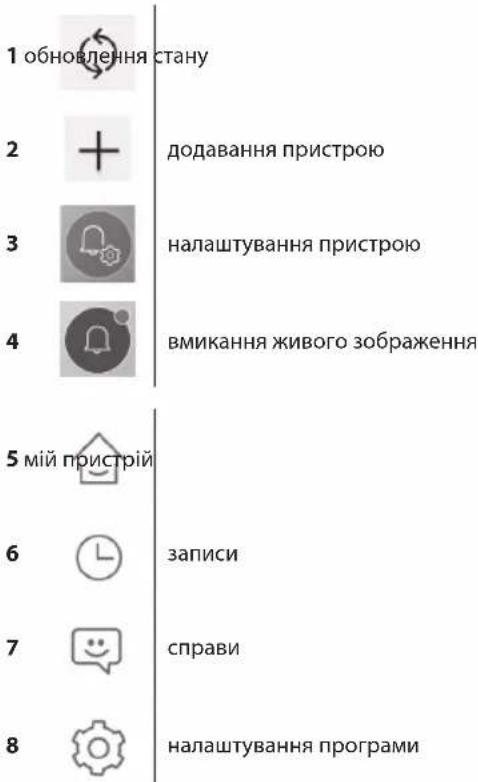
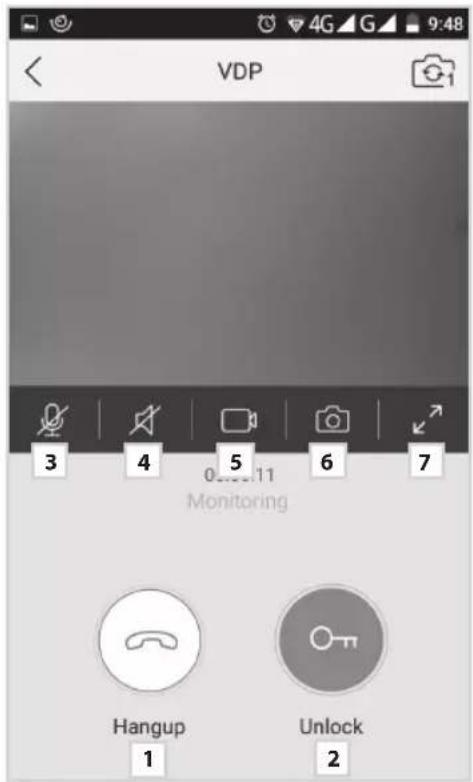
- Meaning of Icons in the Application
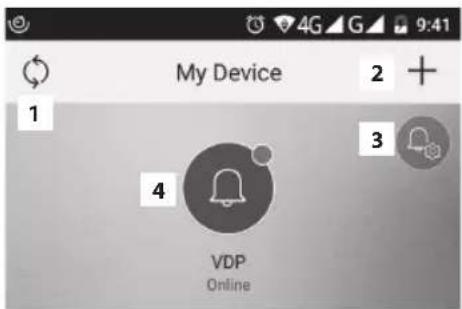
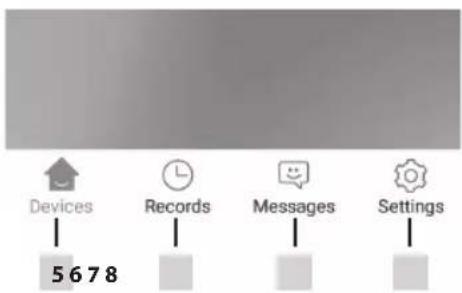
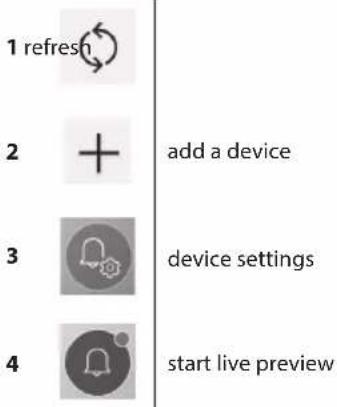
1

2

3

4

5

6

7

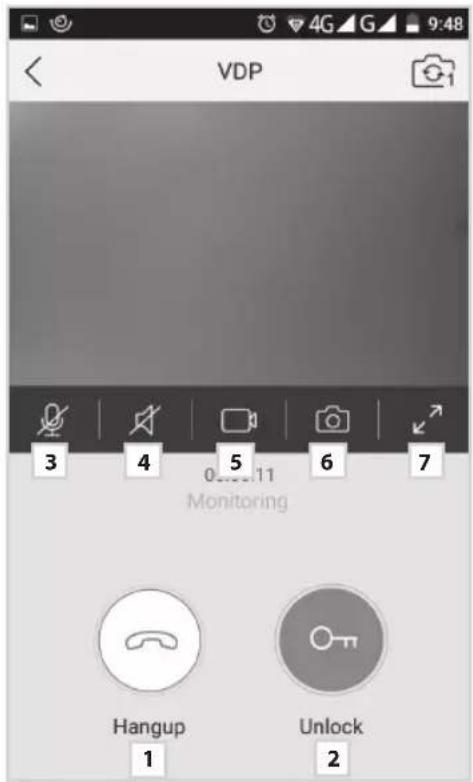
door lock controls
microphone on/off
speaker on/off
start/stop video recording
capture an image
full screen
1

2

3

4

5

6

7

8

alarm sound selection
vibration
do not disturb (stop notifications)
about the application
help center
setting application functions for running in the background
sign out of the application
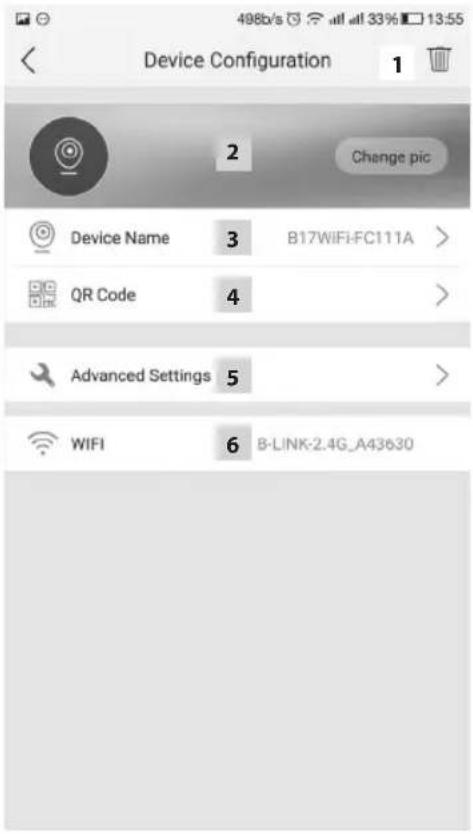
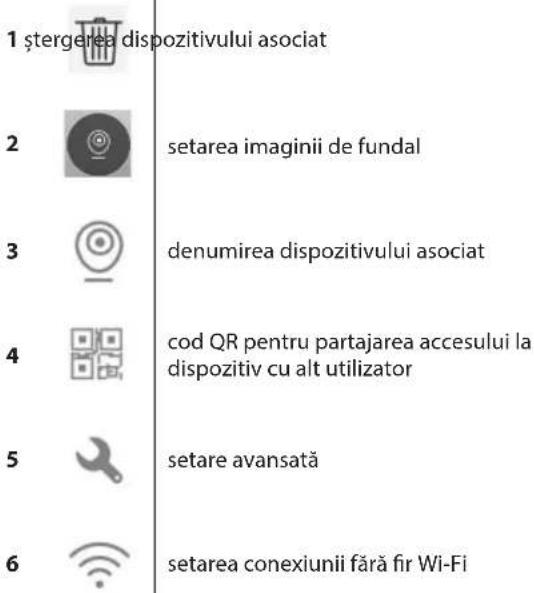
1 delete paired device
2 set background image
3 name of paired device
4 QR code for sharing access to the device with another user
5 advanced settings
6 Wi-Fi connection settings
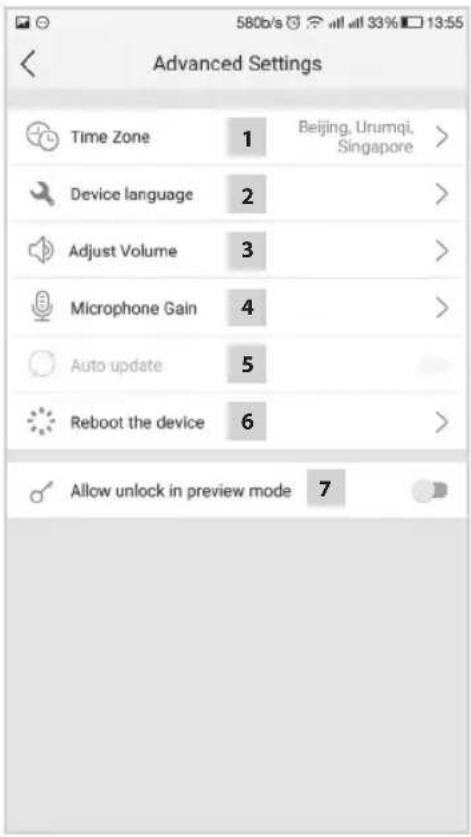
1 time zone settings
2 application language settings
3 volume settings for the camera unit speaker
4 sensitivity settings for the camera unit microphone
5 | automatic system update
6 device restart
7 allow lock and gate controls in preview mode
6. Control of the Application
a) Device Settings

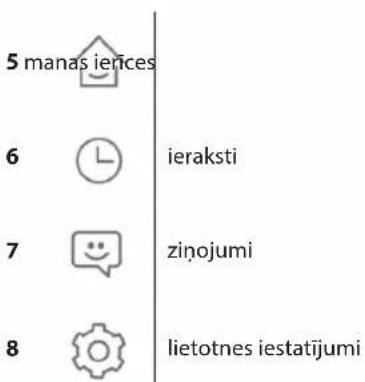
enter the menu

change the name of the device. Here you can choose a ringtone. Each panel can have a different ringtone to differentiate which input has been activated.

device sharing. After clicking the button, a QR code will be displayed which will allow you to set up the panel on other mobile devices. Simply scan the QR code with another mobile device. This allows simple set-up of the device without the need to go through the entire pairing process again.
b) Emergency Mode View

open view
Once emergency view is open, you can make video sequence recordings or take photos.

start/stop video recording microphone on/off


take a photo speaker on/off


end view
c) Incoming Call
During an incoming call the pre-set ringtone will play and information will be displayed on the screen.

accept call take a photo


door lock control end call


start/stop video recording
d) Records

enter menu with records delete individual records


enter menu with records about alarm
e) Application Settings

enter the menu information about the application


choose ringtone help

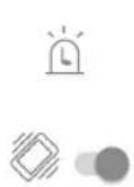
choose alarm tone close application
vibrations

Procedure for pairing door camera unit with melodic bell:
- Insert batteries - 3× AA into the bell unit.
- Long press the "Code" button for 2 seconds.
- Press the ring button on the door camera unit.
- The melodic bell will start ringing after successful pairing.
If you need to reset the pairing of the camera unit with the bell, turn off the bell using the side switch (OFF), then press the „Code“ button. While the „Code“ button is pressed, turn on the bell using the side switch (ON), then release the „Code“ button after 2 seconds. The resetting of the pairing is indicated by a „ding-dong“ sound.
FAQ
The device does not work
Check the cables and the connection of the power adapter to the network. If you extended the cable from the power adapter, check that the polarity is correct. Measure the adapter with a multimeter. The output voltage on the connector should be 12 V DC (+/- 1 V).
The lens steams up
This occurs mainly during cold weather, where condensation occurs due to the temperature difference between the wall and the door unit itself. If water condenses on the lens, we recommend thoroughly drying the unit and modifying the installation.
Spontaneous ringing
Spontaneous ringing is caused by moisture entering the camera. Water short-circuits the contacts on the lock switch and the device will start ringing on its own. We recommend dismounting the door unit, drying it thoroughly and spraying it with water repellent for electronics.
The device does not open the lock
Check that the cabling is intact.
Measure the voltage on the lock terminals using a multimeter. The lock requires a voltage of 12 V to trigger. If the value is lower, use stronger conductors for the lock control.
Sudden decrease in microphone sensitivity
Check the cleanliness of the microphone opening, or clean it gently with a thin, blunt object.
Be careful not to damage the microphone!
The device does not communicate with the network or cannot be paired
Check the network connectivity, or reset the device (according to point no. 4) and repeat the network pairing process.

Do not dispose with domestic waste. Use special collection points for sorted waste. Contact local authorities for information about collection points. If the electronic devices would be disposed in landfill, dangerous substances may reach groundwater and subsequently food chain, where it could affect human health.
Emos spol s.r.o. declares that the H1139 is in compliance with the essential requirements and other relevant provisions of Directive. The device can be freely operated in the EU.
The Declaration of Conformity can be found at http://www.emos.eu/download.
start/stop video recording
d) Záznamy

1 brisanje uparenog uređaja
1 Wiederherstellen
1 atna

2

3

4

5
6

7

8

pridèti ¡renginj
jrenginio nuostatos


- GB | IP Door camera unit
- Contents of Delivery
- Installation
- Control of Application for Remote Access
- Downloading the Application
- Adding a New Device
- Pairing a Device with a Local Network
- Unsuccessful Automatic Pairing
- delete paired device
- time zone settings
- Control of the Application
- a) Device Settings
- b) Emergency Mode View
- c) Incoming Call
- d) Records
- e) Application Settings
- Procedure for pairing door camera unit with melodic bell:
- FAQ
- The device does not work
- The lens steams up
- Spontaneous ringing
- The device does not open the lock
- Sudden decrease in microphone sensitivity
- The device does not communicate with the network or cannot be paired
- d) Záznamy
Brand : Emos
Model : H1139
Category : Intercom