
T271401 - Workshop trolley Vevor - Free user manual and instructions
Find the device manual for free T271401 Vevor in PDF.
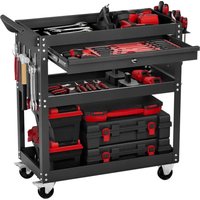


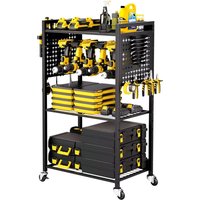
| Product Type | Workshop Cart |
| Brand | Vevor |
| Model | T271401 |
| Dimensions (L × W × H) | 830 × 350 × 826 mm |
| Maximum Load Capacity | 350 lb (159 kg), evenly distributed |
| Materials | Steel, Premium EVA |
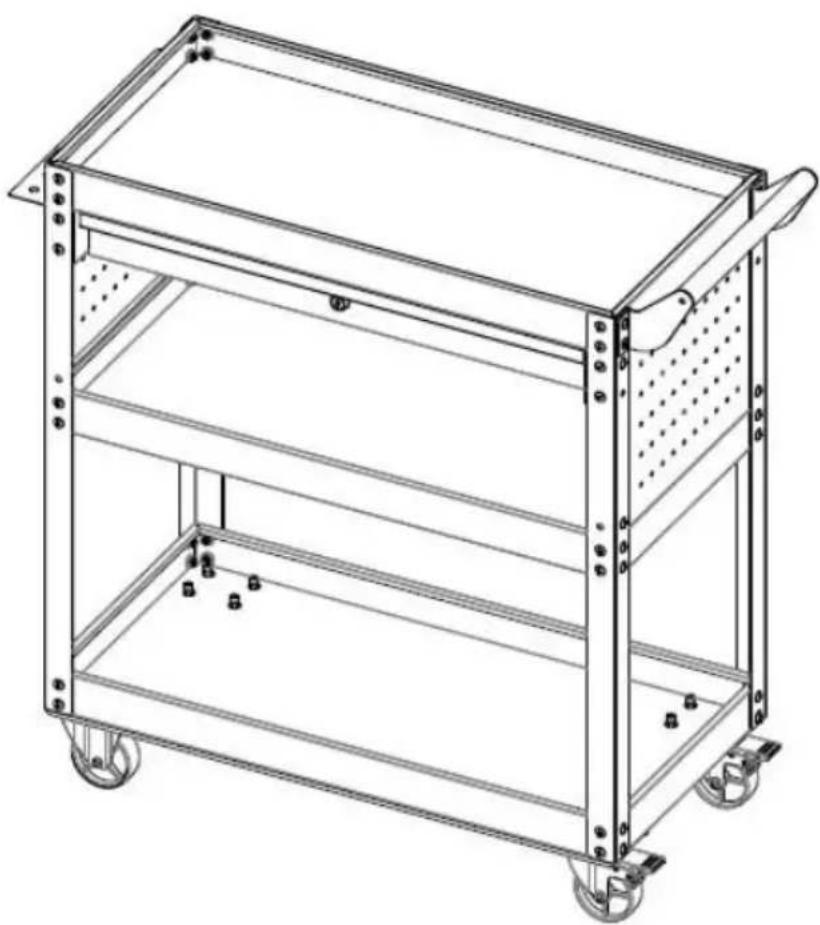
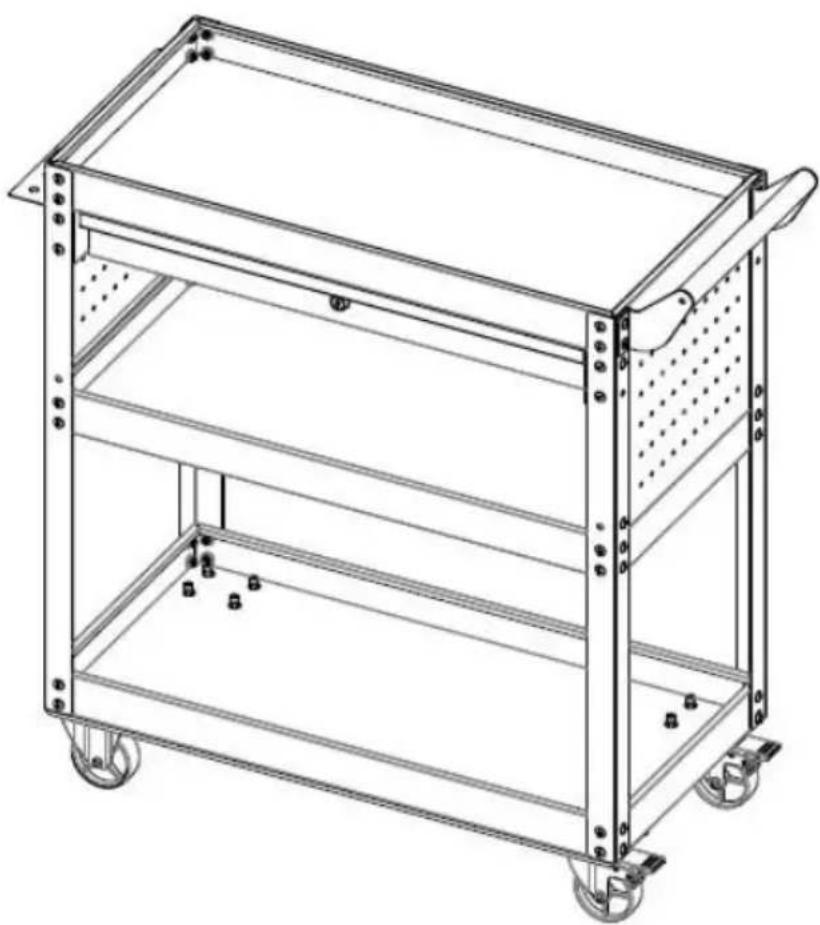
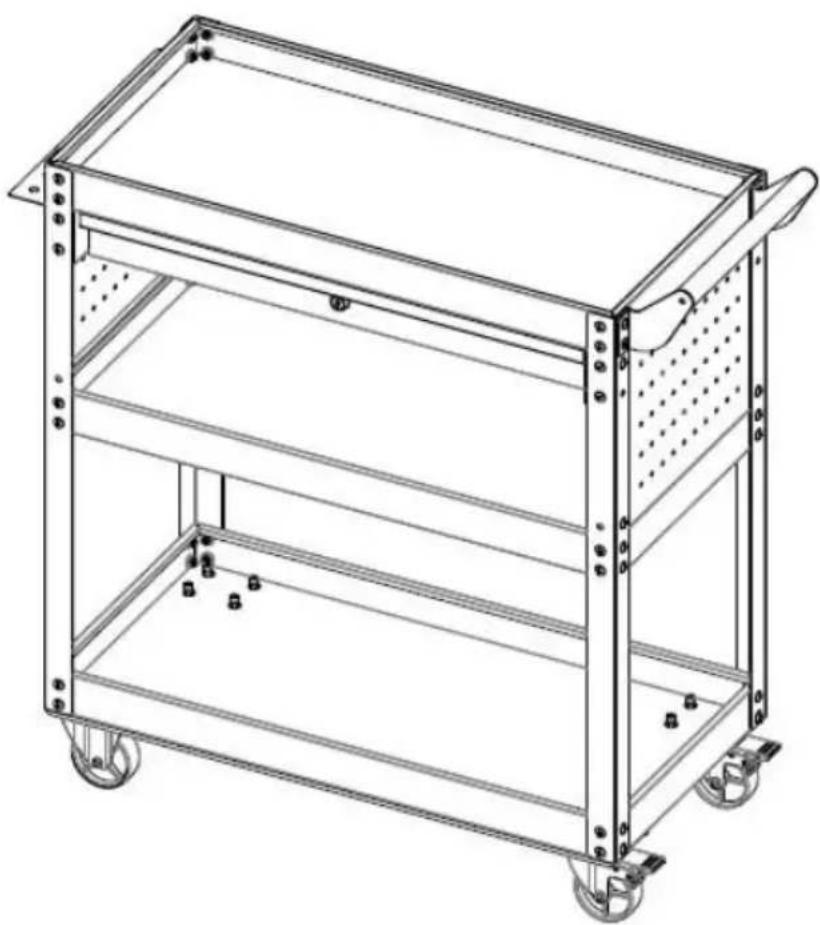
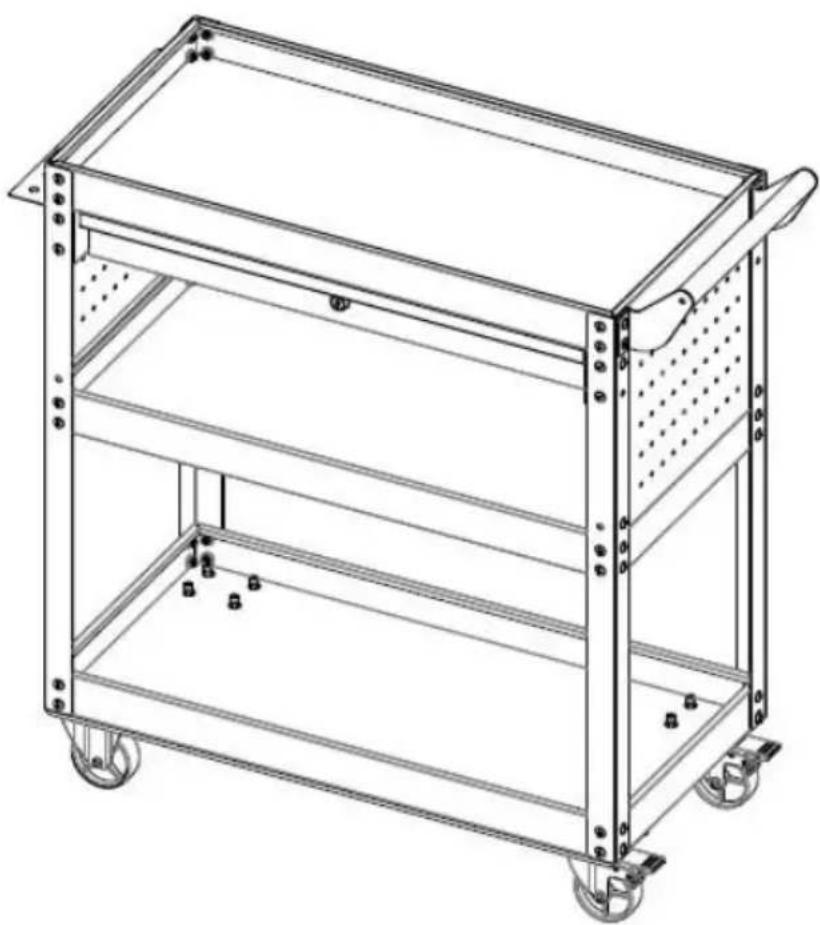
| Shelves | 3 shelves (lower, middle, upper) |
| Drawer | 1 drawer with EVA liner |
| Pegboard | 2 pegboards with 8 hooks |
| Casters | 2 swivel casters with brake, 2 rigid casters |
| Assembly required | Yes |
| Tools needed for assembly | Phillips screwdriver (not included) |
| Safety | Do not climb on the product, do not exceed the load, wear gloves |
| Maintenance | Clean with a damp cloth, regularly check screw tightness |
| Repairability | Spare parts available (bolts, nuts, casters, etc.) |
| Intended use | Storage and transport of workshop tools and equipment |
Frequently Asked Questions - T271401 Vevor
User questions about T271401 Vevor
0 question about this device. Answer the ones you know or ask your own.
Ask a new question about this device
Download the instructions for your Workshop trolley in PDF format for free! Find your manual T271401 - Vevor and take your electronic device back in hand. On this page are published all the documents necessary for the use of your device. T271401 by Vevor.
USER MANUAL T271401 Vevor
TOOL CART
MODEL: T271401
Technical Support and E-Warranty Certificate
www.vevor.com/support
MODEL: T271401
This is the original instruction. Please read all manual instructions carefully before operating. VEVOR reserves a clear interpretation of our user manual. The product shall be subject to the product you need. Please forgive us that we won't inform you again if there are any technical or software updates on our product.
IMPORTANT SAFETY INSTRUCTIONS
 | Warning - To reduce the risk of injury, user must re instructions manual carefully. |
 | This symbol, placed before a safety comment, indicate kind of precaution, warning, or danger. Ignoring this may lead to an accident. To reduce the risk of injure electrocution, please always follow the recommendation shown below. |
 | Warning- Be sure to wear gloves when using this pr |
WARNING!
1) Keep this manual for the safety warnings and precautions. The manual offers important information on how to assemble, use and maintain this product. 2) Please handle metal edges carefully. 3) DO NOT stand on this product or use it as a ladder. 4) DO NOT alter this product in any manner that is not intended, as may cause product damage or personal injury. 5) Always assemble on an even surface. 6) The maximum loaded weight on the tool cart is no more than 35 lbs evenly distributed. 7) Bind the goods with the cart tightly with the Tie-down strap before moving.
ASSEMBLY PRECAUTIONS
- Please assemble the product in strict accordance with the instructions. Incorrect assembly could be hazardous.
- Please wear safety goggles and work gloves properly during assembly.
- Do not try to assemble the product when feeling tired or when under the influence of alcohol, drugs or medication.
- Load-bearing capacity and other product parameters are applied to properly and completely assembled product only.
- A Philips screwdriver and a pair of gloves may also be used (not included in the carton).
USE PRECAUTIONS
- This product is not a toy. Do not allow children to play with or go near this item.
- Check carefully before use. Do not use it if parts get loosened or damaged.
- Use on flat and hard surfaces only.
- Do not exceed the listed load-bearing capacity. Tighten all the knobs securely before placing weights on them. Be aware of the dynamic load-bearing capacity! Sudden load changes may temporarily cause excessive load, resulting in product failure.
SAVE THESE INSTRUCTIONS
PRODUCT PARAMETERS
| MODEL | T271401 |
| Product size | 830*350*826 mm |
| Total load limit | 350 lbs |
PART LIST
| Part | Description | Picture | Part Qty | Part | Description | Picture | Part Qty | |
| 1 | Bottom shelf | 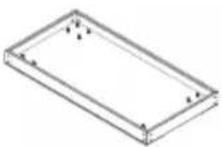 | 1 | 10 | Top EVA | 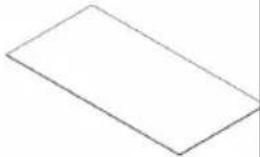 | 1 | |
| 2 | Middle shelf | 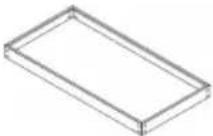 | 1 | 11 | Drawer EVA |  | 1 | |
| 3 | Top shelf | 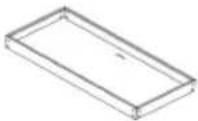 | 1 | 12 | Swivel Caster with Brake | 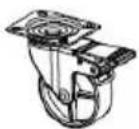 | 2 | |
| 4 | Drawer |  | 1 | 13 | Rigid Caster | 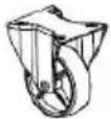 | 2 | |
| 5 | Drawer mounting plate | 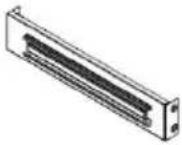 | 2 | 14 | Hanger |  | 8 | |
| 6 | Pegboard | 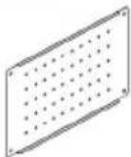 | 2 | 15 | Bolt M6*12 | 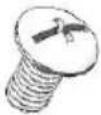 | 64 | |
| 7 | Upright | 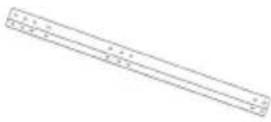 | 4 | 16 | Bolt M6*20 |  | 16 | |
| 8 | Screw holder | 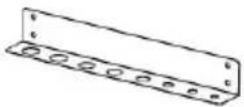 | 1 | 17 | Nut M6 | 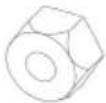 | 56 | |
| 9 | Handle | 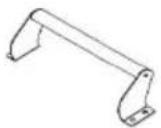 | 1 |
Attention:
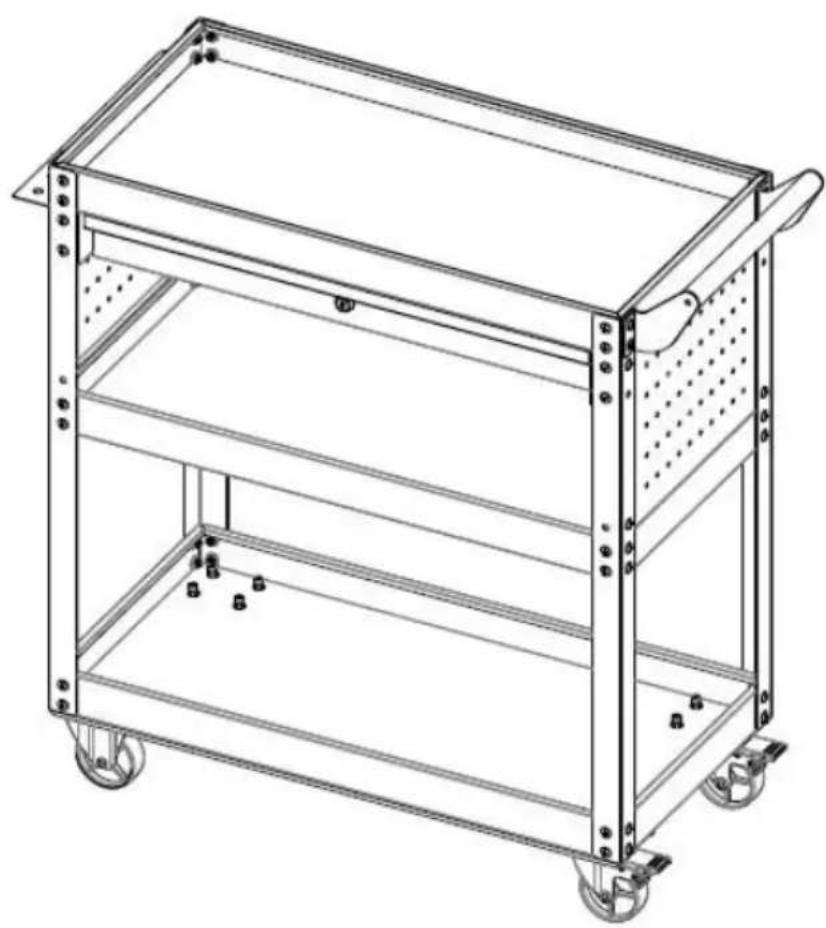
For additional information regarding the parts listed below, please refer to the assembly diagram in this manual. Unwrap and separate all parts in a clear work area.
ASSEMBLY STEP
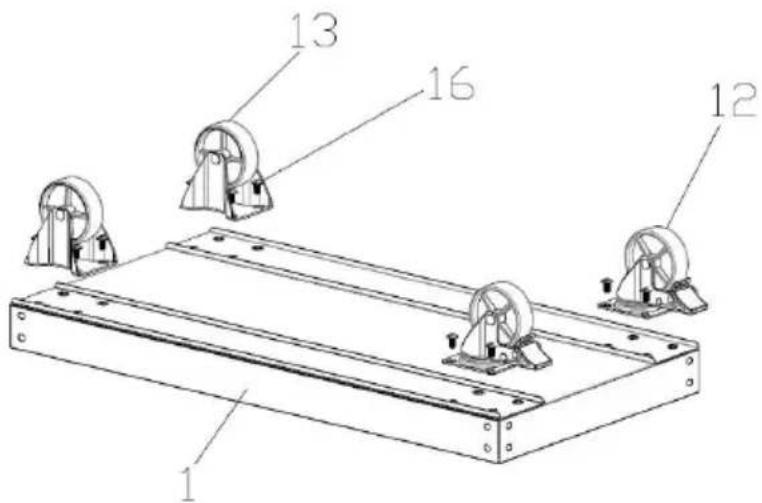
Step 1: Assemble the Casters.
- Turn over the Bottom shelf 1#.
- Assemble the Casters 12# & 13# with Bolts 16# as shown.
Step 2: Assemble the Upright 7#.
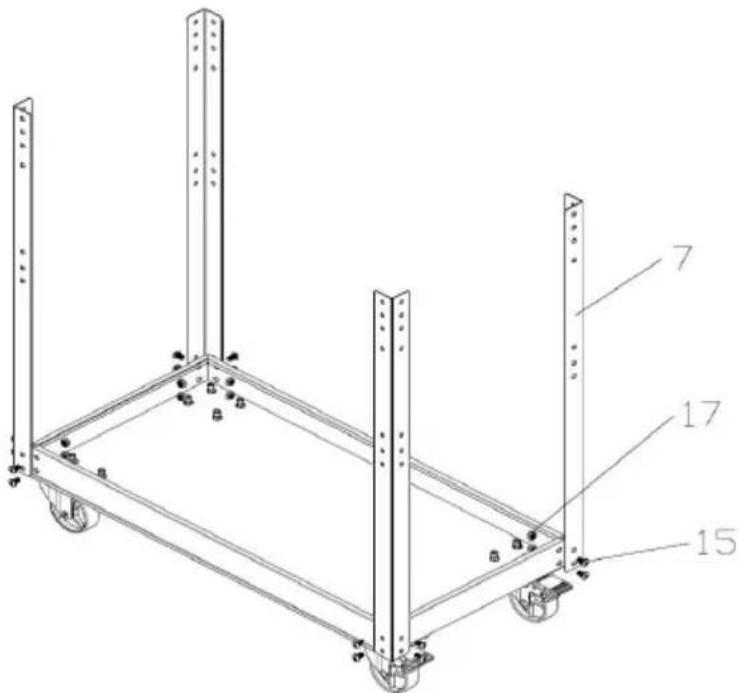
- Turn over the Bottom shelf and put the Casters on the ground.
- Assemble the Uprights 7# with Bolt 15# and Nut 17#, paying attention to the Upright direction.
Step 3: Assemble the Middle shelf 2#.
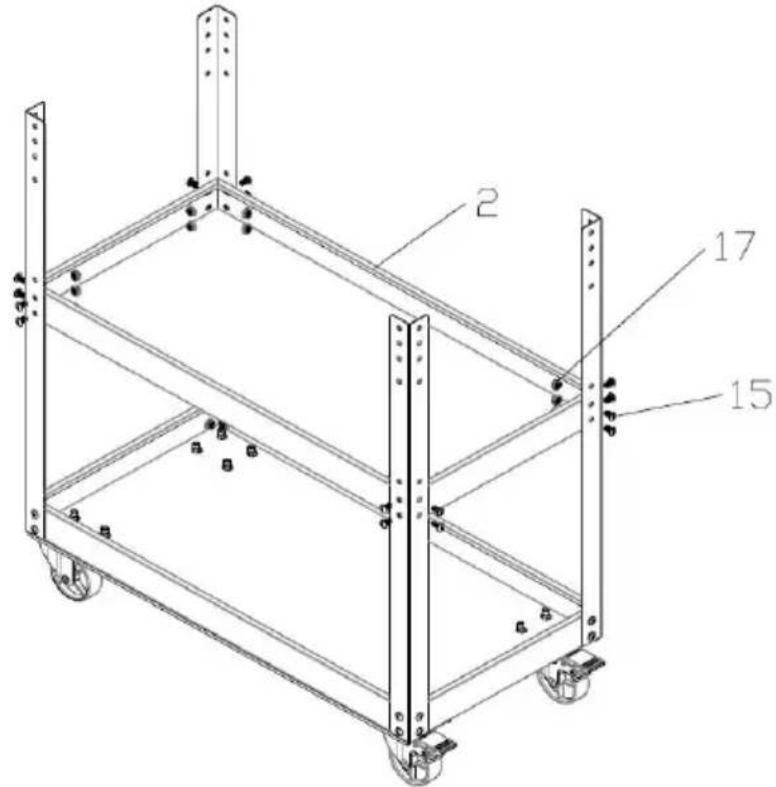
- Put the Middle shelf 2# in the right position and fix it with Bolt 15# and Nut 17#; note that the assembly holes are No. 6 and No. 7 from the top.
Step 4: Assemble the Pegboard 6#.
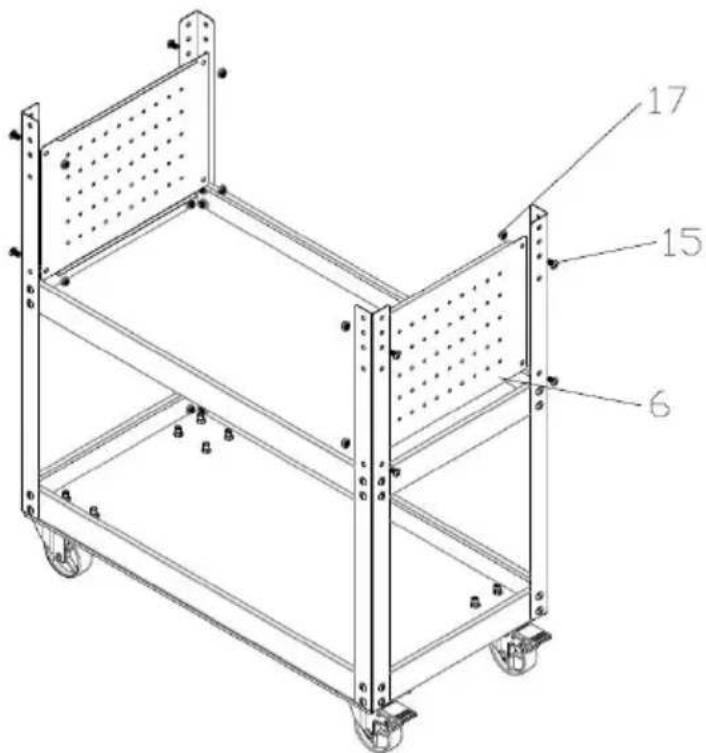
- Assemble the Pegboard 6# with Bolt 15# and Nut 17# as shown.
Step 5: Assemble the Drawer mounting plate 5#.
- Put the Drawer mounting plate 5# as shown and fix it with Bolt 15#; ensure the ball bearing slide is in the same direction, and the assembly hole is No. 4 from the Upright's top.
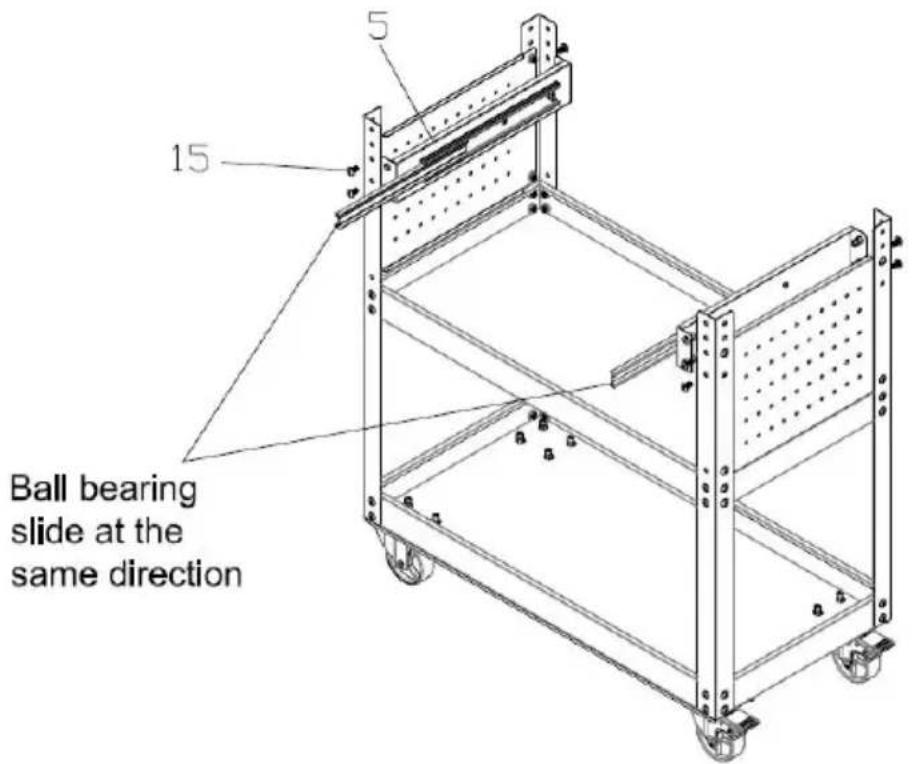
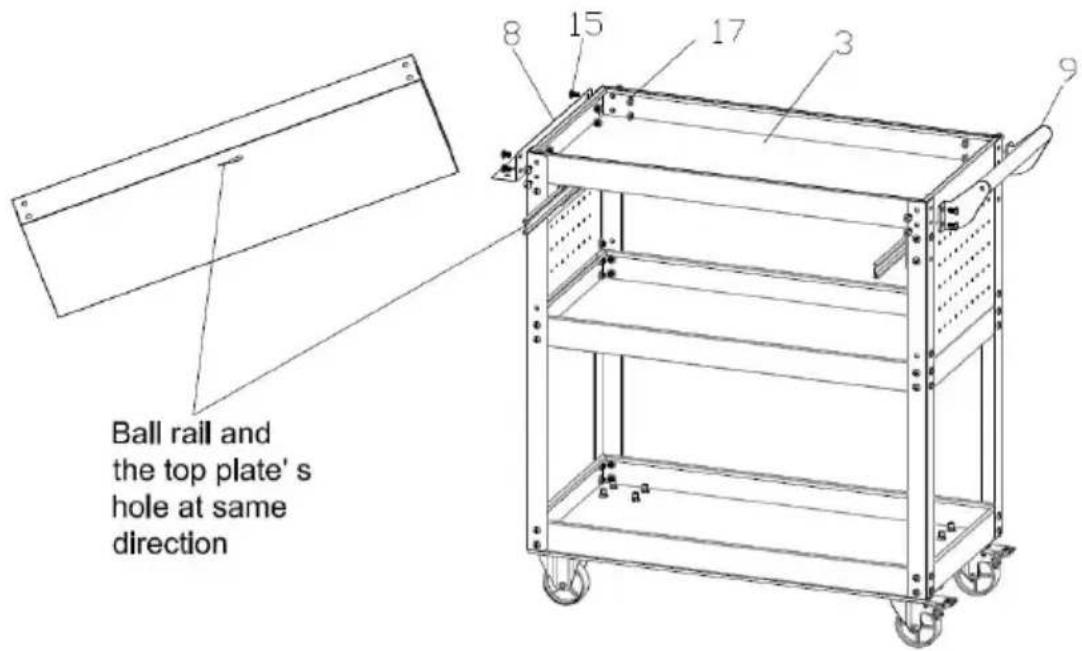
Step 6: Assemble the Top shelf 3#, Screw holder 8#, and Handle 9#.
- Put the Top shelf 3# as shown and fix it with Bolt 15#; the assembly holes are No. 3 and No. 4 from the Upright's top. Ensure the ball bearing slide and the Top shelf's hole are in the same direction.
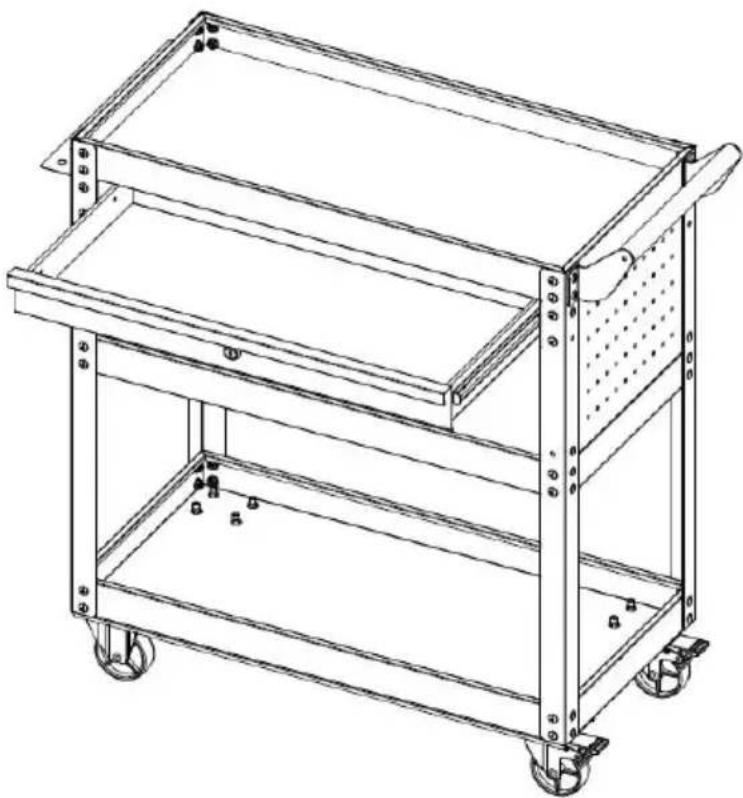
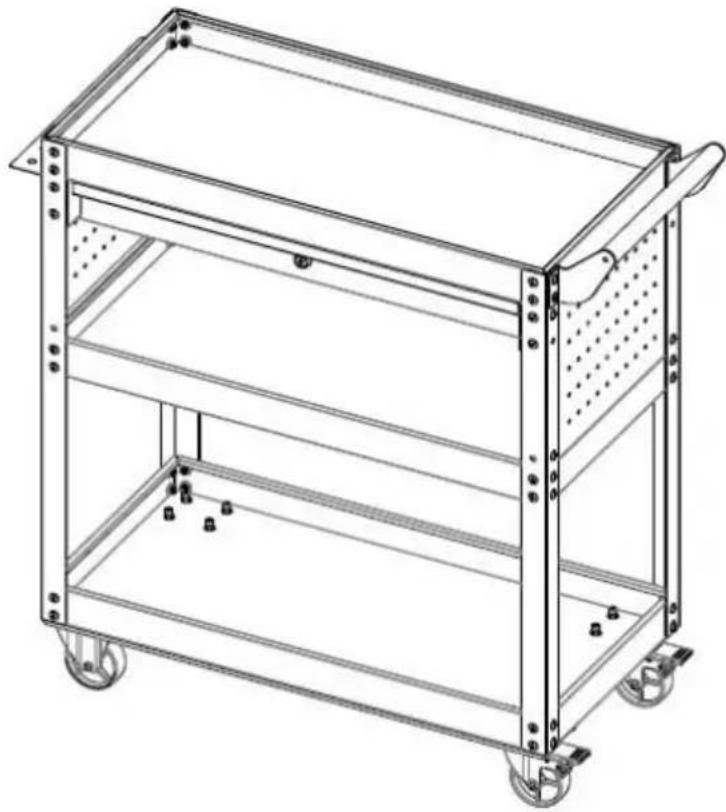
Step 7: Assemble the Drawer 4# and EVA.
- Push out the ball bearing slide and put the Drawer into it as shown, placing the Top EVA 10# and Drawer EVA 11# in their respective positions.
Step 8: Assembly complete.
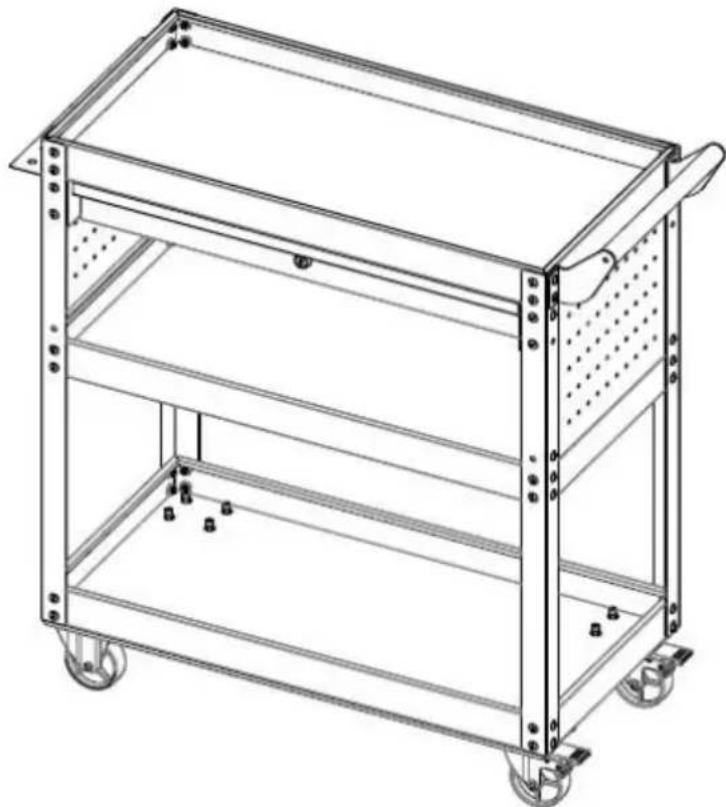
Note: During installation, do not tighten the screws until all parts are installed.
| UK | REP |
| EC | REP |
Technical Support and E-Warranty Certificate www.vevor.com/support
VEVOR
Affordable. Reliable. Home Improvement.
Tool Cart
MODEL: T271401
www.vevor.com/support
MODEL: T271401

PRODUCT PARAMETERS
Location, Rancho Cucamonga, CA 91730
| UK | REP |
YH CONSULTING LIMITED. C/O YH Consulting Limited Office 147, Centurion House, London Road, Staines-upon-Thames, Surrey, TW18 4A>
| EC | REP |
Affordable. Reliable. Home Improvement.
TOOL TROLLEY
MODEL: T271401
www.vevor.com/support
MODEL: T271401
YH CONSULTING LIMITED. C/O YH Consulting Limited Office 147, Centurion House, London Road, Staines-upon-Thames, Surrey, TW18 4A>
| EC | REP |
Affordable. Reliable. Home Improvement.
TOOL TROLLEY
MODEL: T271401
www.vevor.com/support
MODEL: T271401
YH CONSULTING LIMITED. C/O YH Consulting Limited Office 147, Centurion House, London Road, Staines-upon-Thames, Surrey, TW18 4A>
| EC | REP |
Affordable. Reliable. Home Improvement.
www.vevor.com/support
MODEL: T271401
YH CONSULTING LIMITED. C/O YH Consulting Limited Office 147, Centurion House, London Road, Staines-upon-Thames, Surrey, TW18 4A>
| EC | REP |
Affordable. Reliable. Home Improvement.
TOOL CART
MODEL: T271401
www.vevor.com/support
MODEL: T271401
YH CONSULTING LIMITED. C/O YH Consulting Limited Office 147, Centurion House, London Road, Staines-upon-Thames, Surrey, TW18 4A>
| EC | REP |
Affordable. Reliable. Home Improvement.
TOOL CART
MODEL: T271401
www.vevor.com/support
MODEL: T271401
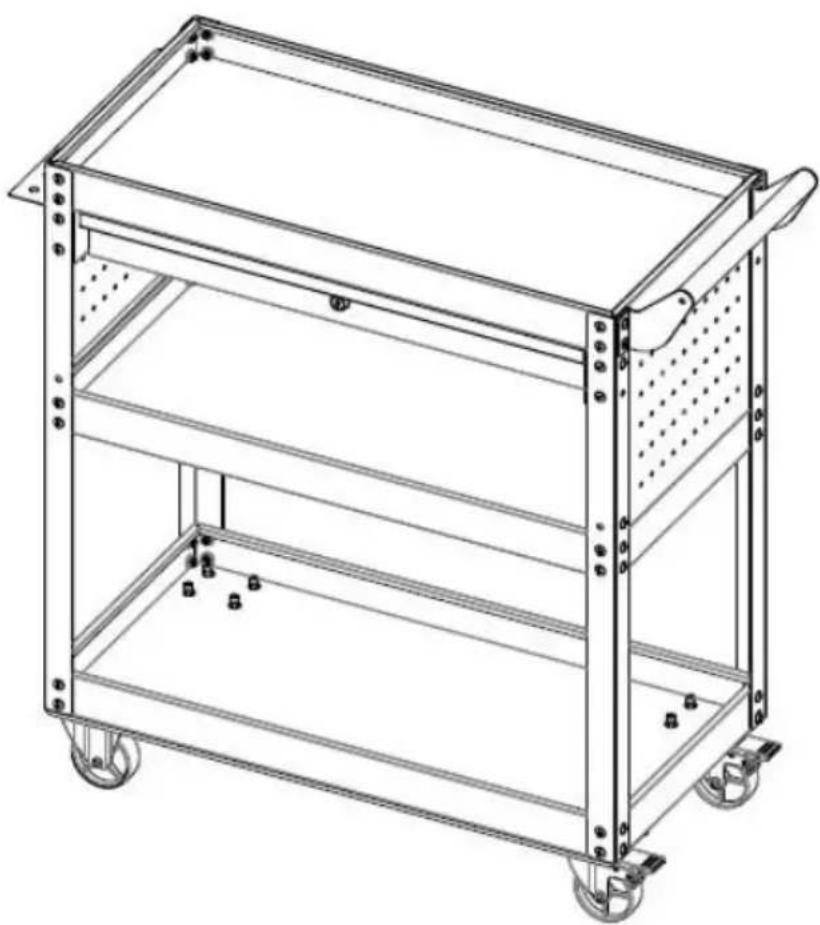
Step 3: Mount the middle shelf 2#.
Step 7: Assemble drawer 4# and EVA.
Step 8: Assembly complete.
| EC | REP |
TOOL CART
MODEL: T271401
www.vevor.com/support
MODEL: T271401
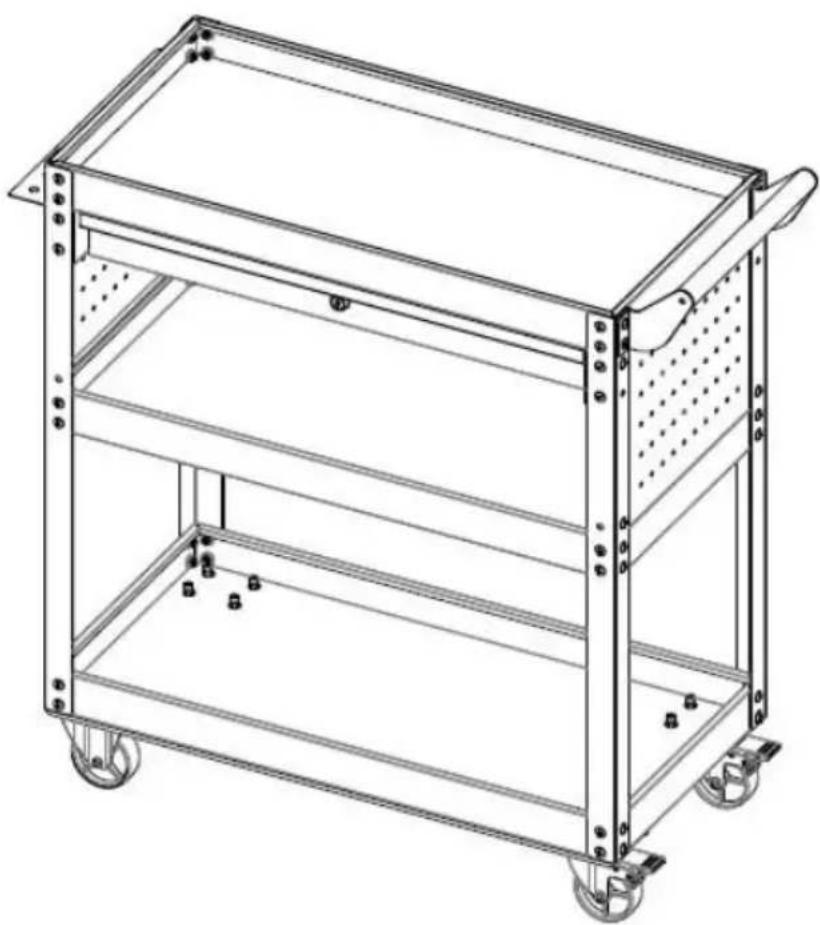
Step 5: Mount the drawer mounting plate 5#.
| EC | REP |
- TOOL CART
- MODEL: T
- IMPORTANT SAFETY INSTRUCTIONS
- WARNING
- ASSEMBLY PRECAUTIONS
- USE PRECAUTIONS
- SAVE THESE INSTRUCTIONS
- ATTENTION
- ASSEMBLY STEP
- STEP 1: ASSEMBLE THE CASTERS
- STEP 2: ASSEMBLE THE UPRIGHT
- STEP 3: ASSEMBLE THE MIDDLE SHELF
- STEP 4: ASSEMBLE THE PEGBOARD
- STEP 5: ASSEMBLE THE DRAWER MOUNTING PLATE
- STEP 6: ASSEMBLE THE TOP SHELF 3#, SCREW HOLDER 8#, AND HANDLE
- STEP 7: ASSEMBLE THE DRAWER 4# AND EVA
- VEVOR
- TOOL TROLLEY
- STEP 3: MOUNT THE MIDDLE SHELF
- STEP 7: ASSEMBLE DRAWER 4# AND EVA
- STEP 5: MOUNT THE DRAWER MOUNTING PLATE
Brand : Vevor
Model : T271401
Category : Workshop trolley