
HFK-9270 - Electric scooter Vevor - Free user manual and instructions
Find the device manual for free HFK-9270 Vevor in PDF.
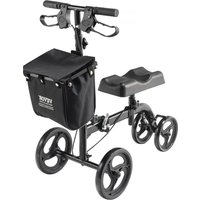


| Product Type | Non-motorized Knee Scooter |
| Brand | Vevor |
| Model | HFK-9270 |
| Dimensions (L x W x H) | 910 x 430 x 1036 mm |
| Wheelbase | 592 mm |
| Maximum Weight Capacity | 136 kg (300 lb) |
| Color | Black |
| Adjustable Handlebar Height | 835-1036 mm |
| Adjustable Knee Pad Height | 445-570 mm |
| Front Wheels | 10 inches x 1.26 inches (solid airless tires) |
| Rear Wheels | 8 inches x 1.26 inches (solid airless tires) |
| Brake Type | Hand brake with locking loop and parking brake |
| Key Features | Foldable, front basket, contoured knee pad, ergonomic handles, dual braking function |
| Usage | Indoor and outdoor, for people with below-knee injuries |
| Assembly Required | Yes, simple assembly of steering column, handle, and knee pad |
| Maintenance and Cleaning | Regularly check tightness of fasteners, clean with a damp cloth, do not use abrasive products |
| Safety | Do not use on slopes >15°, do not exceed 5 km/h, do not go over obstacles, parking brake engaged when stopped |
| Spare Parts and Repairability | Parts available via Vevor technical support, adjustable brake, non-removable tires |
| Certifications | CE / FDA |
| Warranty | Electronic warranty via www.vevor.com/support |
Frequently Asked Questions - HFK-9270 Vevor
User questions about HFK-9270 Vevor
0 question about this device. Answer the ones you know or ask your own.
Ask a new question about this device
Download the instructions for your Electric scooter in PDF format for free! Find your manual HFK-9270 - Vevor and take your electronic device back in hand. On this page are published all the documents necessary for the use of your device. HFK-9270 by Vevor.
USER MANUAL HFK-9270 Vevor
KNEE SCOOTER
MODEL: HFK-9270
We continue to be committed to providing you with tools at competitive prices. "Save Half", "Half Price", or any other similar expressions used by us only represent an estimate of savings you might benefit from buying certain tools with us compared to the top brands, and do not necessarily mean to cover all categories of tools offered by us. We kindly remind you to verify carefully when placing an order with us if you are actually saving half in comparison with the top major brands.
VEVOR®
TOUGH TOOLS, HALF PRICE
KNEE SCOOTER
Model: HFK-9270
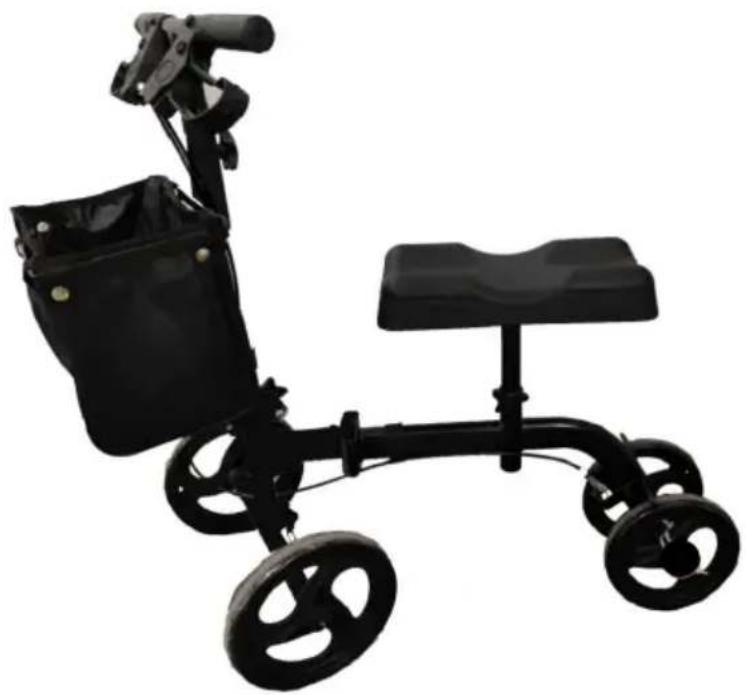
NEED HELP? CONTACT US!
Have product questions? Need technical support? Please feel free to contact us:
This is the original instruction. Please read all manual instructions carefully before operating. VEVOR reserves the right to interpret the user manual. The appearance of the product shall be subject to the product you received. Please forgive us that we won't inform you of any technology or software updates on our product.
INTRODUCTION
Read and follow all instructions, warnings, and notes in this manual before attempting to operate your Knee Scooter for the first time. If there is any information in this manual which you do not understand, or if you require additional assistance for assembly or operation,
please contact your authorized local provider.
Your safety to operate this product depends upon whether you completely follow the instructions, cautions and warnings in this manual. Vevor Corporation is not liable for any damages and/or injuries resulting from individual unsafe operation or failure to follow the instructions, cautions and warnings in this manual.

WARNING! Failure to heed the warnings in the manual may result in personal injury.

CAUTION! Failure to heed the cautions in the manual may result in damage to the Knee Scooter.
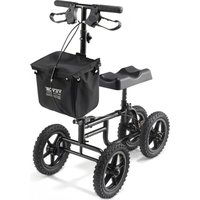
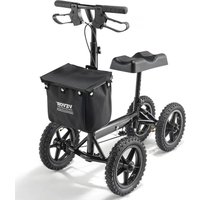
The Knee Scooter is suitable for everyday use. It can be used for both indoor and outdoor purposes. The all-in-one folding compact design is perfect for easy storage and transportation.
The knee glider comes with solid black puncture-proof tyres. We have also included great features such as contoured knee pad, ergonomic handgrips and dual brake function.
Our products are always manufactured to the highest quality standards and comply with CE/FDA approval.
Parts Description
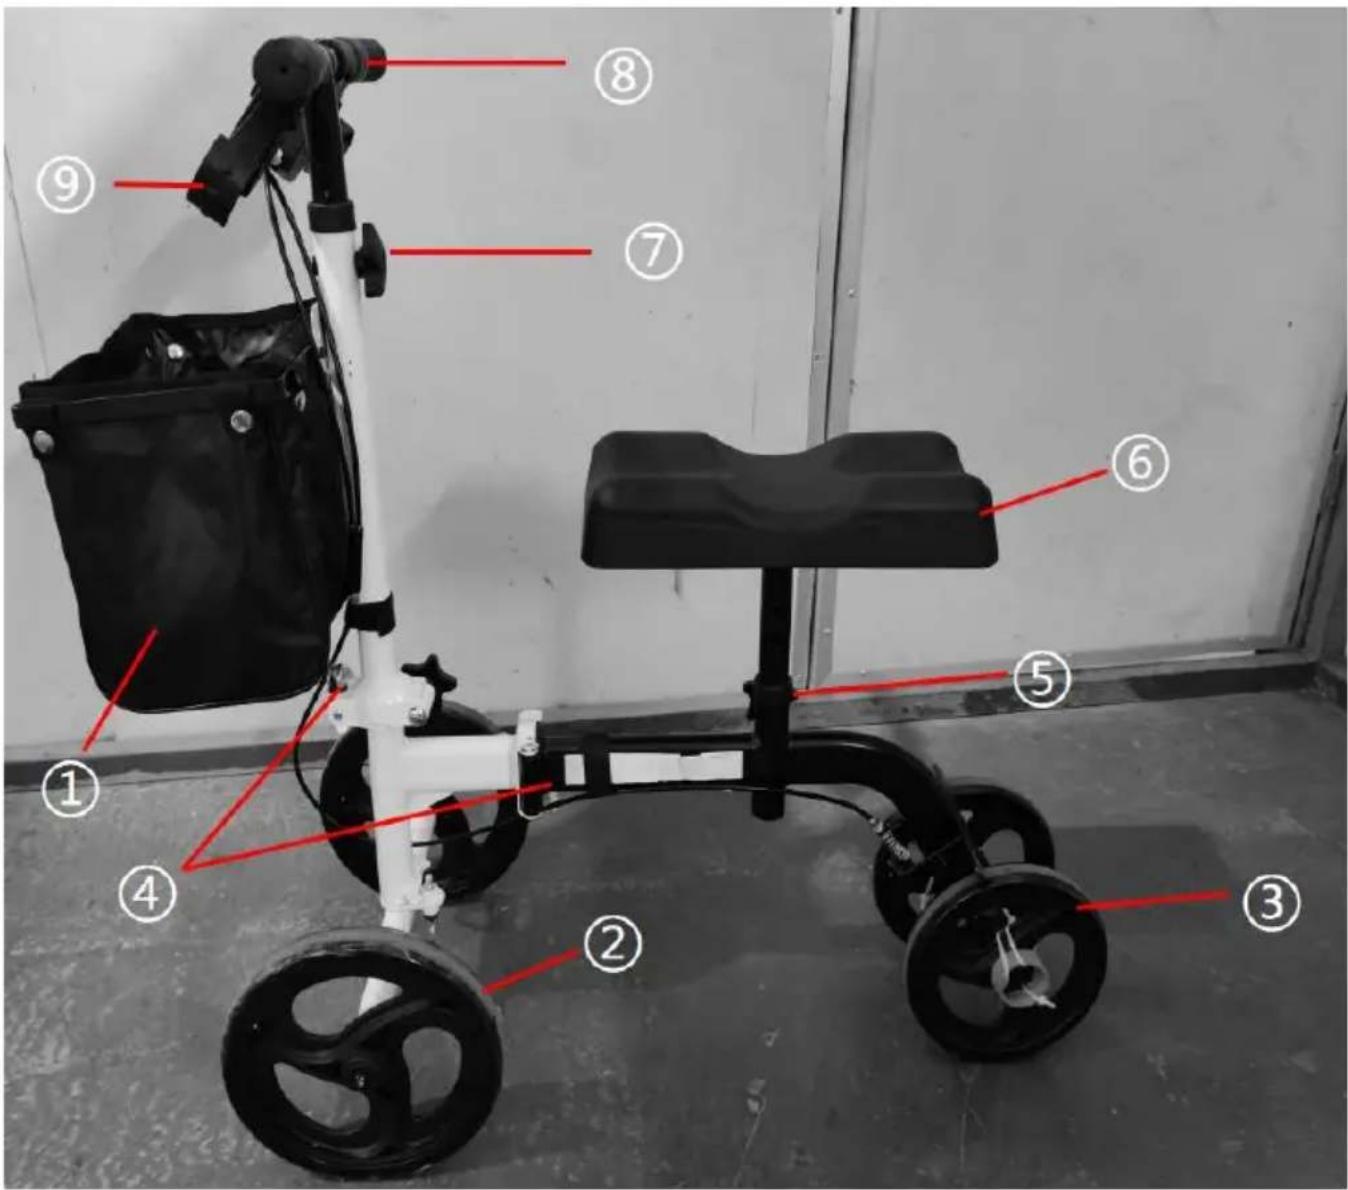
1. Basket 2. Front Wheel 3. Back Wheel 4. Quick Release Clamp 5. Star Knob for Pad 6. PU Pad 7. Star Knob for Handle 8. Armrest 9. Parking Locker
Product parameter
| Table 1 | SPECIFICATIONS |
| Overall size (L*W*H) | 910 * 430* 1036 mm |
| Color | Black |
| Handle height | 835-1036mm |
| Knee pad height | 445-570mm |
| wheelbase | 592mm |
| Load capacity | ≤300 LB |
| Front wheels | ODxW (10"x1.26") |
| Rear wheels | ODxW (8"x1.26") |
Assembly
1. Installation of steering column and frame
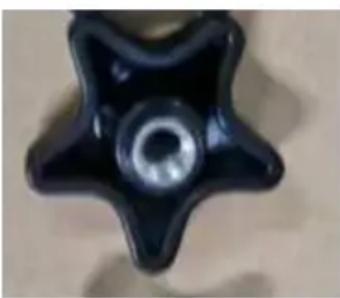
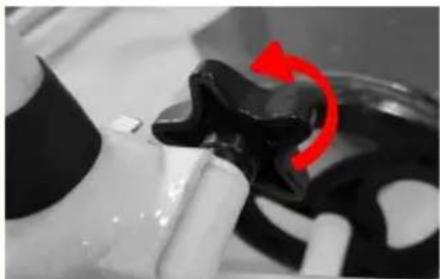
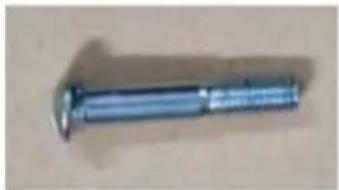
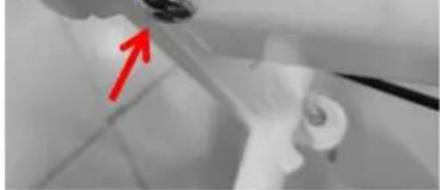
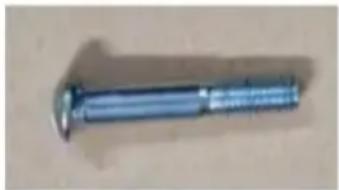
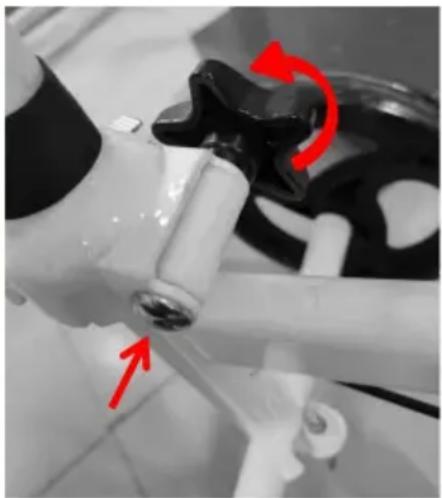
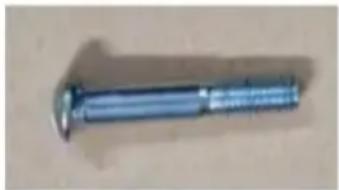
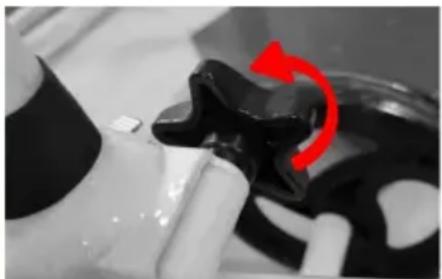
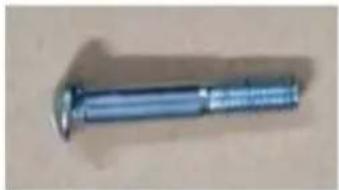
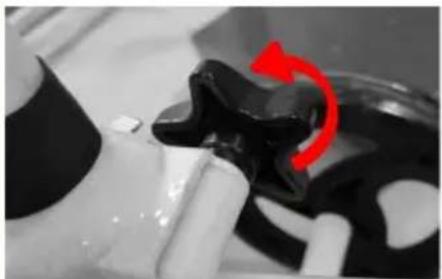
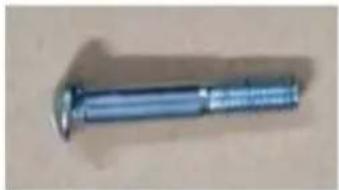
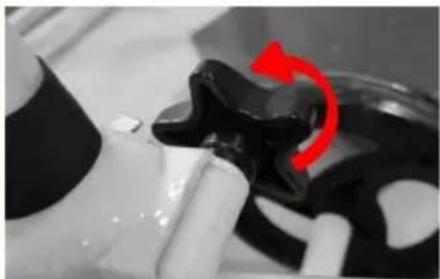
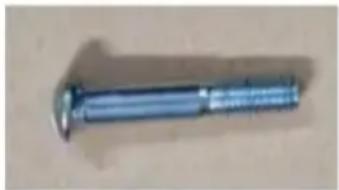
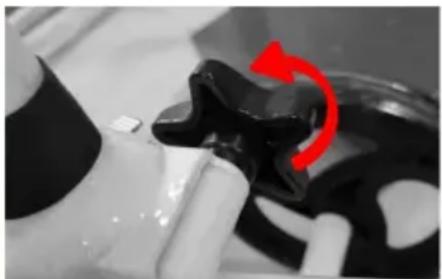
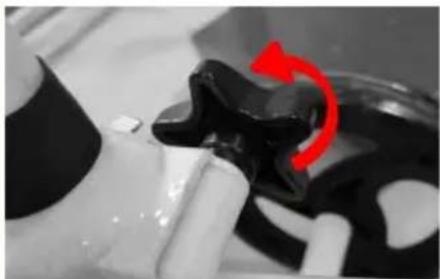
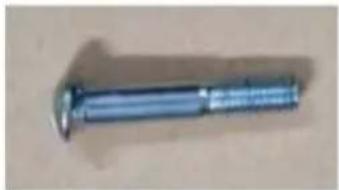
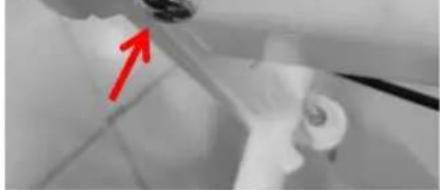
(1) Connect the driving lever and the frame, as shown in figure, insert the screw into mounting hole of the driving lever and the frame, and tighten the Star Knob.
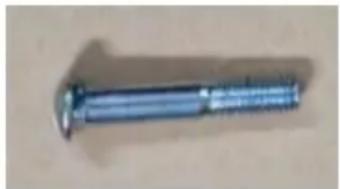
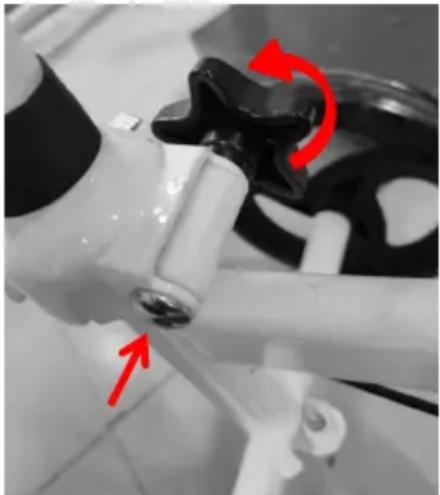
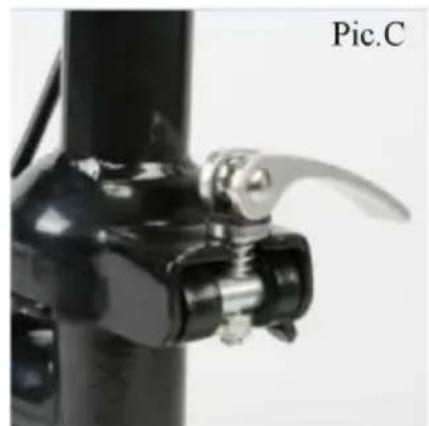
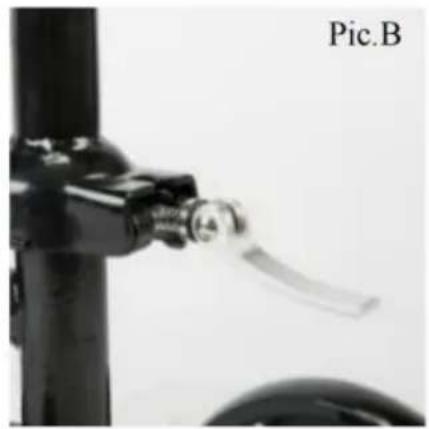
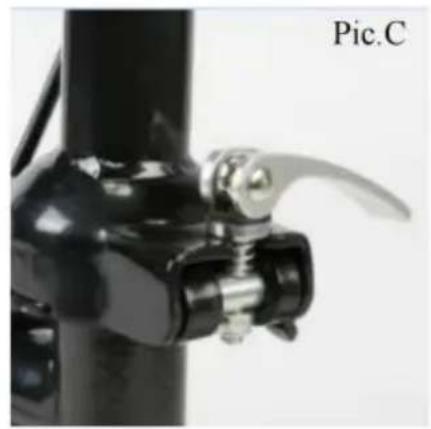
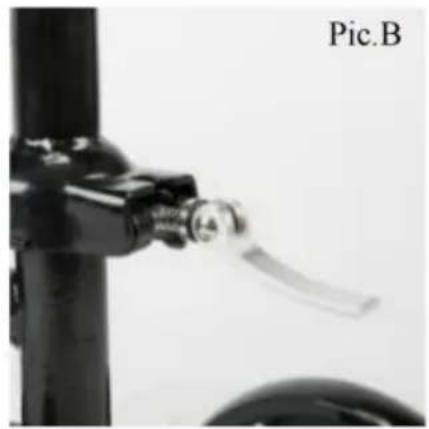
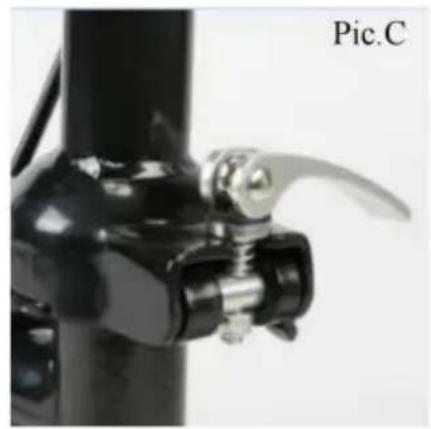
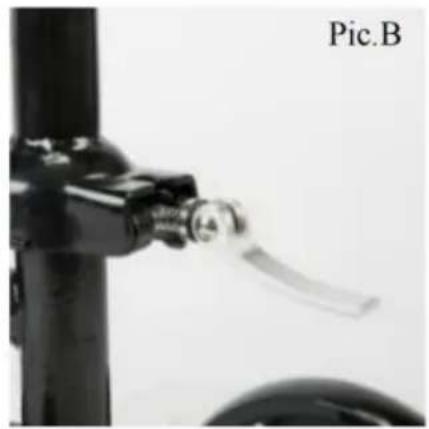
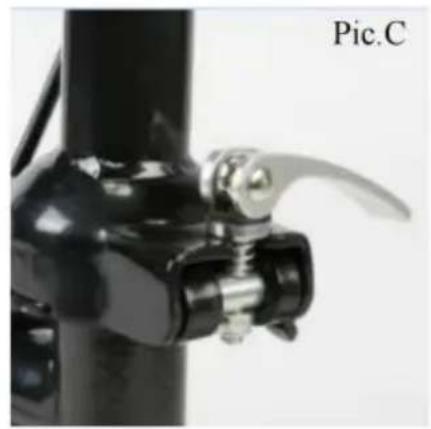
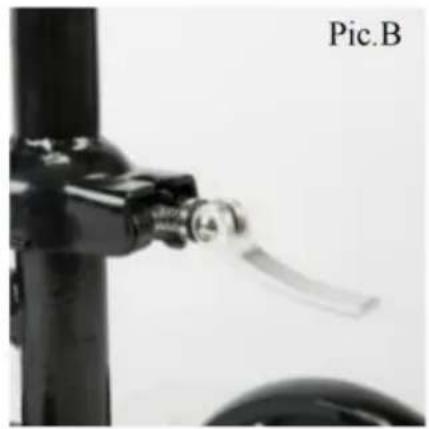
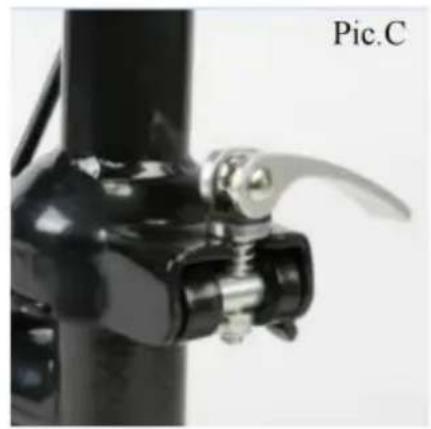
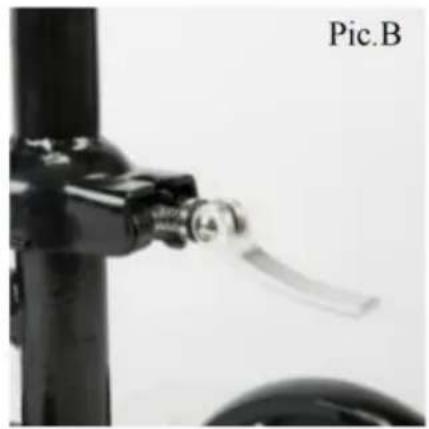
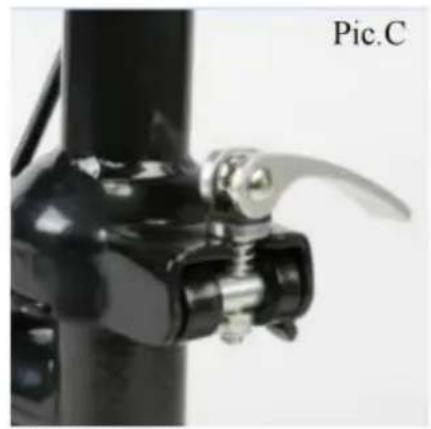
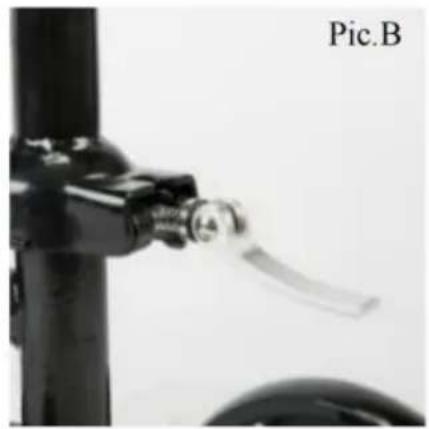
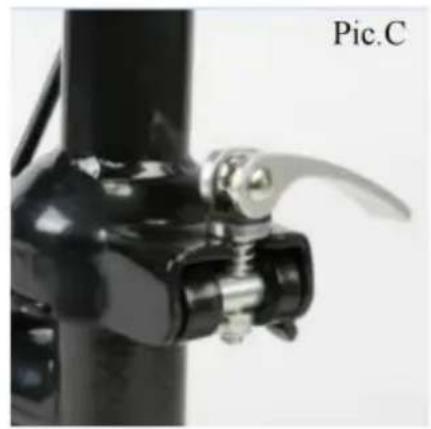
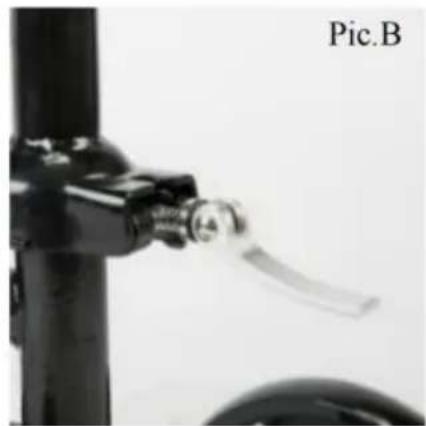
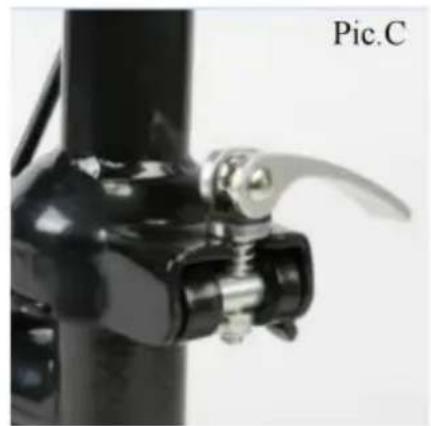
(2) Push the lever to the left and downward at the same time to disengage and push the steering column upward until it is in the full upright position. (3) Release the lever to make the safety pin engage the right hole. (Pic. I) Now, release the handle, the steering column will stand in the upright position. (4) Pull the lever up and clockwise to make the end of the lever pointing to the ground to lock the steering column in the upright position. (Pic. C)
Note: Rotate the lever counter clockwise to loosen and clockwise to tighten the pressure on the lever.
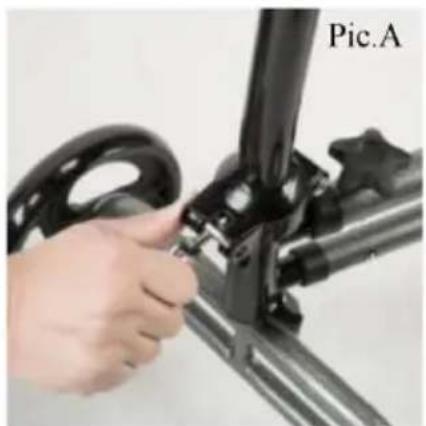
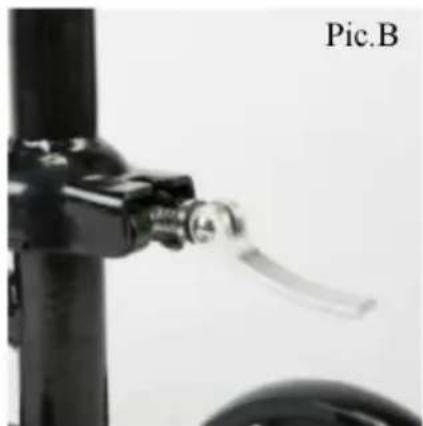
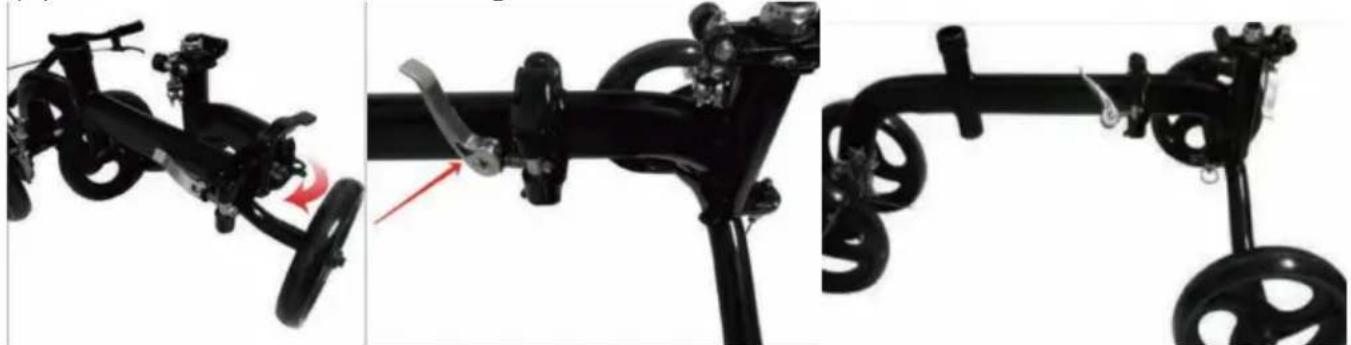
(5) Install the frame, locking method as above.
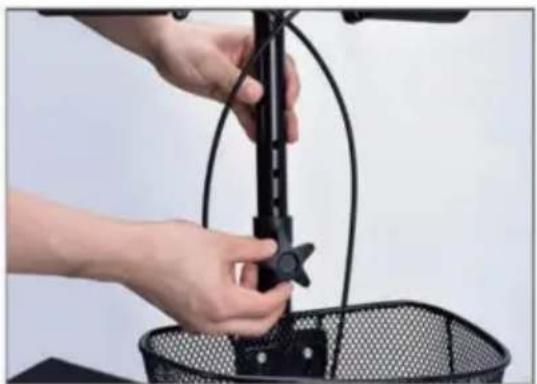
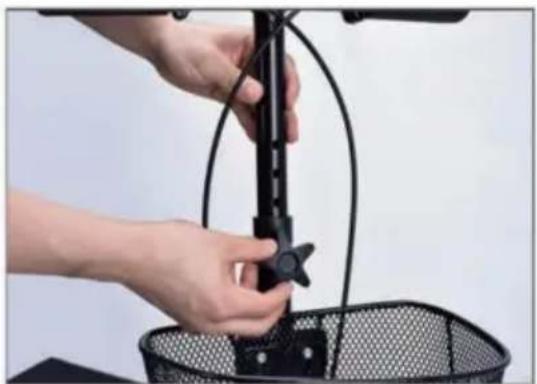
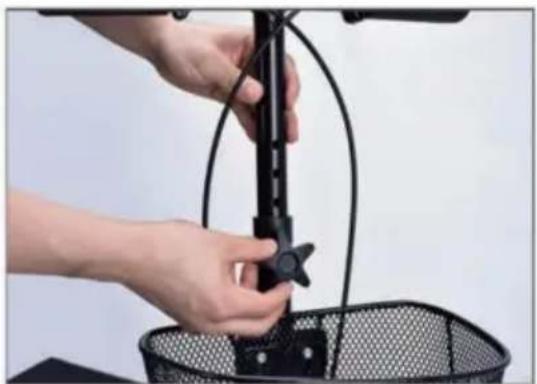
2. Install handle and adjust height
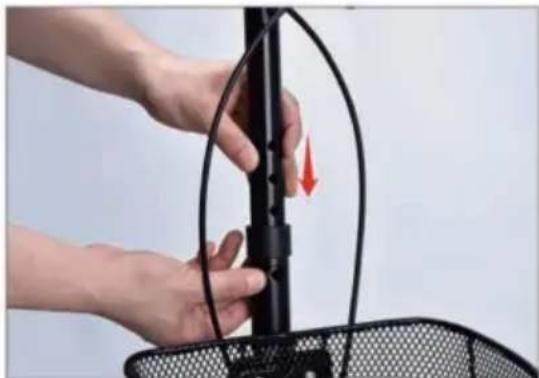
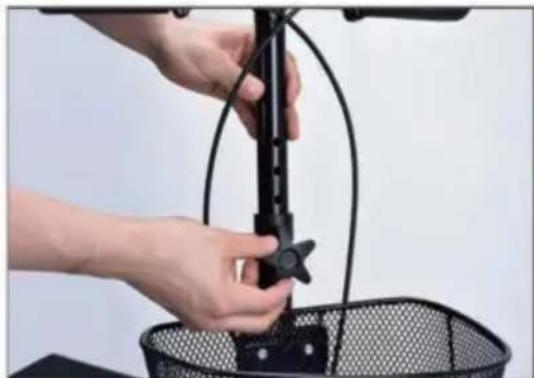
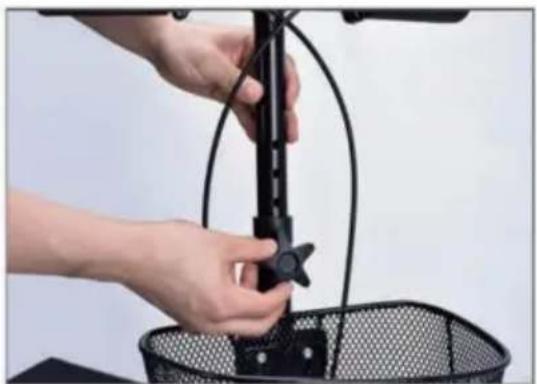
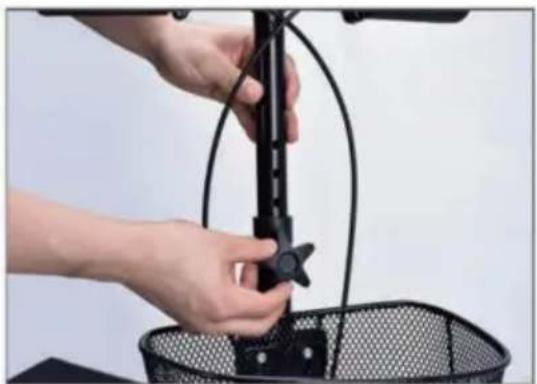
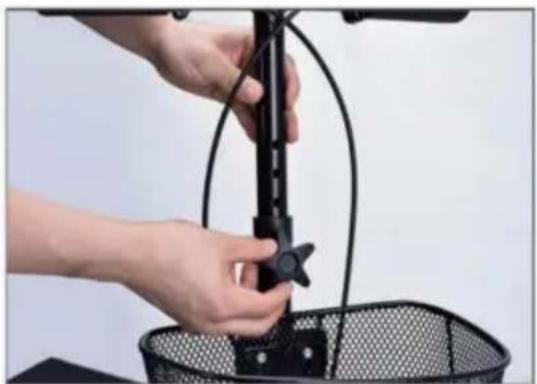
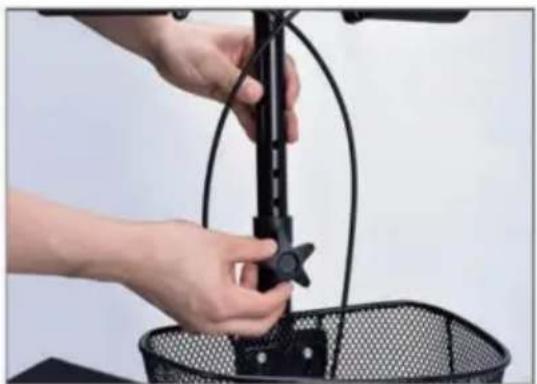
(1) Extend handlebars up to desired height, align holes in tiller. (2) Insert star screw through the steering tiller. (3) Tighten knob securely.
Handlebars should be set at wrist level to keep your back straight.
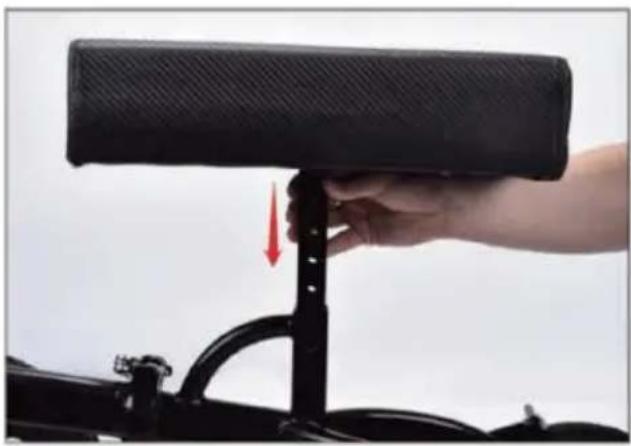
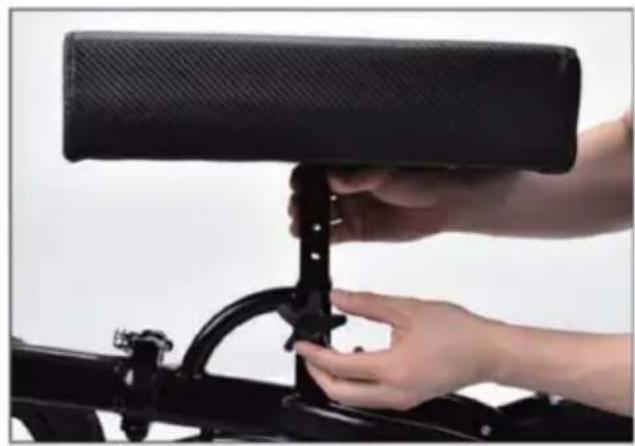
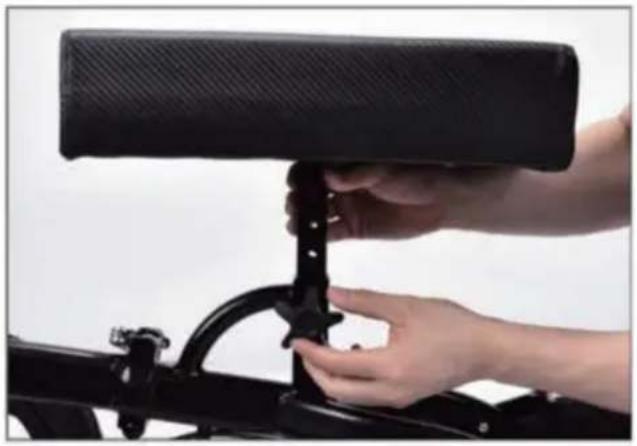
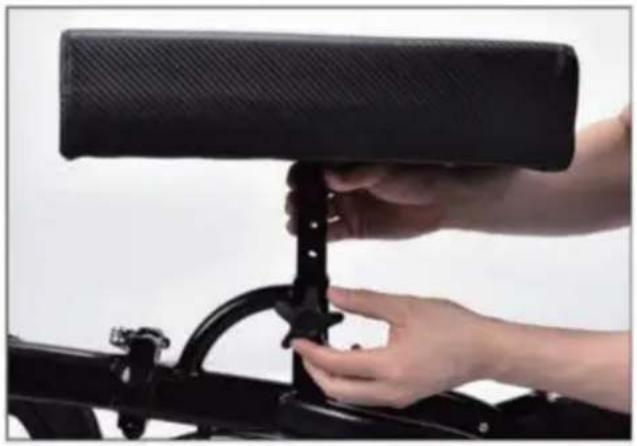
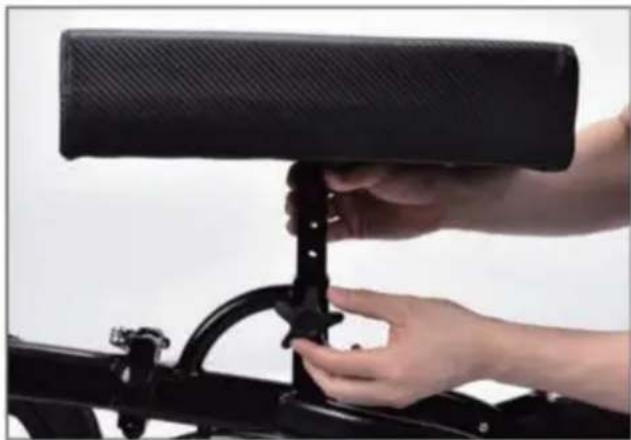
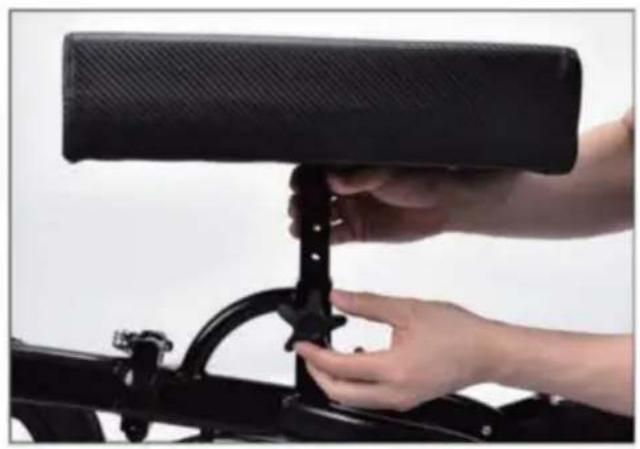
3. Adjust the knee pad height
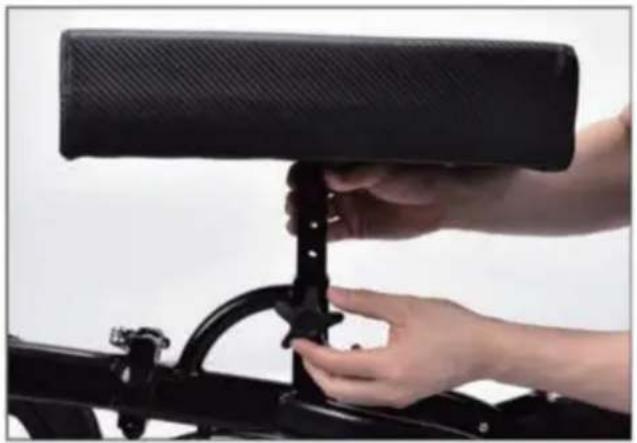
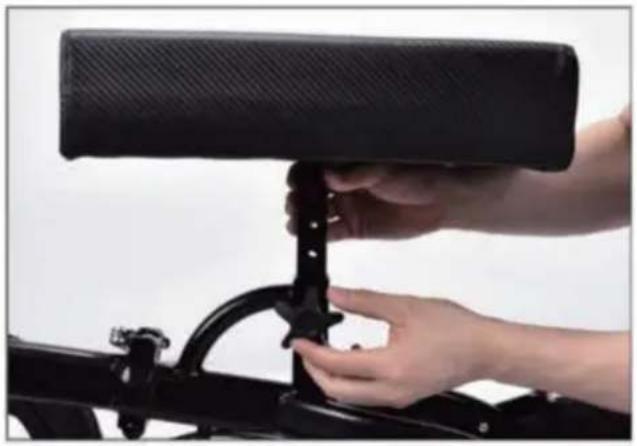
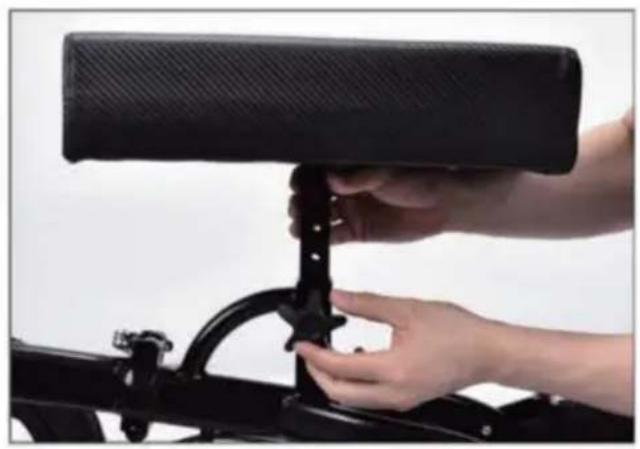
Insert the knee platform to desired height. Insert star screw and tighten knob securely.
Double check it is firmly installed.
4. Install the basket
Install the basket in front of the steering column.
Loop Lock Operation
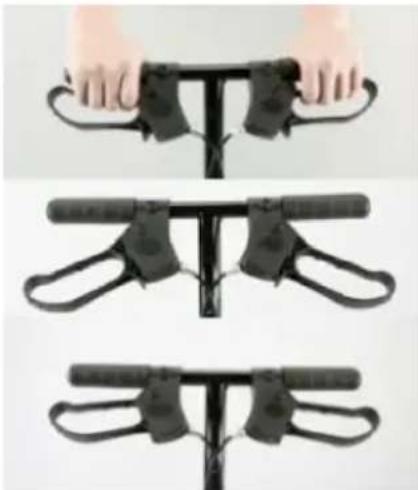
USING Loop Lock Operation- Always engage and disengage wheel locks on both sides simultaneously.
(1) To Slow Down or Come to a Temporary Stop - Pull up slowly on the loop locks with four fingers until the unit slows down or comes to a temporary stop.
(2) To Temporarily Lock Wheels in Position — Press down on both loop locks with palms until you hear a "click" that tells you the wheels are locked.
(3) To Release Wheel Locks — Push up on the locks with palms of hands to original position.
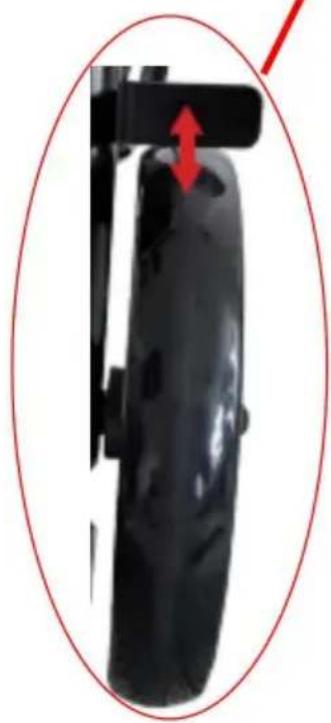
How to adjust brakes?
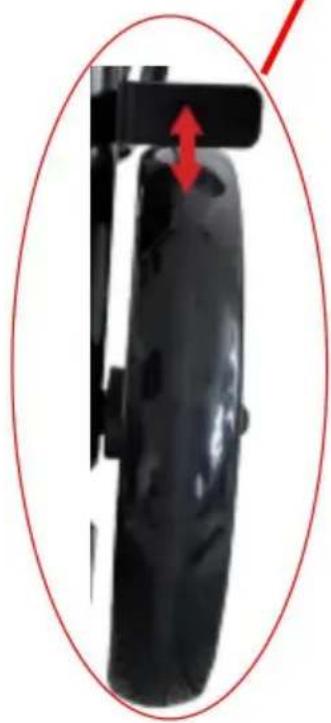
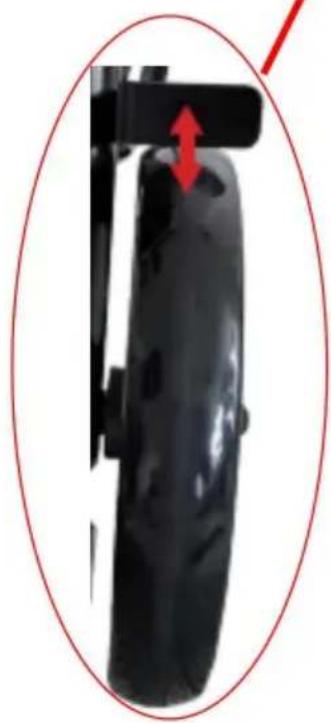
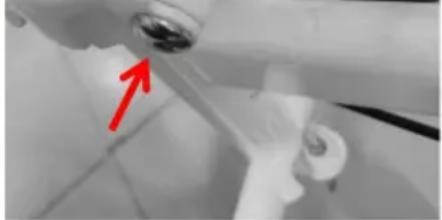
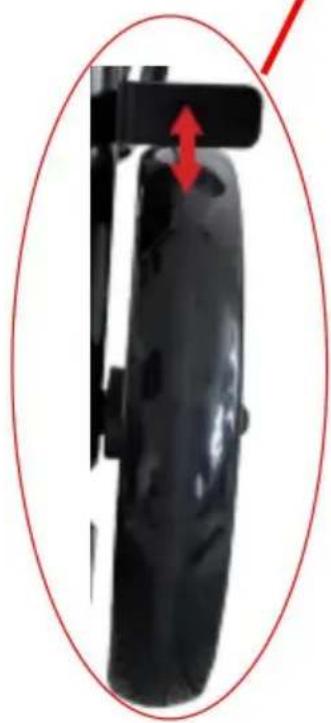
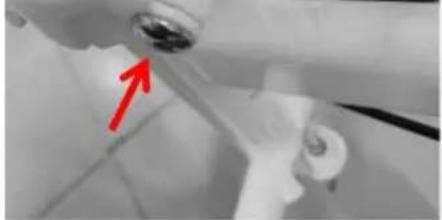
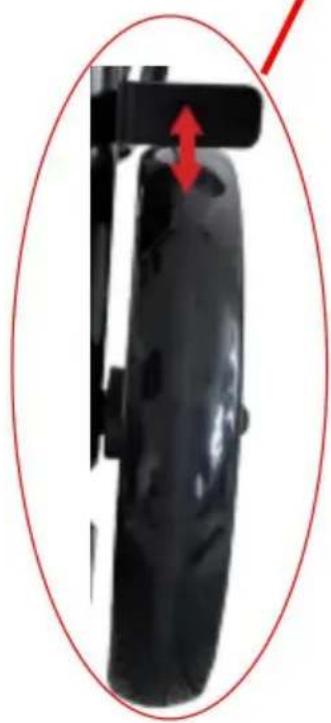
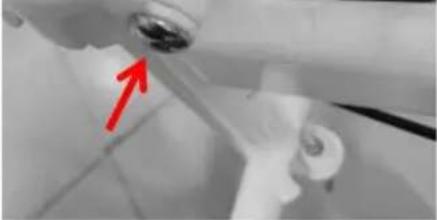
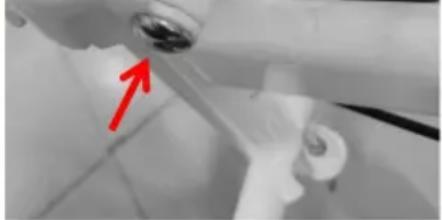
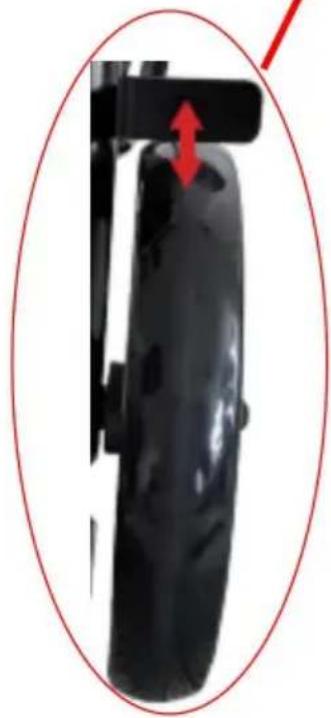
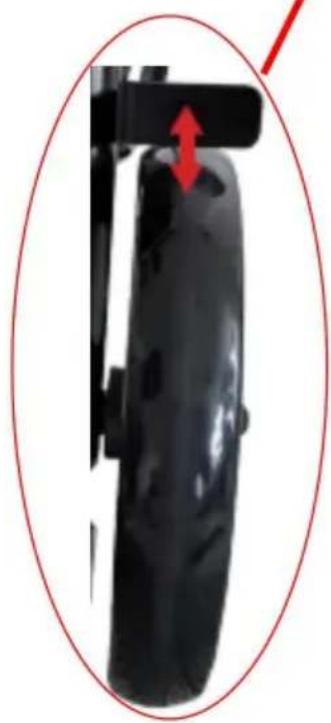
(1) By loosening the nut in the picture and adjusting the brake line back and forth. (2) Observe the position of the brake iron and the tire in the red circle (when releasing the brake, there should be an appropriate distance between the brake and the tire surface, about 3~5mm)
(3) Lock the brake nut
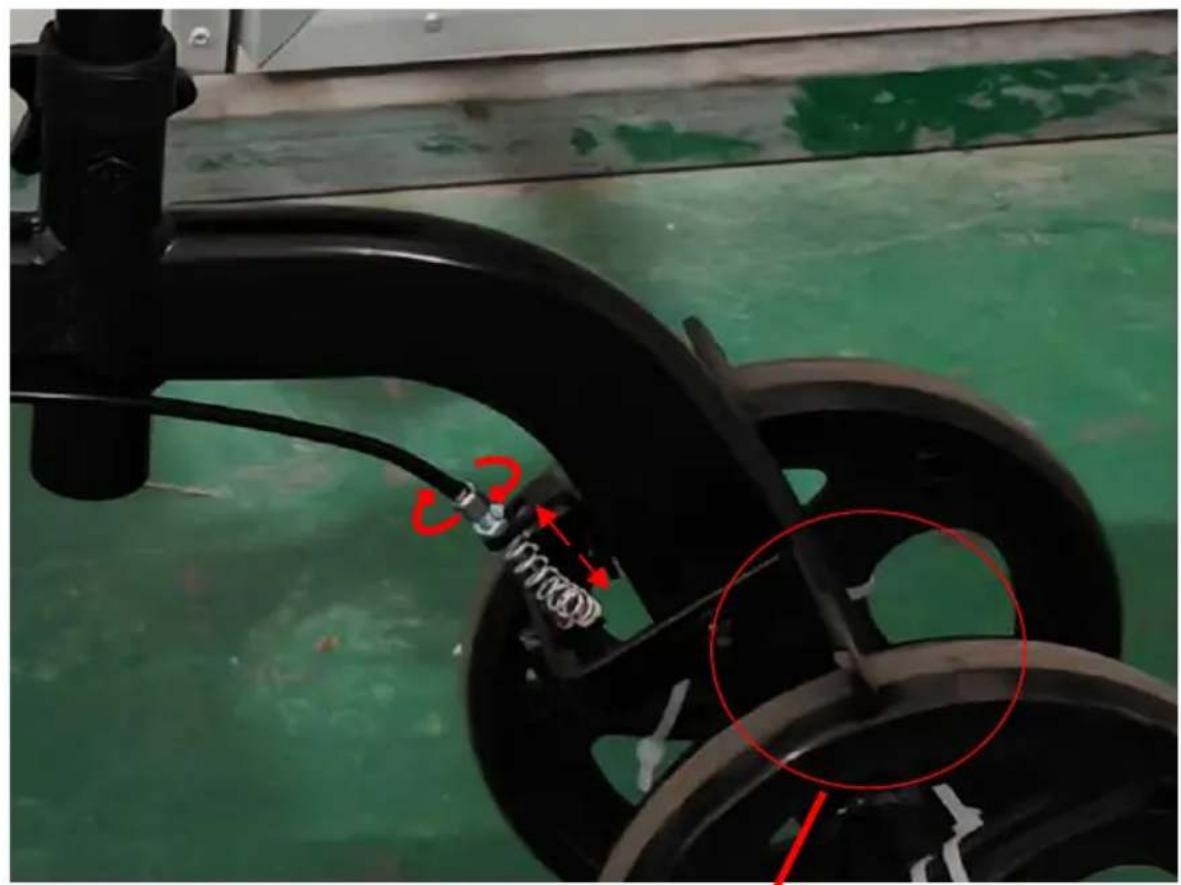

Distance is about 3 to 5 mm
Movement
The knee walker is a mobility device that provides strength and comfort to a person who may have an injury below the knee. It allows an even distribution of body weight by supporting half of the weight on the device and the other half on the non-injured leg.
The device has a cushioned platform to support both the injured leg and to make certain that no weight will be placed on the lower leg.
The device is designed for easy steering and stopping.
- Place your hands on the handlebars.
- Place the knee of your injured foot on the front pad so that the top of your knee or cast is directly over the space between the pads. Your lower leg is then on the rear pad.
- Release the parking brake and propel yourself forward or backward with your pushing foot, keeping the knee of your injured foot centered on the front pad.
- Move slowly so that you can stop safely using your pushing foot.
- The hand brake may be used if needed but is primarily designed to maintain a stopped stance.
Additional Cautions
- Do not operate on loose gravel or uneven surfaces.
- Do not travel over large cracks or fissures.
- Stop and move forward slowly when encountering cracks or separations in walkway surfaces.
- Do not operate in excess of 3 miles per hour (slow-to-moderate walking speed).
- Do not turn unless one foot is on the ground.
- Never make a sharp turn at high speed.
- Do not turn at speeds over 1 mph (very slow walking speed).
- Do not operate on inclines above 15 degrees (slight incline).
- Do not travel over drops or barriers such as curbs or parking stops.
- This is a medical device, not a toy. Do not allow children or adults to use it as a toy or for entertainment.
- Always check the fasteners on the tiller, wheels, brakes, and seat for tightness before use.
Manufacturer: Shanghai Muxin Muye Youxian Gongsi
Address: Baoshan District, Shuangcheng Road 803, Lane 11, No. 1602A-1609, Shanghai
Imported to AUS: SIHAO PTY LTD.
1 ROKEVA STREET, EASTWOOD NSW 2122, Australia
Imported to USA: Sanven Technology Ltd.
Suite 250, 9166 Anaheim Place, Rancho Cucamonga, CA 91730
| REPU |
Pooledas Group Ltd
Knit 5 Albert Edward House, The Pavilions Preston, United Kingdom
| EC | REP |
SHUNSHUN GmbH
Römeräcker 9 Z2021, 76351
Technical Support and E-Warranty Certificate www.vevor.com/support
VEVOR®
TOUGH TOOLS, HALF PRICE
NEED HELP? CONTACT US!
The distance
Suite 250, 9166 Anaheim Place, Rancho Cucamonga, CA91730
| REPRÉSENTANT | DU ROYAUME-UNI |
Pooledas Group Ltd
NEED HELP? CONTACT US!
Suite 250, 9166 Anaheim Place, Rancho Cucamonga, CA91730
| UK | REP |
Pooledas Group Ltd
NEED HELP? CONTACT US!
The distance
1 Rokeva Street, Eastwood NSW 2122, Australia
Suite 250, 9166 Anaheim Place, Rancho Cucamonga, CA 91730
| REP. DEL | REGNO UNITO |
Gruppo Pooledas Ltd
4. Install the basket
The distance is
1 Rokeva Street, Eastwood NSW 2122, Australia
Suite 250, 9166 Anaheim Place, Rancho Cucamonga, CA 91730
NEED HELP? CONTACT US!
4. Mount the basket
1 Rokeva Street, Eastwood NSW 2122, Australia
Importer in the USA: Sanven Technology Ltd.
Suite 250, 9166 Anaheim Place, Rancho Cucamonga, CA 91730
NEED HELP? CONTACT US!
4. Install the basket
The distance
Suite 250, 9166 Anaheim Place, Rancho Cucamonga, CA 91730
Pooledas Group Ltd
Unit 5 Albert Edward House, The Pavilions
NEED HELP? CONTACT US!
4. Install the basket
Suite 250, 9166 Anaheim Place, Rancho Cucamonga, CA 91730
| UK | REP |
Pooledas Group Ltd
Unit 5 Albert Edward House, The Pavilions
- KNEE SCOOTER
- VEVOR®
- NEED HELP? CONTACT US
- INTRODUCTION
- PARTS DESCRIPTION
- PRODUCT PARAMETER
- ASSEMBLY
- INSTALLATION OF STEERING COLUMN AND FRAME
- INSTALL HANDLE AND ADJUST HEIGHT
- ADJUST THE KNEE PAD HEIGHT
- INSTALL THE BASKET
- LOOP LOCK OPERATION
- HOW TO ADJUST BRAKES
- MOVEMENT
- ADDITIONAL CAUTIONS
- TOUGH TOOLS, HALF PRICE
- MOUNT THE BASKET
Brand : Vevor
Model : HFK-9270
Category : Electric scooter