USER MANUAL AR320 LIVOO
text_image
17:56
17:56
MEM ① ② SLEEP
Livoo
Version: 1.0
Schémas'/'Drawings'/'Esquemas'/Schemas''/'Schemi''/'Esquemas'/ôegelingen'
text_image
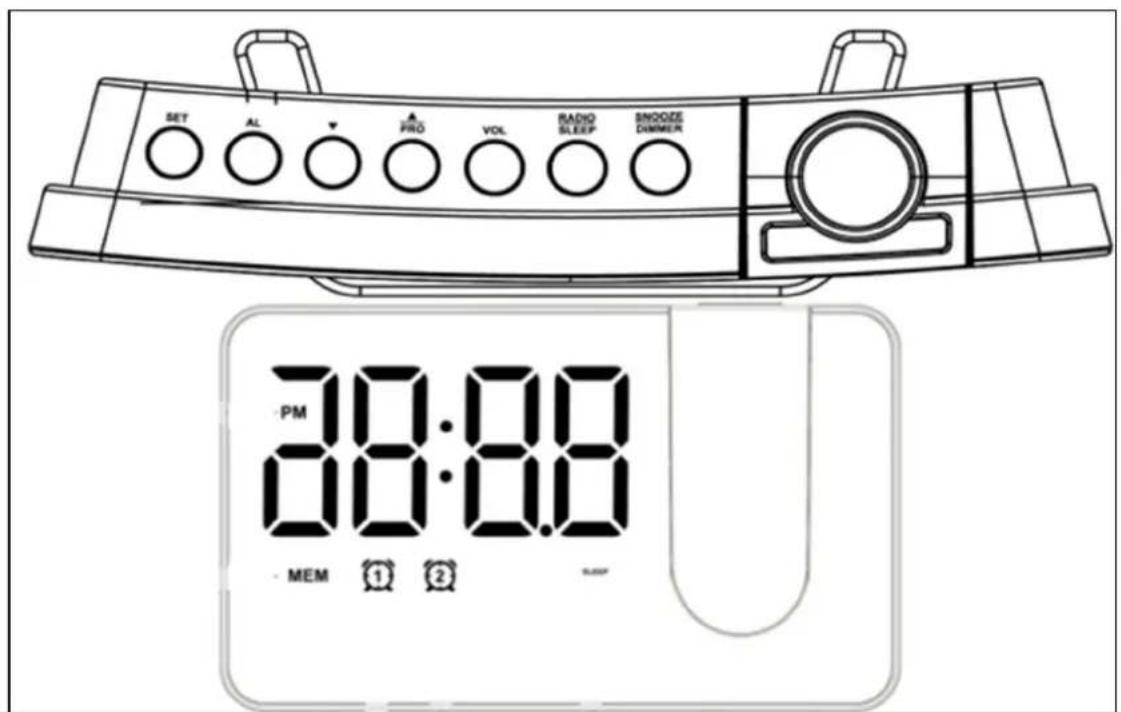
SET AL
PRO VOL RADIO SLEEP SMOOZE DIMMER
PM
00:00
MEM 1 2
Figure 1
natural_image
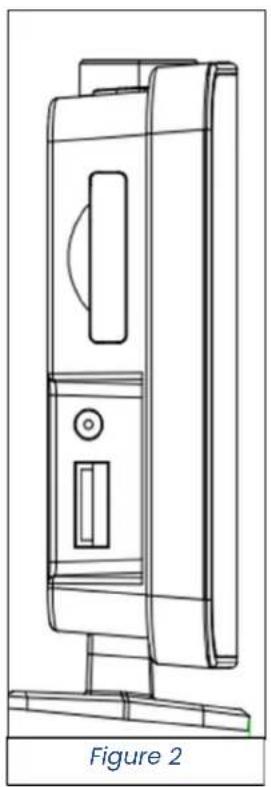
Line drawing of a mechanical device with a labeled figure 'Figure 2' (no text or symbols on the diagram itself)
Thank you for choosing a Livoo device!
Your blender, your barbecue, and your headphones are not "ust objects, they are extensions o,, yoursel,, allowin" you to "et closer to your „riends and „amily, to brin" them to "ether, to lau"h and to share experiences. Livoo's aim is to help you live your li,e to the „ullest, whatever wishes you have throu"hout the year. Winter raclette, summer barbecue. Or the other way around. It's up to you. Take advanta"e o,, this „reedom „or „eel “ood moments every day.
That's why we're constantly innovatin" and creatin" clever devices „ull o„ zest, but most o„ all, accessible.
Find our entire collection on our website www.livoo.en.
Livoo, your daily companion till social networks

@Livoo

@livoo_o„iciel

@Livoo
Safety'Anstructions"
- Keep this product away „rom water, liquids or damp areas.
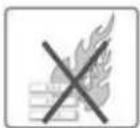
- Keep this product away „rom open „lames.
- WARNING: For char"in", use only the supplied detachable USB cable.
- I, you want to use your product with an adapter (not included), use only an adapter that delivers 5V.
- I, the USB cable is dama"ed, it must be replaced by the manu,,acturer, its service a"ent or similarly quali,,ied persons to avoid any dan"er.
- Do not place the product in direct sunli"ht or heat. Keep it away „rom temperatures above 40°C.
- Ensure that the product is in a well-ventilated space.
- Do not repair this product yoursel„. Consult an authorized service technician. Attemptin“ to repair the unit yoursel„ may result in electric shock.
- Do not insert any „orei”n ob“ects into the product.
- This product should not be used by children.
- Do not drop the product. Severe impacts may damae the product.
- Make sure that in,ants and children do not play with plastic ba"s or packa"in" materials.
Technical'Specifications'
Çutput:'5V'1,5A'
Use'of'the'device'
Time'setting'
Press and hold the SET button „or about 3 seconds. The time will „lash. Press PRO ▲ or to set the time.
Press the SET button a"ain. The hour is set and the minute „lashes. Press PRO or to set the minutes.
Press the SET button a"ain. The minutes are set and the display shows "24H" and „lashes. Press PRO or to select "12H" or "24H" time mode.
Press the SET button a"ain. The time mode is set, the display shows "09" and „lashes.
TòisénuëößréisétòßétiëßéößtwßßnétòßéúÁurëérßpβtitionáéYouéäúnésßtétòisétiëßéößtwßßné5éúnüe60éeinutßöyéprßssin"èèROéééorééadé
I„éyouéprßsétòßéSETéottonéú“úinéoréi„éyouéüoénotépβr„orëéúnyéopβrútionéwitóinél0ésßäonüsoétòßésßttir wiÁAéößésúvßüéúnüétòßéüispÁúyéwiÁAésòowétòßéäAoäÈáé
é
Alarm'setting'
IáéèrßsétòßéeLéottonáéTòßésyéööAéééúppßúrséúnüétoßétiëßé„ÁúsòßsáéèrßsséeROéééorééétoésßtétòßétiëßáéé
2áéèèrßsétòßéeLéouttonéú"úináéTòßéúÁúrëétiëßéiséaon,,irëßüeúnüétòßéeinutßsé„ÁúsòáèrßséeROééoréée tòßéēinutßsáé
3áééèrßsétòßéeLéòuttonéú"úináéTòßéeïnutßséúrßésßtóétòßéüispÁúyésòowsé"OFF"éúnüé„ÁúsòßsáfèrßsseèRC sßÁßätétòßéúÁúrëëëöußàé
Battery'Advice'and'recycling'
* Keep the battery out o,, each o,, chilüren.
* Do not mix olü anü new batteries, with üi m erent compositions or o n , üi _m erent branüs in orüer to prevent possible leaka“e, explosion.
* Do not heat or üe,orm the batteries or explore to „ire.
* Waste batteries shoulü not ü disposeü o„ with householü waste.
* Please check with your local authority „or battery recyclin“ advice.
Do not üispose o„ batteries with householü waste. To preserve the environment, üispose o„ batteries accorüin“ to re“ulations. Post them in the nearest battery container or brin“ them into your store. Do not rechar“e the batteries, üo not üisassemble, üo not throw them into the „ire. Do not expose to hi”h temperatures or üirect sunli“ht. Do not incinerate.
natural_image
Symbol of a trash bin crossed with two crossed lines, no text or labels present
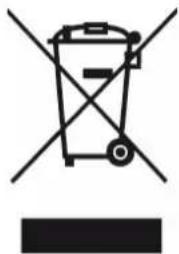
äorrect'Disposal'of'this'product'(Waste'Electrical'ê'Electronic'Equipmentz'
(Applicable'in'the'European'Union'and'other'European'countries'with'separate'collection'systemsz'
The European Directive 2012/19/E' on Waste Facilities Electrical and Electronic (WEEE)
This markin" shown on the product or its literature, inddicates that it shoulü not be üisposeü with other householü wastes at the enü o„its workin" li„e. To prevent possible harm to the environment or human health „rom uncontrolleü waste üisposal, please separatethis „rom other types o„ wastes anü recycle it responsibly to promote the sustainable reuse o„ material resources. Householü users shoulü contact
either the retailer where they purchase this product or their local authority o, ice, or details o, where and how they can take this item, or environmentally sa, e recyclin".
natural_image
Symbol of a trash bin crossed with no text or labels, accompanied by a black rectangular block below (no readable text or symbols)
çorrekte'Entsorgung'des'Geräts'(Electrical'and'Electronic'Equipment)'
natural_image
Symbol of a trash bin crossed with no text or labels, accompanied by a black rectangular block below (no readable text or symbols)