
CM520D10 - Coffee maker TEFAL - Free user manual and instructions
Find the device manual for free CM520D10 TEFAL in PDF.
| Product type | Drip coffee maker |
| Brand | Tefal |
| Model | CM520D10 |
| Water tank capacity | 1.2 L |
| Control display | LCD |
| Delayed programming | Yes (automatic startup 24h) |
| Keep warm | Yes (hot plate) |
| Automatic shut-off | After 35 minutes |
| Filter type | Reusable (permanent filter included), compatible with paper filters |
| Carafe | Glass with lid and handle |
| Included accessories | Measuring spoon, permanent filter |
| Materials | Plastic (body), glass (carafe) |
| Cleaning | Damp cloth, do not immerse |
| Descaling | Every 3 months with white vinegar |
| Safety | Hot surfaces, closed lid, child supervision |
| Product code | CM520D10 |
Frequently Asked Questions - CM520D10 TEFAL
User questions about CM520D10 TEFAL
0 question about this device. Answer the ones you know or ask your own.
Ask a new question about this device
Download the instructions for your Coffee maker in PDF format for free! Find your manual CM520D10 - TEFAL and take your electronic device back in hand. On this page are published all the documents necessary for the use of your device. CM520D10 by TEFAL.
USER MANUAL CM520D10 TEFAL
natural_image
Line drawing of a modern coffee maker with a glass lid and side panel (no text or symbols)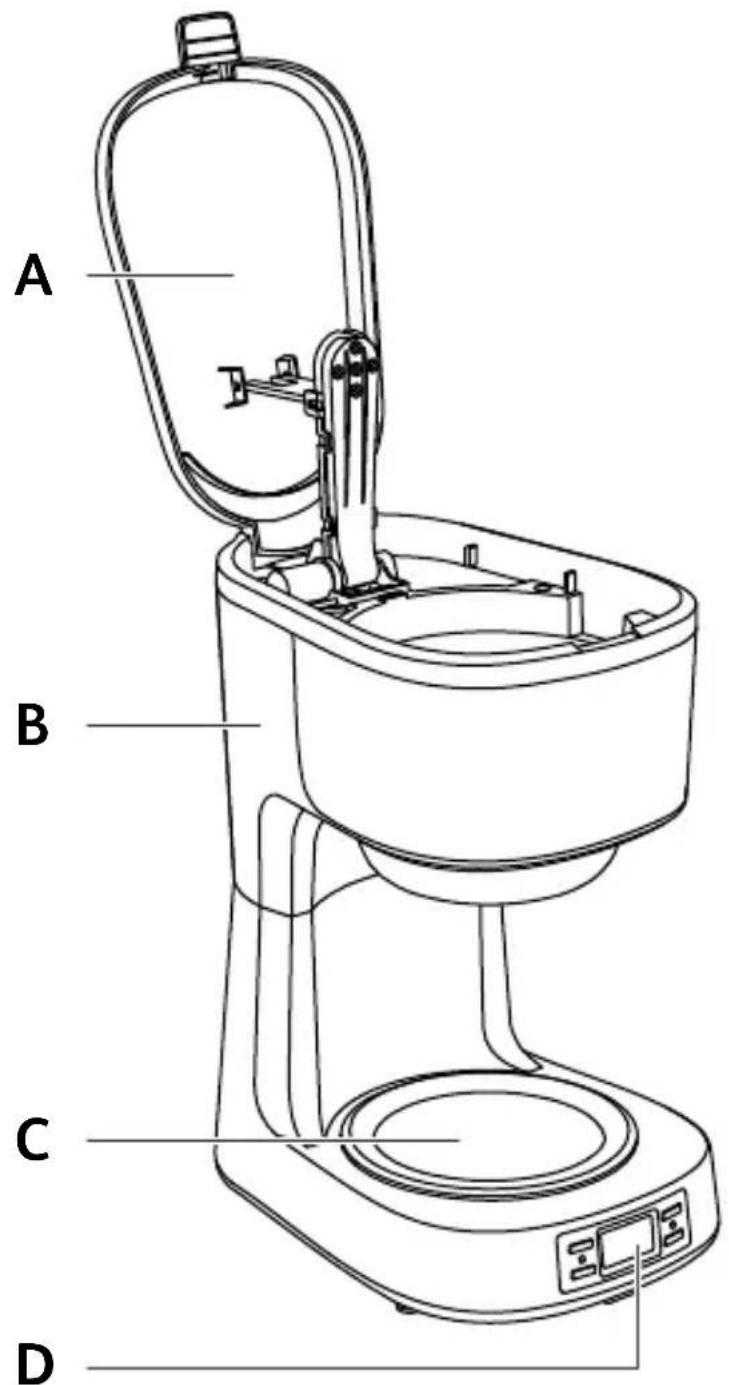
5
natural_image
Illustration of a hand pouring liquid into a mechanical component with a tool (no text or symbols)6
natural_image
Hand inserting a switch into a device panel (no text or symbols visible)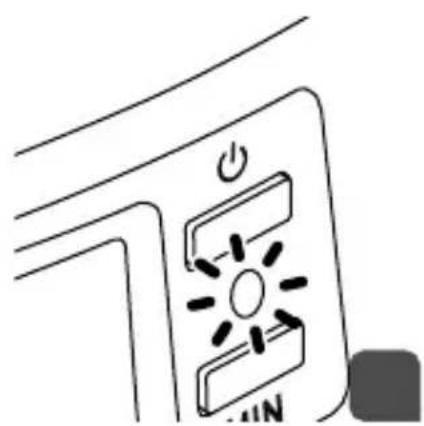
natural_image
Simple line drawing of a device with power button and indicator lights (no text or symbols)7

natural_image
Illustration of a hand using a tool to press or install a black liquid into a container (no text or symbols visible)8
natural_image
Diagram of a laboratory setup with a funnel, valve, and glassware (no text or symbols)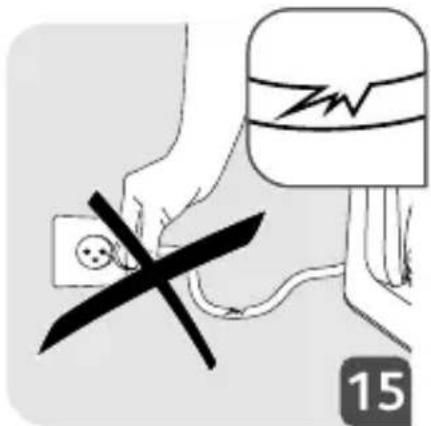
natural_image
Illustration of a kitchen pot with a double-headed knife and a side panel, placed on a gas stove (no text or symbols)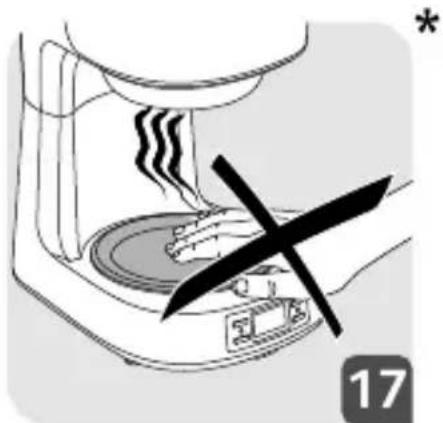
natural_image
Illustration of a hand pressing down on a steaming machine with a black X mark, no text or symbols present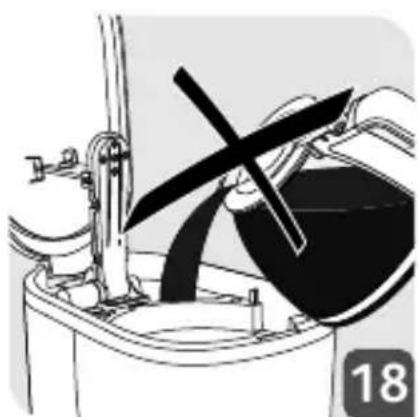
natural_image
Mechanical assembly diagram showing a motor or engine component with a rotating wheel and lever mechanism (no text or symbols)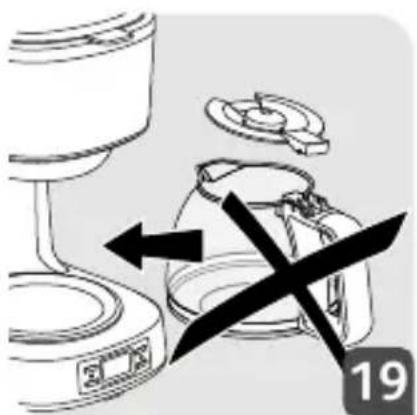
natural_image
Diagram of a kitchen appliance with a valve and handle, showing internal components and directional arrows (no text or symbols)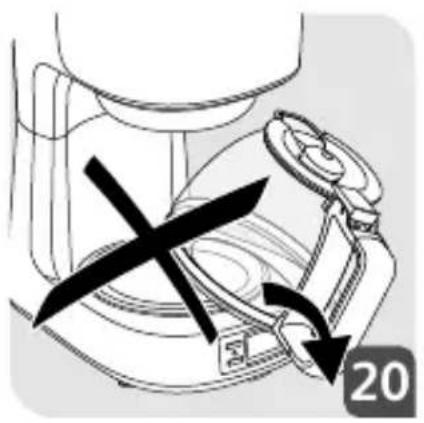
natural_image
Diagram of a mechanical device with a cross mark and arrow indicating motion (no text or symbols)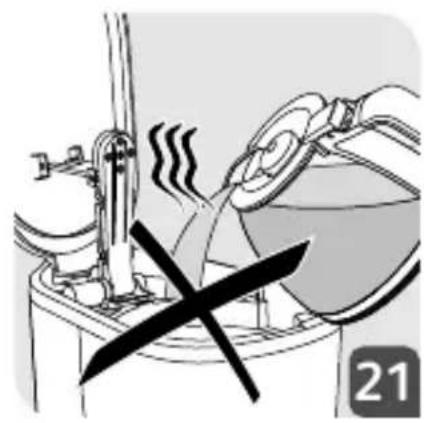
natural_image
Illustration of a cooking or heating setup with steam rising and a crossed-out valve (no text or symbols)- Please read the instructions carefully before using your appliance for the first time and keep them in a safe place for future reference: the manufacturer shall accept no liability in the event of any use that does not comply with the instructions.
Safety Instructions
- This appliance is not designed to be used by persons (including children) with reduced physical, sensory or mental capacities, or lacking experience or knowledge, unless they are supervised, or given prior instructions relating to the use of the appliance, by a person responsible for their safety.
•Children should be supervised to ensure that they do not play with the appliance. - If the power supply cable is damaged, do not use the appliance. To avoid any danger, immediately return the appliance to the manufacturer, after-sales service or other qualified persons to replace the cable.
- This appliance is designed for indoor household use only and at an altitude below 4000 m.
- Do not put the appliance, the power supply cable or the plug into water or other liquids.
- Your machine is designed for
household use only.
- It is not intended to be used in the following environments, which are not covered by the guarantee:
- In kitchen areas reserved for staff in shops, offices and other professional environments; on farms; by clients of hotels, motels and other residential environments; in guest houses and other similar accommodation.
- When cleaning the appliance, always follow the instructions;
- Unplug the appliance.
- Do not clean when hot.
- Clean with a damp cloth or sponge.
-
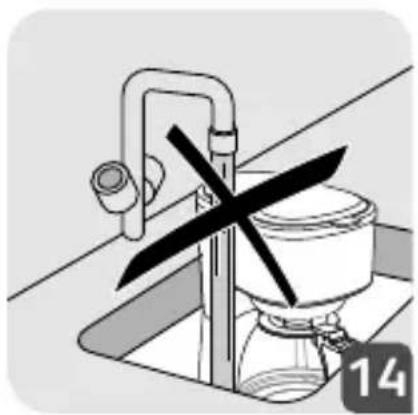
Do not put the appliance in water or under a running tap.
-
WARNING: Risk of injury if the appliance is not used properly.
- WARNING: After use, do not touch the heating plate, as it may still be hot.
- Only touch the handle of the glass pot during heating and until it has cooled down completely.
• This appliance can be used by children over 8 years old, provided that they are properly
supervised or as long as they have been given instructions on how to use the appliance safely and are full aware of the dangers involved. The appliance should not be cleaned and maintained by children, unless they are over 8 years of age and supervised by an adult.
- Keep the appliance and its cord out of reach of children under 8 years of age.
- This appliance may be used by persons with reduced physical, sensory or mental capabilities, or whose experience or knowledge is not sufficient, provided they are supervised or have received instructions to use the appliance safely and understand the dangers.
- Children must not use the appliance as a toy.
- *The temperature of the accessible surfaces may be high when the appliance is in operation. Do not touch the hot surfaces of the appliance.
• The coffee-maker shall not be placed in a cabinet when in use. - Before plugging in the appliance, ensure that the power supply corresponds to that
of the appliance. Also check that the current includes an earthed socket.
- The guarantee will not apply in the event of faulty connection to a power supply.
- When using the appliance, always place it on a flat, stable, heat resistant work surface away from water splashes and any sources of heat.
- Unplug the appliance if you do not intend to use it for a prolonged period and during cleaning.
- Do not use the appliance if it is not working correctly or if it is damaged. In this case, contact an approved service centre.
- Do not leave the appliance unattended whilst in operation.
- Cleaning and standard maintenance may be carried out by the customer; any other servicing must be carried out by an approved service centre.
- The power cable must never be in proximity to or in close contact with the heated elements of your appliance, close to a source of heat or a sharp edge.
- For your safety, only use accessories and spare parts designed for your appliance.
- Do not remove the plug from the socket by pulling on the cord.
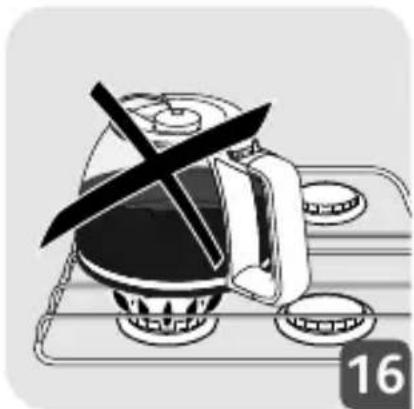
- Do not use the pot in a microwave oven, on a flame or on electric cooking plates.
- Do not fill the appliance with water if it is still hot.
- All appliances are subject to strict quality controls. Practical performance tests are conducted on appliances picked out by chance, which explains any possible signs of use.
- When the coffee machine is in use, always close the lid.
- Do not use the coffee pot without the lid.
- Do not pour hot water into the tank.
DESCRIPTION
A. Lid
B. Water tank
C. Heating plate
D. LCD control screen
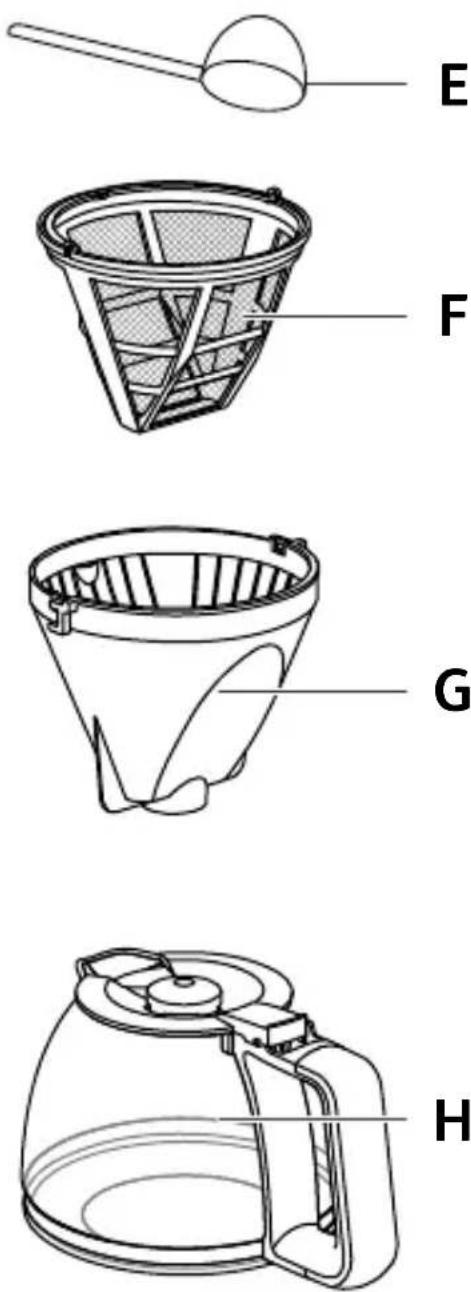
E. Measuring spoon
F. Permanent filter
G. Filter holder
H. Carafe
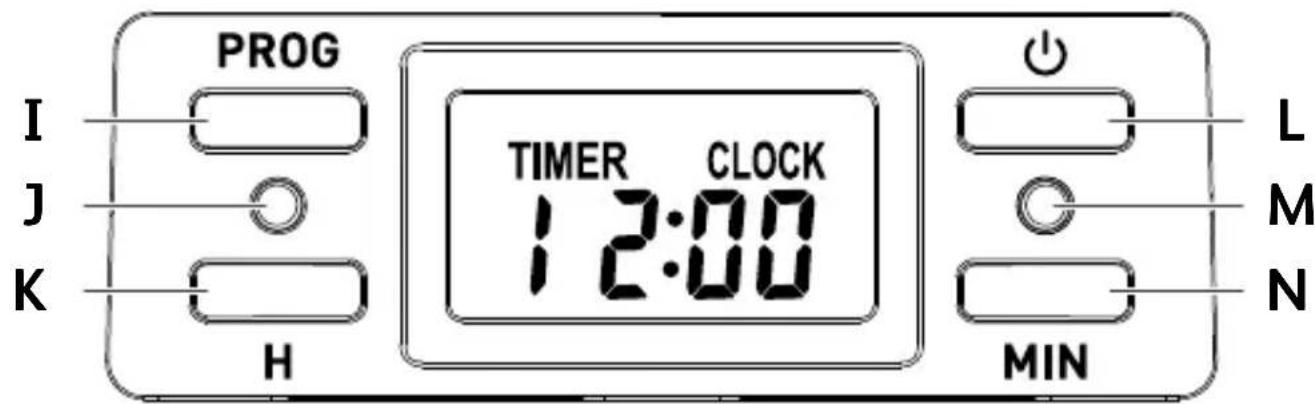
I. Program button
J. Program signal light (blue)
K. H Button (hours)
L. ON/OFF button
M. ON/OFF signal light (red)
N. MIN Button (minutes)
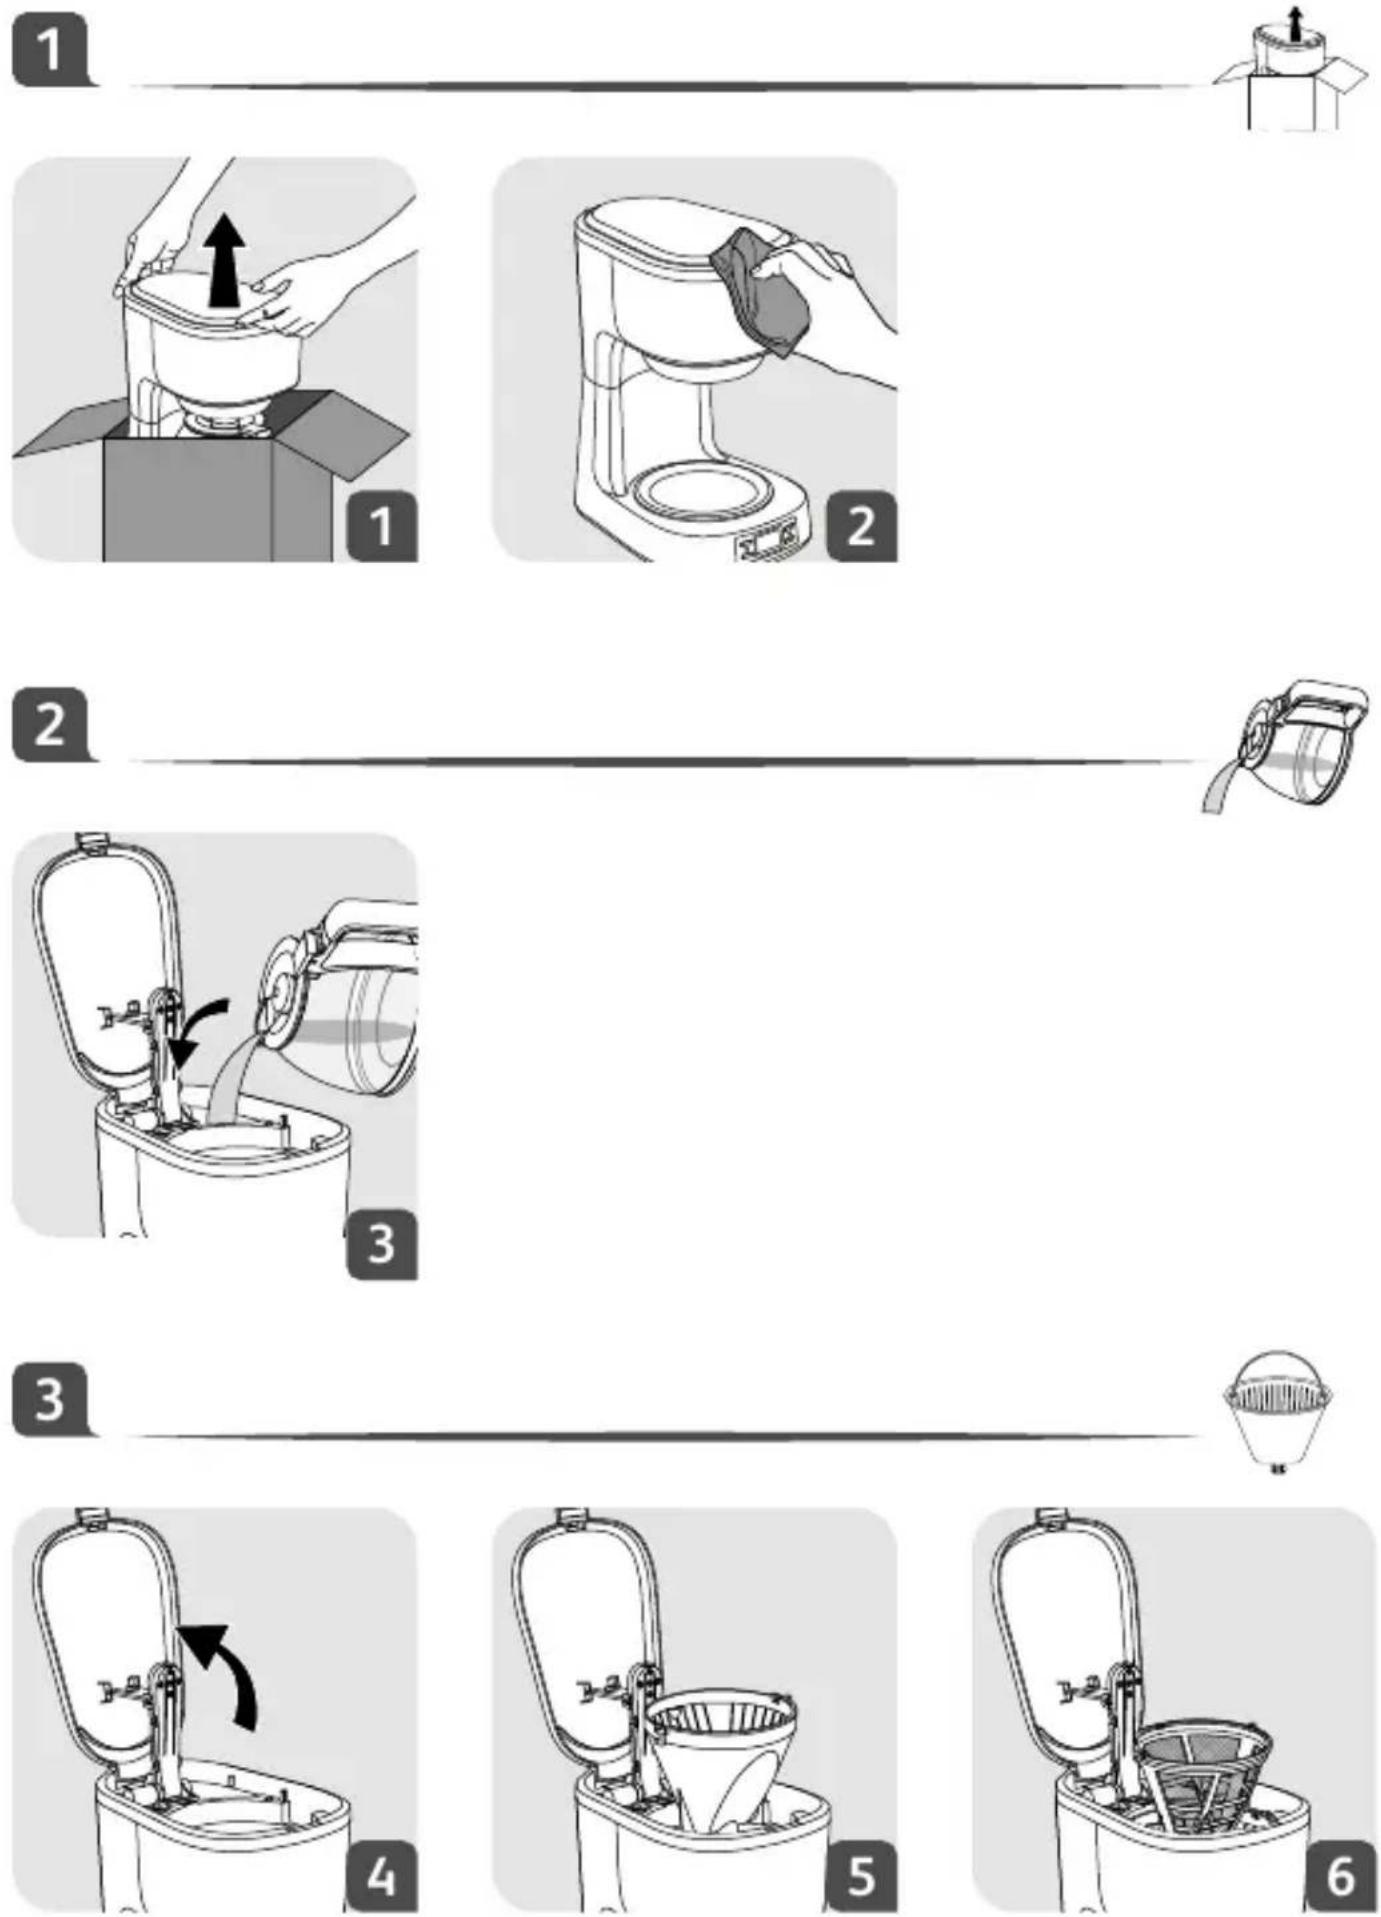
USING THE MACHINE FOR THE FIRST TIME
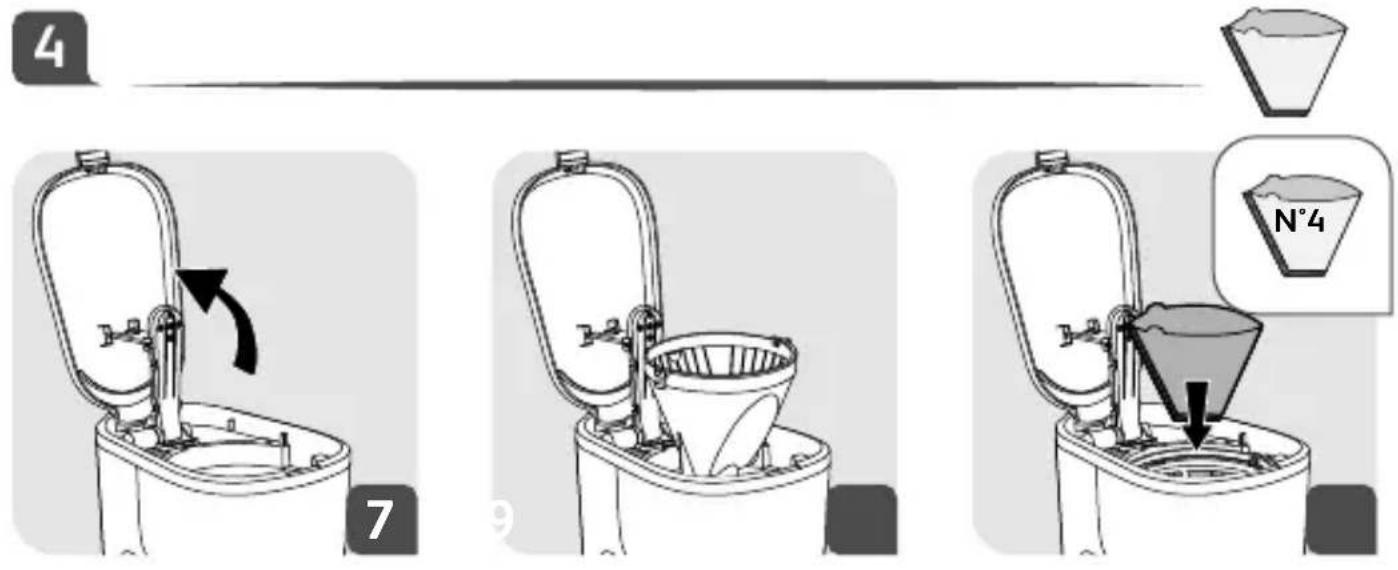
To ensure the first cup of coffee tastes excellent, you should rinse the coffee maker with warm water as follows:
Pour 1200ml water into water tank (B).
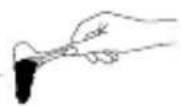
Set permanent filter (F) or filter paper in filter holder (G) (add no coffee ground), then cover up water tank cover.
Place drip carafe (H) on keeping warm plate.
Connect to power source, 12:00 will show on display.
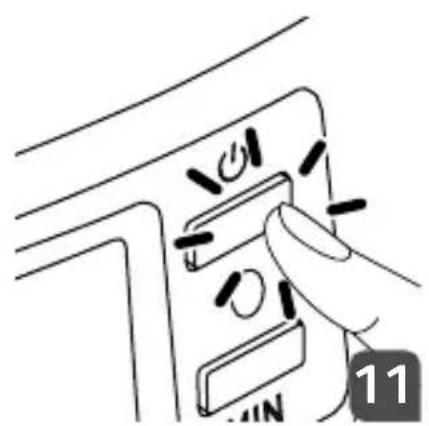
Press ON/OFF button (L) once, the red indicator (M) is illuminated, the unit enter making coffee state.
Press ON/OFF button (L) again the red indicator (M) goes out and the coffee maker stops working.
After water not dropping out any more, you can pour the water in each container out then clean them thoroughly, now you can start brewing.
MAKE DRIP COFFEE
(Follow figures 2 to 8)
-
Open the lid (A), pour proper drinking water into water tank (B) according to the mark in the tank.
-
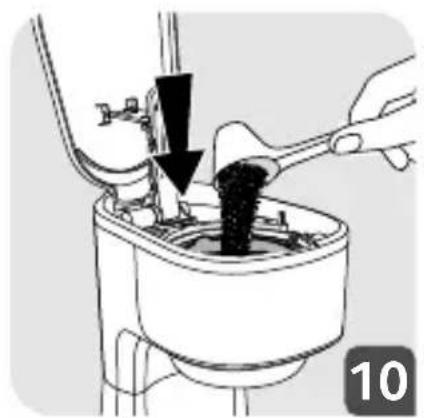
Set permanent filter (F) or filter paper into filter holder (G).
-
Add ground coffee to permanent filter (F) or filter paper with measuring spoon (E), a spoon ground coffee power can make a cup of top-grade coffee, but you can adjust according to the taste yourself.
-
Cover up lid (A), then connect the appliance to power supply source, the display will show 12:00.
-
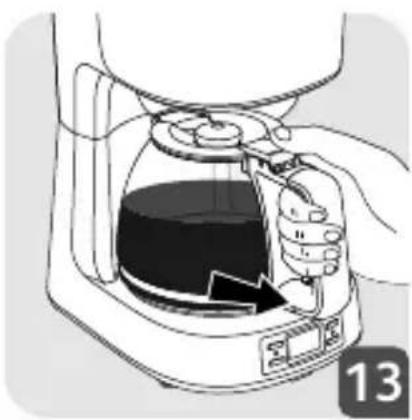
Push drip carafe (H) on heating plate (C), pay attention to let centre line of carafe aligns with that of funnel.
-
Press down ON/OFF button (L) once, the
red indicator (M) is illuminated, coffee will drop out automatically after a while.
Note: at any time, you can take out carafe to serve but the time cannot exceed 30 seconds, otherwise the coffee may overflow from the edge of funnel.
SETTHE CLOCK AND PROGRAMMING AUTOMATIC START-UP
(Only fit for making drip coffee)
The appliance has a presetting function, after preparing:
- Press PROG button (I), you can set current time.
- When LCD display CLOCK, press H button (K) and MIN button (N) to finish currently time from 0:00 to 23:59.
- When LCD display TIMER, press H button (K) and MIN button (N) to set time for auto power on from 0:00 to 23:59.
-
Press PROG button (I) three times and the blue signal light (J) on, the unit enter making coffee state. The blue signal light (J) off and red signal light (M) on, the unit enter making coffee for when reservation time was arrived, and will shut off after 35 minutes.
-
Press PROG button (I) four times, return to wait.
WARNING: Do not leave the coffee maker unattended during making the coffee, as you need operate manually sometimes.
CLEAN AND MAINTENANCE
- Cut off power source and let the coffee maker cool down completely before cleaning.
- Clean housing of coffee maker with moisture-proof sponge often and clean water tank, drip insulation board, funnel, filter screen and drip carafe regularly then dry them.
- Note: Do not clean with alcohol or solvent cleanser. Never immerse the housing in water for cleaning.
- Open the water tank cover, get out the funnel and filter screen or anticlockwise rotate the funnel, then get out the funnel
and filter screen (this is two kinds of common modes for getting out the funnel of drip coffee machine), then you can clean it with cleanser, but at last you must rinse with clear water.
- Clean all the attachments in the water and dry thoroughly.
CLEANING MINERAL DEPOSITS
To keep your coffee maker operating efficiently, you should clean away the mineral deposits left by the water every three months or according to the water quality in your area and the frequency use the appliance, the detail is as follows: fill the carafe with one part of white vinegar and three parts of cold water, pour the water and vinegar mixture into the tank, do not place into coffee ground, brewing the water-vinegar solution per "Before the first use", repeat it until no yellow liquid comes out if necessary, then pour out the mixture, brewing with tap water until no vinegar odor is left.
TROUBLESHOOTING
| PROBLEM SOLUTION | |
| The coffee does not infuse or the appliance does not turn on. | Make sure that the appliance is properly plugged into a functioning socket.The water reservoir is empty.There was a power failure.Unplug the machine, and then plug it in again.The clock time must be reset after a power failure.The automatic stop function has switched the appliance off. Turn off the appliance and then turn it on again to make more coffee. For more information, see the section "Coffee Preparation". |
| The appliance appears to leak. | Make sure that the water reservoir has not been filled beyond the maximum limit.Ensure that the water reservoir is not damaged. |
| The infusion requires lots of time. | It may be time to descale the appliance.For more information, see the section "Descaling". |
| The coffee is spilling from the filter holder or the coffee is flowing very slowly. | The coffee maker needs to be cleaned.There is too much coffee. We recommend using a measuring spoon per cup.The ground coffee is too fine (for example, the grind for expresso is not suitable for a filter coffee maker).Some ground coffee has become embedded between the filter paper and the filter holder.The filter paper is not open enough or is incorrectly positioned.Rinse the filter holder before inserting the filter paper so that the latter adheres to the damp sides of the filter holder.There is more than one filter paper in the filter holder.Make sure that the filter holder is fully inserted. |
| The coffee tastes bad. • The coffee grind is not suitable for your coffee maker.The proportion of coffee and water is incorrect. Modify it to suit your taste.The quality and freshness of the coffee are not optimal.The water is of poor quality. | |
| The coffee does not flow. • Make sure that there is water in the reservoir.The coffee flow system may be blocked. You can clean it by simply rinsing it with water. | |
| The time is not correct. • The timer is synchronised and depends upon your electrical network. If there is a difference, we recommend setting the time once a week to make sure that it is correct. | |
THINK OF THE ENVIRONMENT!
Your appliance contains valuable materials which can be recovered or recycled.
Leave it at a local civic waste collection point or at an approved service centre, where it will be disposed of properly.
European Directive 2012/19/EU on Waste Electrical and Electronic Equipment (WEEE), stipulates that used household appliances must not be disposed of in normal unsorted municipal waste. Old appliances must be collected separately to optimise the sorting and recycling of their parts and to reduce the impact on human health and the environment.
C. Plaque chauffante
N. Bouton MIN (minutes)
PREMIÈRE UTILISATION DE LA CAFETIÈRE
F. Permanente filter
G. Filterhouder
H. Kan
I. Programmaknop
N. KNOP MIN (MINUTEN)
UW EERSTE GEBRUIK VAN DE MACHINE
(siga as figuras 2 a 8)
• The coffee-maker shall not be placed in a cabinet when in use.
N. Gumb MIN (minute)
PRVA UPORABA NAPRAVE
- Safety Instructions
- DESCRIPTION
- USING THE MACHINE FOR THE FIRST TIME
- MAKE DRIP COFFEE
- (Follow figures 2 to 8)
- SETTHE CLOCK AND PROGRAMMING AUTOMATIC START-UP
- (Only fit for making drip coffee)
- CLEAN AND MAINTENANCE
- CLEANING MINERAL DEPOSITS
- TROUBLESHOOTING
- THINK OF THE ENVIRONMENT!
- PREMIÈRE UTILISATION DE LA CAFETIÈRE
- UW EERSTE GEBRUIK VAN DE MACHINE
- (siga as figuras 2 a 8)
- PRVA UPORABA NAPRAVE
Brand : TEFAL
Model : CM520D10
Category : Coffee maker