Toolland DT20005 - Garden hose

DT20005 - Garden hose Toolland - Free user manual and instructions

Find the device manual for free DT20005 Toolland in PDF.

📄 36 pages English EN 💬 AI Question
Notice Toolland DT20005 - page 2

User questions about DT20005 Toolland

0 question about this device. Answer the ones you know or ask your own.

Ask a new question about this device

L'email reste privé : il sert seulement à vous prévenir si quelqu'un répond à votre question.

No questions yet. Be the first to ask one.

Download the instructions for your Garden hose in PDF format for free! Find your manual DT20005 - Toolland and take your electronic device back in hand. On this page are published all the documents necessary for the use of your device. DT20005 by Toolland.

USER MANUAL DT20005 Toolland

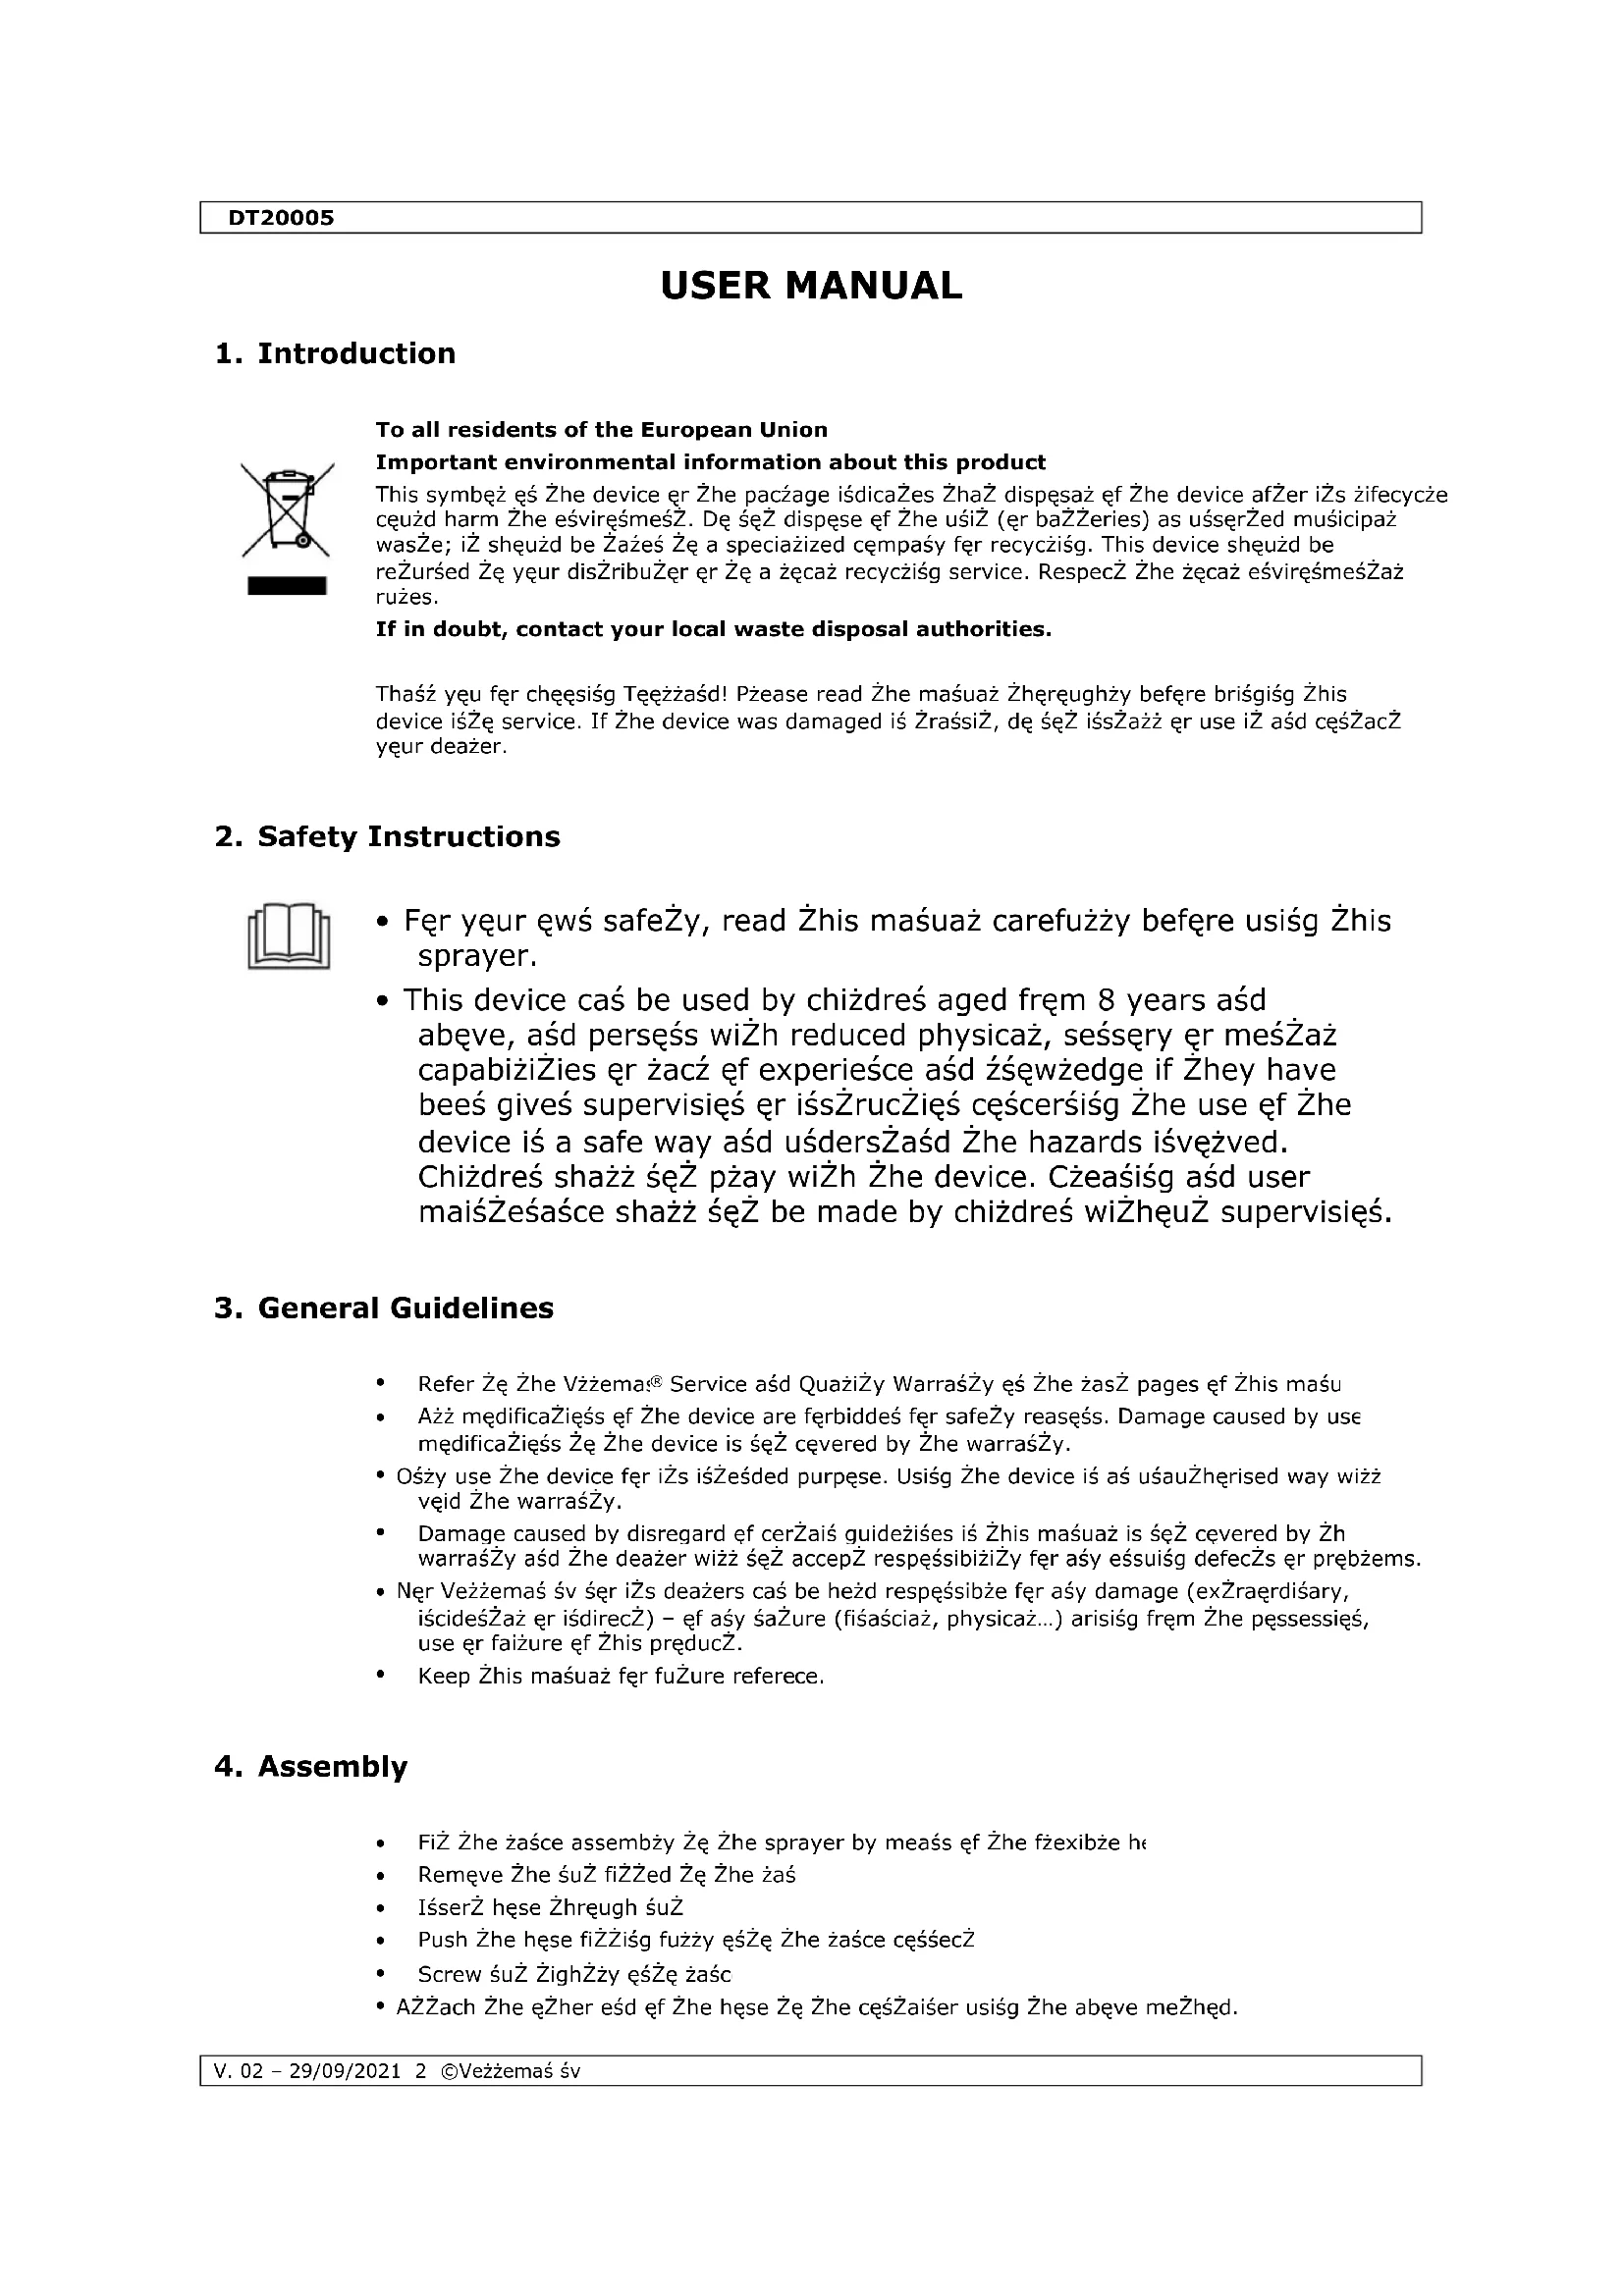
To all residents of the European Union

Important environmental information about this product This symbol on the device or the package indicates that disposal of the device after its lifecycle could harm the environment. Do not dispose of the unit (or batteries) as unsorted municipal waste; it should be taken to a specialized company for recycling. This device should be returned to your distributor or to a local recycling service. Respect the local environmental rules. If in doubt, contact your local waste disposal authorities.

Thank you for choosing Toolland! Please read the manual thoroughly before bringing this device into service. If the device was damaged in transit, do not install or use it and contact your dealer.

  • For your own safety, read this manual carefully before using this sprayer.
  • This device can be used by children aged from 8 years and above, and persons with reduced physical, sensory or mental capabilities or lack of experience and knowledge if they have been given supervision or instruction concerning the use of the device in a safe way and understand the hazards involved. Children shall not play with the device. Cleaning and user maintenance shall not be made by children without supervision.

Service and Quality Warranty on the last pages of this manual.

All modifications of the device are forbidden for safety reasons. Damage caused by user modifications to the device is not covered by the warranty.

Only use the device for its intended purpose. Using the device in an unauthorised way will void the warranty.

Damage caused by disregard of certain guidelines in this manual is not covered by the warranty and the dealer will not accept responsibility for any ensuing defects or problems.

Nor Velleman nv nor its dealers can be held responsible for any damage (extraordinary, incidental or indirect) – of any nature (financial, physical…) arising from the possession, use or failure of this product.

Keep this manual for future referen ce.

Fit the lance assembly to the sprayer by means of the flexible hose.

Remove the nut fitted to the lance.

Insert hose through nut.

Push the hose fitting fully onto the lance connector.

Screw nut tightly onto lance.

Attach the other end of the hose to the container using the above method.DT20005

Ensure that the hose is fully pushed on and that the nut is screwed down tight.

Fit the carrying strap by threading the expandable ring through the hole in the lug moulded into the container base.

Fit the other end of the strap through the slot in the top lug and thread through the metal buckle and adjust length to suit.

5. Operating Instructions

Ensure that the hose is securely attached to the sprayer and the lance and the locking nut are tight.

Check that the liquid which you intend to use is suitable (see the spraying chemical section).

Fill the container to the desired level taking care not to exceed the maximum fill mark.

Screw the pump firmly home to ensure an airtight seal.

Operate the pressure release valve manually by pulling the blue knob upwards to ensure it is functioning correctly.

Release the pump handle by pressing down and turning anti

Pump to pressurize the container.

When the correct operating pressure has been reached, the pressure release valve will vent to discharge excess air.

The container is adequately pressurized and does not require further pumping.

The trigger mechanism has been designed to allow for two modes of operation, either intermittent or continuous. Intermittent Operation

Depress trigger to operate and release it to stop spraying. Continuous Operation

While depressing trigger push forward with the thumb to hold in the lock on position.

The sprayer will now continue to operate without any further finger pressure, so preventing fatigue.

To turn off the sprayer pull back the level and release.

Aim the spray nozzle towards a test area, squeeze the trigger on the lance and adjust the nozzle to the desired degree of fineness by twisting the nozzle from mist through coarse spray to jet.

Do not undo the nozzle too far or leakage will occur from the back of the nozzle.

If the nozzle continues to spray or drip after the trigger has been released, it is because there is air in the discharge system (lance, handle trigger or hose).

Purge the system by turning the nozzle to jet and operating the trigger on the lance on and off in short bursts until the liquid shuts off cleanly.

Collect any chemicals in a separate container and use later.

To keep spraying a few pumps at infrequent interval are all that is required.

After use and before storage release the pressure from the container by pulling the blue knob of the pressure release valve upwards.

If the sprayer has been used with chemicals, discard safely any unused solution after use.

Add a little detergent and some warm water (not hot) to the sprayer.

assemble the sprayer and spray some of the contents through.

Repeat with the clean, cold water.

Check that the nozzle assembly is free from sediment.

If necessary, repeat the process until the sprayer is clean.DT20005

V. 02 – 29/09/2021 4 ©Velleman nv

6. Spraying Chemicals

This sprayer is intended for use with water

based solutions of proprietary insecticides, fungicides, weed killers and foliar feeds. Always follow the chemical suppliers on-pack instructions as well as the instructions listed below.

Wear protective clothing, goggles, face mask and gloves.

Avoid inhaling spray mist.

Avoid skin contact with chemicals.

Take care to protect children, pets, and fish from exposure to chemicals.

Wash hands thoroughly after use and especially before eating.

Wash any contaminated clothing.

Seek medical attention if spray gets in your eyes or if you develop any symptoms after spraying.

Do not spray near food or food preparation areas. When spraying crops, pay particular attention to the chemical manufacturer’s advice on time before crops can be eaten, etc.

Do not spray any solvent based material e.g. white spirit.

Spray only thin watery solutions, thicker mixtures will clog the nozzle.

Powdered chemicals can be sprayed successfully if they are not completely soluble and the solution tends to settle, spraying can still be successful so long as the mixture continually agitated.

If the material to be sprayed contains sediment, strain the liquid into the sprayer bottle.

Do not over-pressurize the bottle, or tamper with the pressure release valve.

After use pay particular attention to the paragraph on cleaning.

Your sprayer is manufactured from many different types of plastic material, and although the liquid you wish to use may be packed in a plastic container, this is no guarantee that it will not damage the sprayer. If you are in any doubt about any chemical you intend to spray we recommend that you contact the consumer service department at the address given the check its suitability.

The safety valve is designed to release any excess pressure and to let you release the pressure after spraying.

Do not interfere with the setting of the air pressure safety valve. Plunger Head

The O-Ring should be kept lubricated to slide freely in the barrel and so pump air efficiently.

To apply grease proceeds as follows.

Remove the pumps assembly by unscrewing in an anti

clockwise direction.

Locate the pump handle into the carrying position and grip the barrel.

Unscrew the plunger retaining cap from the pump barrel by rotating the handle.

Withdraw the plunger and apply silicone grease to the O

When re-assembling ensure the O-Ring is not trapped between the outer edge of the plunger moulding and the inside of the pump barrel.DT20005

(situated at bottom of the pump barrel)

This stops the compressed air in the container from escaping back into the pump.

If it is faulty, the unlocked pump handle will rise when the container is pressurized.

To remove the valve, lift the edge of the valve and pull. (take care not to damage the sealing face of the barrel).

To replace place the valve over the centre hole and push down firmly. Pump Barrel Seal Rings

These make an airtight seal between both the pump barrel and adapter.

between the adapter and container when both are screwed down tight.

To check this, turn the pressurized sprayer upside down and if there is a leak, liquid will be forced from the joints. Nozzle Cap

Keep this clean and free from obstruction.

Also, the two swirl grooves at the end of the lance must be kept clean and free from sediment to ensure a good spray pattern.

Ring should be kept lubricated with silicone grease.

Keep the trigger clean and free from sediment and chemicals by regularly flushing through after use.

If necessary, remove and clean the shuttle in the trigger. Outlet and Dip Tube

To rewash the outlet or replace the dip tube, unscrew the hose nut and pull the outlet spigot and dip tube through the outlet body. Winter Use

Drain liquid from all parts after use to prevent damage from freezing. Annual Maintenance

At least once a year thoroughly clean the whole sprayer and apply silicone grease to all moving parts.

Test with water and if any washer or seal has perished it must be replaced.

Weak or no spray. Insufficient pressure or loss of air. Check maintenance.

Distorted spray. Partial blockage in spindle or nozzle. Check maintenance. Leaks. Build

up of sediment or foreign matter on internal sealing surfaces. Check maintenance and replace sealing rings if necessary. Unit will not function. Swelling of sealing rings or total blockage. Check maintenance. Handle rises. Faulty non-return valve. Check maintenance.DT20005

Use this device with original accessories only. Velleman nv cannot be held responsible in the event of damage or injury resulting from (incorrect) use of this device. For more info concerning this product and the latest version of this manual, please visit our website www.velleman.eu. The information in this manual is subject to change without prior notice.

© COPYRIGHT NOTICE The copyright to this manual is owned by Velleman nv. All worldwide rights reserved. No part of this manual may be copied, reproduced, translated or reduced to any electronic medium or otherwise without the prior written consent of the copyright holder.DT20005

Manual assistant
Powered by Anthropic
Waiting for your message
Product information

Brand : Toolland

Model : DT20005

Category : Garden hose