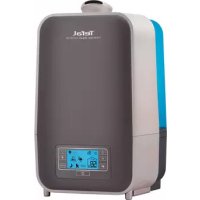
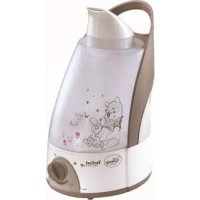
Intense Aqua Control HD5120 - Humidifier TEFAL - Free user manual and instructions
Find the device manual for free Intense Aqua Control HD5120 TEFAL in PDF.



| Brand | Tefal |
| Model | Intense Aqua Control HD5120 |
| Product Type | Ultrasonic Humidifier |
| Tank Capacity | 5.5 liters (max) / 2 liters (min) |
| Smart Modes | Auto (55% RH), Baby (50% RH, stop after 7h), Night (50% RH, stop after 8h) |
| Heating Function | Yes (increases vapor production by 20%, destroys bacteria) |
| Timer | 1 to 9 hours (automatic shut-off) |
| Adjustable Humidity Level | 40% to 75% RH or continuous operation (Co) |
| Vaporization Speeds | 3 manual speeds |
| Display | LCD with backlight (can be turned off) |
| Adjustable Nozzle | Yes |
| Anti-scale Cartridge | Yes (replaceable) |
| Recommended Cleaning | Every 2 days (tank, nebulization area, intake grilles) |
| Safety | Automatic shut-off if water level insufficient or humidity >90% RH |
| Power Supply | Mains (power cord) |
| Dimensions (estimated) | Approximately 20 x 20 x 30 cm |
| Weight (estimated) | Approximately 2 kg |
Frequently Asked Questions - Intense Aqua Control HD5120 TEFAL
User questions about Intense Aqua Control HD5120 TEFAL
0 question about this device. Answer the ones you know or ask your own.
Ask a new question about this device
Download the instructions for your Humidifier in PDF format for free! Find your manual Intense Aqua Control HD5120 - TEFAL and take your electronic device back in hand. On this page are published all the documents necessary for the use of your device. Intense Aqua Control HD5120 by TEFAL.
USER MANUAL Intense Aqua Control HD5120 TEFAL
natural_image
Illustration of a modern kitchen appliance with a digital display and top handle (no text or symbols)HU5120 / HD5120 • HU5115 / HD5115
DESCRIPTIF TABLEAU DE BORD
Panneau de commande
natural_image
Diagram showing a device with a top view and a base view, no text or symbols present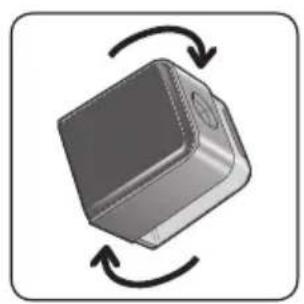
natural_image
3D diagram of a rectangular device with circular arrows indicating rotational or bidirectional motion (no text or symbols)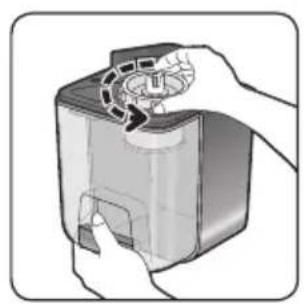
natural_image
Illustration of hands assembling a device with a circular component (no text or symbols visible)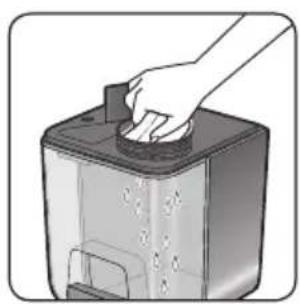
natural_image
Illustration of a hand pressing down on a device with a handle (no text or symbols visible)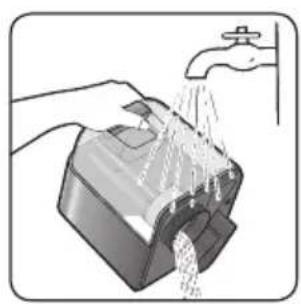
natural_image
Illustration of a hand washing a water dispenser with a faucet (no text or symbols)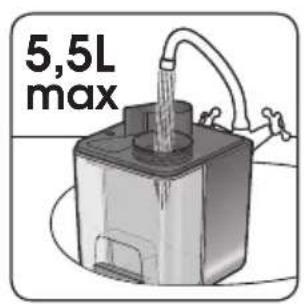
natural_image
Illustration of hands installing a device into a container with a mechanical component (no text or symbols visible)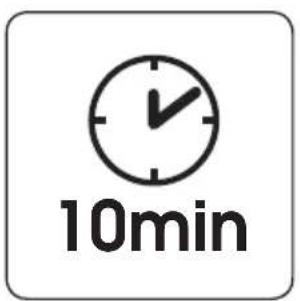
natural_image
Illustration of a hand holding a plug with a small socket, connected to a cable (no text or symbols)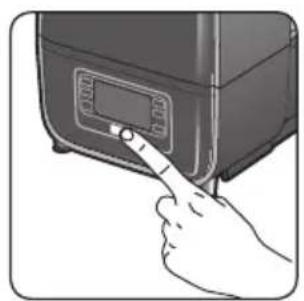
natural_image
Illustration of a hand pressing down on a digital kitchen appliance (no text or symbols visible)FONCTIONNEMENT MANUEL
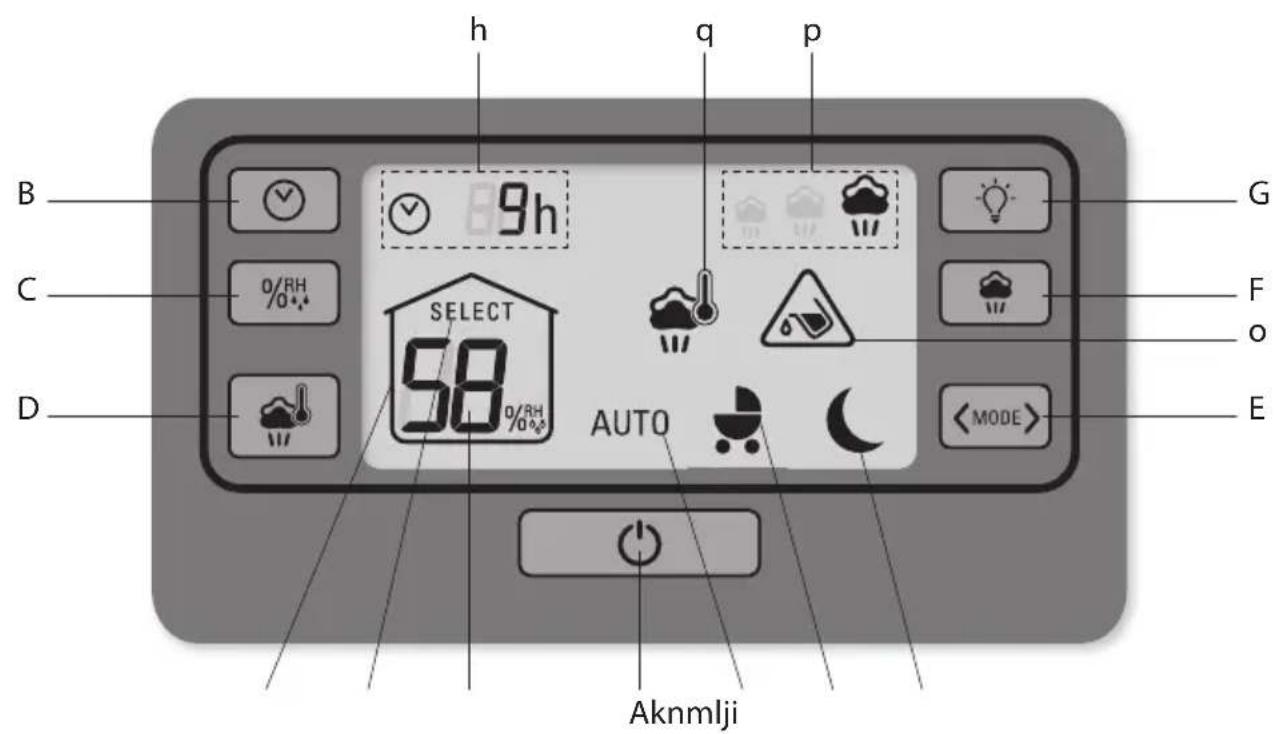
A. On/Off button
B. Timer button
C. Select target humidity level button
D. "Heating function" button (only on model HU5120 / HD5120)
E. Select "Smart" modes button (pre-set)
F. Select mist output speed button
G. Light/sound button
Display screen
h. Timer of 1 hour to 9 hours
i. "House" Icon - room temperature humidity level
j. Mark SELECT - target humidity level
k. Humidity level in relative humidity (RH) %
I. AUTOMATIC Mode
m. BABY Mode
n. NIGHT Mode
o. Insufficient water level
p. Mist output rate
q. Heating function
SWITCHING ON THE APPLIANCE
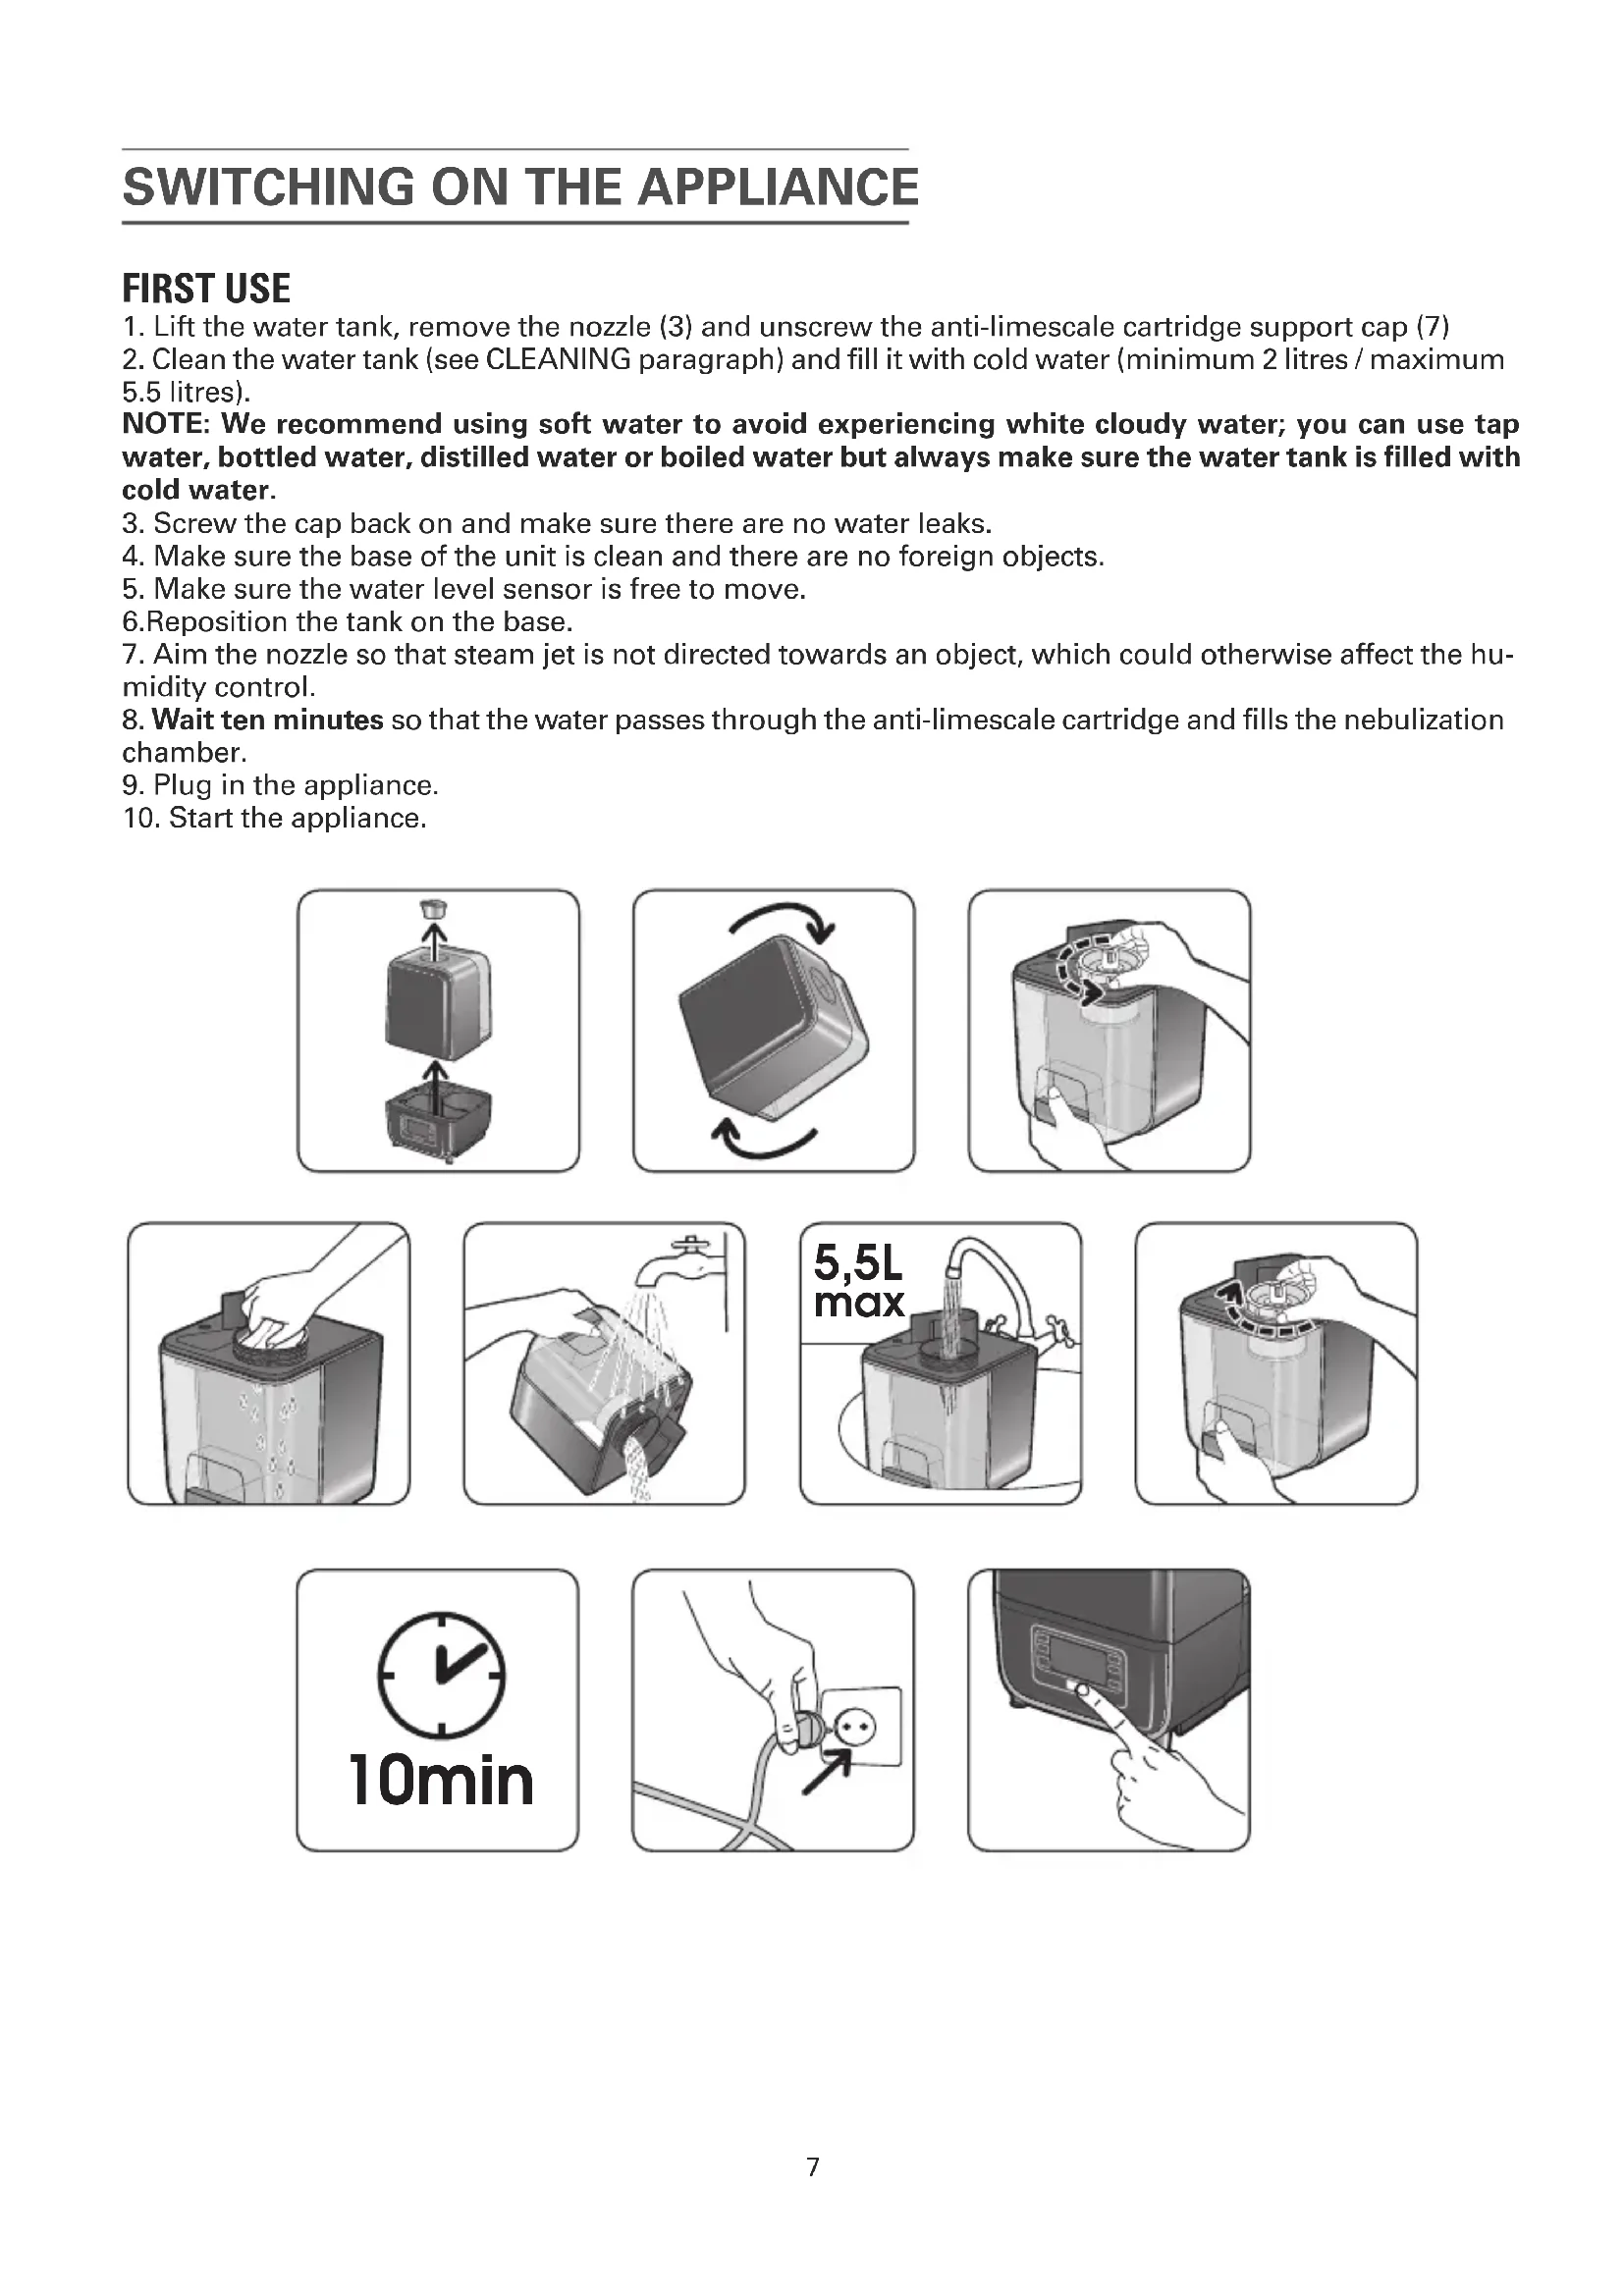
FIRST USE
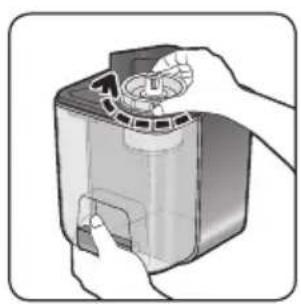
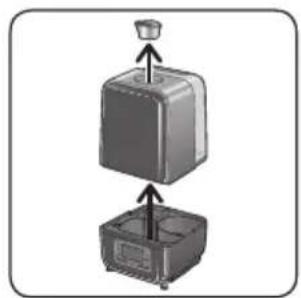
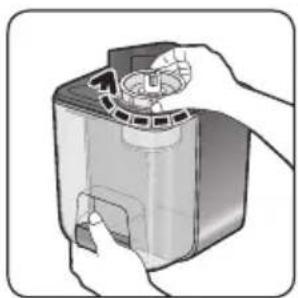
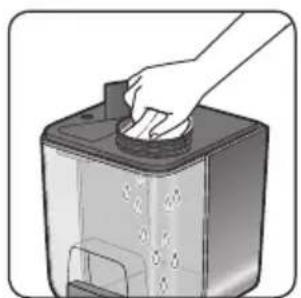
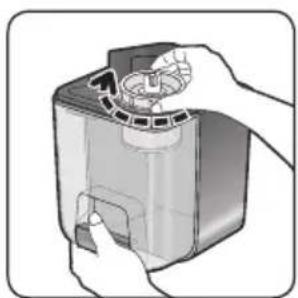
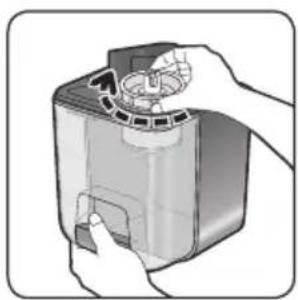
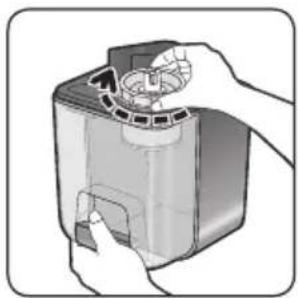
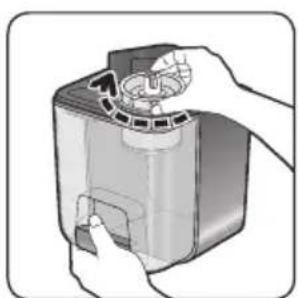
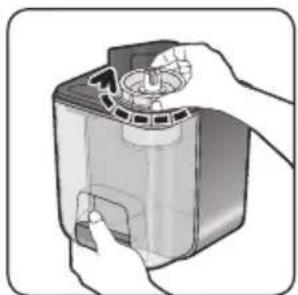
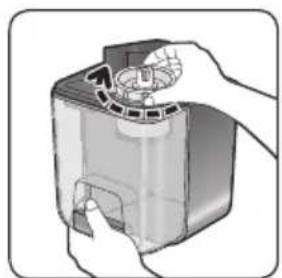
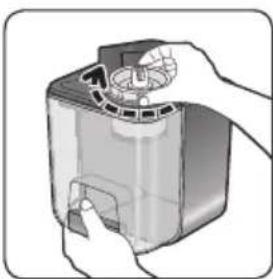
- Lift the water tank, remove the nozzle (3) and unscrew the anti-limescale cartridge support cap (7)
- Clean the water tank (see CLEANING paragraph) and fill it with cold water (minimum 2 litres / maximum 5.5 litres).
NOTE: We recommend using soft water to avoid experiencing white cloudy water; you can use tap water, bottled water, distilled water or boiled water but always make sure the water tank is filled with cold water.
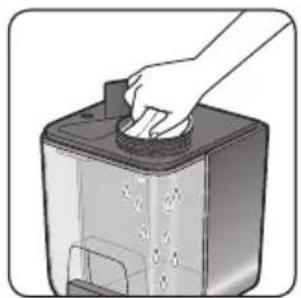
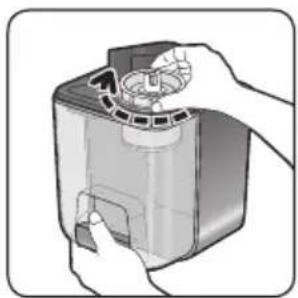
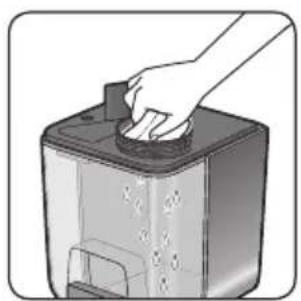
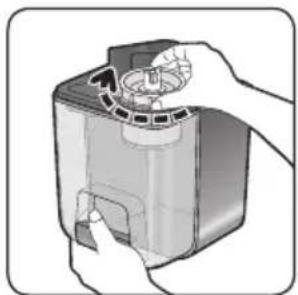
- Screw the cap back on and make sure there are no water leaks.
- Make sure the base of the unit is clean and there are no foreign objects.
- Make sure the water level sensor is free to move.
- Reposition the tank on the base.
- Aim the nozzle so that steam jet is not directed towards an object, which could otherwise affect the humidity control.
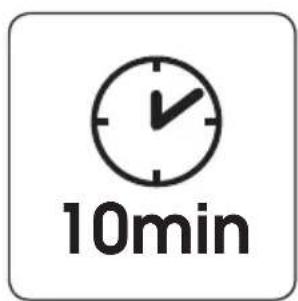
- Wait ten minutes so that the water passes through the anti-limescale cartridge and fills the nebulization chamber.
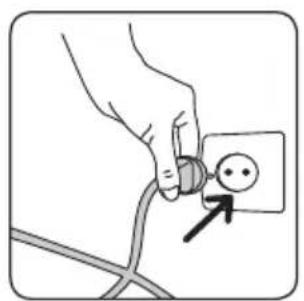
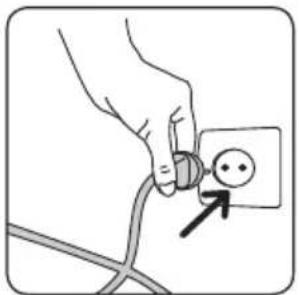
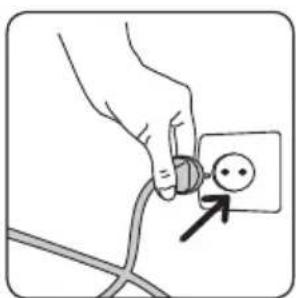
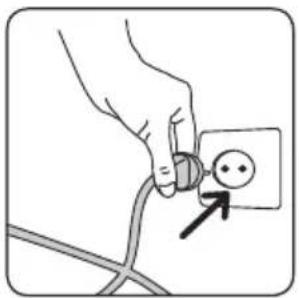
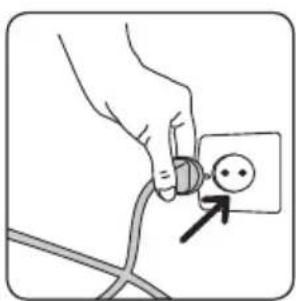
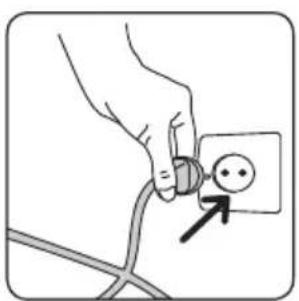
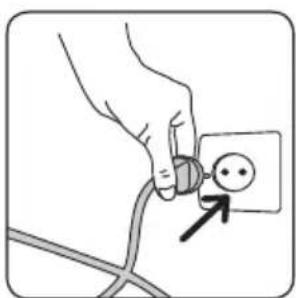
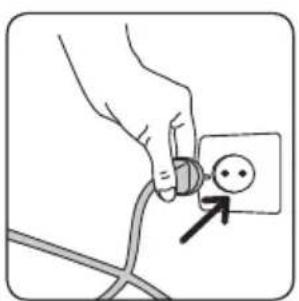
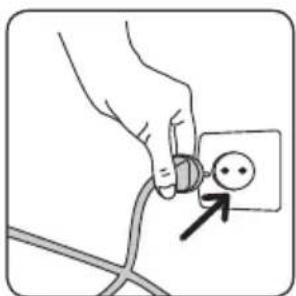
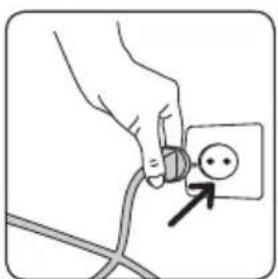
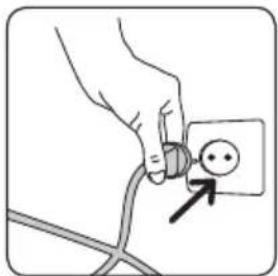
- Plug in the appliance.
- Start the appliance.
natural_image
Diagram showing a container being inserted into a smaller container, with arrows indicating the process (no text or symbols present)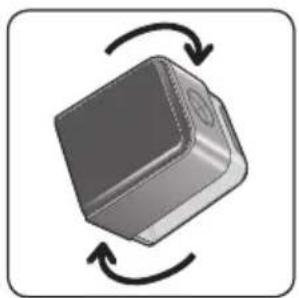
natural_image
3D diagram of a mechanical component with rotational arrows indicating cycle (no text or symbols)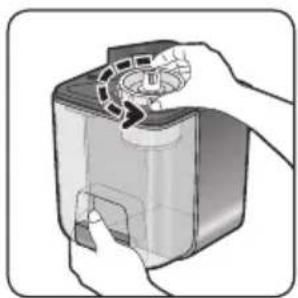
natural_image
Illustration of hands installing or adjusting a device into a container (no text or symbols visible)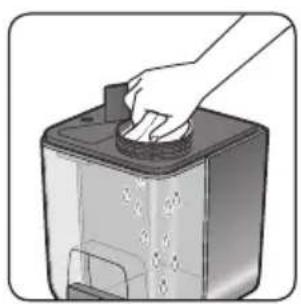
natural_image
Illustration of a hand placing a lid onto a device with a water level indicator (no text or symbols)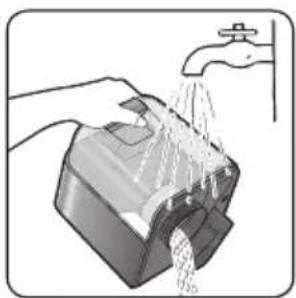
natural_image
Illustration of hands washing a water bottle with a faucet (no text or symbols)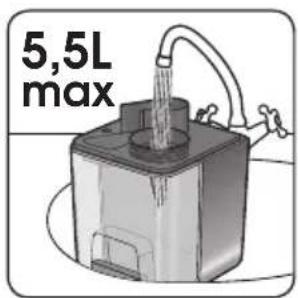
natural_image
Illustration of hands assembling or removing a device into a container (no text or symbols visible)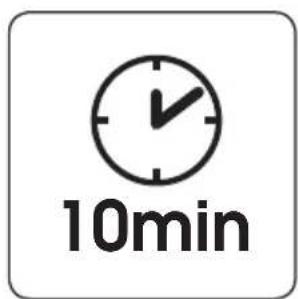

natural_image
Illustration of a hand holding a plug with a small socket, connected to a cable (no text or symbols)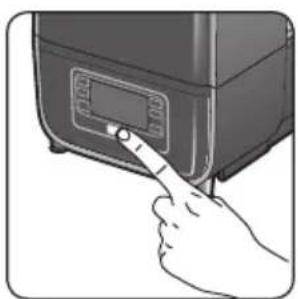
natural_image
Illustration of a hand pressing a button on a kitchen appliance (no text or symbols visible)This unit has 2 operation types (manual or automatic) and various additional functions.
- "ON/STANDBY": On/Standby (off); Button A.
Press button (A) to turn the unit on or to put it on standby.
MANUAL FUNCTION
Setting the target humidity level and mist output rate
- Humidity level: Setting the target humidity level; Button C.
Choose the desired target humidity level by repeatedly pressing button C.
When SELECT appears, the humidity level that is displayed is the target rate that you have set: between 40% and 75% relative humidity (RH) or "Co" for continuous operation (a safety shutdown system will shut the unit down if the room humidity level exceeds 90% RH).
When "HOME" is visible without SELECT, the humidity level displayed is the humidity level of the room at the level of the unit.
NOTE: This setting cannot be used in "Smart" modes.
WARNING: A very high humidity level in the room, in continuous operation mode, can affect the air quality and can damage some objects. The recommended optimal humidity level is between 50% and 60% RH.
- Mist output speed - Setting the mist output speed; Button F.
Choose the desired mist output speed by repeatedly pressing button F. Three speeds are available.
NOTE: This setting cannot be used in "Smart" modes.
AUTOMATIC FUNCTION
Using the 3 pre-set operating modes
- SMART MODES: Selection of pre-set operating modes; Button E.
Choose one of three pre-set modes by repeatedly pressing button E.
AUTO mode: Automatic operation of the unit is pre-set to a target humidity level of 55% RH; the unit automatically adjust the mist output rate according to the humidity of the room.
BABY mode: Automatic operation of the unit is pre-set to a target humidity level of 50 % RH; the unit automatically adjust the mist output rate according to the humidity of the room. After 7 hours of operation the unit will stop automatically.
NOTE: Lights and beeps are disabled in this mode.
NIGHT mode: Automatic operation of the unit is pre-set to a target humidity level of 50% RH; the unit will gradually reduce the mist output rate. After 8 hours of operation the unit will stop automatically.
NOTE: Lights and beeps are disabled in this mode.
ADDITIONAL FUNCTIONS
- Timer: Programming the unit's automatic shutdown; Button B.
Choose the desired number of hours of operation (from 1 to 9 hours) before the unit automatically shuts down by repeatedly pressing button B.
NOTE: This function cannot be used in "Smart" modes.
- Heating function: Using the heating function; Button D.
Press button (D) to start or stop the "heating" function.
This function is additional to other modes and allows you to increase the humidity production by 20%. This function can also destroy bacteria that are able to develop in water * (only on model HU5120 / HD5120).
- "Light & Sound": On/Off Light & Sound; Button G.
Press button (G) to start or stop the function.
This function turns off the backlight on the LCD screen and the beeps and illuminates the water tank.
MAINTENANCE
CAUTION: This type of unit requires regular and thorough maintenance. Thoroughly clean the unit every 2 days.
Always switch off the appliance and unplug it before cleaning it.
It is important to clean the water tank, the nebulisation chamber (around the ceramic disk) and the air vents underneath the appliance regularly.
Do not use detergents or abrasive agents to clean the appliance.
Never immerse the base of the product, the power cord and plug in water or any other liquid.
Regular cleaning of the ceramic disk prevents the build-up of lime scale. Do not use hard, abrasive utensils so as not to damage the ceramic disk.
- Cleaning the water tank:
1 - Remove the anti-scale cartridge and rinse with clean water only.
2 - Clean the tank and the tank cap with soapy water, rinse and dry properly with a soft, dry cloth.
3 - To clean the tank, fill it with a bit of water and shake vigorously.
Empty and dry with a soft, dry cloth.
- Cleaning the nebulization chamber:
1 - Remove the tank.
2 - Fill the nebulization chamber with equal amounts by volume of water and white vinegar (4% acetic acid).
3 - Allow the mixture to stand for at least 4 hours.
4 - Empty and remove the lime scale with a soft damp cloth
5 - Rinse the entire area with clear water (Caution: make sure that no water enters the opening of the outlet (11).
WARNING: Never use abrasive products which might damage the appearance of your appliance. It can be cleaned with a slightly damp cloth.
- Anti-scale cartridge:
As soon as unpleasant odours or white dust are noticeable, change the anti-scale cartridge. For any questions, please refer to the Rowenta/Tefal international warranty card included with this product where you will find the Customer Service contact details.
STORAGE
Store your appliance in a dry environment when not in use.
Take care to empty the water tank, clean and dry the unit before storing.
SHOULD A PROBLEM ARISE
| Type of issue Aspects to be checked | |
| The unit does not work when turned on. The | the insufficient water level indicator light flashesPosition the unit (leaning). Position the water tank.Connect the unitRequired water level not yet reached in the nebulization chamber (wait a few moments). |
| The humidifying capacity is too low. Close | doors and windows.Mist output rate too low.Clear the air vents and nozzle. |
| The room temperature humidity level is too high. | Set the target humidity level. |
| Condensation in the room. Room temperature level too low. | |
| The unit is too noisy. Place your appliance on a stable, flat surface. | |
| The appliance stops. The programmed operating period has elapsed.The water level indicator light flashesSet the target humidity level. | |

natural_image
Diagram showing a container being inserted into a smaller container, with arrows indicating the process (no text or symbols present)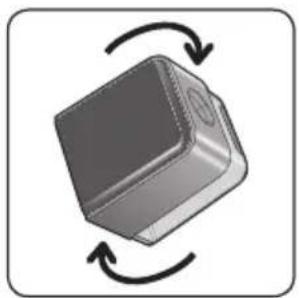
natural_image
3D illustration of a rectangular electronic component with circular arrows indicating rotation or cycle (no text or symbols)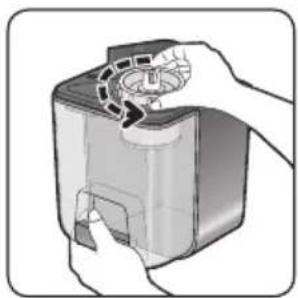
natural_image
Illustration of hands holding a device with a circular component inserted (no text or symbols visible)ES
natural_image
Illustration of a hand pressing down on a device with a knob (no text or symbols visible)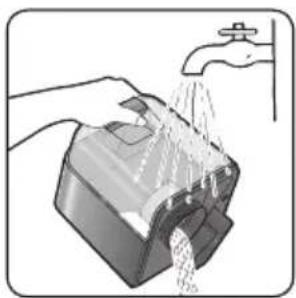
natural_image
Illustration of hands washing a water bottle with a faucet (no text or symbols)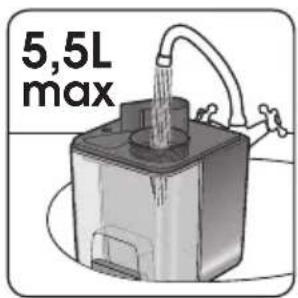
natural_image
Illustration of hands assembling or adjusting a device with a mechanical component (no text or symbols visible)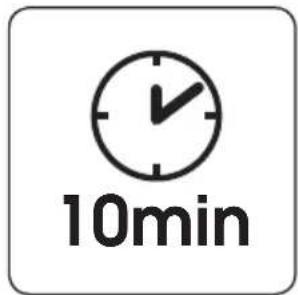
natural_image
Hand holding a plug inserted into an electrical socket with a black arrow pointing to the socket (no text or symbols present)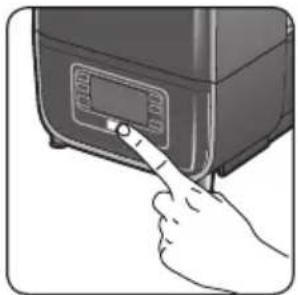
natural_image
Hand pressing a button on a kitchen appliance (no text or symbols visible)FUNCIONAMIENTO
natural_image
Diagram of a mechanical assembly with two components, one above and one below, showing directional arrows (no text or symbols)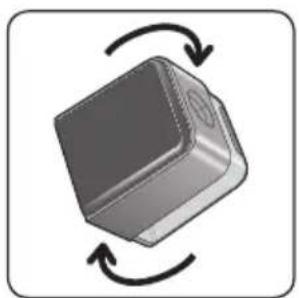
natural_image
3D diagram of a mechanical component with rotational arrows indicating cycle (no text or symbols)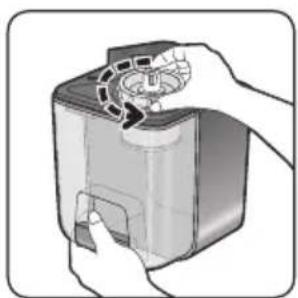
natural_image
Illustration of hands assembling a device into a container (no text or symbols visible)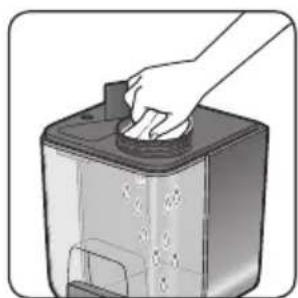
natural_image
Hand placing a button on a device (no text or symbols visible)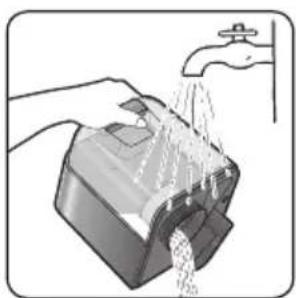
natural_image
Illustration of hands washing a water dispenser with a faucet (no text or symbols)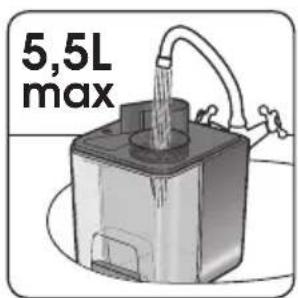

natural_image
Illustration of hands assembling a device with a circular component and mechanical parts (no text or symbols)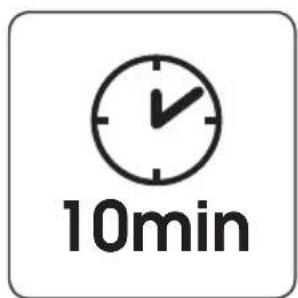
natural_image
Illustration of a hand inserting a plug into a socket with an arrow indicating direction (no text or symbols)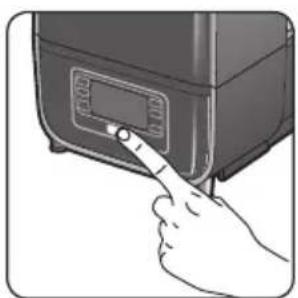
natural_image
Illustration of a hand pressing a button on a kitchen appliance (no text or symbols visible)natural_image
Diagram showing a container being lifted by an upward arrow, with no text or symbols present.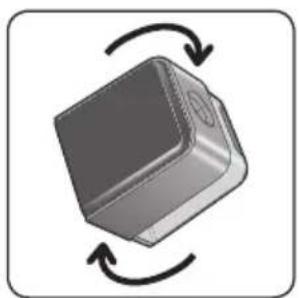
natural_image
3D diagram of a rectangular mechanical component with circular arrows indicating rotation or cycle (no text or symbols)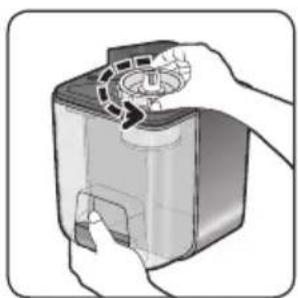
natural_image
Illustration of hands holding a device with a circular component, no text or symbols present
natural_image
Hand placing a button on a device with control panel (no text or symbols visible)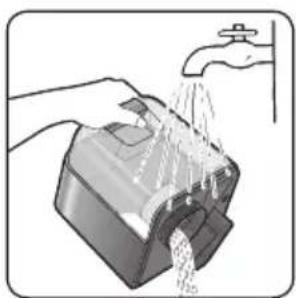
natural_image
Illustration of hands washing a water dispenser with liquid, no text or symbols present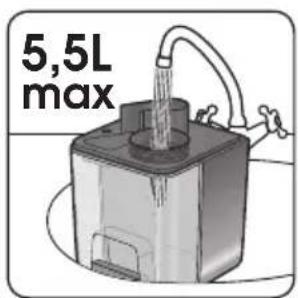
natural_image
Illustration of hands assembling a device into a container (no text or symbols visible)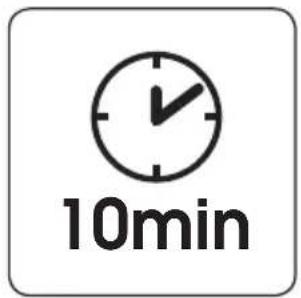
natural_image
Hand holding a plug inserted into an electrical socket, with a black arrow pointing to the socket (no text or symbols present)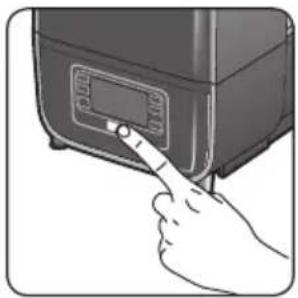
natural_image
Hand inserting a button into a kitchen appliance (no text or symbols visible)WERKING
natural_image
Diagram showing a container being lifted by an arrow, with no visible text or symbols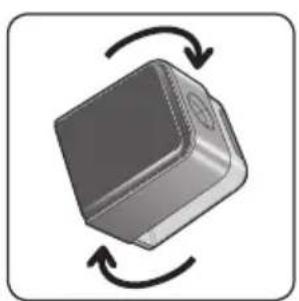
natural_image
3D diagram of a mechanical component with rotational arrows indicating cycle (no text or symbols)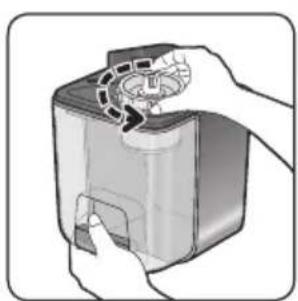
natural_image
Illustration of hands installing or adjusting a device into a container (no text or symbols visible)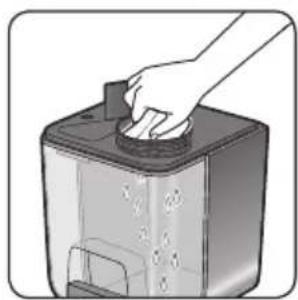
natural_image
Illustration of a hand placing a small object into a container with liquid, no text or symbols present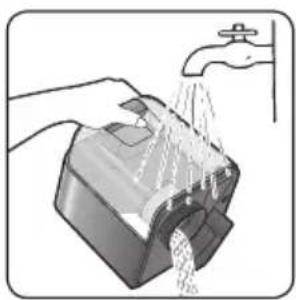
natural_image
Illustration of hands washing a water dispenser with a faucet (no text or symbols)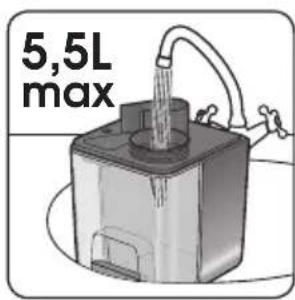
natural_image
Illustration of hands operating a device with a handle and internal components (no text or symbols visible)
natural_image
Illustration of a hand holding a plug with a screwdriver inserted, showing an arrow pointing to a screw (no text or symbols present)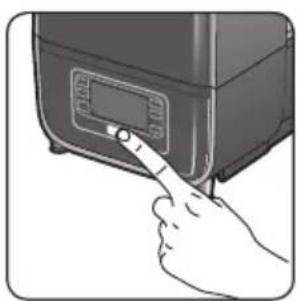
natural_image
Illustration of a hand inserting a digital device into a kitchen appliance (no text or symbols visible)FUNCIONAMENTO
natural_image
Diagram showing a mechanical assembly with two components, one above and one below, both with arrows indicating direction (no text or symbols present)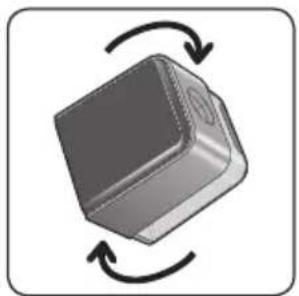
natural_image
3D diagram of a mechanical component with rotational arrows indicating cycle (no text or symbols)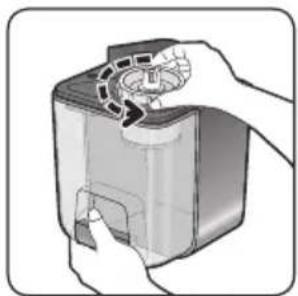
natural_image
Illustration of hands assembling or adjusting a device with a handle (no text or symbols visible)
natural_image
Illustration of a hand pressing down on a small electronic device with liquid and ventilation slots (no text or symbols)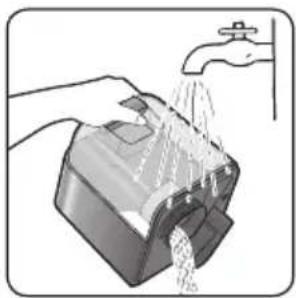
natural_image
Illustration of a hand washing a water bottle with a faucet above (no text or symbols)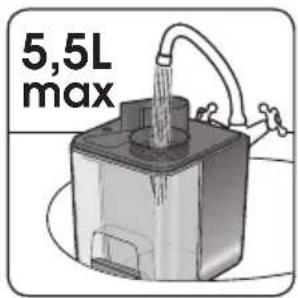
natural_image
Illustration of hands installing or adjusting a device into a container (no text or symbols visible)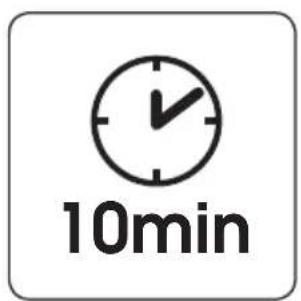
natural_image
Hand holding a plug inserted into an electrical socket, with a black arrow pointing to the socket (no text or symbols present)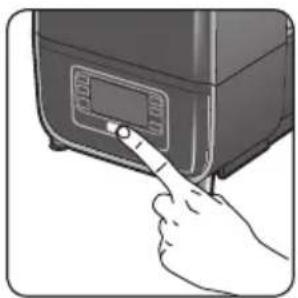
natural_image
Illustration of a hand pressing down on a kitchen appliance with a digital display (no text or symbols visible)natural_image
Diagram showing a container being inserted into a housing, with arrows indicating the process (no text or symbols present)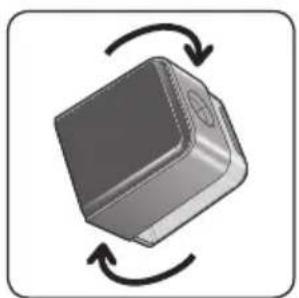
natural_image
3D diagram of a mechanical component with rotational arrows indicating motion (no text or symbols)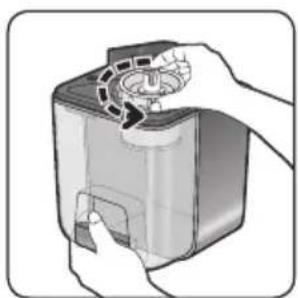
natural_image
Illustration of hands installing or adjusting a device into a container (no text or symbols visible)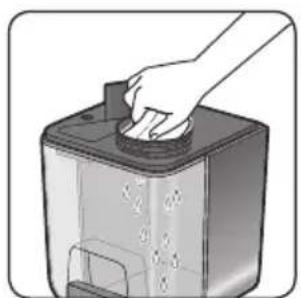
natural_image
Illustration of a hand placing a button into a device with a numeric display (no text or symbols visible)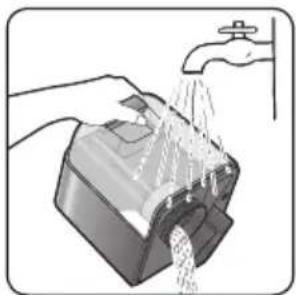
natural_image
Illustration of hands washing a water dispenser with a faucet (no text or symbols)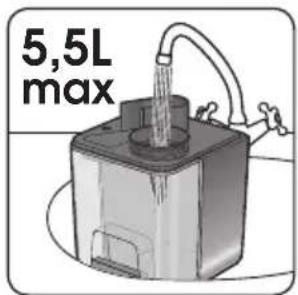
natural_image
Illustration of hands installing or adjusting a device with a circular component (no text or symbols visible)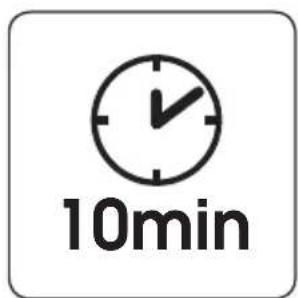
natural_image
Illustration of a hand holding a plug with a socket, connected to a cable (no text or symbols)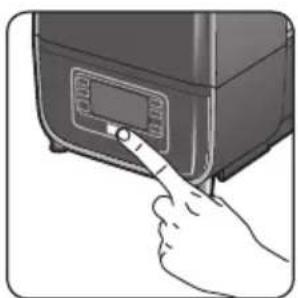
natural_image
Illustration of a hand pressing down on a digital kitchen appliance (no text or symbols visible)natural_image
Diagram showing a device being lifted or placed on a base, with no visible text or symbols.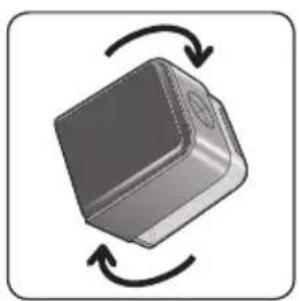
natural_image
3D diagram of a rectangular block with circular arrows indicating rotation or cycle (no text or symbols)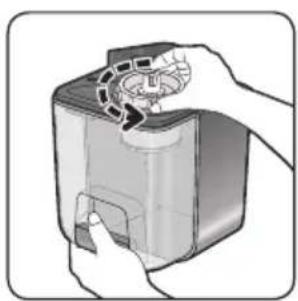
natural_image
Illustration of hands installing or adjusting a device into a container (no text or symbols visible)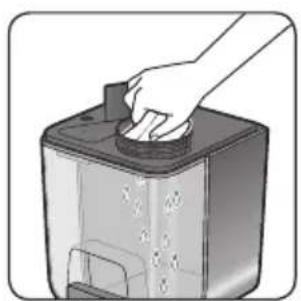
natural_image
Illustration of a hand placing a small component into a container with liquid, no text or symbols present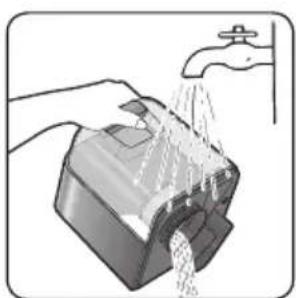
natural_image
Illustration of a hand washing a water bottle with a faucet above (no text or symbols)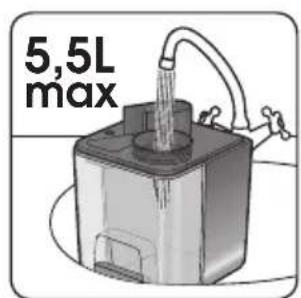
natural_image
Illustration of hands installing or adjusting a device into a machine (no text or symbols visible)
natural_image
Hand holding a plug inserted into an electrical outlet with a black arrow pointing to the socket (no text or symbols)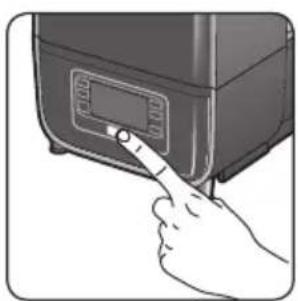
natural_image
Hand pressing a button on a kitchen appliance (no text or symbols visible)ФУНКЦИОНИРОВАНИЕ
natural_image
Diagram of a mechanical assembly with two components, one above and one below, showing directional arrows (no text or symbols)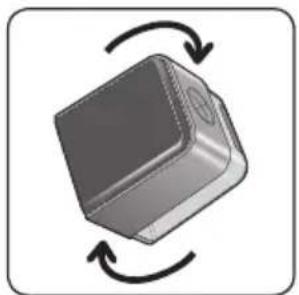
natural_image
3D diagram of a mechanical component with rotational arrows indicating cycle (no text or symbols)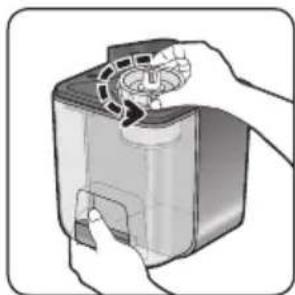
natural_image
Illustration of hands assembling a device into a container (no text or symbols visible)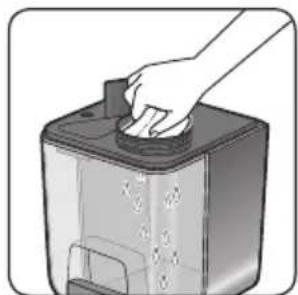
natural_image
Illustration of a hand placing a button into a device with a lid (no text or symbols visible)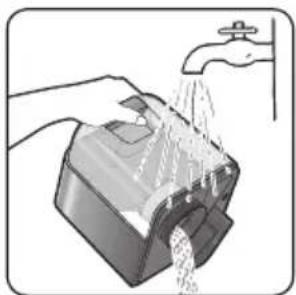
natural_image
Illustration of a hand washing a water dispenser with a faucet (no text or symbols)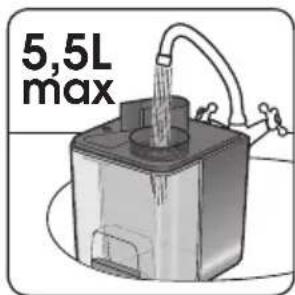
natural_image
Illustration of hands installing or adjusting a device into a container with a circular component (no text or symbols visible)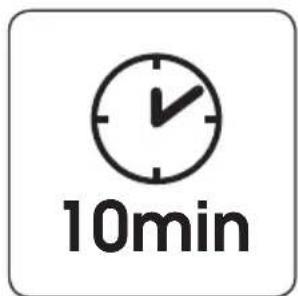
natural_image
Hand holding a plug inserted into an electrical socket with a black arrow pointing to the socket (no text or symbols present)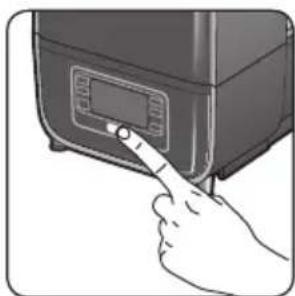
natural_image
Illustration of a hand pressing a button on a kitchen appliance (no text or symbols visible)natural_image
Diagram showing a container being lifted by an upward arrow, with no text or symbols present.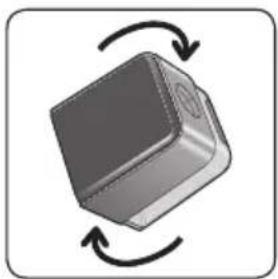
natural_image
3D diagram of a rectangular object with circular arrows indicating rotation or cycle (no text or symbols)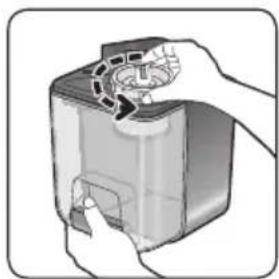
natural_image
Illustration of hands operating a device with a mechanical component (no text or symbols visible)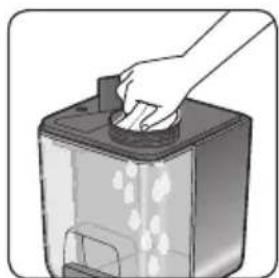
natural_image
Hand placing a small object into a container with liquid, no text or symbols visible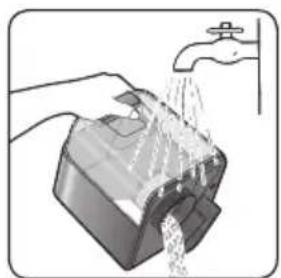
natural_image
Illustration of hands washing a water bottle with a faucet, showing liquid discharge (no text or symbols)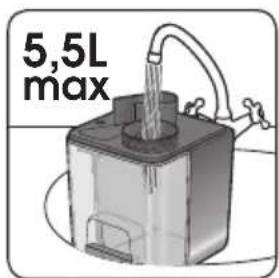
natural_image
Illustration of hands installing or adjusting a device into a container (no text or symbols visible)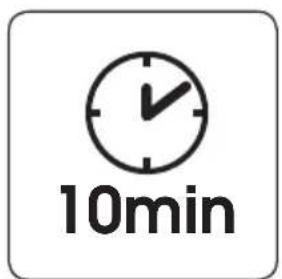
natural_image
Hand holding a plug inserted into an electrical socket, with an arrow pointing to the socket (no text or symbols present)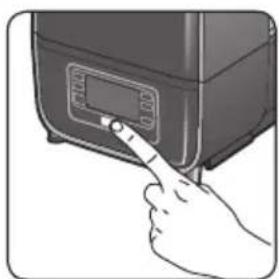
natural_image
Hand pressing a button on a kitchen appliance (no text or symbols visible)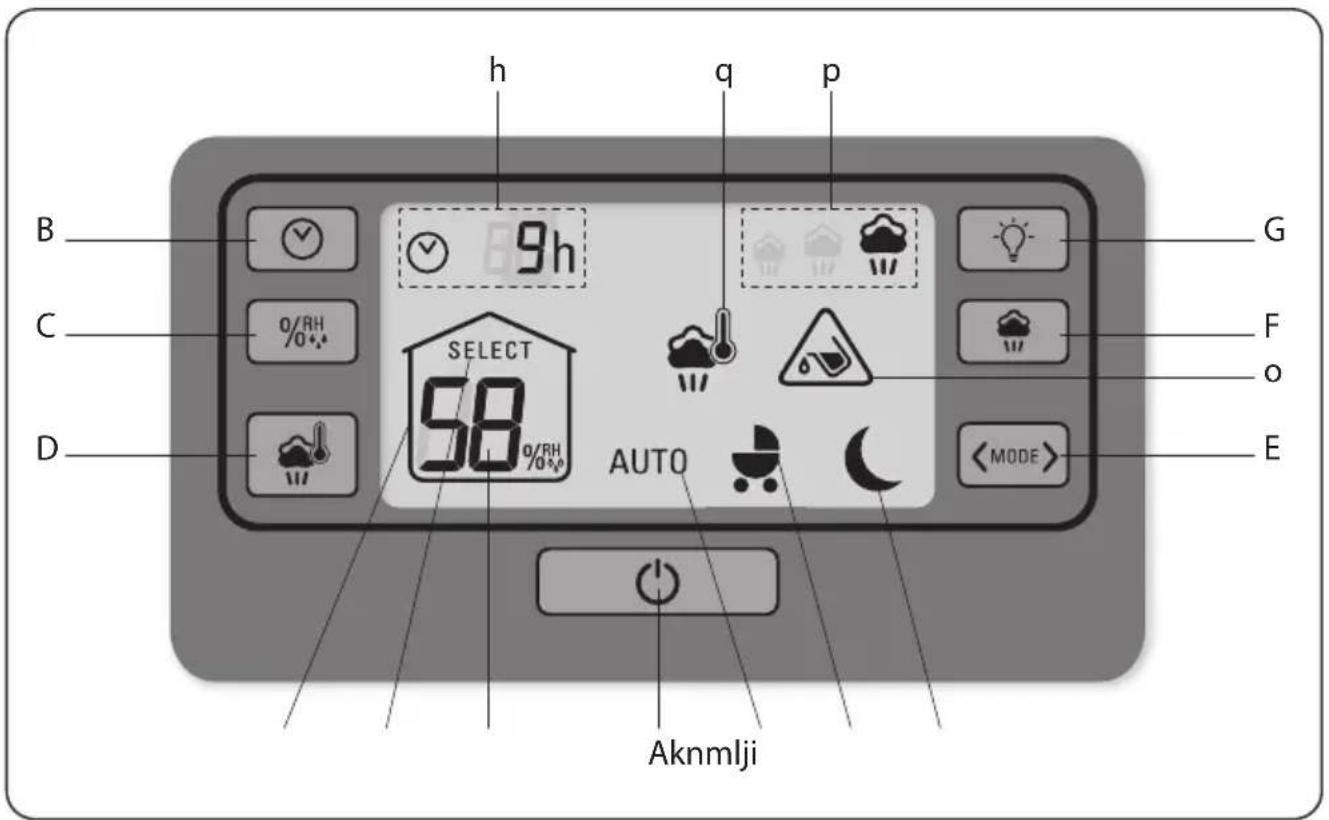
لوحة التحكم
natural_image
Diagram showing two stacked containers with upward arrows indicating movement or assembly (no text or symbols)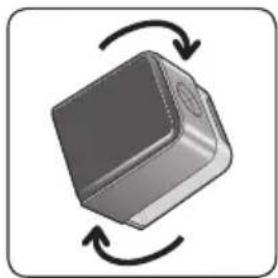
natural_image
3D diagram of a rectangular device with circular arrows indicating rotation or cycle (no text or symbols)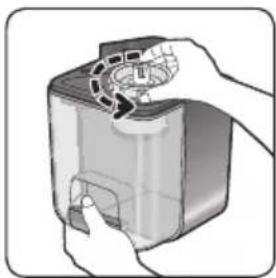
natural_image
Illustration of hands assembling or adjusting a device with a handle (no text or symbols visible)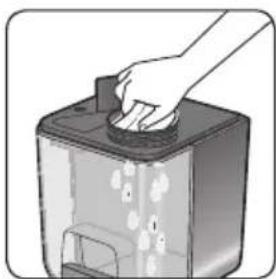
natural_image
Hand placing a small object into a device with liquid, no text or symbols visible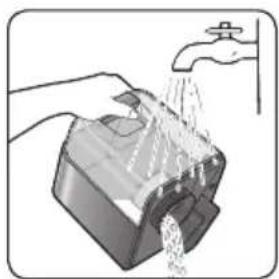
natural_image
Illustration of hands washing a water bottle with a faucet, showing liquid discharge (no text or symbols)
natural_image
Illustration of hands installing or adjusting a device into a container (no text or symbols visible)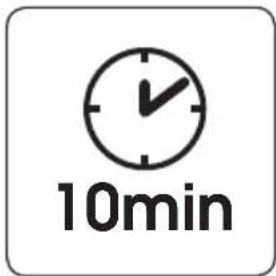
natural_image
Hand holding a plug with a small smiley face inside, connected to a cable (no text or symbols visible)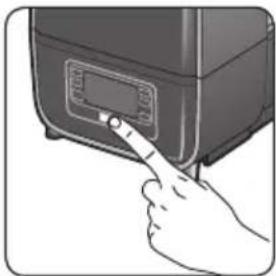
natural_image
Illustration of a hand pressing a button on a kitchen appliance (no text or symbols visible)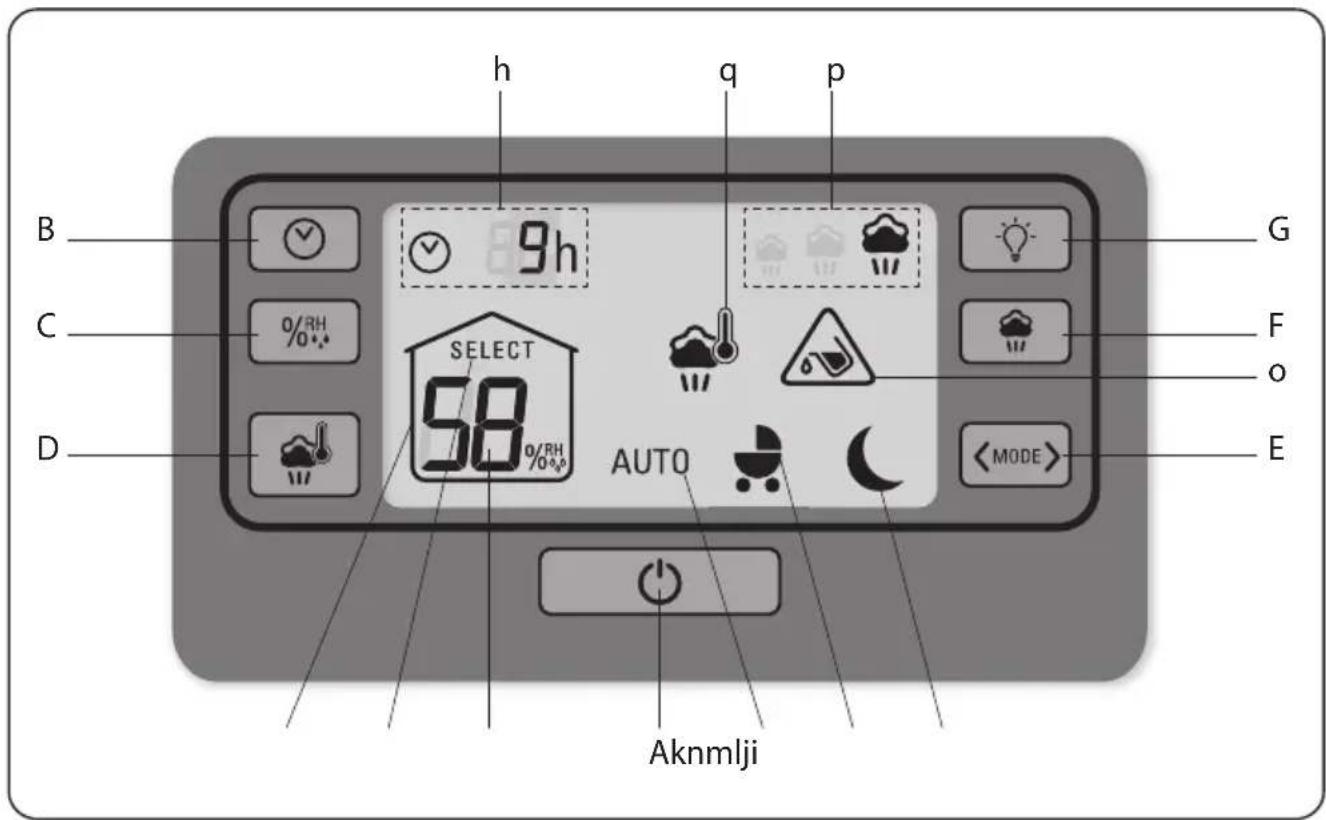
صفحة كنترل
(ON/OFF) - A دكمه روشن / خاموش
- B دكمه تايمر


- DESCRIPTIF TABLEAU DE BORD
- Panneau de commande
- FONCTIONNEMENT MANUEL
- Display screen
- SWITCHING ON THE APPLIANCE
- FIRST USE
- MANUAL FUNCTION
- Setting the target humidity level and mist output rate
- AUTOMATIC FUNCTION
- Using the 3 pre-set operating modes
- ADDITIONAL FUNCTIONS
- MAINTENANCE
- STORAGE
- SHOULD A PROBLEM ARISE
- FUNCIONAMIENTO
- WERKING
- FUNCIONAMENTO
- ФУНКЦИОНИРОВАНИЕ
Brand : TEFAL
Model : Intense Aqua Control HD5120
Category : Humidifier