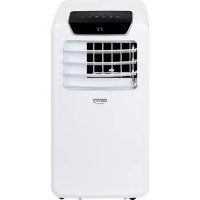
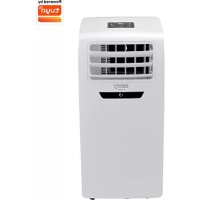
CR 7912 - Air Conditioning CAMRY - Free user manual and instructions
Find the device manual for free CR 7912 CAMRY in PDF.



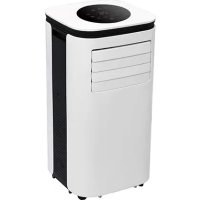
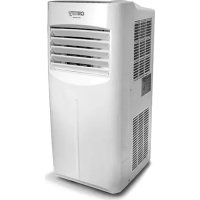
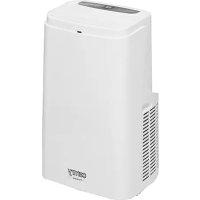
| Product Type | Portable Monoblock Air Conditioner |
| Brand | Camry |
| Model | CR 7912 |
| Cooling Capacity | 9000 BTU/h (2600 W) |
| Power Consumption (Cooling) | 950 W |
| Supply Voltage | 220-240 V ~ 50 Hz |
| Refrigerant | R290 (200 g max) |
| Energy Class | A |
| Noise Level | ≤ 65 dB |
| Airflow Rate | 380 m³/h |
| Adjustable Temperature Range | 15 °C to 31 °C |
| Operating Modes | Automatic, Cooling, Dehumidification, Ventilation |
| Timer | 1 h to 24 h (automatic shut-off/activation) |
| Sleep Mode | Yes (cooling mode only) |
| Oscillation | Yes (60°) |
| Child Lock | Yes |
| Remote Control | Yes (range 5 m) |
| Air Filter | Washable, clean every 2 weeks |
| Protection System | Anti-Freeze, Overheat, Water Saturation (code E4) |
| Drainage | Two drainage outlets (upper and lower) |
| Power Supply | Mains 220-240 V ~ 50 Hz, grounded plug |
Frequently Asked Questions - CR 7912 CAMRY
User questions about CR 7912 CAMRY
0 question about this device. Answer the ones you know or ask your own.
Ask a new question about this device
Download the instructions for your Air Conditioning in PDF format for free! Find your manual CR 7912 - CAMRY and take your electronic device back in hand. On this page are published all the documents necessary for the use of your device. CR 7912 by CAMRY.
USER MANUAL CR 7912 CAMRY
natural_image
White portable air conditioner unit with digital display and 'carry' branding (no visible text or symbols on body)CR 7912
PICTURE A
natural_image
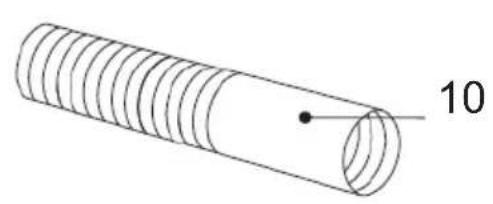
Diagram of a cylindrical object with internal parallel grooves and a marked point labeled '10' (no text or symbols beyond the number)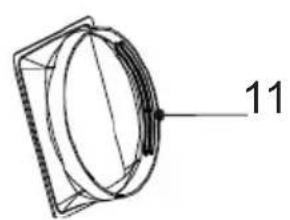
natural_image
Technical line drawing of a circular mechanical component with a labeled dimension (11), no text or symbols present.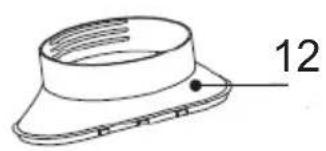
natural_image
Technical line drawing of a mechanical component with a flange and circular base (no text or symbols)PICTURE B
PICTURE C
PICTURE D
natural_image
Pure mechanical diagram showing a cylindrical component with flanged ends and internal grooves, no text or symbols present.1.

natural_image
Technical line drawing of a coiled pipe or duct component (no text or symbols)2.
natural_image
Technical line drawing of a portable air conditioner unit with cooling fins and ventilation duct (no text or symbols)3.
PICTURE E
natural_image
Technical illustration of a multi-stage air conditioner unit with cooling fins and fan array (no text or symbols)PICTURE F
ENGLISH
SAFETY CONDITIONS. IMPORTANT INSTRUCTIONS ON SAFETY OF USE PLEASE READ CAREFULLY AND KEEP FOR FUTURE REFERENCE
- Before using the device, read the operating manual and follow the instructions contained in it. The manufacturer is not liable for damages caused by using the device contrary to its intended purpose or improper operation.
- The device is for home use only. Do not use for other purposes that are not for its intended purpose.
- The device should only be connected to an AC outlet with a grounded 220 240V \~ 50Hz. To increase operational safety, multiple electrical devices should not be connected to one current circuit at the same time.
- Use extreme caution when using the device when children are nearby. Do not allow children to play with the device, do not allow children or people unfamiliar with the device to use it.
- WARNING: This equipment may be used by children over 8 years of age and people with limited physical, sensory or mental ability, or people who have no experience or knowledge of the equipment, if this is done under the supervision of a person responsible for their safety or have been granted them information on the safe use of the device and are aware of the dangers of using it. Children should not play with the equipment. Cleaning and maintenance of the device should not be performed by children, unless they are over 8 years old and these activities are carried out under supervision.
- Always disconnect the power plug by holding the socket with your hand after use. DO NOT pull on the power cord.
- Do not immerse the cable, plug and the whole device in water or any other liquid. Do not expose the device to atmospheric conditions (rain, sun, etc.) or use in conditions of high humidity (bathrooms, damp mobile homes).
- Periodically check the condition of the power cord. If the power cord is damaged, it should be replaced by a specialist repair shop to avoid danger.
- Do not use the appliance with a damaged power cord or if it has been dropped or damaged in any other way or if it is not working properly. Do not repair the device yourself, as there is a risk of electric shock. Take the damaged device to an appropriate service center for checking or repair. All repairs may only be carried out by authorized service points. Incorrectly performed repairs can cause serious danger for the user.
- Place the device on a cool, stable surface, away from hot kitchen appliances such as: electric stove, gas burner, etc.
- Make sure that nothing is blocking the air inlet and outlet of the device
- Use the device only on a level surface to prevent the condensation from spilling out
- To provide additional protection, it is advisable to install a residual current device (RCD) in the electric circuit with a rated residual current not exceeding 30mA. Ask an
electrician for this.
- Clean the air filter regularly. The frequency of cleaning depends on the cleanliness of the air.
- After turning off the machine, wait at least 5 minutes before turning it back on.
- Do not use the device in sunny places. When the device overheats, the overheat protection will switch on the device.
- To ensure effective cooling, a distance of at least 60 cm should be kept between the side walls of the device and the wall or furniture or curtains.
- Due to the limited performance of the device, if the difference between the target temperature and the ambient temperature is too great, the target temperature may not be reached.
- To reduce the risk of fire, electric shock or injury when using the air conditioner, observe the following basic precautions:
a) Connect to a grounded outlet with 3 pins.
b) Do not remove the grounding prong.
c) Do not use the adapter.
d) Do not use an extension cord.
e) Disconnect the air conditioner before servicing.
f) Use two or more people to move and install the air conditioner. - Do not use agents accelerating the defrosting or cleaning process other than those recommended by the manufacturer.
- The device should be stored in a room without constantly operating sources of ignition, for example: open fire, gas appliances or electric heaters.
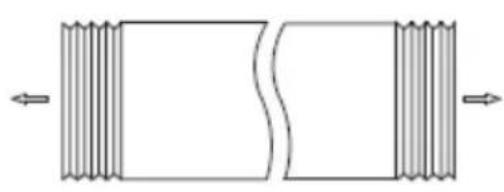
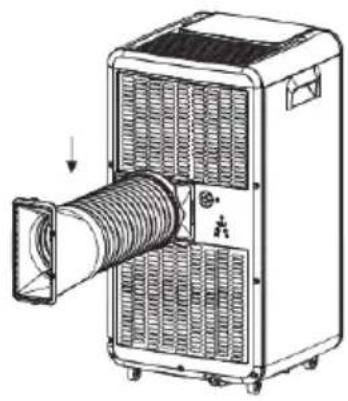
BEFORE FIRST USE – (picture E)
Connect the connectors to the air exhaust duct as follows:
- Extend the air exhaust duct (10) by drawing out the two ends of the duct.
- Screw the air exhaust duct (10) into the connector of air exhaust duct (11).
- Connect the connector of air exhaust duct (11) to the device.
REMARKS:
- Keep the unit at least 1 meter away from TV or radios to avoid electromagnetic interference.
- Do not expose the unit under direct sun light to avoid surface color fading.
- Do not tilt the unit for more than 35^ or upside-down while transporting. If the device has been turned over during transport, put it down correctly and wait 2-4 hours before starting it.
- Place the unit on a flat surface with less than 5^ inclination.
- The unit operates more efficiently in certain room locations, select the best location:
- Beside a window, a door or a French window.
- Keep the required distance from the return air outlet to the wall or other obstacles at least 60 cm.
- Extend the air hose to ensure that other end of the air hose has clearance between the window door, or French window, or wall hole.
- Air outlet or intake cannot be blocked by protective grid or any obstacle.
To extend the life of the unit, drain the condensed water from the upper (8) and lower (9) cooler drain holes before putting the unit into storage at the end of the season.
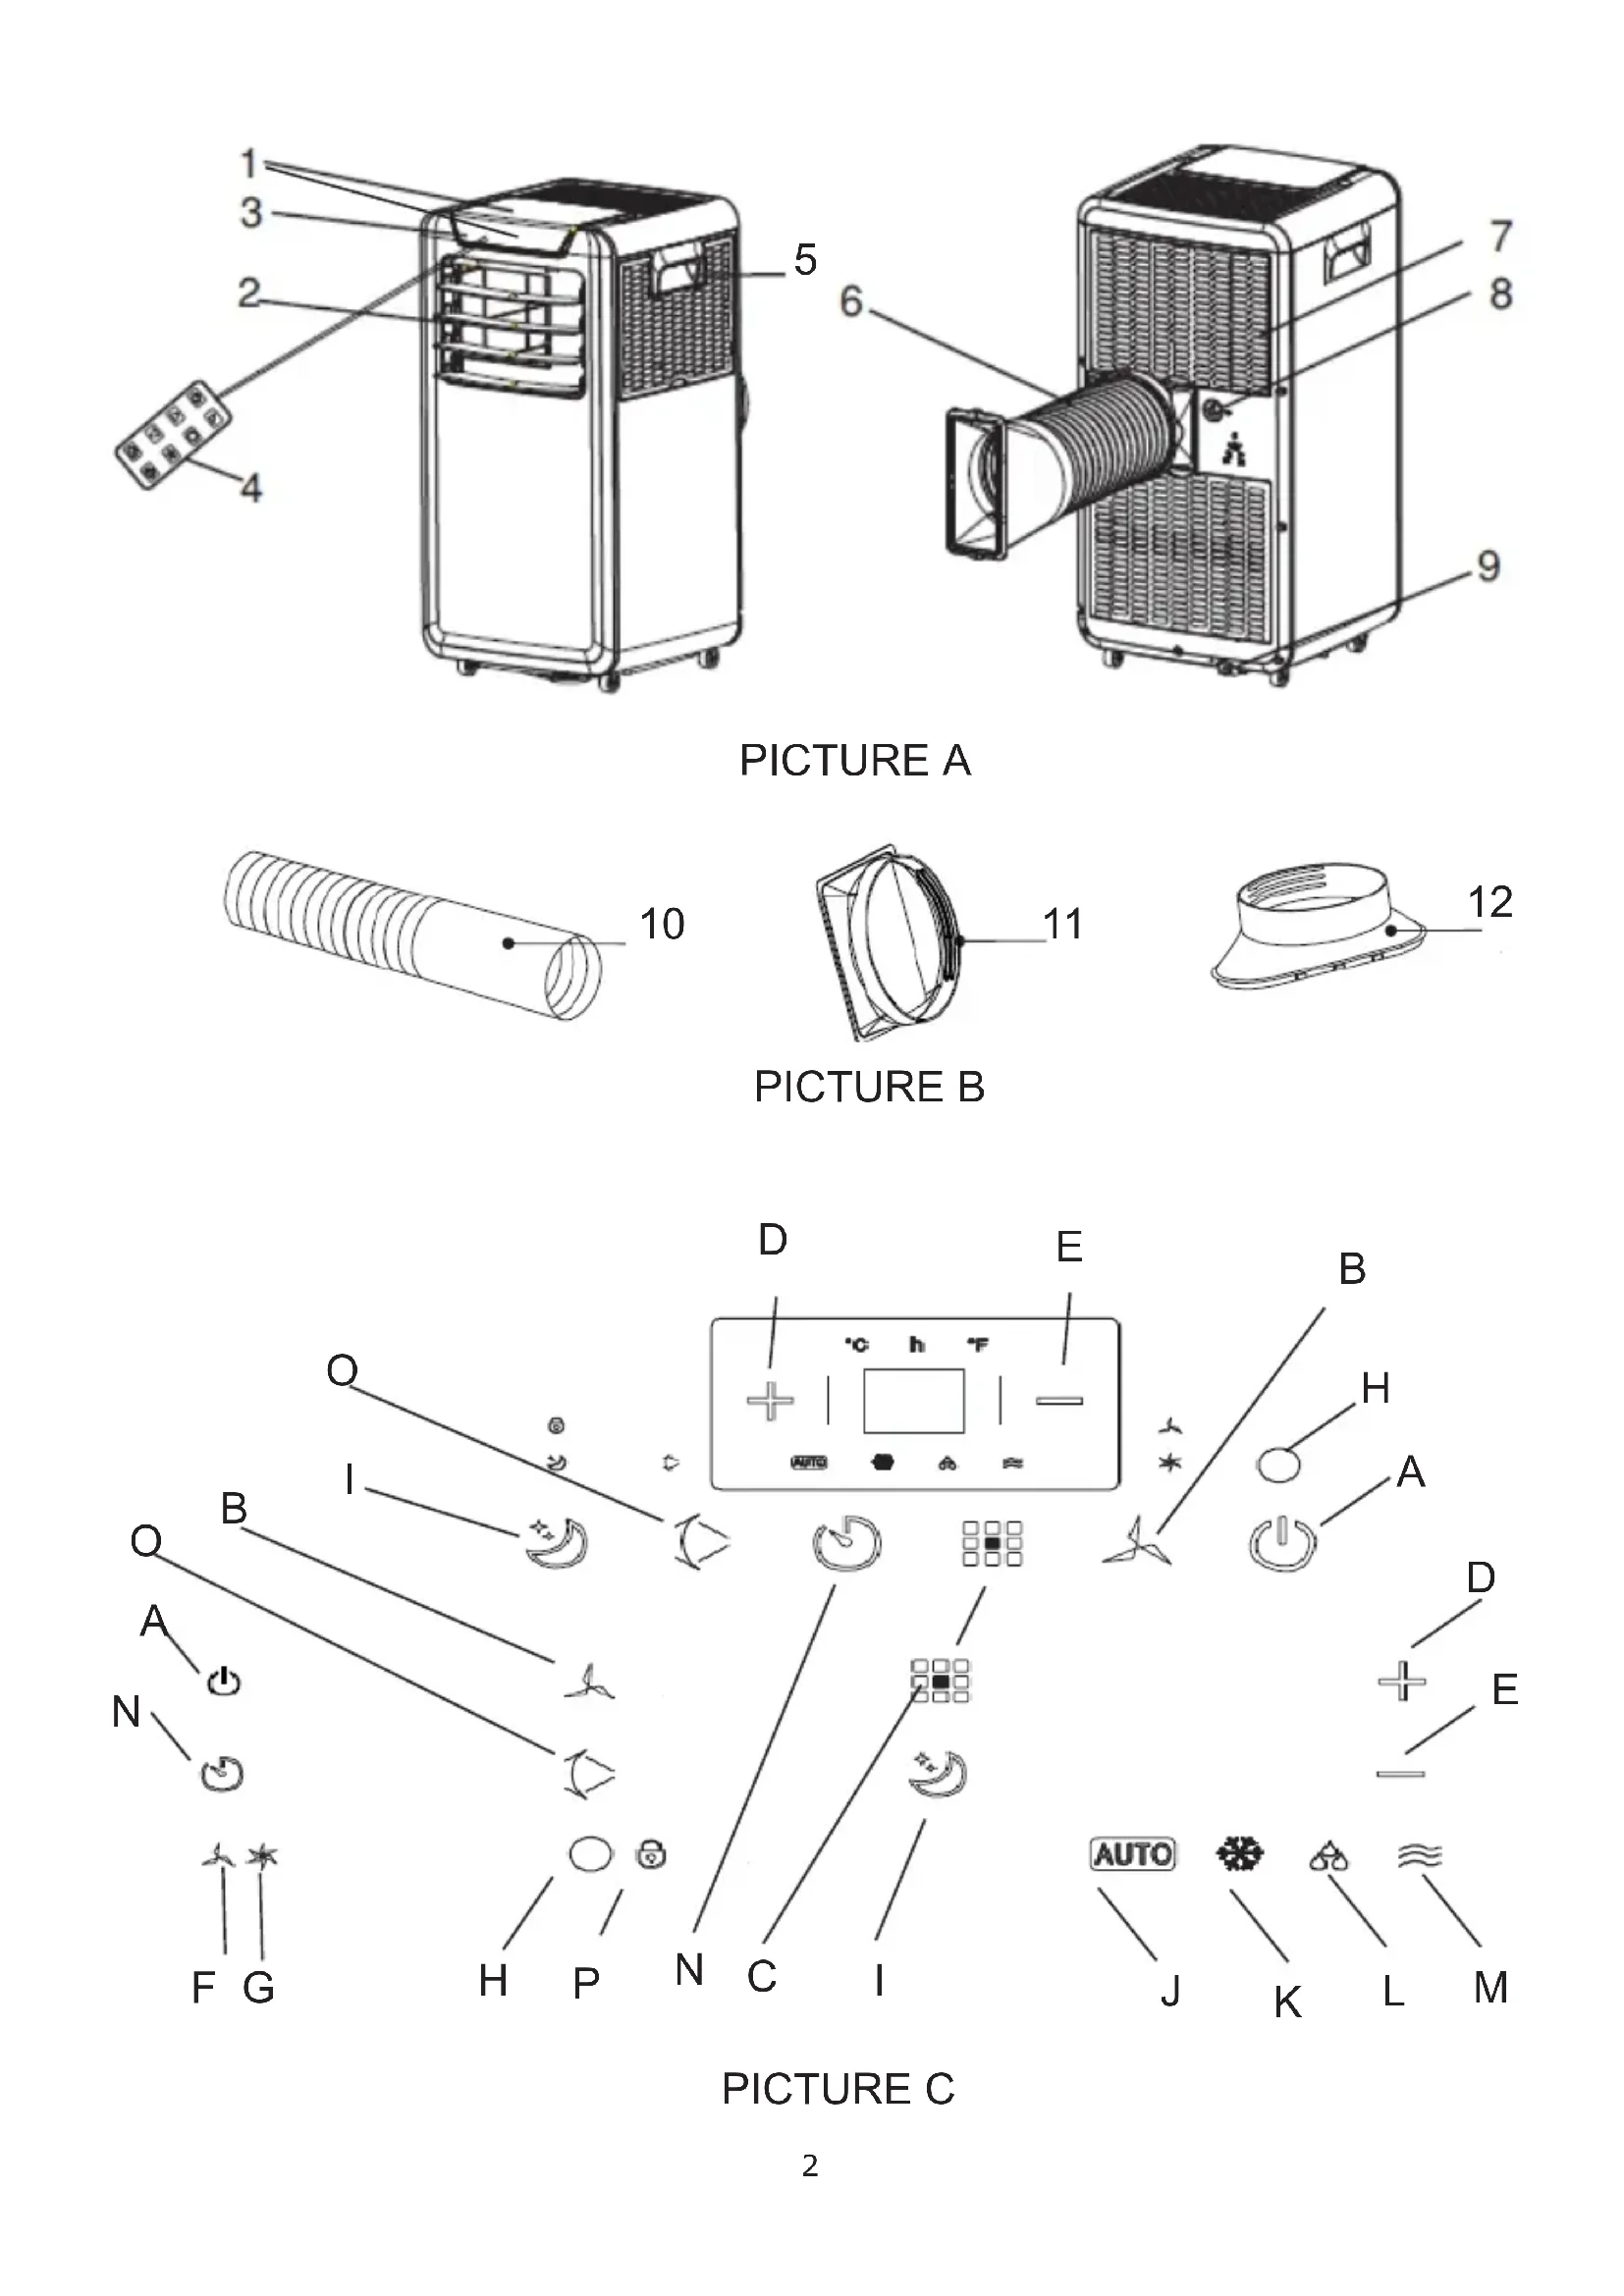
DEVICE DESCRIPTION (pictures A and B)
- Control panel 2. Cold air outlet
- Signal receptor 4. Remote controller
- Transport handle 6. Exhaust duct
- Evaporator inlet 8. Upper cooler drain hole
-
Down cooler drain hole 10. Air exhaust duct
-
Connector of air exhaust duct 12. Window exhaust adapter
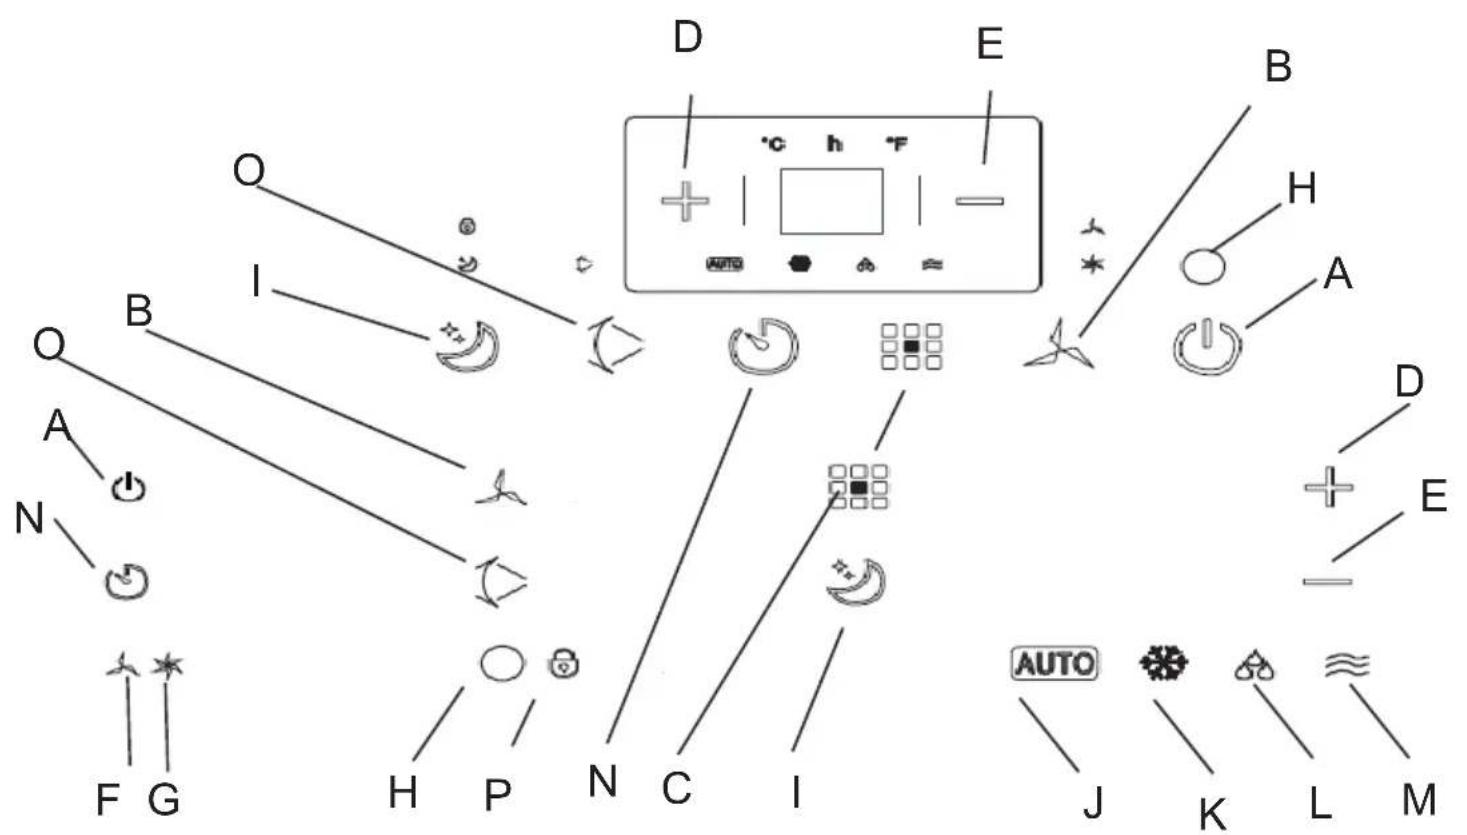
CONTROL PANEL (picture C)
A. Power button ON/OFF B. Fan speed button
C. Mode button D. Timer / Temperature up button
E. Timer / Temperature down button F. Low speed button
G. High speed button H. Power indicator
I. Sleep button and child lock J. Automatic mode
K. Cool mode L. Dehumidify mode
M. Fan mode N. Timer button
O. Oscillation button P. Child lock
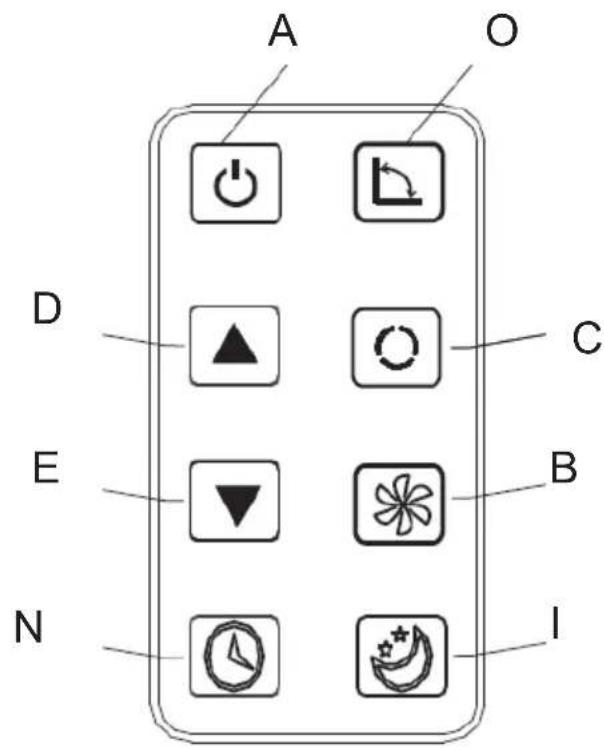
REMOTE CONTROLLER – picture D
The remote controller transmits signals to the system.
Button "A" - the appliance will be started when it is energized or will be stopped when it is in operation, if you press this button.
Button "C" - press it to select operation mode: "J", "K", "L" or "M".
Button "B" - press it to select fan speed in sequence.
Button "D" / "E" - press to adjust the room temperature and the timer.
Button "I" - press to set or cancel sleep mode.
Button "N" - press to set the time of automatic off and automatic on.
Button "O" - press to set or cancel louvers swing mode.
a) Connect the device and then the device beeps once. The "H" power light is on.
b) Press the "A" button, then the device will turn on.
c) LED diode displays room temperature and starts working in automatic mode.
- Choose the operating mode
Press the "C" button to select the desired mode of operation by sequence:
Automatic mode "J" -> Cooling mode "K" -> Drying mode "L" -> Fan mode "M"
- Adjust temperature
The temperature can be set within a range 15^-31^ . Press “D” or “E” button to increase or decrease the temperature by 1^ by pressing once. The device LED panel shows the target temperature for 5 seconds and then displays the room temperature.
- Adjust fan speed
Press the button "B" to select a desired fan speed shows by sequence:
Low speed "F" -> High speed G
- Power
When you press the "A" button again, the device will sound "di", the power indicator "H" goes out and stop working.
- Press this button "l" to enter the sleep mode of device.
- Press this button "N" to set a timed shutdown.
- Press this button "O" to set air swing oscillation up-down.
Each mode working principle:
AUTO "J" mode:
Once the "J", operation is selected, the indoor temperature sensor operates automatically and it selects one of below operation modes:
- When the room temperature ≥24 ☐ the unit will automatically select cool mode "K" mode.
or
- When the room temperature < 24 ☐, the unit will automatically select high fan speed mode "M..".
Dehumidify "L" mode:
- The up centrifugal fan will run at low speed, and the speed can't be adjusted.
- The compressor will stop after running 8 minutes, then run again after 6 minutes
- The device adopts constant temperature dehumidifying mode, and the adjustment of temperature is no effective.
WARNING:
When operating the device in conditions of varying humidity, the down cooler drain hole (9) should be constantly open and ensure constant water drainage.
COOL "K" mode:
- When the room temperature is higher than set temperature on control panel, the compressor starts to run.
- When the room temperature is lower than set temperature on control panel, the compressor stop and upper fan operates at original set speed.
Fan "M" mode.
- The up centrifugal fan runs at set speed, and the compressor does not run.
- The adjustment of temperature is no effective.
Timer operation "N":
- Press "N" button to set Automatic Off time while the unit is running.
- Press "N" button to set Automatic On time while the unit is ready.
- The time can be adjusted within a range of 1 hour to 24 hours by pressing the button "D" (+) or "E" (-).
Sleep mode "I" operation & child lock function:
- The sleep mode operations when the unit is under cooling "K" mode.
- Press the button "I" in cool mode "K", then the unit will work under sleep mode and the up centrifugal fan will turn to low speed automatically. The set temperature will increase by 1 ☐ after one hour, and increase 2 ☐ after two hours. After six hours the unit will stop running.
- Press child lock button "I" for three seconds to make all the other functions not be able to use. Press for 3 seconds again will unlock the child lock function meanwhile all the other functions will be able to use again.
Swing "O" mode operation:
When the device is on, press button "O", the vertical louver will on or off. When it is on, the louver can swing back and forth within 60 degree. Press the button "O" again, the louver will stop swinging.
Notice:
The main control board has memory function, when the device is ready to run but in stop status, the main control board can memorize the
initialization of working mode. When you turn on the unit, it will work as the same enactment of working-mode as last time, no need to reset the working mode again. (This condition is not available when the unit is under AUTO mode "J".)
REMOTE CONTROLLER
- Slide the back cover to open and take off the isolating film on the batteries.
- Put the batteries inside the slot, must be corresponding to the signs of "+" and "-" on the remote control.
- For long time no use, take out the batteries.
- To prevent environmental pollution, take out the used batteries and dispose safety and appropriately.
To operate the device, aim the remote controller (..) at the signal receptor. The remote controller will operate the device at distance 5 meters when pointing at signal receptor of the device.
PROTECTIVE DEVICES
The protective device may trip and stop the appliance in the cases listed below:
- at cooling mode: indoor air temperature is over 43^ C ( 109^ F)
- at cooling mode: room temperature is below 15^ C ( 59^ F)
- at dehumidifying mode: room temperature is below 15^ C ( 59^ F).
If the device runs in cooling "K" or dehumidify "L" mode with door or window opened for a long time when relative humidity is above 80%, dew may drip down from the outlet.
The protective device will work in the following cases:
- Restarting the device immediately after stopping work or changing the selected mode while working, you must wait 3 minutes.
- If the plug has been removed, after restarting the device will return to the original mode, TIMER ON and TIMER OFF - must be set again.
REMARK: there is condensing water recycling hidden within this unit. The condensing water is partly kept recycling between the condenser and the water plate. When the water level rises to the upper level, the float switch and water full indicator (E4) lights on to remind draining water. Please cut off the power supply, move the appliance to a suitable place, remove the drain plug, drain water completely. After the drain, re-install the plug, or the appliance may leak and make your room wet.
If the appliance is placed in a position admitting drain water, you also can connect the drain hole to the drain port to drain the water. Drain pipe is added to kit, with inner diameter 9mm, outer diameter 12mm, material: PVC.
Troubleshooting
1) Trouble: Do not work.
Analysis:
a) maybe the protector trip or fuse is blown, please wait for 3 minutes and start again, protector device may be preventing device from working.
c) maybe batteries in the remote controller are exhausted.
d) maybe the plug is not properly plugged in.
2) Trouble: works for a short time only
Analysis:
a) if the set temperature is close to room temperature, you can lower the set temperature.
b) maybe air outlet is blocked by obstacle. Take the obstacle away.
3) Trouble: Works but not cools
Analysis:
a) maybe door or window are open.
b) maybe in close distance there is another appliance heat-working like heater or lamp, etc.
c) the air filter is dirty, please clean it.
d) air outlet or intake is blocked.
f) set temperature is too high.
4) Trouble: Water leak during moving.
Analysis:
a) drain the condensate before moving.
b) to avoid water leakage, please locate the device on flat ground.
5) Trouble: Do not work and water full indicator "E4"
Analysis:
a) pull out rubber plug to drain water.
b) if it is often in this state, please contact qualified service technical.
Troubleshooting
6) Trouble: Device fails to start up.
Analysis:
a) maybe not plugged. So, plug in it.
b) maybe plug or socket damages. Replace by service provider.
c) maybe fuse broken. Replace the fuse by service provider (specification: 3,15A/250VAC).
7) Trouble: Device automatically stops.
Analysis:
a) timing shut down or set temperature reached. Restart it or wait for auto-switch.
8) Trouble: no cold air under COOL "K" mode.
Analysis:
a) room temperature is lower than set temperature. It is a normal phenomenon, the machine will auto-switch while the room temperature is higher than the set temperature.
b) Device enters into anti-frost protection. The device will auto switch after anti-frost protection is over.
9) Trouble: LED displays failure code "E2"
Analysis:
a) room temperature sensor fails or damages. Replace the room temperature sensor by service provider.
10) Trouble: LED displays failure code "E3"
Analysis:
a) the evaporator oil pipe sensor fails or damaged. Replace the evaporator coil pipe sensor by service provider.
11) Trouble: LED displays failure code "E4"
Analysis:
a) water-full warning. Drain out the water.
CLEANING AND MAINTENANCE
Device maintenance
- Turn off the device first before disconnecting from power supply.
- Wipe with a soft and dry cloth. Use lukewarm water below 40C to clean if the appliance is very dirty.
- Never use volatile substance such as gasoline or polishing powder to clean the device.
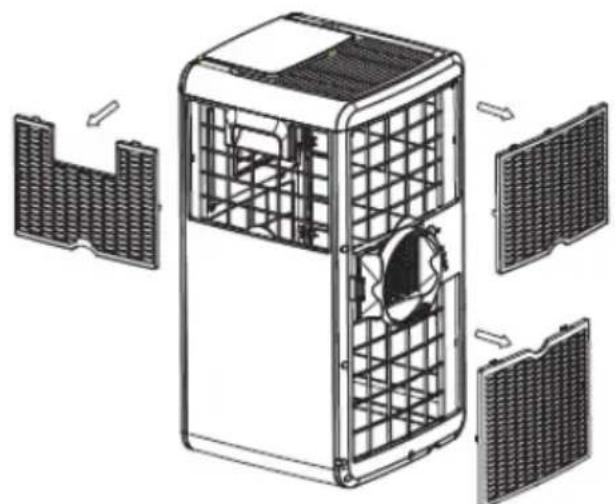
Air filter maintenance
It is necessary to clean the air filter every 2 weeks if the device operates in an extremely dusty environment. Clean as follows:
- Stop the device first, push up the air filter (Picture F).
- Clean and reinstall the air filter.
- If the dirt is conspicuous, wash it with a solution of detergent in lukewarm water. After cleaning dry it in a shaded and cool place, then reinstall it.
Maintenance after using
-
If the device will not use for longer time, be sure to pull out the rubber plug of upper cooler drain hole (8) and the rubber plug down cooler drain hole (9) of the drain port, in order to drain the water. 9
-
Keep the appliance running with fan only for a half day during a sunny day to dry the appliance inside and prevent from going moldy.
- Stop the device and pull out the power cord plug, then take out the batteries of remote controller and store device properly.
- Clean the air filter and reinstall it.
- Remove the air hoses and store them properly, and cover the hole tightly.
TECHNICAL DATA:
Cooling capacity at BTU: 9000 BTU / hour
Cooling capacity in watts: 2600
Energy consumption (cooling) W: 950 W
Volume: <= 65dB
Air flow: 380 m3/h
Energy class: A
Timer: 24 hours
R290 coolant weight: max. 200 grams
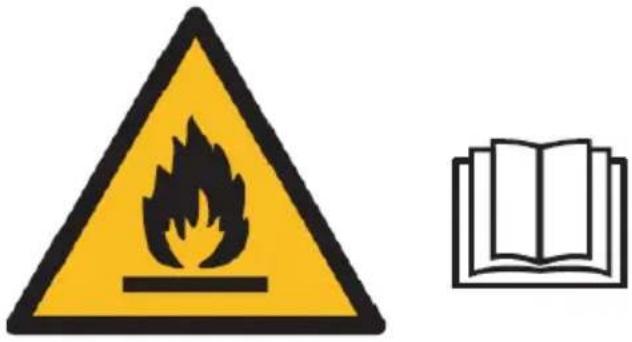
Caution, risk of fire.
Do NOT pierce or burn.
Be aware that the refrigerant may not contain an odour.
The maximum refrigerant charge amount: 200g.
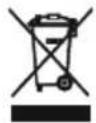
To protect your environment: please separate carton boxes and plastic bags and dispose them in corresponding waste bins. Used appliance should be delivered to the dedicated collecting points due to hazarsous components, which may effect the environment. Do not dispose this appliance in the common waste bin.
DEUTSCH



Zems ātrums "F" -> Liels ātrums G
- Jauda

Atentie, risc de incendiu.

Oprez, opasnost od požara
NE bušite i ne palite.
Imajte na umu da rashladno sredstvo ne sadrži miris.
Varo, tulipalon vaara.


Oprez, opasnost od požara


Ventilator "M..." -tilstand.
Forsigtig, risiko for brand.





natural_image
Clear glass water heater with black handle and lid, no visible text or symbolsELECTRIC KETTLE CR 1290
natural_image
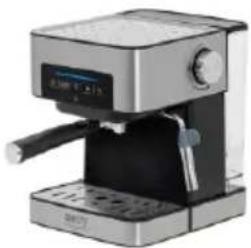
Exterior view of a modern coffee machine (no visible text or symbols)ESPRESSO MACHINE CR 4410
natural_image
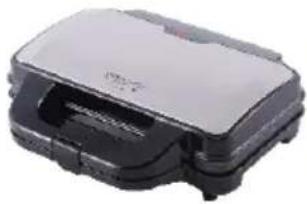
Exterior view of a modern flat-screen grater with black casing (no visible text or symbols)SANDWICH MAKER CR 3054
natural_image
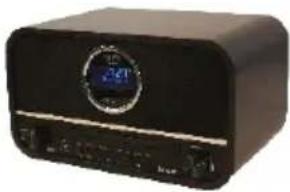
Black electronic device with digital display and control buttons (no visible text or symbols)RETRO RADIO CR 1182

natural_image
White portable air conditioner unit with circular vent and grid grille (no visible text or symbols)AIR CONDITIONER CR 7925
natural_image
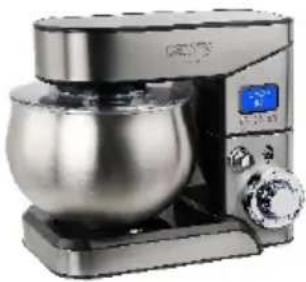
Modern stainless steel kitchen mixer with digital display and control knob (no visible text or symbols)FOOD PROCESSOR CR 4223
natural_image
White kitchen hand mixer with whisk, no visible text or symbolsMIXER CR 4220

natural_image
Close-up of a black and silver meat grater (no visible text or labels)MEAT MINCER CR 4812
natural_image
Exterior view of a modern air fryer with digital display (no visible text or symbols)AIR FRYER OVEN CR 6311
natural_image
Exterior view of a modern office building (no signage)BAGLESS VACUUM CLEANER CR 7046

natural_image
White portable air purifier with perforated grille and control panel (no visible text or symbols)AIR DEHUMIDIFIER CR 7851
Trimmer CR 2921
natural_image
White portable electronic device with a textured gray panel and silver handle (no visible text or symbols)CERAMIC FAN HEATEROIL FILLED RADIATOR CR 7732 CR 7812
natural_image
Black rectangular industrial water heater with multiple cooling fans and wheels (no visible text or symbols)
natural_image
Exterior view of a silver industrial machine with open lid and black casing (no visible text or symbols)PORTABLE FRIDGE CR 8076
natural_image
A gray oval-shaped object with a black cable inserted into its center, resembling a small bed or cushion (no text or symbols visible)HEATED ANIMAL DEN CR 7431
camry
Premium
natural_image
Golden kitchen kettle with black handle and silver rim, no visible text or symbols on the device itself.ELECTRIC KETTLE CR 1292

natural_image
Black hair dryer with a black handle and orange flame (no visible text or symbols)HAIR DRYIER CR 2261
natural_image
Golden tan-colored toaster with three buttons and a handle (no visible text or symbols)TOASTER 2 SLICES CR 3217
natural_image
Modern glass kettle with blue liquid inside, no visible text or symbolsELECTRIC GRILL CR 3044
natural_image
Product photo of a blender with pink liquid and black lid, next to a stainless steel stand (no text or symbols visible)PERSONAL BLENDER CR 4615
natural_image
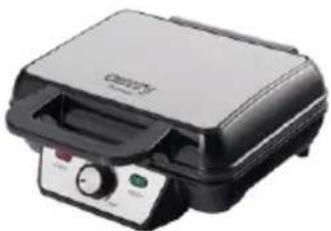
Exterior view of a black and white stainless steel griddle (no visible text or symbols)WAFFLE MAKER CR 3046

natural_image
Black and white photo of a steamer with handle and spout (no visible text or symbols)GARMENT STEAMER CR 5033
natural_image
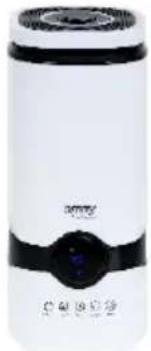
White cylindrical water heater with black control panel and digital display (no visible text or symbols)AIR HUMIDIFIER CR 7964
natural_image
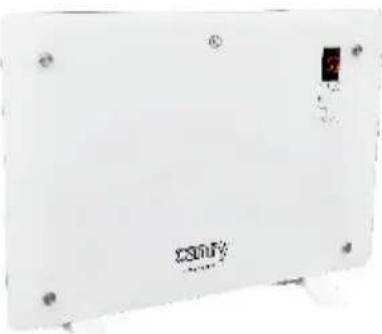
Front view of a white electronic device with a small black indicator and 'comfy' logo on the front panel (no readable text beyond branding)GLASS HEATER CR 7721
natural_image
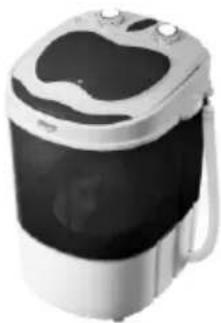
Exterior view of a modern washing machine (no visible text or symbols)WASHING MACHINE CR 8054
natural_image
Exterior view of a black rectangular solar power heater with cooling fans and wheels (no visible text or symbols)OIL FILLED RADIATOR CR 7810
natural_image
White and gray electric guitar body with handle and front panel (no visible text or symbols)HEATING LUNCHBOX CR 4483
natural_image
Exterior view of a modern electric vacuum cleaner (no visible text or symbols)MOSQUITO KILLER LAMP SONIC TOOTHBRUSH CR 7935 CR 2173

natural_image
Folded blanket with floral pattern and a digital thermometer on the right side (no text or symbols visible)HEATING UNDERBLANKET CR 7430
natural_image
Exterior view of a modern hair dryer with pink filter and silver body (no text or symbols visible)HAIR DRYER CR 2256
camry
Premium
natural_image
Black and red vacuum cleaner with handle and control panel (no visible text or symbols)VACUUM CLEANER CR 7045

natural_image
Exterior view of a black electric solar power heater with multiple cooling fans and wheels (no visible text or symbols)OIL FILLED RADIATOR CR 7814
Stand Fan
CR 7306
natural_image
Black and white photo of a modern kettle with a handle and side panel (no visible text or symbols)Electric Kettle CR 1169
natural_image
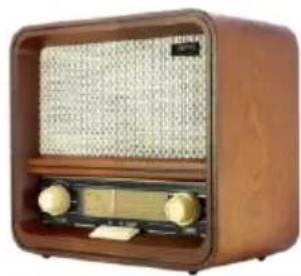
Vintage wooden radio with front panel and control knobs (no visible text or labels)RETRO RADIO CR 1188
natural_image
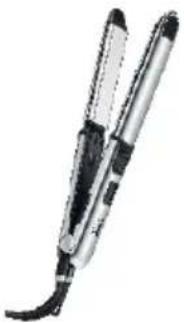
Illustration of a pair of hair curling iron (no text or symbols visible)HAIR STRAIGHTENER
CR 2320

natural_image
Close-up of a person's legs using a white massage press, no text or symbols visibleFOOT SPA CR 2174
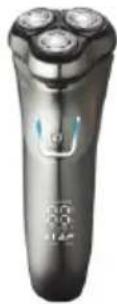
ELECTRIC SHAVER
CR 2925
natural_image
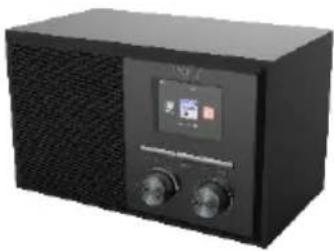
Black portable electronic device with digital display and two side knobs (no visible text or symbols)INTERNET RADIO CR 1180
natural_image
White portable air conditioner unit with control panel and display (no visible text or symbols)AIR CONDITIONER CR 7926
natural_image
Exterior view of a modern stainless steel kettle with black handle and control knob (no visible text or symbols)ELECTRIC KETTLE CR 1291

natural_image
Exterior view of a modern stainless steel toaster with black handle and side panel (no visible text or symbols)TOASTER 2 SLICES CR 3215
natural_image
White and black electric heater device next to a remote control unit (no visible text or symbols)CONVECTION HEATER CERAMIC FAN HEATER
CR 7724 CR 7772
MOSQUITO KILLER
CR 7937
natural_image
Exterior view of a modern office building (no signage)
natural_image
Black handheld electric shaver with three leads (no visible text or symbols)ELECTRIC SHAVER CR 2927
- CR 7912
- ENGLISH
- SAFETY CONDITIONS. IMPORTANT INSTRUCTIONS ON SAFETY OF USE PLEASE READ CAREFULLY AND KEEP FOR FUTURE REFERENCE
- REMARKS:
- DEVICE DESCRIPTION (pictures A and B)
- CONTROL PANEL (picture C)
- REMOTE CONTROLLER – picture D
- AUTO "J" mode:
- Dehumidify "L" mode:
- WARNING:
- COOL "K" mode:
- Fan "M" mode.
- Timer operation "N":
- Sleep mode "I" operation & child lock function:
- Swing "O" mode operation:
- Notice:
- REMOTE CONTROLLER
- PROTECTIVE DEVICES
- Troubleshooting
- CLEANING AND MAINTENANCE
- Device maintenance
- Air filter maintenance
- Maintenance after using
- DEUTSCH
- camry
- Premium
Brand : CAMRY
Model : CR 7912
Category : Air Conditioning